Hello friends of hive, happy weekend to all of you💕.
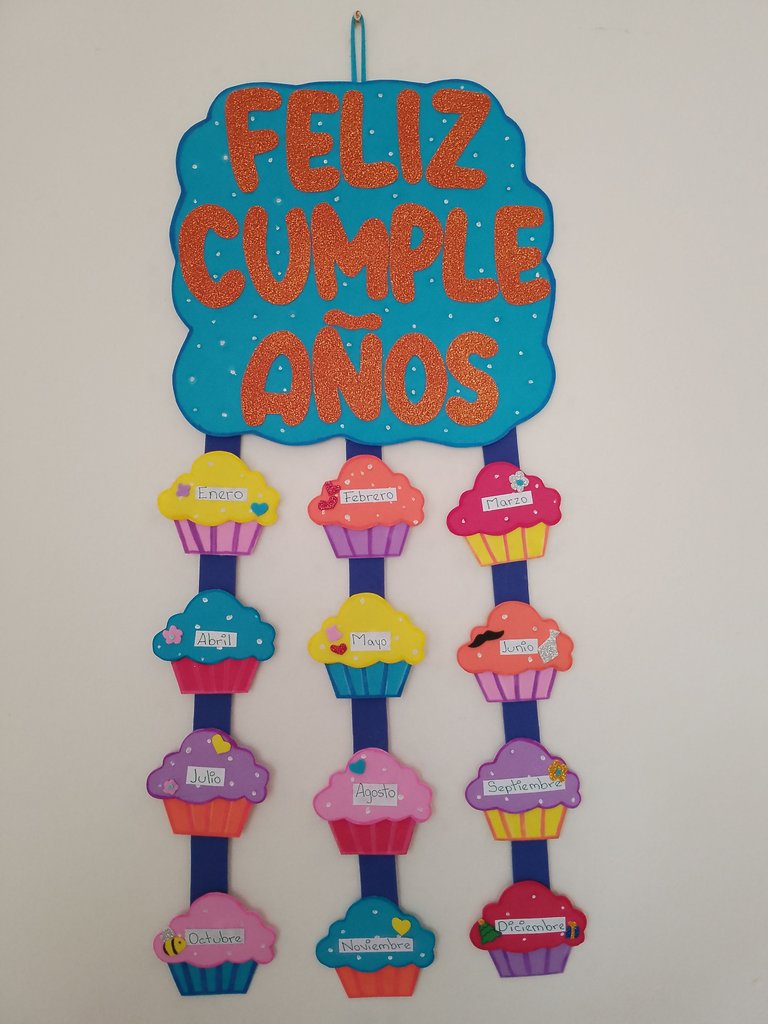
I tell you that since I started working as a teacher I have had to do a lot of crafts and it is really something I love and I like to do, because with this I have fun and relax. I am currently on vacation during the school year and for this reason I am taking the opportunity to make decorations for myself that I will use to decorate my classroom this new school year and one of them is the happy birthday poster. Here are the materials and instructions.
Hola amigos de hive, feliz fin de semana para todos💕
Les cuento que desde que empecé a trabajar como maestra he tenido que realizar muchas manualidades y de verdad que es algo que me encanta y me da gusto hacer, pues con esto me divierto y me relajo. Actualmente estoy de vacaciones en el ciclo escolar y por esto estoy aprovechando de realizar las decoraciones para mi que utilizaré para ambientar mi salón de clases este nuevo año escolar y una de ellas es el cartel de feliz cumpleaños. Aquí les dejo los materiales y las instrucciones.
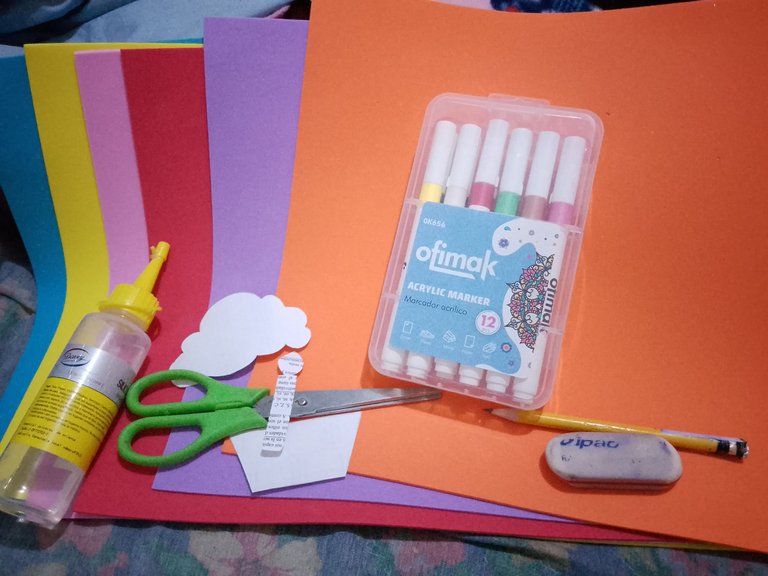
Materials:
EVA rubber: light and dark blue, yellow, pink, purple, red, orange.
Orange and aqua green frosted eva rubber.
Scissors.
Liquid silicone.
Colored markers.
Ruler.
Letter molds.
Cupcake mold.
Liquid paper.
- Materiales:
- Goma eva: azul claro y oscuro, amarillo, rosado, morado, rojo, naranja.
- Goma eva escarchado naranja y verde agua.
- Tijeras.
- Silicón líquido.
- Marcadores de colores.
- Regla.
- Moldes de letra.
- Molde del cupcake.
- Corrector.
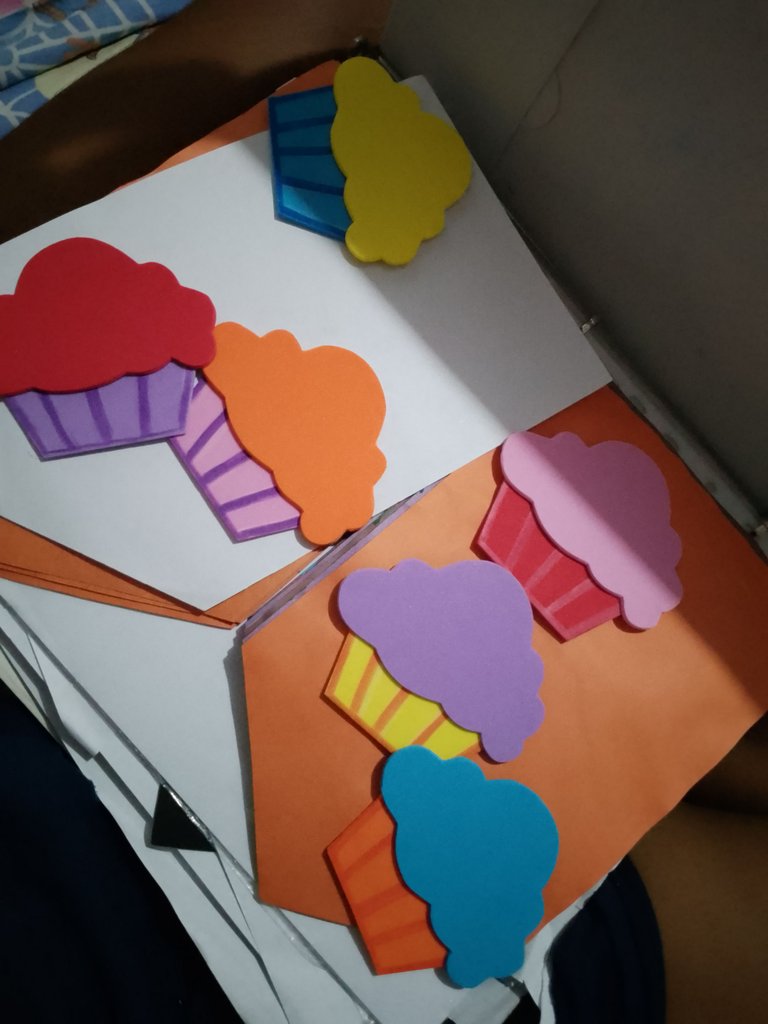
The first thing I did was to take out the cupcake mold and mark it on the different colors of eva rubber, the top (which represents the meringue) and the base of the cupcake.
Lo primero que hice fue sacar el molde del cupcake y marcarlo en los diferentes colores de goma eva, ls parte de arriba (lo cual representa el merengue) y la base del cupcake.
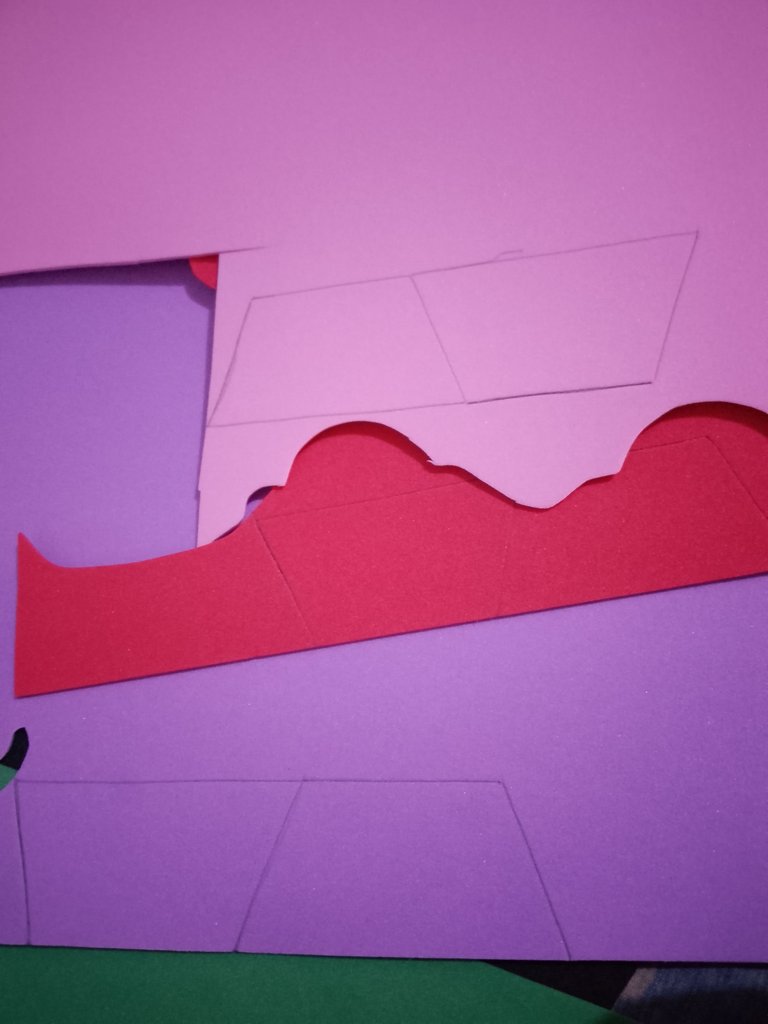
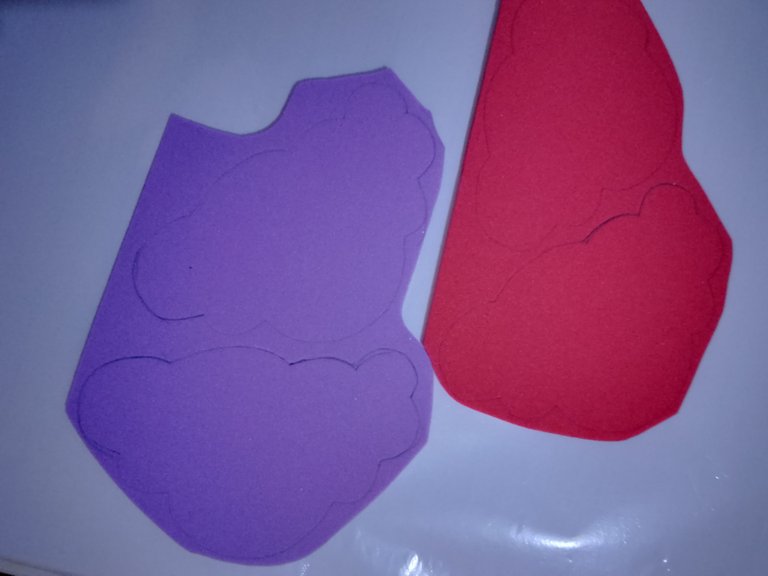
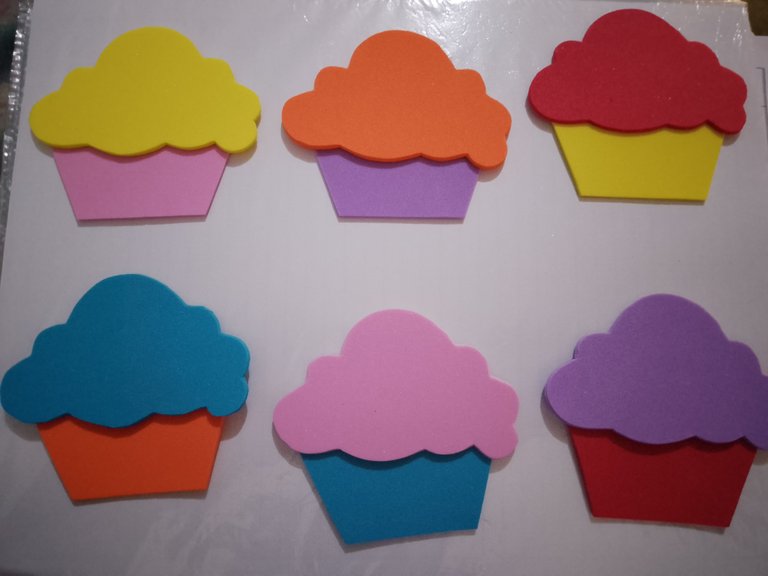
Then I cut it out and put them aside. On a frosted eva gum in aqua green color I marked the candles where the names of the birthday boys and girls and the birthday will be written.
Luego lo recorte y los puse aparte. En una goma Eva escarchada de color verde agua marque las velitas donde se escribirán los nombres de los cumpleañeros y el día que cumple años.
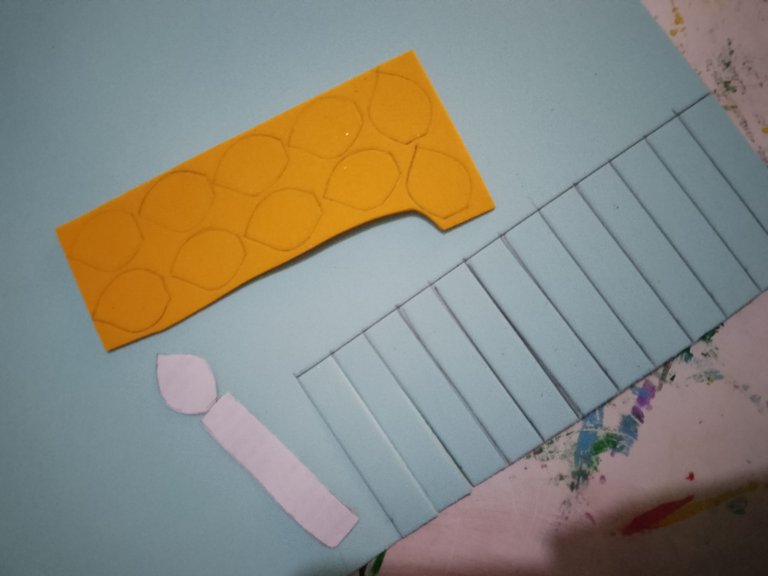
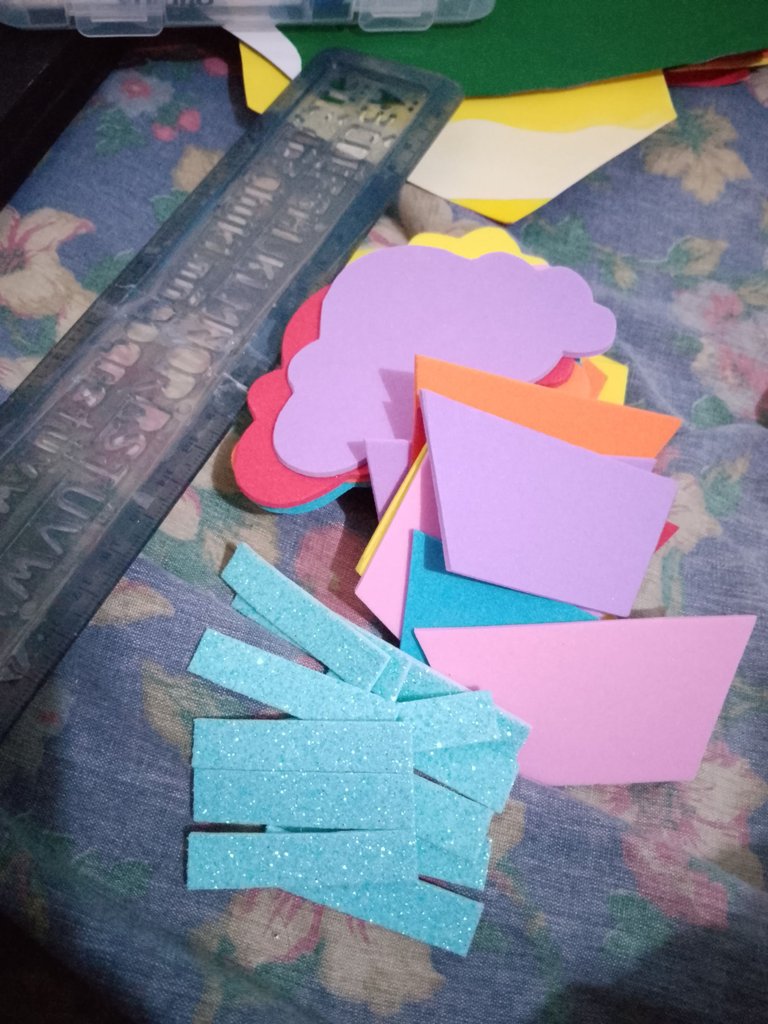
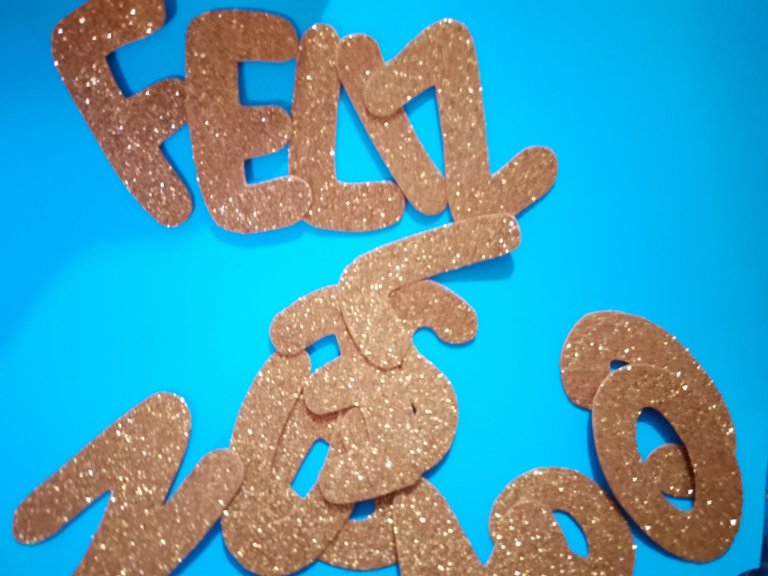
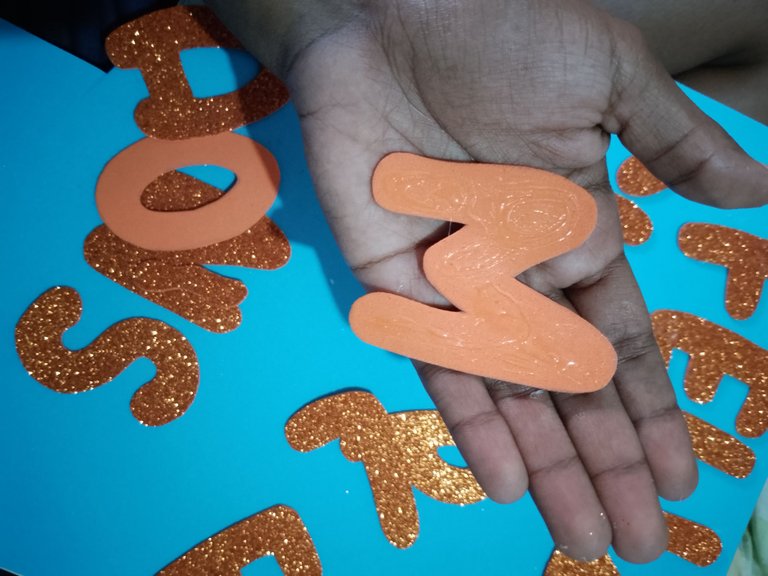
Once I had this, I set aside and marked the letters for the "Happy Birthday". This mold is according to each person's preference, I particularly loved this type of lettering, I really looked for a lot of fonts and this was the one I liked the most. I marked the letters on the orange frosted eva rubber and cut them out.
Ya teniendo esto, aparté y marqué las letras para el "Feliz cumpleaños". Este molde es según la preferencia de cada persona, a mí particularmente me encantó este tipo de letra, realmente busqué muchísimas fuentes y esta fue la que más me gustó. Marqué las letras en la goma eva escarchado color naranja y las recorté.
Then on a light blue eva rubber I glued the letters according to the word happy birthday and cut them out giving them a wavy shape.
Luego, en una goma eva azul claro pegué las letras según la palabra formada feliz cumpleaños y recorté dándole forma ondulada.
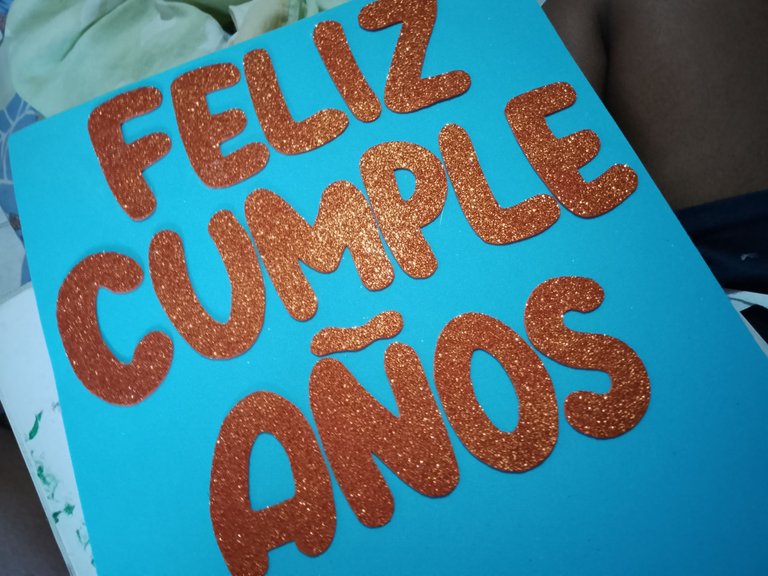
Then, on a dark blue foami I marked three strips with the measures of 30 cm long and 2.5 cm wide. Next, I attached them to the happy birthday sign, with a distance of 5 cm each.
Luego, en un foami azul oscuro marqué tres tiras con las medidas de 30 cm de largo y 2,5 cm de ancho. Seguidamente, las fijé en el cartel de feliz cumpleaños, con una distancia de 5 cm cada una.
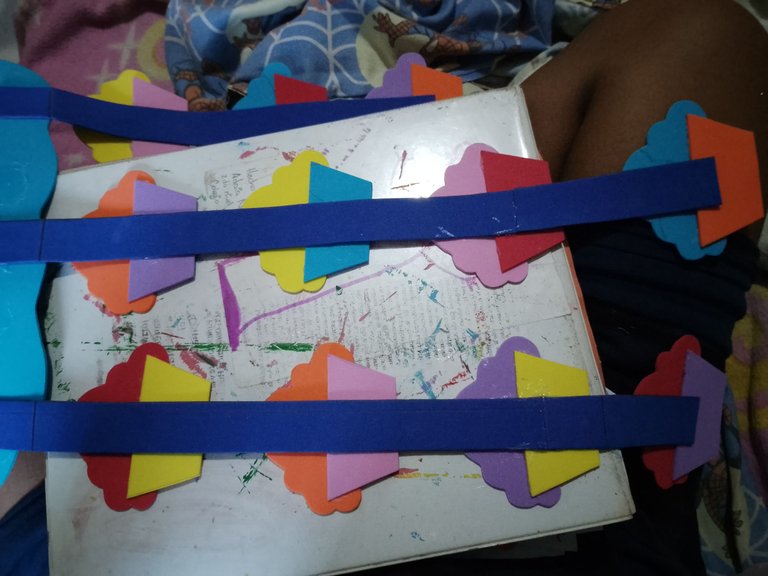
Once I had all this cut out I started to glue the cupcakes, I tried them all until I found the best combination and used the liquid silicone to glue them.
Al tener todo esto recortado, empecé a pegar las cupcake, los probé todos hasta dar con la mejor combinación y utilicé el silicón líquido para pegarlos.
Next, I began to attach all the pieces using silicone. I glued the cupcakes to the strips, leaving about 4 cm distance between each one. Then, I used liquid paper to make white dots on the sign and the cupcakes. I really like to use this product to make the dots, it is very easy to mark and the dots stand out much more.
A continuación, comencé a fijar todas las piezas utilizando silicón. Pegué los cupcakes en las tiras, dejando unos 4 cm de distancia entre cada uno. Luego, utilicé un liquid paper para hacerle puntitos blancos al cartel y a los cupcakes. Me gusta mucho utilizar este producto para hacer los puntos, es muy fácil de marcar y los puntos resaltan mucho más.
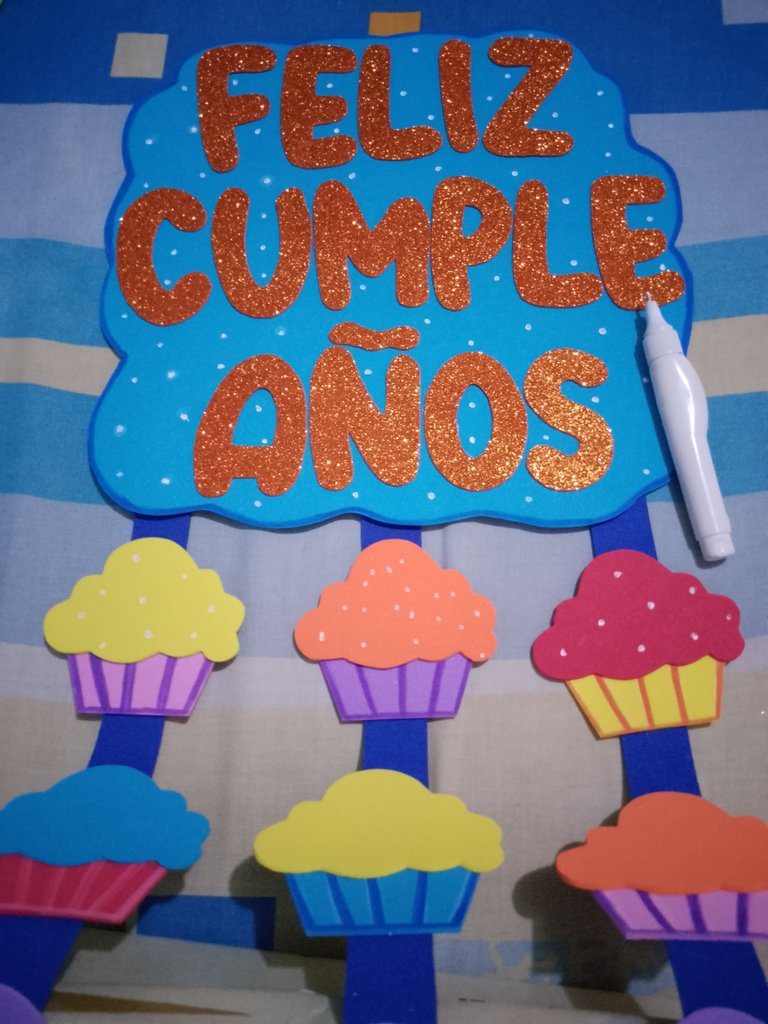
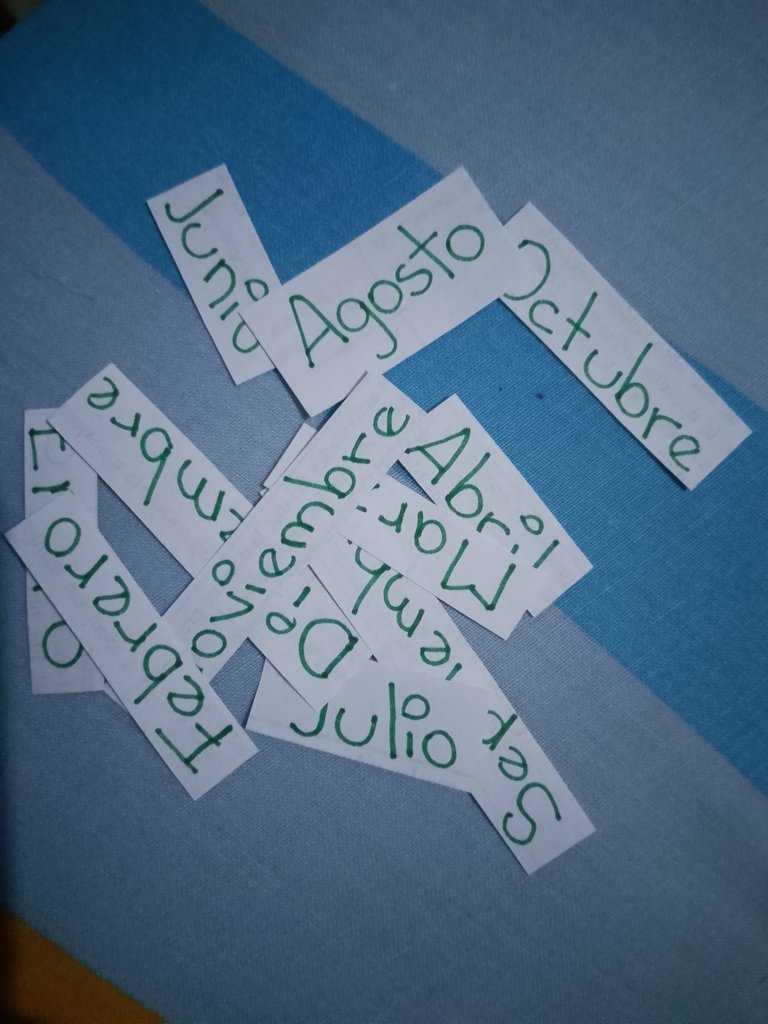
Next, I used eva rubber cutouts of different colors to make small details on the cupcakes, to give them more life and attractiveness. And then, I pasted the names of the months in order of the months.
Seguidamente, utilicé recortes de goma eva de diferentes colores para hacerle pequeños detalles a los cupcakes, para darles más vida y atractivo. Y luego, les pegué los nombres de los meses por orden.
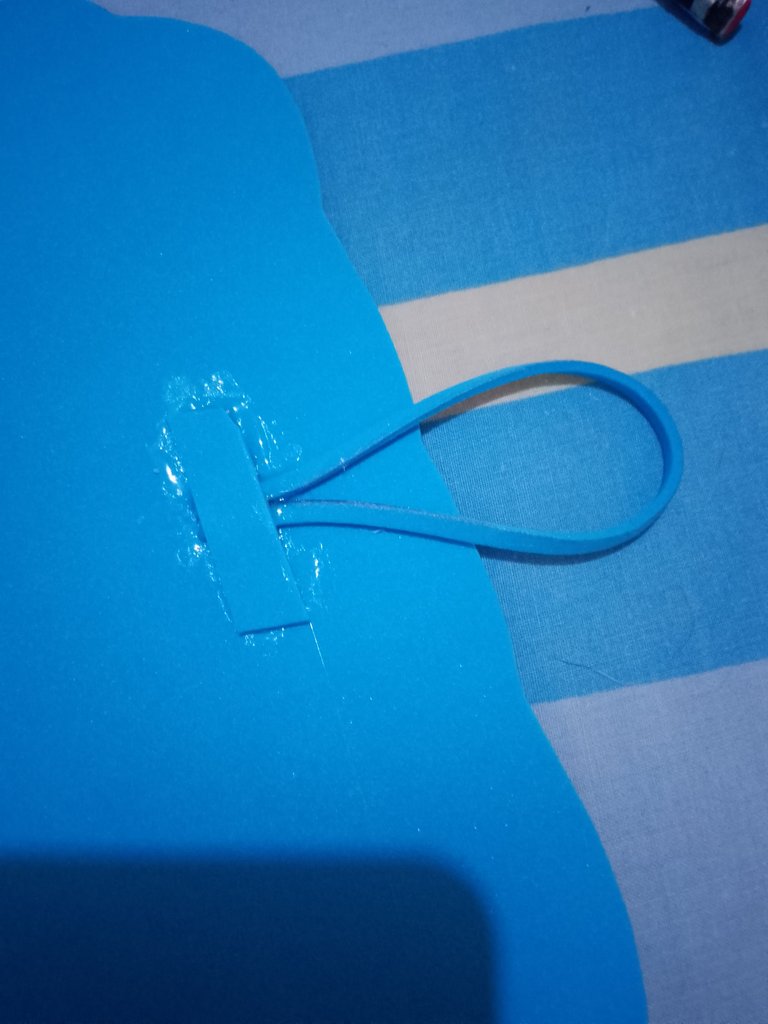
Finally, I cut out a strip of blue eva rubber and glued it to the back of the poster. This will be used to hang the poster on a protruding screw inside the classroom.
Finalmente, recorté una tirita de goma eva azul y la pegué en la parte trasera del cartel. Esto servirá para colgar el cartel en un tornillo sobresaliente dentro del aula.
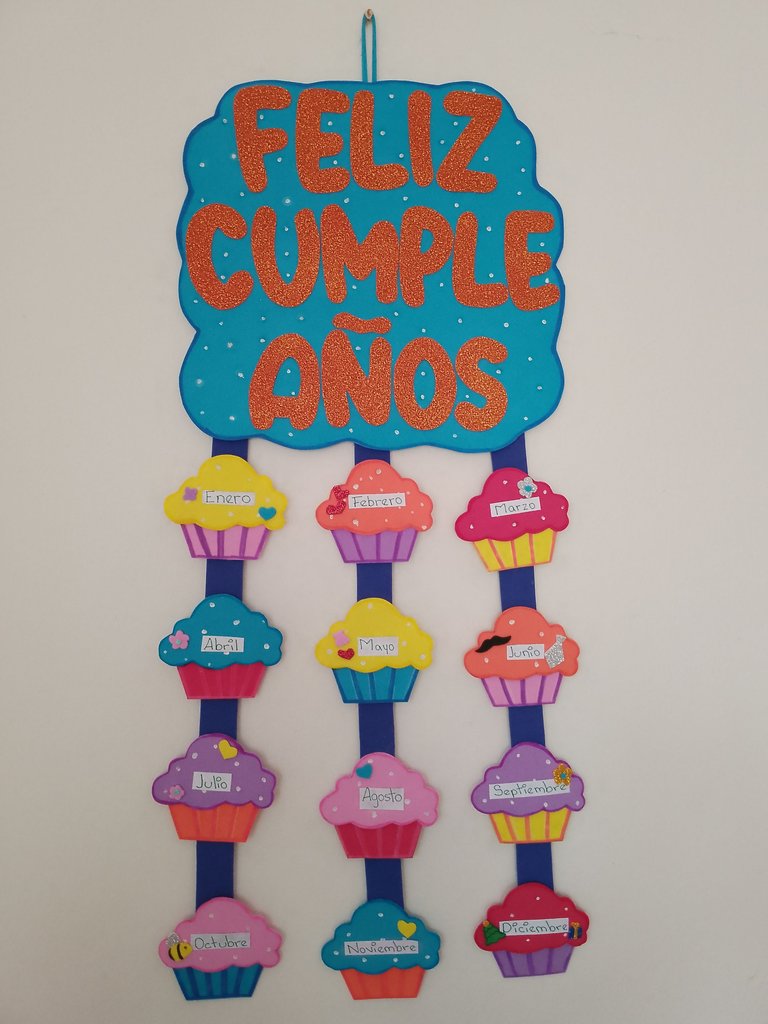
This is how I made my birthday poster, I hope you like it and can make it too.
Thanks for reading me 💕
De esta manera realicé mi cartel para los cumpleaños, espero que les guste y lo puedan realizar también.
Gracias por leerme 💕
- Original text by me / photos taken from my Infinix Hot 30i phone / translated by deepl.
- Texto original por mí / fotos tomadas desde mi teléfono Infinix Hot 30i / traducido por deepl.
