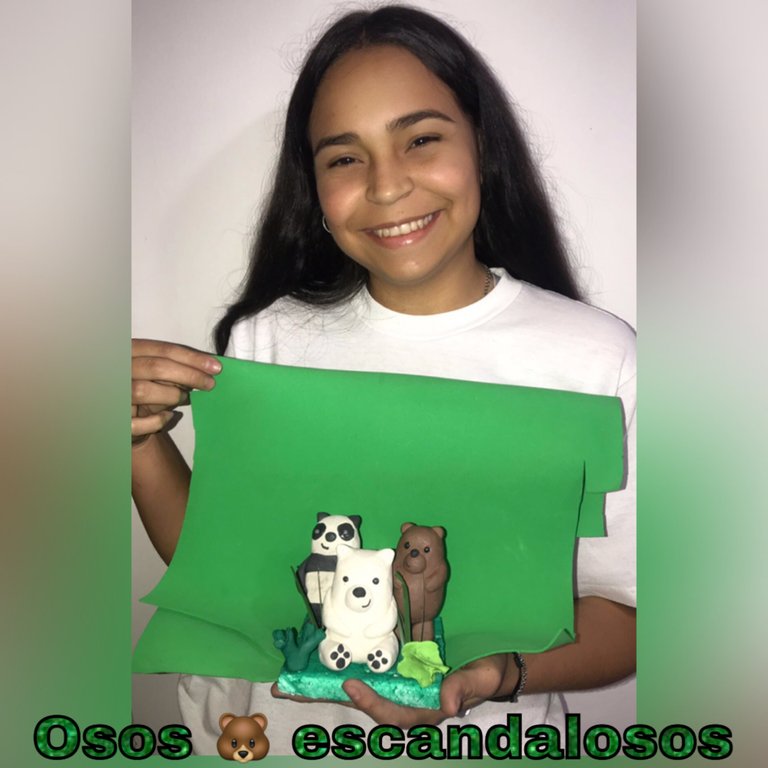
Un cordial saludo a todos los integrantes de esta hermosa comunidad HIVE DIY, en esta oportunidad me encuentro con ustedes para mostrarle mi participación en este maravilloso concurso llamado diorama de plastilina, moderado por nuestro nuevo amigo @gaboamc2393
En esta oportunidad me inspire en estos tres ositos tan maravillosos, desde que salió a las pantallas de cartun neetwor me llamo mucho la atención y me gusto mucho su trama y cómo se conocieron estos ositos, es muy triste lo que le pasa al principio de la comiquita pero luego ya se hacen amigos, viven justos y nos muestran el verdadero sentido de la amistad no importa el color o de donde vengamos todos somos iguales y merecemos amor, le invito a ver la comiquita se llama escandalosos espero y les guste como me gusto a mi y aprovecho la oportunidad para invitar a mi querido amigo @radames y a nuestra amiga @aracelys1965
A warm greeting to all members of this beautiful community HIVE DIY, this time I am with you to show you my participation in this wonderful contest called plasticine diorama, moderated by our new friend @gaboamc2393
In this opportunity I was inspired by these three bears so wonderful, since it came out on the screens of cartun neetwor I called my attention and I really liked the plot and how these bears met, it is very sad what happens at the beginning of the comic but then they become friends, live fair and show us the true meaning of friendship no matter the color or where we come from we are all equal and deserve love, I invite you to see the comic is called scandalous I hope you like it as I liked my and take the opportunity to invite my dear friend @radames and our friend @aracelys1965
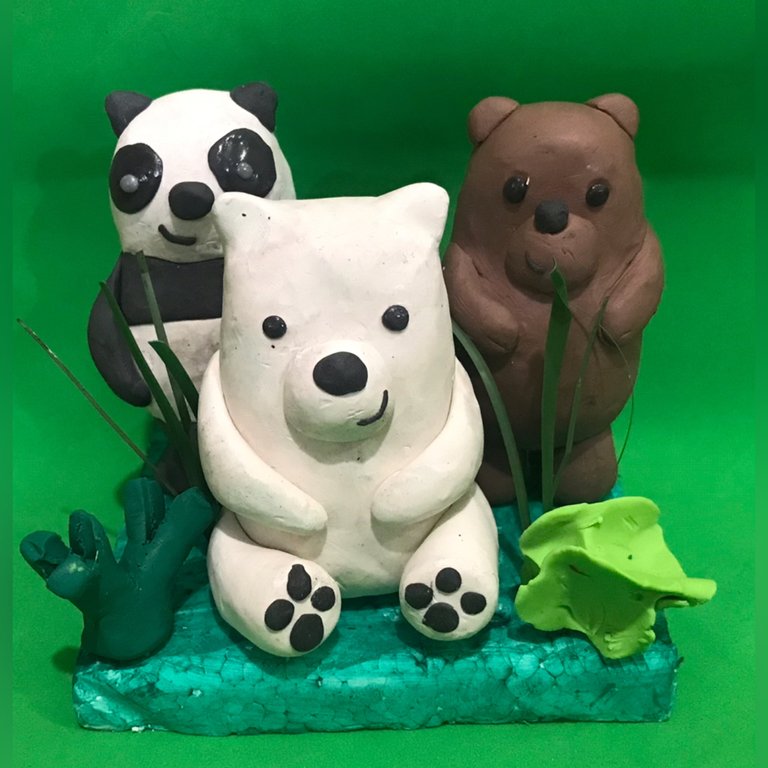
MATERIALES A UTILIZAR
• plastilina blanca, marrón, negra y verde
• estiletes o esacto
• palillos de dientes
• tirro
• tapas de refresco
• pintura verde
• anime
MATERIALS
- white, brown, black and green modeling clay
- stilettos or stilettoes
- toothpicks
- string
- soda caps
- green paint
- anime
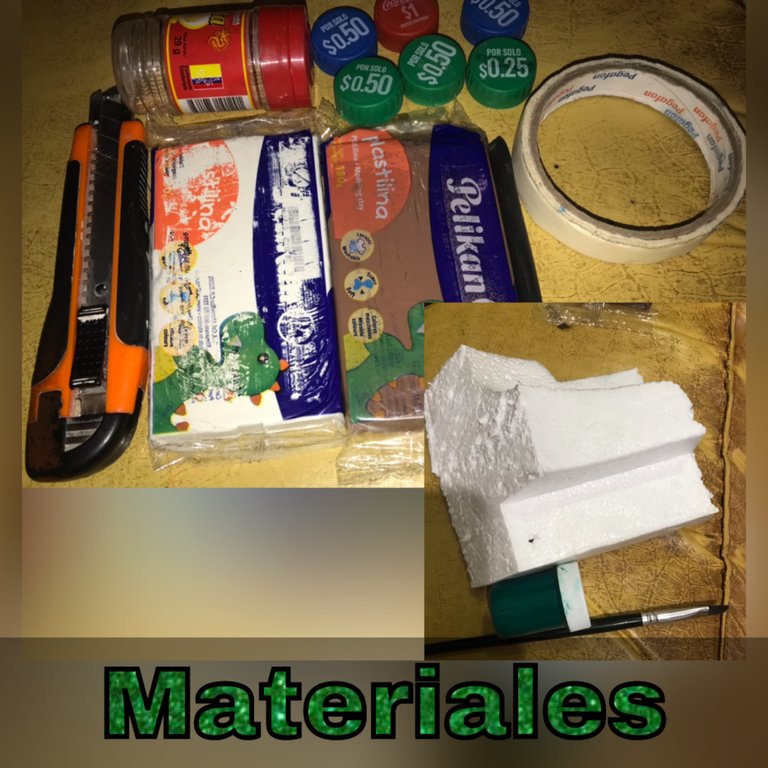
AHORA SI AMIGOS MANOS A LA OBRA
NOW IF FRIENDS, LET'S GET TO WORK

PASO 1
Primero unimos las tapas de refresco en par, y empezamos a entirar las tapas de refresco hasta armar las tres piezas
STEP 1
First we join the soda caps in pairs, and we start to twist the soda caps until we have three pieces together
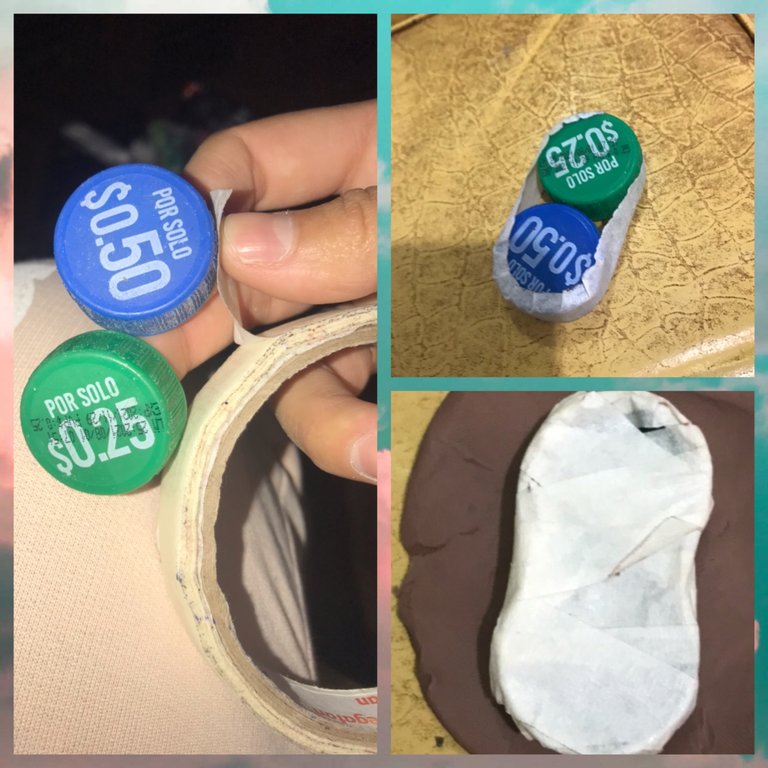
PASO 2
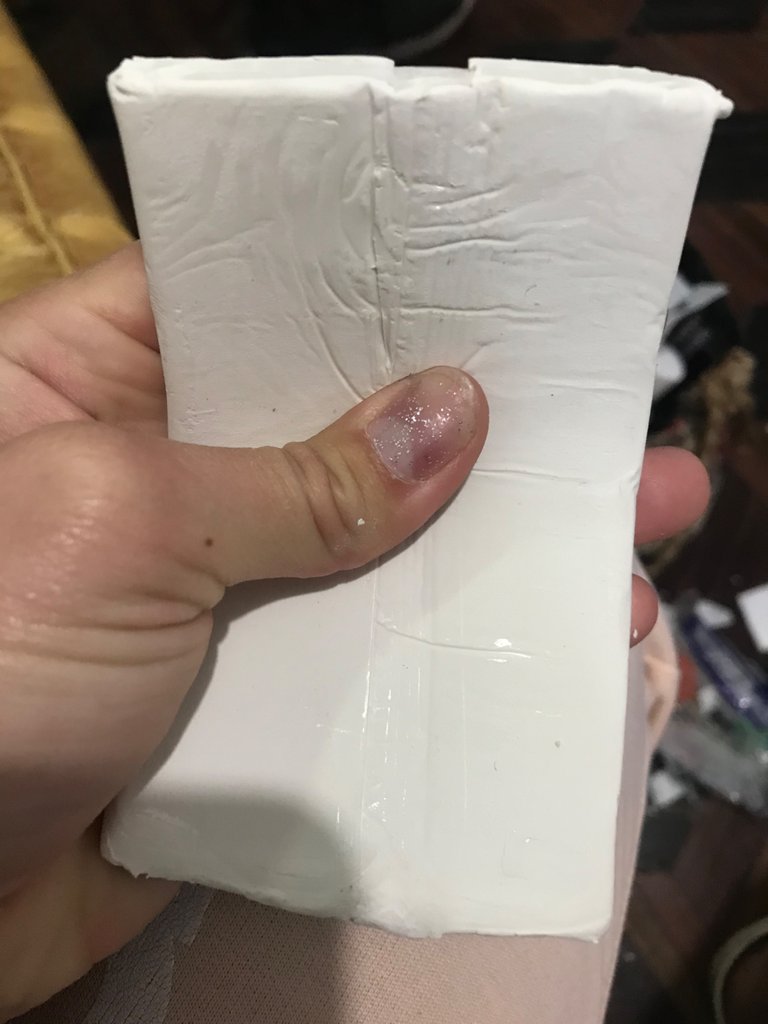
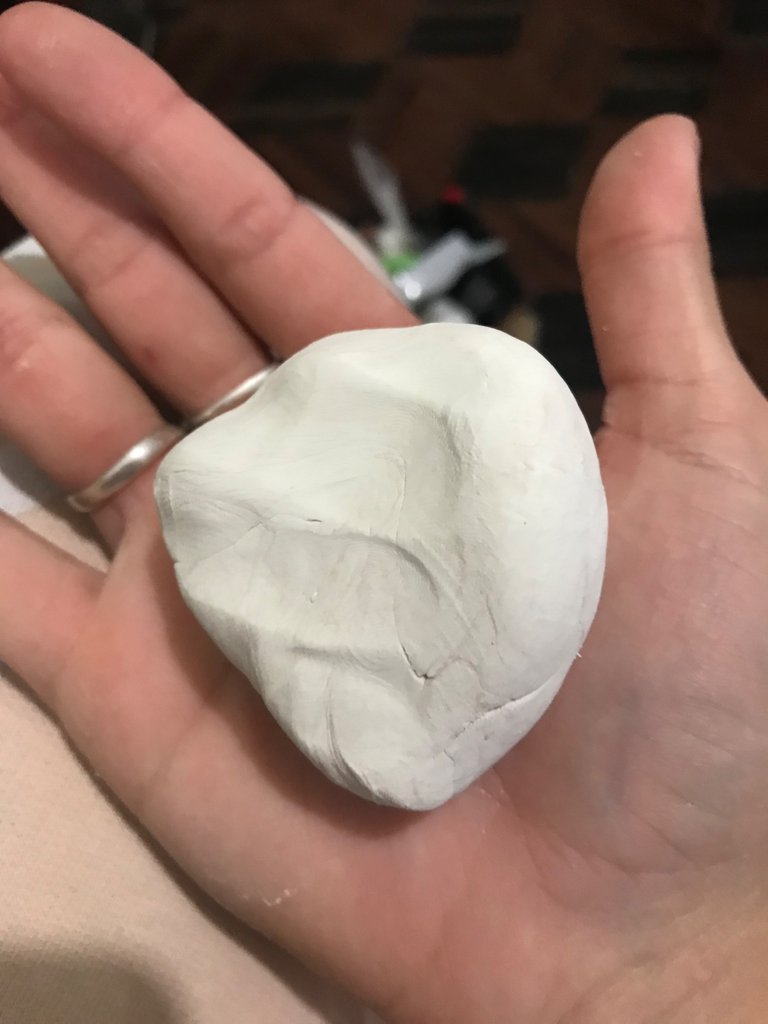
Ahora empezamos a amasar la plastilina blanca para ponerla suave y que sea mejor de moldear
STEP 2
Now we start to knead the white plasticine to make it soft and better to mold
PASO 3
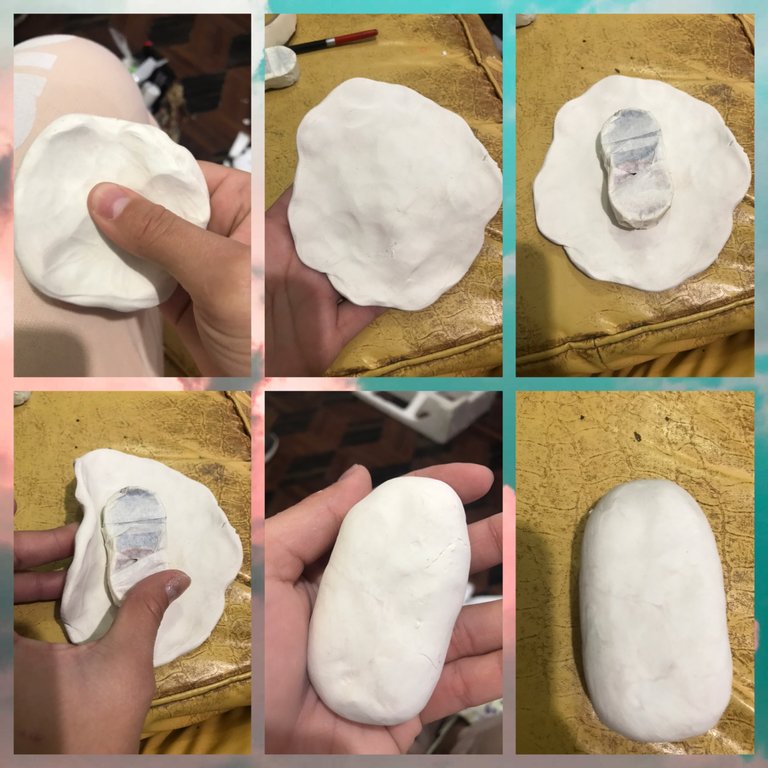
Con la plastilina ya amasada se la pegamos a las dos tapas y empezamos a moldearlo hasta darle la forma del cuerpo
STEP 3
With the plasticine already kneaded, we glue it to the two lids and start molding it until we give it the shape of the body
PASO 4
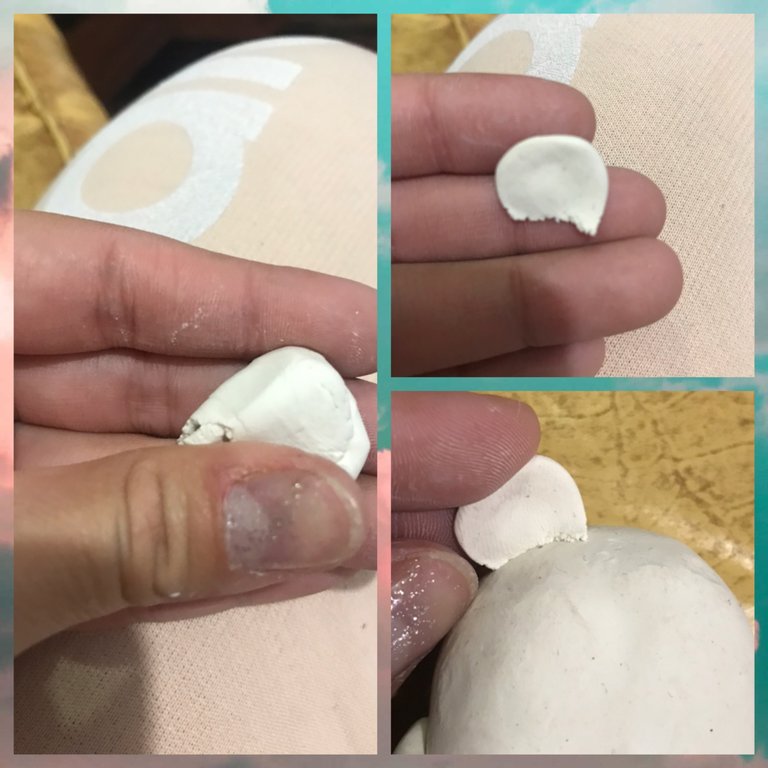
Ya que el oso tenga la forma del cuerpo aremos las orejas con una bolita de plastilina blanca, pegamos a la cabeza y le damos forma
STEP 4
Once the bear has the shape of the body, we make the ears with a small ball of white plasticine, glue it to the head and give it shape
PASO 5
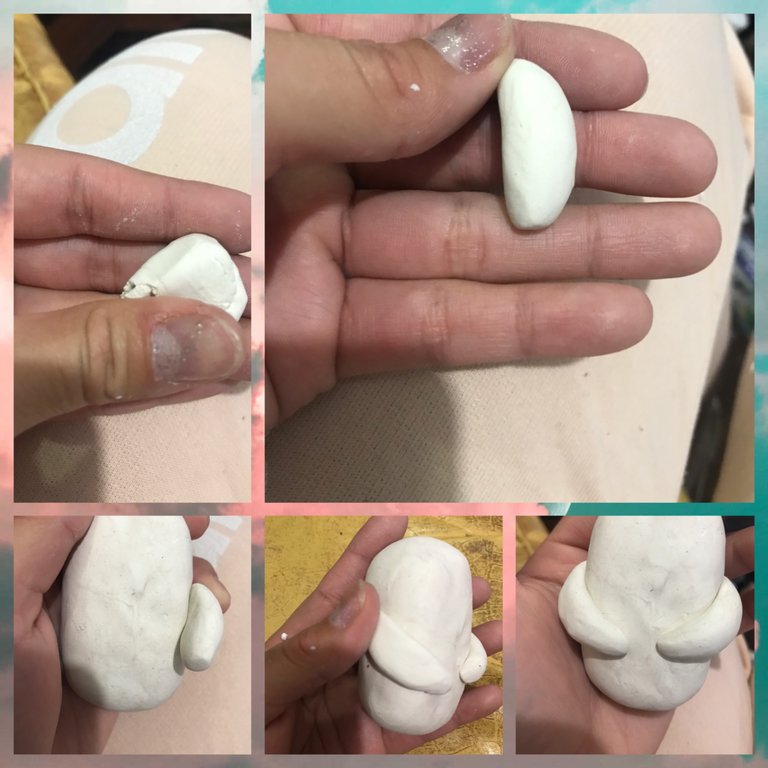
Con un pedazo de plastilina blanca aremos los brazos, pegamos al cuerpo y empezamos a darle la forma para que no se vean los defectos
**STEP 5
With a piece of white plasticine we will make the arms, glue them to the body and start shaping them so that the defects are not visible
PASO 6
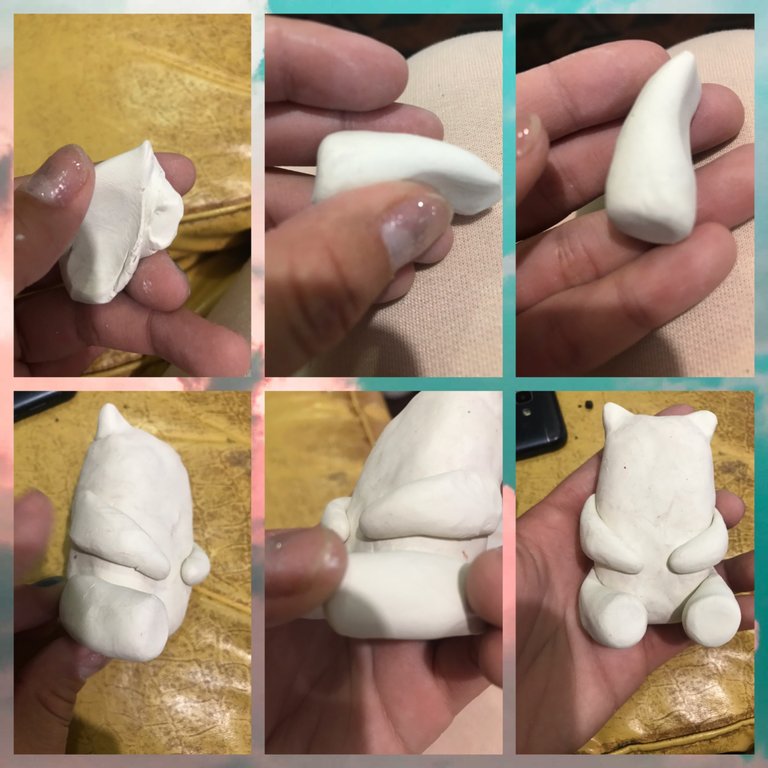
Ahora aremos con la plastilina blanca las patas del osito y pegamos al cuerpo
STEP 6
Now we will make with the white plasticine the legs of the teddy bear and glue them to the body
PASO 7
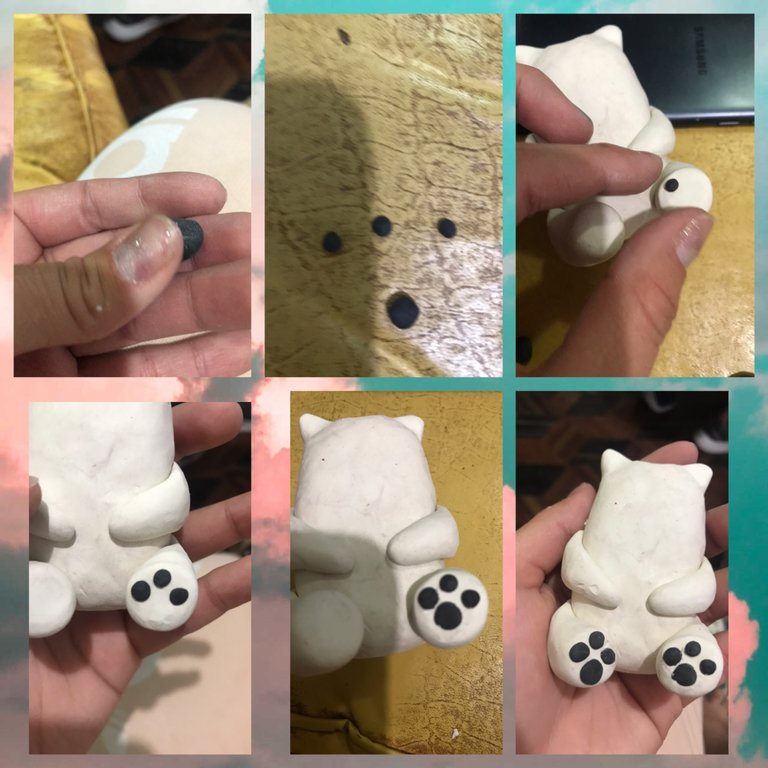
Ya que estén pegados todas las estrenuidades del oso empezamos hacerle la plantilla del pies con tres bolas pequeñas y una grande, las pequeñas van pegados al rededor de la pata y la grande va en el medio, las pequeñas y lo aremos en las dos patas
STEP 7
Once all the strenuities of the bear are glued we start making the foot template with three small balls and one big one, the small ones are glued around the paw and the big one goes in the middle, the small ones and we will do it on both paws
PASO 8
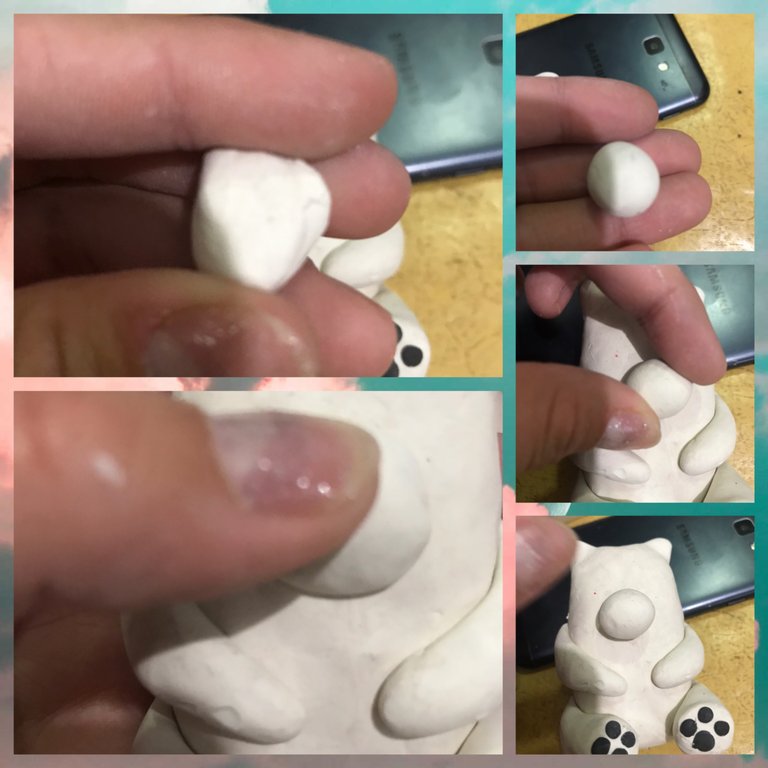
Luego Aremos una bola con la plastilina blanca y lo colocamos en la cabeza para hacer la trompa del osito
STEP 8
Then we make a ball with the white plasticine and place it on the head to make the bear's trunk
PASO 9
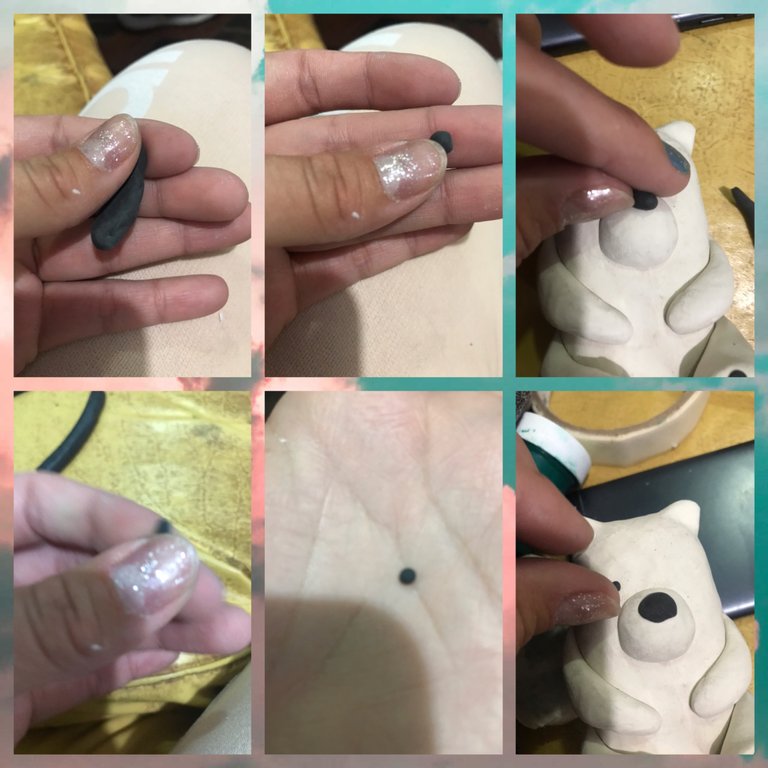
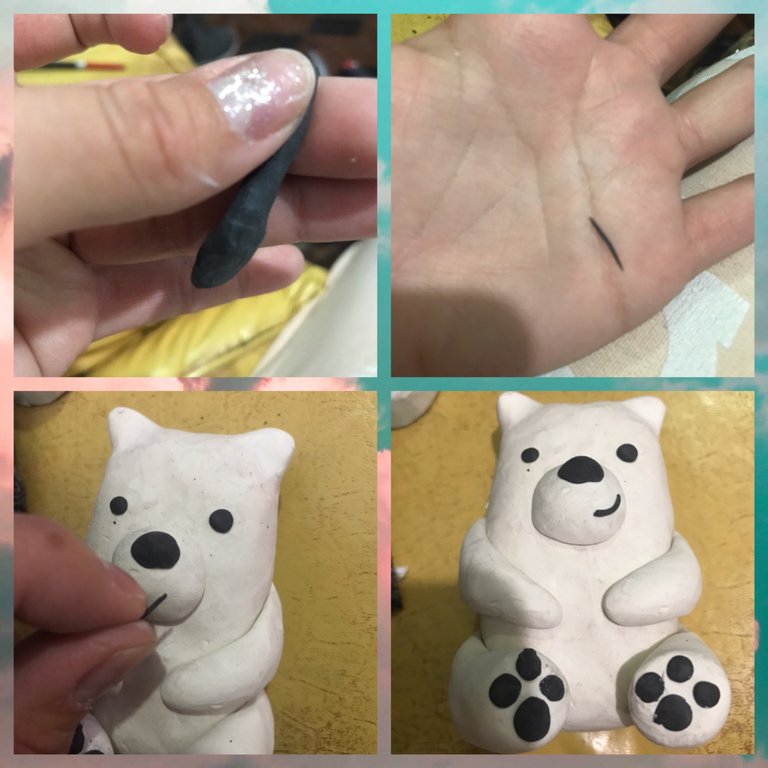
Ya que esté la trompa con la plastilina negra aremos una bolita pequeña y la pegamos en la trompa, también aremos dos bolitas para los ojos 👀, pegamos y aremos un rollito muy delgado para hacer la boca del osito y pegamos
STEP 9
Once the trunk is ready with the black plasticine we make a small ball and glue it on the trunk, we also make two small balls for the eyes 👀, glue and make a very thin roll to make the mouth of the bear and glue
PASO 10
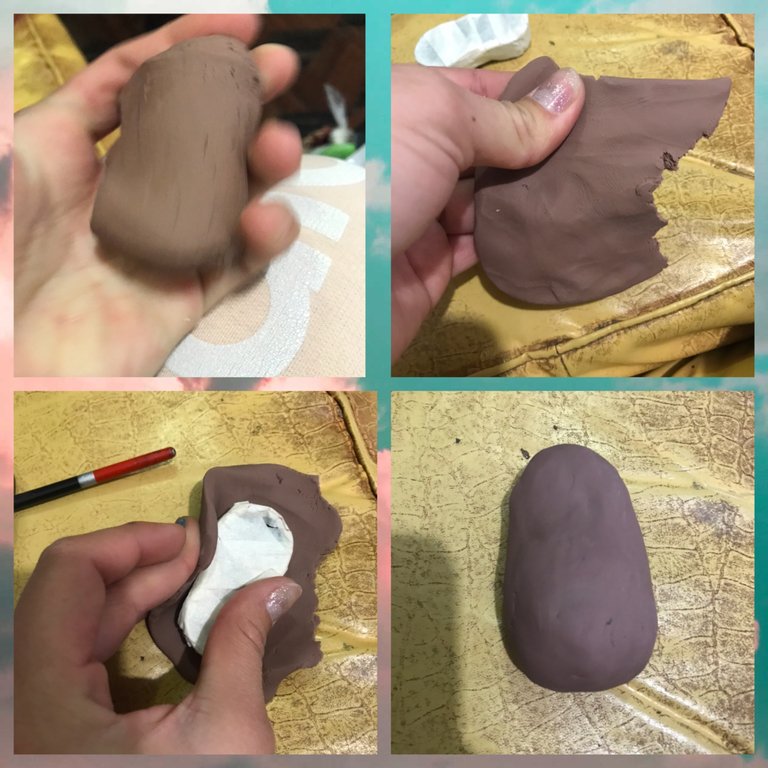
Ahora empezamos con el oso marrón, agarramos dos tapitas más de las que están antes echas y amasamos la plastilina para que sea mejor de moldear, pegamos a las tapas y moldeamos hasta darle forma al osito
STEP 10
Now we start with the brown bear, we take two more of the caps and knead the plasticine so that it is better to mold, we stick to the caps and mold until we give shape to the bear
PASO 11
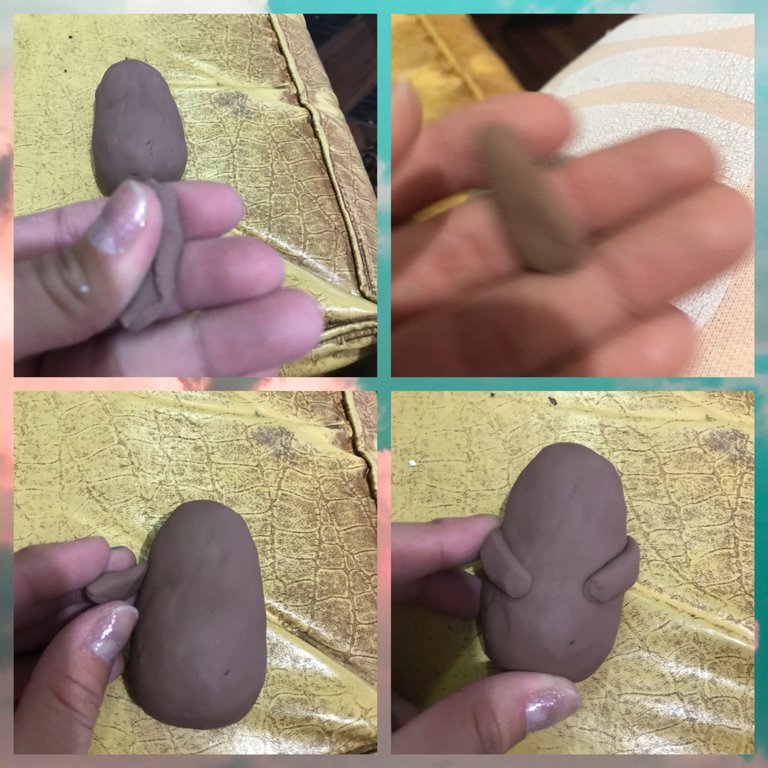
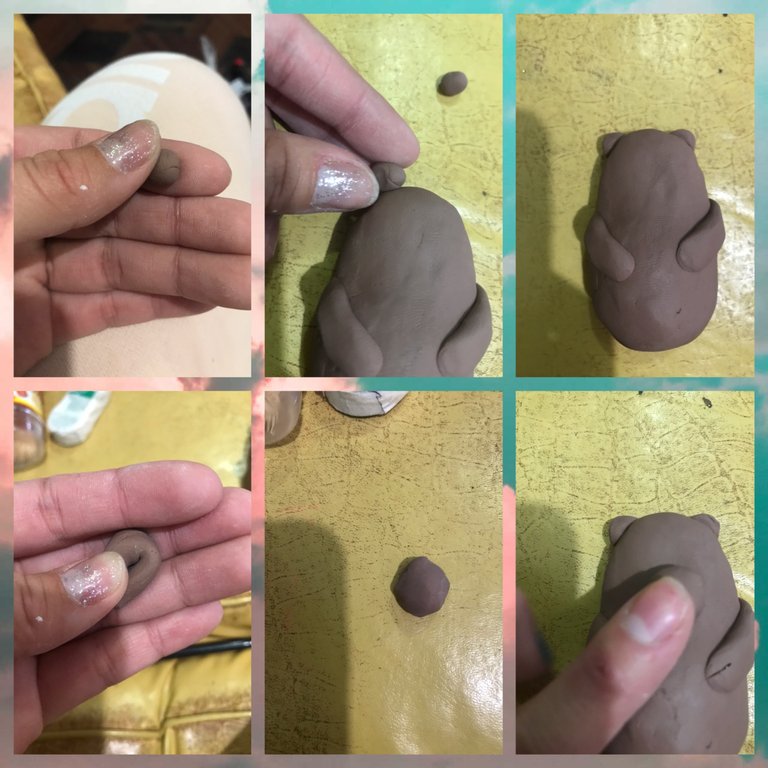
Ahora aremos los brazos con la plastilina marrón, pondremos en el cuerpo y moldeamos hasta darle forma a los brazos
STEP 11
Now we will make the arms with the brown plasticine, we will put it on the body and mold it until we give shape to the arms
PASO 12
Aremos dos bolitas con la plastilina marrón para hacer las orejas del osito la pondremos en la cabeza y moldeamos hasta darle a forma y también aremos una bola para hacer la trompa del oso pegamos a l cara y moldeamos
STEP 12
We will make two little balls with the brown plasticine to make the ears of the bear, we will put it on the head and mold it to shape and we will also make a ball to make the bear's trunk, we will stick it to the face and mold it
PASO 13
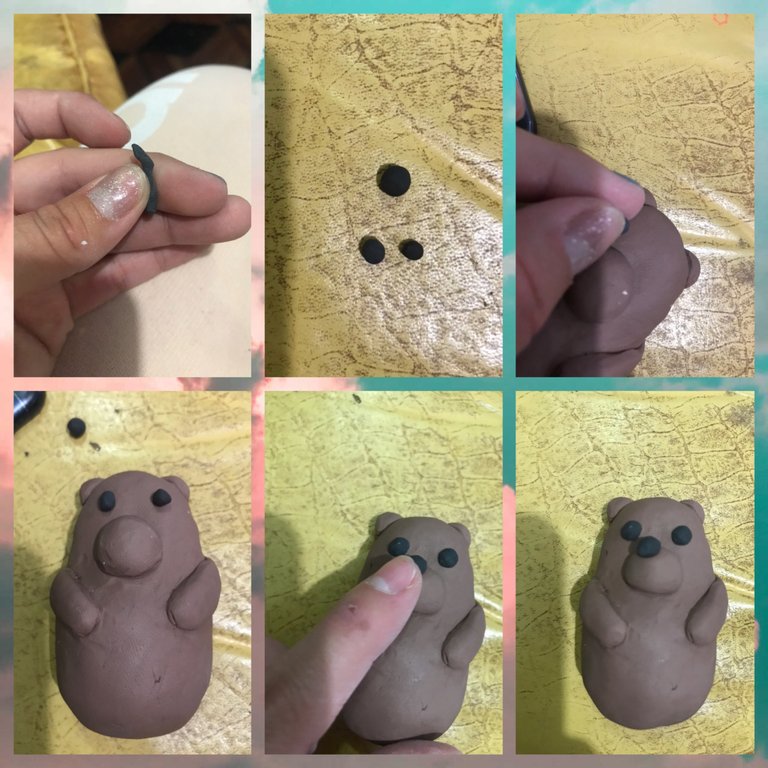
Con la plastilina negra aremos tres bolas, dos para los ojos y pegamos en la cara y la otra tiene que ser mas grande para la nariz y pondremos arriba de la trompa
STEP 13
With the black plasticine we will make three balls, two for the eyes and glue them on the face and the other one has to be bigger for the nose and we will put it on top of the trunk
PASO 14
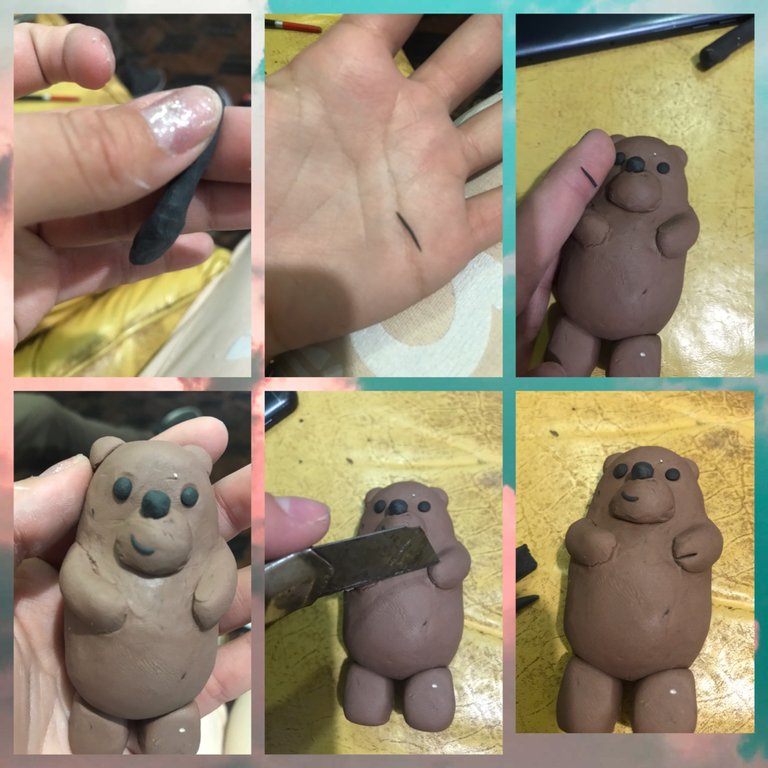
Ahora para finalizar con este osito aremos un rollito delgado y pecamos la boca le osito, con el estilete o esacto le daremos forma a las manos del osito
STEP 14
Now to finish with this teddy bear we will make a thin roll and sin the mouth of the bear, with the stiletto we will shape the hands of the teddy bear
PASO 15
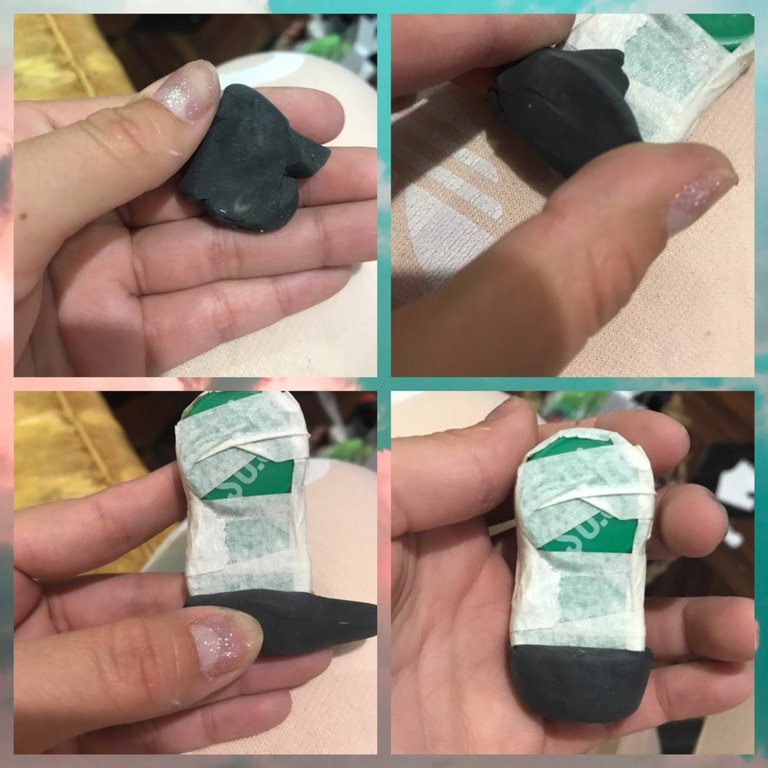
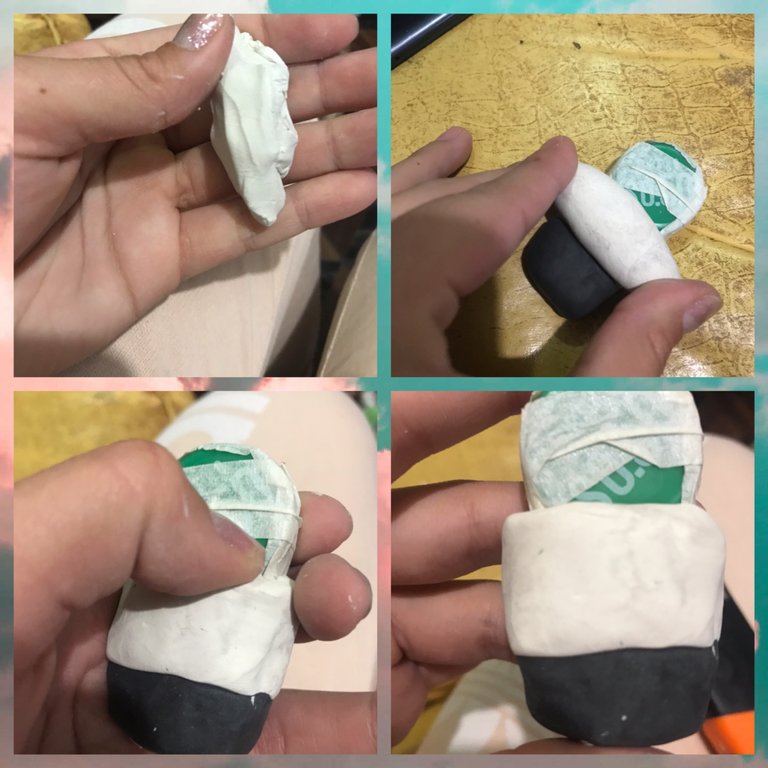
Ahora amigos empezamos con el osito blanco con negro, agarramos la ultimas dos tapitas, pegamos la plastilina negra y le damos la forma de abajo del osito
STEP 15
Now friends we start with the black and white teddy bear, we take the last two caps, we glue the black plasticine and we give the shape of the bottom of the teddy bear
PASO 16
Ahora pondremos un tira de plastilina blanca y para que quede recto le damos la forma con el estilete o esacto
STEP 16
Now we will put a strip of white plasticine and to make it straight we will shape it with the stiletto or stylus
PASO 17
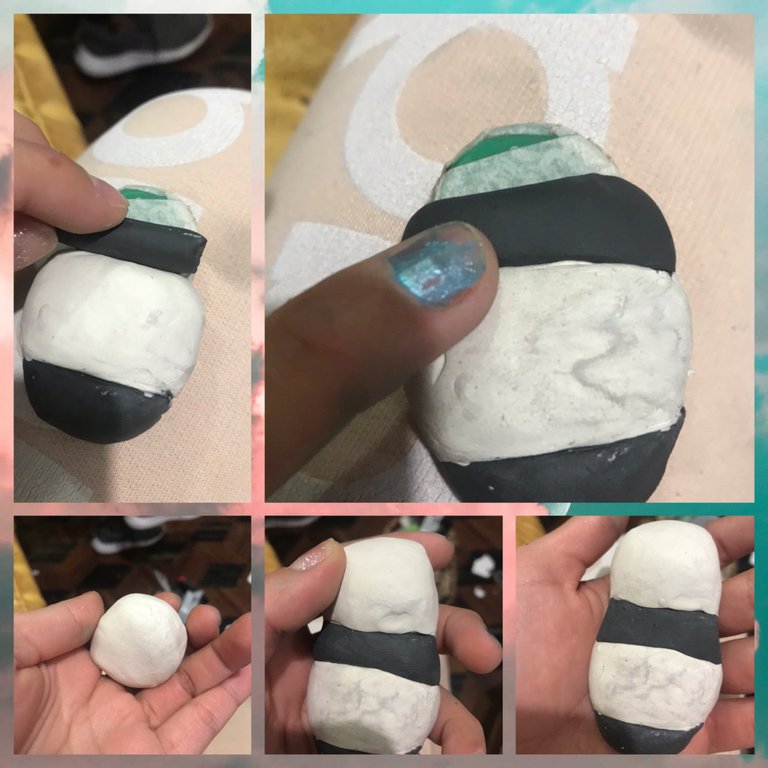
Ahora pondremos otra tira de plastilina negra moldeamos y aremos una bola grande con la plastilina blanca que será para la cabeza, pegamos y moldeamos
STEP 17
Now we will put another strip of black plasticine, mold and make a big ball with the white plasticine that will be for the head, glue and mold
PASO 18
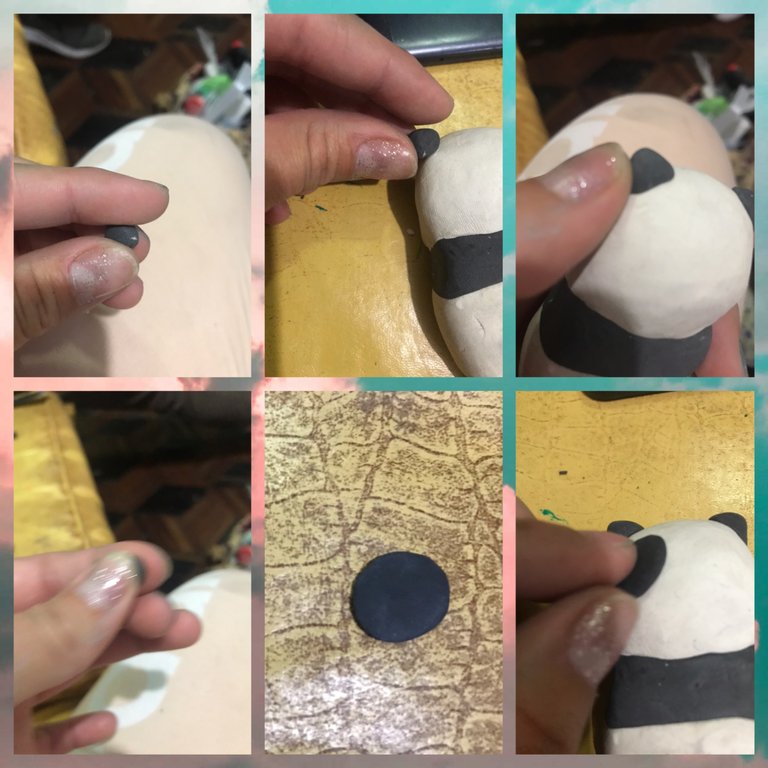
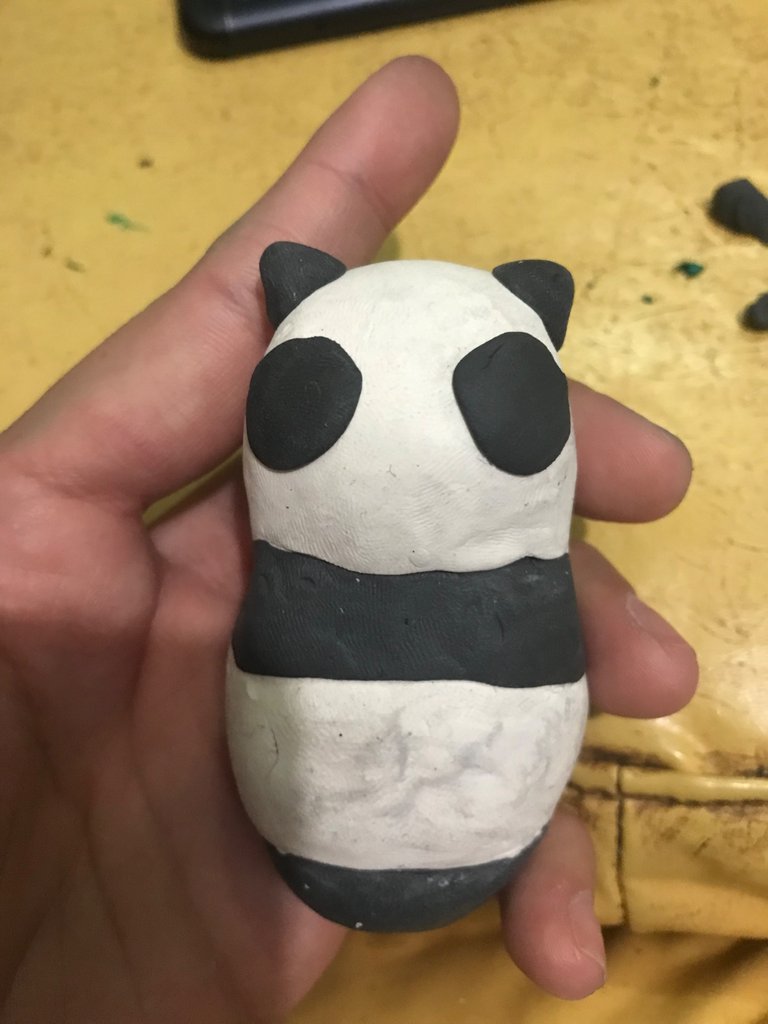
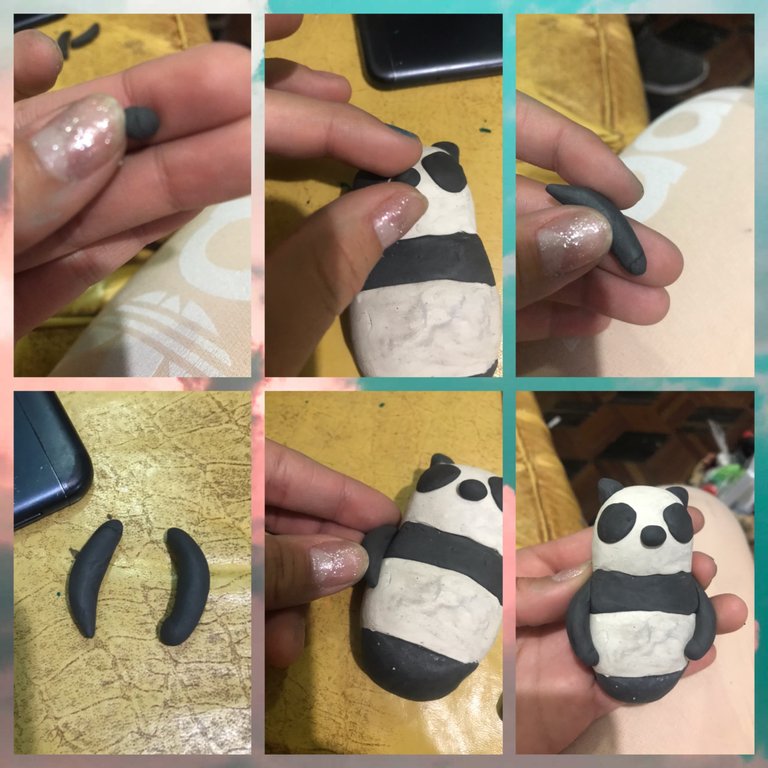
Aremos dos bolitas con la plastilina negra y aremos las orejas de osito y aremos dos círculos para las manchas de los ojos
STEP 18
We will make two little balls with the black plasticine and we will make the ears of the teddy bear and we will make two circles for the eyes spots
PASO 19
Aremos con la plastilina negra una bolita para la nariz pegamos a la cabeza y moldeamos, y también árelos con la plastilina negra los brazos del osito, pegamos al cuerpo y moldeamos
STEP 19
We make with the black plasticine a little ball for the nose, we glue it to the head and mold it, and we also make with the black plasticine the arms of the bear, we glue them to the body and mold them
PASO 20
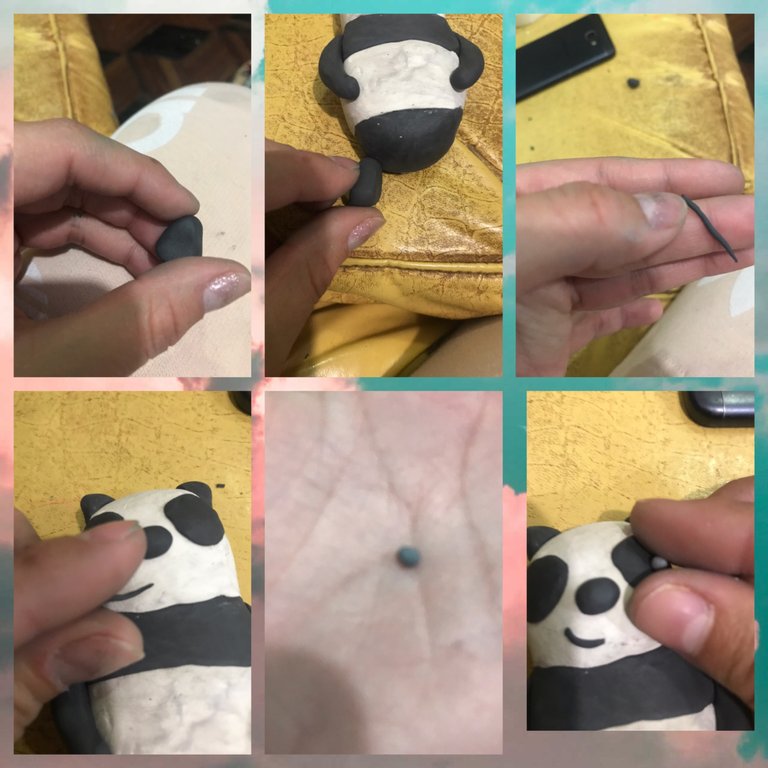
Para finalizar con este osito aremos las patas con la plastilina negra, aremos dos bolitas para los ojos y pegamos a la cabeza y aremos un rollito delgado para hacerle la boca al osito y pegamos
STEP 20
To finish with this bear we make the legs with the black plasticine, we make two little balls for the eyes and we glue them to the head and we make a thin roll to make the bear's mouth and we glue it to the head
PASO 21
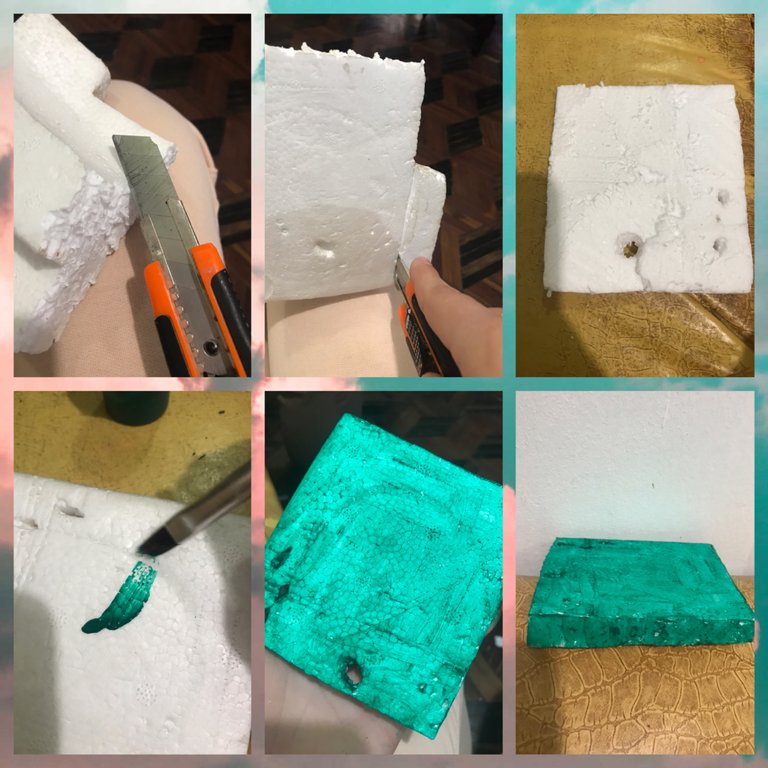
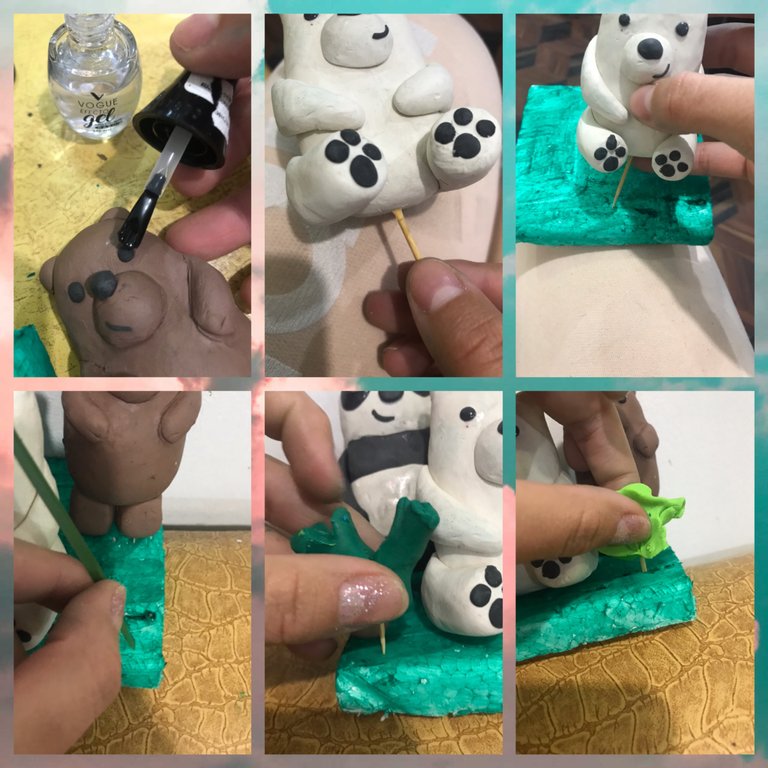
Con el estilete o esacto le damos forma a el anime y pintamos con la pintura verde, dejamos secar por 5 minutos
STEP 21
With the stiletto or stylus we shape the anime and paint it with the green paint, let it dry for 5 minutes
PASO 22
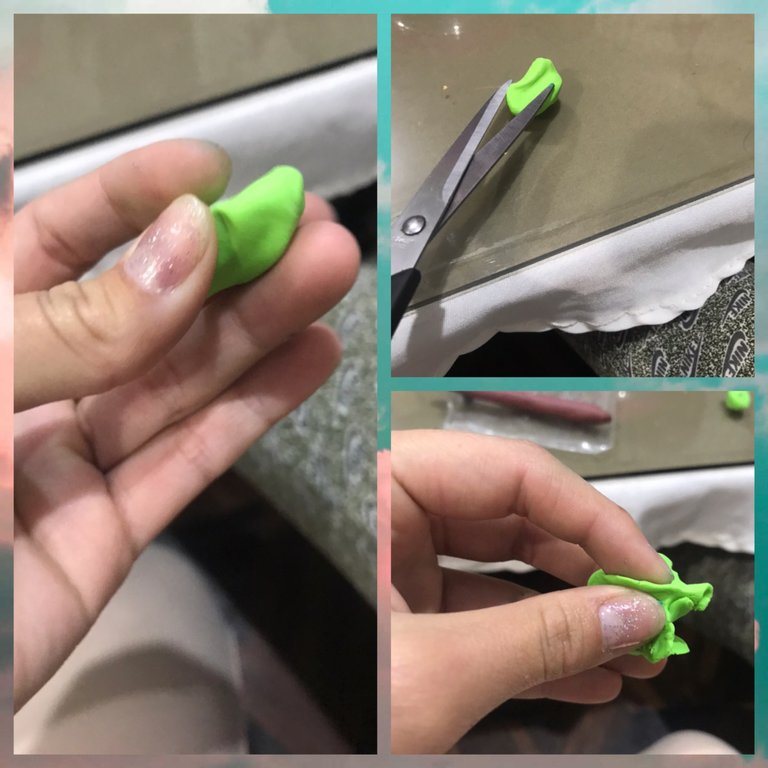
Con la plastilina verde aremos dos bolitas, picamos con la tijera unos picos y les damos forma a las matitas
STEP 22
With the green plasticine we will make two little balls, we will cut with the scissors some peaks and we will give shape to the matitas
PASO 23
Para finalizar le colocamos brillo a los ojos de los ositos, pondremos los palillos de dientes a los tres ositos y pegamos al anime antes pintado, también pondremos los palillos a las matitas pondremos al frente y pondremos unas yervitas por la parte de atrás
STEP 23
To finish we put glitter to the eyes of the bears, we will put the toothpicks to the three bears and glue to the anime painted before, we will also put the toothpicks to the matitas we will put to the front and we will put some yervitas on the back
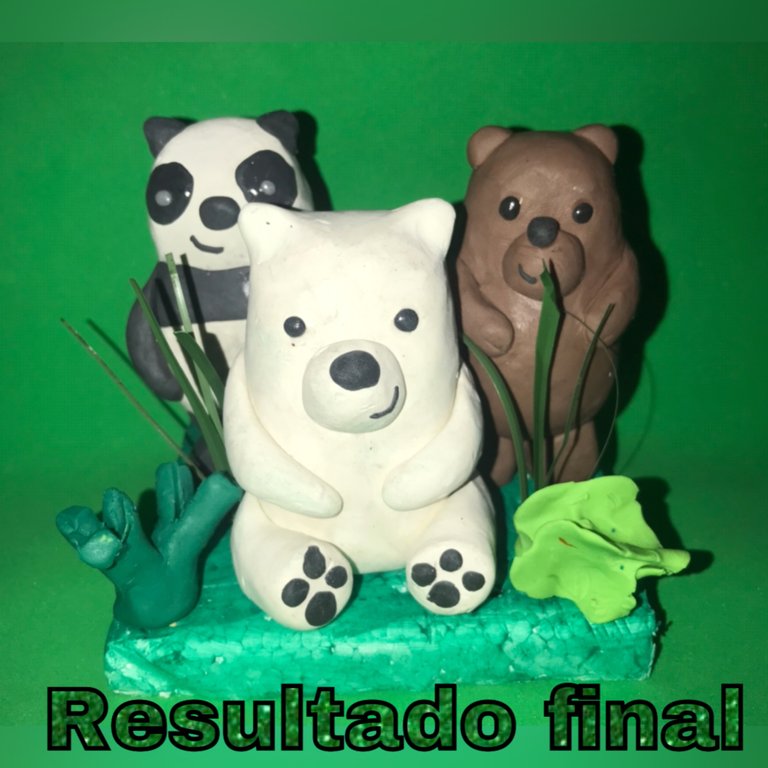
RESULTADO FINAL
FINAL RESULT
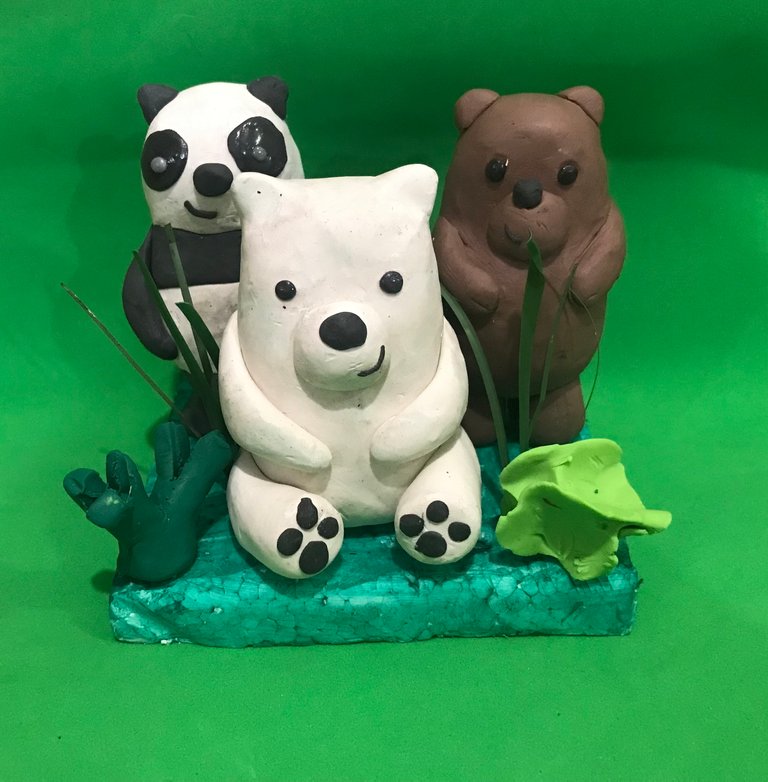
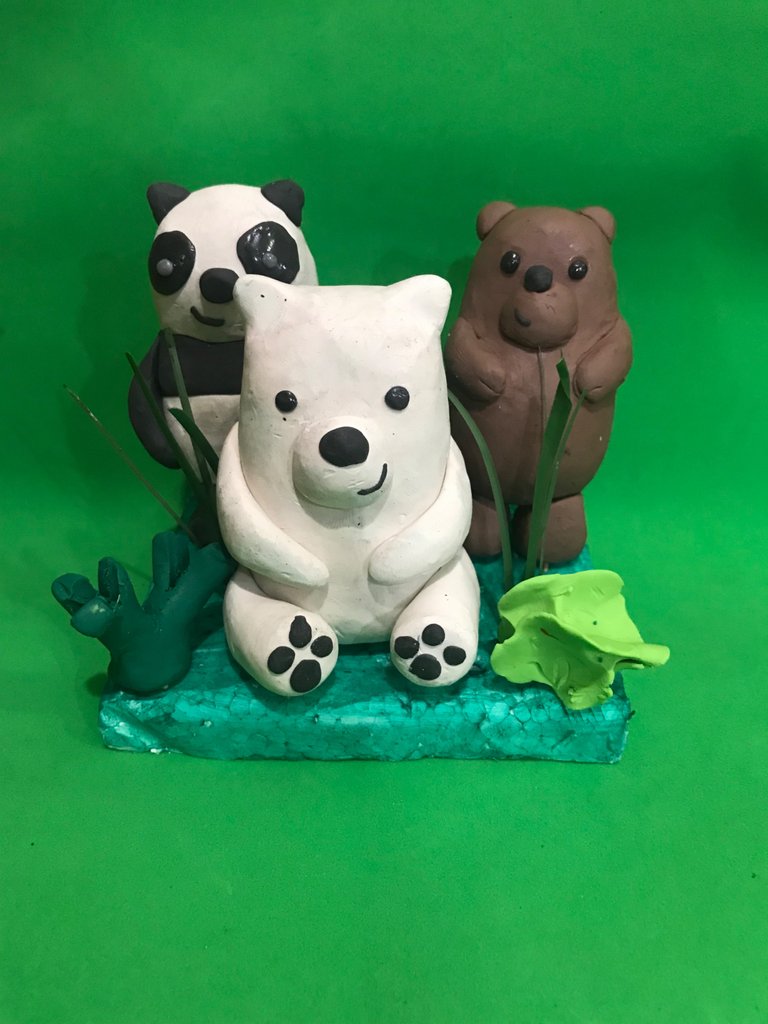
ESPERO Y LES HALLA GUSTADO MIS OSITOS AMIGOS LA VERDAD ES QUE ME SIENTO BIEN PORQUE TENIA COMO 8 AÑOS QUE NO JUGABA CON LAS PLASTILINA Y ESTO FUE COMO UN RETO PARA MI PERO ME GUSTO EL RESULTADO FINAL
I HOPE YOU LIKED MY LITTLE BEARS MY FRIENDS THE TRUTH IS THAT I FEEL GOOD BECAUSE I HAD NOT PLAYED WITH PLASTICINE FOR ABOUT 8 YEARS AND THIS WAS LIKE A CHALLENGE FOR ME BUT I LIKED THE FINAL RESULT