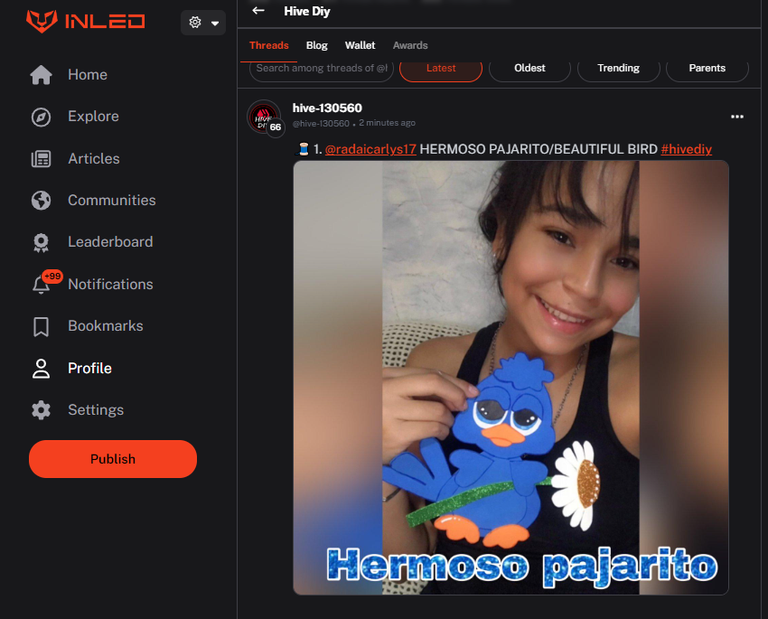
Hola querida comunidad de HIVE DIY un cordial saludo a todos, espero y se encuentren bien con la bendición de Dios hoy estoy con ustedes para mostrarle la elaboración de un hermoso pajarito espero y les guste, les invito a ver el paso a paso
Hello dear community of HIVE DIY a warm greeting to all, I hope you are well with God's blessing today I am with you to show you the elaboration of a beautiful bird I hope you like it, I invite you to see the step by step
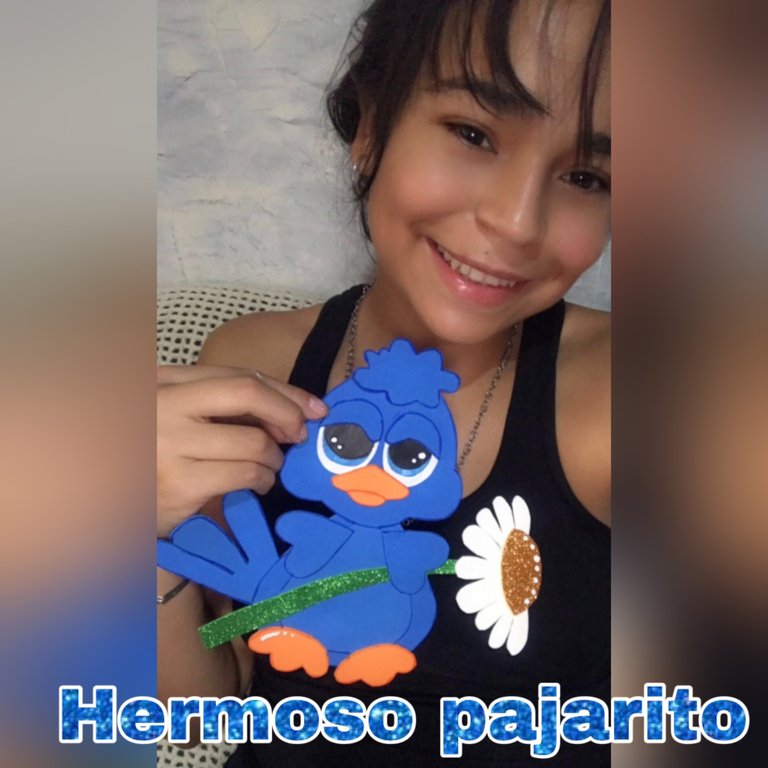
MATERIALES A UTILIZAR
• pistola de silicon
• lápiz
• tijera
• foami azul, naranja y blanco
• foami escarchado amarillo y verde
• patrones del pajarito
• ojos pintados en hoja blanca
**MATERIALS TO BE USED
- silicone gun
- pencil
- scissors
- blue, orange and white foami
- yellow and green frosted foami
- patterns of the little bird
- eyes painted on white sheet
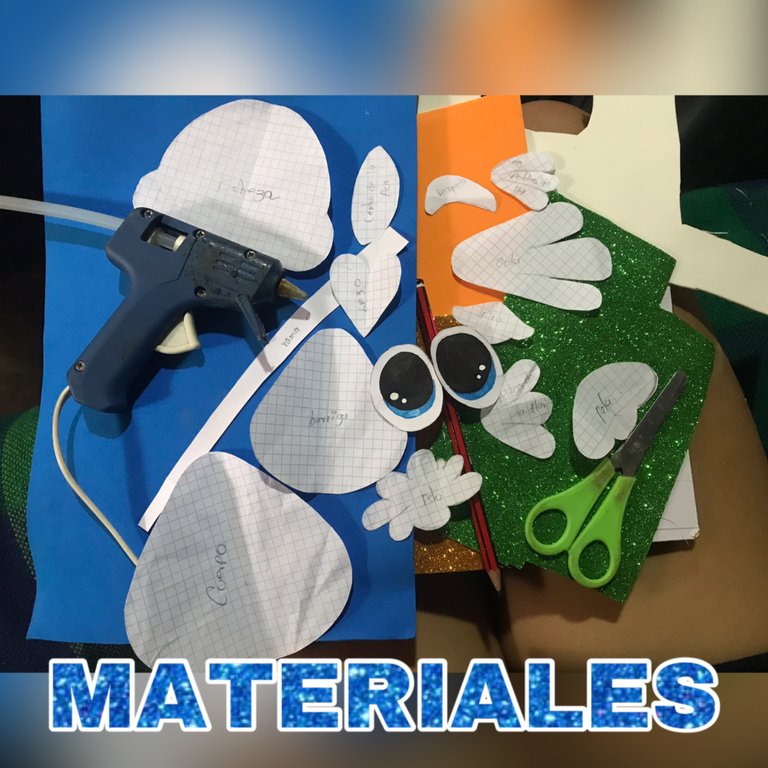
AHORA SI MANOS A LA OBRA
NOW LET'S GET DOWN TO WORK

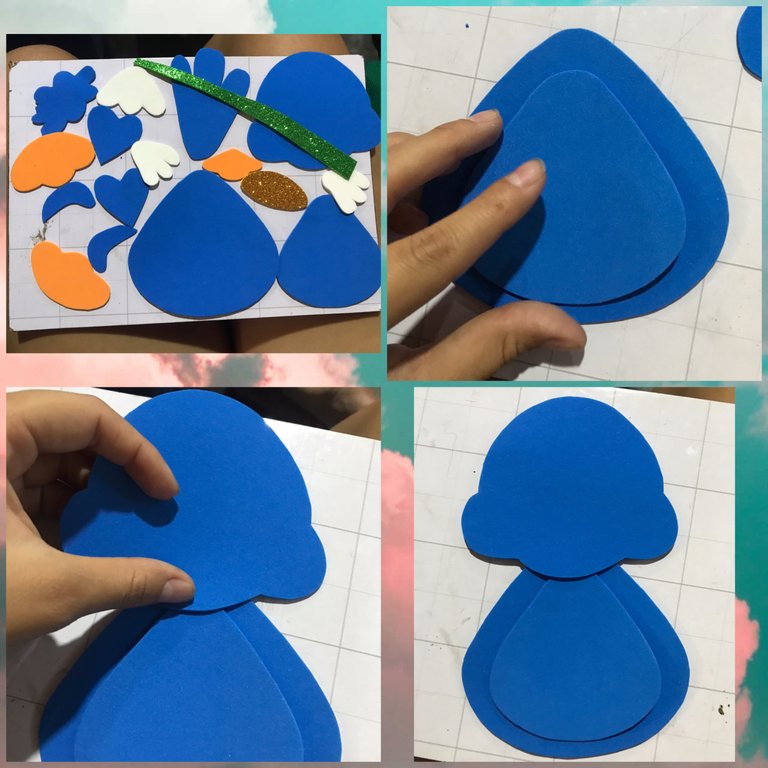
Primero marcamos y recortamos en el foami azul el cuerpo, la cabeza, la barriga, el pelo, brazo, cola y el párpado del pajarito
First we mark and cut out the body, head, belly, hair, arm, tail and eyelid of the bird on the blue foami
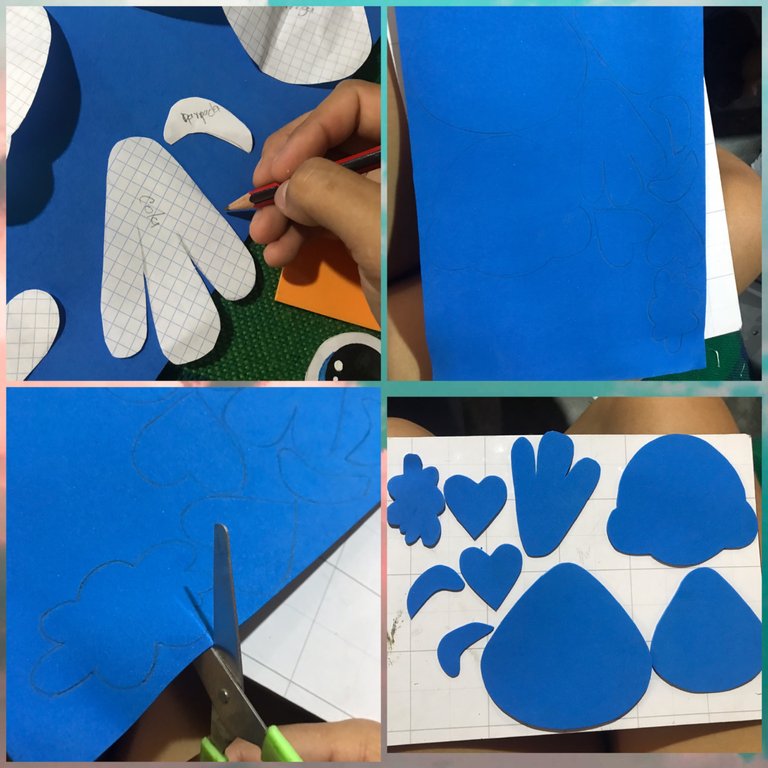
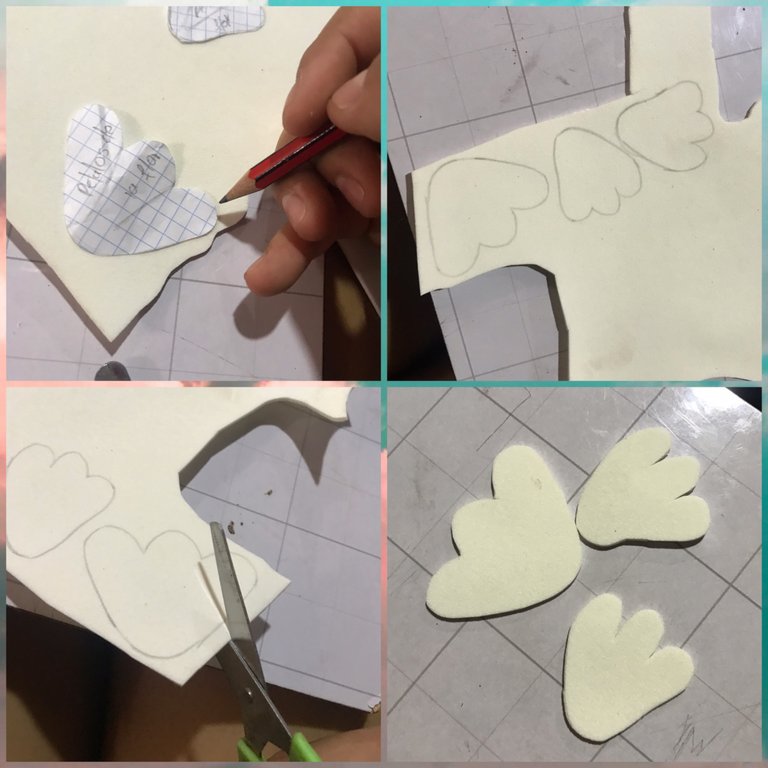
Marcamos y recortamos en el foami blanco los pétalos de la flor
Mark and cut out the flower petals on the white foami
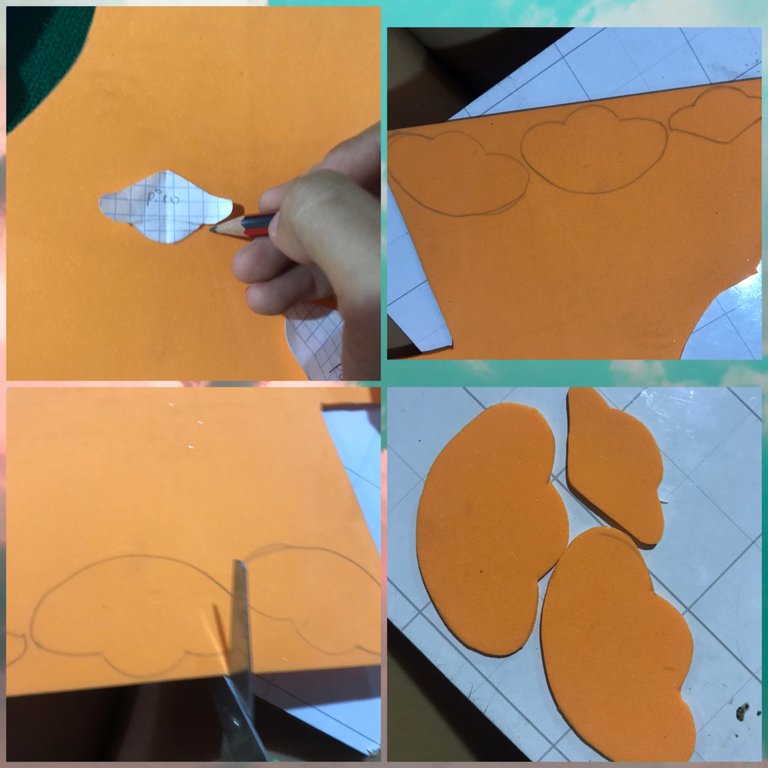
Marcamos y recortamos en el foami naranja el pico y las patas del pajarito
We mark and cut out the beak and legs of the bird on the orange foami
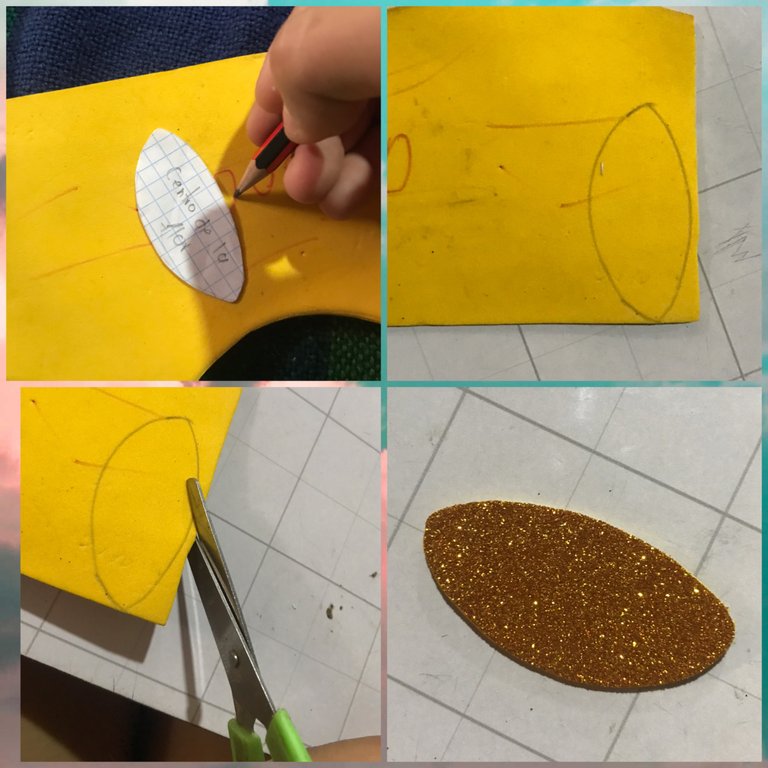
Marcamos y recortamos en el foami escarchado amarillo el centro de la flor
We mark and cut out the center of the flower in the yellow frosted foami
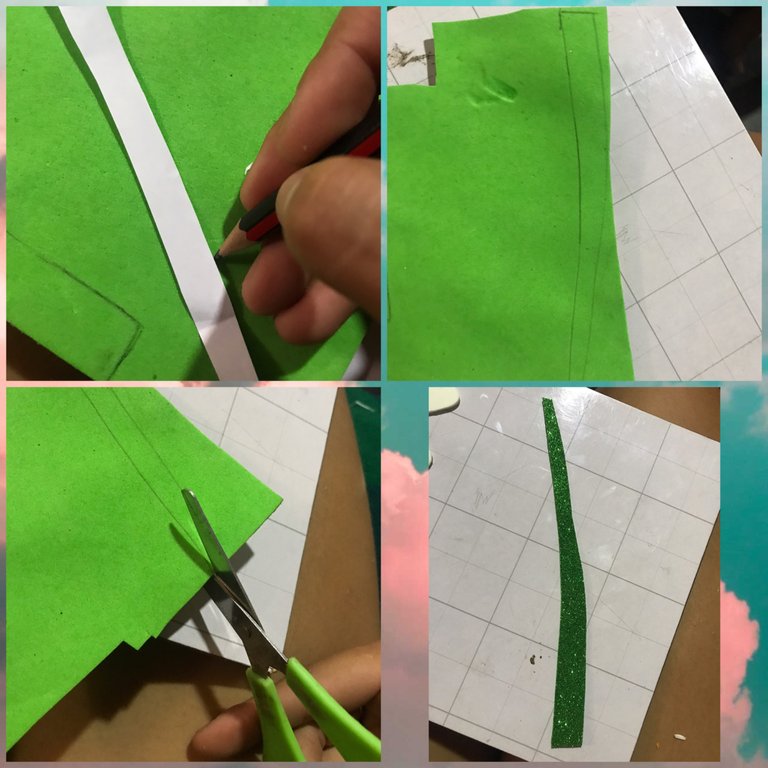
Marcamos y recortamos en el foami escarchado verde el palito de la flor
We mark and cut out the flower stick on the green frosted foami
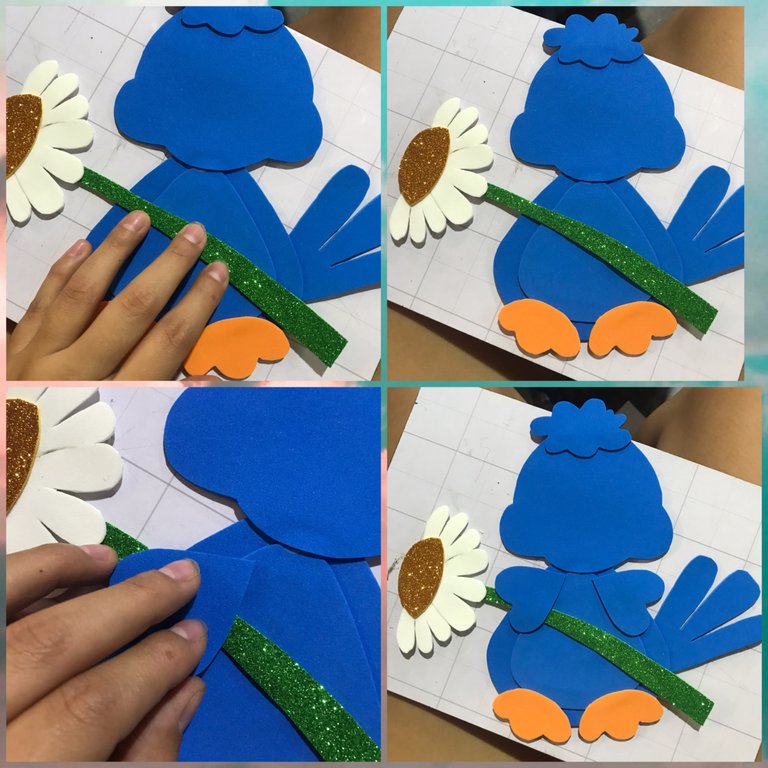
Ya que estén cortados todos los patrones empezamos a pegar la barriga del cuerpo y luego arriba del cuerpo ya armado pegamos la cabeza arriba y así estará completado el cuerpo del pajarito
Once all the patterns are cut, we start gluing the belly of the body and then on top of the body we glue the head on top and the bird's body will be completed
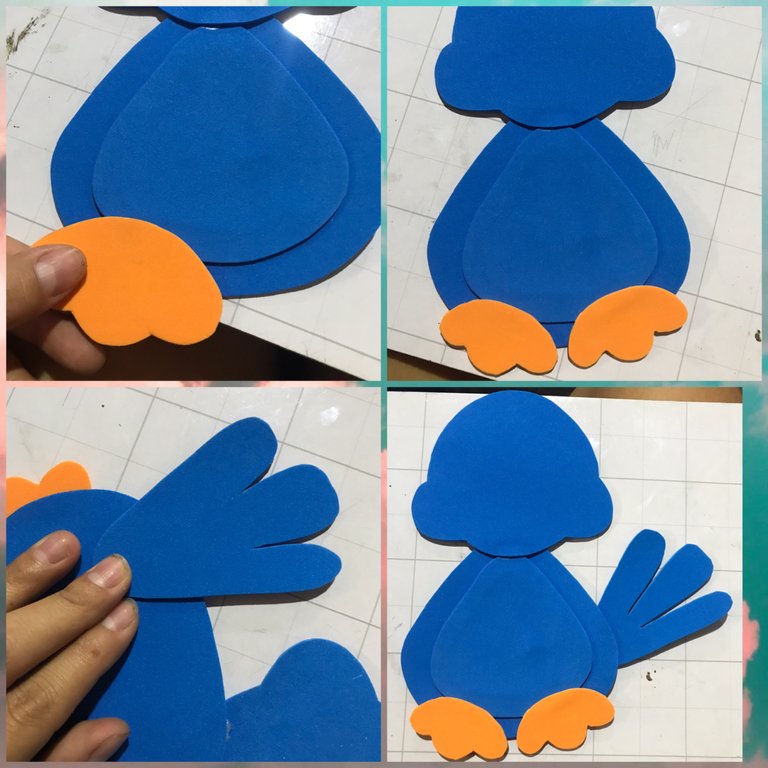
En la parte de abajo del cuerpo pegamos las patas del pajarito y por una esquina del cuerpo pegaremos la colita del pajarito
On the lower part of the body we glue the legs of the bird and on one corner of the body we glue the tail of the bird
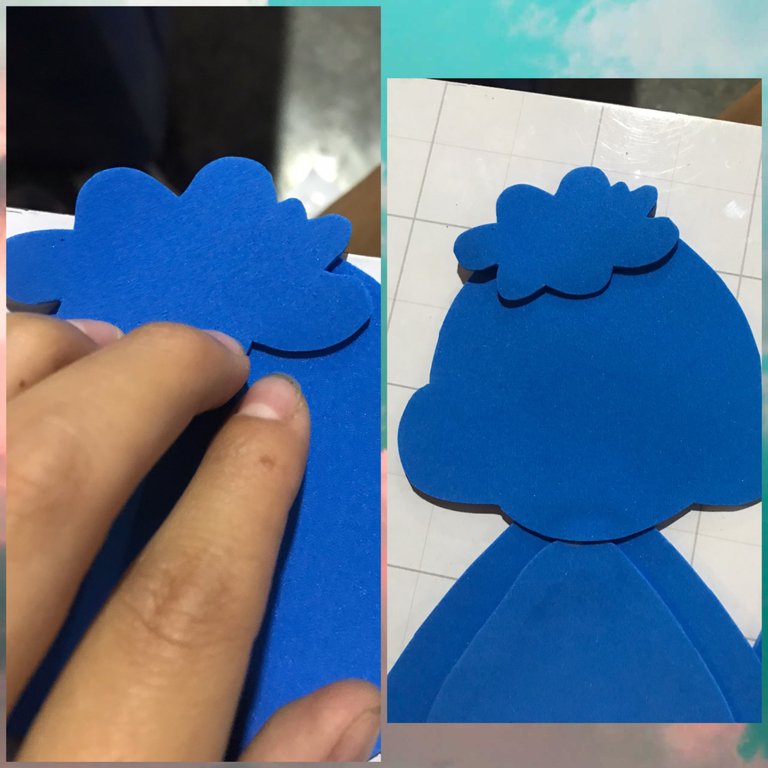
Ahora pegaremos el pelo del pajarito en el centro de la cabeza
Now we glue the bird's hair in the center of the head
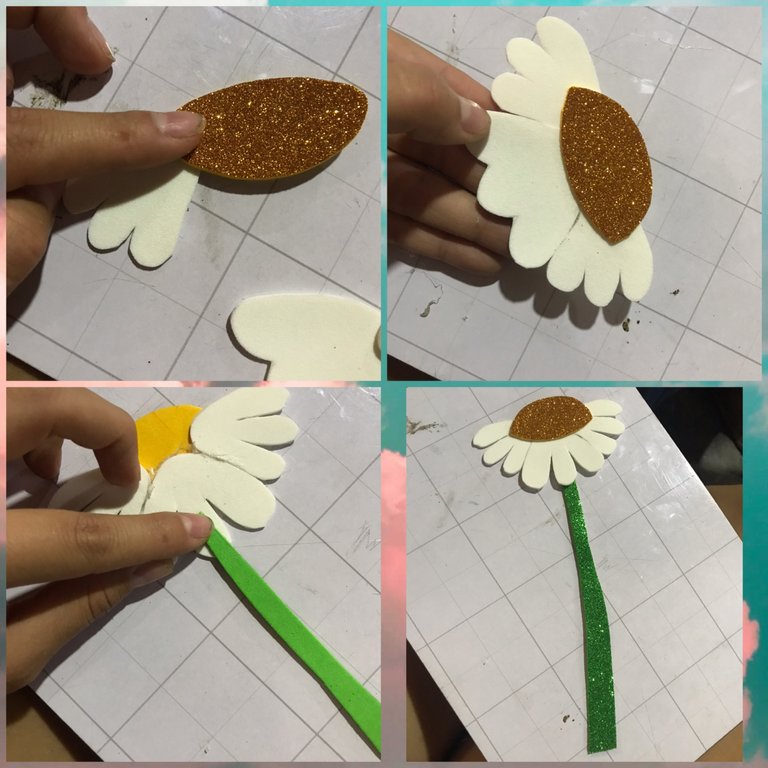
Pegaremos los pétalos de la flor hasta armar la base de la flor, luego arriba de la base que hicimos con los pétalos de la flor pegamos el centro de la flor y para culminar con la flor pegamos el palito en el centro de la flor
We will glue the petals of the flower until the base of the flower is assembled, then on top of the base we made with the petals of the flower we glue the center of the flower and to finish with the flower we glue the stick in the center of the flower
Pegaremos la flor antes armada al cuerpo del pajarito de forma inclinado y luego pegaremos los bracitos del pajarito
Glue the previously assembled flower to the body of the bird at an angle and then glue the little arms of the bird
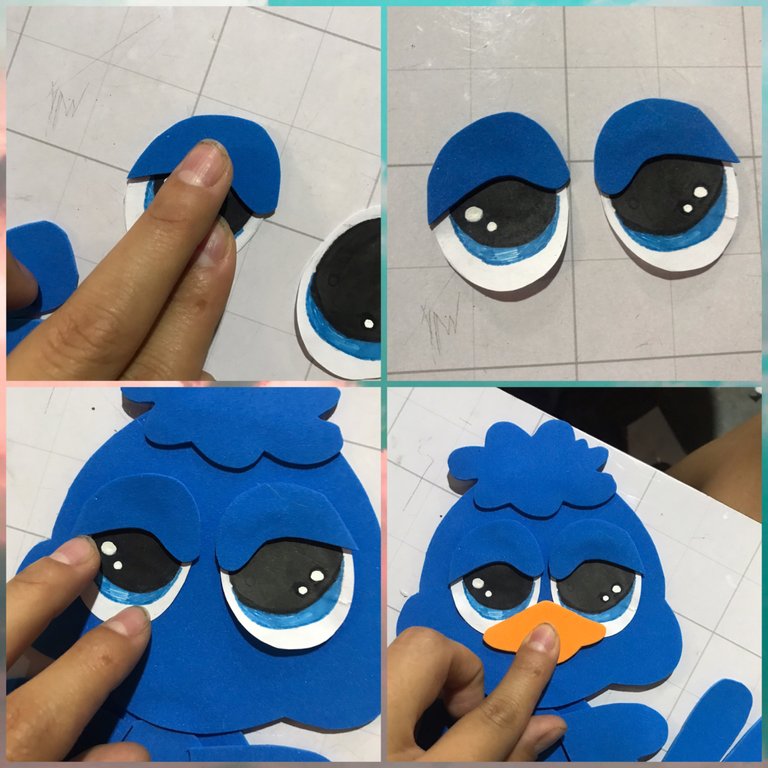
Pegaremos el párpado del ojos al ojo y luego que estén bien pegados, lo pegaremos en la cara del pajarito y luego en el pedio de los ojos de la parte de abajo pegaremos el pico
Glue the eyelid of the eyes to the eye and after they are well glued, glue it on the face of the bird and then glue the beak on the bottom of the eyes
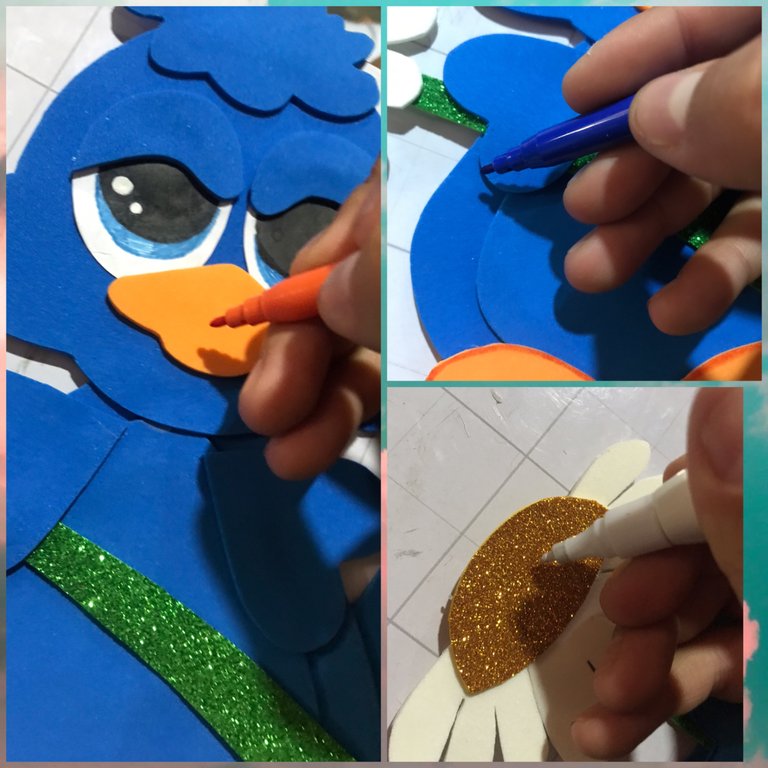
Para finalizar sombreamos todo el pajarito con los marcadores azul y naranja, en la parte que estaba el foami azul se le pasa el marcador azul y en la parte que esta el foami naranja se le pasa el marcador naranja por todos los bordes y con el corrector le aremos unos puntos blancos a la flor en la parte del centro de la flor
To finish, shade the whole bird with the blue and orange markers, in the part that was the blue foami we pass the blue marker and in the part that is the orange foami we pass the orange marker around all the edges and with the corrector we will make some white dots to the flower in the center of the flower
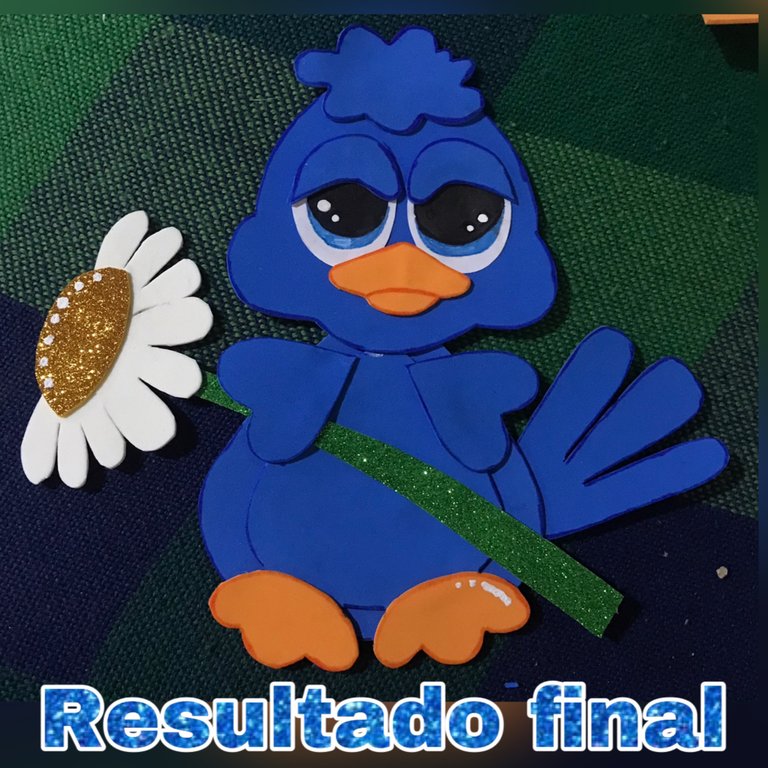
AHORA SI LES MUESTRO EL RESULTADO FINAL
I NOW SHOW YOU THE FINAL RESULT
ESPERO Y LES HALLA GUSTADO MI TRABAJO AMIGOS HASTA LA PRÓXIMA OPORTUNIDAD Y QUE DIOS LOS BENDIGA SIEMPRE
I HOPE YOU LIKED MY WORK AND I HOPE YOU LIKE MY WORK FRIENDS UNTIL THE NEXT OPPORTUNITY AND MAY GOD BLESS YOU ALWAYS


