😊Hello There!
I was chatting with @leeendah, a fantastic nft artist [you should definitely check out her work] a few days ago. Prior to it, I could only draw in a sketchbook with pencils [graffiti and some Disney characters for fun]. We're all aware that the world has gone digital, and I wanted to learn more about it. So, returning to Leendah, I asked her for a good software application for novices that I might use to create something. I tried drawing with a mouse in Photoshop, but it was too difficult for me. I prefer to Collage images and make something out of them.
She then suggested an app which I could do on my phone. Then there was the fact that I required a stylus pen to draw with, which I lacked. And that's how this article came to be. Visited a link on YouTube and voilà! Handmade Stylus pen/S pen Using a pencil | Nishant Kashyap I found a way to make my own stylus pen.
But, before I got too excited, I did some research online to see how much a stylus pen would cost, and it turned out to be pretty expensive, even after factoring in the shipping fee and the number of days it would take to arrive. Why pay a retailer when I can do it myself, I reasoned. As a result, I was inspired to give it a shot, and I'm thrilled to share it with you as a 5-year-old.
Do you or your kids need a stylus pen? Is your stylus pen broken, spoilt, or missing? Worry not, as I will be sharing with you how I made my stylus pen in under 5 minutes. I suppose I'm a decade late to this "invention", but you never know what works or doesn't work online, so I had to give it a shot. With just 6 items, which you can find around the house or the neighbors😁, So, with no further ado, let's get into it.
📝ITEMS YOU'LL NEED📝
| 1) | A WRITING PEN | 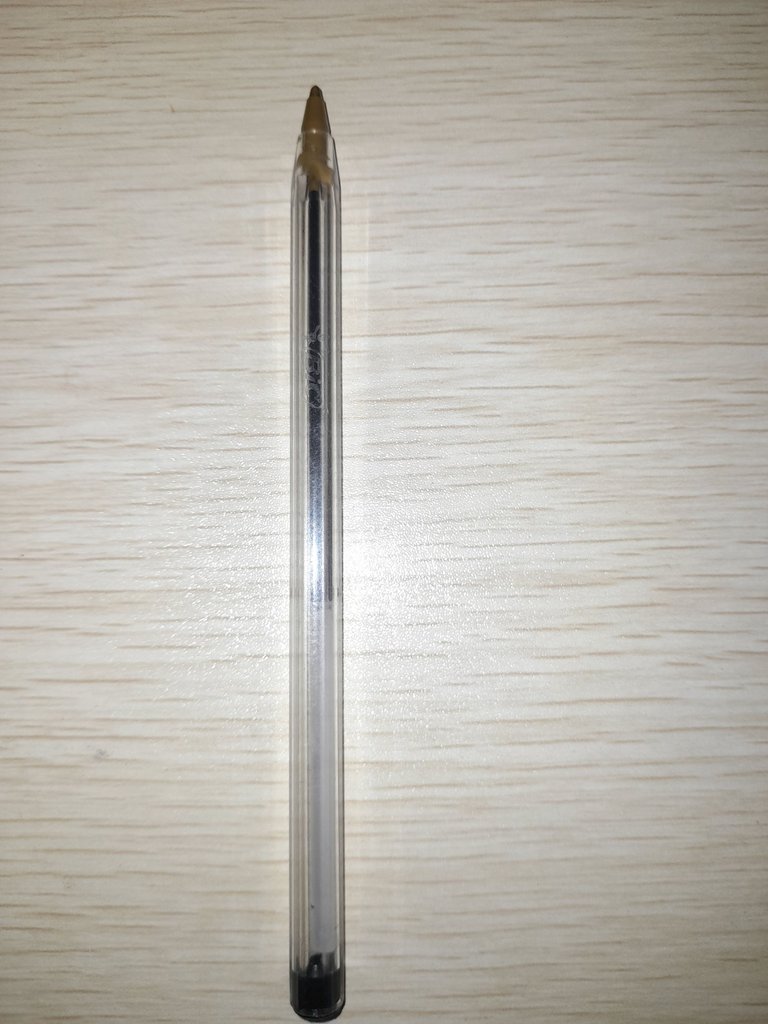 |
| 2) | A CELLOTAPE | 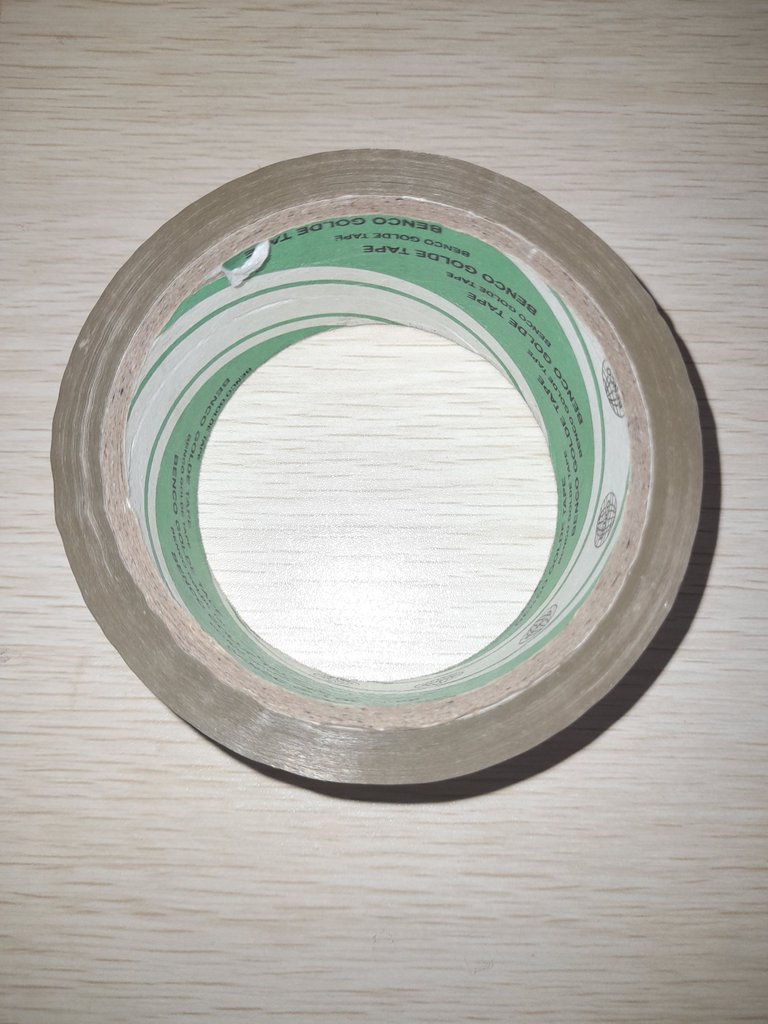 |
| 3) | COTTON SWAB/Q-TIP/EAR BUDS | 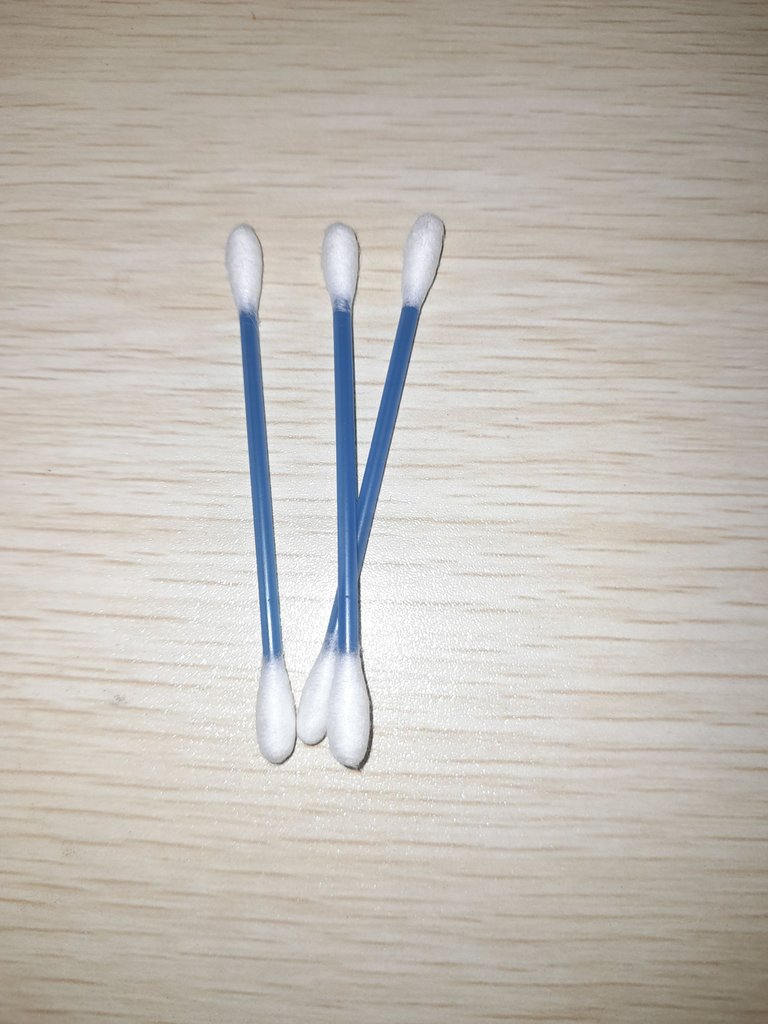 |
| 4) | SCISSORS |  |
| 5) | FOIL PAPER | 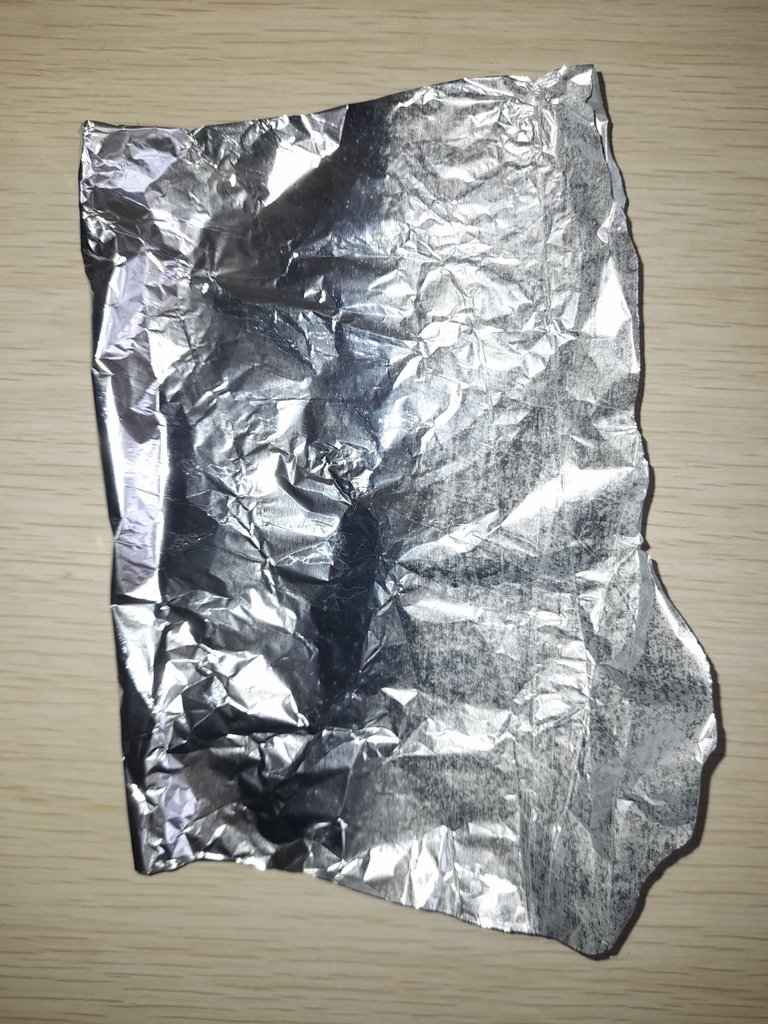 |
| 6) | WATER IN BOWL | 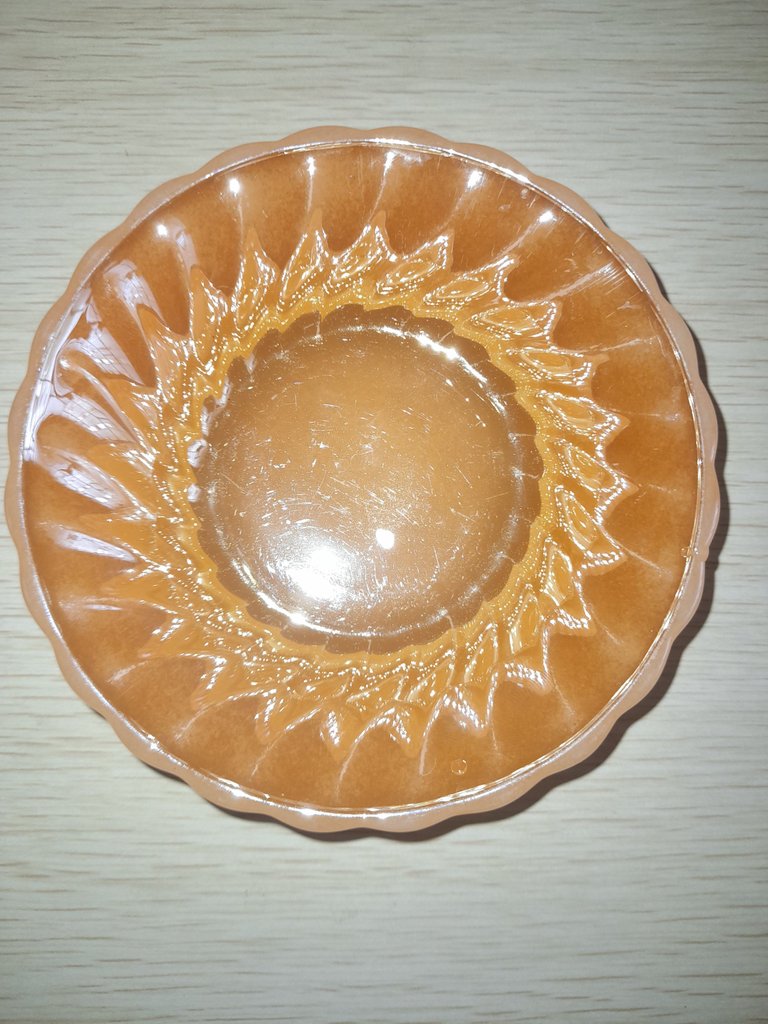 |
🗜EASY STEP BY STEP GUIDE🗜
👉The first thing you'll need to do is remove the ink from the pen case. Then, using the scissors, cut your q-tip or earbud into halves, depending on the mouth of the pen, cut on a slant so it fits in.
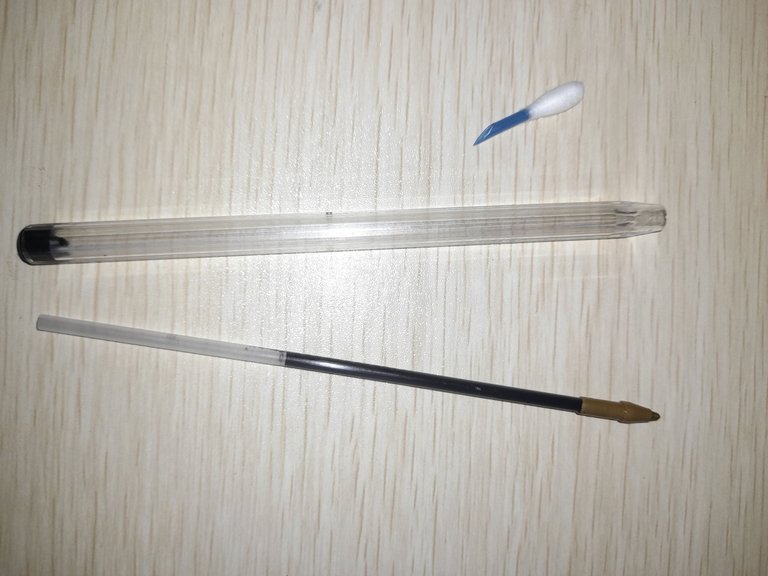
👉 The next thing is for you to insert the q-tip into the mouth of the pen case. Give it a gentle twist so it holds.
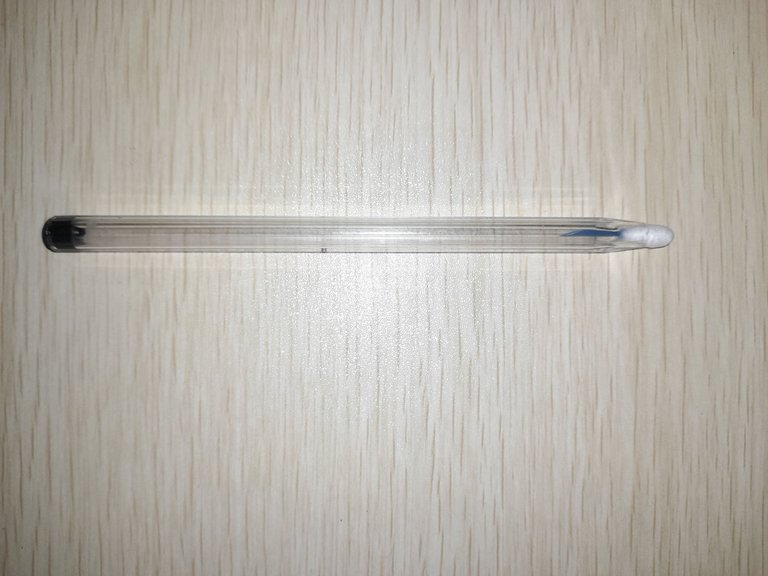
👉Now you cut out the Cello-Tape and gently wrap it around the q-tip/earbud and mouth of the pen to secure it nicely.
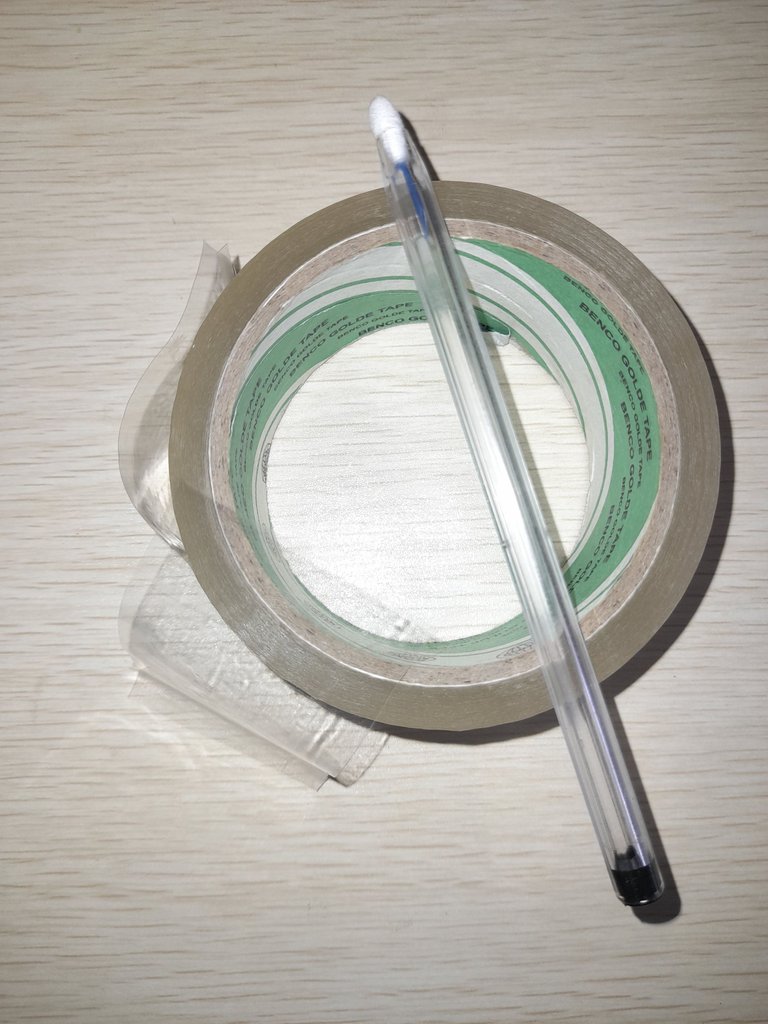
👉Cut a small rectangular piece of aluminum foil [or simply a strip] with the scissors and wrap it around the neck of the q-tip/earbud and pen. Make sure the foil is securely wrapped around the q-tip/earbud and the pen.
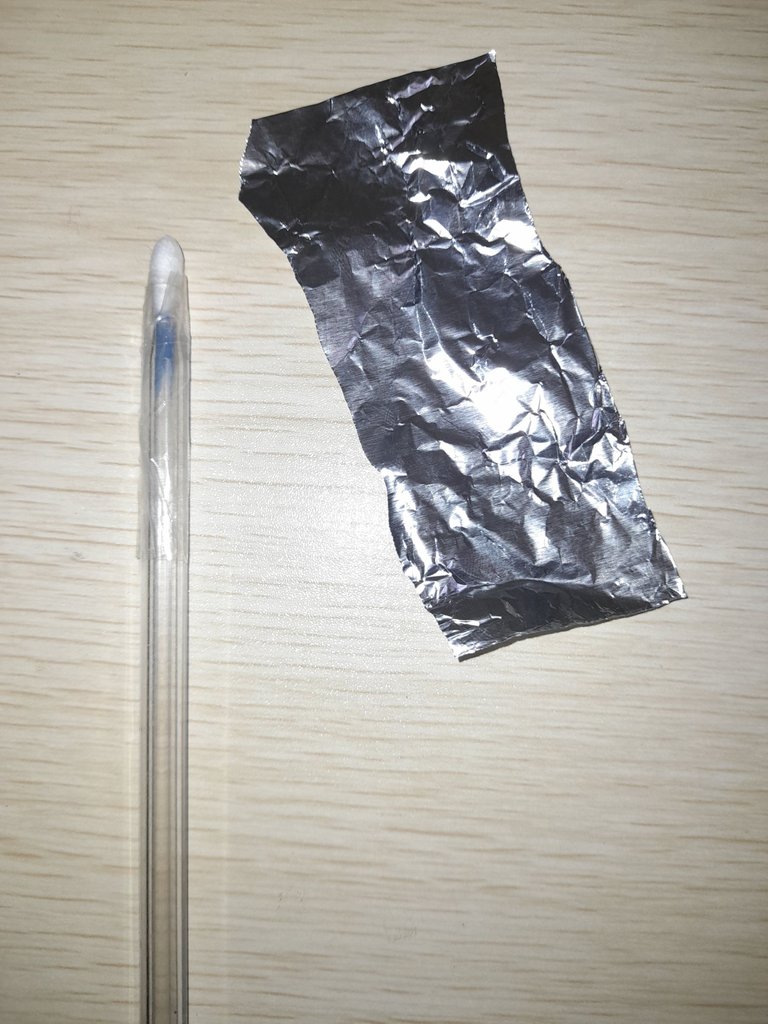
👉Then cut out another piece of Cello-Tape, and secure the foil to the pen just beneath.
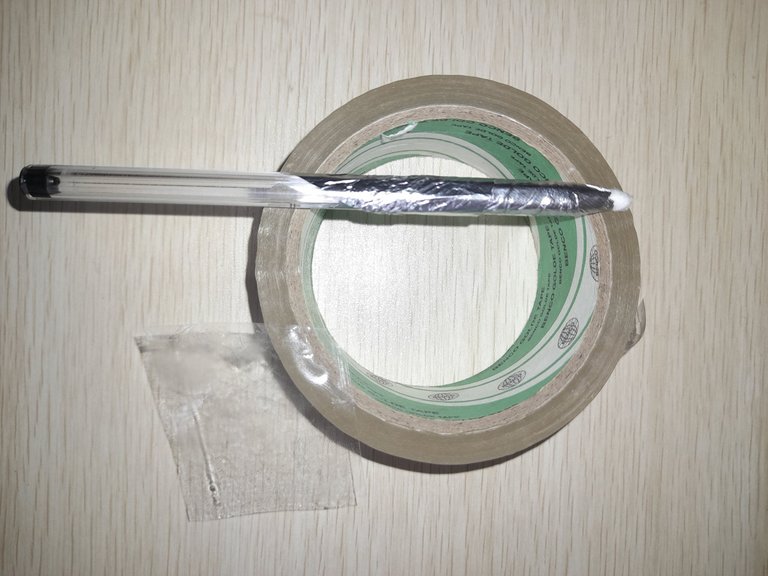
👉Make sure the foil is wrapped around the cotton of the q-tip/earbud, because the static charge from your finger must pass through the foil, onto the q-tip/earbud, and then to the screen of your phone or iPad for this to work, [yeah, I understand a little physics😂].
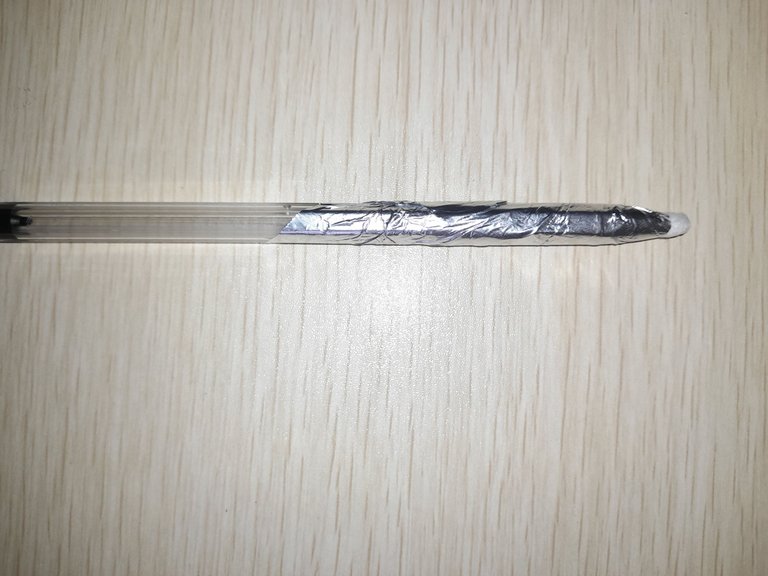
👉That's all there is to it! You have a stylus pen of your own. You can decorate with colored tape, flowers, and other items, but this adds to the cost. The goal is to save money, so let's concentrate on that.😆
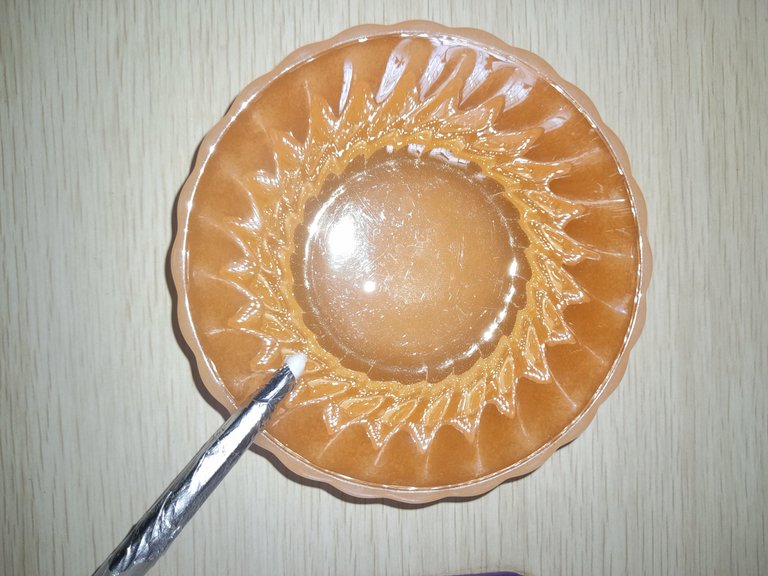
👉Now the last step is to just use your finger to touch a little of the water and dab on the q-tip of your now stylus pen, don't dip it in water, just little to keep the q-tip/earbud moist-almost dry please😅. It is not meant to be wet, spill or leave marks on your phone. Water is a good conductor, so adding a dab will keep it conductive.
👉And with this, you can use your stylus pen immediately. Just make sure your finger is always touching the foil and keep the tip abit moist once dried out otherwise it wouldn't work.
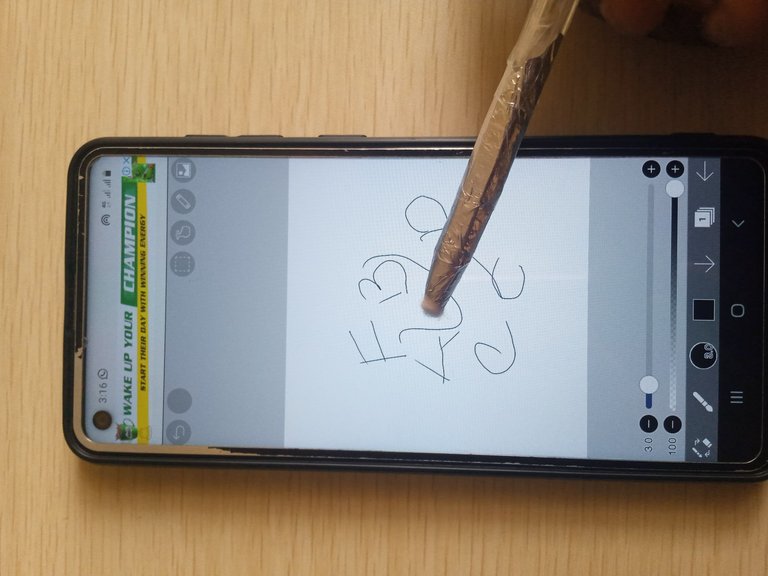
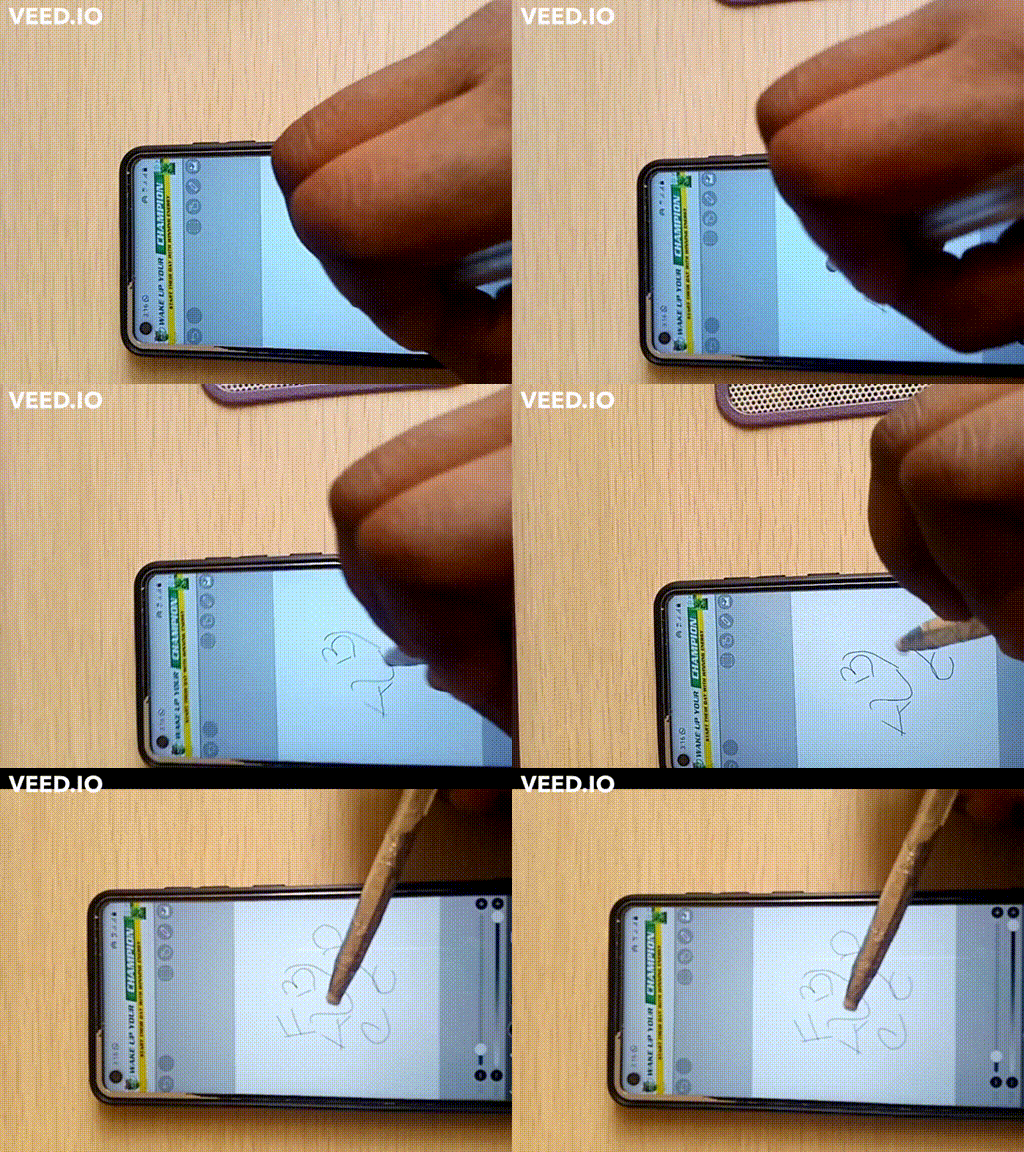
On any smartphone or iPad or tablet, you can use the stylus pen to perform almost anything. It's a universal stylus pen that you made yourself.
Every child, in my opinion, needs to have their own stylus pen. It will be fantastic to teach while bonding with children or students whether you are a parent or teacher. For me, I'm going to use this to get started on my drawing right away. I hope you had as much fun with this little #DIY as I did.


queenstarr ©2022


