A week ago, my son was sent an activity to do at home with materials that we had here, so as not to spend anything.
The activity was to make a kind of tourist guide of our community. If we didn't have pictures, we would have to make an allegorical drawing.
It was very interesting because I realized how little I know my town and this activity was a discovery of many places and at the same time, remember the ones I have already visited.
As I commented, a tourist guide had to be made and we were told that what had to go in that guide was:
*Mention:
- Four sports centers
- Four churches
- Four architectural monuments
- Four parks
- Four squares
- Four social clubs
- Four nightclubs
- Four hotels
- Four cultural or natural spaces
- Four shopping centers
It's amazing how little I knew about my community. I felt sorry for being such a socially inactive person.
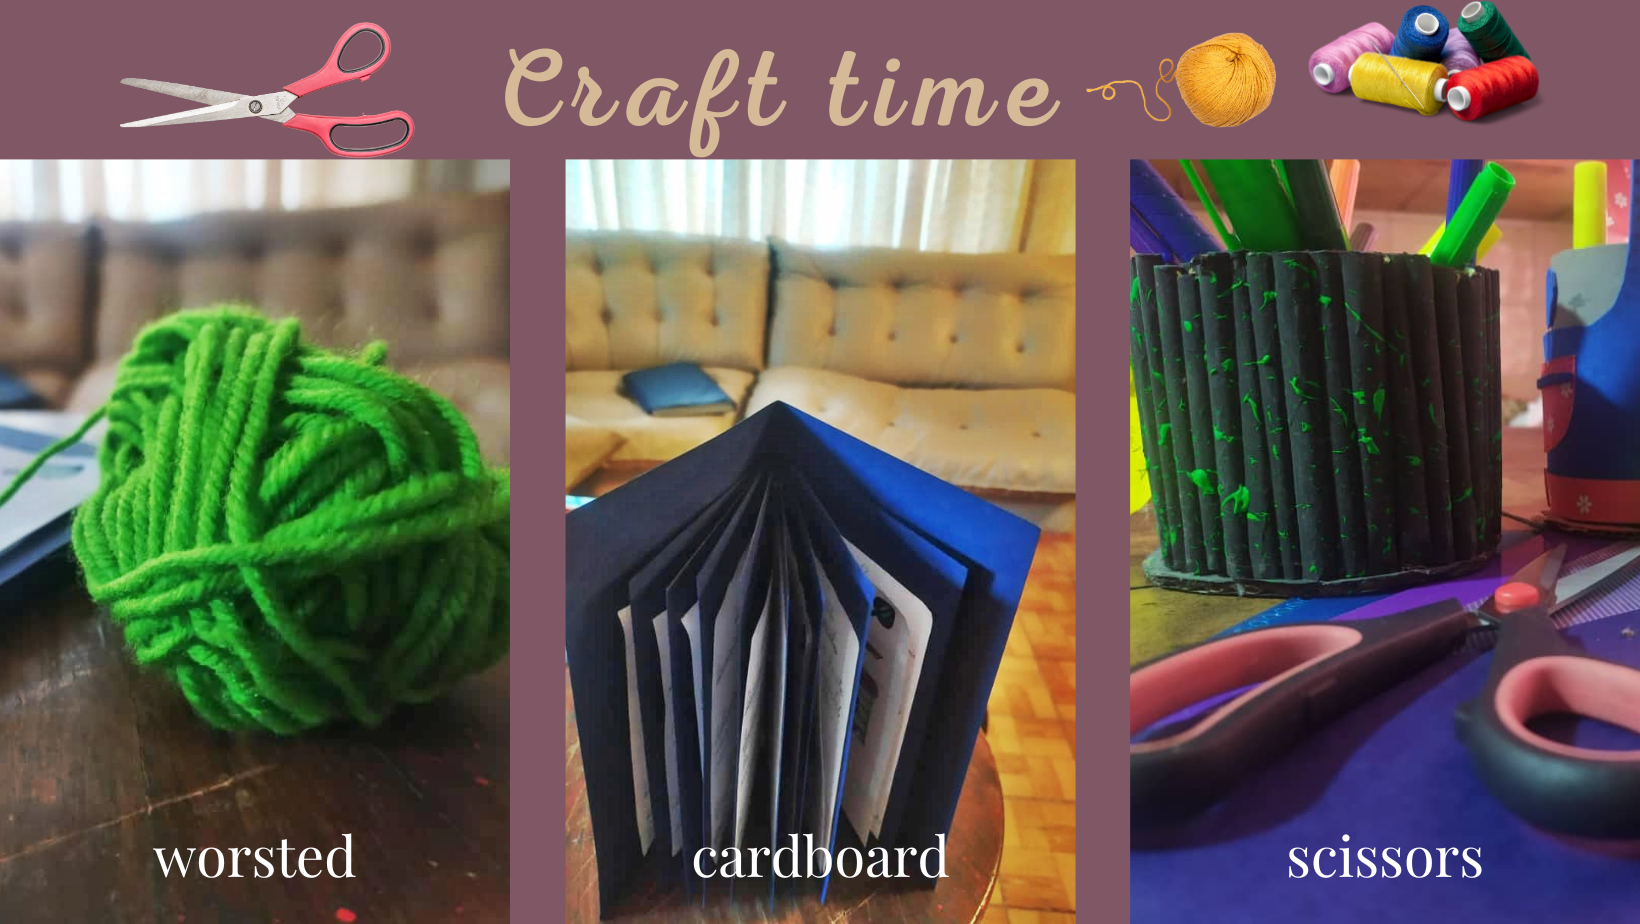
Materials used:
Scissors
Cardboard
Sheets of paper
Glue stick
Worsted


! [ESPANISH]
Hace una semana, le mandaron una actividad a mi hijo para realizar en casa con materiales que tuviésemos aquí, para no gastar en nada.
La actividad trataba de realizar una especie de guía turística de nuestra comunidad. Si no teníamos fotografías, tendríamos que hacer un dibujo alegórico.
Resultó muy interesante porque me di cuenta de lo poco que conozco mi municipio y esta actividad fue un descubrimiento de muchos lugares y al mismo tiempo, recordar los que ya he visitado.
Como comenté, había que realizar una guía turística y nos dijeron que lo que debía ir en esa guía era:
*Mencionar:
- Cuatro polideportivos
- Cuatro iglesias
- Cuatro monumentos arquitectónicos
- Cuatro parques
- Cuatro plazas
- Cuatro clubes sociales
- Cuatro centros nocturnos
- Cuatro hoteles
- Cuatro espacios culturales o naturales
- Cuatro centros comerciales
Materiales utilizados:
Tijeras
Cartulinas
Hojas de papel
Pegamento en barra
EstambreEs increíble lo poco que sabía de mi comunidad. Me dio pena ser una persona tan poco activa socialmente.
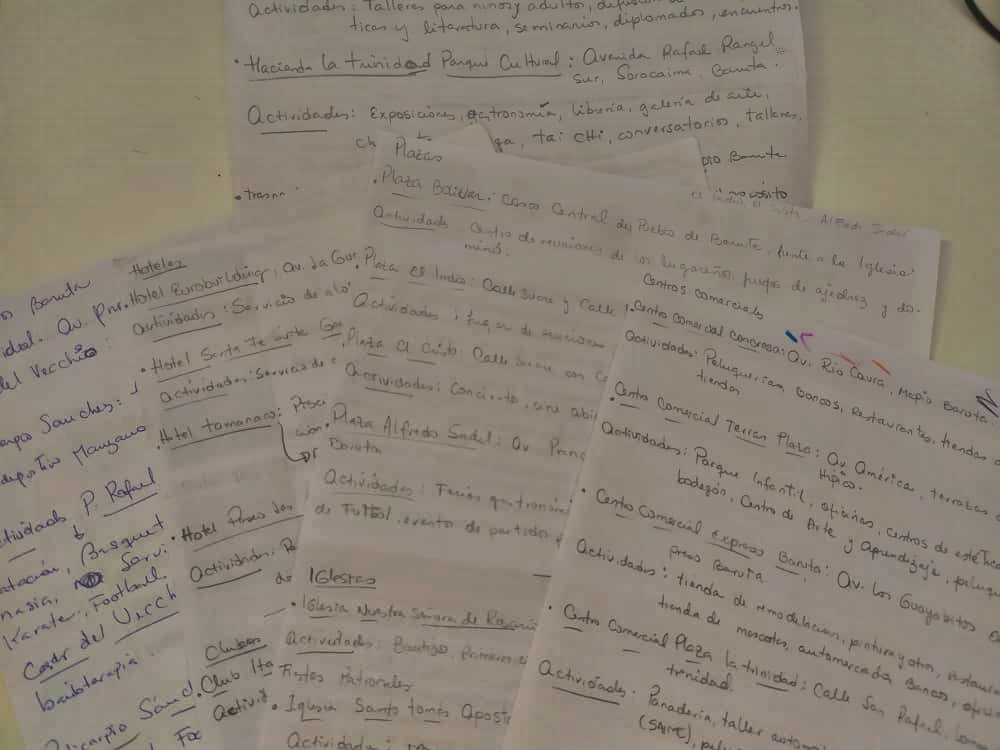
The first thing we did was to fold 5 white sheets of paper into four equal parts. My son cut them while I searched the internet for the first task, which was to find the four sports centers in the municipality. For each one, we had to get the exact address and mention the activities that take place there. It was an ant's work, but as I love writing, we decided that this was the best way to divide the work. He would draw and I would look for the information.


! [ESPANISH]
Lo primero que hicimos, doblar 5 hojas blanca tamaño carta en cuatro partes iguales, para crear una especie de folleto informativo. Mi hijo las cortó mientras yo buscaba en internet la primera tarea, que era conseguir los cuatro polideportivos del municipio. A cada uno de los rubros, había que conseguir la dirección exacta y mencionar las actividades que allí se realizan. Era un trabajo de hormiguita, pero como me encanta escribir, decidimos que esa era la mejor manera de dividirnos el trabajo. Él dibujaba y yo, buscaba la información.
After completing the information in each of the brochures, I thought about how I could bind all the information and it occurred to me to take some dark blue cardboard that a friend had given me years ago. I had several of them. So what I had to do was to mark three centimeters on the top, with a yellow (or white) crayon and four on the side, and then cut them with scissors, cut them in half and then fold them, as you will see below:
! [ESPANISH]
Después de completar la información en cada uno de los folletos, pensé cómo podría hacer para encuadernar toda la información y se me ocurrió coger unas cartulinas de color azul oscuro que me había regalado hace años, un amigo. Tenía varias de ellas. Así que lo que debía hacer era marcar tres centímetros en la parte de arriba, con un crayón amarillo (o blanco) y cuatro en el lateral, para después cortarlas con unas tijeras, a la mitad y luego doblarlas, de la forma que verás a continuación:


Once this was done and the information on each booklet was completed, we proceeded to put glue stick on each one on the back side only and glue each one carefully in the center of each cardboard so that the drawing and information could be seen perfectly. Like this:
! [ESPANISH]
Una vez hecho esto y completada la información de cada folleto, procedimos a colocar pegamento en barra en cada uno de ellos por la parte de atrás solamente y pegar cada uno con cuidado en el centro de cada cartulina para que se pueda ver perfectamente el dibujo y la información. Así:


We already had each booklet perfectly glued on the cards. Now what we had to do was to take another blue cardboard without cutting it in half. We took the same cardboard because that's the one we had. You can choose another color or create a more beautiful and original one using your imagination.
We cut a couple of holes in the cardboard with the hand punch, as well as in each booklet. Take a look:
! [ESPANISH]
Ya teníamos cada folleto perfectamente pegado en las cartulinas. Ahora lo que debíamos hacer era coger otra cartulina azul sin cortarla a la mitad. Cogimos otra cartulina igual porque es la que teníamos. Tú puedes escoger otro color o crear una más bonita y original usando tu imaginación.
A cartulina le abrimos un par de orificios con la perforadora manual, así como también lo hicimos a cada folleto. Mira:


You may ask, what is the worsted for?
The idea is to pass it through all the holes we made with the hand punch, both in the large cardboard and in each of the booklets, to keep them together. First they would be made at the top and then, at the bottom. You start at the back side and incorporate each one of the booklets through the same top part. Afterwards, take the other end of the yarn and proceed to do the same process at the bottom:
! [ESPANISH]
Te preguntarás, ¿Para qué es el estambre?
La idea es pasarlo por todos los orificios que hicimos con la perforadora manual, tanto en la cartlina grande, como en cada uno de los folletos, para mantenerlos unidos. Primero se harían por la parte superior y luego, por la parte inferior. Se comienza por la parte trasera y se van incorporando cada uno de los folletos por la misma parte superior. Posteriormente, se coge el otro extremo del estambre y se procede a realizar el mismo proceso por la parte inferior:


Once this is done, both ends are tied together. The green color was chosen because it represents the color of our mayor's office logo.
! [ESPANISH]
Una vez hecho esto, se amarran ambos extremos. El color verde lo escogimos porque representa el color del logo de nuestra alcaldía.


The last step was to make the cover. We came up with the idea of making it the same as the logo of our mayor's office.
Considering that this cover was made by a 13-year-old kid, it wasn't bad, was it?
It looked like this:
! [ESPANISH]
El último paso, era hacer la portada. Se nos ocurrió hacerla igual al logo de nuestra alcaldía.
Tomando en cuenta que esta portada fue realizada por un chiquillo de 13 años, no quedó mal, ¿verdad?
Quedó así:


And this was the final result. It is a simple job, but we have to take care of every detail, especially because we are creating a tourist guide of our community, for my son's school, on which depends his grades for this first school term:
! [ESPANISH]
Y este fue el resultado final. Es un trabajo sencillo, pero hay que cuidar cada detalle, sobre todo porque estamos creando una guía turística de nuestra comunidad, para el colegio de mi hijo, de lo cual depende sus calificaciones de este primer perído escolar:


We hope you liked our team craft work.
! [ESPANISH]
Esperamos que les haya gustado nuestro trabajo de manualidades en equipo.
The cover was made with Canva.
The materials are recycled materials.
The photographs are our own, as well as the creativity.
The research was done via internet, in the different portals of the municipality.
The translator used was DeepL, free version.
! [ESPANISH]
La portada fue hecha con Canva.
Los materiales son materiales de reciclaje.
Las fotografías son propias, así como la creatividad.
La investigación fue realizada vía internet, en los distintos portales del municipio.
El traductor utilizado fue DeepL, versión gratuita.


