Last Tuesday, I received my first finished products! I expected them this week, so I was surprised and excited that they were ready at that time already. They are far from being perfect, but I'm so proud of myself anyway. I have always dreamt of doing something artsy, but this was the first time that I finally got to do it, and having your own finished products in hand is an amazing feeling.
The process is long and complicated, but it is so worth it. After creating the dishes on the pottery wheel we let them dry for a week. Then we carve them using again the pottery wheel and special tools, and let them dry once more. Once they are ready for firing they are placed in a kiln and fired at 1200 degrees Celsius for 8 hours. They have to cool down completely before removing them from the kiln, and then they are ready for glazing.
I was so nervous as I had no idea which colours to use and how the products will look like. Did you know that the liquid glaze look very different to how it will actually look after firing? So I've tried to combine some colours, did some layering as well and loved how it turned out. The glaze is finely ground minerals mixed with water. When you glaze fired products they absorb the water and the minerals stay on the surface. Once dried, they are fired in the kiln again, but this time at 900 degrees Celsius. The minerals melt and create coating, either shiny or matted depending on the glaze that you use. I used shiny glaze, but will try the matted one on another products as well.
Let's see what I created!
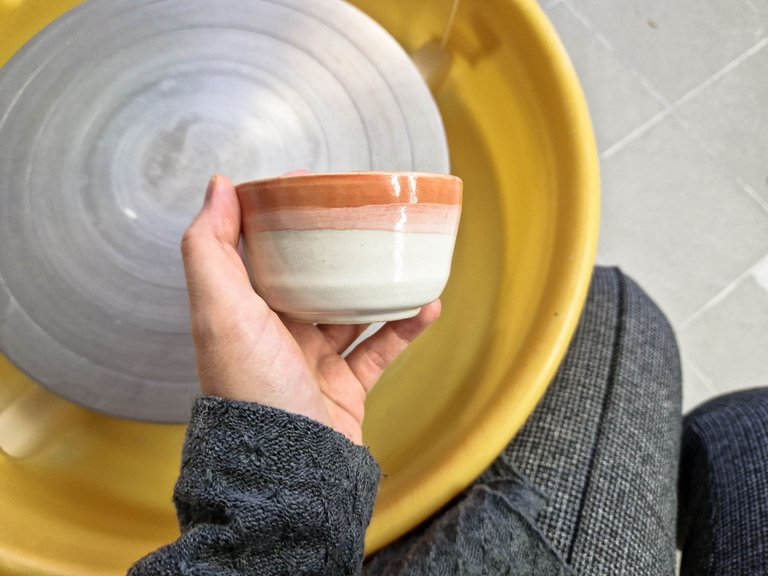
This dish was dipped in red, and then in white to create this pinkish shade. I left the edge red to make it more interesting. Inside it is red as well.
Small dishes are difficult to glaze as it's complicated to hold them in the liquid without them slipping and falling into the bucket or without your fingers touching the surface and creating stains. I think that this was the most complicated part of the process for me.
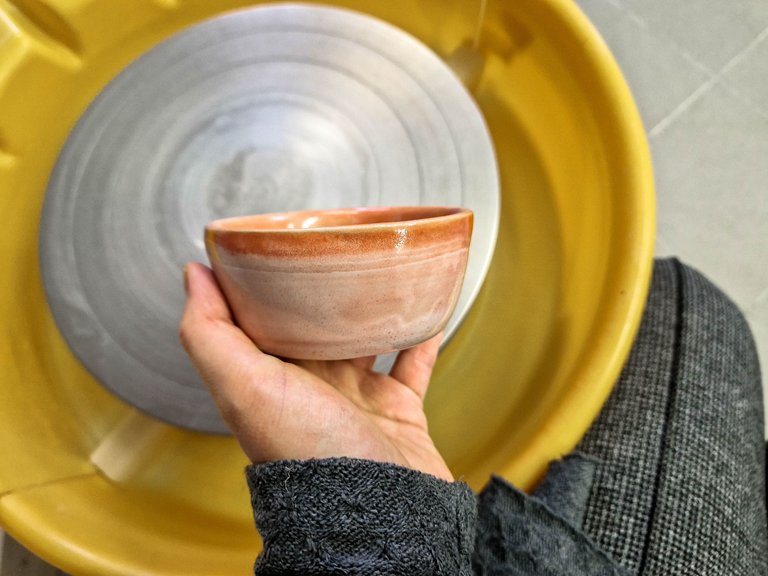
Here I reversed the process and dipped it first in white and then twice in red - the more coating the deeper the colour. I tried to create an ombre effect, but it requires a bit more work 😊
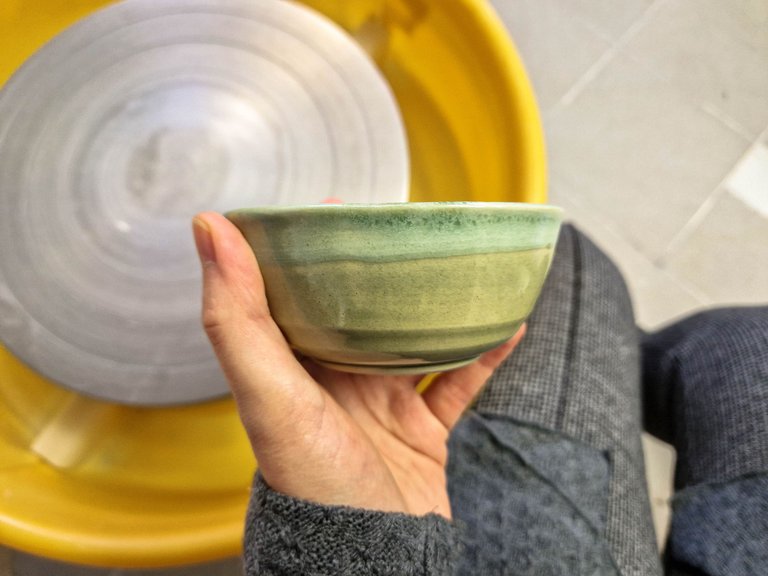
The base glaze on this one is called olive. Green is my husband's favourite colour and he loves olives, so I made this dish specifically for that purpose. Bottom of the dish is olive and I added a coating of white on top to make it lighter green.
It's really not too bad 😊 I wanted to gift them, but then I decided that I will keep and gift the next batch. Unfortunately, it won't be ready by Christmas as we'll be travelling and I won't be able to pick them up on time, but I will use another occasion to make my family and friends happy (hopefully)
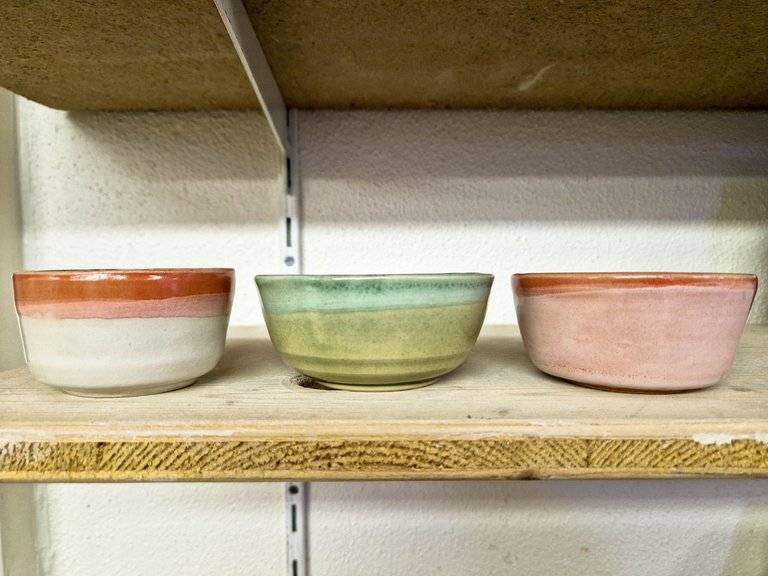
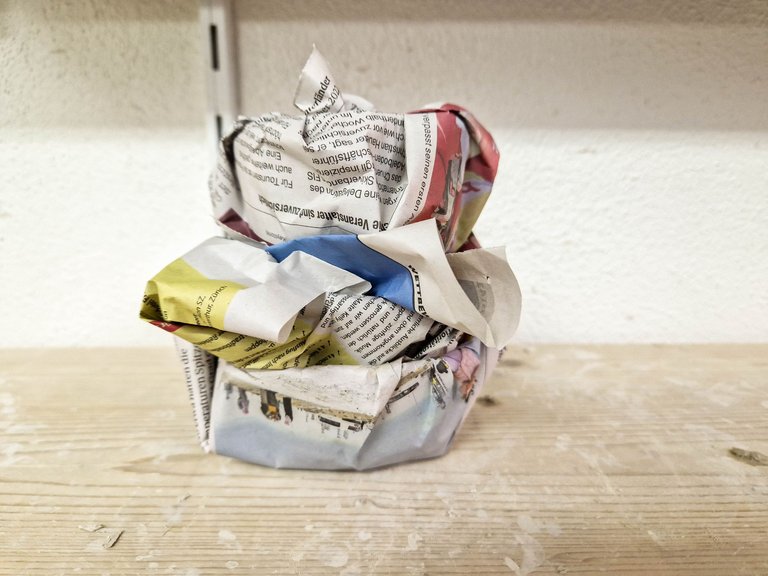
And prepared dishes wrapped in old newspapers ready to take home...
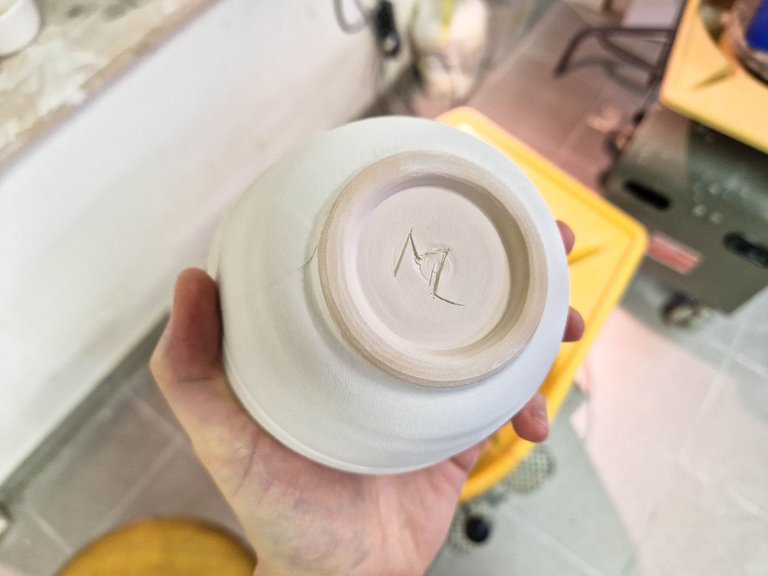
I have also some more photos of the process from last week. This is the dish after its first firing. I went carefully over the entire surface with my finger, and cleared imperfections with sand paper. Even now I can still hear that horrible sound, and sense the nasty feeling on my fingers from sanding.
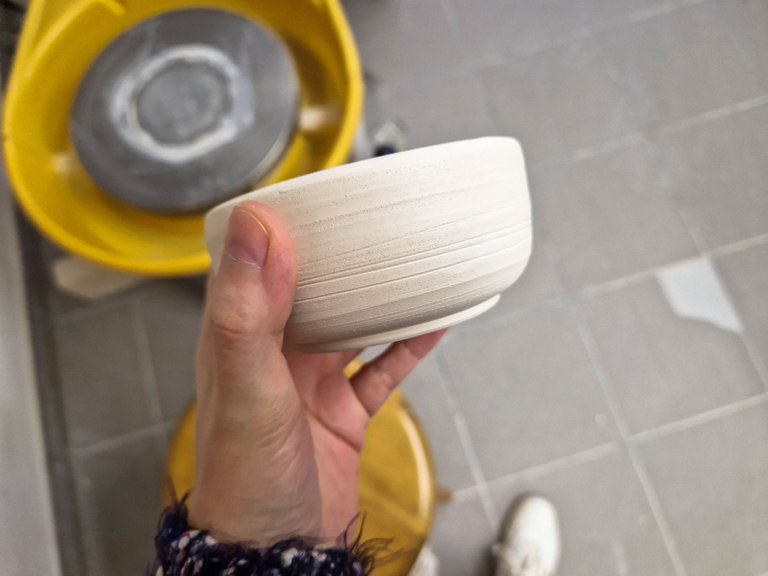
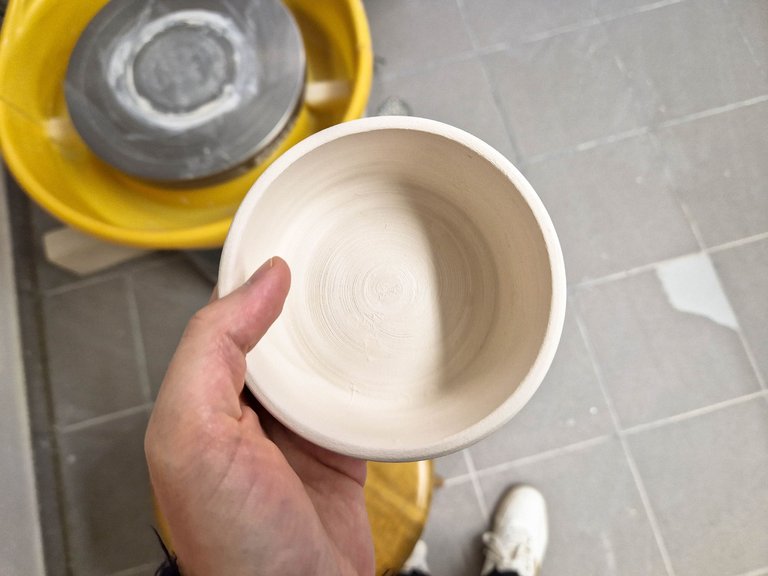
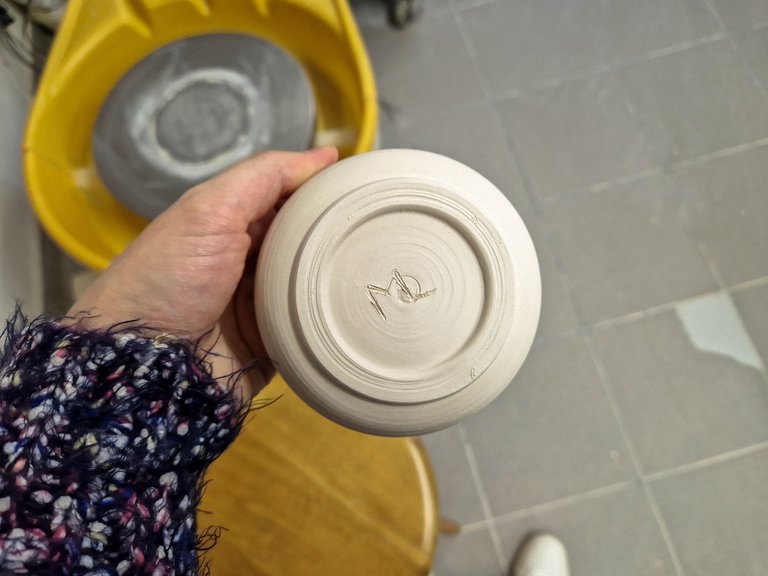
The most important part was to sand my signature properly. It was scratched before firing, and there were tons of tiny pieces sticking out of the dish. After that I was ready for glazing, so let's do it!
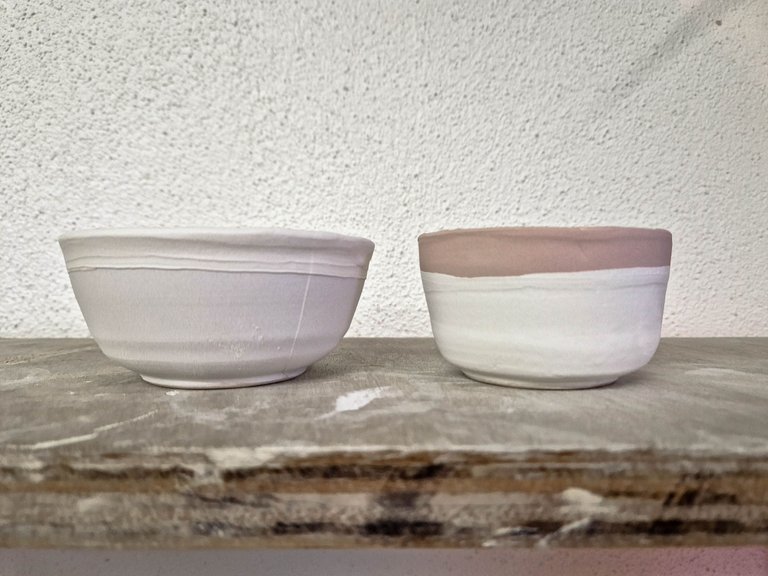
This dish is covered in white glaze. You can see that it's not shiny at all at this stage.
You remember that I said that the glaze has a different colour before and after firing? The left dish is the green one. This is why I find glazing difficult as you can only guess how your dish will look like, but you have no chance to know it for sure. Even my teacher with 40 years of experience said that there are times that she is surprised by the finished look.
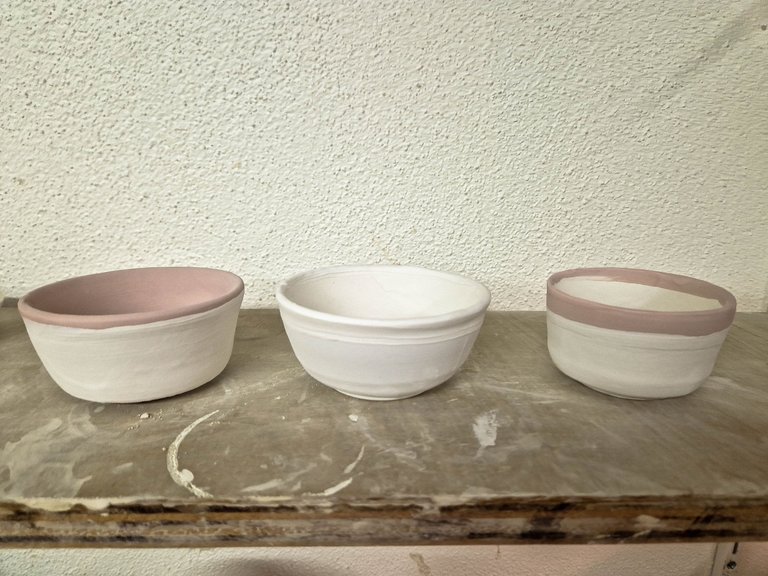
And my three babies all together ready for final firing...
Every week I make more and more products as they are in different stages of drying/firing. I didn't have much hope for this one that I made two weeks ago as it didn't turn out like I wanted, but once you are this far you can't do many corrections that would alter the form. So I accepted it and let it dry.
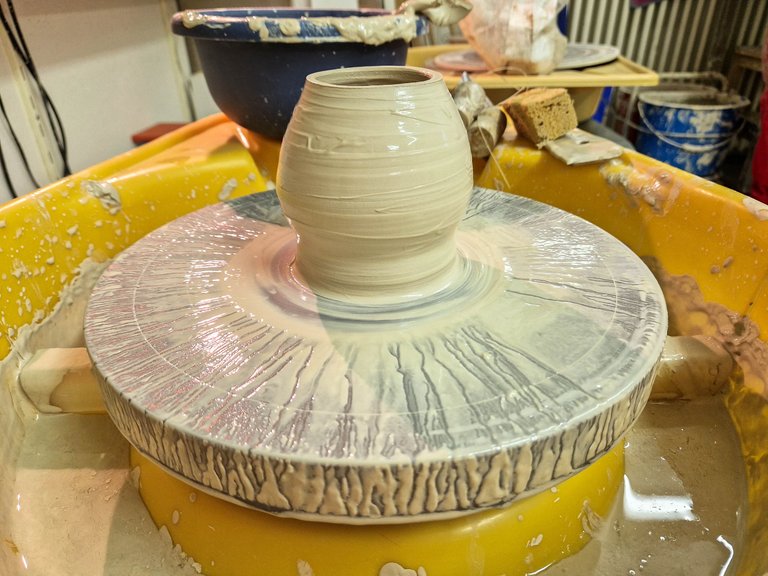
It was leather dry last week, so I attached it to some fresh clay as otherwise it would not be stable on the pottery wheel because of its form and I was ready for carving. I decided to follow the round shape and create a small vase.
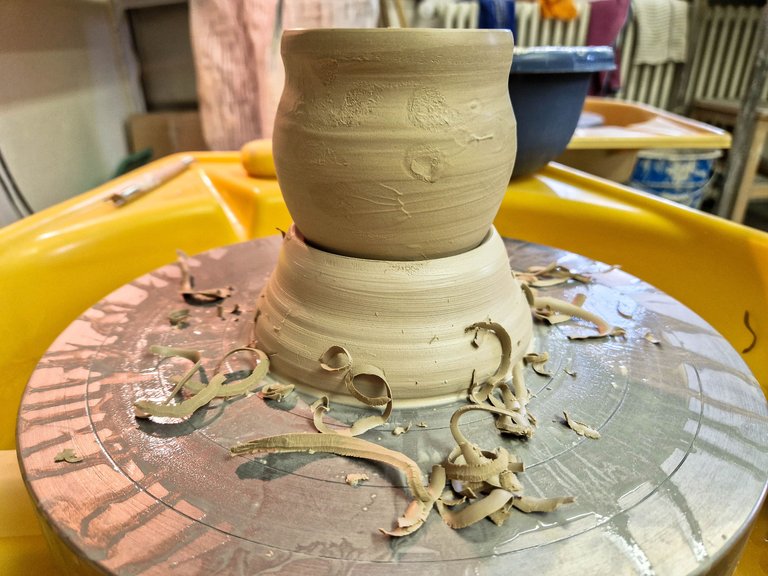
And look! I didn't expect it to look so good. It's going to be a nice vase for small meadow flowers from our garden in summer.
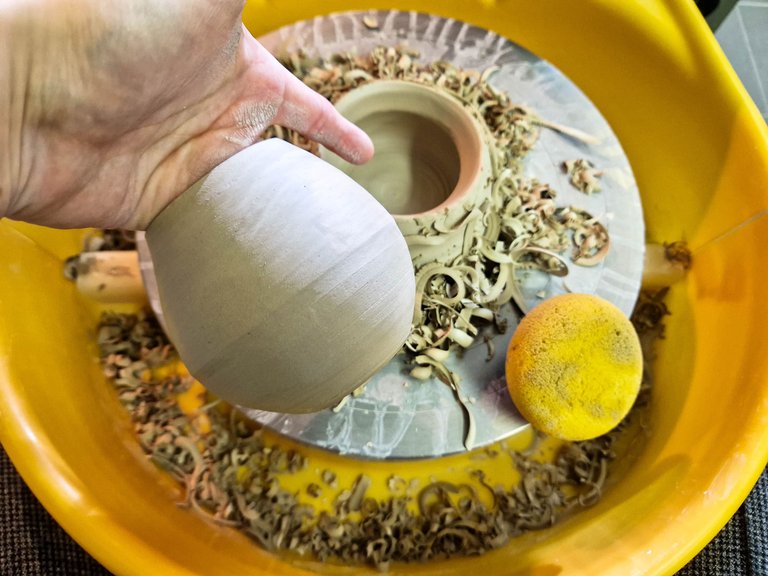
Another dish that I made last week is this wooden spoons holder for my kitchen. Again, I carved out most of the clay from the bottom to make it rounder.
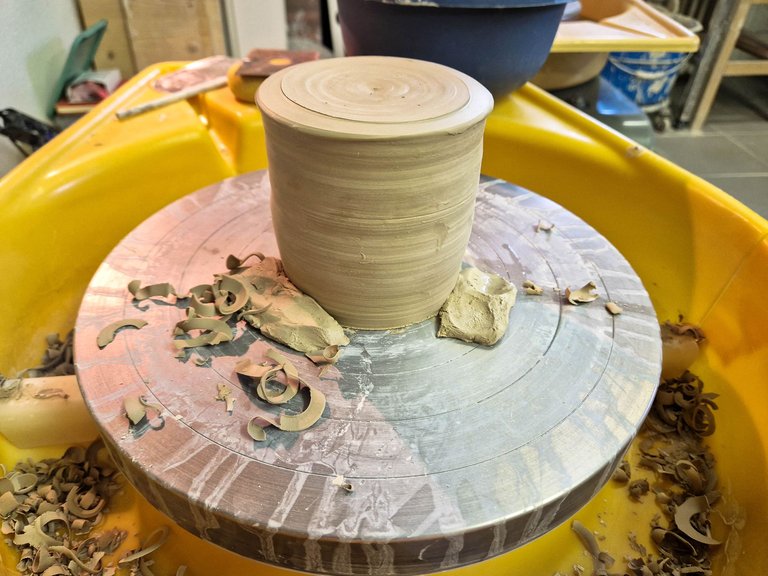
And here it is! It's not big enough for wooden spoons, but it will be great for forks 😊
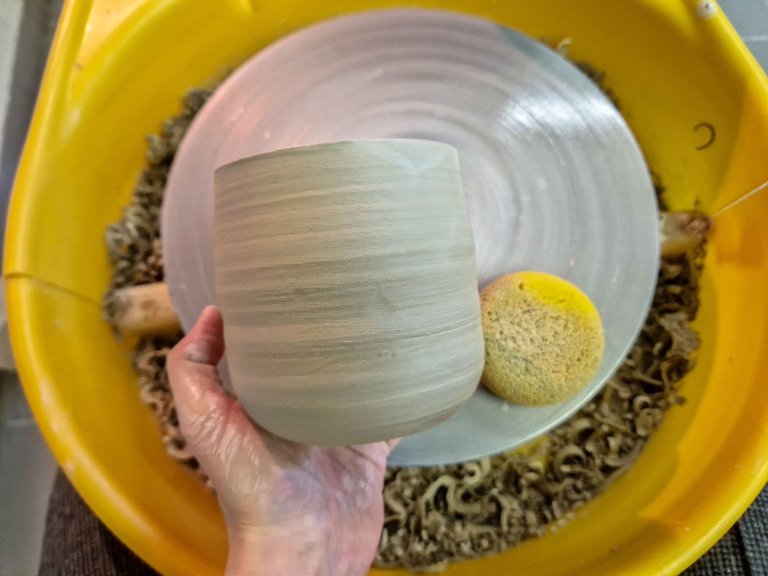
When I was finished with carving I placed them upside down on a clean wooden board to dry and get ready for first firing.
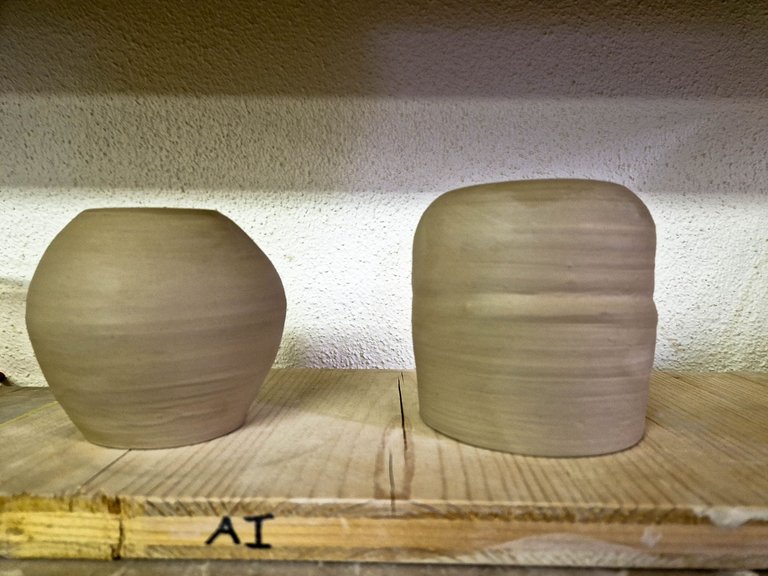
Last week, I also made this (probably) soup dish that I will be carving tomorrow...
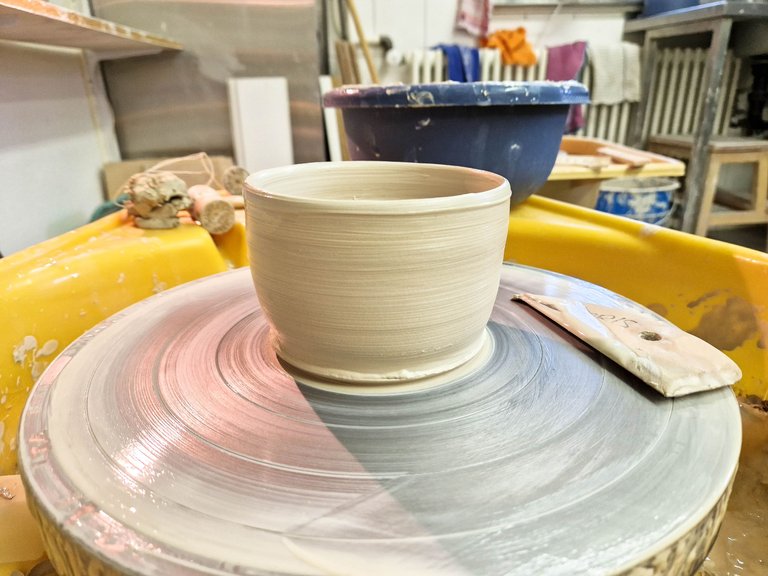
And a cup for my matcha latte ready for carving tomorrow as well...
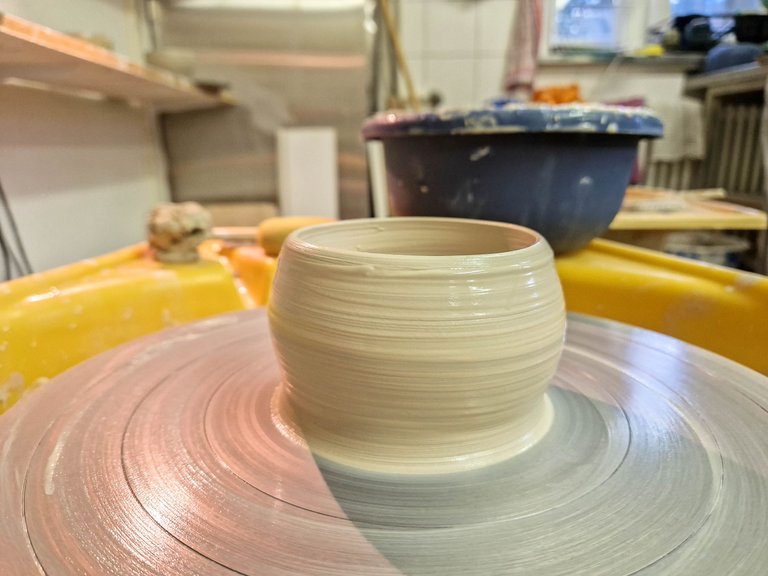
Last week, I found out that during firing the products shrink by 10%, so I created these ones a bit bigger. Apparently, my teacher forgot to mention it, and I wondered why my dishes are smaller than I expected (like my wooden spoon holder) 😊 Every day is a school day!
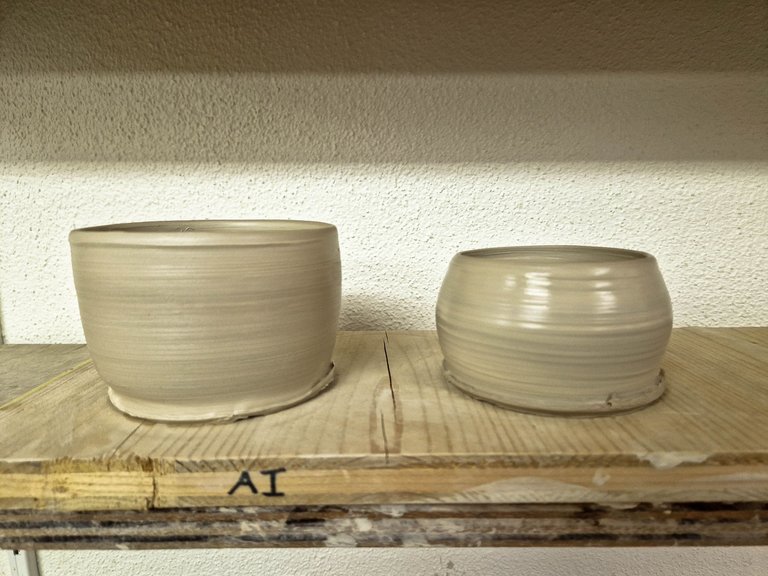
Every week, I'm falling in love with pottery more and more, and it looks like it will stay my passion for a long time. It's going to take ages to master this art, but every single step of the process makes me happy already.
See you next time!
