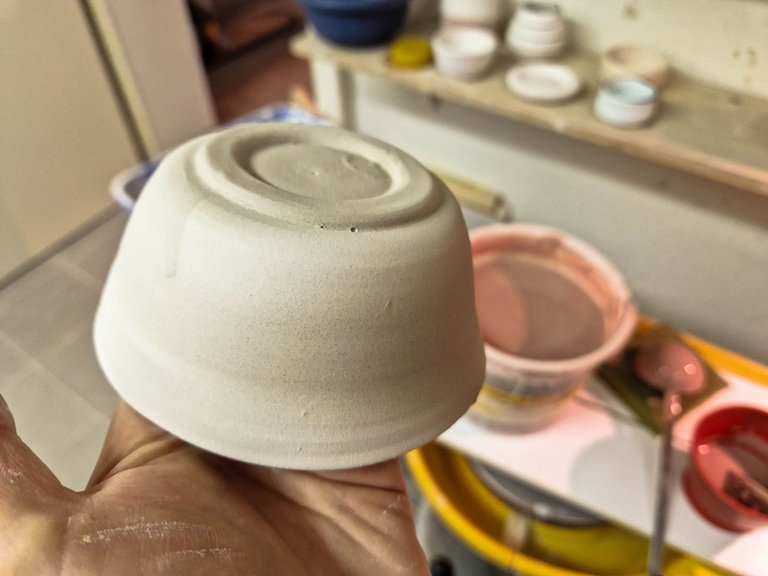
I was able to collect the products from my first completed course after we returned from our Christmas break last week. When I arrived for the start of my second course all products were on the shelves waiting for me. I arrived earlier, so that I would have enough time to pack them before the course started. Here is a little peak at what they look like before I show all of them to you, but first let me talk a bit about the glazing process.
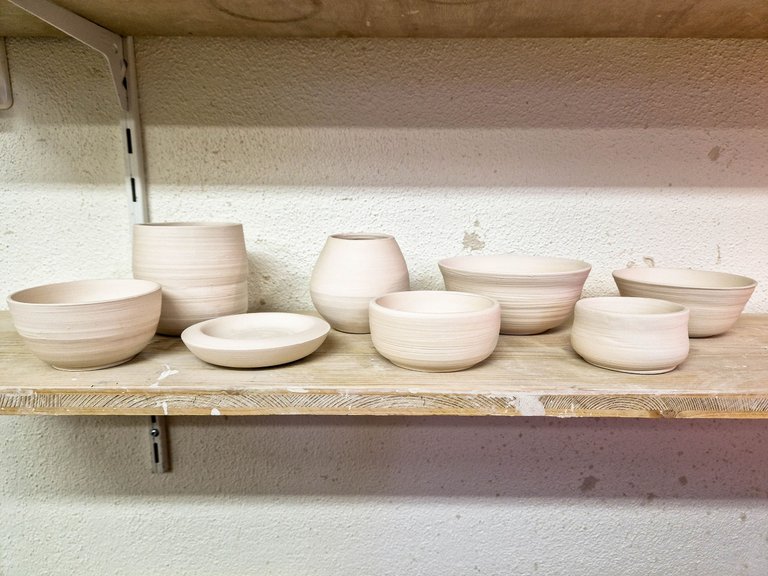
These are the products that I glazed one week before going on holidays. They were fired before Christmas, so that the participants could have nice gifts for their friends and family, but I couldn't pick them up on time because we left to Slovakia in the middle of December.
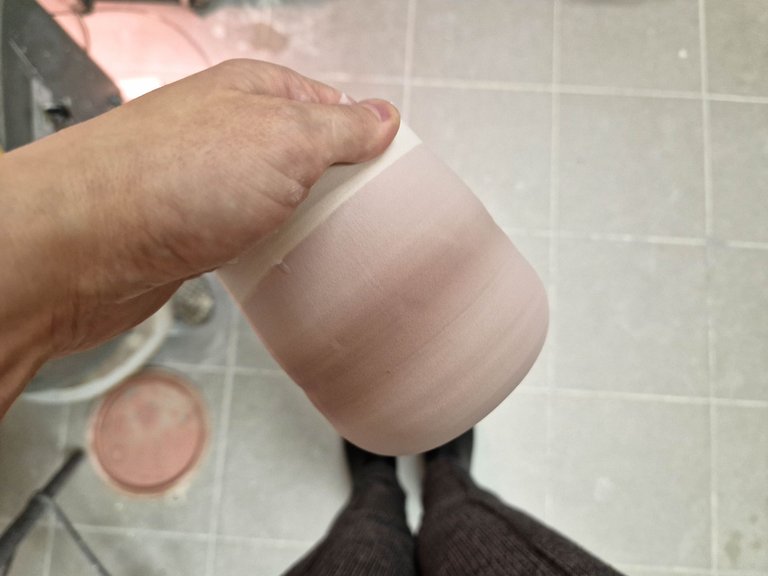
Our teacher has various glazes in large buckets, so that you can dip your products completely if you want them to have one colour. You can also dip the top of your product in one glaze and the bottom in another. The combinations are endless, but she told us that the general rule is to have max 3 layers per product as the clay can't absorb more. I wonder if it's really true as I've seen many products with more than 3 colours, but I haven't researched it yet since I keep it simple when I'm learning.
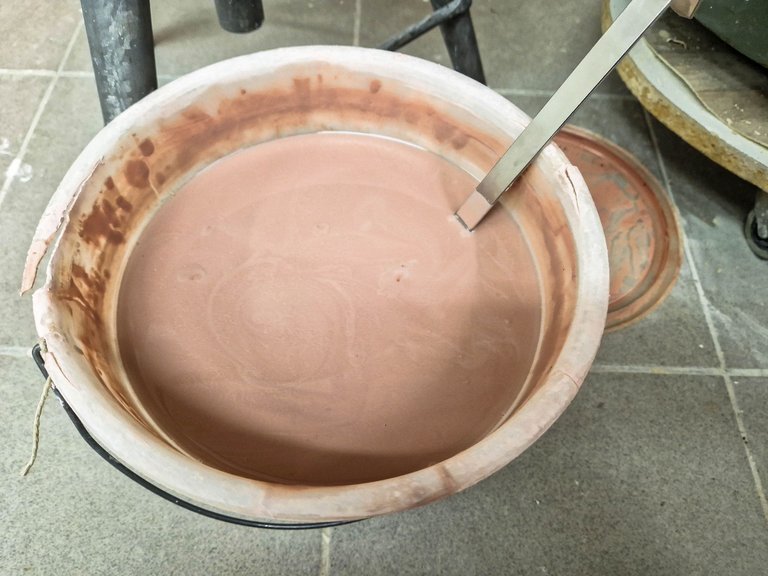
As I mentioned in one of my previous posts, the colour of the glaze looks very different before and after firing, so it's difficult to imagine how your final product will look like. This colour is bright red after firing.
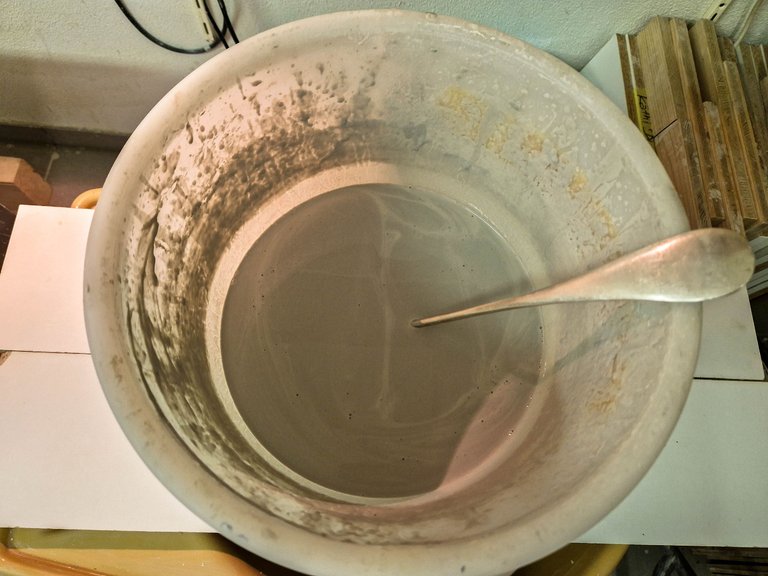
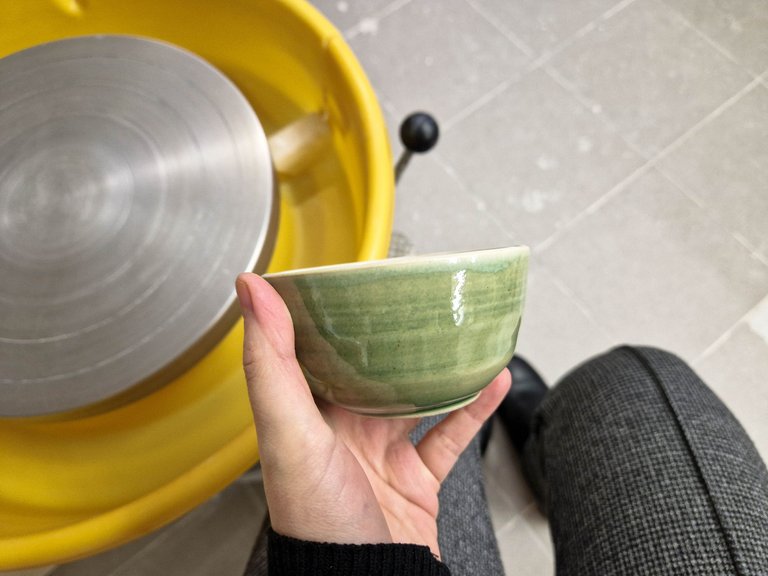
This is olive green - if you dip your product very quickly the colour will be light, if you keep it longer or you dip it a few times the colour will become darker and fuller.
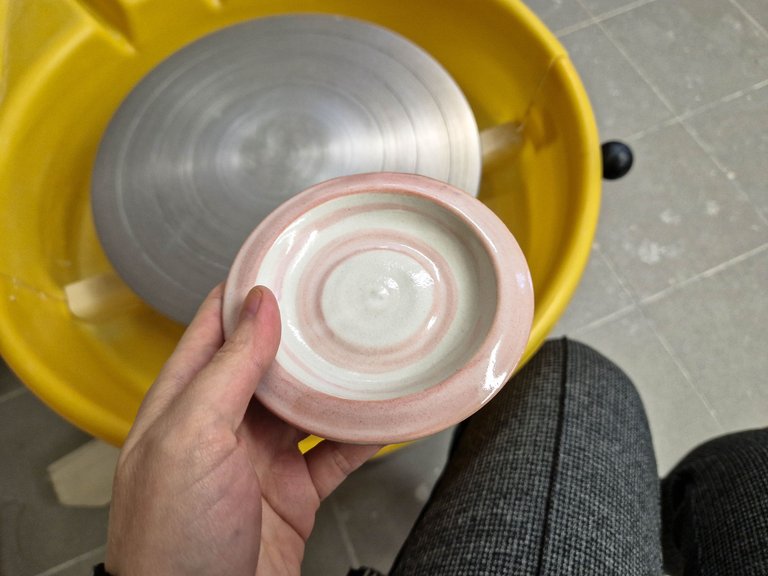
And here we have the first product which is a small plate for olive pits 😊 We have friends who love olives, so now they will have a special plate for their pits when they come for a drink to our place.
I dipped it in white colour and then placed it on the potter's wheel to apply the red colour with a brush. It was so much fun! I can't paint well, but this is simple as you turn on the wheel, touch the plate with the brush and then the magic happens. Of course, you have to centre the plate first as otherwise it won't work and you won't get round shape.
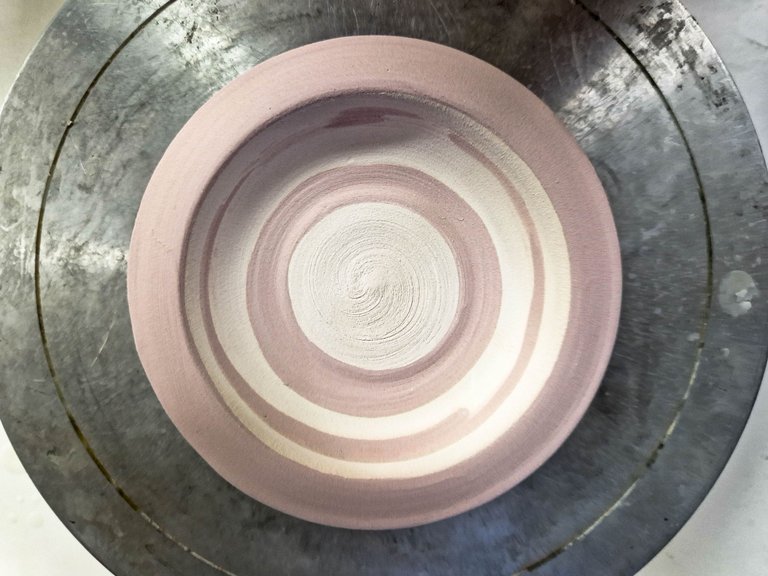
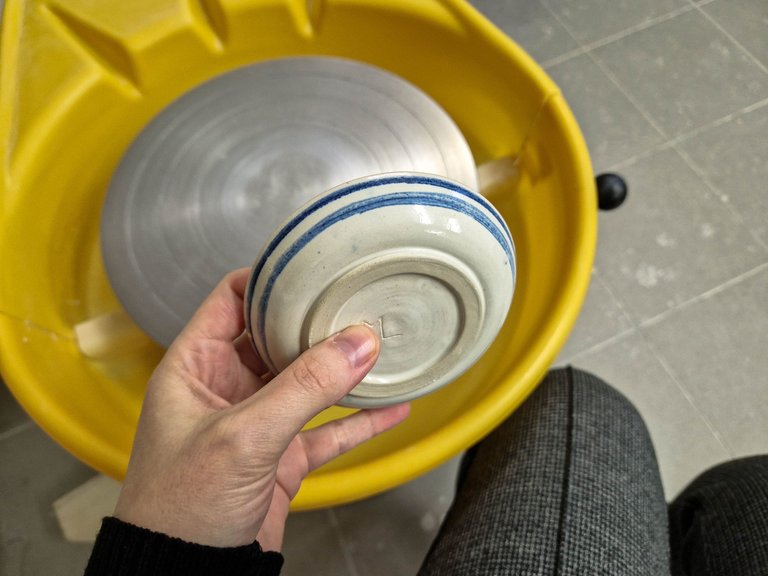
Then I applied a special blue colour (that looks black before firing) with a brush on the outside too. This blue colour leaves stains if you touch it, so you need to handle it carefully. I noticed a few blue stains on another products, but I don't know if it was me or my teacher when she moved them. Anyway, it's handmade, so it can't be perfectly clean.
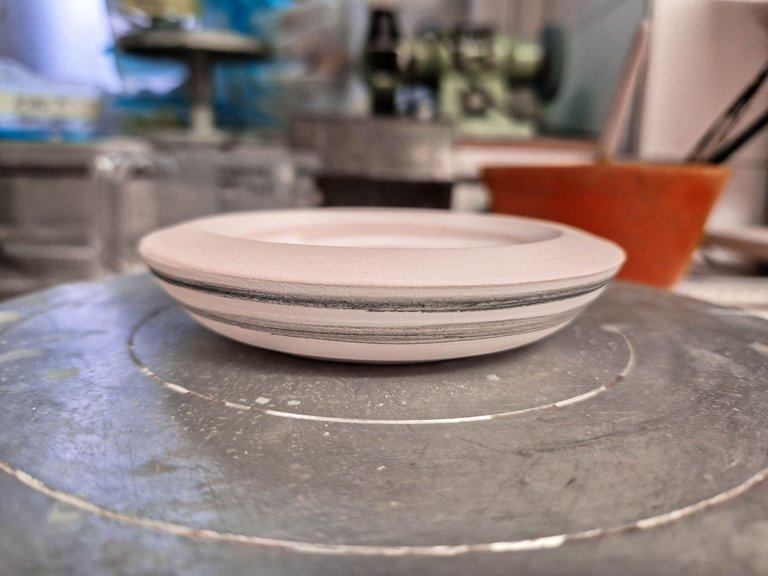
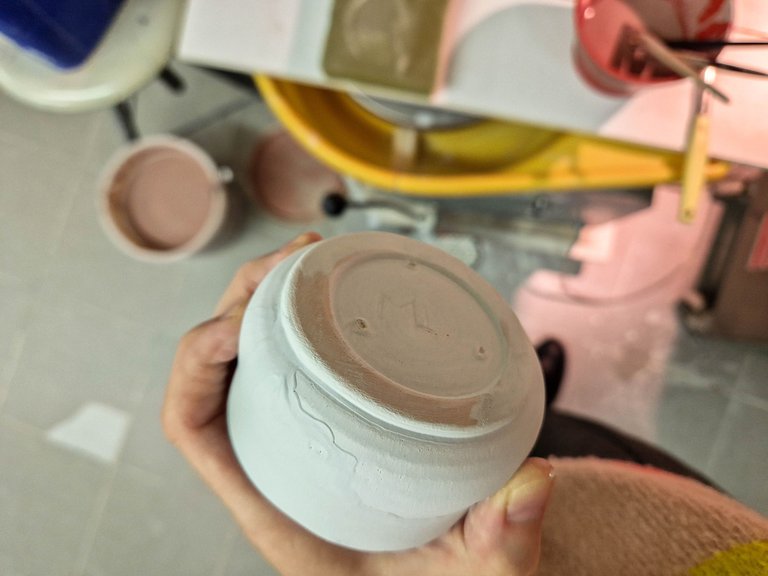
When you glaze your products, you need to carefully remove the glaze from the bottom as it will melt in the kiln, and your product will stick to it. My teacher checks every product that we make before she puts it in kiln to avoid any accidents.
If you're using standard glazes you can touch the product a few seconds after you applied the colour without any stains.
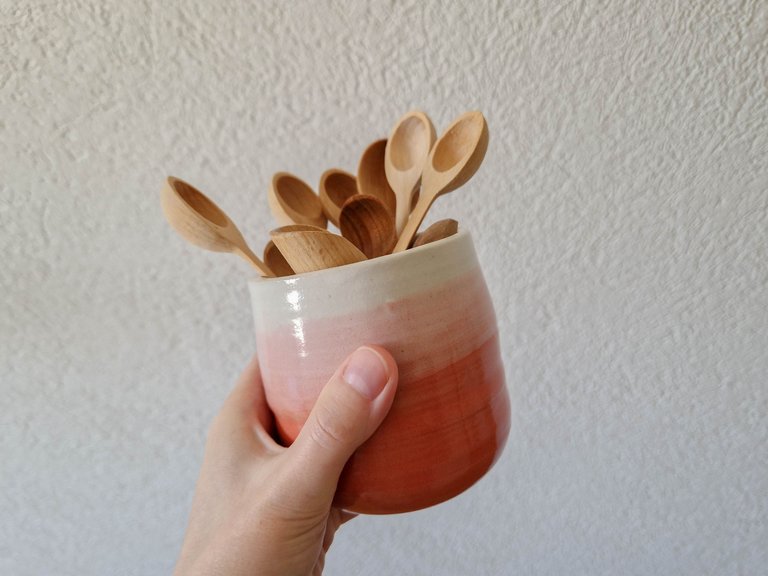
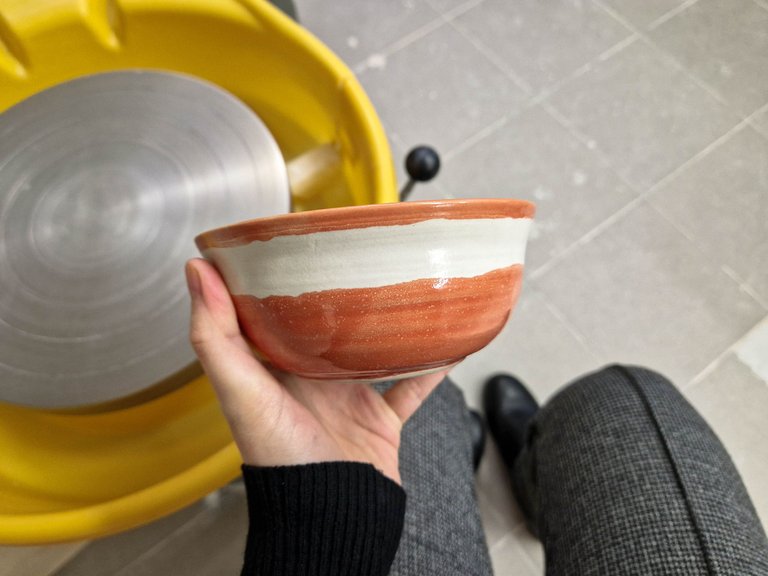
This is one of my favourite creations. First, I dipped the bottom part in red and then I dipped the upper half in white. The result is as you can see on the first picture. I have it in the kitchen on the window sill next to my holder for bigger spoons.
My husband's favourite colour is green, so I had to glaze a few products in that colour.
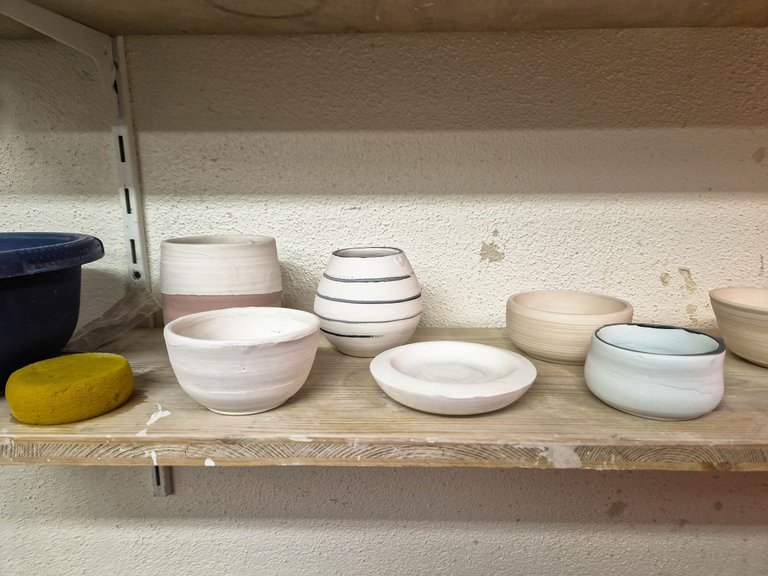
And this is how I left them in December - I couldn't wait to come back and collect them.
Et voila!
The plate for olive pits doesn't look too shabby at all...
I was not sure how I would like this one as I combined turquoise with green and it was difficult for me to imagine how it will turn out. But I love it!
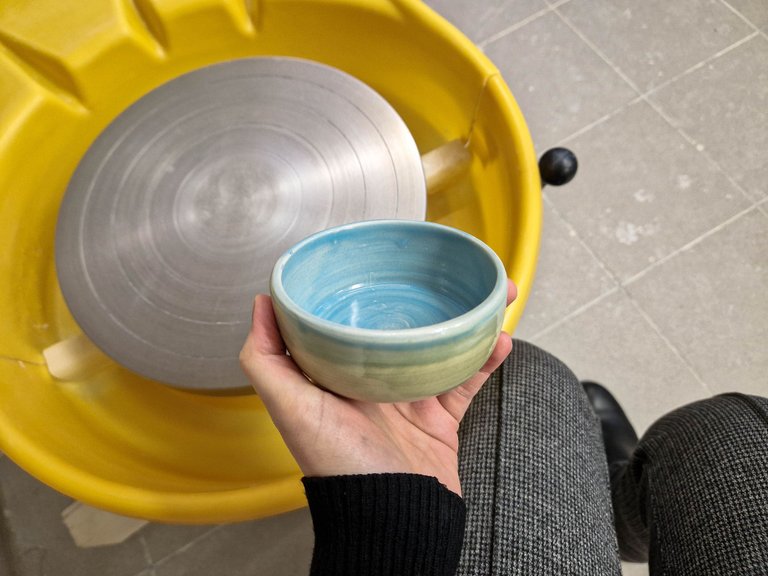
When you give me a new colour I go crazy, so here is another one in turquoise...
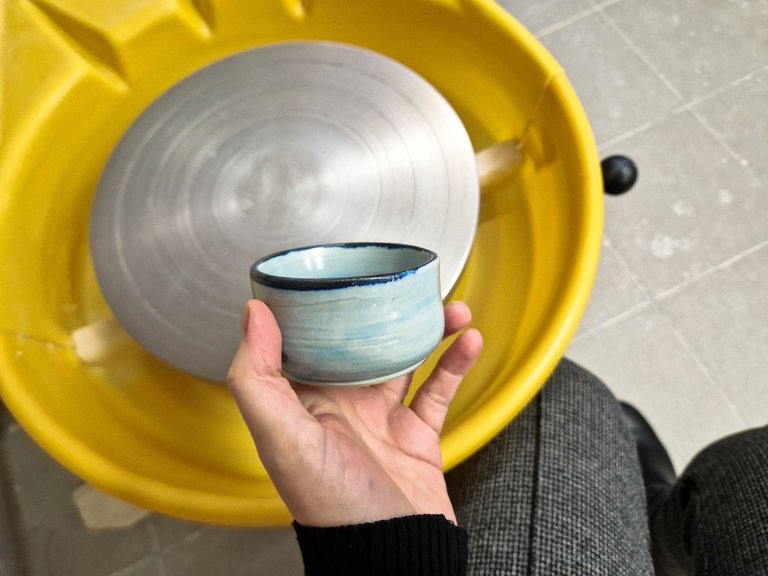
Here we have a combination of two green colours. I must admit I don't remember the name of the top one, but the bottom one is olive green.
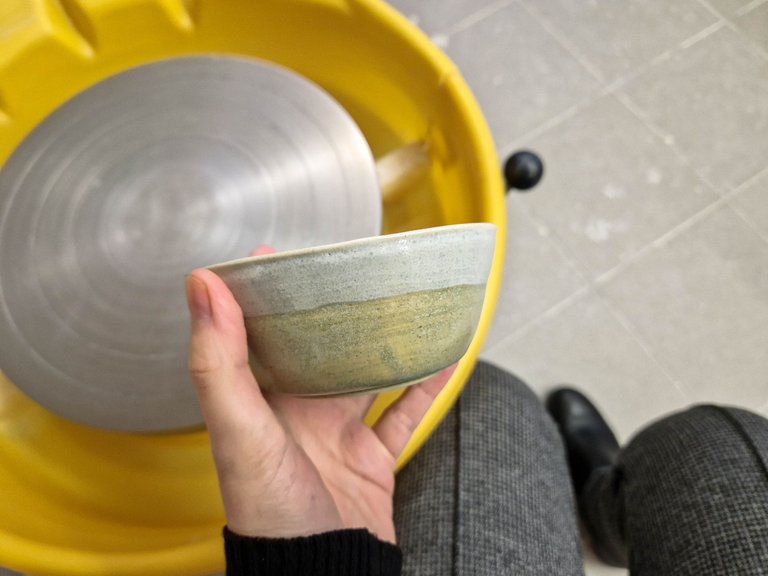
I know, I know that you saw it already, but you didn't see the picture from the workshop 😊
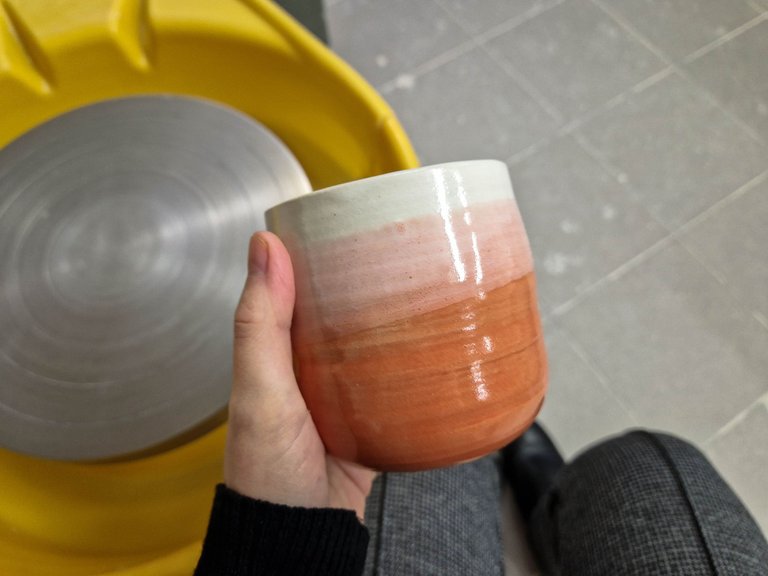
Another olive green...
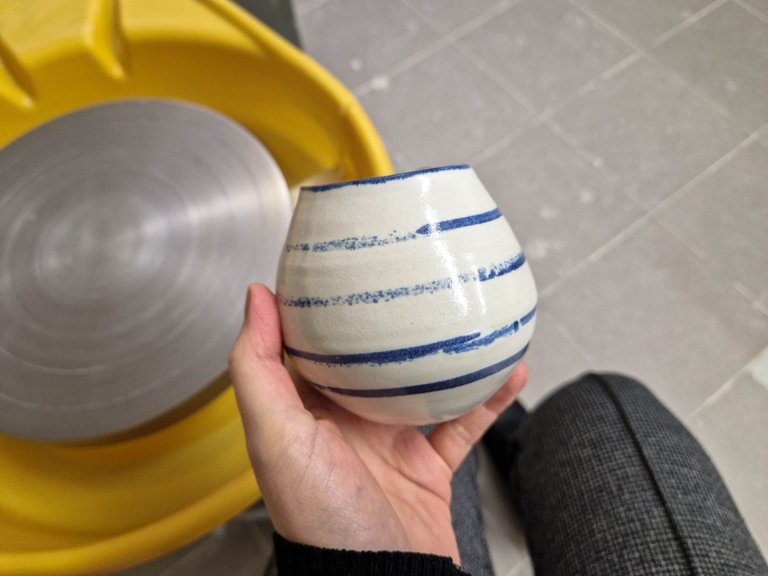
I had a lot of fun creating this one. I wanted the blue to have various textures to give it a bit of character and I must say that it's exactly how I imagined it. It's a vase for wild flowers from my garden, so I will show it to you again in summer (when I have some flowers in the garden)
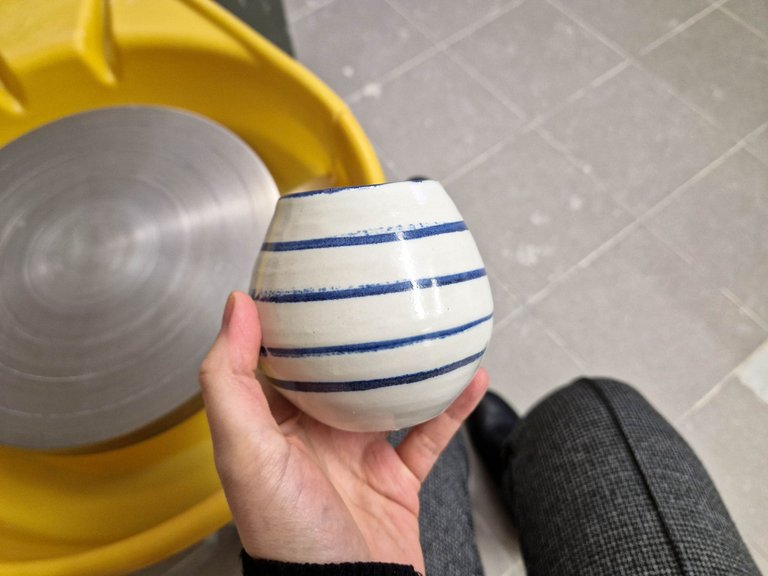
And last, but not least - I am not so much in love with this one as the line is too wobbly. I have no idea how this happened although I might have been talking to somebody while dipping, so next time I will pay more attention.
Last week, I have made something new as I already feel a bit more confident, so I can get creative. I will show them to you when they are ready for trimming.
I truly found my passion in pottery although my back is not that happy about it 😊
Thank you for joining me on a pottery learning journey!
See you next time!