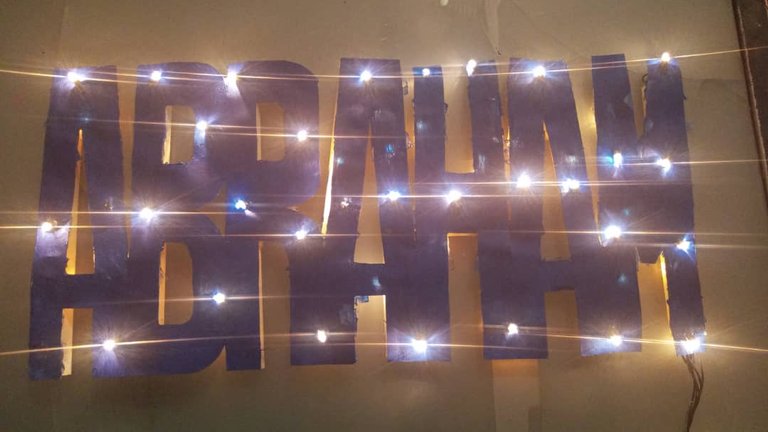
Hello, friends of #HIVEDIY I want to show you the step by step of this craft that I know you will love.
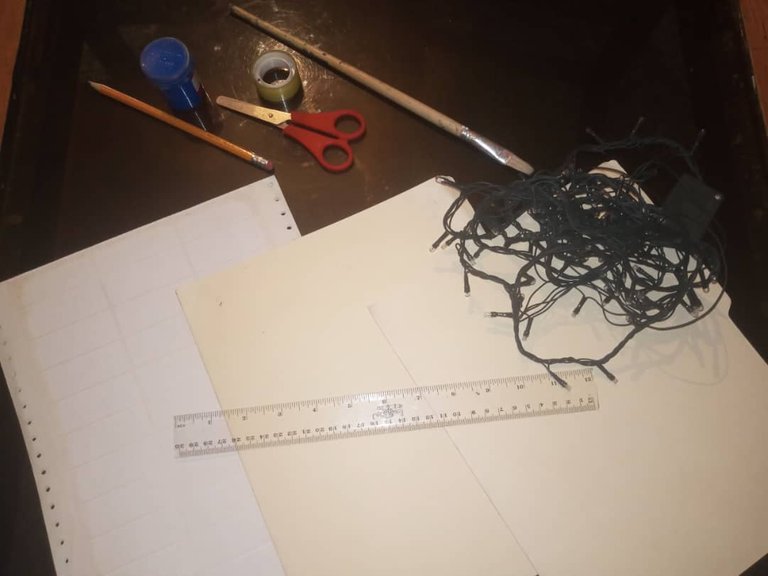
The materials you use are the following:
| Paperboard | ||
|---|---|---|
| The one I used was from a yellow folder. But the firmer the cardboard, the better the result will be. |
| painting | ||
|---|---|---|
| It can be any brand, tempera or cold |
| scissors | exactly | rule |
|---|---|---|
| Scotch tape | Brush | silicone |
| - | - | - |
| glue gun | pencil | lights |
| first step | ||
|---|---|---|
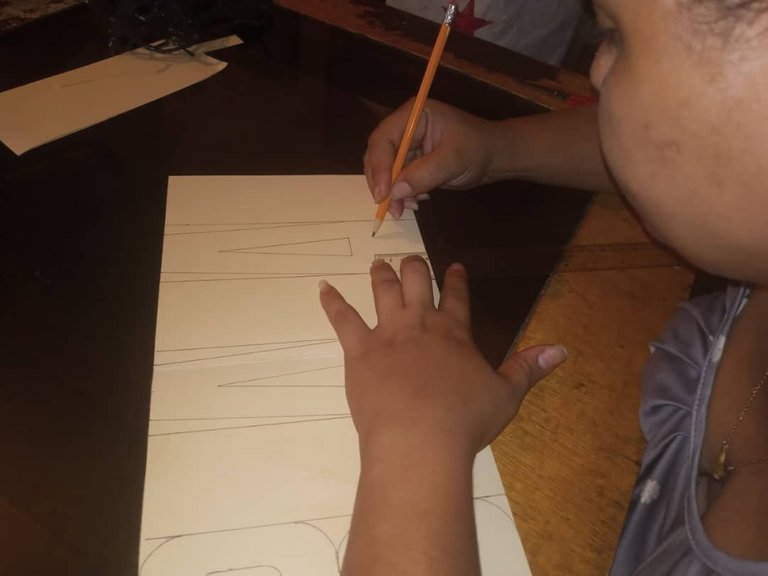
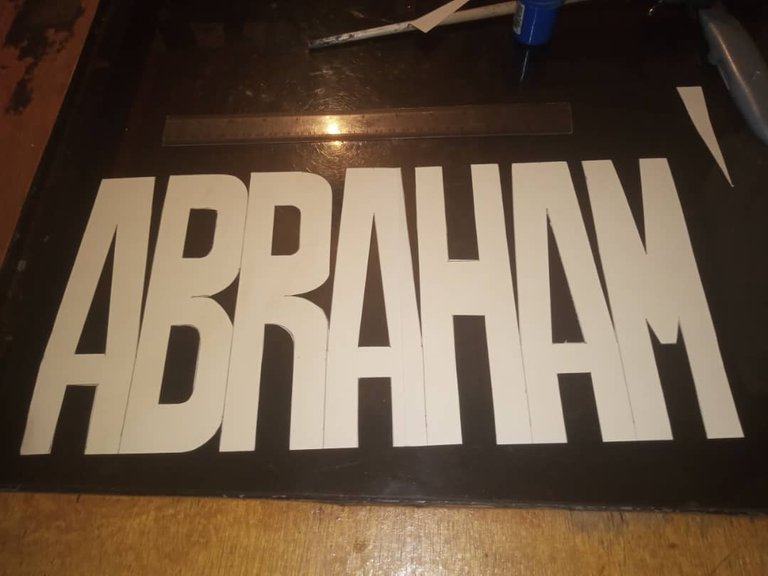
| Take an open yellow folder and create the name |
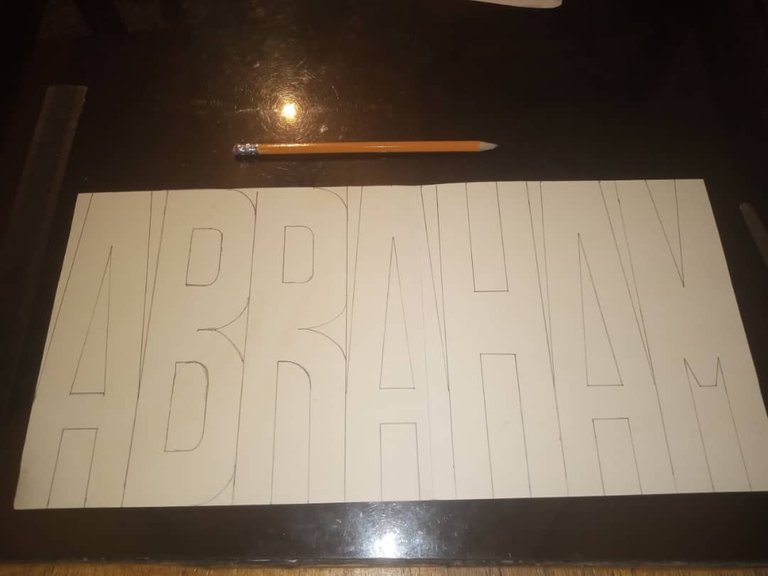
Once finished it will look like this.
| Second step | ||
|---|---|---|
| We count all the leftover parts |
| third step | ||
|---|---|---|
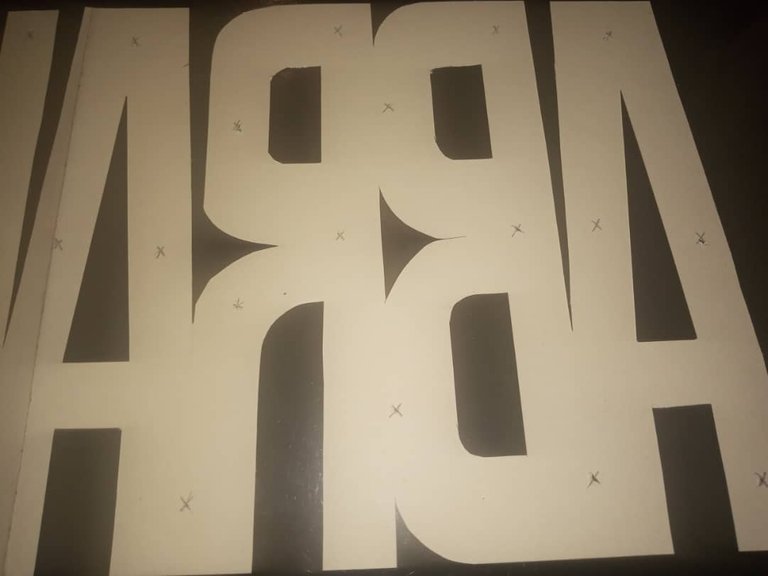
| We mark with the pencil in the shape of X the points where we are going to place each light bulb. And then with the exact one we cut each annotated point in the shape of an X. |
| Fourth step | ||
|---|---|---|
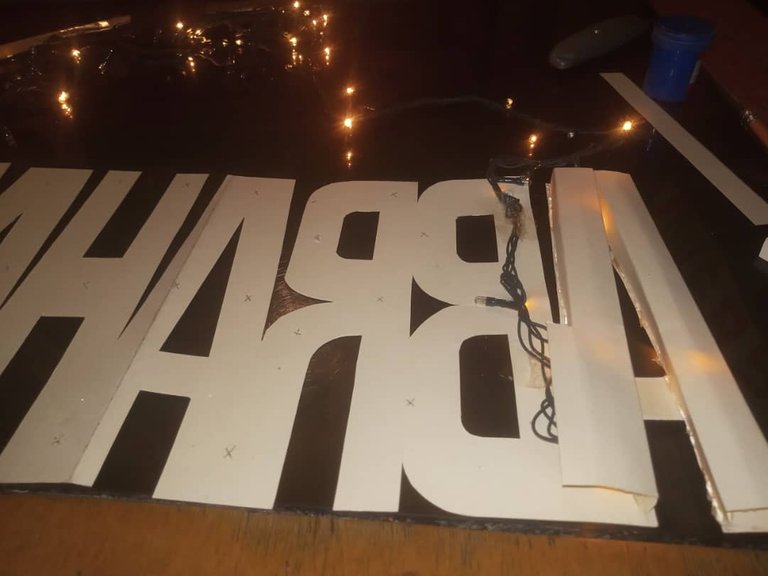
| We are placing the lights and fastening with adhesive tape and at the same time I close the bottom with the same cardboard that is being used. Sticking with silicone |
| Fifth step | ||
|---|---|---|
| Already completely sealed and fastened, I paint it to give it the whole of the decoration. |
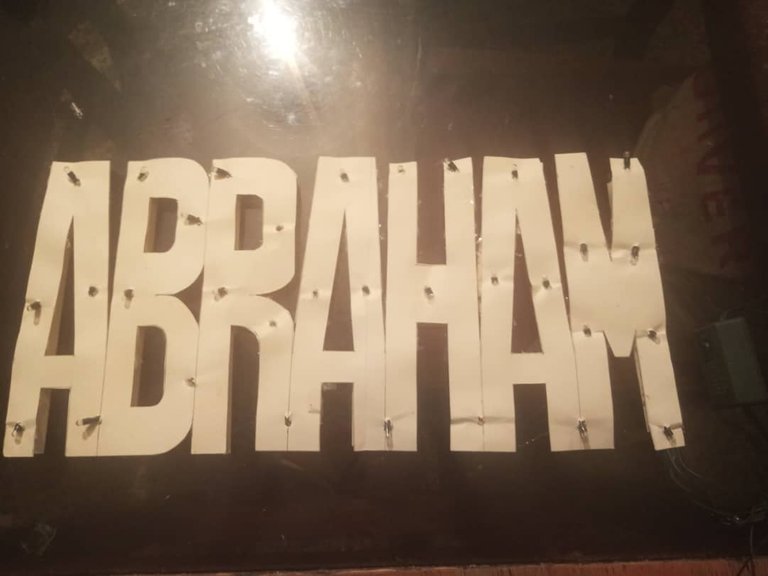
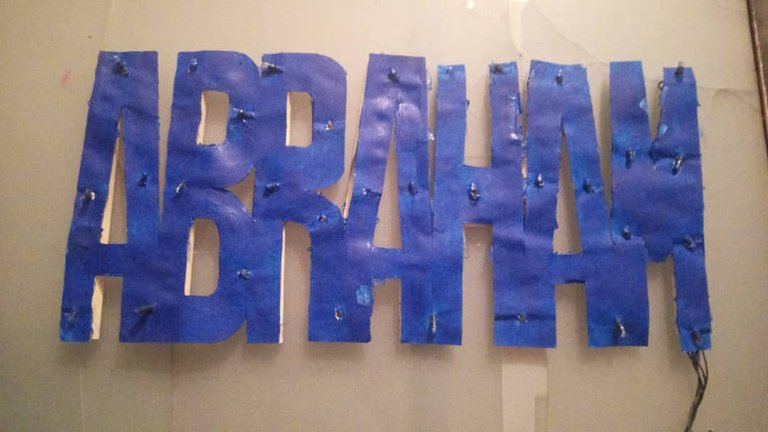
I hope you like it. And enjoy making your name. I take this opportunity to invite my friend @leomontagg to participate in this appreciated hive diy contest


