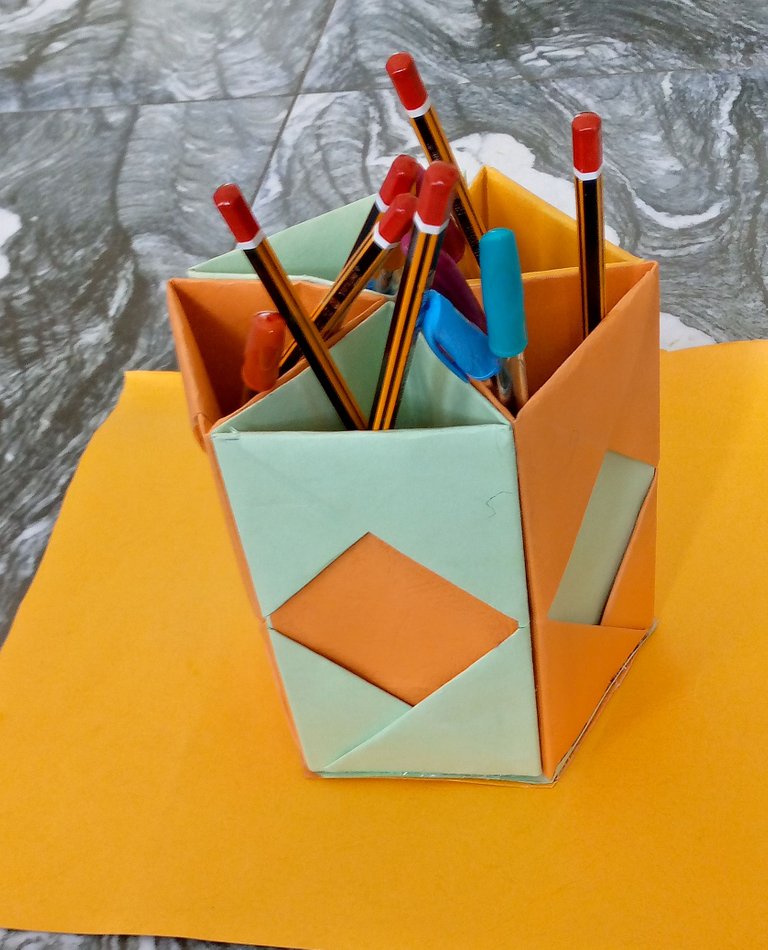
Creativity knows no bounds right? There are 1001 things that people make themselves instead of buying them in the market or calling a professional. Today I am excited to show you how I made this pen/pencil holder. To some people, it might be a simple project but I value this little DIY project a lot because of its usefulness already to my kids and myself.

My final result
So let's get started ...
Materials used:
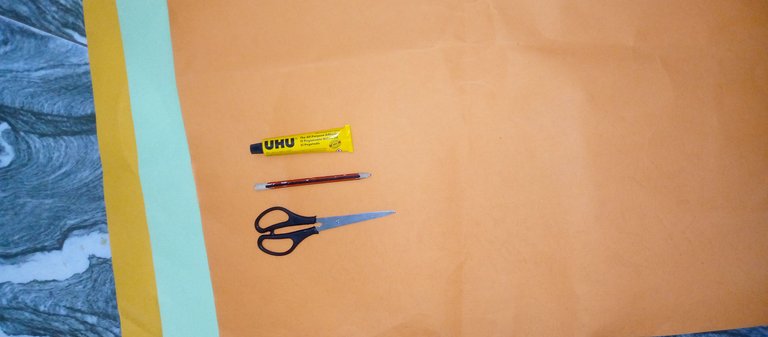
- Embossed Cardboard papers
- Scissors
- Glue
- pencil
STEP BY STEP OF MAKING THE PEN/PENCIL HOLDER:
Firstly, cut your cardboard paper into two halves, then use one of the halves. Fold it to form a right angle.
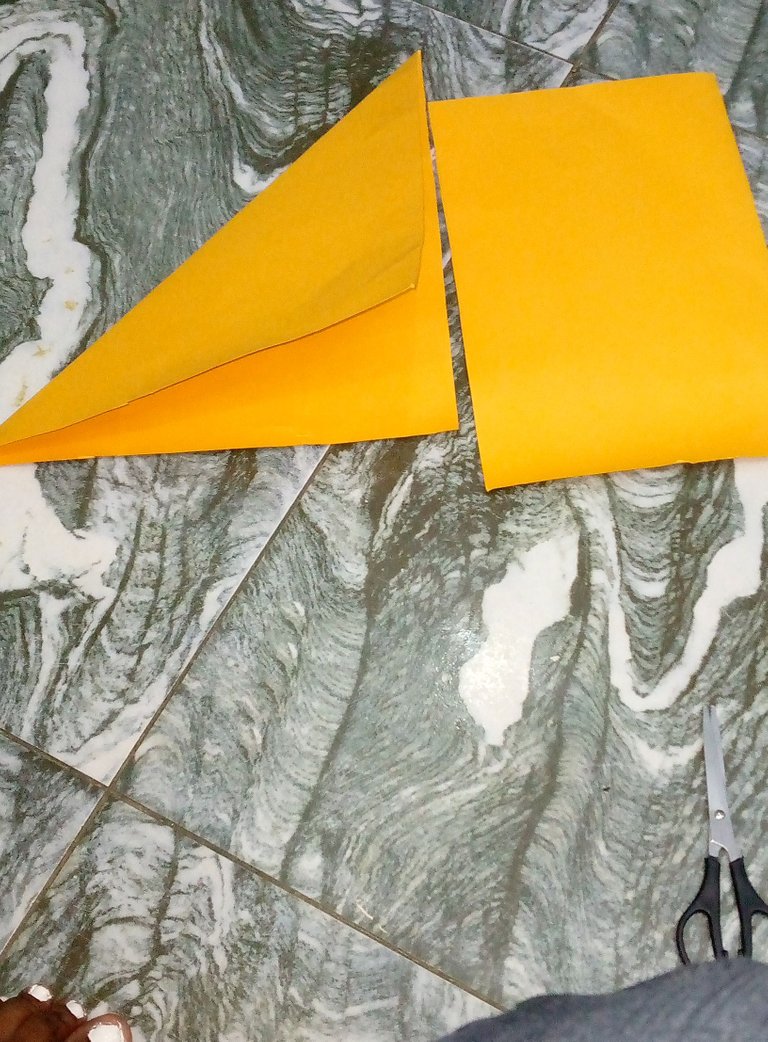
Cut off the excess after obtaining your right-angle shape. Open the sheet and fold it into a vertical half, open it again and fold it into a horizontal half ensuring the IMPRINTS OF THE LINES ARE VERY OBVIOUS. Open the sheet once more, folding the first half and the second half of the sheet into halves to meet at a point as shown below 👇
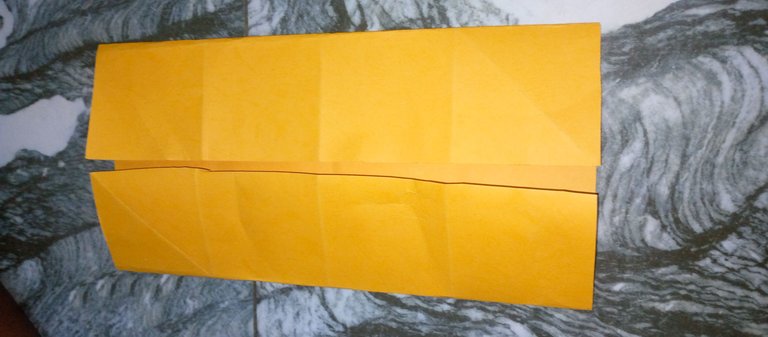
Open the sheet again and fold it horizontally in the same pattern. At this point, the imprint is already showing across the sheets. Then fold the four edges of the sheets to form small-sized right angles.
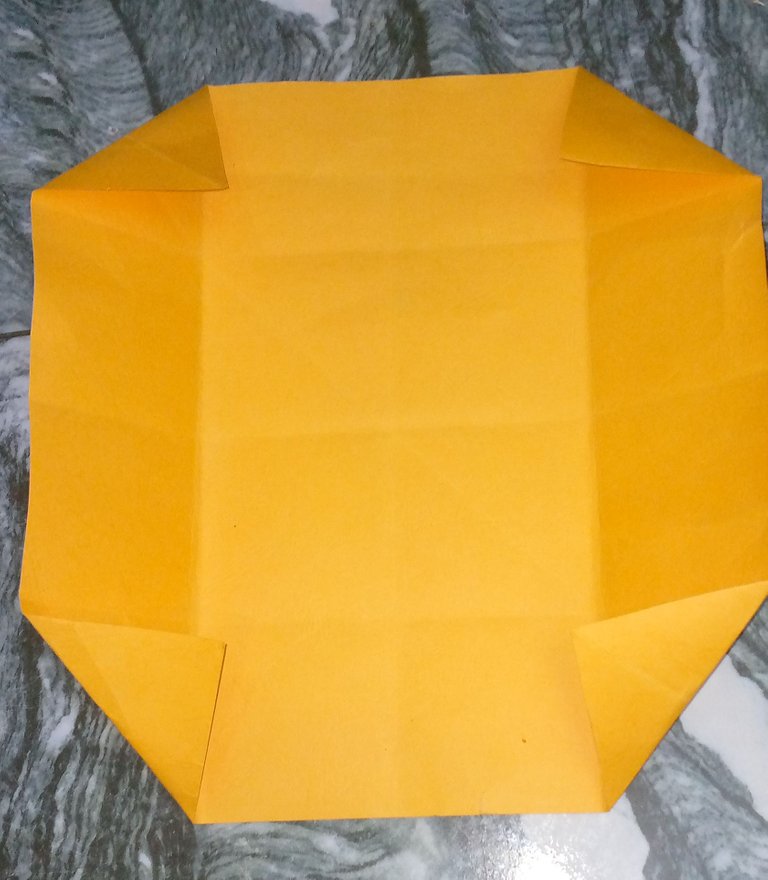
Together with the right angles, fold it into halves giving the shape similar to an envelope.
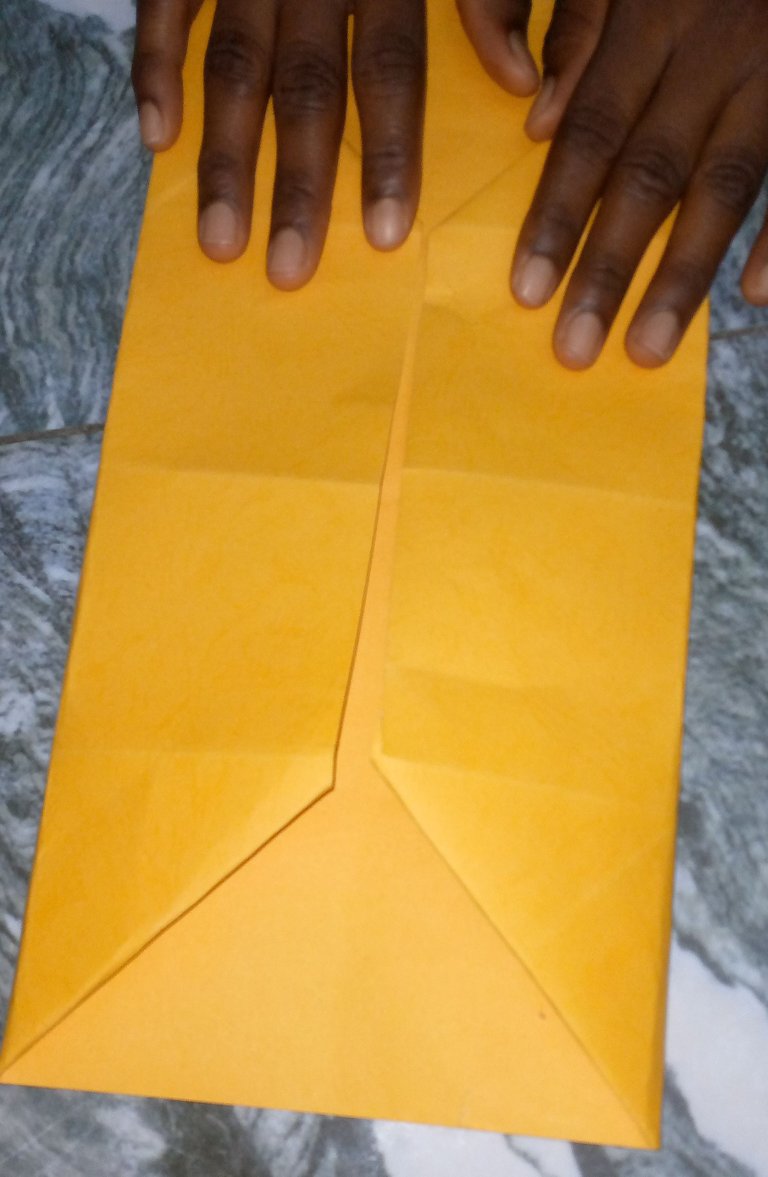
Fold the sheet again as shown below👇
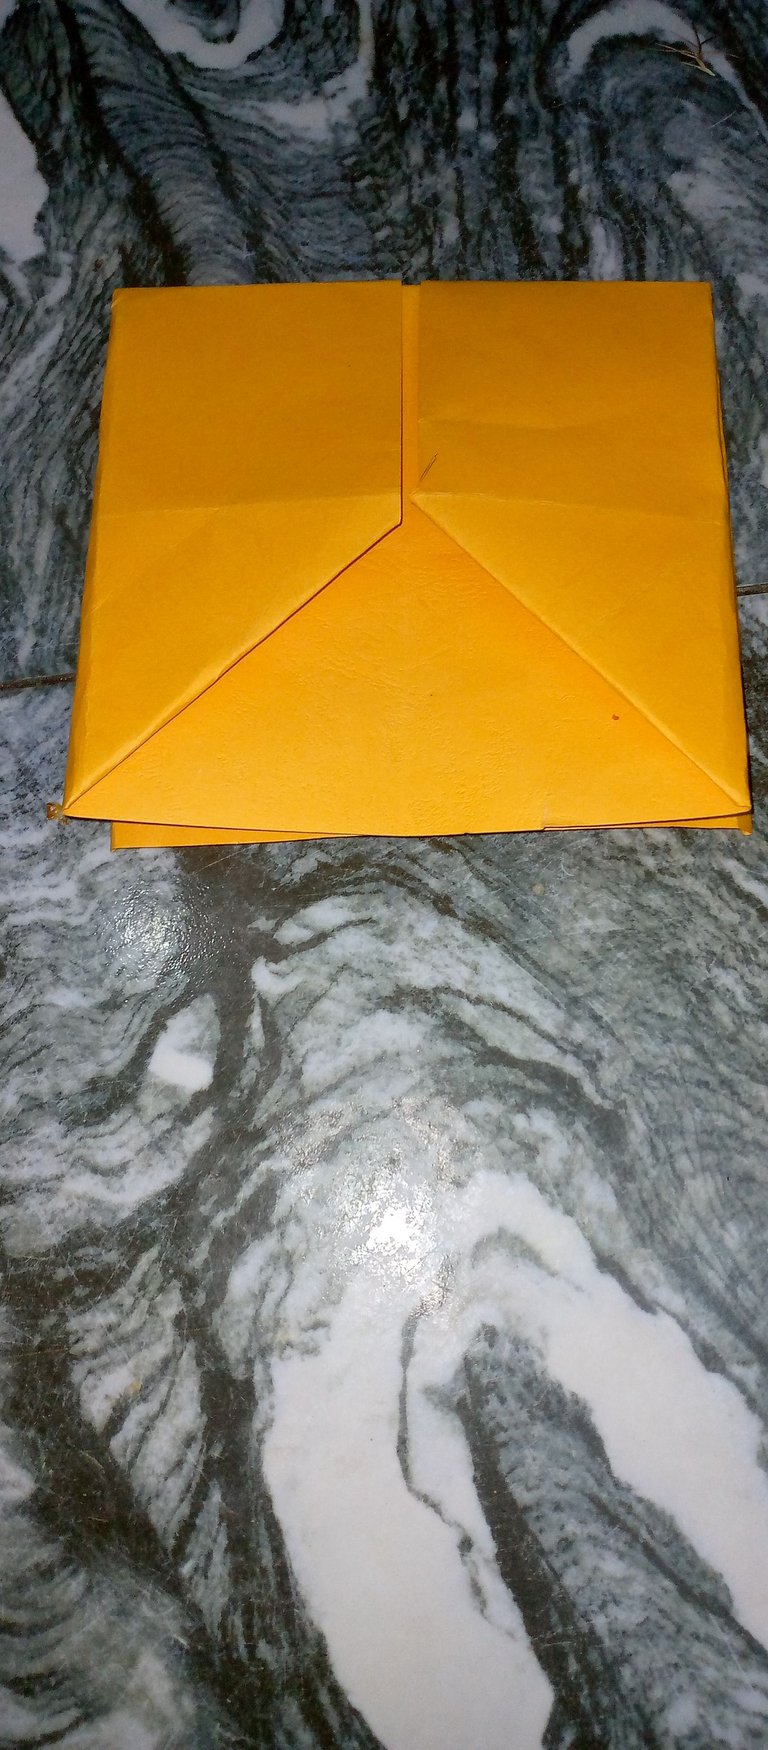
Note: In every stage that requires folding, ensure that the lines are showing as it will guide you in getting the correct shape and measurement you need.
The next step is to open the sheet and fold each of the halves into two to meet at a point. At this stage, you already have four partitions in the sheet similar to an envelope. Place one of the partitions on a different colored sheet to get a shape equal to each of the partitions.
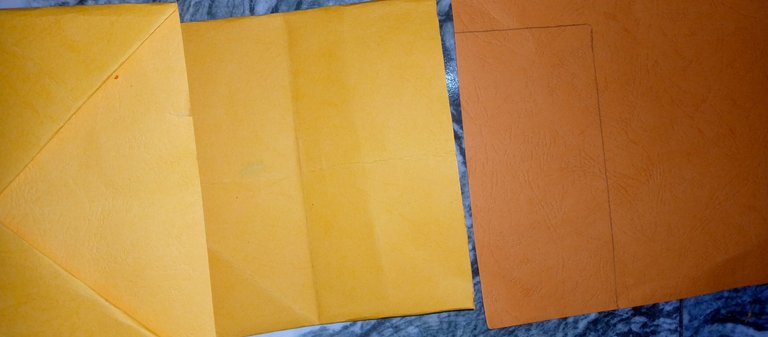
After obtaining this shape, cut it out and insert it into one of the spaces in the sheet.
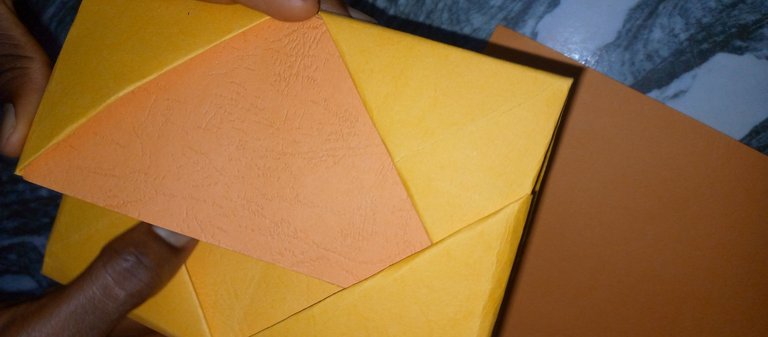
Push it into the opposite space to clip together to get one part of your pen/pencil stand.
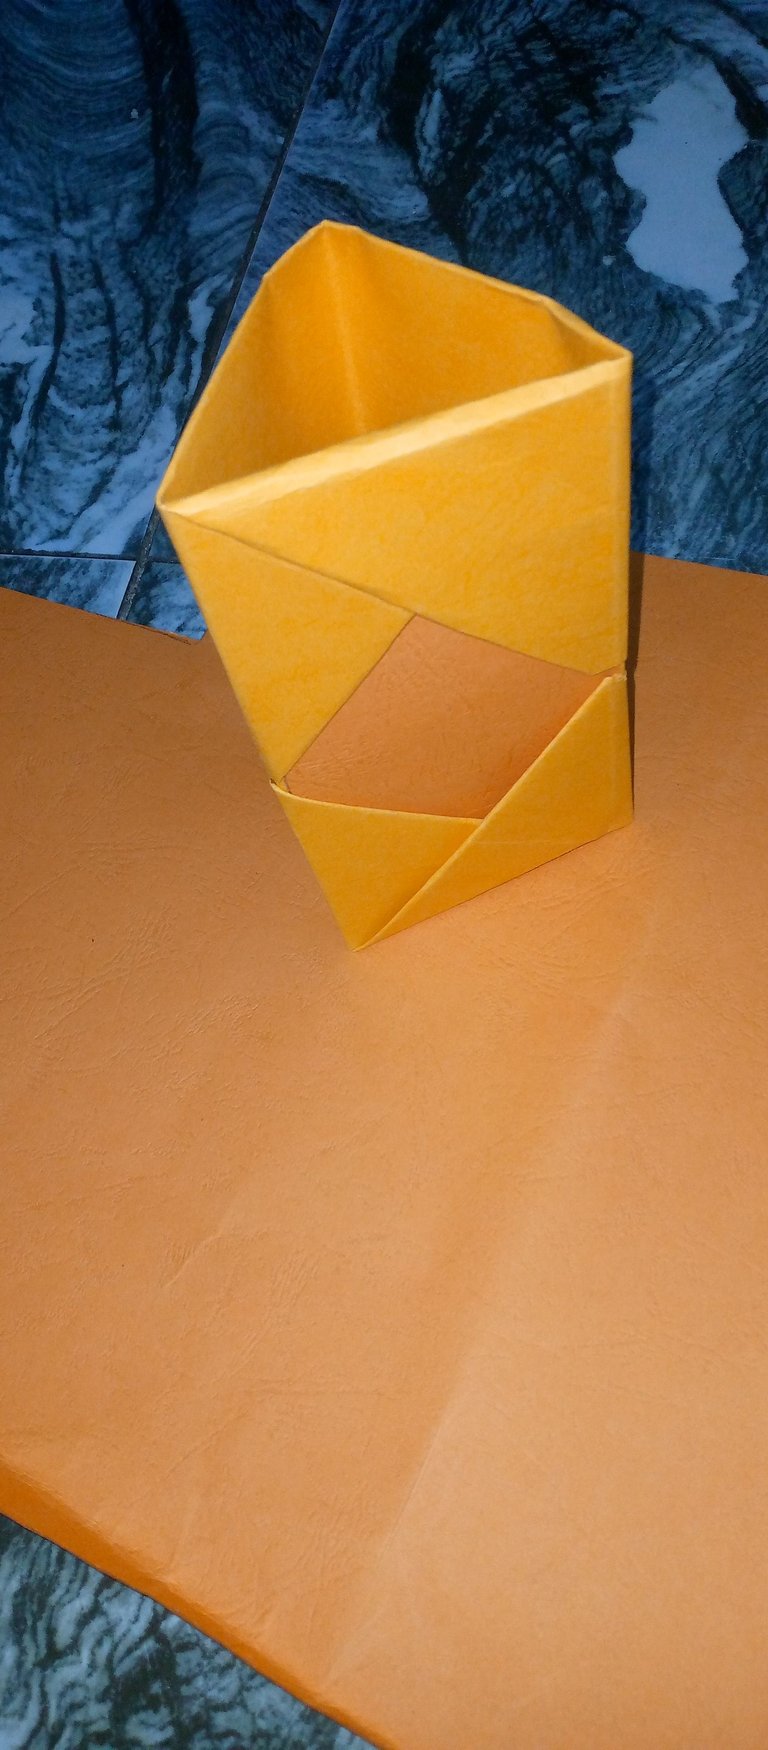
Follow the same procedure and make as many holders as you need.
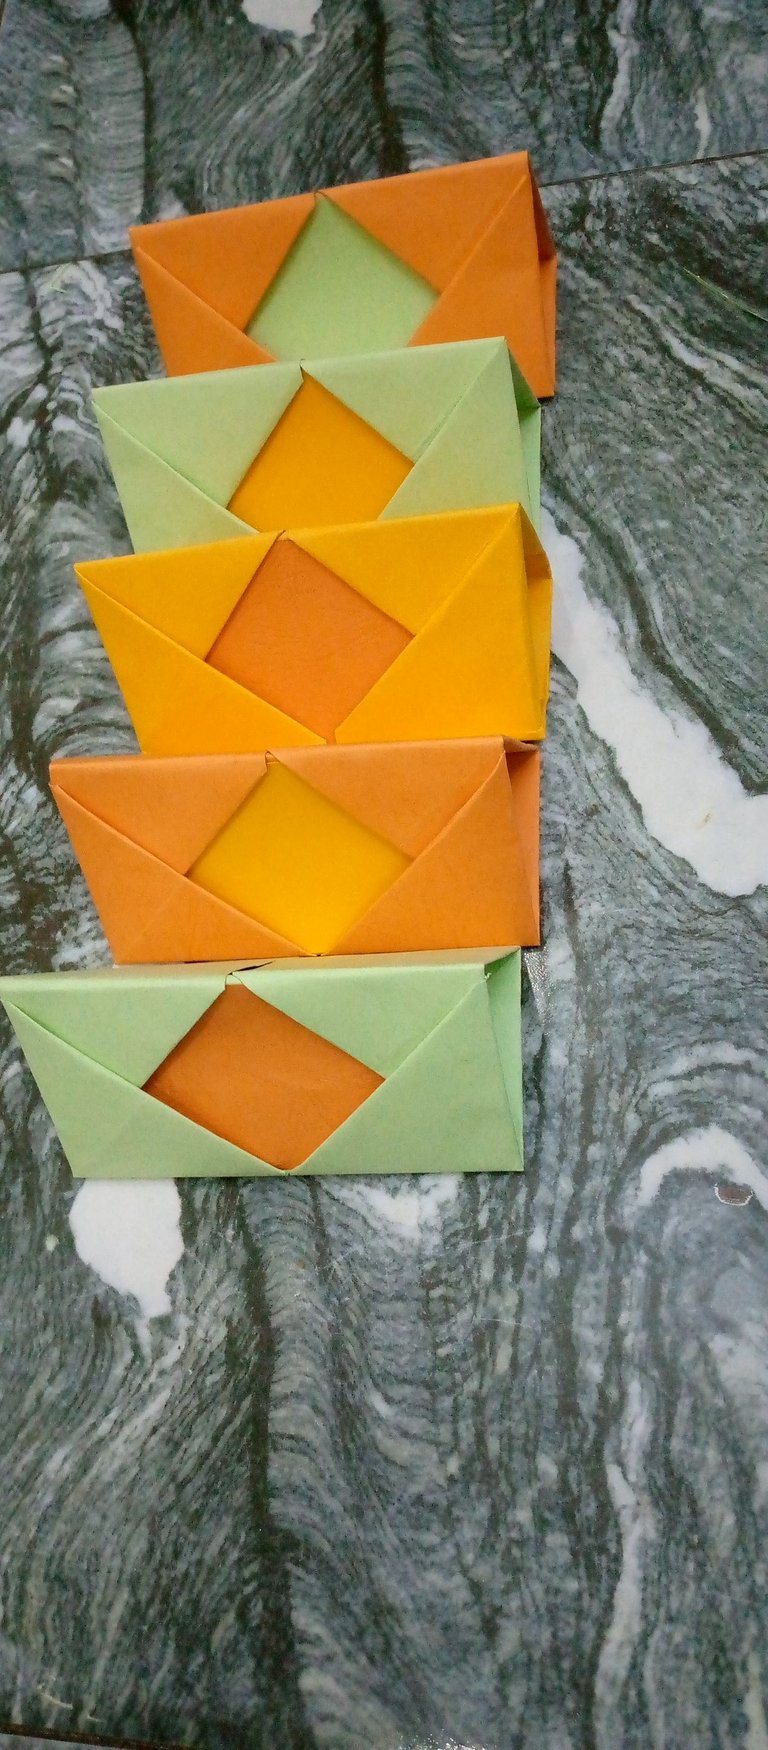
The next stage is to use a strong glue to merge all the holders. After achieving this, place the pen holders on top of a cardboard sheet, use your pencil to mark out the shape of the base, and cut it out. Ensure that the base is thick enough to hold whatever you wish to put inside the holder aside from a pen or pencil.
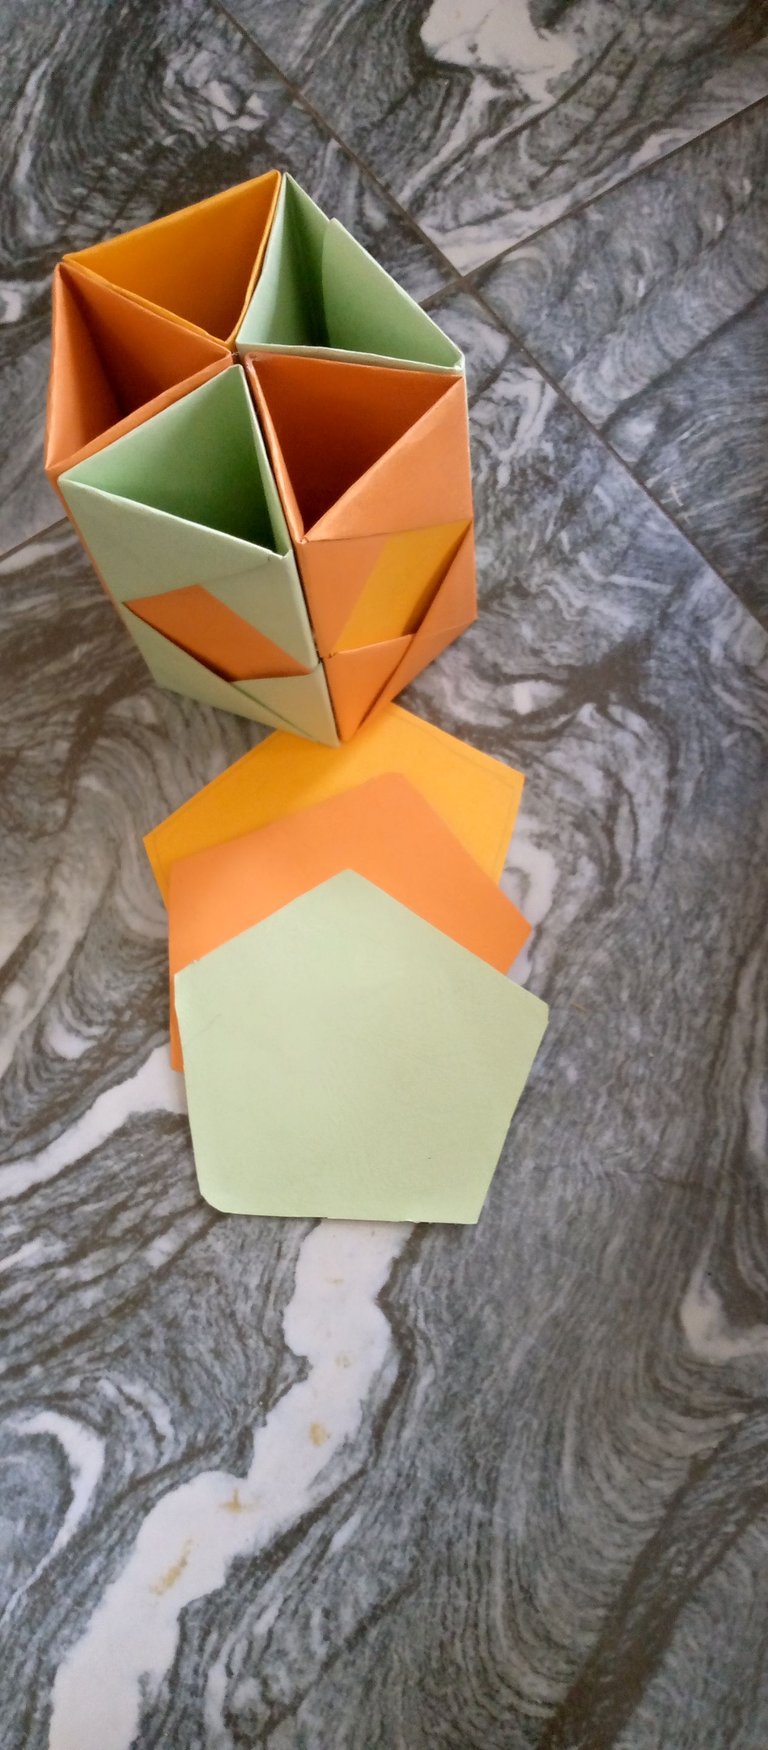
THE FINAL STAGE: attach the base to the holder using glue and your pen holder is set ready for use.
 .
.
Before now, my children and I have several times misplaced our academic materials due to one reason or the other and I keep buying more to replace the lost items but with this holder, I am sure it will save me some money used in buying repeated items. The kids are excited at this new development as well 🤩🥰
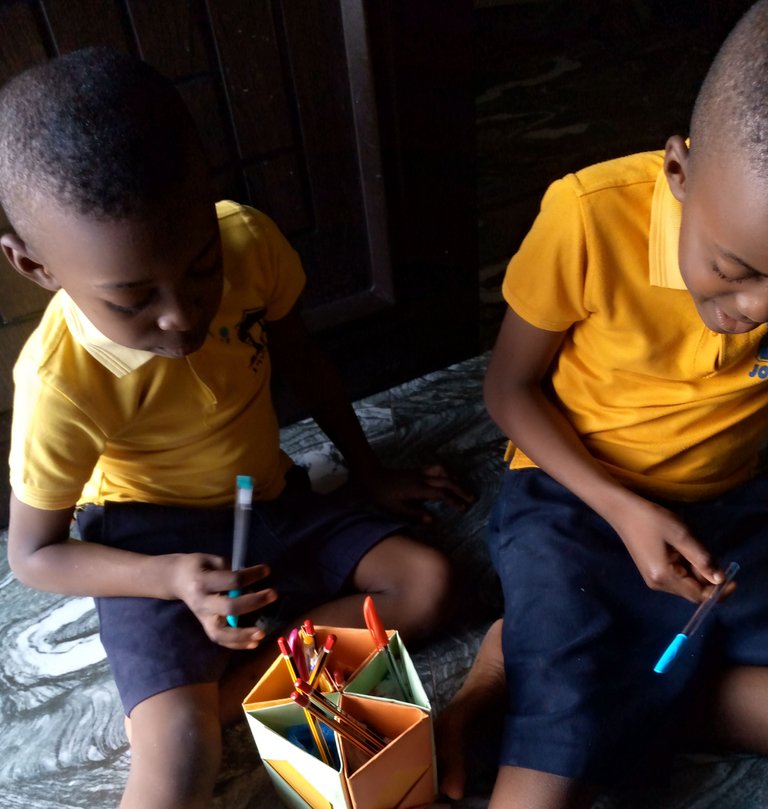
Captured them unaware..lol
Aside from the academic materials, this holder can keep for me, I can decide to keep some other things inside it like scissors, keys, and spoons and have them saved there. For you reading this, it can safeguard some little materials for you as well, you can use it as your desk organizer, etc. So why not try it and ask me questions where you are confused because there are lots of foldings as you can see🤩🥰
I will be in the comment section to answer your questions on this project if any.
Thanks for reading and for visiting my blog❤💕💞🧡💖
Please note: "All pictures are mine*


