Holla friends and fellow hive bloggers! It's a beautiful Sunday, a new week, and another edition of creative Sunday activities by this noble community. This creative Sunday project (a home-made party popper) was inspired by the hive learners community; I wasn't expecting to create a party popper until the recent update by the HL team.
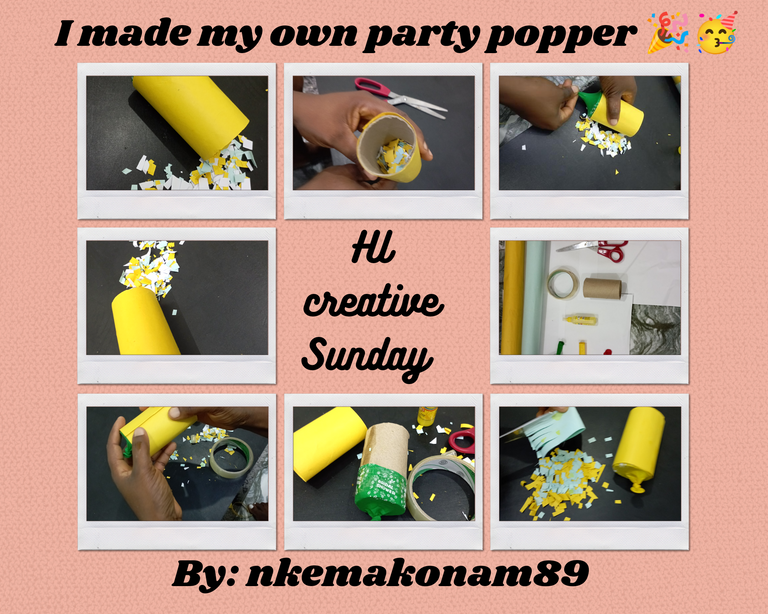
Image designed using canva app
In case you aren't aware of the upcoming event by this community, do not worry; I've got you covered😄. The Hive Learners community is about to achieve a significant milestone of 5000 chain subscribers, and they are super grateful for this. They have also deemed it necessary to create a special video for the celebration where members can contribute a short video clip saying something nice about the HL community using a party popper in the video. This information can be seen in the #announcement channel on the HL community discord server. If you are interested in joining, kindly create a support ticket on the server to receive further guidelines(if it's still available).
In preparation for my short video clip, I went to the market to get an already made party popper but then, the cost was a bit high so I decided to create a home made party popper as suggested by HL team.
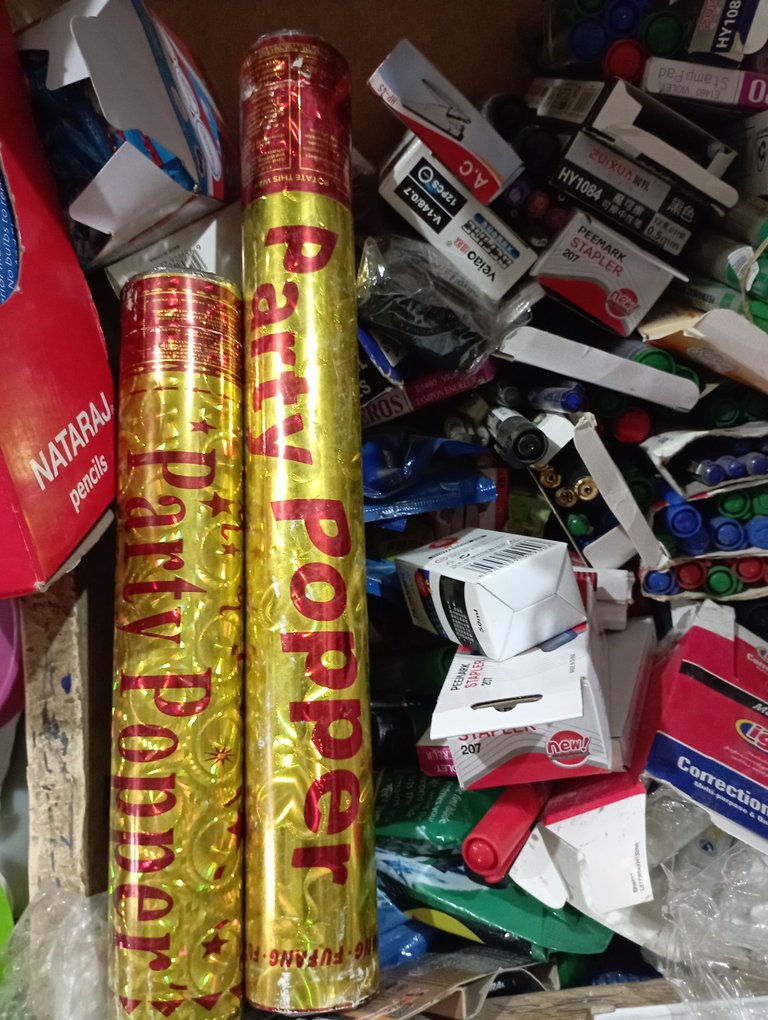
A party popper in the market
Join me as I show you step by step on how I created my own party popper,I tasted it and boom, it popped everywhere 😄🎉🥳🥳🎉...it's fun, easy steps.. let's go 🕺🕺🕺
MATERIALS USED
- cardboard papers
- A glue
- A scissors
- White Cellotape
- Balloon 🎈
- Inner tissue case
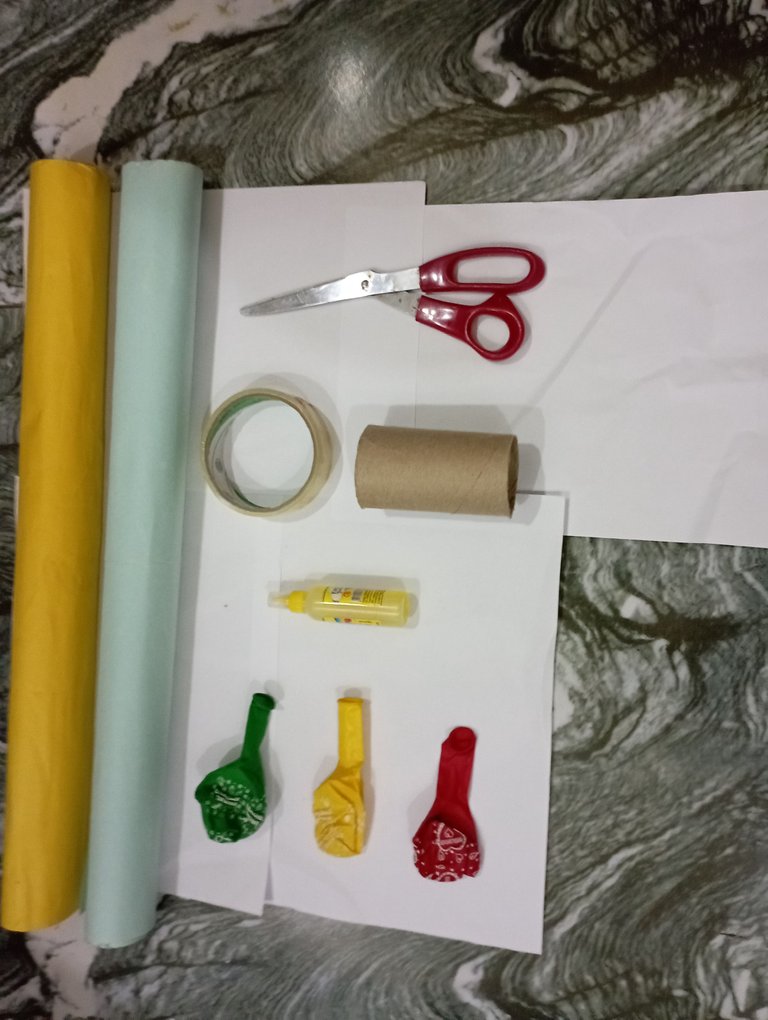
Step one
Get the inner tissue case, get your cardboard paper and cut out your cardboard enough to wrap 🌯 round the tissue case.
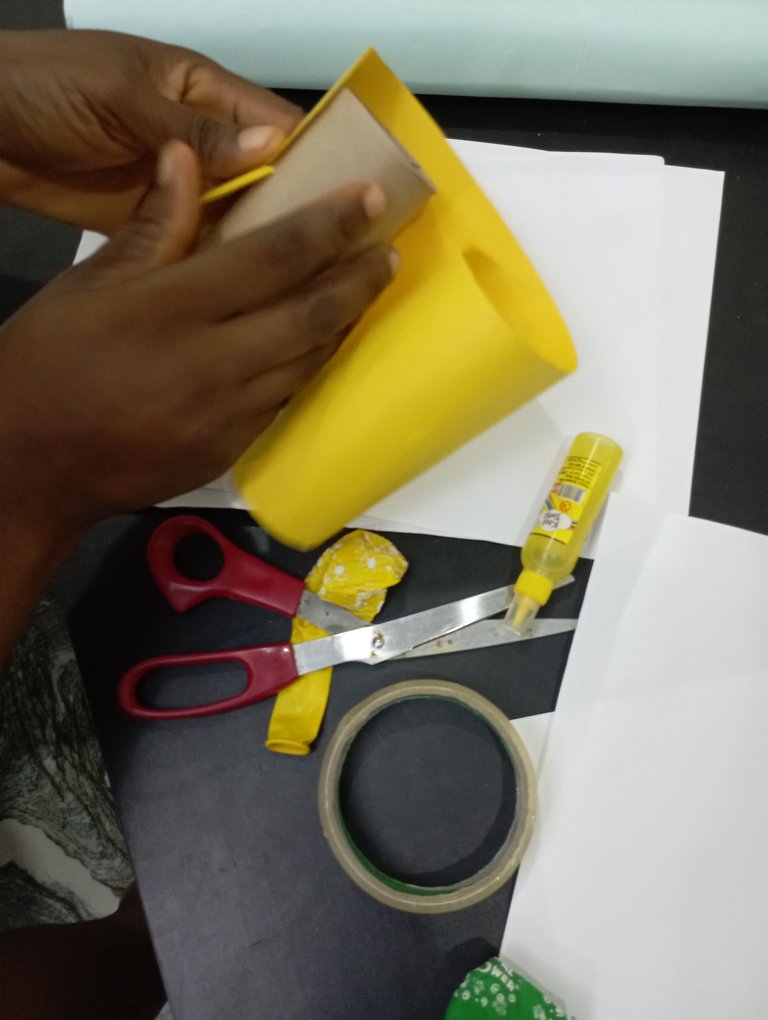
Step two
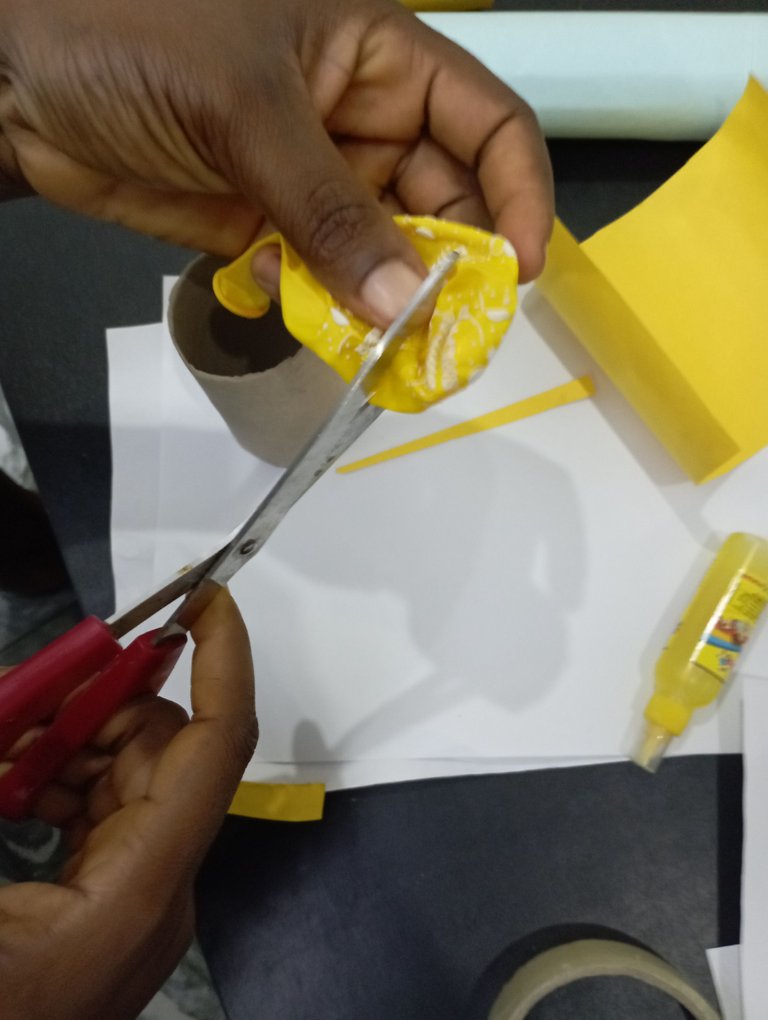
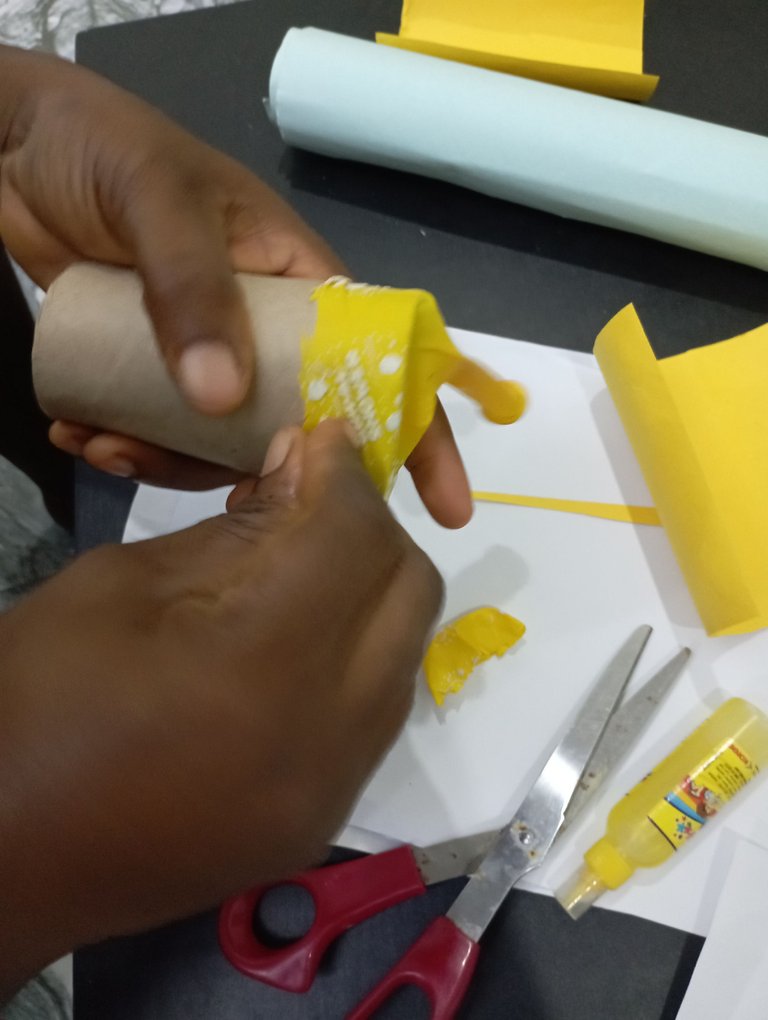
Get your balloon 🎈 and cut off the buttom part , then using the open hole created with the balloon, encase it on the tissue case as seen below
 |  |
Step three
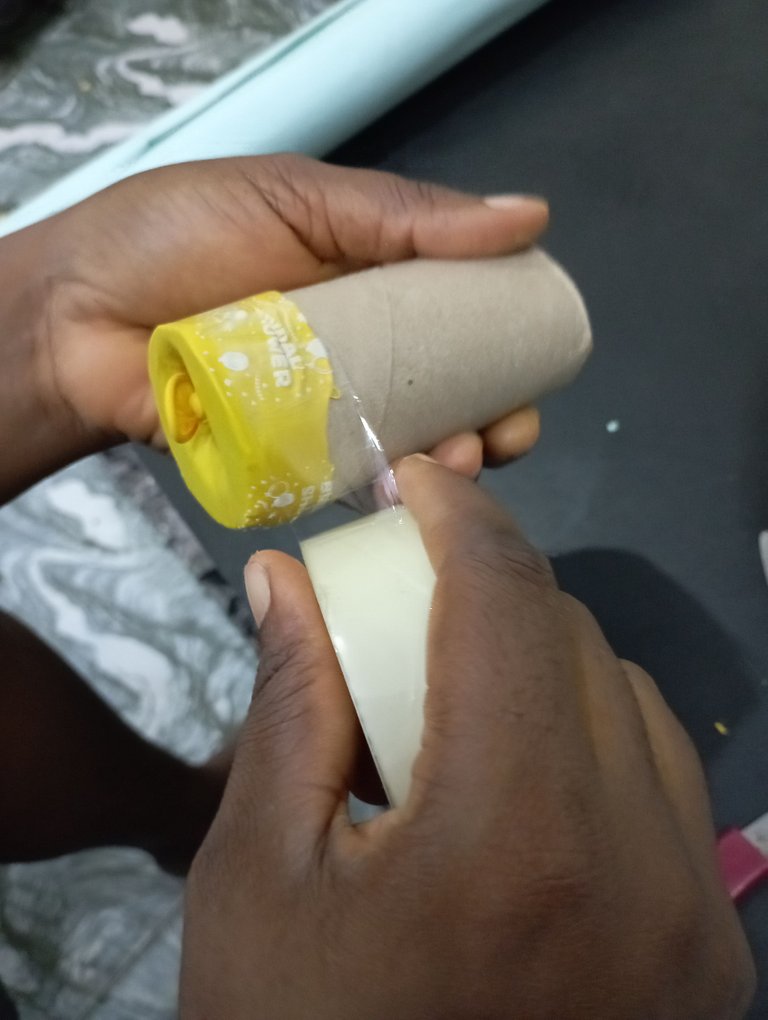
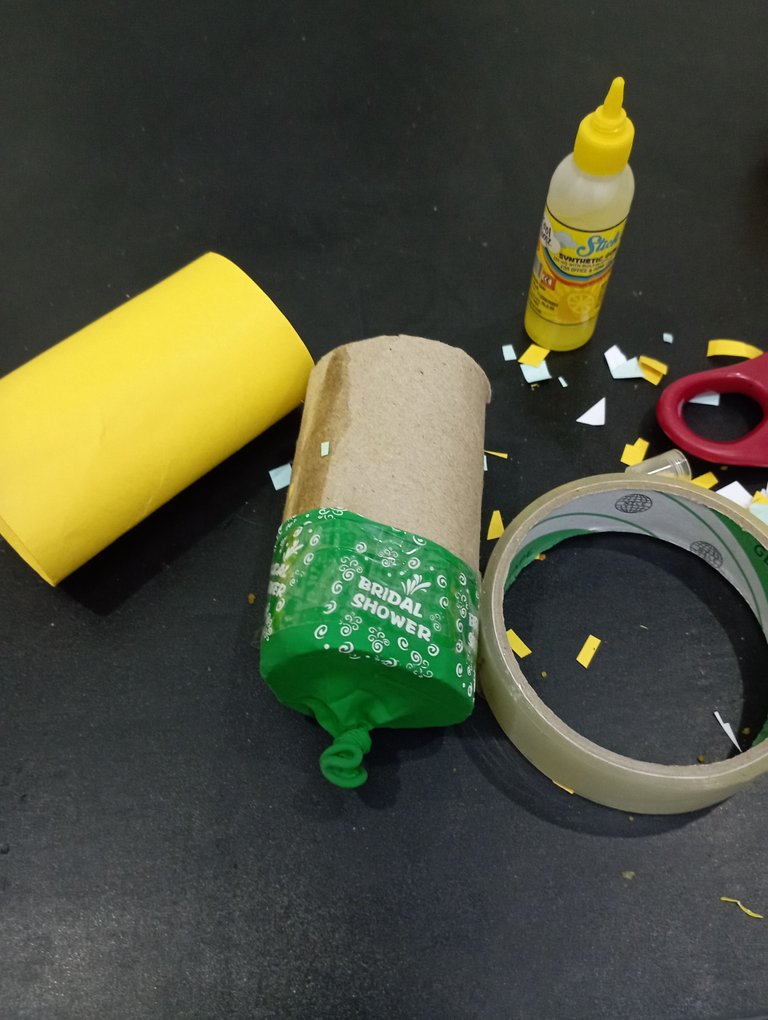
Using the white Cellotape, wrap round the balloon on the tissue paper case ensuring that it is holding it firmly.
Note: I made double of this, one for testing and one for my short video clip. You will also notice that I tied the mouth of the balloons . This is to avoid the escape of my flowers during the popping, proper.
 |  |
Step four
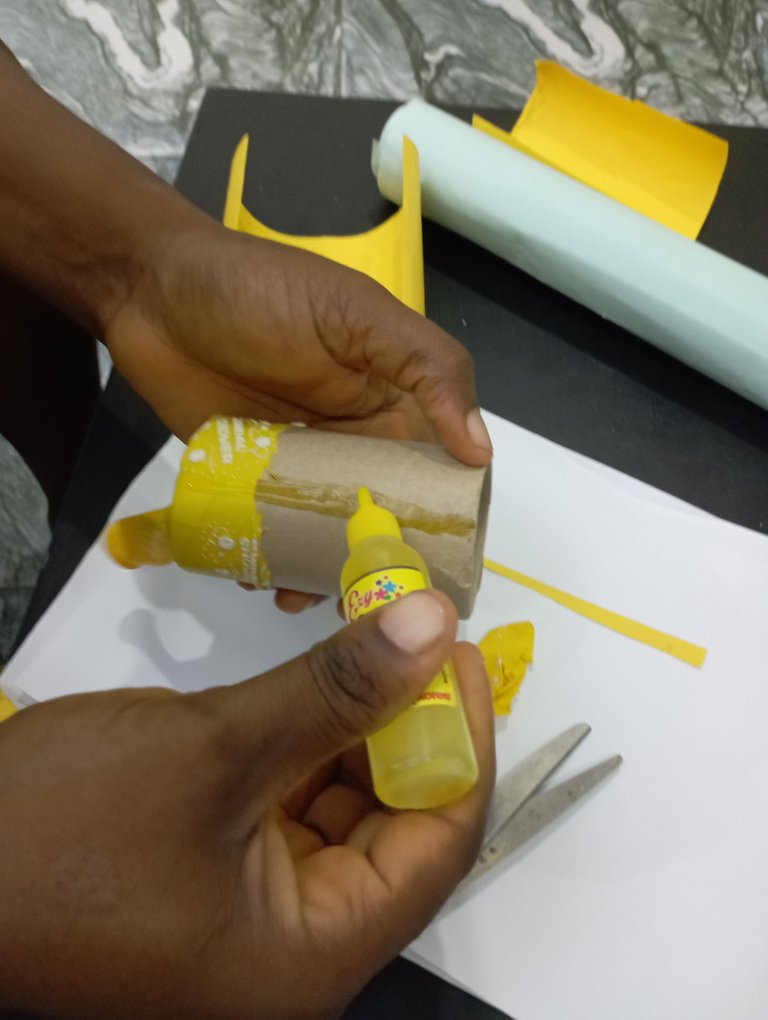
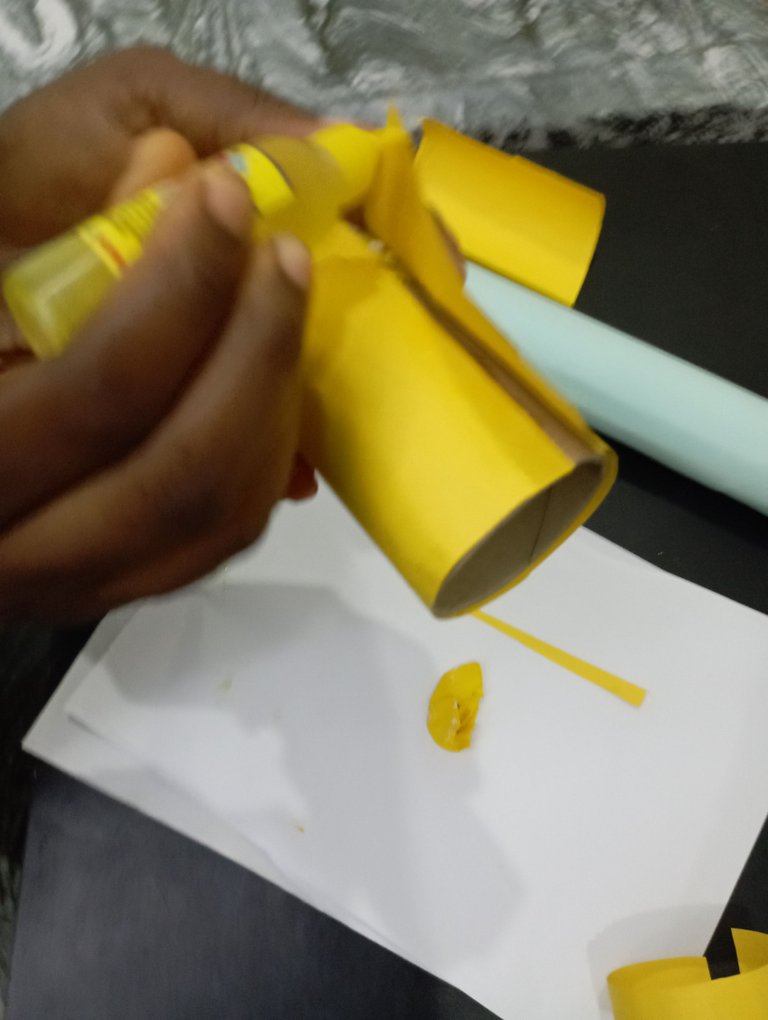
Get your glue, and apply on the tissue paper case, then use the cardboard paper already cut out to wrap it around as shown below to enable the cardboard paper stick to the tissue case
 |  |
Step five
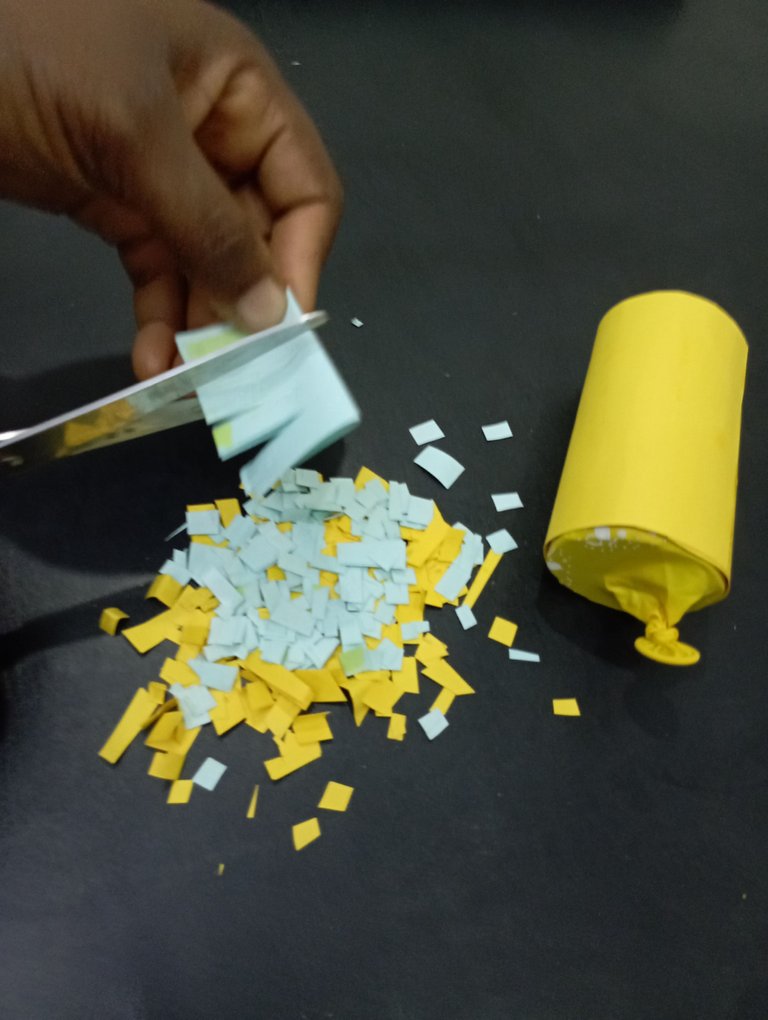
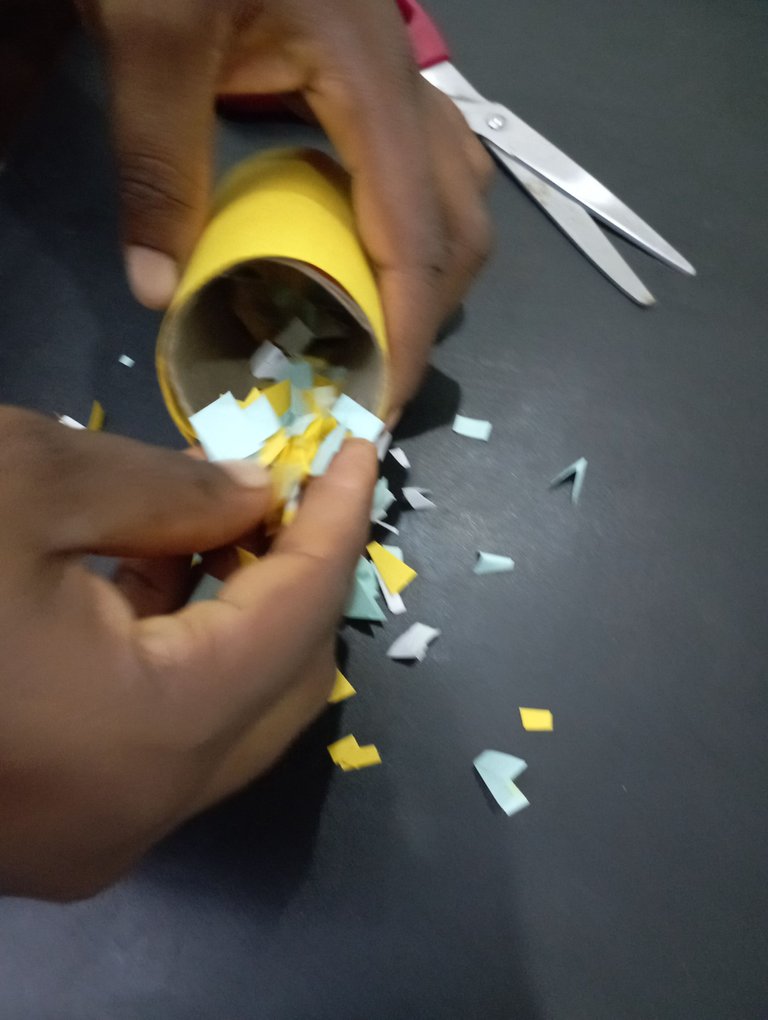
After wrapping 🌯 your cardboard paper on the body of the tissue case, establish firmness, be sure that both the balloon 🎈 and the cardboard are intact,then cut anything you want to use as flowers 🌺🌹 for the popping. Here I used ordinary white paper and two different colours of cardboard papers. I have them cut in tiny pieces then pour Inside my home made party popper 🎉🥳
 |  |
Step six
At this stage your home made party popper is ready. As mentioned earlier, I told you it's just very easy to make.
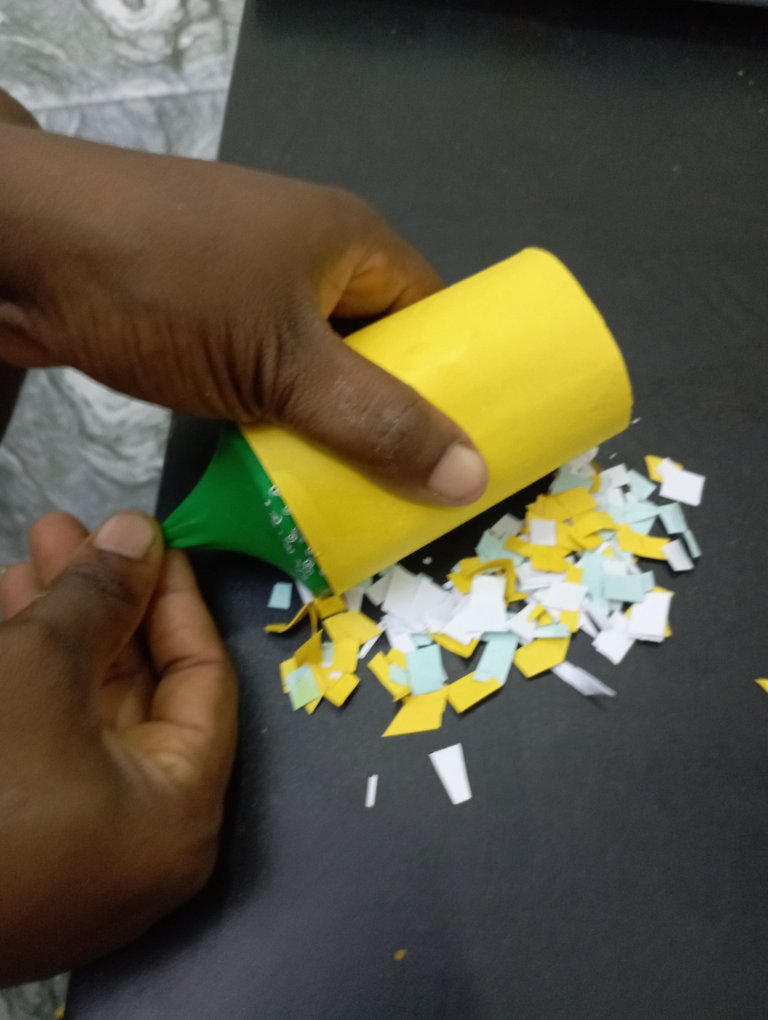
Are you throwing a surprise party but do not have time to buy an already made party popper in the store? I got you covered on how to quickly do a home made party popper at ease to have fun in your parties 🎉🥳
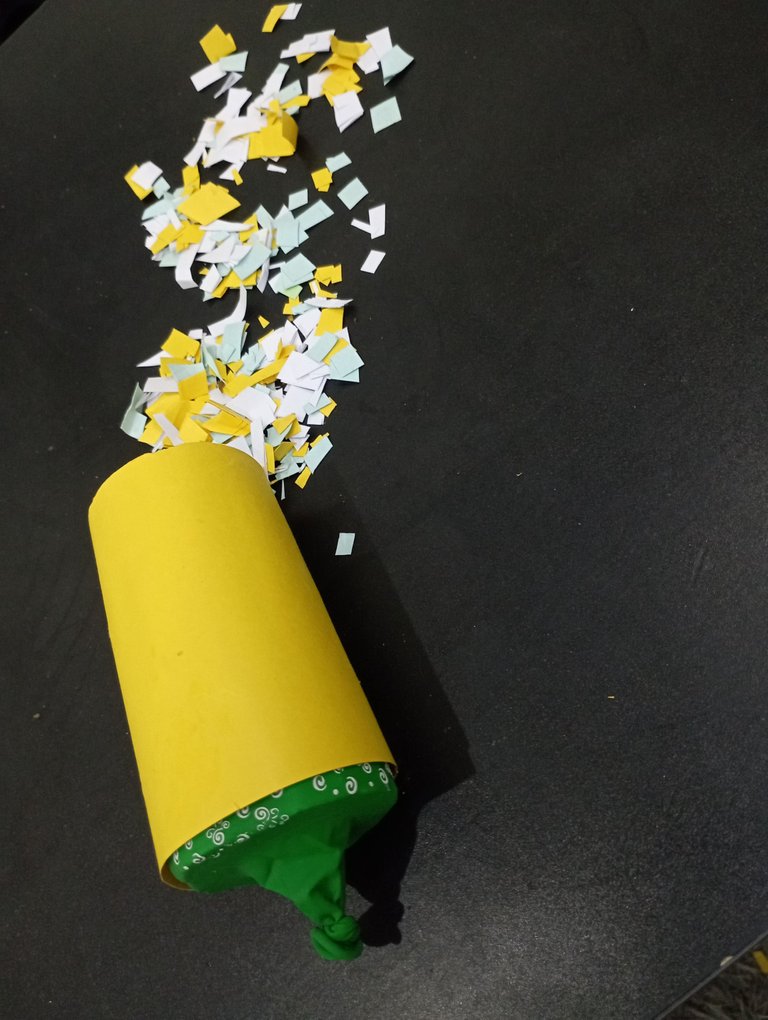
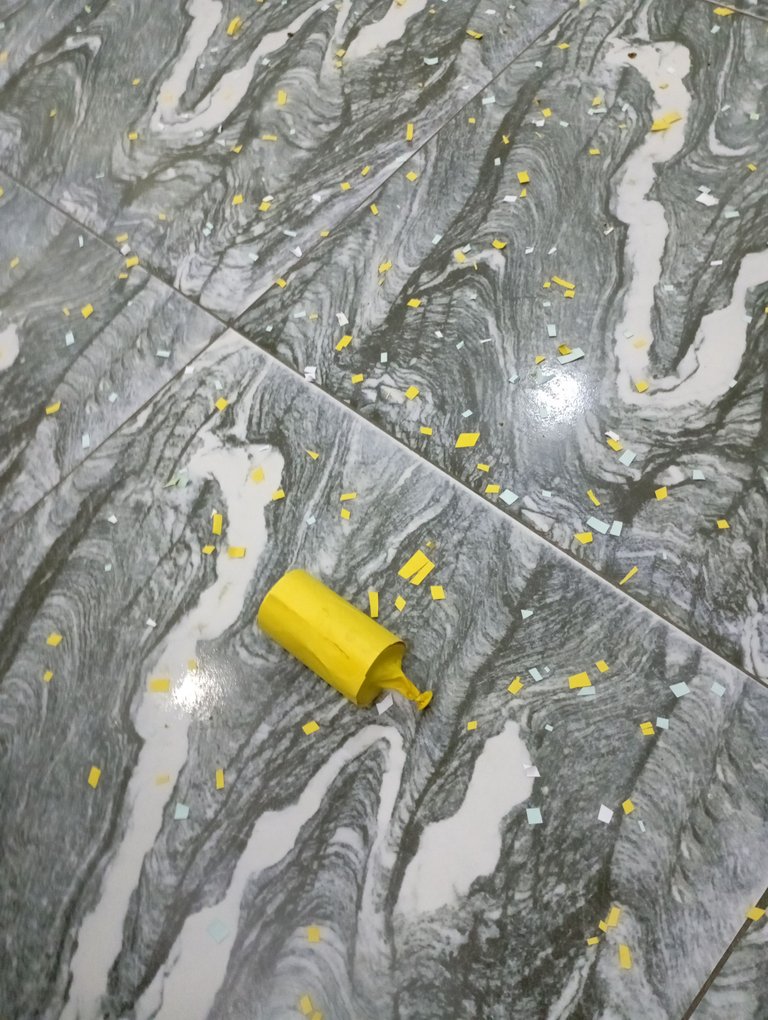
So this is it, a party popper locally made, and guess what? I popped it and the flowers spread everywhere, I was excited seeing that it worked 😊...
Remember I made double, one with green balloon 🎈 for my short video clip and the other with a yellow balloon for testing just like I did here😄
 |  |
All pictures are mine
