A Good, Nice & Cheap hamster wheel? [ENG-ESP]

in #hive-1305602 years ago
Greetings friends of the Hive DIY community, welcome to my post once again, I'm Nitsu and today I want to share with you this homemade hamster wheel that I made very cheaply, explain some basic concepts and why not, save some money before buying a commercial wheel.
Saludos amigos de la comunidad Hive DIY, bienvenidos a mi post una vez más, soy Nitsu y hoy quiero compartirles esta rueda casera para hámster que fabrique de forma muy barata, explicar algunos conceptos básicos y ¿Por qué no?, ahorrar algo de dinero antes de comprar una rueda comercial.
20221214_183741.gif

To begin with at first I did not have a hamster wheel so my girlfriend lent me the one she had, with this my hamster could enjoy a few months of running and doing his nightly exercises, although I had to return the wheel so my girlfriend could sell the habitat of her hamster along with the wheel, so I had to get down to work and get everything needed to assemble one.
Para comenzar en un principio yo no contaba una rueda hámster así que mi novia me presto la que tenía, con esto mi hámster pudo disfrutar unos cuantos meses de correr y hacer sus ejercicios nocturnos, aunque tenía que devolver la rueda para que mi novia pudiera vender el hábitat de su hámster junto con la rueda, así que toco poner manos a la obra y conseguir todo lo necesario para armar una.
Something I would like to point out is that there are many commercial wheels that are not suitable for our little furry friends, what is recommended for a Russian hamster are wheels of 20cm diameter. Maybe when they are small it is difficult for them to run in these big wheels, but as they grow they need to be able to run with their back straight and this is not possible in a wheel of small diameter which in the long term could bring problems in the spine of our animal or that directly does not run in its wheel and that the animal can exercise is super necessary because the hamsters are animals that can run 6 kilometers per night.
Algo que me gustaría resaltar es que hay muchas ruedas comerciales que no son aptas para nuestros pequeños amigos peludos, lo recomendable para un hámster ruso son ruedas de 20cm de diámetro ¿Por qué? Tal vez cuando son pequeños les cuesta correr en estas grandes ruedas, pero mientras van creciendo ellos necesitan poder correr con la espalda recta y esto no es posible en una rueda de diámetro pequeño lo cual a largo plazo podría traer problemas en la columna de nuestro animal o que directamente no corra en su rueda y que el animal pueda ejercitarse es super necesario porque los hámsters son animales que por noche pueden llegar a correr 6 kilómetros.
20221214_174308.png 20221214_174316.png 20221214_174332.png
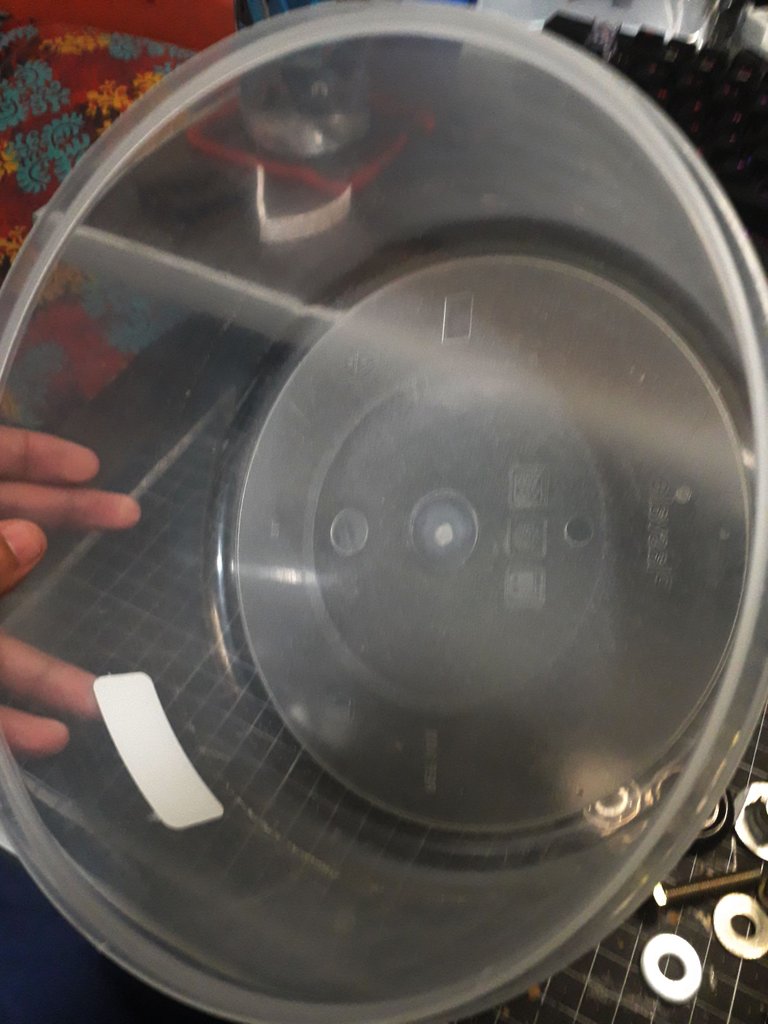
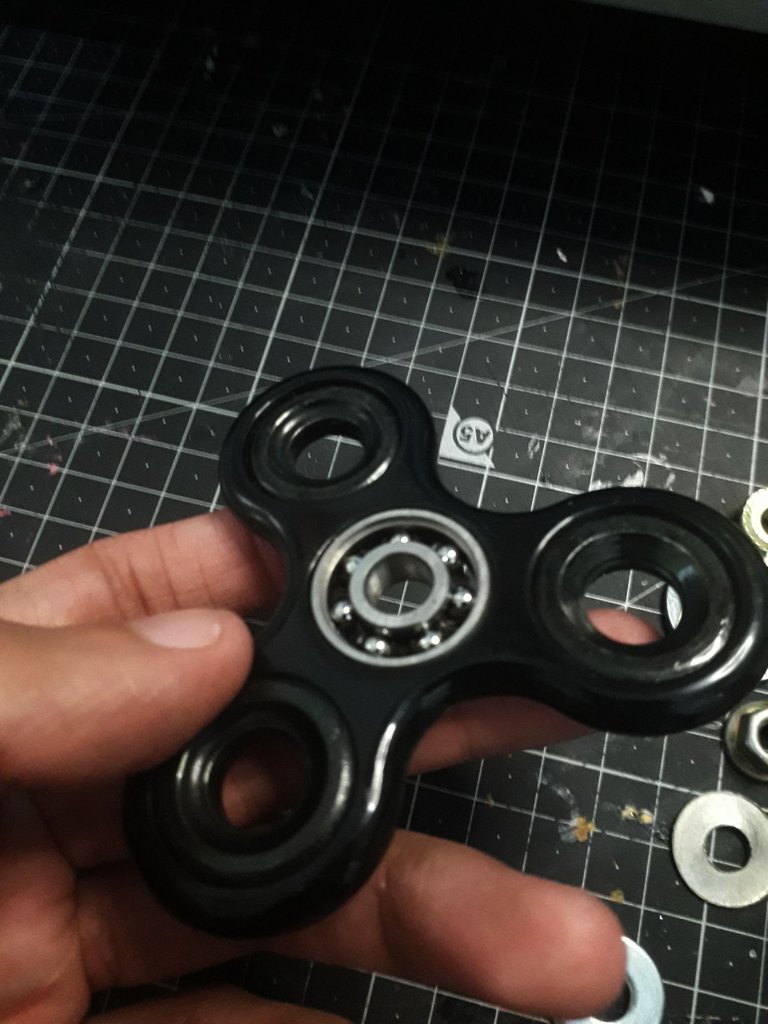
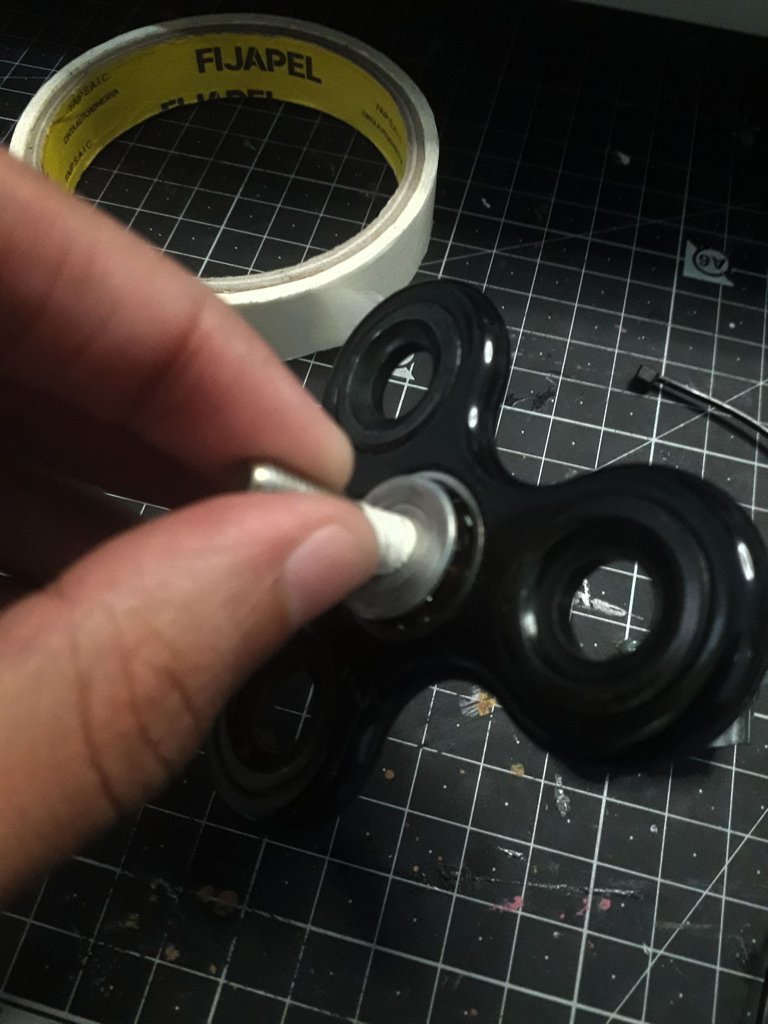
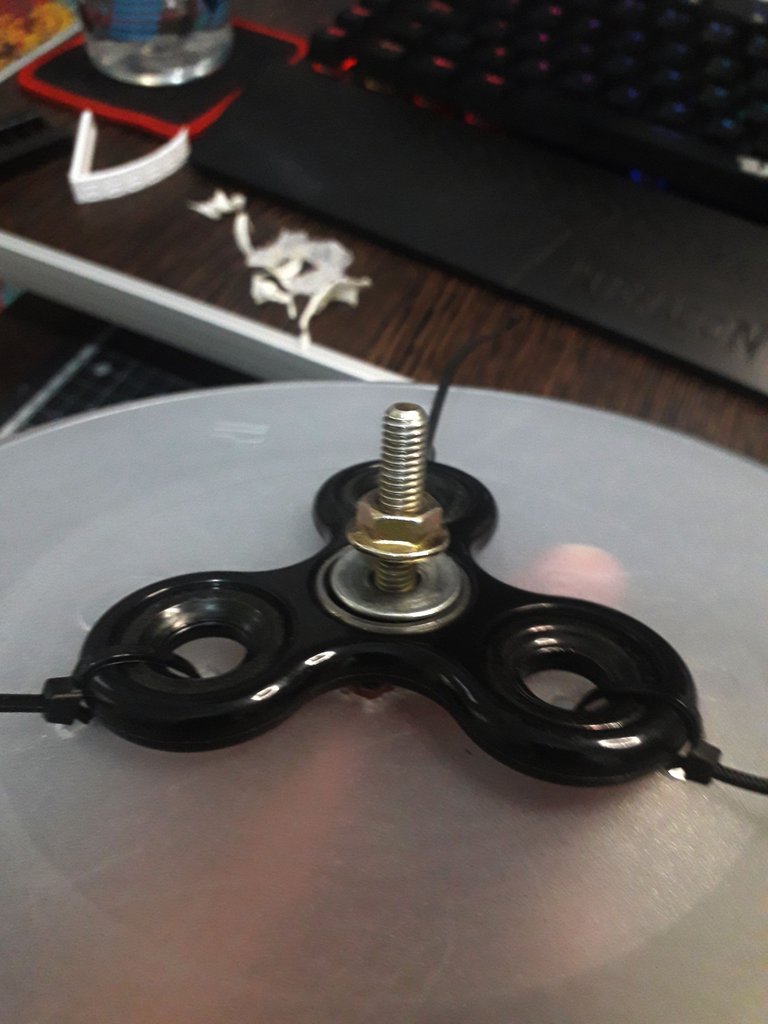
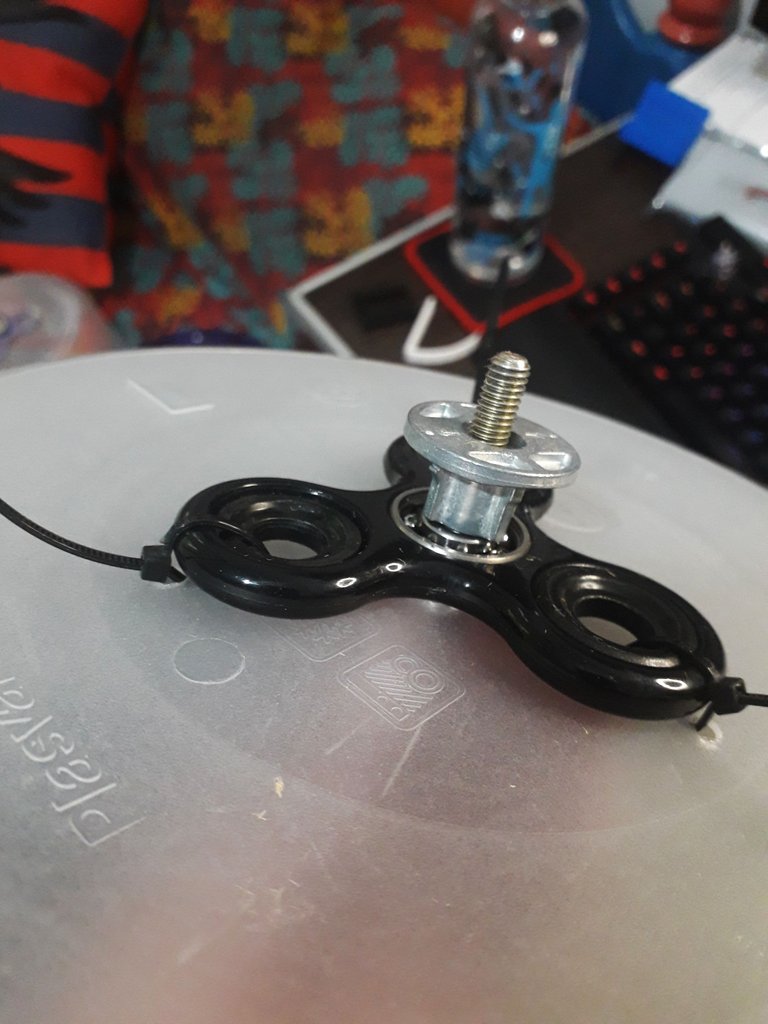
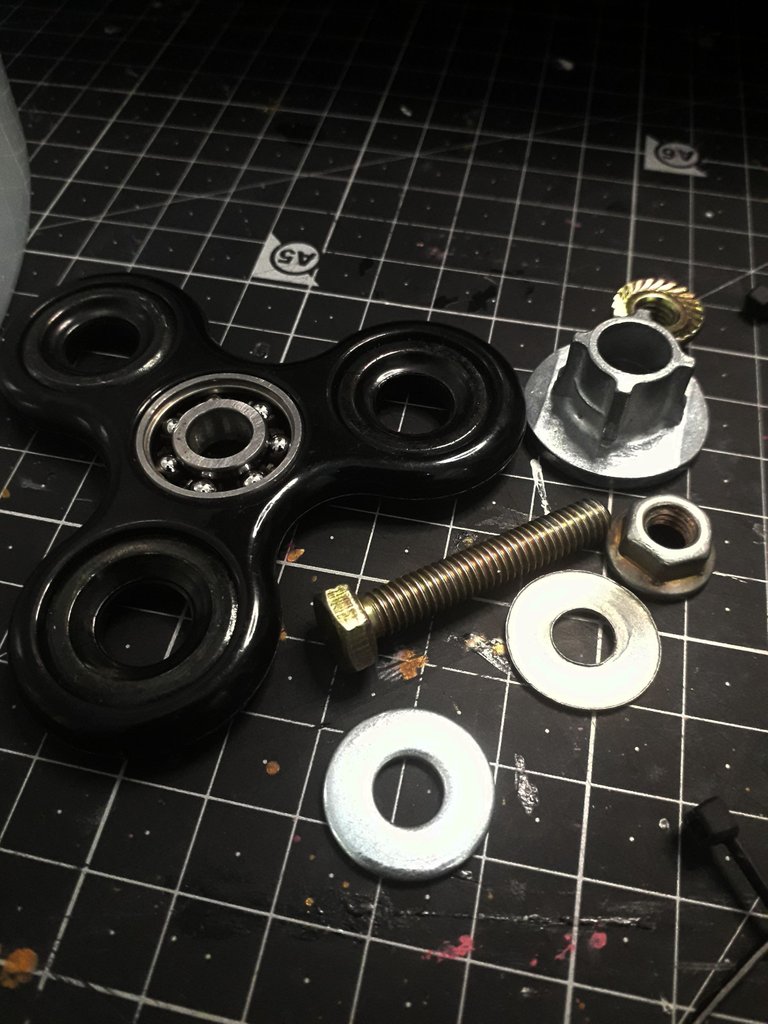
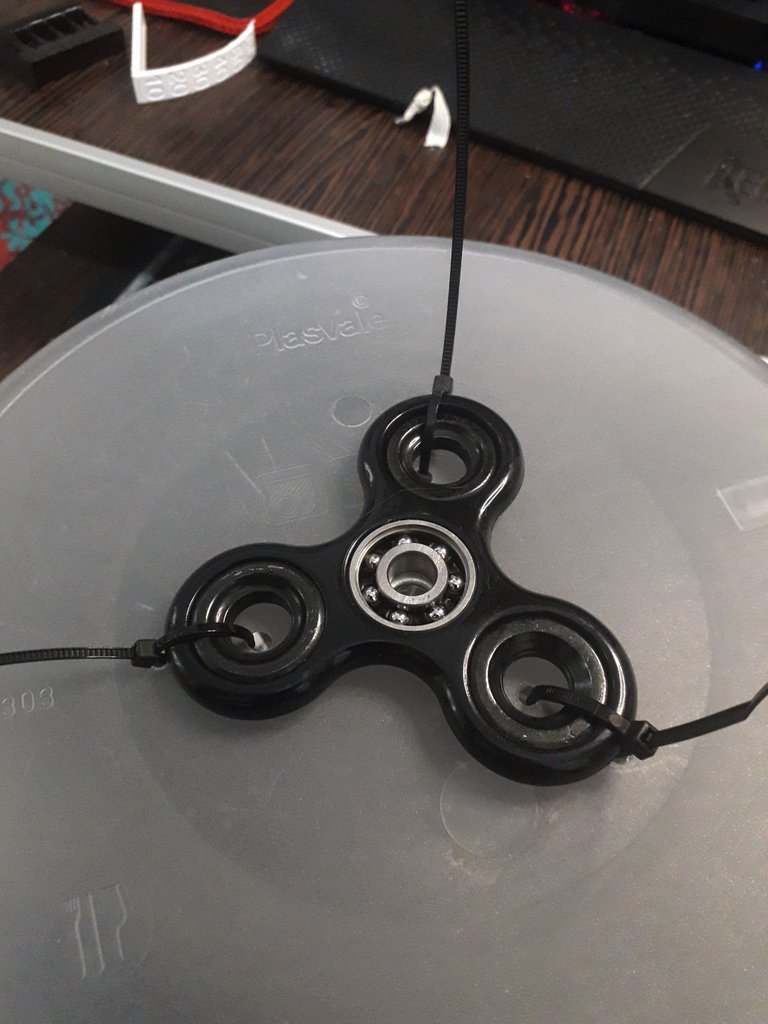
The basic materials to be able to make this wheel are a spinner like the one you see in the image and a large cup. The parts that may vary are the screws, some will prefer to adjust certain parts with seals, others with screws and nuts, what we must achieve is to be able to adjust the spinner to the cap while a central screw links all this part with the habitat of our pet.
Los materiales básicos para poder hacer esta rueda son un spinner como el que ven en la imagen y un táper grande. Las piezas que pueden llegar a variar son los tornillos, algunos preferirán ajustar ciertas partes con precintos, otros con tornillos y tuercas, lo que si o si debemos lograr es poder ajustar el spinner al táper mientras un tornillo central vincula toda esta parte con el hábitat de nuestra mascota.
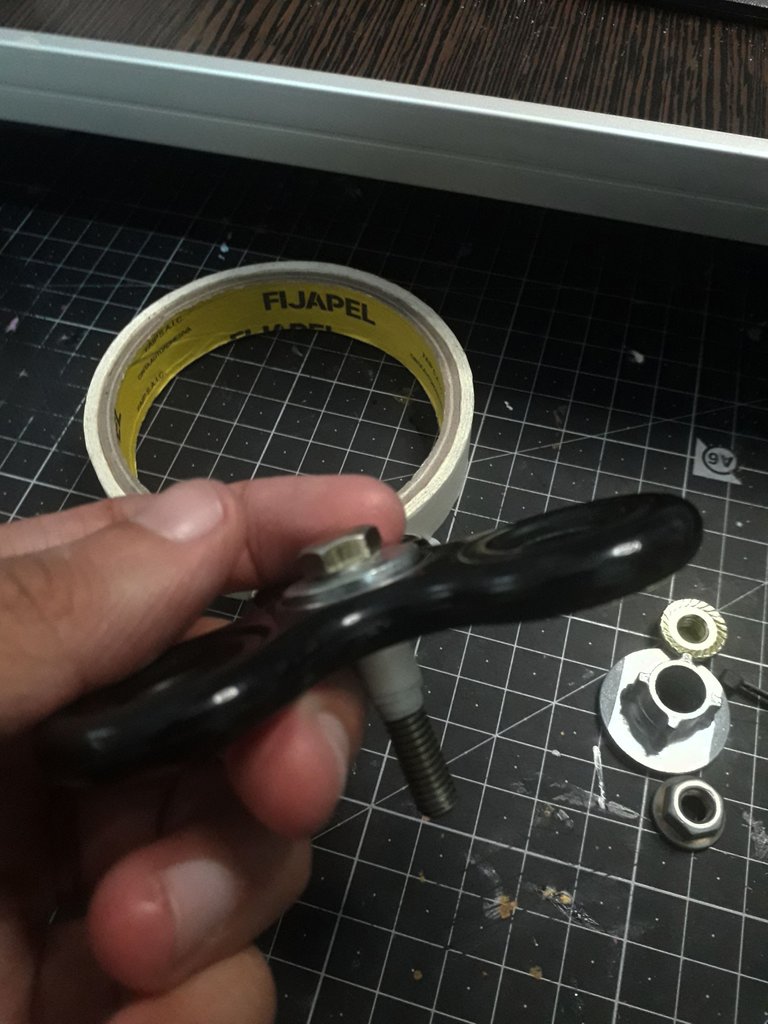
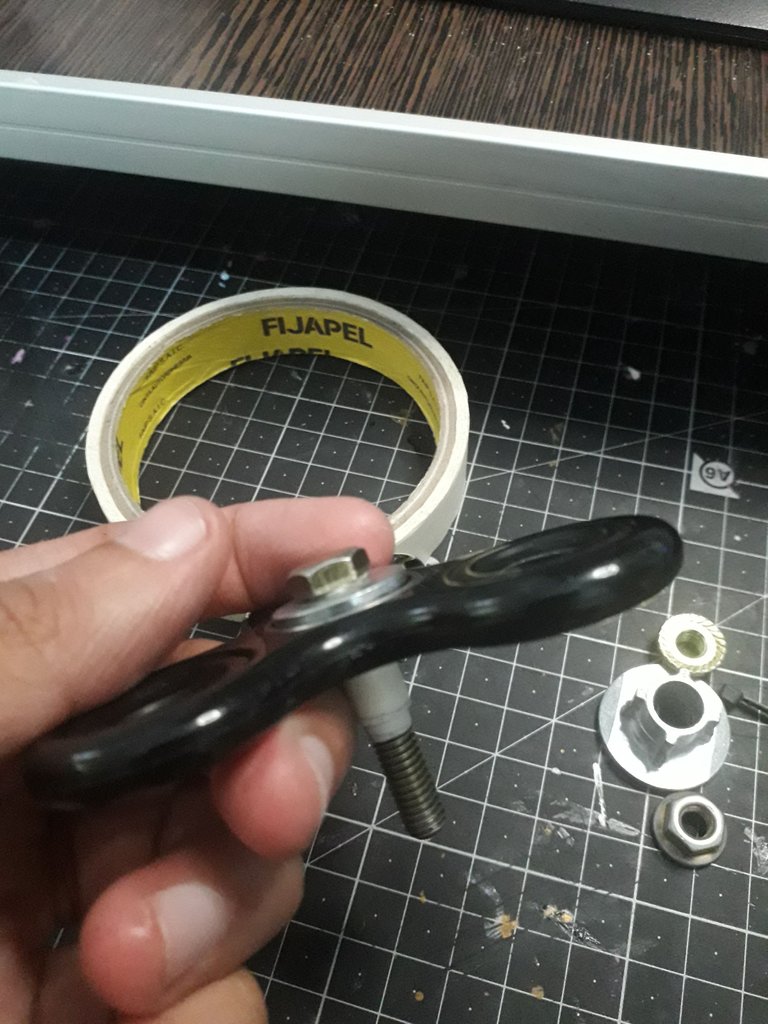
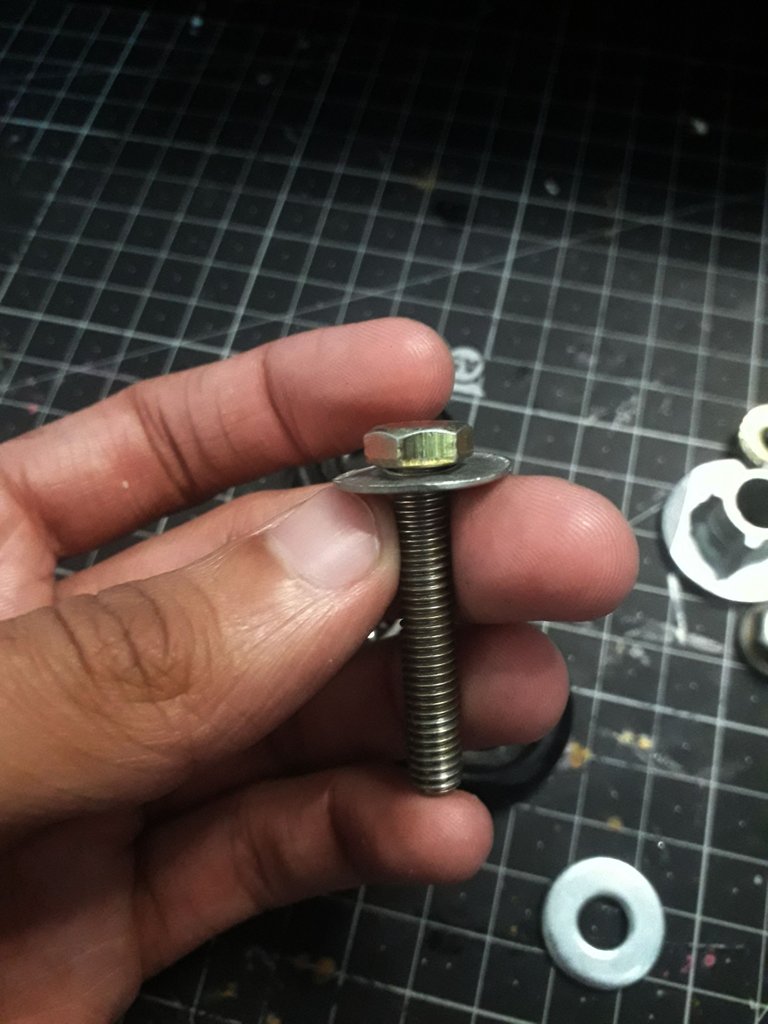
I for example used seals, screws, nuts, self-adjusting nuts and some washers to use as spacers because we must leave a space between the rotating part and the adjustment area of the habitat because otherwise there will be too much friction preventing the wheel to rotate properly.
Yo por ejemplo utilice precintos, tornillos, tuercas, tuercas auto ajustables y algunas arandelas para usar como espaciadores ya que deberemos dejar un espacio entre la parte que gira y la zona de ajuste del hábitat porque si no habrá mucha fricción evitando que la rueda gire correctamente.
20221214_174355.png 20221214_174630.png
20221214_174636.jpg 20221214_175048.png
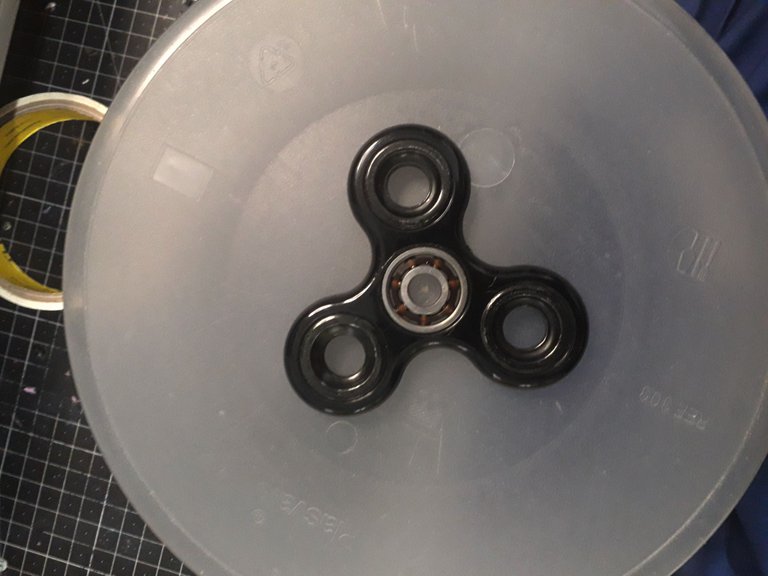
To begin, I took the cap, placed the spinner in the central area and marked the holes I had to make with a black fibre. Later I connected my soldering iron to make the holes in the plastic, it is not necessary to do it with a soldering iron since you can heat a nail to make holes or some other piece of metal that allows you to do this process in a simpler way.
Para comenzar tome el táper, coloque el spinner en la zona central y marque los agujeros que tenia que hacer con un fibron negro. Posteriormente conecte mi soldador para hacer los agujeros en el plástico, no es necesario que lo hagan con un soldador ya que pueden calentar un clavo para agujerear o alguna otra pieza de metal que les permita hacer este proceso de una forma más sencilla.
20221214_175117.png

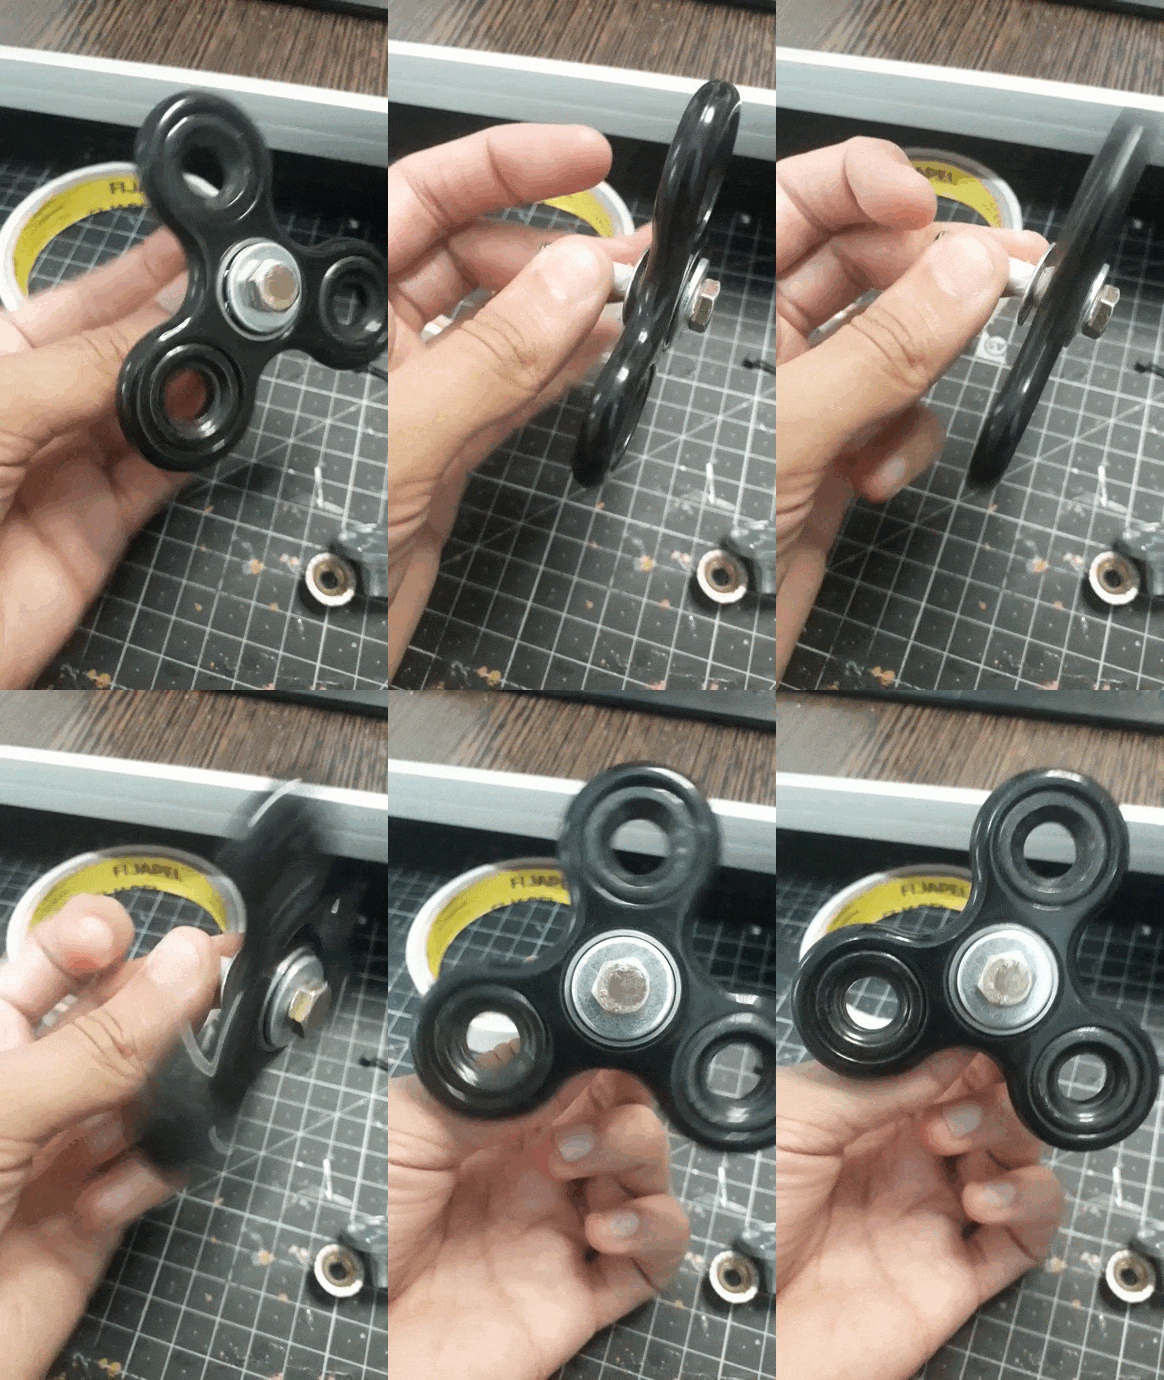
Then I started with the centering axle that would allow the hamster to turn the wheel, the truth is there is no exact technique or infallible method, you have to keep trying until everything turns correctly without getting stuck, I strongly recommend the washers to use them as spacers between the pieces, if you do not have washers you can assemble these spacers with some plastic or thin MDF wood.
Luego empecé con todo el eje centrar que permitiría el giro en la rueda para el hámster, la verdad no hay una técnica exacta ni un método infalible hay que ir probando hasta que todo gire de forma correcta sin que se trabe, recomiendo encarecidamente las arandelas para poder usarlas como espaciadores entre las piezas, si no contas con arandelas podés armar estos espaciadores con algún plástico o madera fina de MDF.
20221214_175027.gif

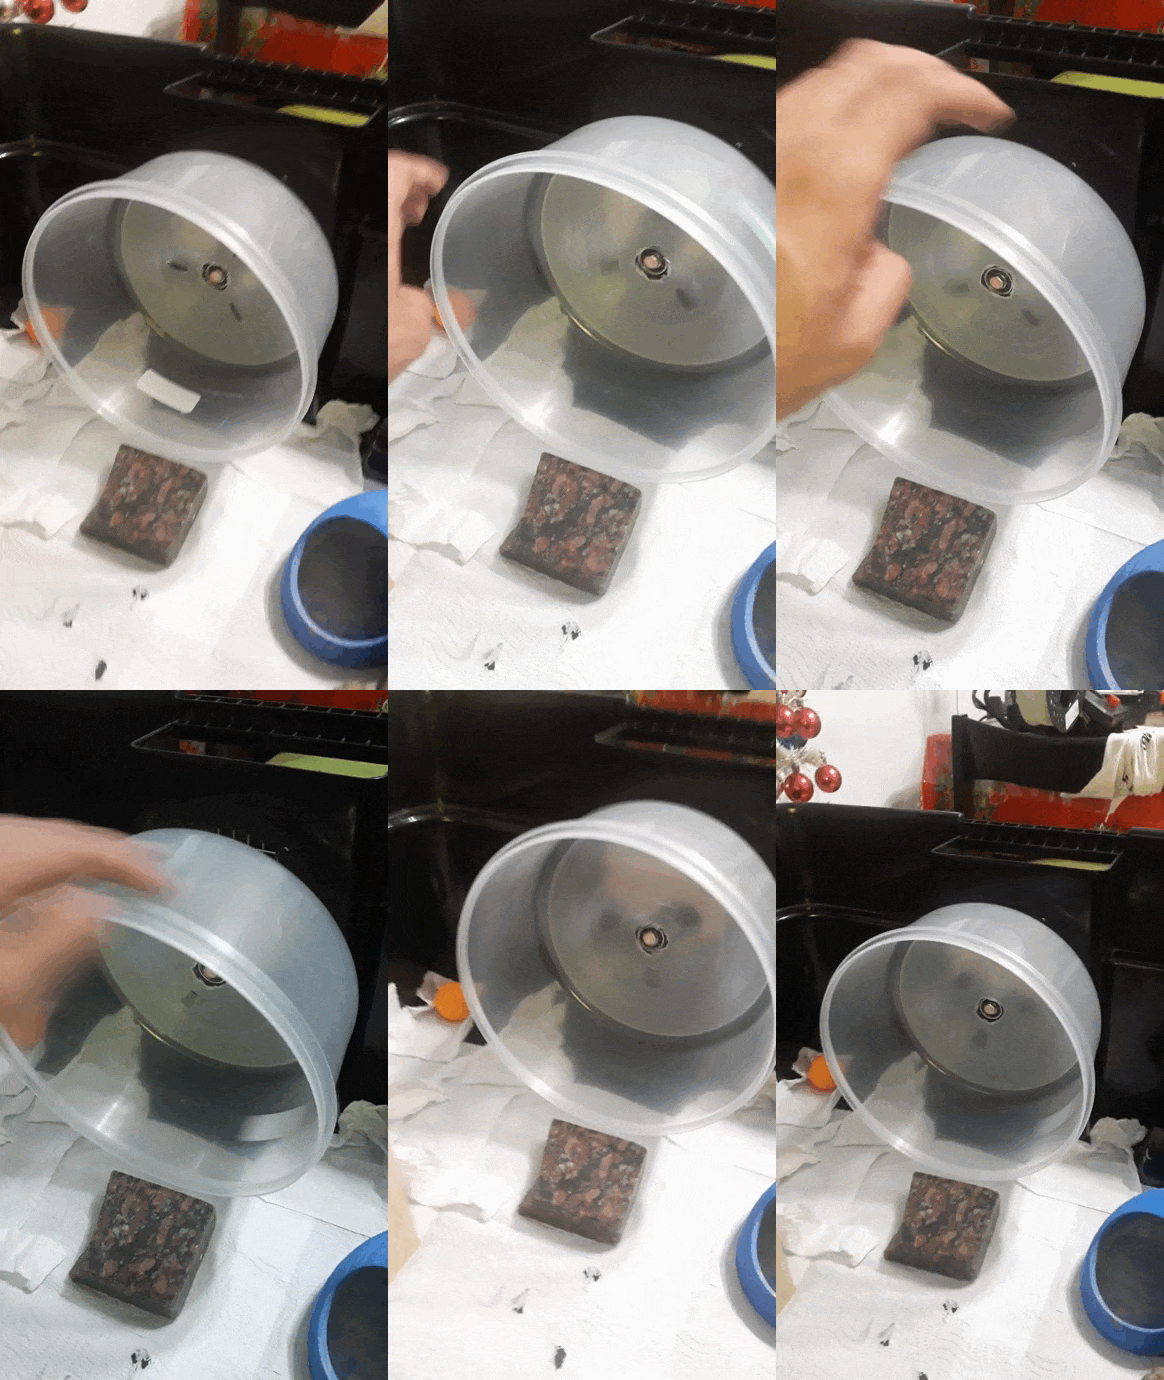
Place the spinner in the center after making the holes and tighten it with seals, I didn't use screws so that the wheel would be lighter and spin better, but you can use any of the options you have. Pass the screw that served as an axle and place a metal spacer. After a few tests I was satisfied and took the wheel to my hamster's habitat to test the link between them. By means of a small piece of MDF plus the threaded nut I was able to link the wheel to the habitat generating a wide surface to fit it and keep it in place.
Coloque el spinner en el centro luego de hacer los agujeros y ajuste con precintos, no use tornillos para que la rueda fuera más liviana y girara mejor, pero vos podés usar cualquiera de las opciones con la que cuentes. Pase el tornillo que cumplía la función de eje y coloque una pieza de metal espaciadora. Tras hacer unas pruebas me quede conforme y lleve la rueda hasta el hábitat de mi hámster para probar el vínculo entre estas. Por medio de una pequeña pieza de MDF más la tuerca roscada logre vincular la rueda al habitar generando una superficie amplia para justarlo y que quede en su lugar.
20221214_181234.png 20221214_182325.png 20221214_182922.png

20221214_183130.gif

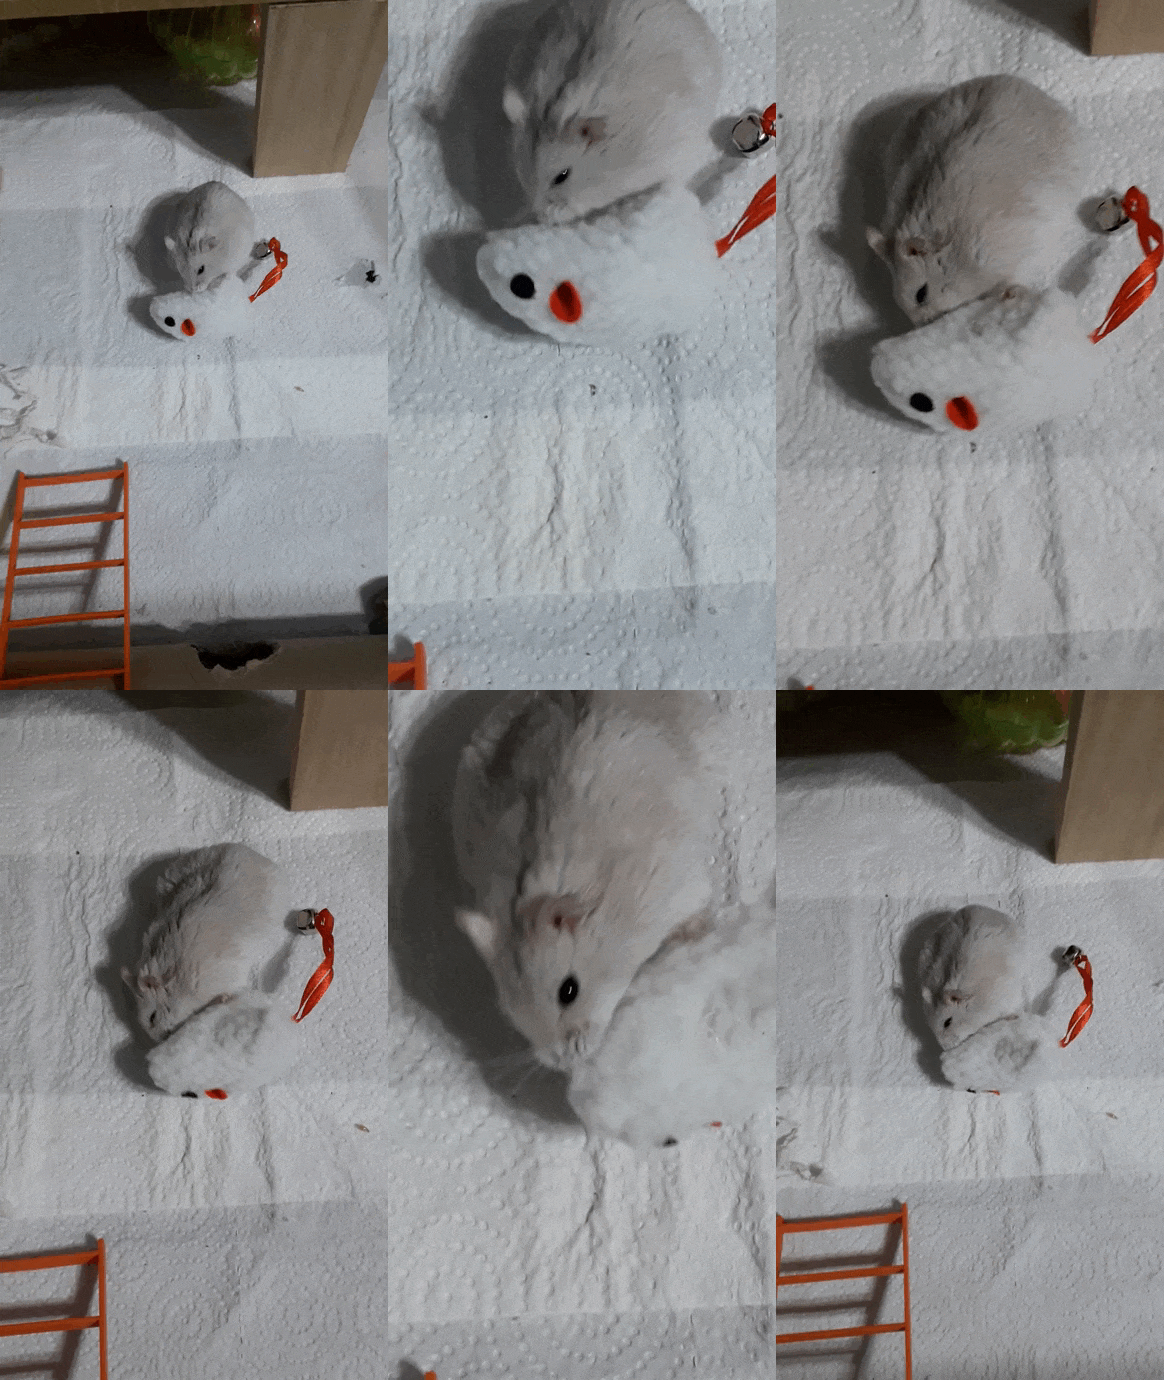
Once I was sure that everything was working fine I called my hamster to see if it was working, I have to be honest with you, my hamster is already advanced in age, in September of this year he is about to have his birthday so you could say he is a grandfather hamster and he does not exercise much anymore, he prefers to sleep, eat and be a little active during the day or night so I have not had the opportunity to see him run so much in his new wheel but anyway he has used it a little and I know he thanks me for it.
Una vez estuve seguro de que todo funcionaba bien llame a mi hámster para ver si funcionaba, tengo que serles sinceros, mi hámster ya esta avanzado de edad, en septiembre de este año esta por cumplir años así que podría decirse que es un hámster abuelo y ya no hace mucho ejercicio, prefiere dormir, comer y estar un poco activo durante el día o la noche así que no he tenido la oportunidad de verlo correr tanto en su nueva rueda pero de todas formas un poco la ha usado y se que el me lo agradece.
20220811_193446.gif

With this wheel I have saved a lot of money and it fits perfectly to the space where my hamster lives, a commercial wheel can be around 15 or 20 dollars as cheap as you can get all prices and I open spending about $ 5 or less between all the pieces that I told you.
Con esta rueda me he ahorrado mucho dinero además de que se adapta perfectamente al espacio donde vive mi hámster, una rueda comercial puede rondar los 15 o 20 dólares como barato ya que se pueden conseguir de todos los precios y yo abre gastando unos 5 dólares o menso entre todas las piezas que les comenté.
Thank you for stopping by to read my post, I hope you found it helpful and enjoyed getting to know my hamster Toti. Thank you for your time, I'm Nitsu and I look forward to reading you here in the Hive DIY community.
Gracias por pasar a leer mi post, espero que les haya podido ser de utilidad y hayan podido disfrutar de conocer a mi hámster Toti. Gracias por su tiempo, soy Nitsu y espero poder leerlos aquí en la comunidad de Hive DIY.

END.png

My 3D printing works @nit_3dprinting

Mis trabajos de impresión 3D @nit_3dprinting
Translated by DeepL
Traducido con DeepL
All images are my own
Todas las imágenes son de mi autoría

My last post Total control with Octoprint [ENG-ESP]
Mi último post Total control with Octoprint [ENG-ESP]

Sort:  

@nitsugar12
You have done an amazing creative wheel ...I was amaze when am reading the post

Muchas gracias @harhess pensé que tambien a alguien más podría serle útil para su mascota

Todo muy bueno pero cómo que un hámster puede correr 6km en una noche? Jajajaja de donde sacan tanta energía, que me presten un poco :p

Me gusta cuando el ingenio te hace ahorrar plata, es lo más productivo. Quedó excelente la ruedita, espero que tu hamster la disfrute (cuando tenga ganas).

Yo tambien me quede super sorprendido cuando me entere lo de los 6 km jajaja recién hace algunas semanas a la noche escuche que estaba corriendo pero cada vez que lo iba a mirar dejaba de correr para medirme que lo alce.

I know what happens next:


Good job on the wheel!

Se viene posteo próximamente de super laberinto para hámster ajajaj

Loading...

Fidget spinner for a bearing... brilliant!

Mucho más barato que comprar solo el ruleman aparte

¡Claro que sí!

Cuando lo construyes por ti mismo, se aprecia más. Lleva en parte orgullo por el buen trabajo y la ayuda a la economía.

Luce bastante bien su trabajo, ha sido bastante ingenioso amigo.

Y cuando estas corto de plata y no queres gastar una barbaridad en una rueda y encima que no sea cómoda para tu mascota se te ocurren nuevas formas de solucionarlo jajaja gracias @soltecno por pasarte.