English
Good morning, good afternoon and good evening my friends from @dailyblog
Today I bring you this first unpacking that I do in Hive, of this bar type chair that I gave to my wife @zupasteleria.
Join me as I take a look at this process.
Looking for an option for my wife to work in the best way to make her wonderful creations, we visited several stores until we found this Home Collection bar chair. We chose it because it swivels, has a padded seat and can be adjusted in height.
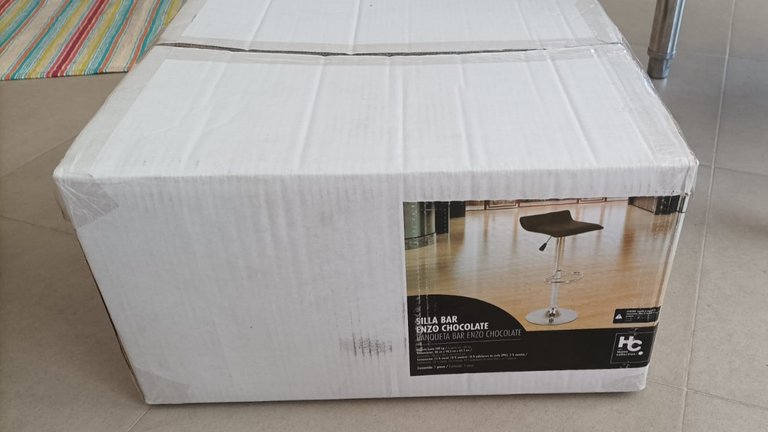
Obviously, the chair comes in its box unassembled with all its elements to assemble, so here I tell you the unpacking and assembly process step by step.
Step 1: open the box and check the contents. Inside we find all the pieces.
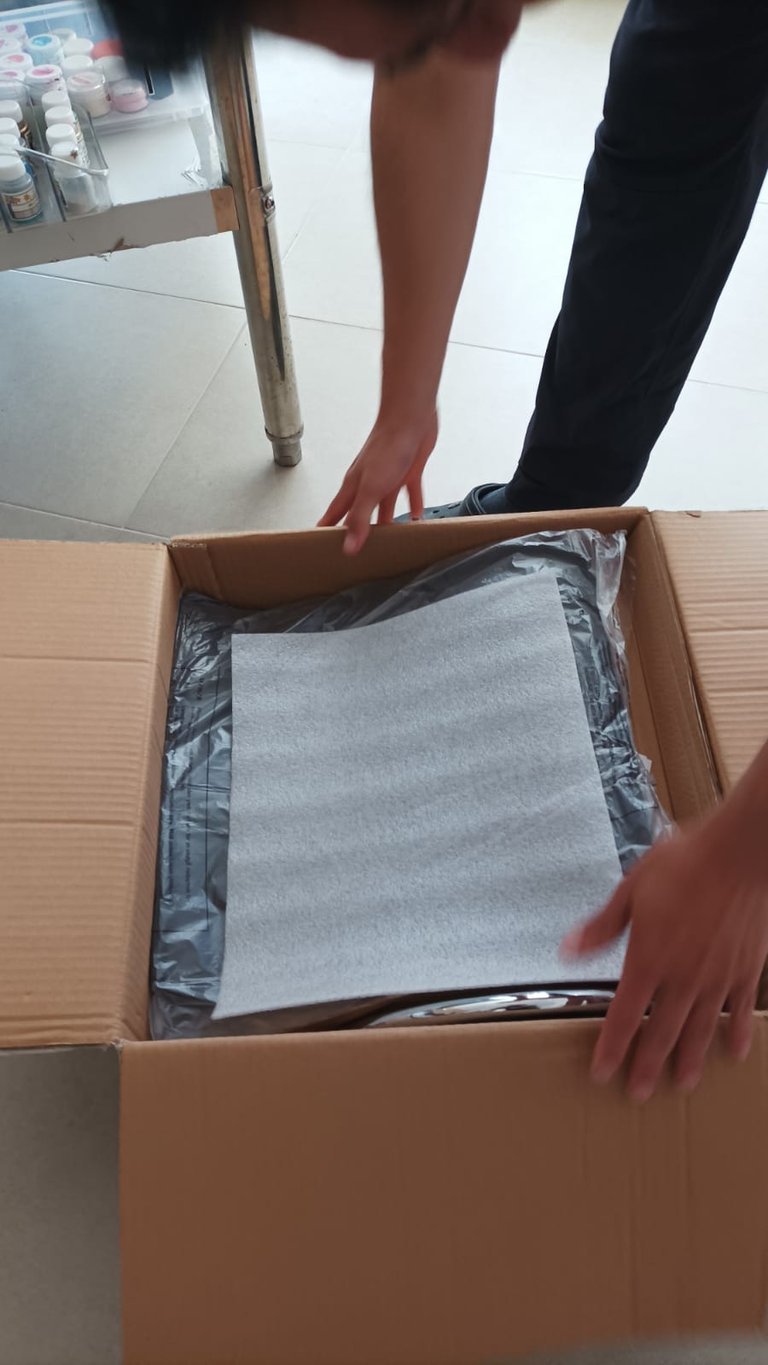
The seat

The base
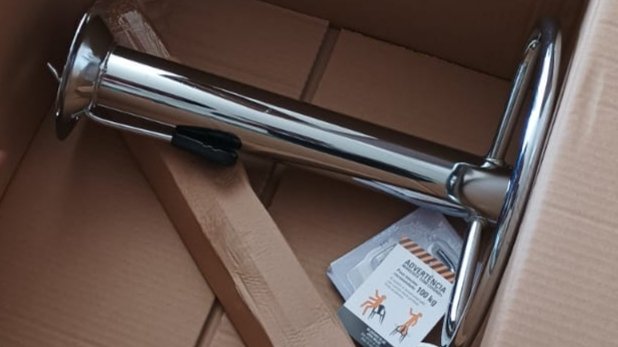
The support
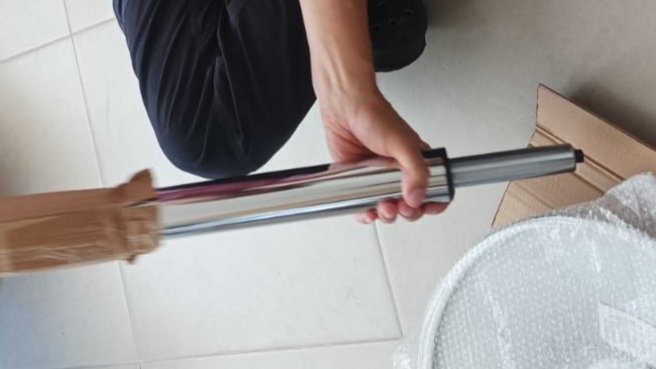
The bar
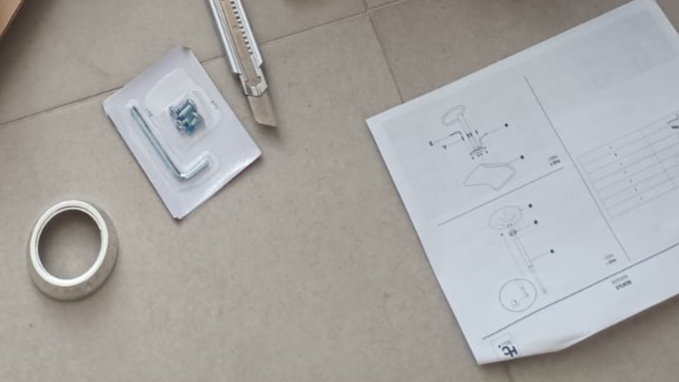
The screws, the Alen key, the ring and the instructions.
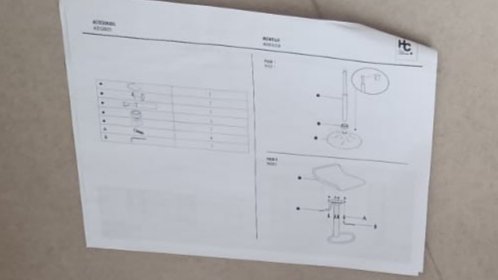
Step 2: Read the instructions. I always recommend reading the instructions to have a better reference. In this case all the instructions came in figures that indicate how the assembly is done.
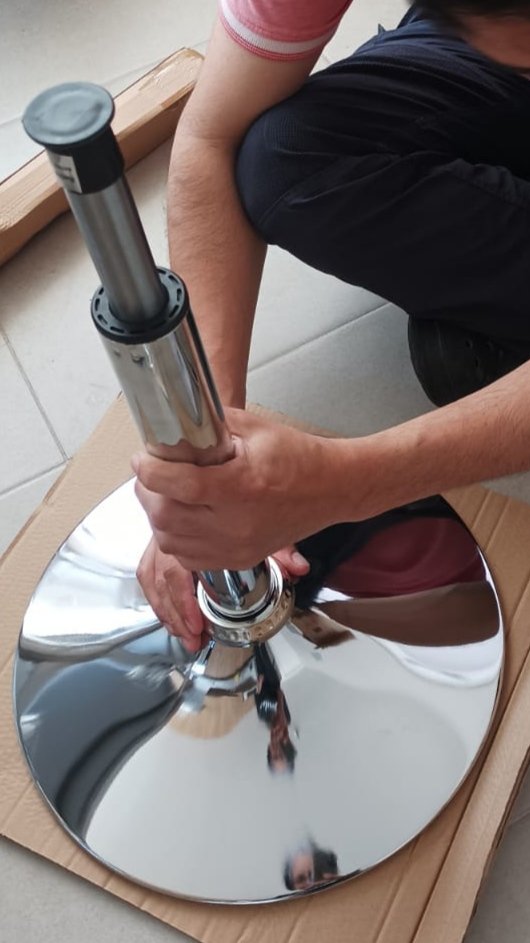
Step 3: assemble the adjustable bar with the base. To do this, place the base on the floor with the wide part facing up, then place the ring on the narrow part of the base so that it coincides with the opening and then insert the larger diameter part of the adjustable bar over the opening and apply pressure so that the pieces are hooked together and that's it.
Step 4: Place the seat upside down to screw the support. To do this, first remove the screws and the Alen wrench from their packaging. Each of the four screws is tightened in the holes in the part of the support with the Alen wrench until they are well tightened.
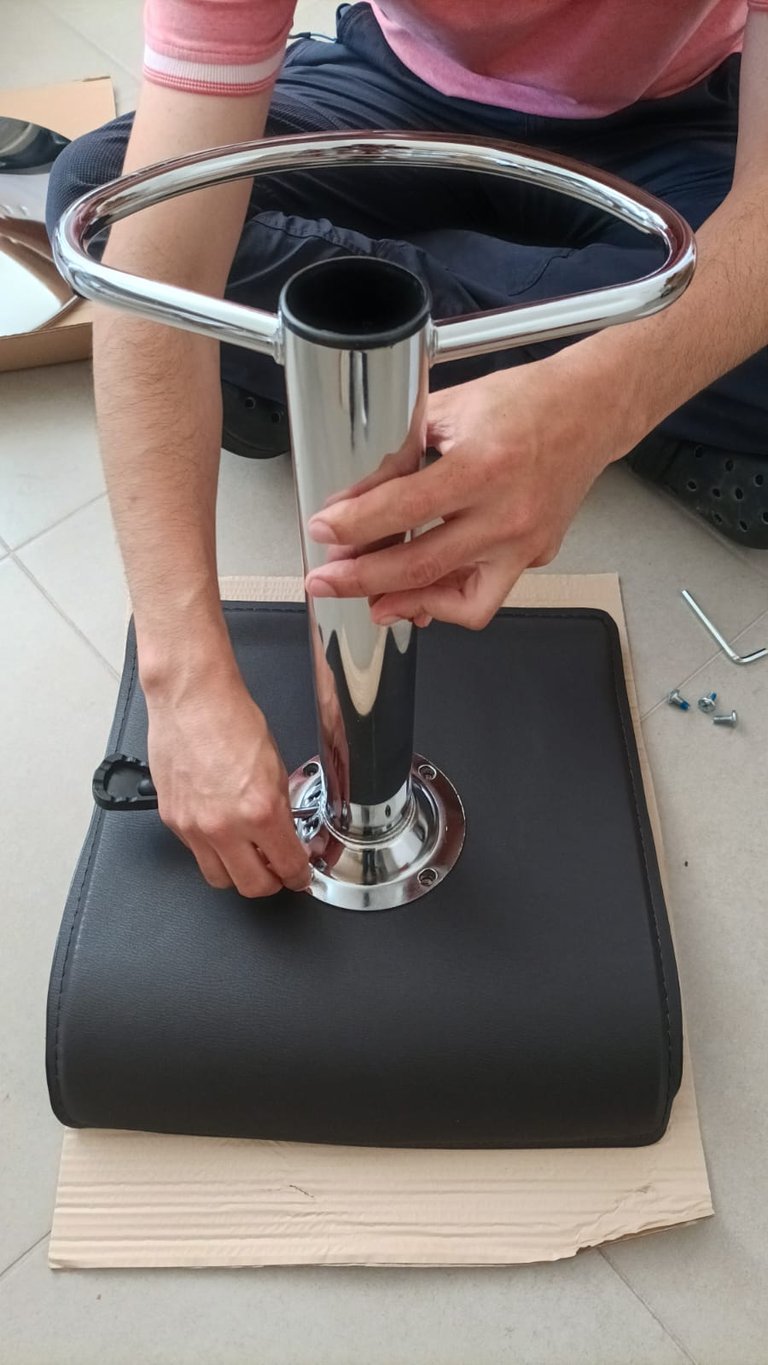
Step 5: Assemble the two assemblies obtained in steps 3 and 4. To do this, place the tube of the support on the free part of the bar so that the large hole of the support coincides with the narrow part of the bar. The bar should slide down the inside of the tube until it comes to rest on its own.
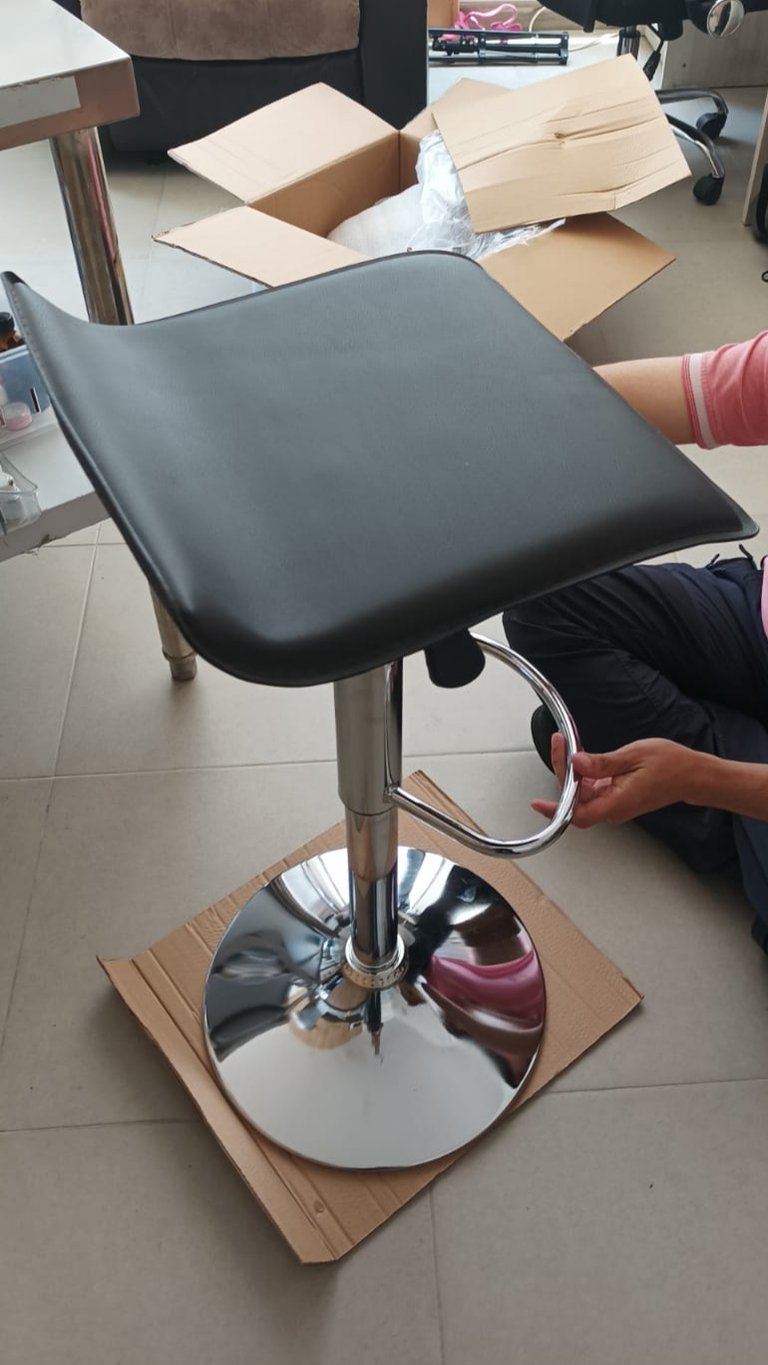
Step 6: sit down, adjust and test. For this you can use the lever on the bracket that allows you to adjust the height you want and it depends on each situation. In our case, my wife was very happy with the height she saw to work on her countertop.

Step 7: pick up the garbage and throw it away. Any job well done ends with the cleaning of the work space. There are no pictures but everything was left as if nothing had happened so don't forget to clean up.
We are really happy with this purchase, we both tried the chair and it is definitely the best option we could get, I even feel like buying another one even though it is about 50 dollars and I think it is well worth it.
I hope I have given you a good experience and explanation and if you have any questions you can leave them in the comments. Thank you very much for stopping by and see you soon.
Photos taken with my Xiaomi RedMi 11 Cell Phone
Resource used DeepL Translator

Español
Buenos días, buenas tardes y buenas noches mis amigos de @dailyblog
Hoy les traigo este primer desempaquetado que hago en Hive, de esta silla tipo bar que le regalé a mi esposa @zupasteleria.
Acompáñame a ver este proceso.
Buscando una opción para que mi esposa pueda trabajar de la mejor forma para hacer sus maravillosas creaciones, visitamos varias tiendas hasta que encontramos esta silla tipo bar marca Home Collection. La elegimos porque es giratoria, tiene un asiento acolchado y se puede modificar su altura.
Obviamente, la silla viene en su caja desarmada con todos sus elementos para armar, así que aquí les relato el proceso de desempaquetado y armado paso por paso.
Paso 1: abrir la caja y revisar el contenido. En el interior encontramos todas las piezas.

El asiento

La base

El soporte

La barra ajustable

Los tornillos, la llave Alen y las instrucciones
Paso 2: leer las instrucciones. Siempre recomiendo leer las instrucciones para tener una mejor referencia. En este caso todas las instrucciones venían en figuras que indican cómo se realiza el armado.

Paso 3: ensamblar la barra ajustable con la base. Para esto se coloca la base en el piso con la parte ancha hacia arriba, luego de coloca el anillo sobre la parte estrecha de la base de manera que coincida con la abertura y luego se introduce la parte de diámetro mayor de la barra ajustable sobre la abertura y se ejerce presión de manera que las piezas queden enganchadas y listo.

Paso 4: colocar el asiento boca abajo para atornillar el soporte. Para ello previamente se sacan los tornillos y la llave Alen de su empaque. Se ajusta cada uno de los cuatro tornillos en los orificios presentes en la parte del soporte con la llave Alen hasta que queden bien apretados.

Paso 5: ensamblamos los dos conjuntos obtenidos en los pasos 3 y 4. Para esto se coloca el tubo del soporte sobre la parte libre de la barra de manera que el orificio grande del soporte coincida con la parte estrecha de la barra. La barra debe deslizarse por el interior del tubo hasta descansar por si solo.

Paso 6: sentarse, ajustar y probar. Para esto se puede usar la palanca del soporte que nos permite ajustar la altura que se desea y eso depende de cada situación. En nuestro caso mi esposa quedó muy feliz con la altura que se ve para trabajar en su mesón.

Paso 7: recoger la basura y botarla. Todo trabajo bien hecho termina con la limpieza del espacio de trabajo. No hay fotos pero todo quedó como si nada hubiese pasado así que no olviden limpiar.
De verdad estamos muy felices con esta compra, ambos probamos la silla y definitivamente es la mejor opción que pudimos conseguir, hasta tengo ganas de comprar otra aunque son aproximadamente 50 dólares el costo y me parece que bien los valen.
Espero haberles dado una buena experiencia y explicación y si tienen alguna consulta pueden dejarla en los comentarios. Muchas gracias por pasar por aquí y nos vemos pronto.
Fotos tomadas con mi Celular Xiaomi RedMi 11
Recurso usado Traductor DeepL


