My Bike Shimano Crank Upgrade

in #hive-177745last year

Hello Cycling Community,

Last month I covered some maintenance and upgrades that I made. Well, with the heat I still managed to upgrade the crank on my bike and I am glad I did as the performance is brilliant. Not only that, I managed to clean the not so easy to reach parts around the crank too, so it is looking nice and spick and span.

It may seem complicated, but upgrading the crank is a nice and easy job and although this was the first time I have done it, I can say it was a pretty simple job and no messing about like if you are working with bike brakes or something.

Tools needed were a number 16 spanner, nr.5 allen key, i used some cared and a heavy hammer although a gummi hammer may have been better. I also used a flat-head screw driver and some grease for the internal crank part and some wd40 I put on the chain at the end.


First of all I used the allen key to loosen up the 2 retaining screws on the opposite pedal to the crank. I loosened them both up before unscrewing them completely.
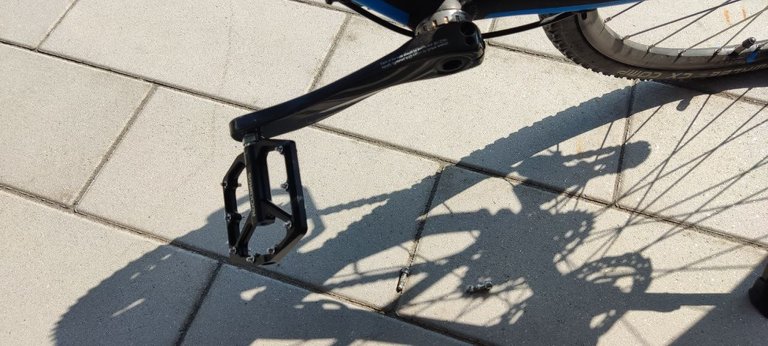

Here you can see them after they fell on the ground. I won't be needing them anymore as I have new ones with the new crankset.
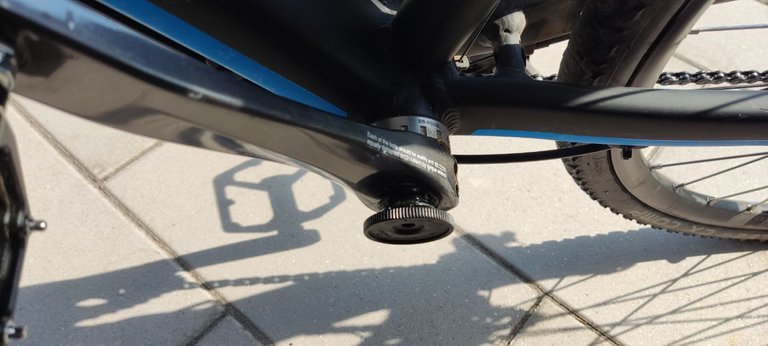

Next I put in the shimano preload tool into the preload cap to remove it. It is made of plastic so turns easily and removed very quickly.


Here you can see with the grease still on it once I removed it.
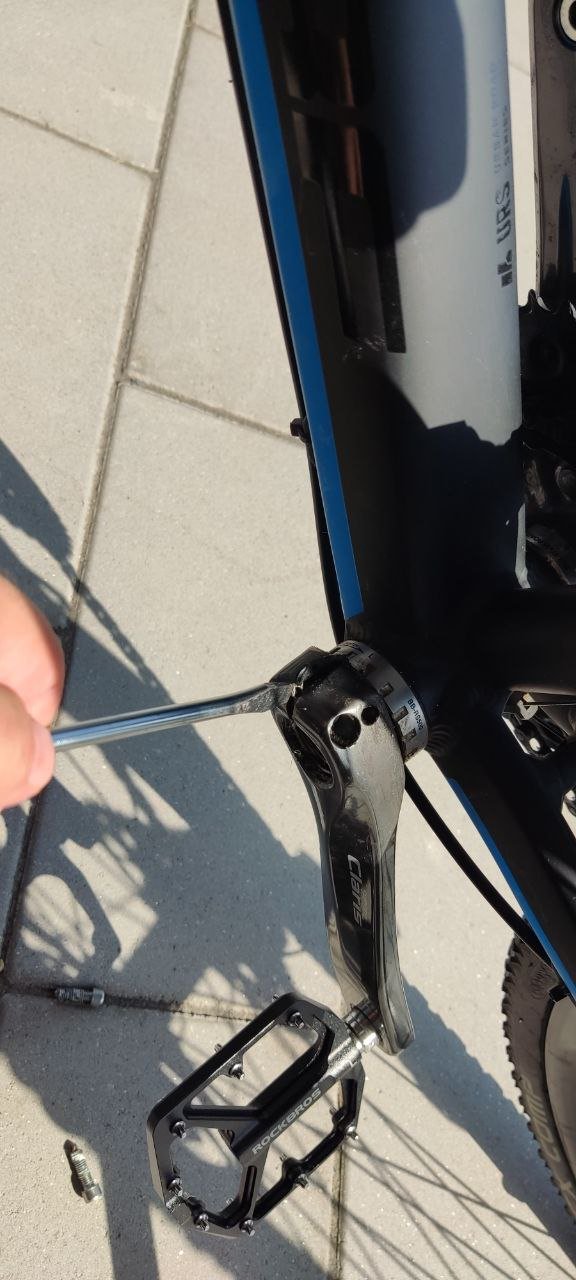

Next, with the flat head screwdriver, I moved the retaining clip away from the inside spindle.

I am now ready to remove the non-drive side crank arm. It can easily just be pulled off with no trouble now.
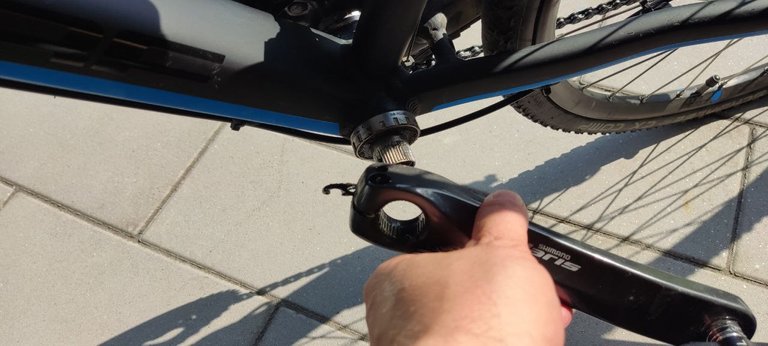

It is easily removed and I put it to one side. Next up I grabbed a big hammer.
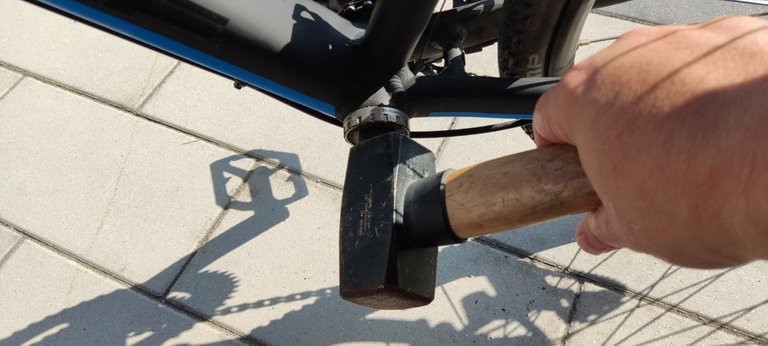

Before I started to hit the spindle, I removed the chain from the crankset. Once that was removed I gave the spindle a few taps and it came out easily. If you are planning to reuse the same crankset, maybe use a mallet or some card in between hitting the spindle to avoid damaging it.

Here you can see it comes off easily.

My hands started to get covered in oil here so I was trying to use some cloths to remove completely. I recommend some hand wash that can remove oil and grease easily.
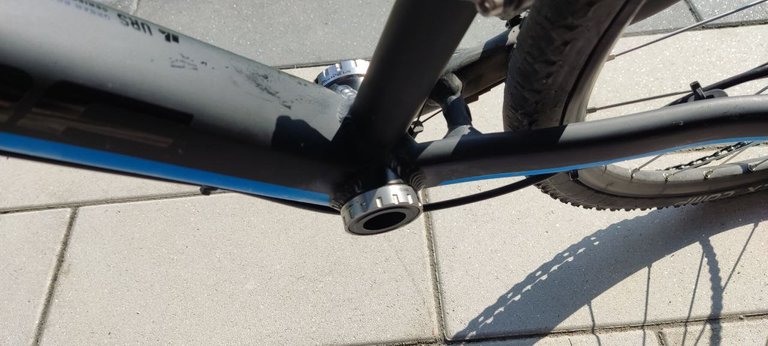

Next I started cleaning the frame around where the crank goes, removing the grit, dirt and sand that I couldn't easily reach before. I grabbed a brush from the kitchen and hope my wife will not notice that it is missing and now covered in oil in my workshop in the cellar.


With everything cleaned up, I next started putting the new crankset on. I made sure the spindle was greased up and tapped it in.
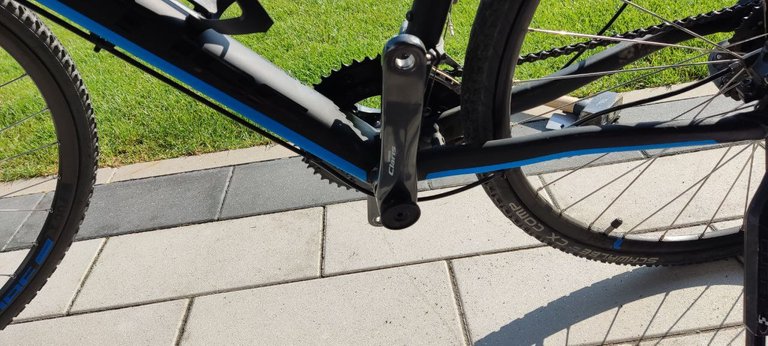

Next I put the non drive side on with the plastic preload cap and tightened it with the shimano preload key tool. Be sure to put it on the opposite of the drive side or you could have an interesting time trying to cycle! ahaha
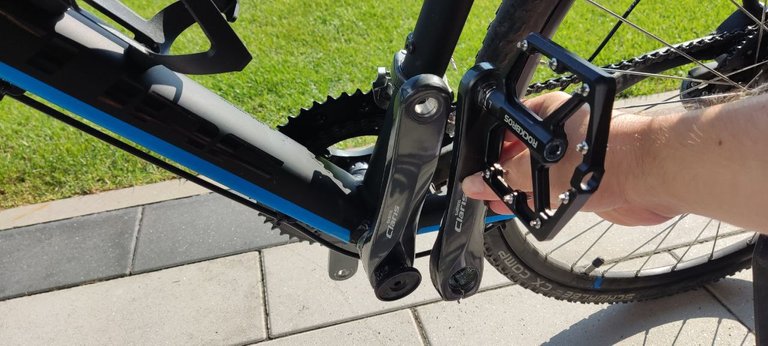

Here you can see the old one against the new one. The new one is slightly longer so it should be improved performance for me. Next I tightened up the retaining screws and took the old crankset to my cellar and workbank to remove the pedals.
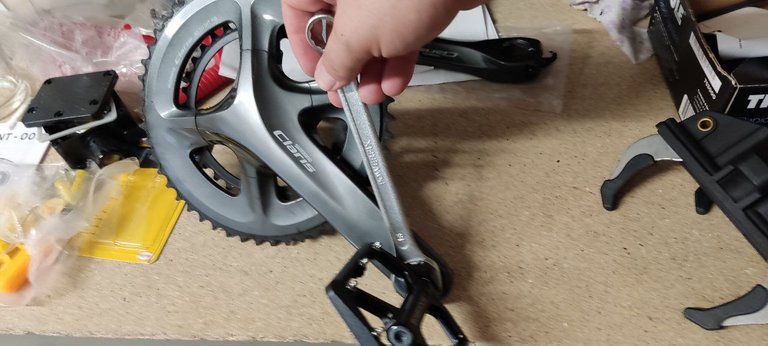

Here I used my nr.16 spanner to remove the pedals from the old crankset to then put onto the new crankset.
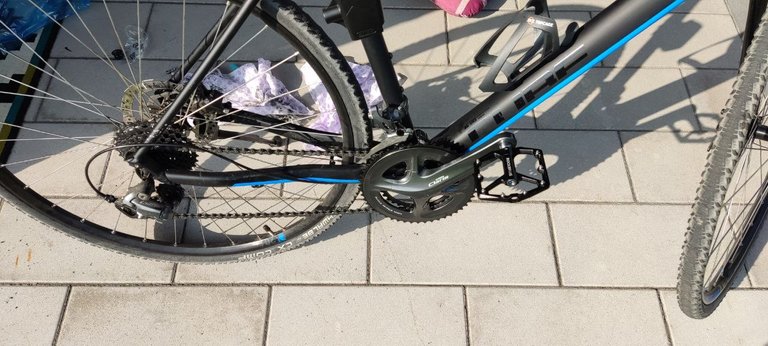

With the pedals added on, I then went on the grass and added some WD40 to the chain to make sure it was nicely greased up and then took the bike for a short spin with my son around the block.
So far I noticed the performance was very improved and the longer arms on the crankset are more comfortable and will give me a better performance.

The gear changing problems I have been having seemed also better, but I still need to look into this abit more to see what might be the cause of this. Generally it seemed better so far and smoother riding with the new crankset. It can also be that it is cleaner and running better than the old one.

Have you done any bike upgrades this summer?

Credits:
All images and photos are my own.

Let's connect : mypathtofire

Sort:  

!ALIVE
!discovery 25

Thanks for your support

@mypathtofire! You Are Alive so I just staked 0.1 $ALIVE to your account on behalf of @ libertycrypto27. (2/10)

The tip has been paid for by the We Are Alive Tribe through the earnings on @alive.chat, feel free to swing by our daily chat any time you want, plus you can win Hive Power (2x 50 HP) and Alive Power (2x 500 AP) delegations (4 weeks), and Ecency Points (4x 50 EP), in our chat every day.

Wow buddy, what a great job! I like that model of cranks that look like a road bike I like the aesthetics, of course I am an enduro rider and as much as I like them I do not serve hehe, crazy days ago the same thing happened to me my bike had a crunch, and it turned out to be the chain, now if you still have problem you can measure the wear of the chain, another thing is to change the cup that also causes that annoying noise, I usually recommend changing the chain when you change a component of the transmission.

Thanks. It was a really fun job to do. I was thinking to change the chain, maybe I take a look at it next time.

I agree, normally a worn chain, damages the rest of the transmission, it is best to also replace it. (It is almost the cheapest component on the transmission, but causes damage to the more expensive parts.)


Hey @mypathtofire, here is a little bit of BEER from @rynow for you. Enjoy it!

Do you want to win SOME BEER together with your friends and draw the BEERKING.

Nice job, after all that work you need a !BEER

Thanks, it is the perfect weather to enjoy one!

Oh, I go through the whole post and pictures. It is time consuming and also a bit difficult I think.

I don't posses any bicycle, I have a motorbike instead and whenever I need it's cleansing I gave it to repair shop.
Easy and simple.😅
Lol

Thats pretty handy to have a repair shop for your bike. I usually do all repairs myself for my pushbike, but a motorbike might be more difficult.

Oh, that sounds nice
A motorbike demands a variety of tools to be repaired and I dont have such tools that's why I am unable to repair it at my home.

Yes definetly. It is good to see a specialist too.

Ah, I get it now. I couldn't figure out what a spanner was, but I see it is a wrench. Very interesting. I never even considered changing this piece out on my bike. I would imagine it is so old it might not really be worth it. I should probably just look at getting a new bike!

Yeah I would probably normally just buy a new bike, but wanted to get stuck into this replacement job. Next season I probably buy a new bike, just not sure if to get an ebike or not.

Some of those bikes are pretty expensive these days, so I like the idea of having something you can easily replace parts on. I got my bike from my dad, so it has to be at least 20 years old if not older.

Ah yeah that's quite some difference. Mine is just 5 years old or less. But I would like to get also a more off road bike to go with it.

That makes sense!

Nice skills 👍
It's not so complicated I know, but never did it by own.
And of course WD40 always helps, it's like duck tape and I like the smell 😂
!LOLZ
!ALIVE

Why did the astronaut throw away his vegetarian burger?
He wanted something *meteor*.

Credit: reddit
@mypathtofire, I sent you an $LOLZ on behalf of dailyspam

(3/4)

PLAY & EARN $DOOM

@mypathtofire! You Are Alive so I just staked 0.1 $ALIVE to your account on behalf of @ dailyspam. (4/10)

The tip has been paid for by the We Are Alive Tribe through the earnings on @alive.chat, feel free to swing by our daily chat any time you want, plus you can win Hive Power (2x 50 HP) and Alive Power (2x 500 AP) delegations (4 weeks), and Ecency Points (4x 50 EP), in our chat every day.

Yeah, I am so glad I gave it a crack and it was good fun. Each season I have been trying different things to maintain/upgrade and it gives you a good feel for your bike. Thinking about some tyres/ new back wheel for next season.

Nice work! I also try to do a lot of the bike maintenance myself. That is when I have the right tools for it. It really saves money and you get to know your bike better too 😀
At the moment I also have a slight cracking sound coming from my crank, so I do have to look into that as well. I've dropped some grease in it and then it went away, but unfortunately it returned after a few days. I may have to disassemble it like you did.

You might want to check out the posts of @hectorfaria1. He often posts bicycle maintenance blogs.

Upvoted by @friendlymoose from the Cycling Community

Come join the Cycling Community and share your rides, bicycle, maintenance, news or any other cycling related content!


image.png

Supporting the Cycling Community

You can help the Cycling Community to support cyclists on Hive by delegating Hive Power or following our Curation Trail (via https://hive.vote: @hive177745)
You can select the Hive Power you like to delegate here:
25 - 50 - 100 -250 - 500

Thanks, it was great fun to do. I needed the special shimano tool for this, but otherwise was pretty straightforward. I hope you find out what the issue is you have. I will check out those posts you recommend as I do like to see bike maintenance.