
Welcome to my blog//Bienvenidos a mi blog
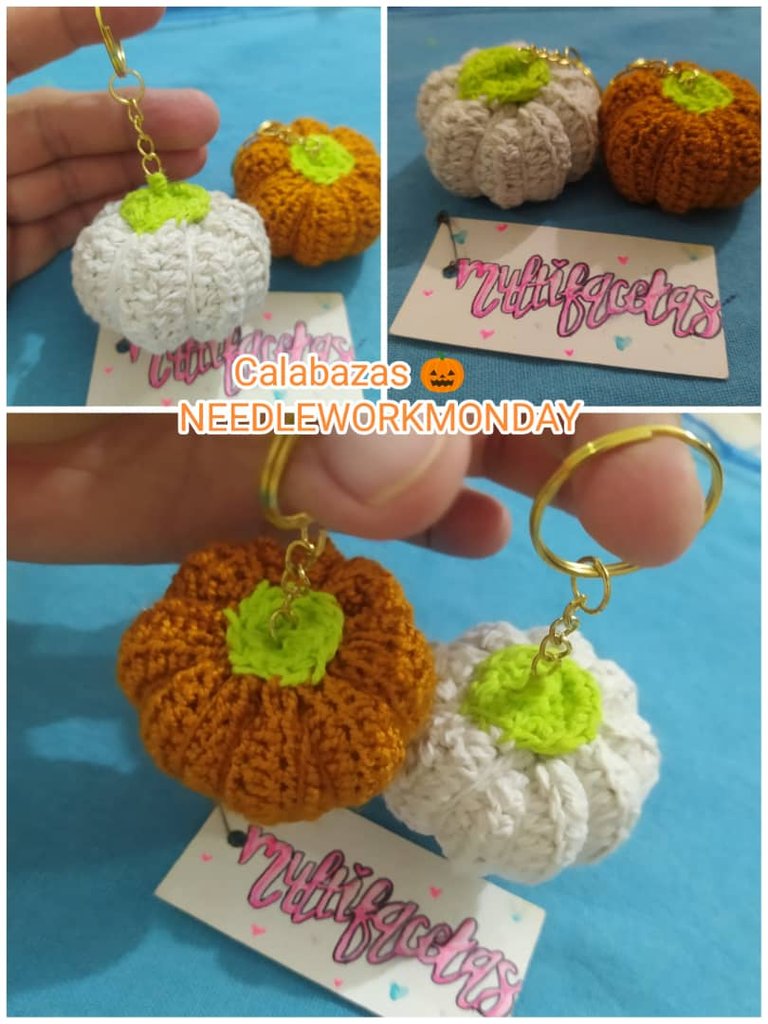
Hello 😀! This time I want to share a cute project of a crochet knitting - amigurumis starting with the Halloween mini collection 🎃 2024. Last year I made several figures in felt and knitted, today I present you some amigurumis pumpkins. Below I explain it in three steps.
¡Hola 😀! En esta oportunidad quiero compartir un lindo proyecto de un tejido crochet - amigurumis empezando con la mini colección de Halloween 🎃 2024. El año pasado hice varias figuras en fieltro y tejidas, hoy les presento unas calabazas amigurumis. A continuación lo explico en tres pasos.
Step by step//Paso a paso
Materials//Materiales:
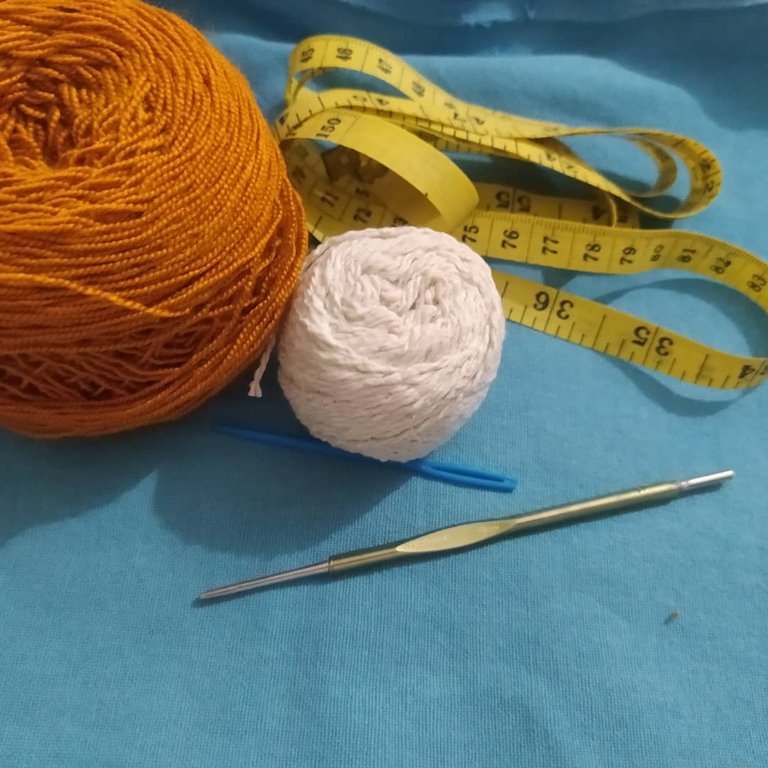
- Ecru, apple green wick yarn.
- Bronze crochet thread.
- Crochet needle Nº 2.
- Wool needle.
- Measuring tape.
- Stuffing.
- Hilo pabilo color crudo, verde manzana.
- Hilo crochet color bronce.
- Aguja crochet Nº 2.
- Aguja lanera.
- Cinta métrica.
- Relleno.
Abbreviations//Abreviaciones:
Ch: chain(s).
mp: half point.
mpa: half high point.
aum: increases.
pa: high point.
pr: slipped stitch.
Ch: cadena(s).
mp: medio punto.
mpa: medio punto alto.
aum: aumento.
pa: punto alto.
pr: punto deslizado.
Process//Proceso:
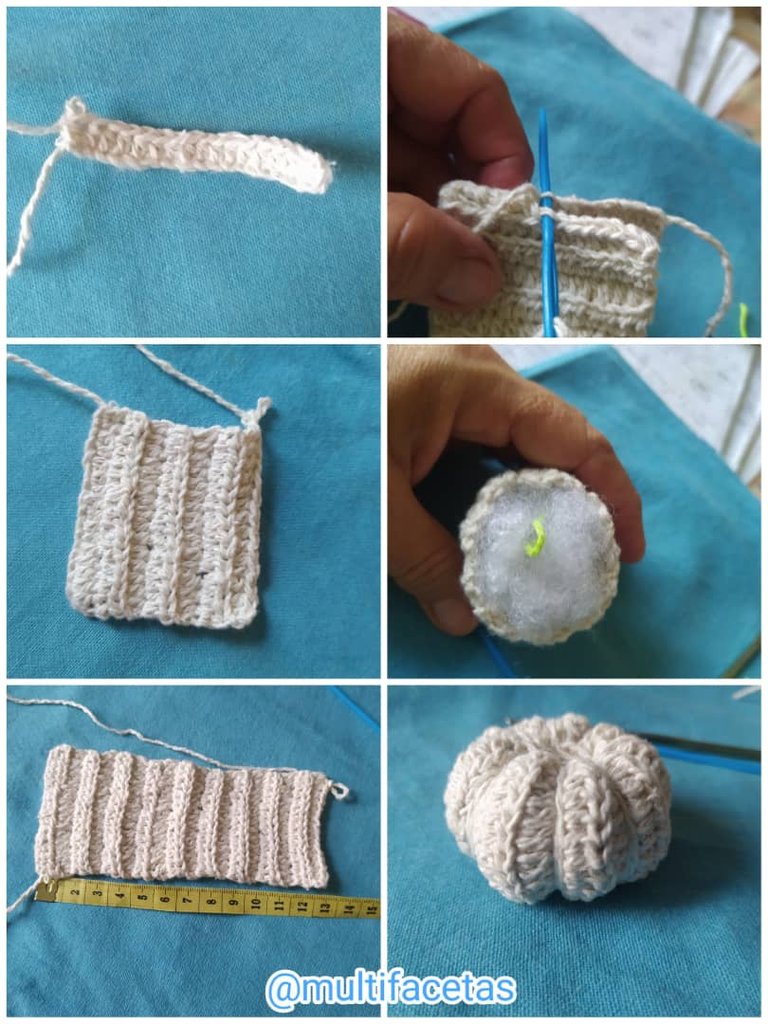
STEP 1
- Make 18 chs (05 cm), return in the third 16 mpa, 2 chs, turn knit, 1 mpa in the upper strand, repeat the mpa in the rest of the stitches, 2 chs, and turn again.
Repeat the above until you reach 25 rounds (13 cm).
STEP 2
- We sew both ends with mp with the same crochet needle or with the wool needle through the external strand.
- Knot and cut enough yarn to gather the lower part with the wool needle.
STEP 3
- Stuff and gather the upper part and pull it to the desired shape.
- Then with the yarn, make the slits by pulling and passing the wool needle through the center until you see the pumpkin shape 🎃.
PASO 1
- Hacer 18 chs (05 cm), devolver en la tercera 16 mpa, 2 chs, girar tejido, 1 mpa en la hebra superior, repetir el mpa en el resto de los puntos, 2 chs, y volver a girar.
Repetimos lo anterior hasta alcanzar las 25 vueltas. (13 cm).PASO 2
- Cosemos ambos extremos con mp con la misma aguja crochet o con la lanera por la hebra externa.
- Se anuda y corta hilo suficiente para fruncir la parte inferior con la aguja lanera.
PASO 3
- Se rellena y se frunce la parte superior y se hala hasta obtener la forma deseada.
- Luego con el hilo se hace las hendiduras halando y pasando la aguja lanera por el centro hasta ver la forma de calabaza 🎃.
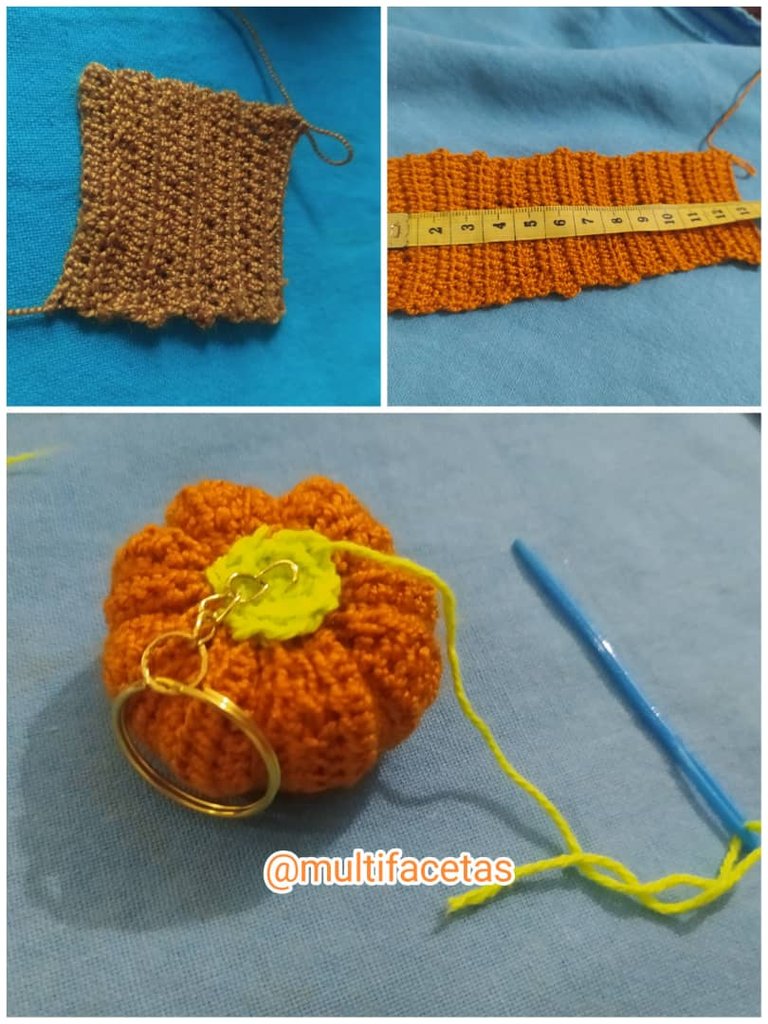
... And ready the pumpkins for Halloween 🎃.
These are my first designs of allegorical figures to celebrate Halloween this October. They are super easy, even a beginner can do it, plus you spend little time ⏳.
These will carry keychains, to wear as pendants on the backpacks for this month, so we will celebrate this holiday, also serve as souvenirs at parties guidelines between family and friends.
… Y listo las calabazas para Halloween 🎃
Estas son mis primeros diseños de figuras alegóricas para celebrar Halloween este mes de octubre. Son superfáciles, hasta un principiante lo puede hacer, además se gasta poco tiempo ⏳.
Estas llevarán llaveros, para lucir como colgantes en los morrales por este mes, así celebraremos esta festividad, También sirven como souvenir en las fiestas pautadas entre la familia y amigos.
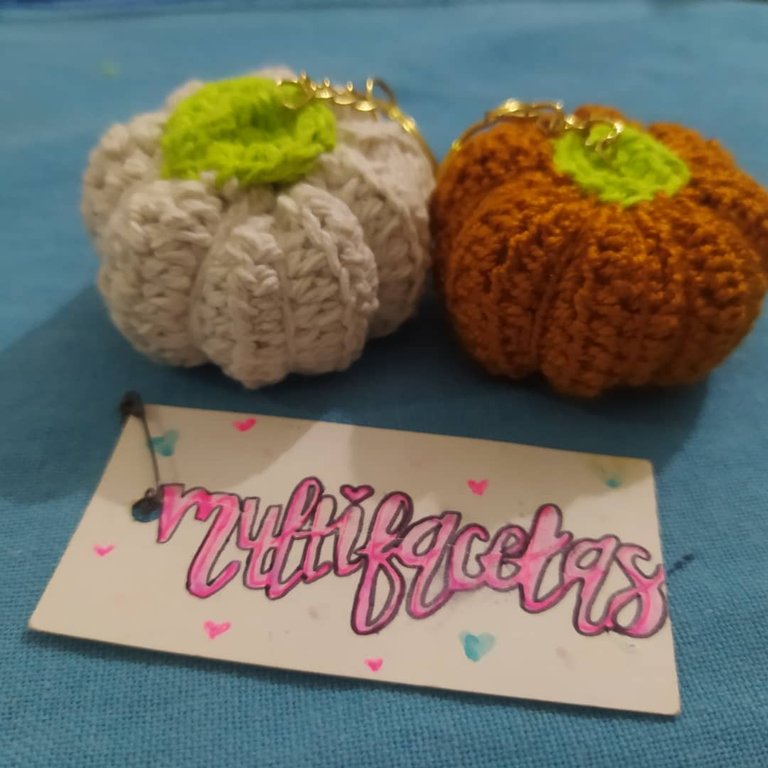
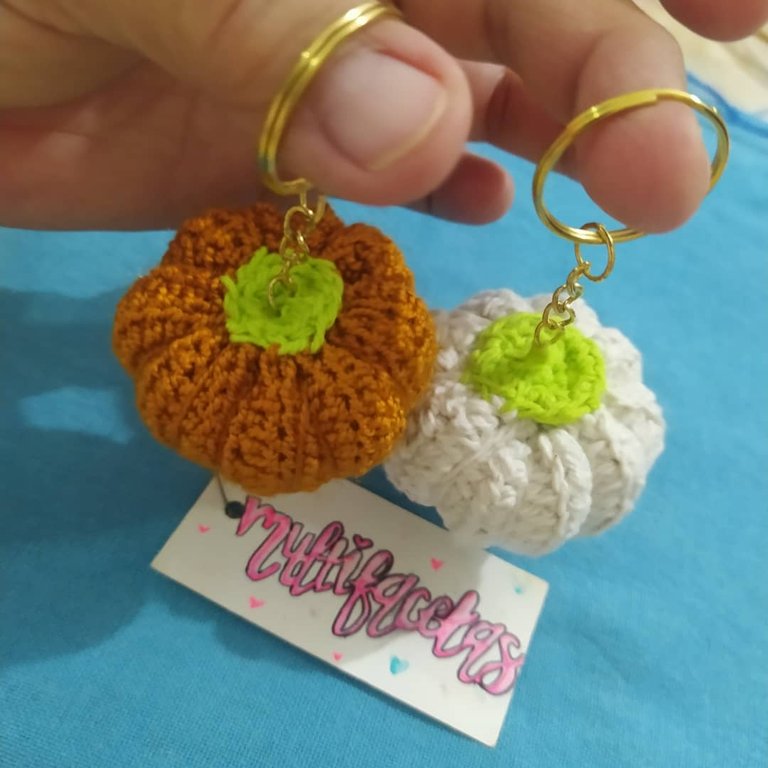
You can see that I used two types of yarns, one is rustic, the bronze color is fine.
I was satisfied with the result, wow, every time the challenges are achieved, even though the free time is very little. A lot of sacrifice, but happy.
Pueden observar que utilicé dos tipos de hilos, uno es rústico, el color bronce es fino.
Quedé satisfecha con el resultado, wow, cada vez los retos son logrados, a pesar de que el tiempo libre es muy poco. Mucho sacrificio, pero feliz.
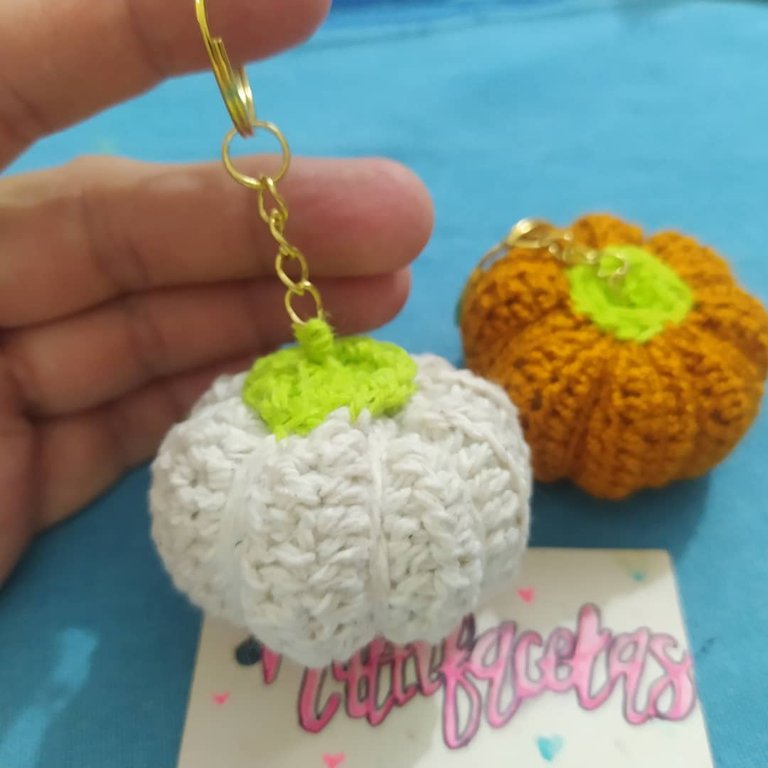
So my friends did you like this pumpkin post? I look forward to your comments…
¿Entonces mis amigos les gustó este post de calabazas? Espero sus comentarios…
Well my #Needleworkmonday friends, have a nice day!
Bueno mis amigos de #Needleworkmonday que tengan ¡un lindo día!
💖💖💖Everything with LOVE is achieved💖💖💖
💖💖💖Todo con AMOR se logra 💖💖💖
So much for my publication. Thank you for reading.❤
Hasta aquí mi publicación. Gracias por leer.❤
Texts and photos are my authorship. Los textos y las fotos son de mi autoría.
Translation with Deepl. Photo taken with Xiaomi Redmi Note 8.
Banner and text separator created with Canva.
Traducción con Deepl. Foto tomada con el Xiaomi Redmi Note 8.
Banner y separador de texto creado con Canva.

 )
)