Heeeyho Readers! More updates from our little ranch!
Today's post is different, but kinda the same.
The intro phrase above belongs to Seth, from Bearm Peak. Watching his videos on Youtube inspired me to produce trail building content. The evolution of his own DIY bikepark gives so much ideas that makes me anxious. And anxiety moves me.
So, here I am with another wild build. This time, instead of building a natural ramp over a rock, I'm going to build a wooden ramp over another rock. There's no exit like in the previous build, but the rider has the option to jump or avoid the rock at all. Let's call this the Little Woodie.
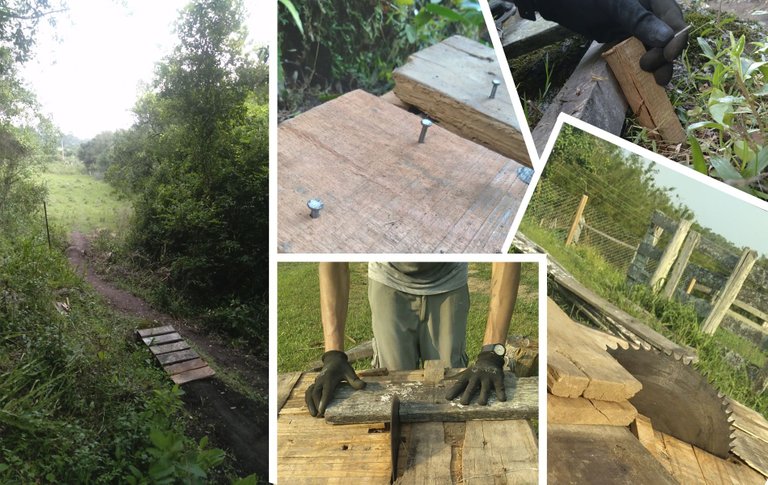
Natural features require some luck. The cattle sculpted the trail going past the rock, so I decided to open a secondary line to incorporate the rock into the trail – the photos don't show the true size. The rest is creativity, some scrap wood, and tools.
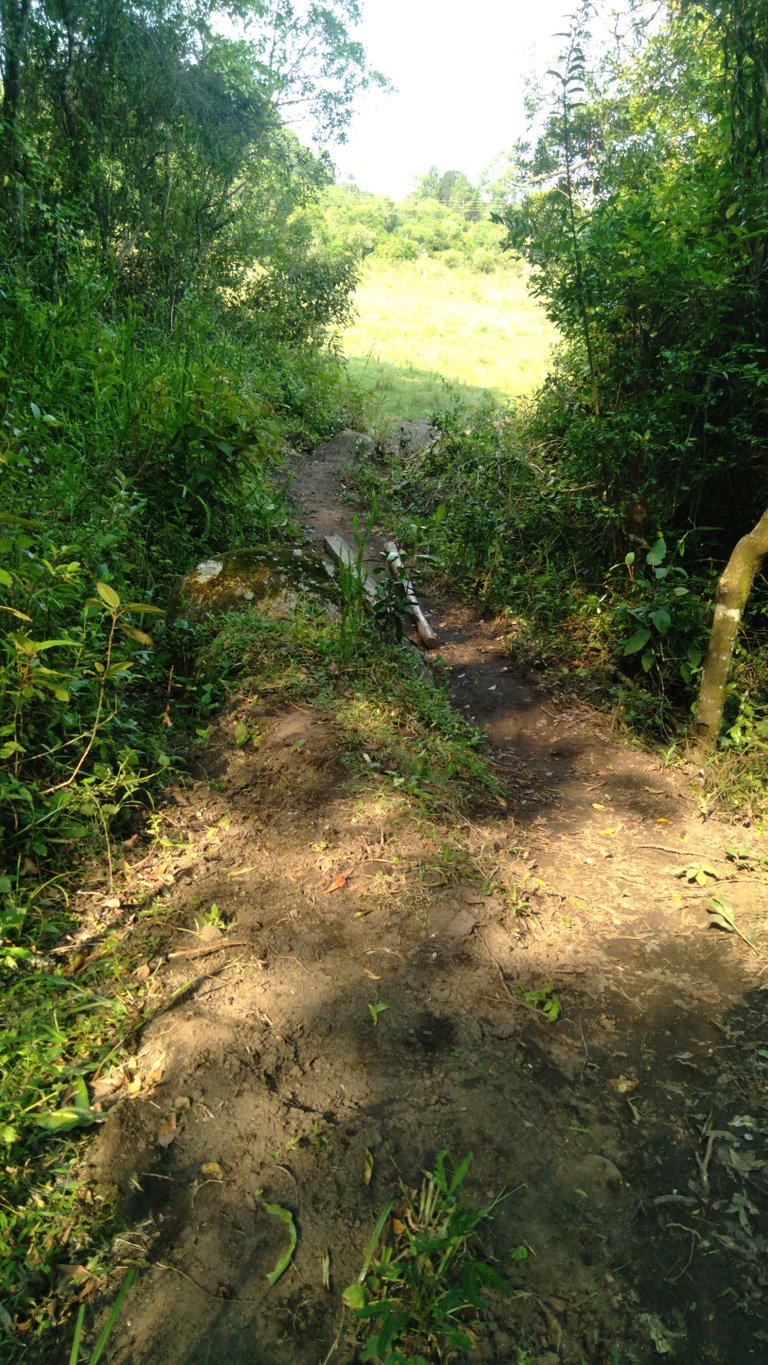
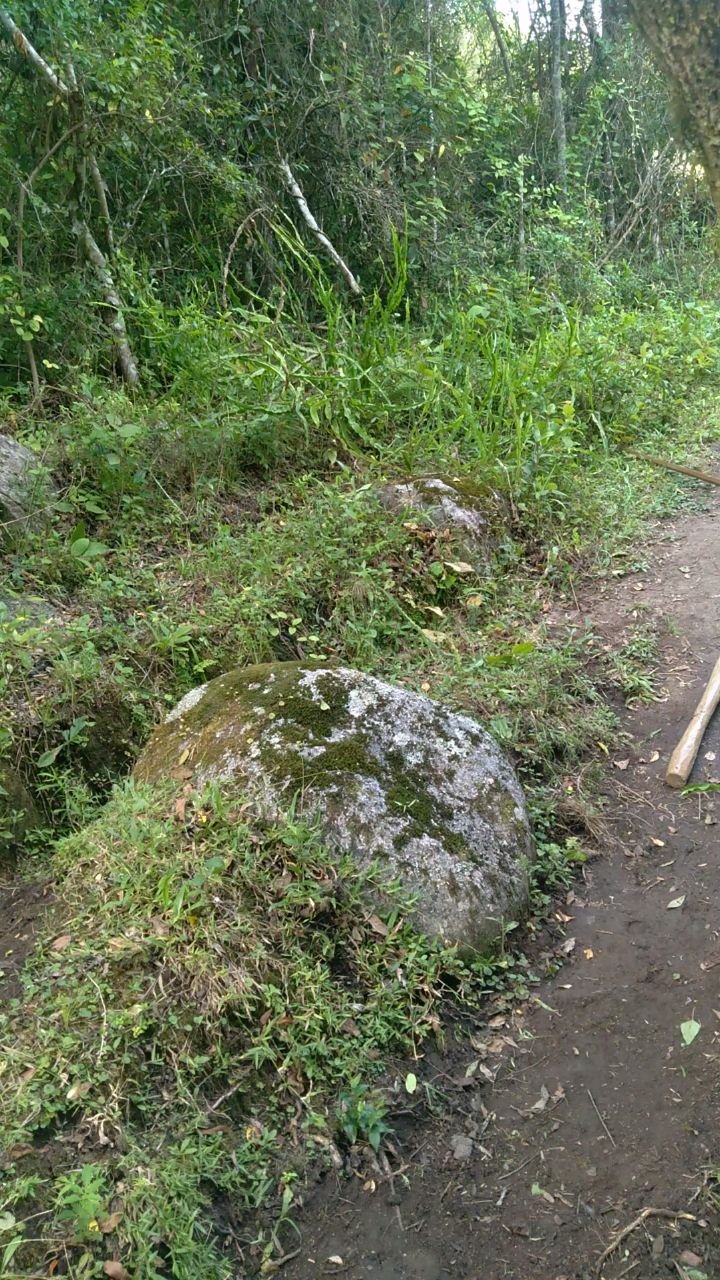
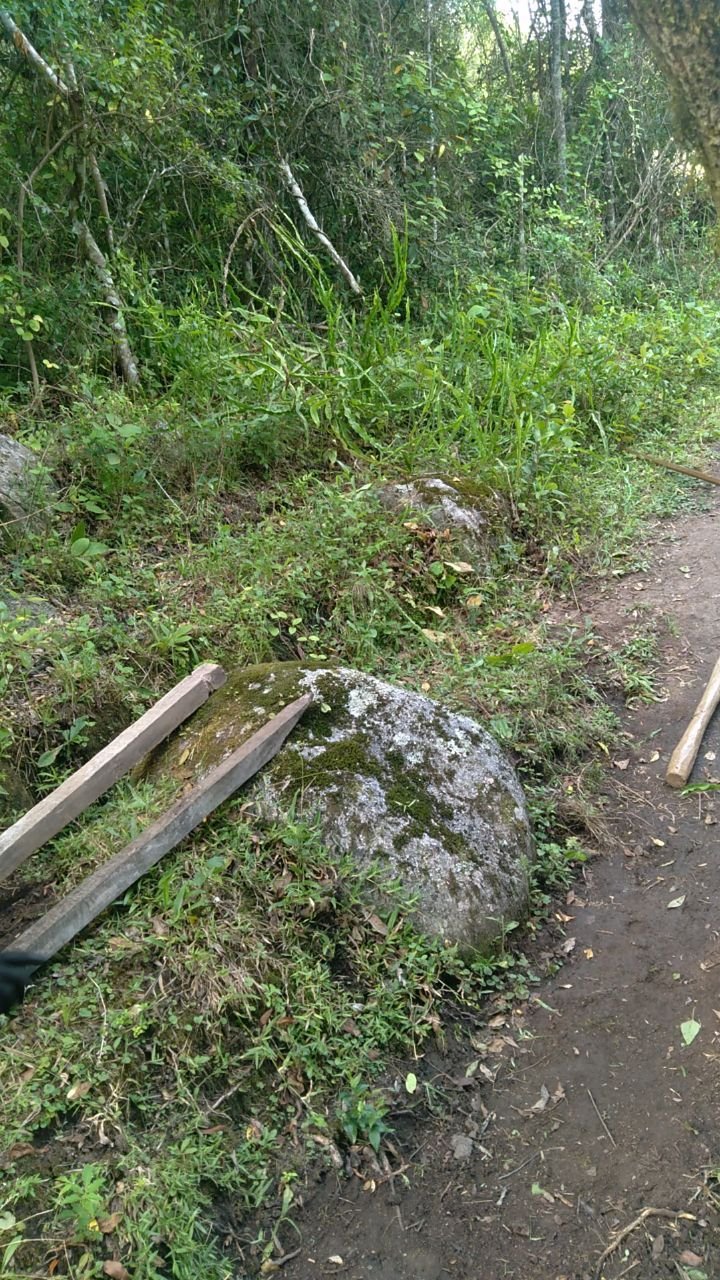
I started by laying two wooden beams on top of the rock to have an idea of how the ramp would be. It's is important to double check. You don't want to discover the ramp is messed up after it's secured to the ground.
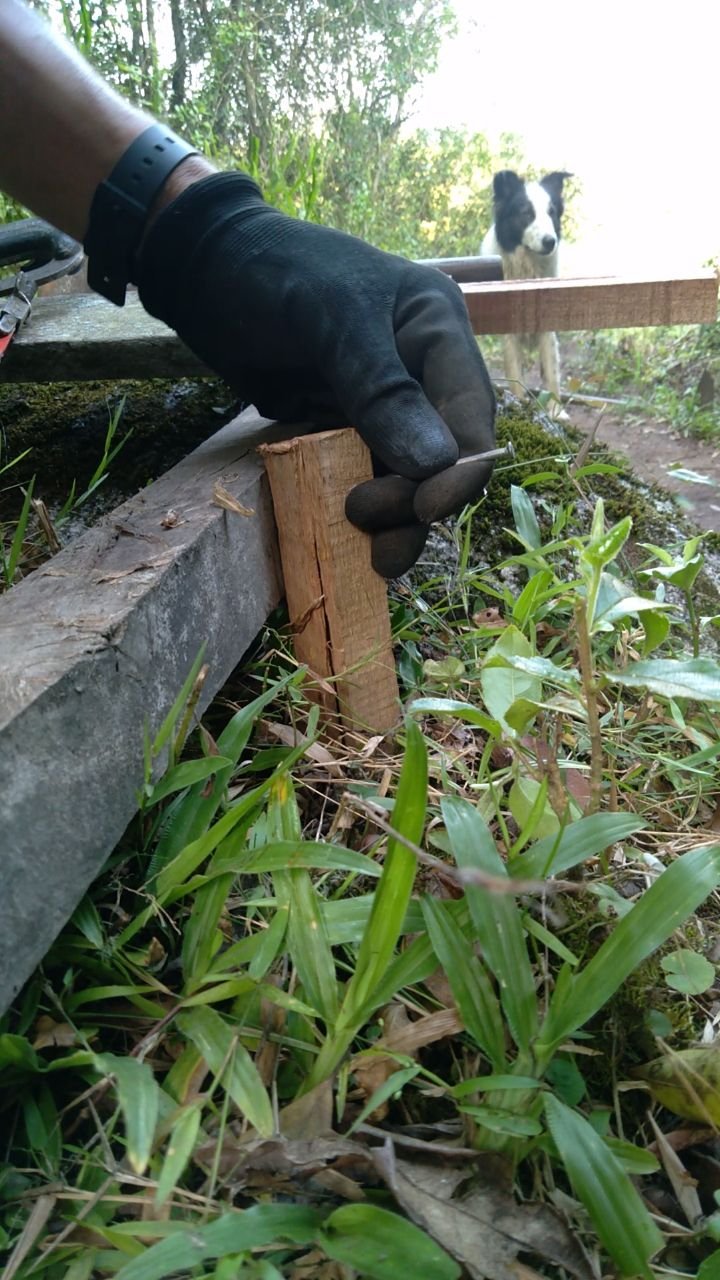
Once I was happy with the positioning I began to cut stakes with a machette. These four stakes will secure the ramp in place.
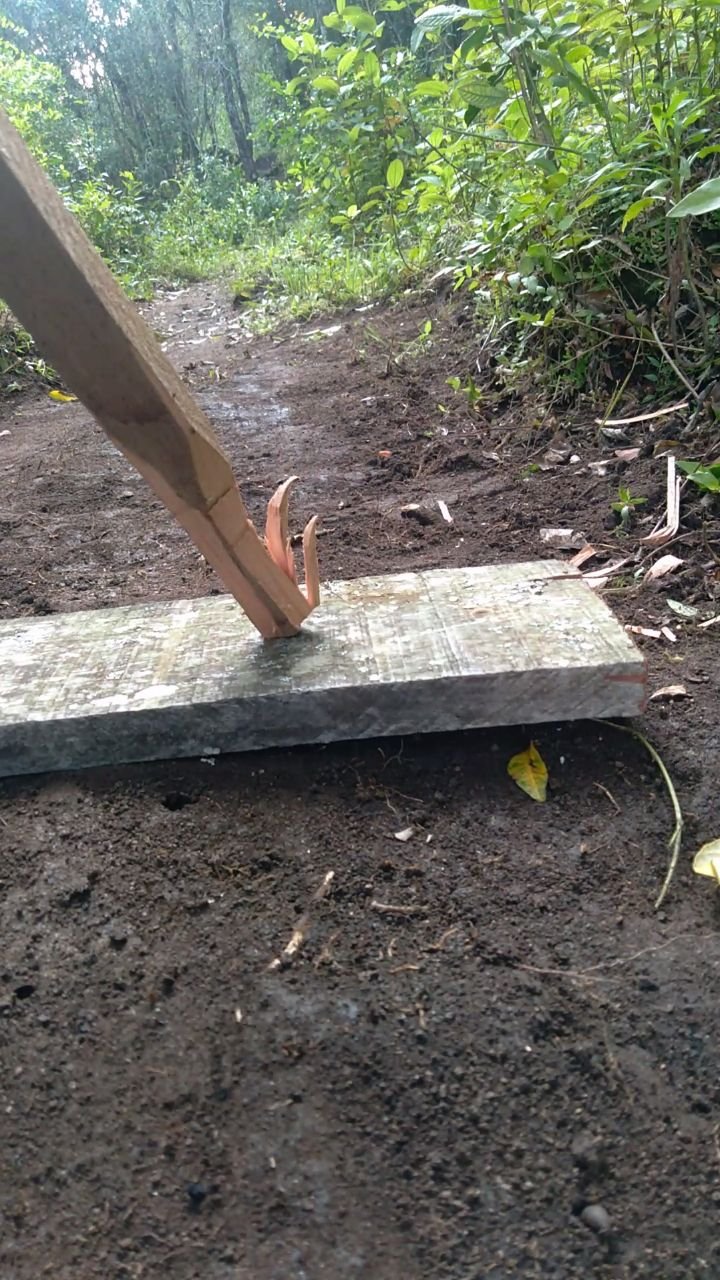
Mr. Whacker did the trick. Luckily the soil was loose and I didn't find any underground rocks blocking the stakes. I hammered them down as far as possible; the farther the firmer.
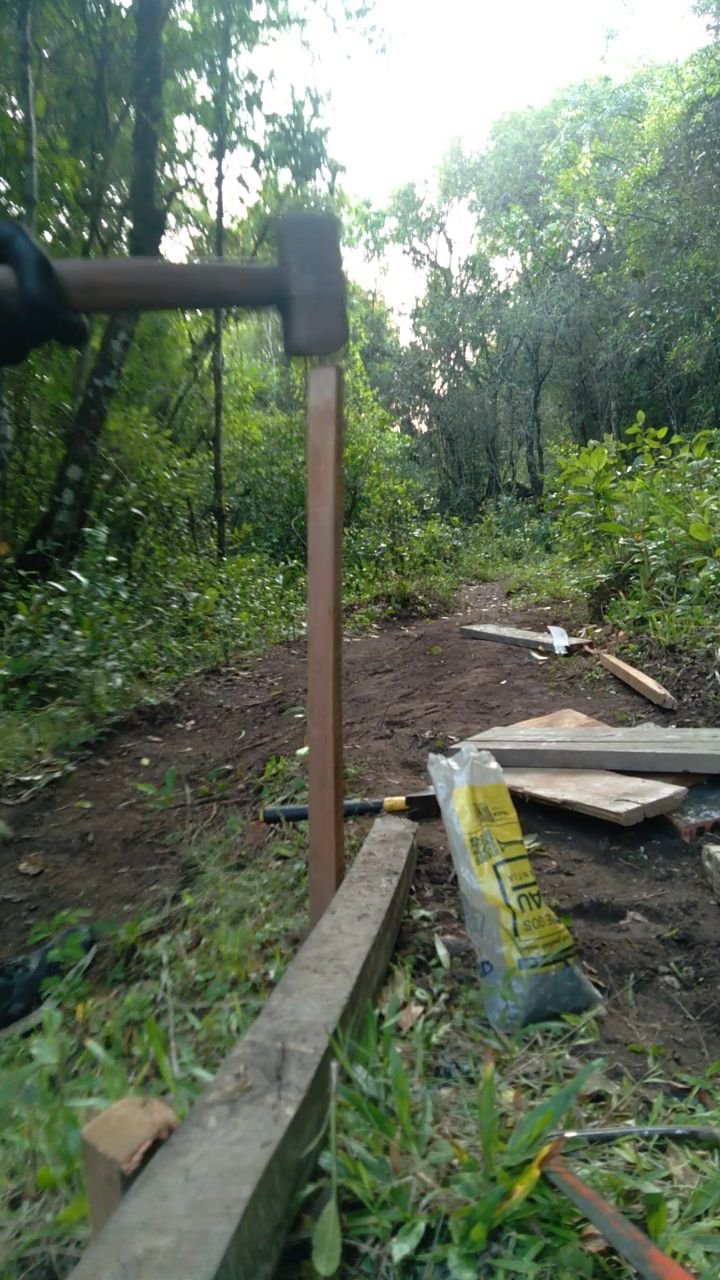
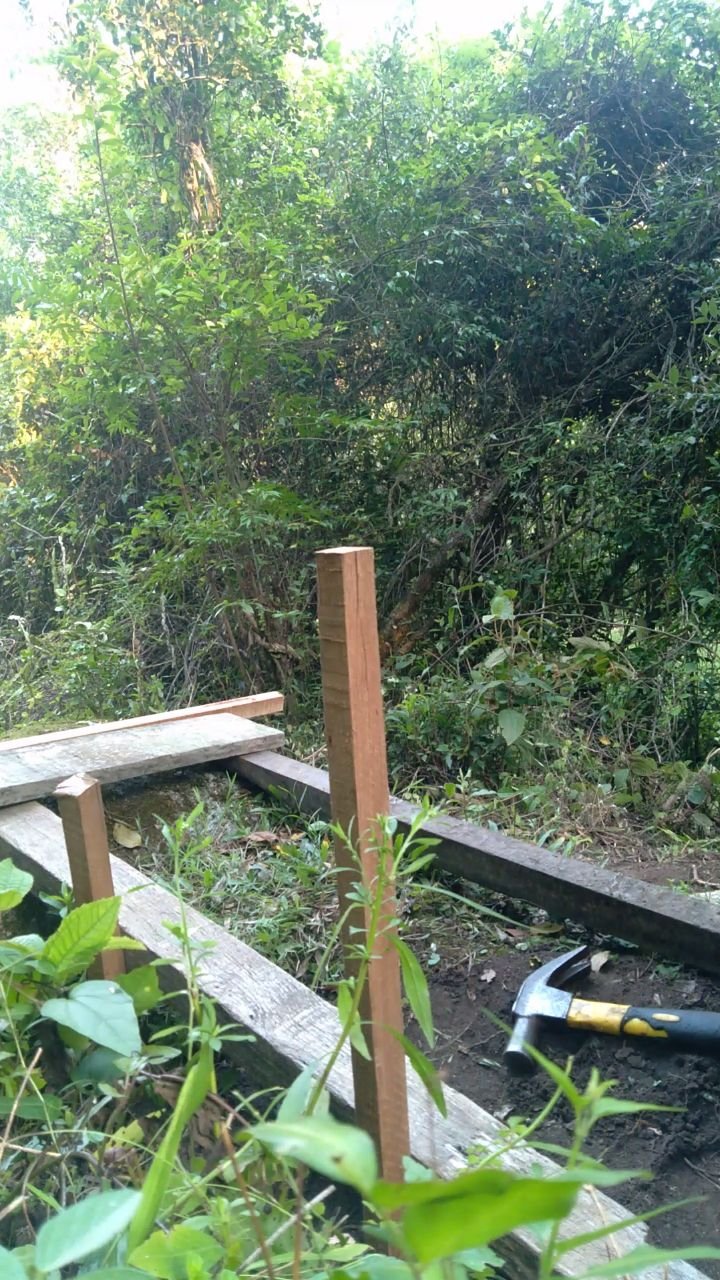
After hammering the stakes, I cut the excess and nailed each to the two main beams. The ramp began to take shape. These four stakes lock the ramp in place, but it's still wobbly. It'll be firmer once I add the planks.
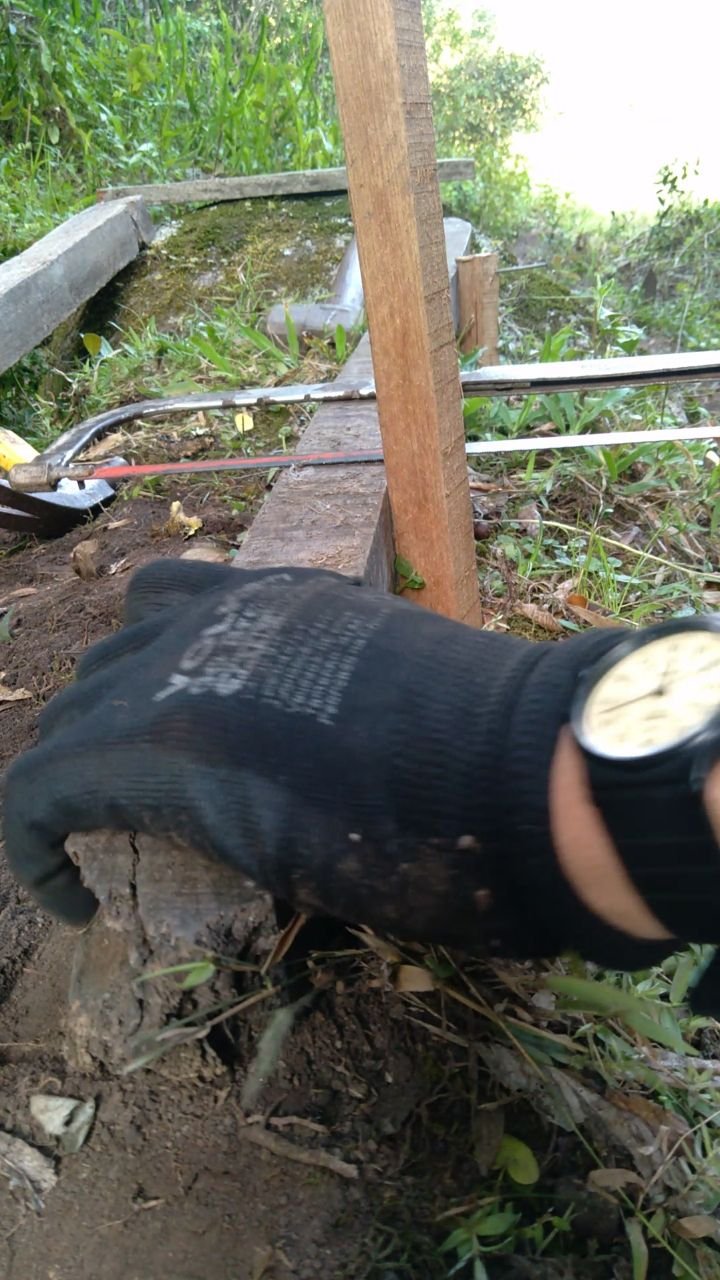
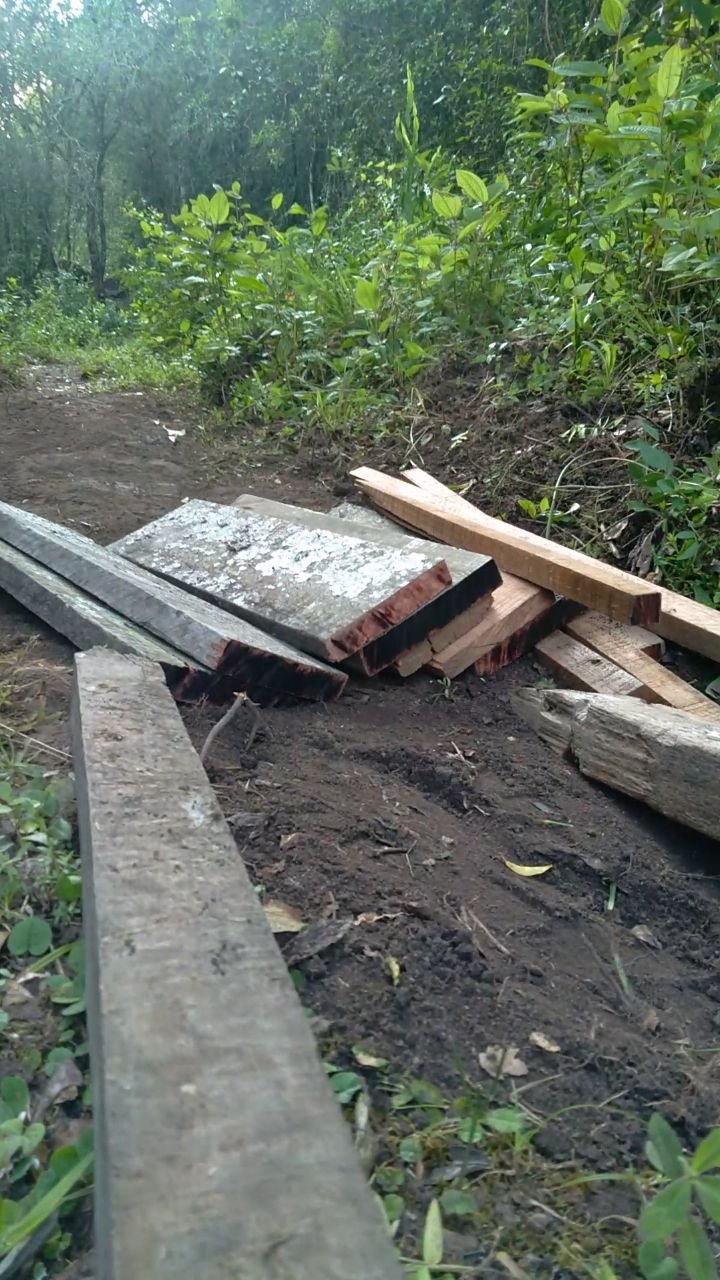
We have a pile of scrap wood, so I picked planks from there to cover the ramp. All different lengths, but it's no problem. I just roughly marked them and prepared to cut.
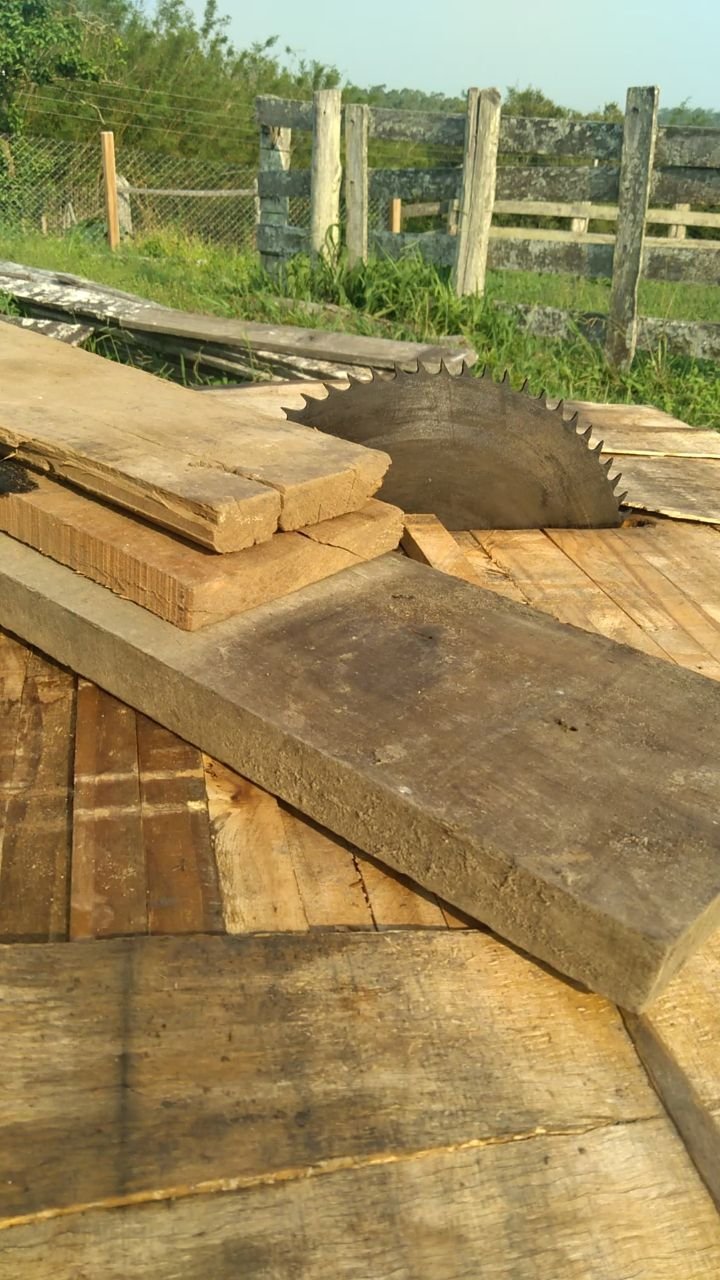
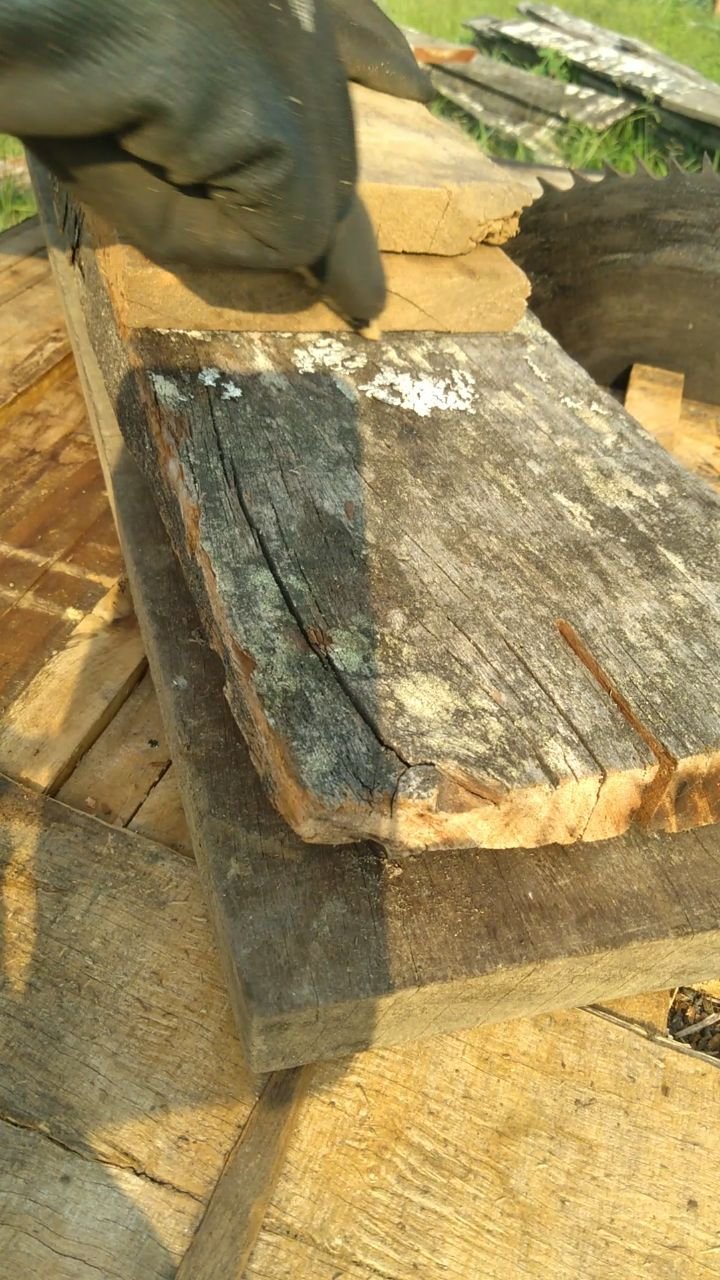
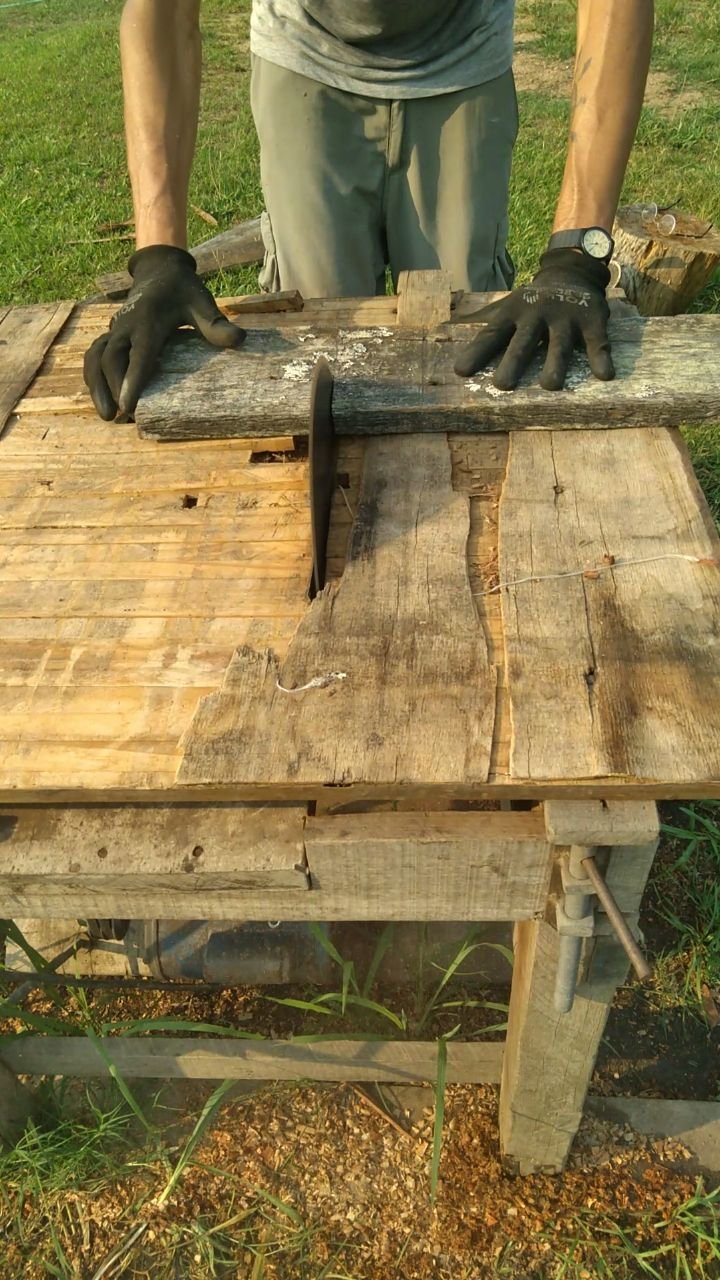
Our table saw needs a new table. Priorities. Trail building is cooler. {laughts}. It does cut well and that's what I need when cutting old hard eucalyptus. With all the planks done it's time to nail. (I carried them down the trail in one go, which turned out exhausting).
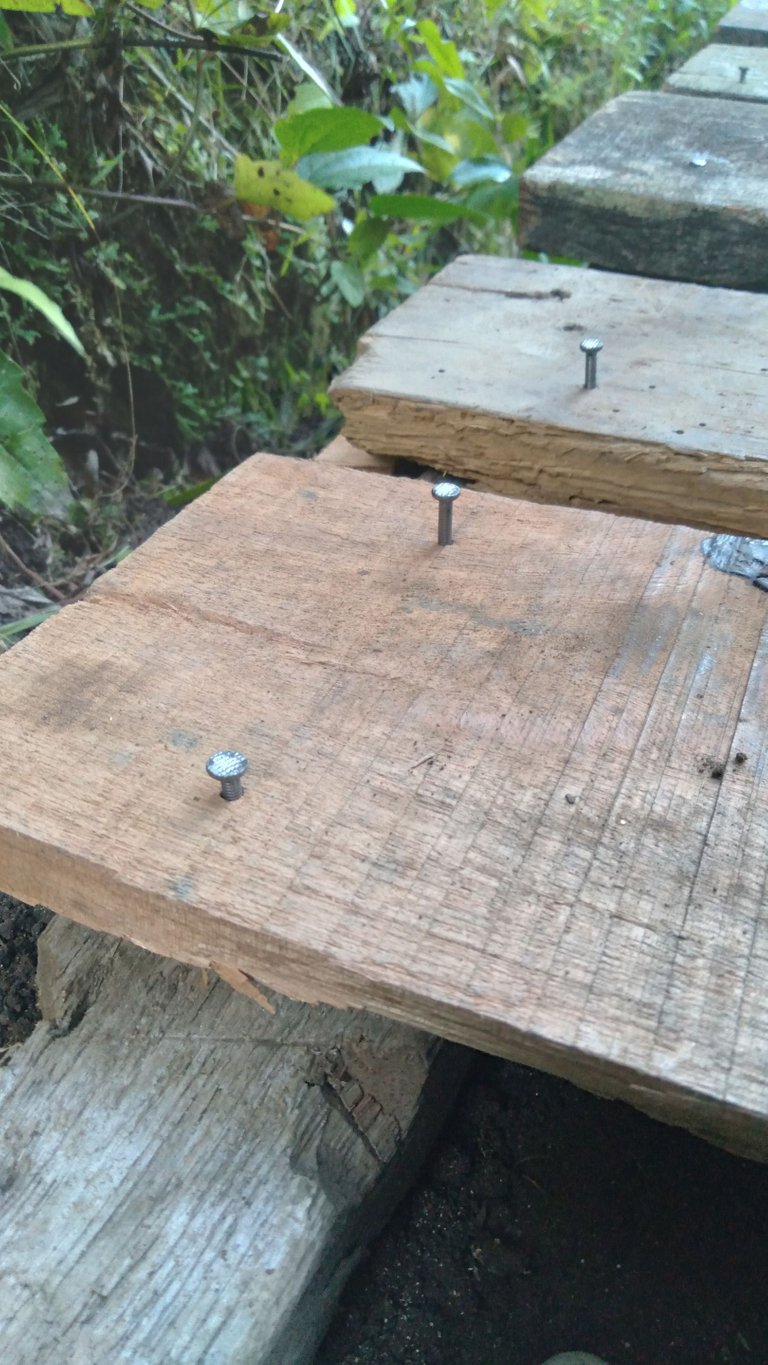
Most trail builders use screws for practicality and security. I would do the same, but screws are pricey. To hell with inflation! If nails don't hold the thing together, and if I decide to keep the feature as it is, then I may add screws. Until then, more rides are required.
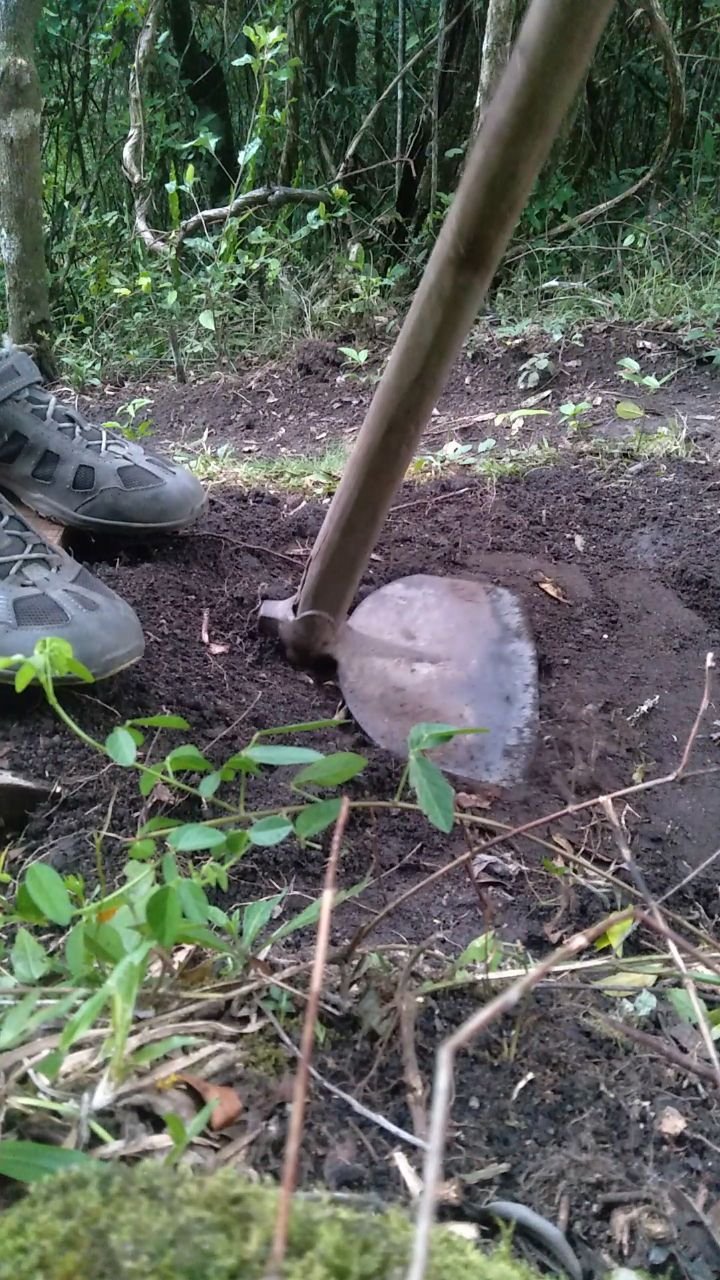
Lastly, good ole hoe served to sculpt the soil just before the ramp.
The final result looked awesome. I don't know how tall that ramp is, but the photos don't show the true dimension. It's not an advanced feature; it's not for beginners either. This rock is bigger than the one in my previous post. For that reason, I decided to make it optional.
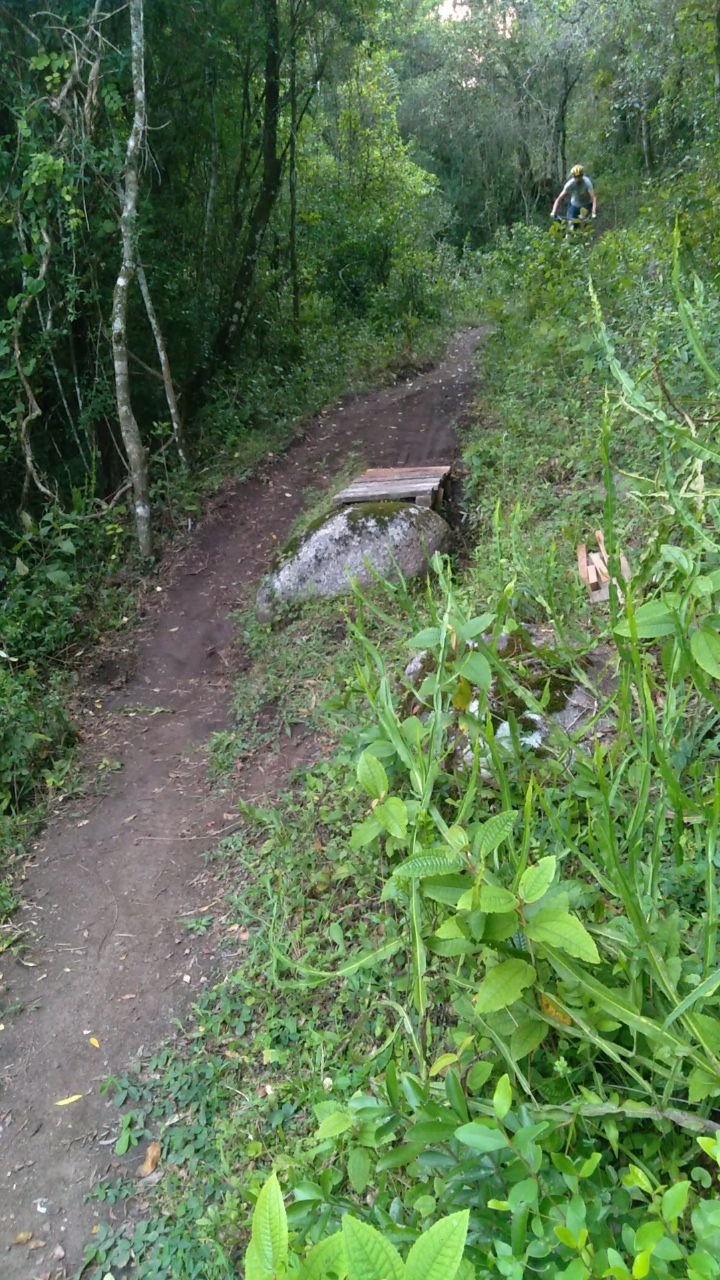
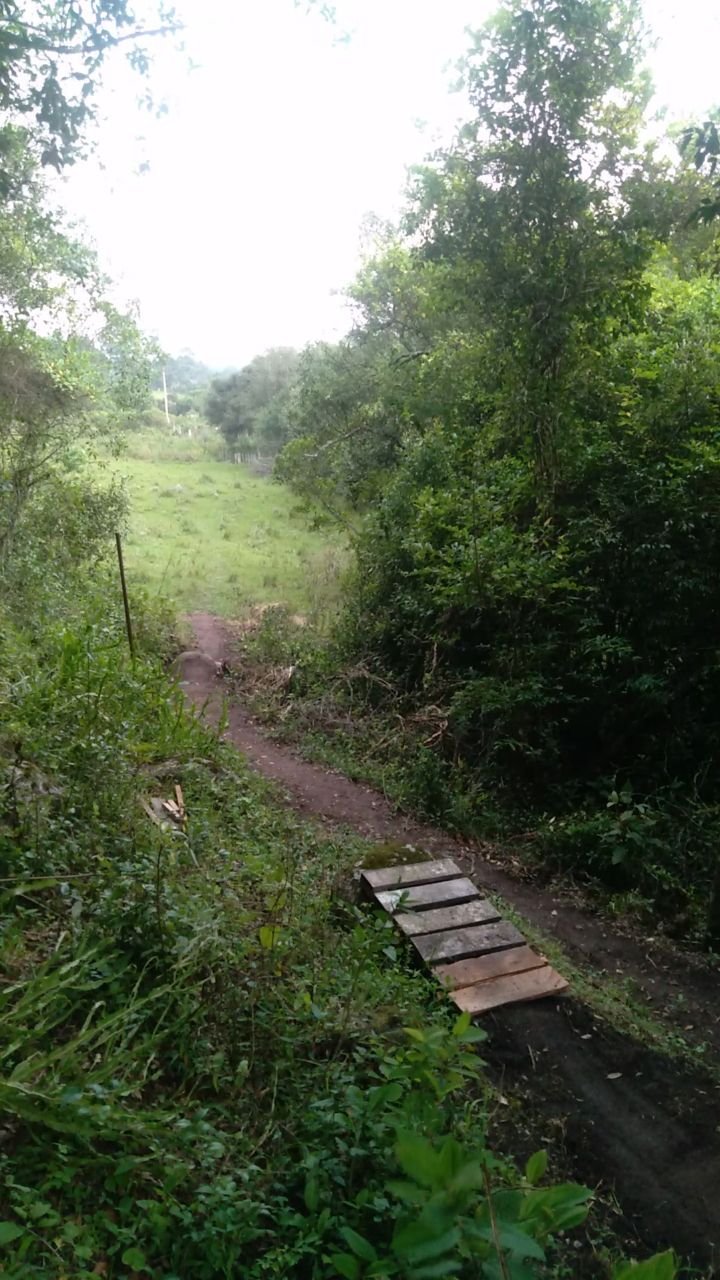
After riding Little Woodie a few times I concluded it's quite fluid. One can jump off the ramp or just roll out of it. Beginners can always take the main route and avoid the rock at all. After this experience, I feel like moving to bigger projects, scarier jumps, and more technical features.
I've recorded a video of the proccess to make this post supper dupper sexy. Enjoy.
Peace.
Did you know that I have a book out? Check this!
Access Link: https://www.amazon.com/dp/6500272773?
If you enjoyed this post consider leaving your upvote for a hot coffee.
Find me on Twitter: https://twitter.com/mrprofessor_
~Love ya all,

Disclaimer: The author of this post is a convict broke backpacker, who has travelled more than 10.000 km hitchhiking and more than 5.000 km cycling. Following him may cause severe problems of wanderlust and inquietud. You've been warned.


