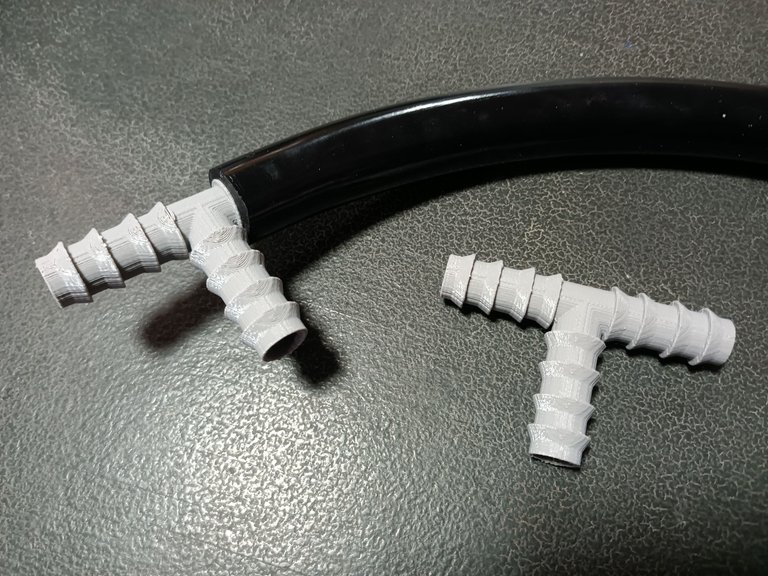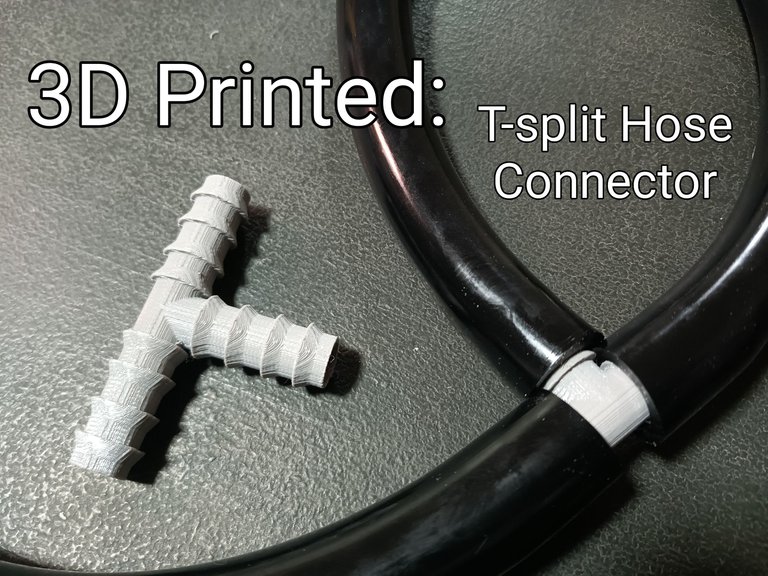
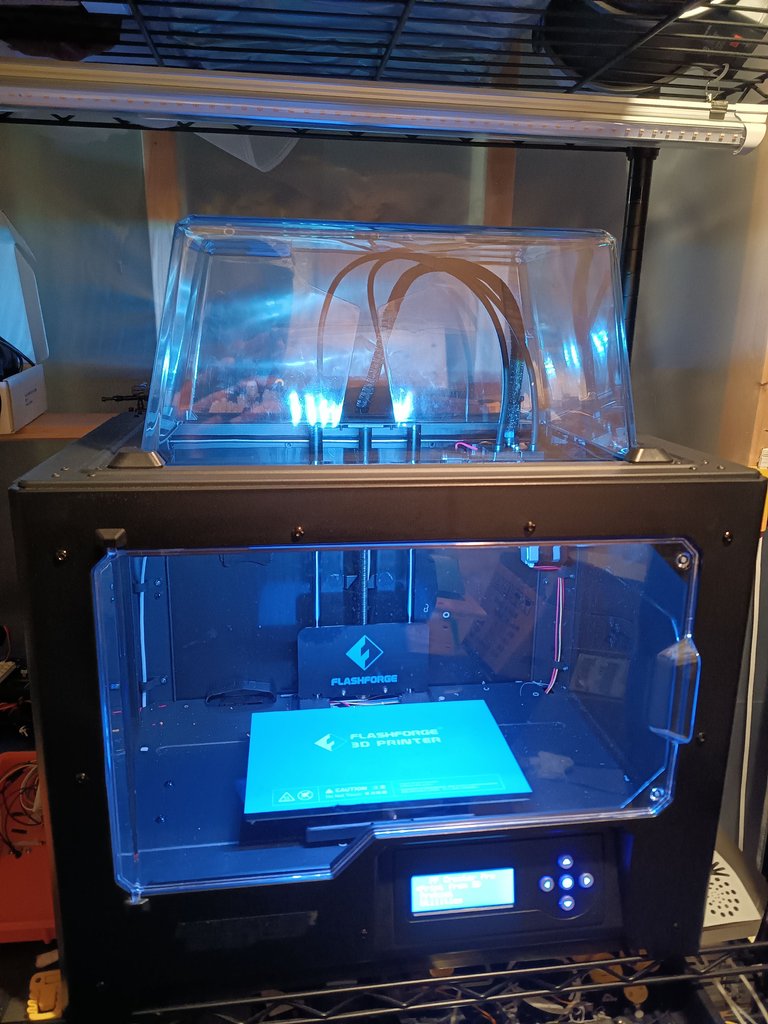
I needed two hose T-Joint connectors for a hydroponic grow setup. It would have taken 4 days for delivery, it took 3 hours to 3D print them. Last week I printed waterproof EDC containers - click here for more details about that project and the FlashForge CreatorPro 3D printer.
The Downloaded Design
Thingiverse.com is an excellent resource for 3D Printer designs. It didn't take long to find a set of 1/2" irrigation hose connector designs (thingiverse.com Source).
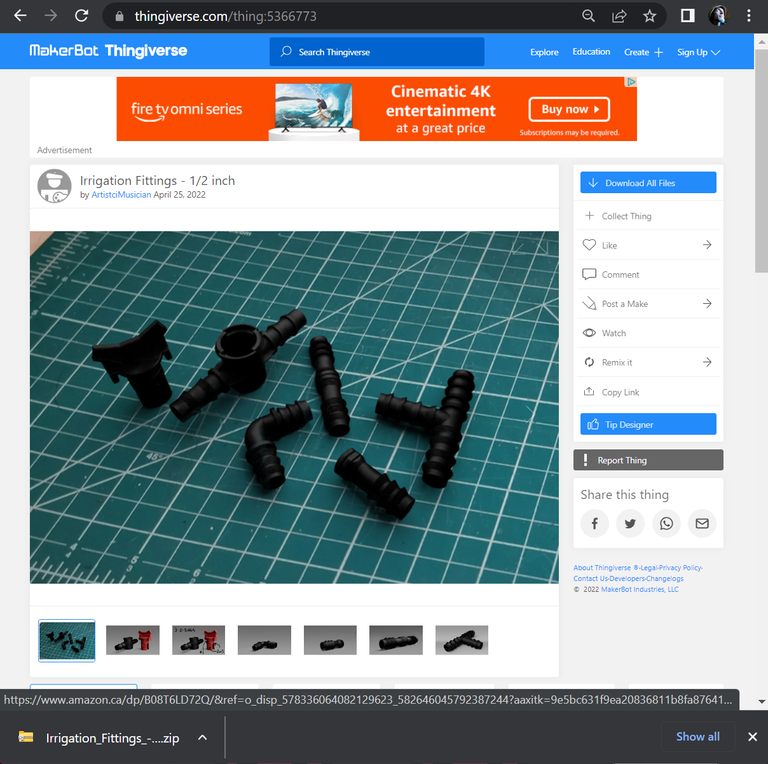
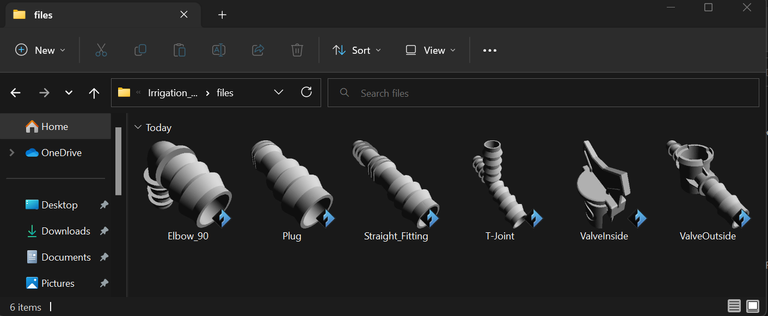
After downloading and unpacking the zip file, inside the 'files' folder are the .STL design files (as seen below).
Creating the Printer File
Included 1/2" irrigation hose connectors are a 90 degree elbow, a T-joint splitter, a straight connector, plug connector, and a valve (the valve requires 3 o-rings). I double-clicked the 'T-Joint' file to open it in the FlashPrint software to prepare the 3D printer compatible file.
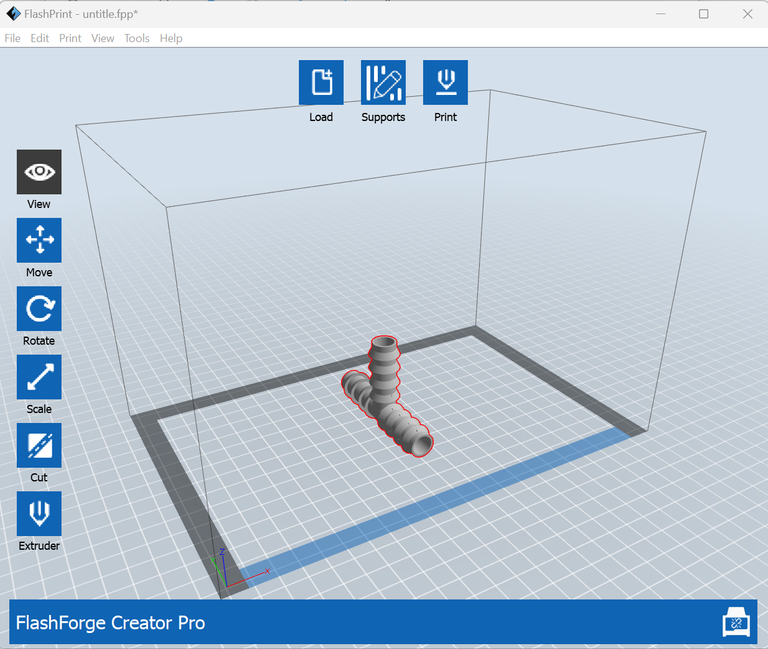
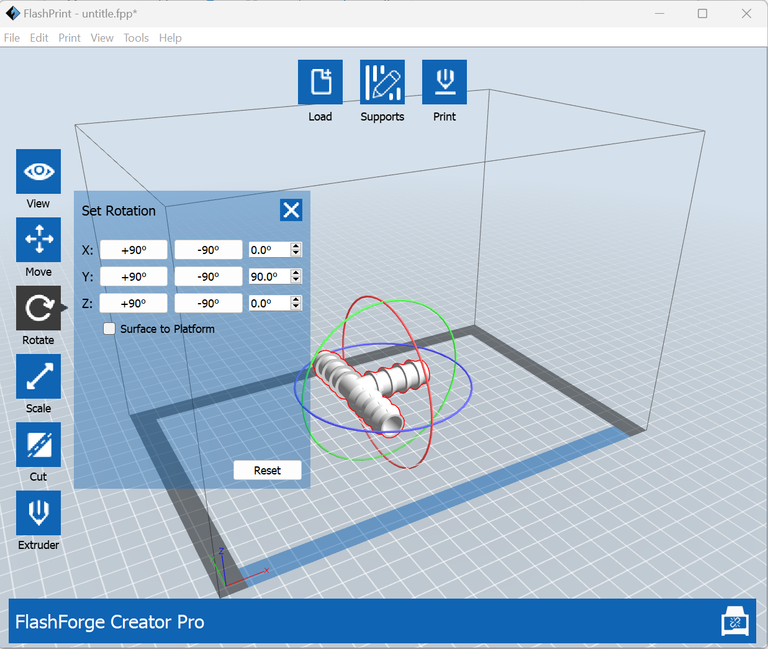
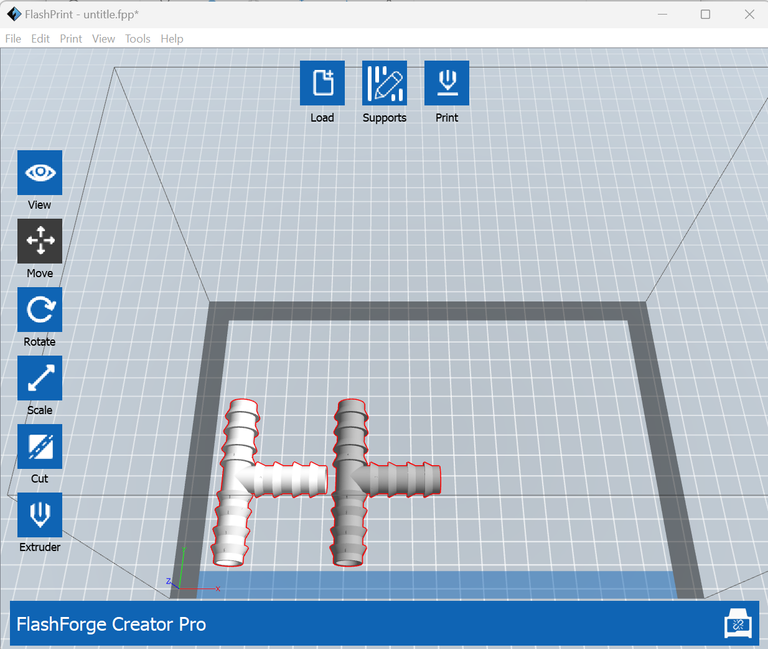
The design would print well as imported, but as an example I'll click the 'Rotate' button on the left, then set the y-plane rotation to 90 degrees to lay the T-Joint flat.
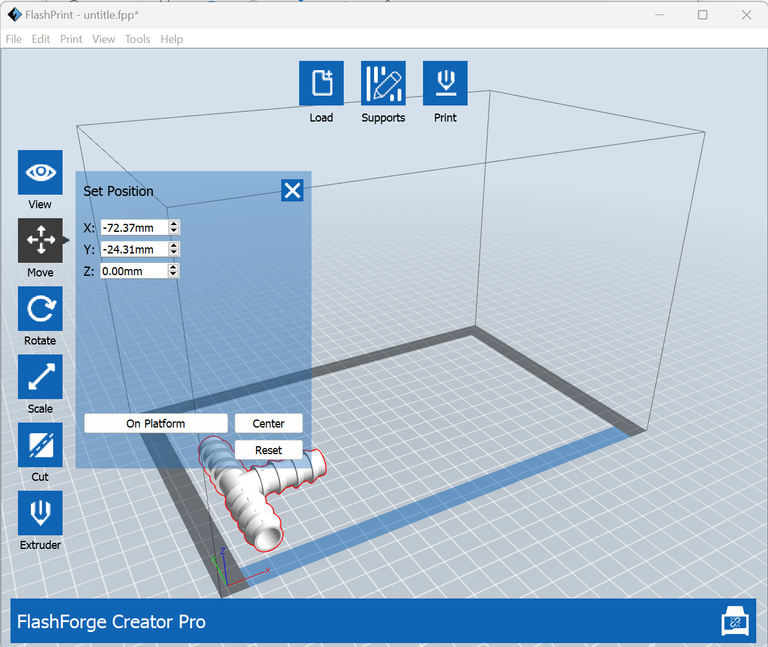
After selecting the 'Move' button on the left side, the 'On Platform' button is clicked to lower the design to the platform - then moved to the front left. With a CTRL-c and a CTRL-v, the object is duplicated.
 |  |
|---|
This design will need supports to print properly - after clicking the 'Supports' button at the top of the page (see above), the 'Auto Supports' button is clicked to create the supports.
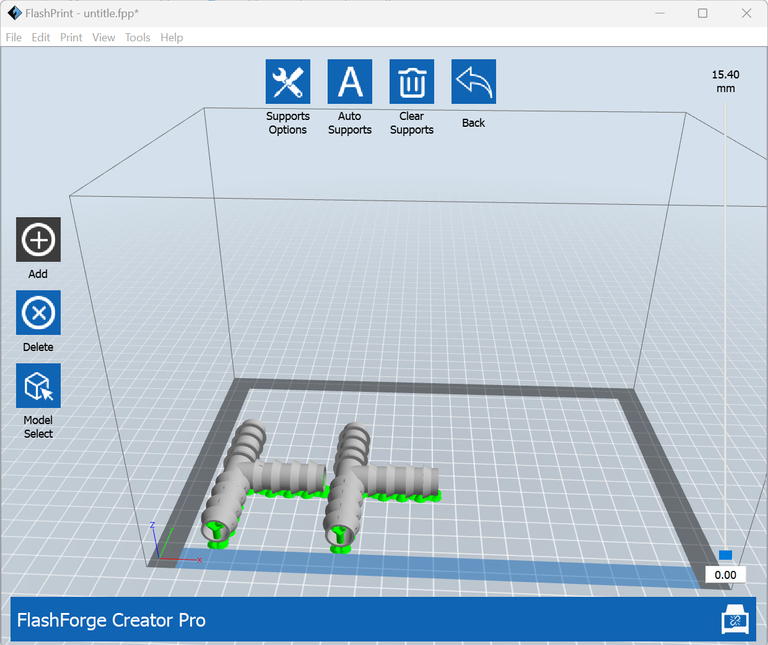
You can see the proposed supports in green, to accept them click the 'Back' button, the supports change to the same color as the object.
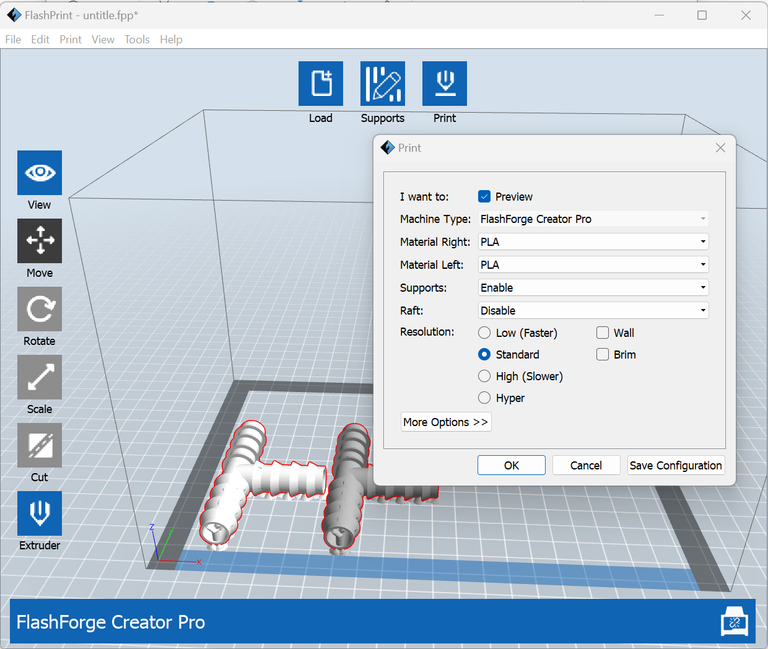
The 'Print' button is clicked to bring up the print options. The PLA type filament is selected for 'Material Right' (right-side print head), 'Enable is selected from the 'Supports' pull-down menu. The 'OK' button is clicked to create the 3D printer file.

The file is saved in a 3D printer friendly format, with a .x3g extension. The file is copied from the computer to a SDCard.
Starting the 3D Print Job
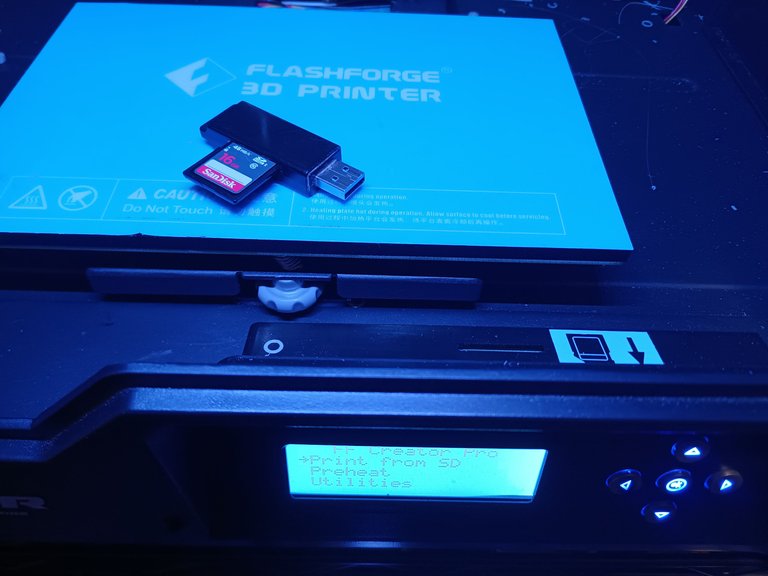
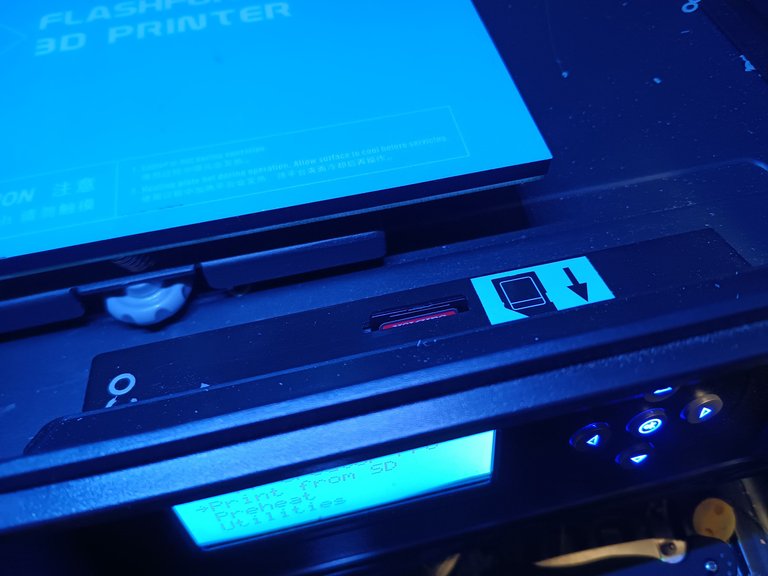
The SDCard is inserted into the 3D printer - 'Print From SDCard', then the file is selected to start the print job.
 |  |
|---|
Preheating and Startup
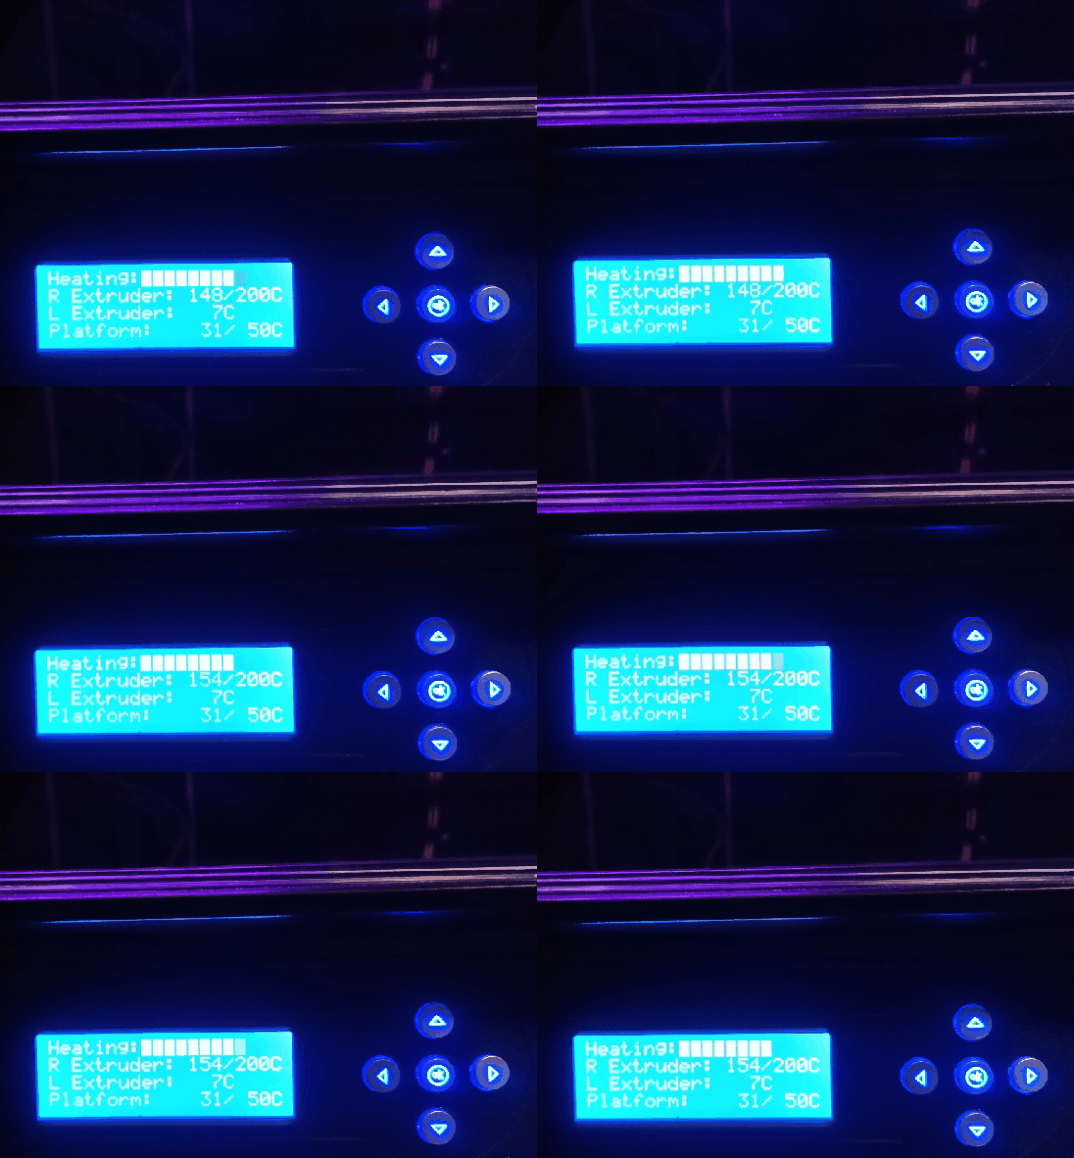
Before the print begins, the Right Extruder needs to heat up to 200C (for PLA filament), and the platform needs to heat up to 50C to properly receive the extruded filament. Then the printing begins.
 |  |
|---|
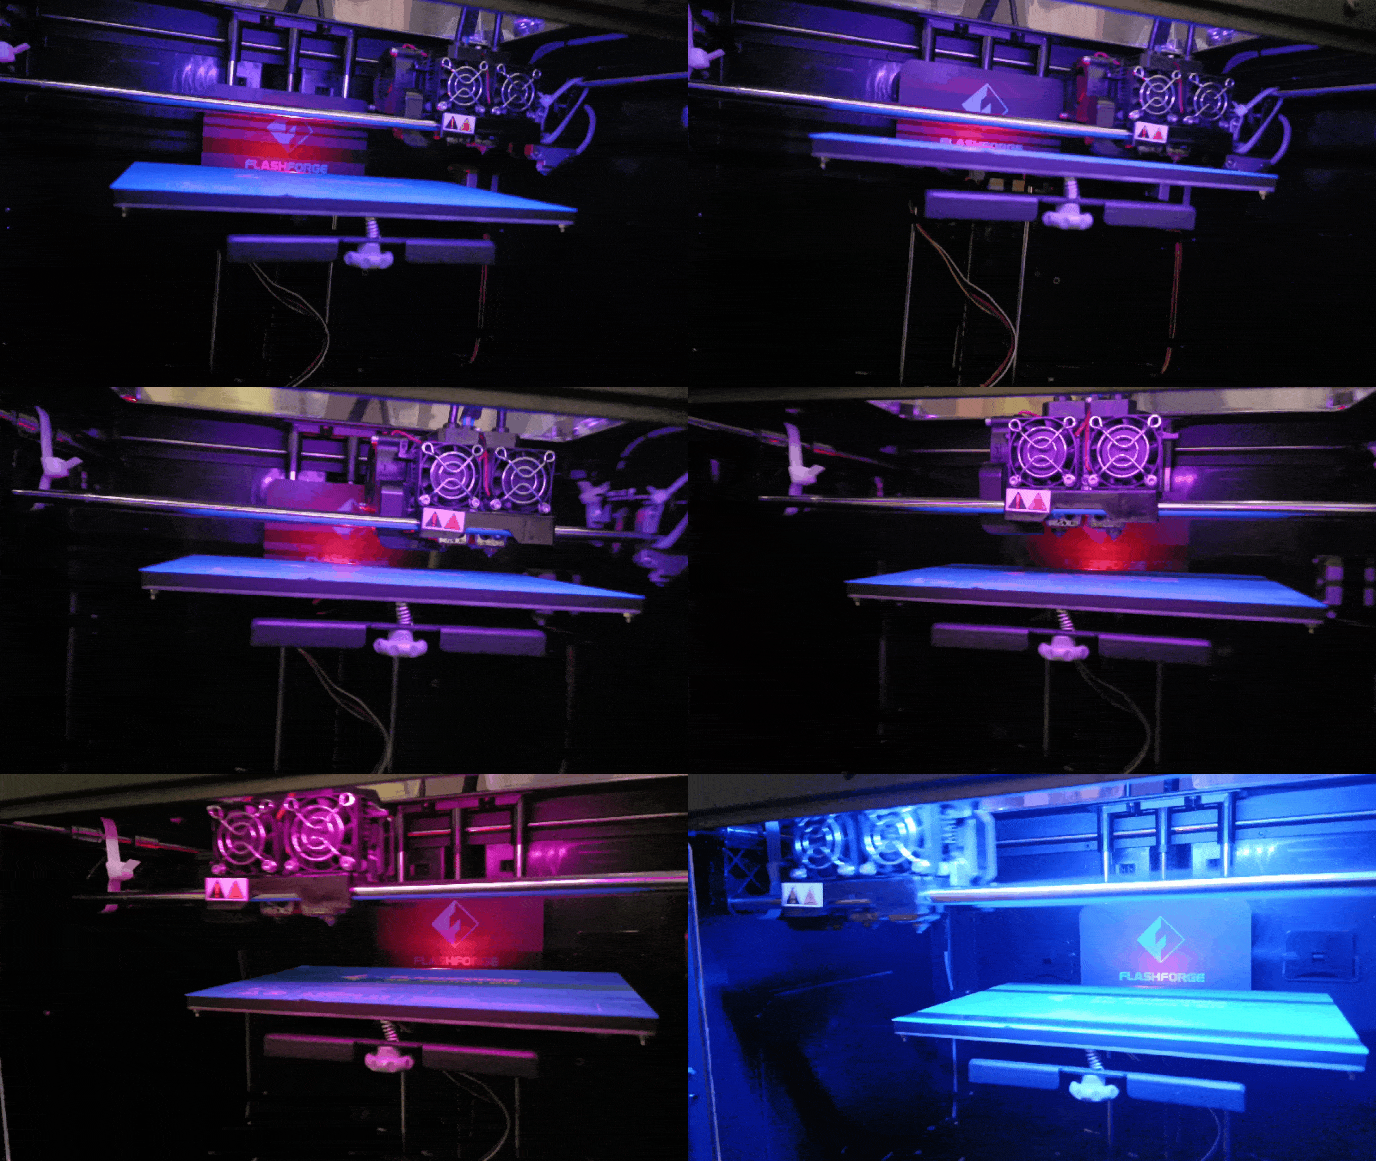
You can see the printer calibrating the move into start position (above on the right).
3D Printing
 | 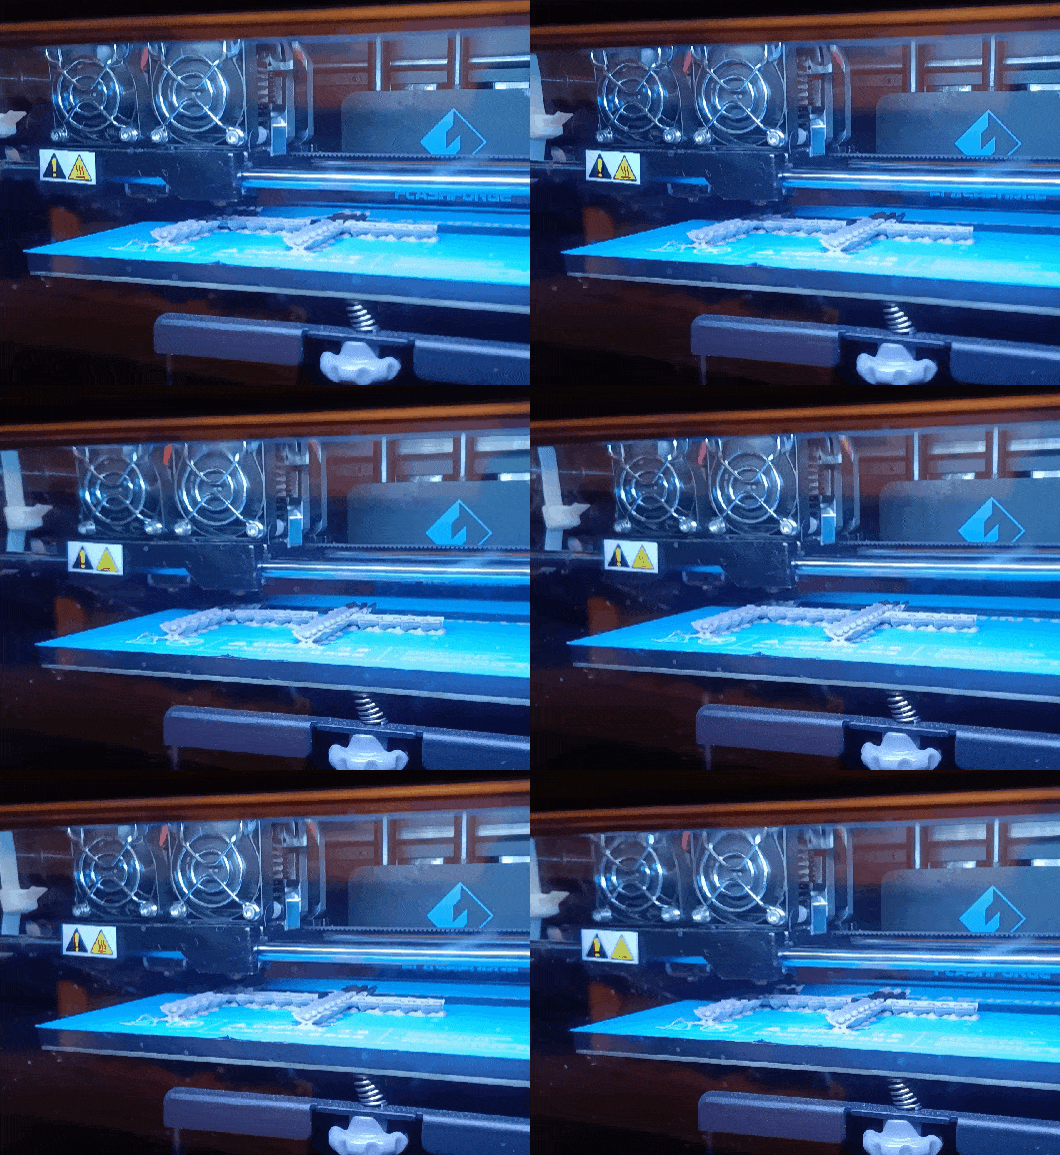 |
|---|
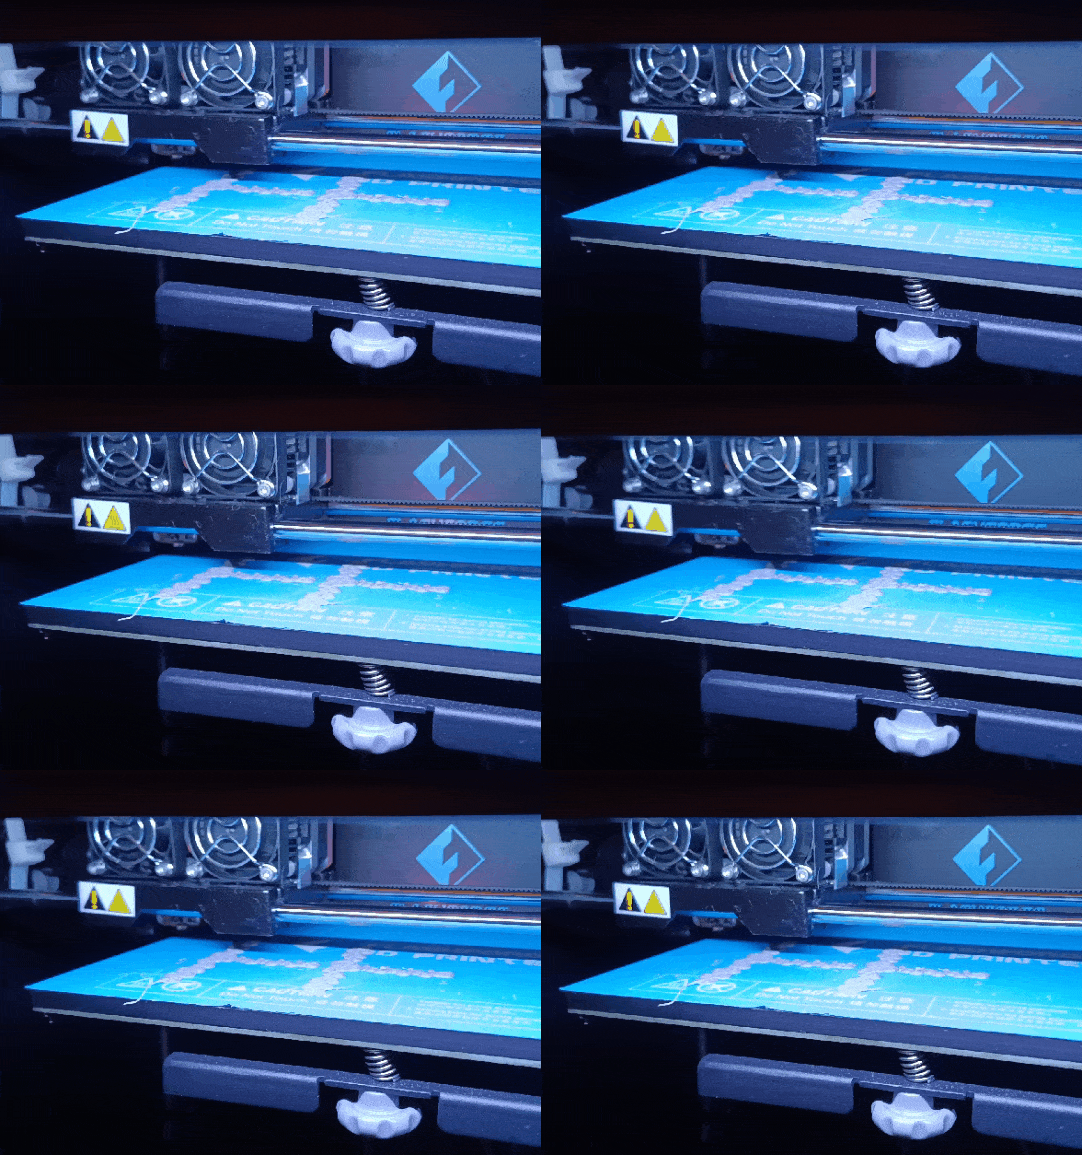
The 3D printer creates the object from the bottom up, one layer at a time.
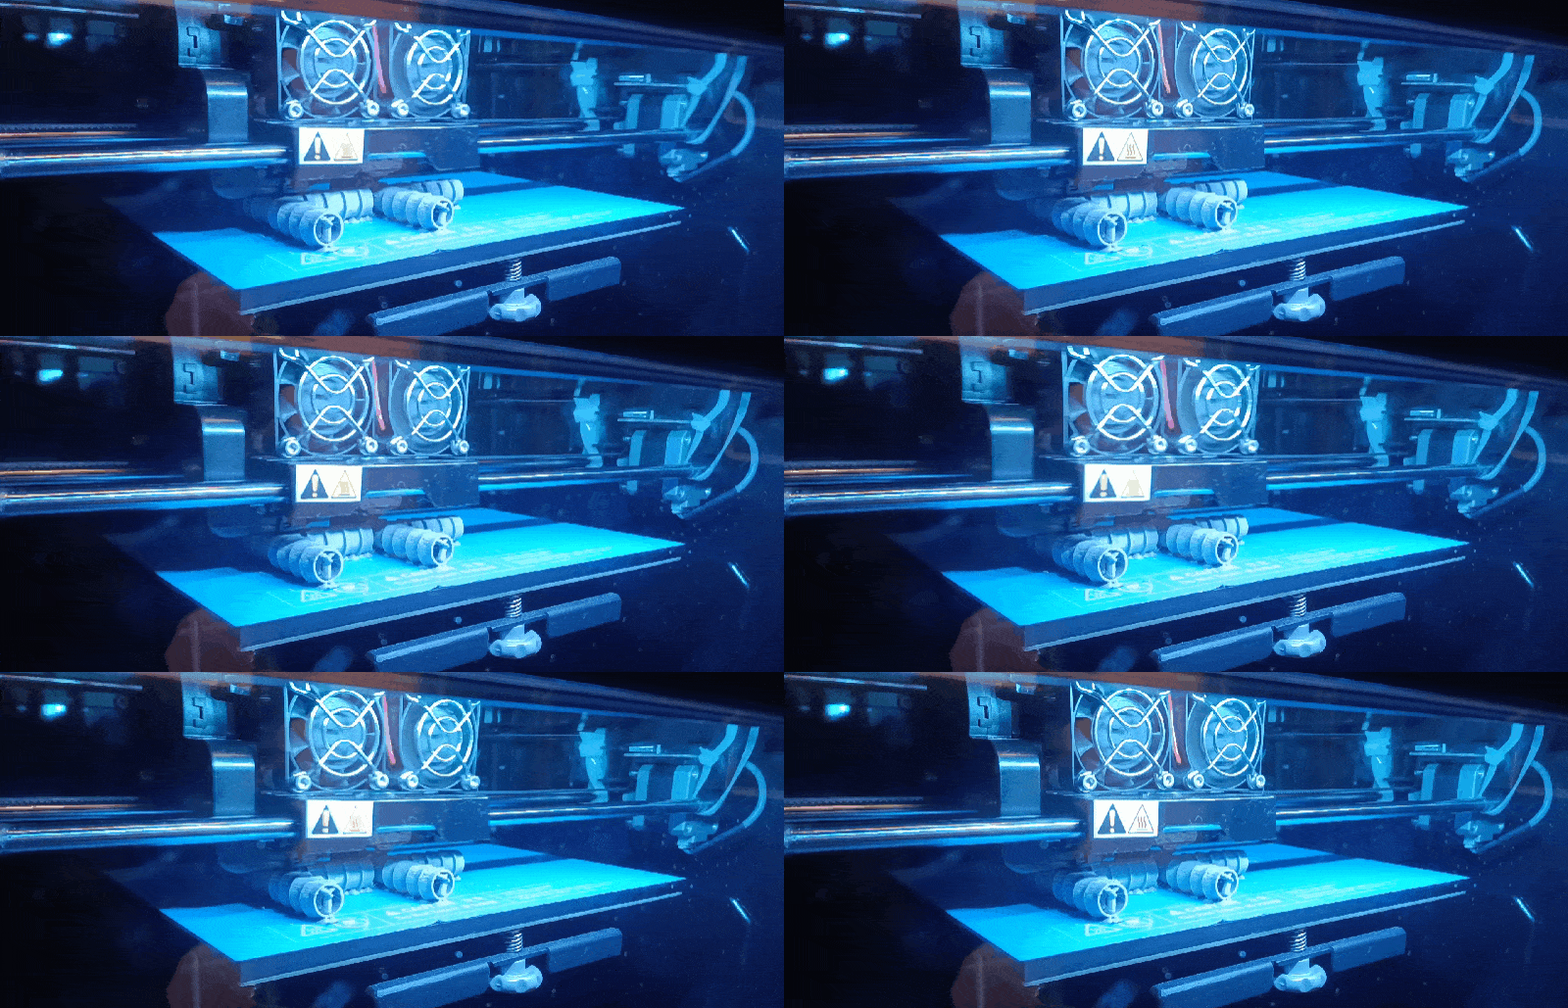
Print Complete
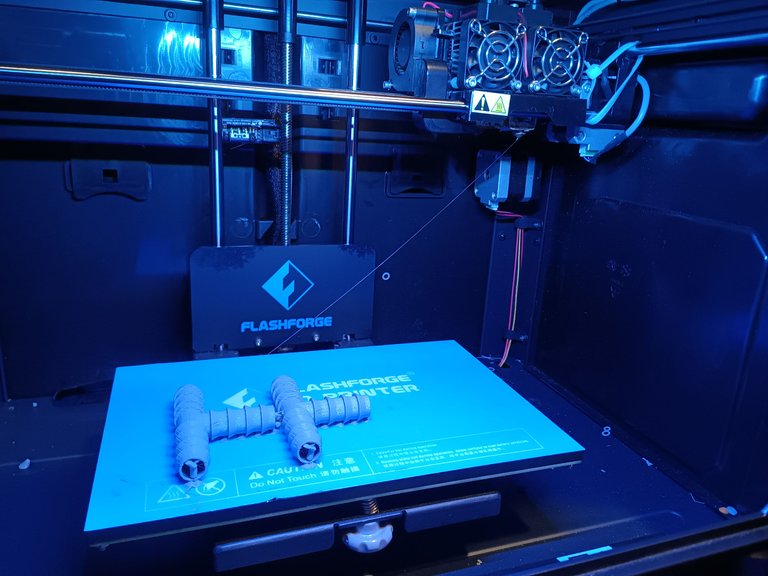
With the print job complete, the platform lowers, the print heads move to the back-right. The T-Joints are carefully peeled off the platform.
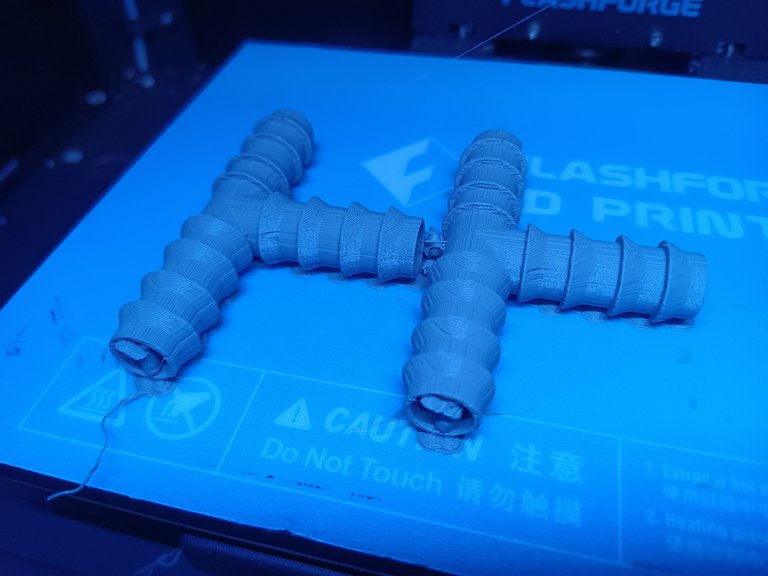
Supports Removal
The temporary supports help the 3D printer extruded filament defy gravity until it quickly cools.
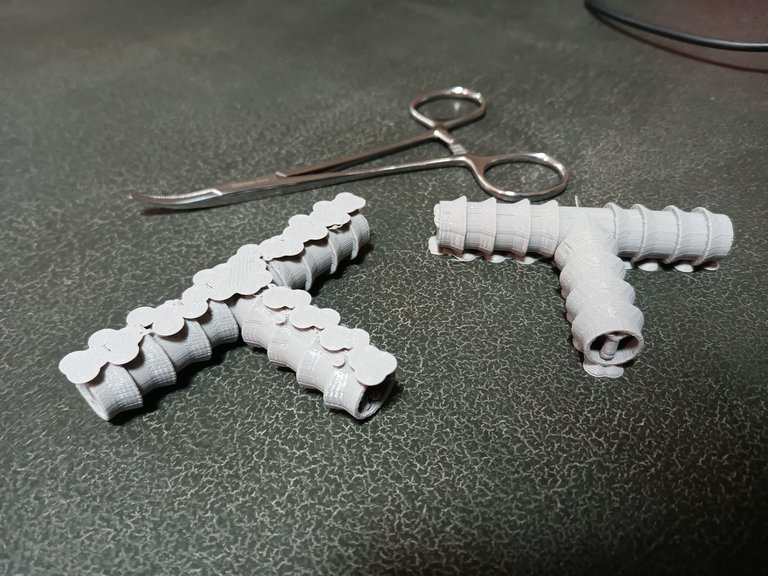
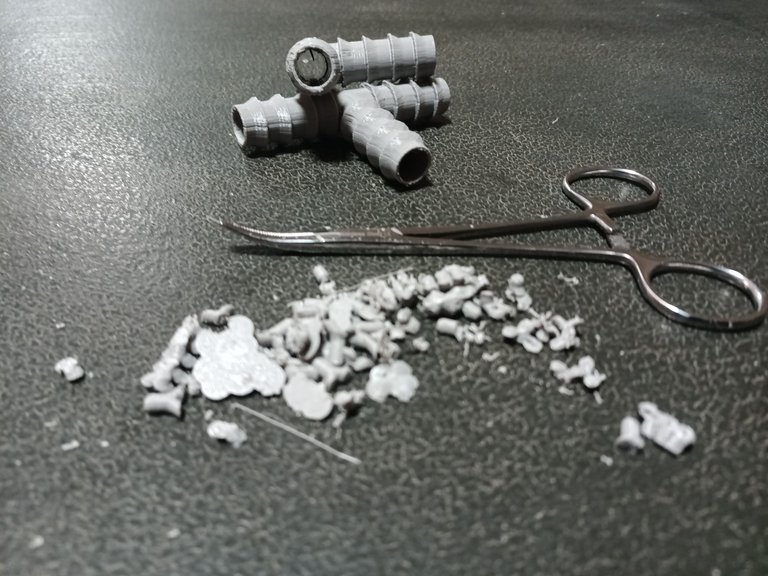
The supports are easily picked off to clean up the 1/2" irrigation hose T-Joint connectors. With the right equiptment, the support scraps could be recycled into new filament.
 |  |
|---|
Completed Hose T-Splitter
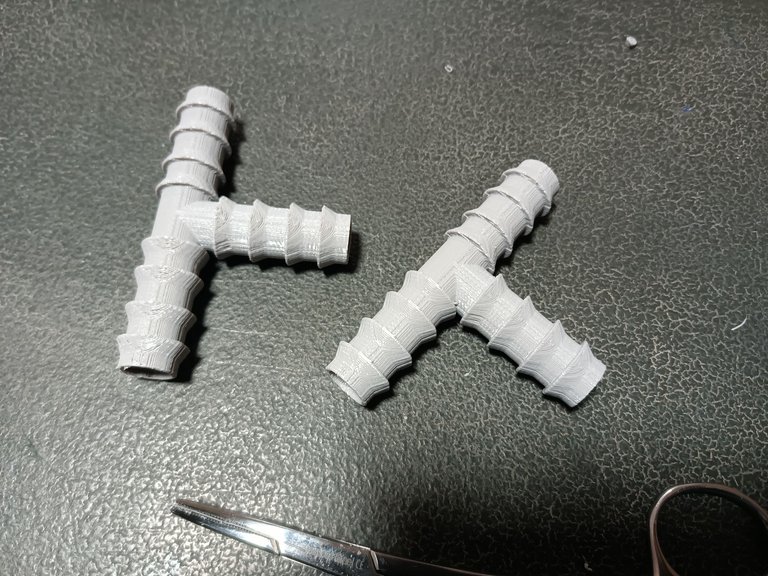
The T-Joint connectors are completed, ready for hydroponic grow project, saved a few days with the printing.
