Hello everyone!
A virtual greeting to everyone in this community and also in the hive ecosystem I am here again to share with you all the amazing transformation and redesign of the Hilux car seat to make it look new and beautiful, but before I proceed, I would love to know how you are doing because I care. I hope and believe you all are doing pretty well, and if you ask me, I am doing pretty well.
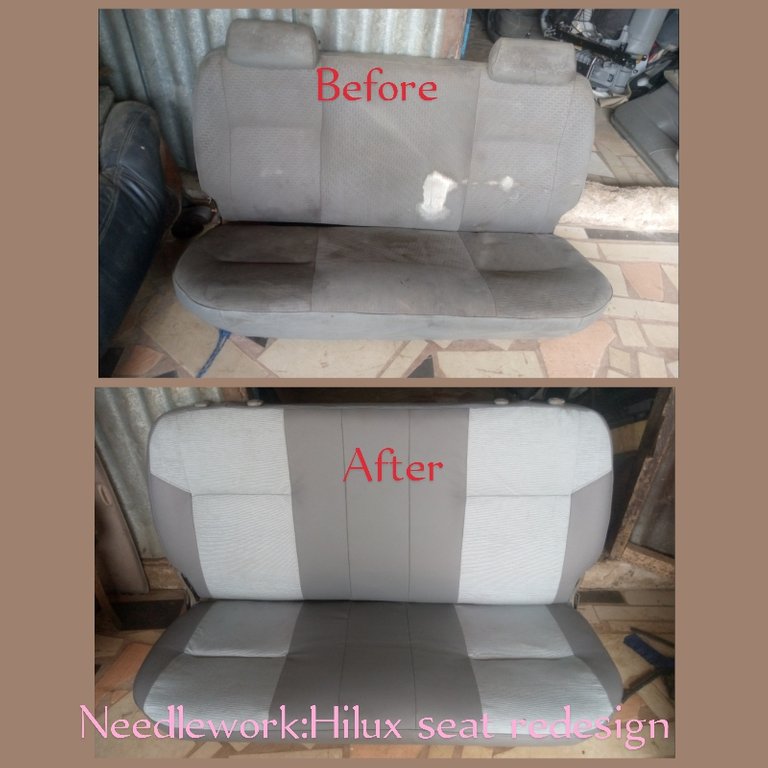
I am very happy to be here again today to share with you guys the beautiful design of this seat that I chose.
On Monday this week, my regular customer brought his friend to my shop to change the seat cover of his Hilux, and that was a good job, and I really thanked him because since I know him, I have done more than 10 good jobs for him, so usually we talk price and agree on a certain amount.
I then asked Him about the leather I am using for the work, but He said He does need leather, although I should use cloth all through, but I told him it would not be nice, so he now asks me how I want it to be, so I tell Him I will use leather on the sides and clothes in the middle, so he asks me if that will be nice, and I tell him to leave that one for me.
so that after I get the advance payment, I can get this material. See below for the work.
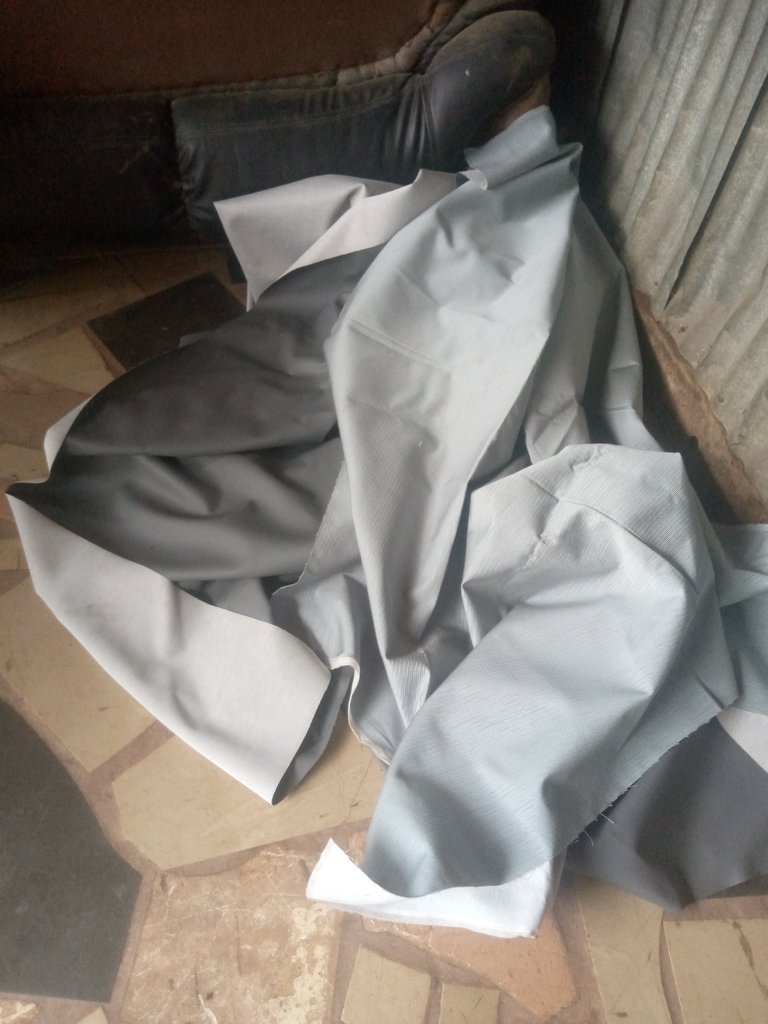
One of them is leather, and the other is cloth. I did not believe how the outcome would look, but I know it will be a nice combination.
I started the work yesterday, i.e., Wednesday, because of a little work I was doing before he came.
I chose to start with the back seat because that very one is simple and straight forward just to see how the outcome will look like, and here is what I got.
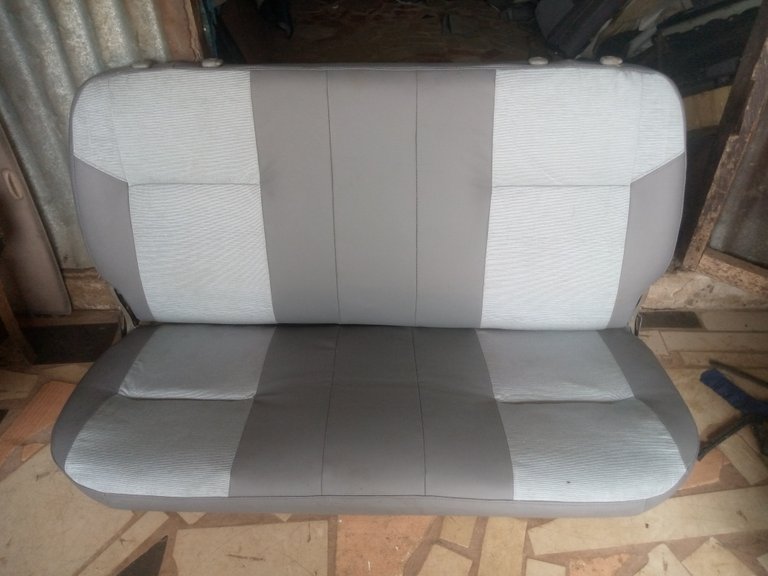
The back seat was completed that same day and is so beautiful. So I will be working on the front seat, and by Friday I should be done. I will share the finished work here on Saturday, and it is going to be wow.
In your opinion, how do you see these combinations?
Let's see some steps I followed to transform this seat to look new.
Here is the seat before
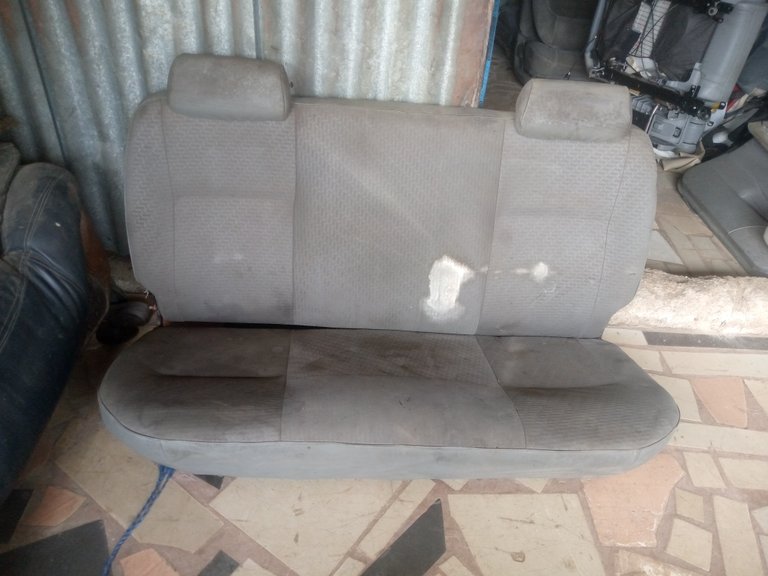
To start the work, I carefully loosen the seat for easy measurement and upholstery.
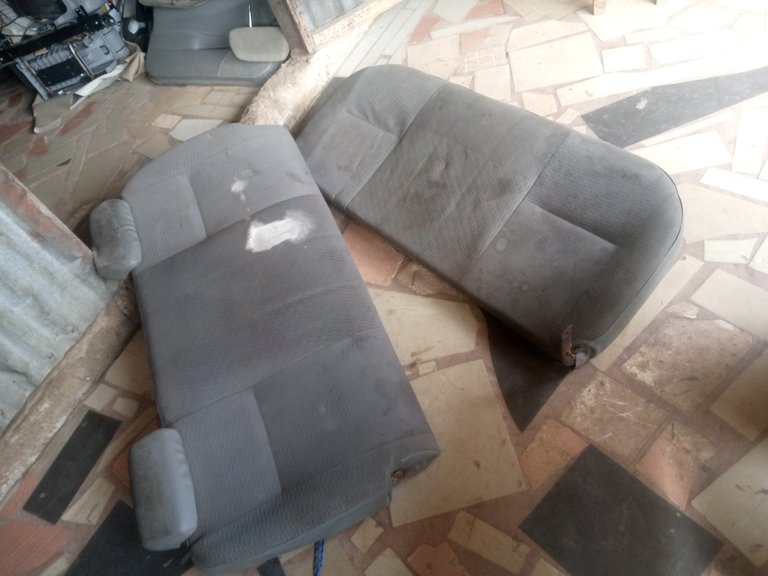
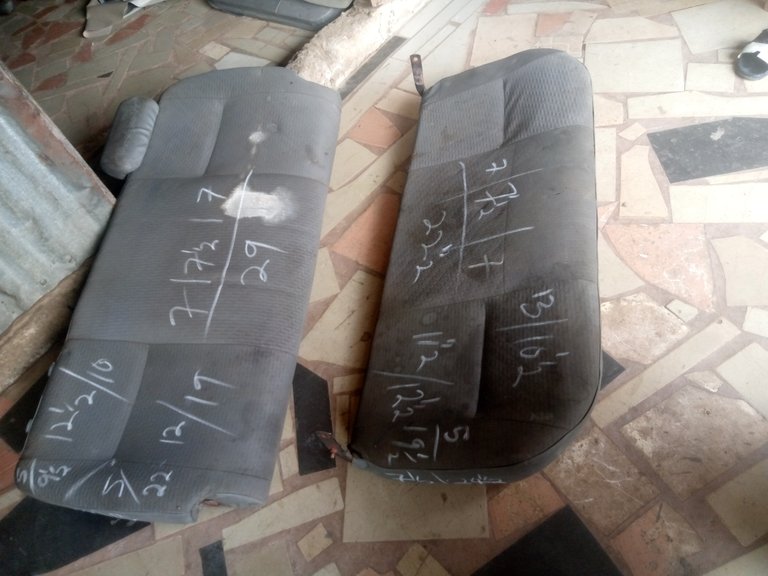
After I finished the seat, I then used a measurement tape to measure the vertical and horizontal distances of each joint. If you check the old seat, you will see that the center is plain, but I have cut my own into three to bring out the beauty of this seat.
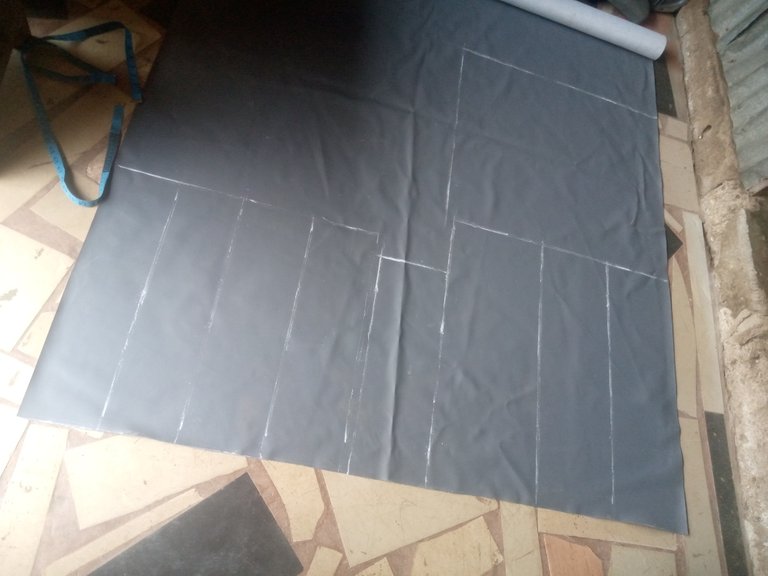
After taking the measurement, I then transfer the measurement to my new leather; nothing from the cloth is in the center, which is why leather covers all over the other part of the seat.
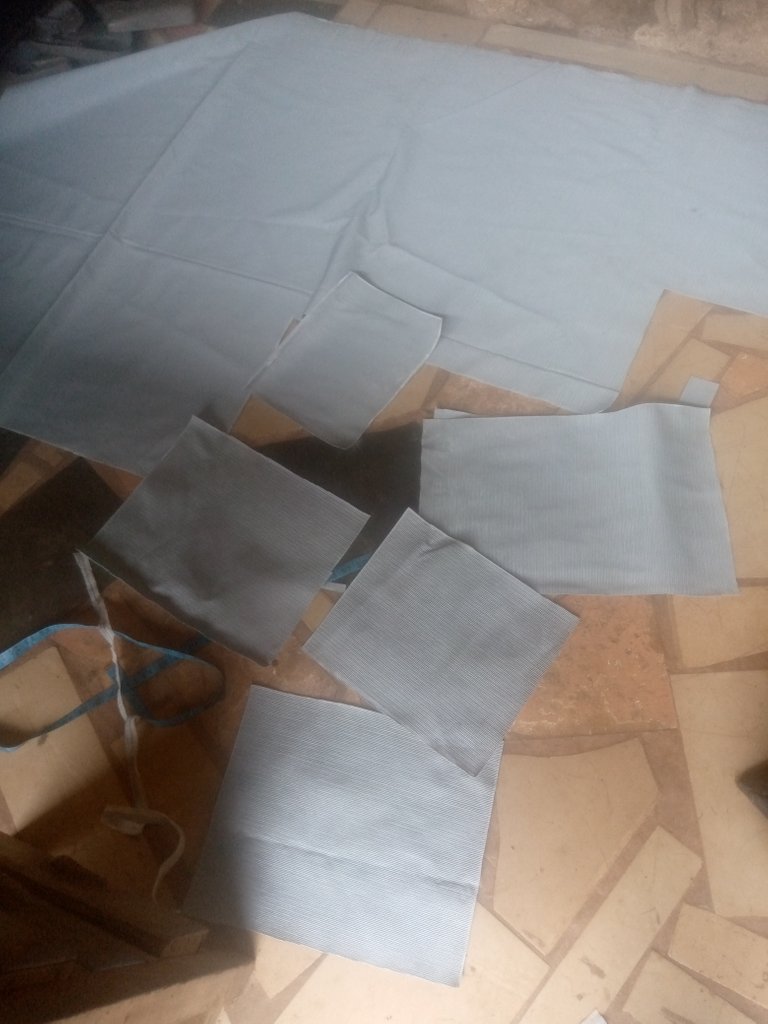
After making the measurement, I then cut them out one after the other, following the line I drew on them.
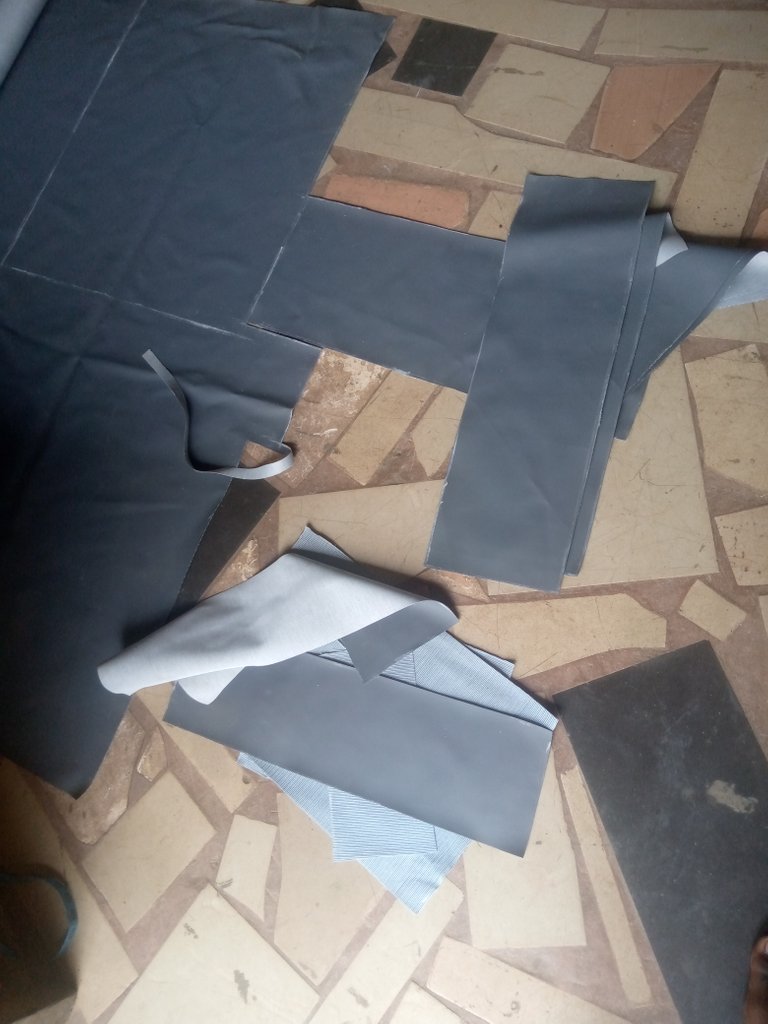
The next thing was to form the pattern of the seat. To form the pattern, I placed the new leather on top of its position and then drew the shape out. After doing that, I then gummed the pattern to a roof material to make it smoother and stronger.
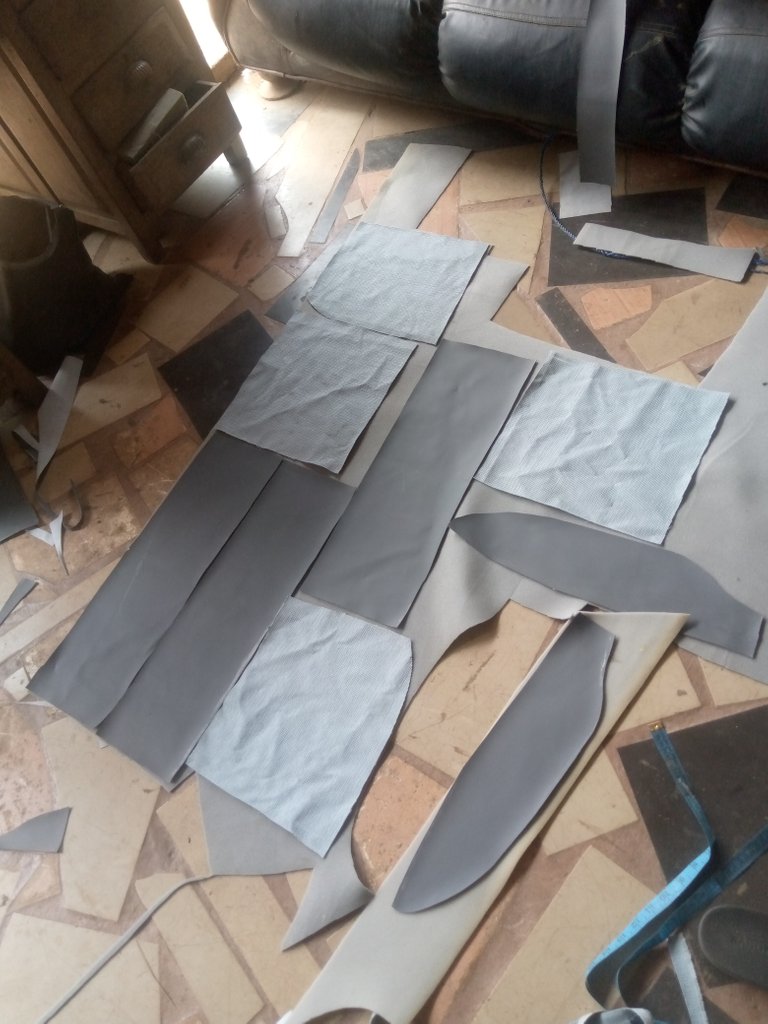
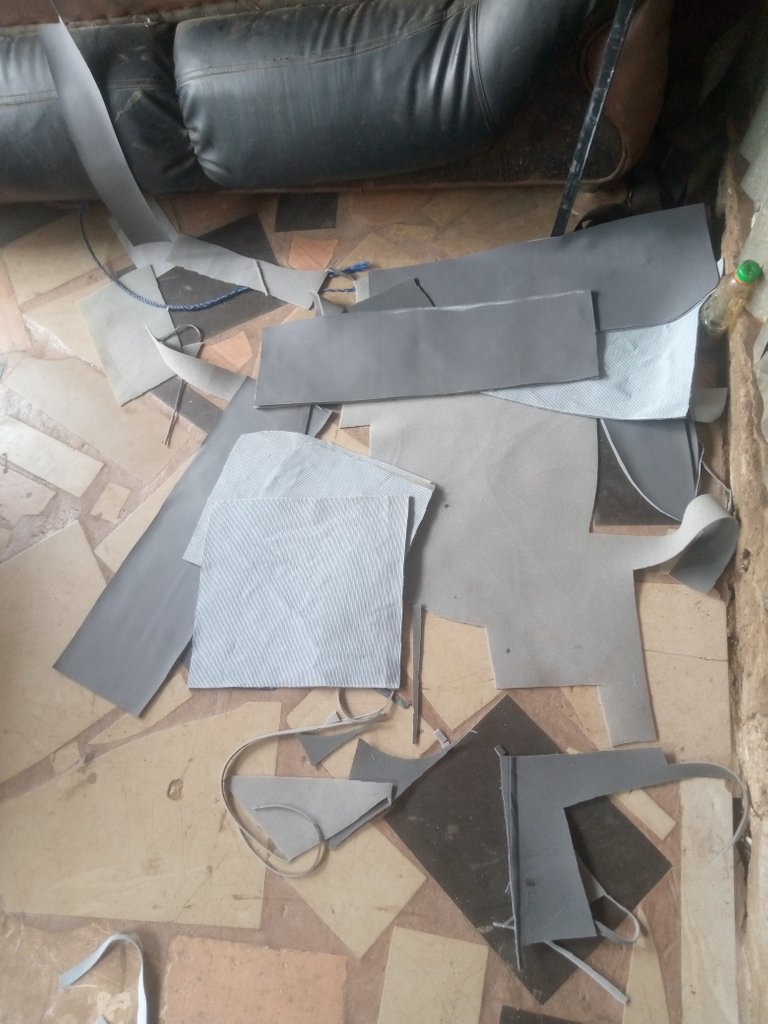
After gumming it, I then cut it out for the sewing process.
I use my sewing machine to join those patterns together, using the old seat to guide myself.
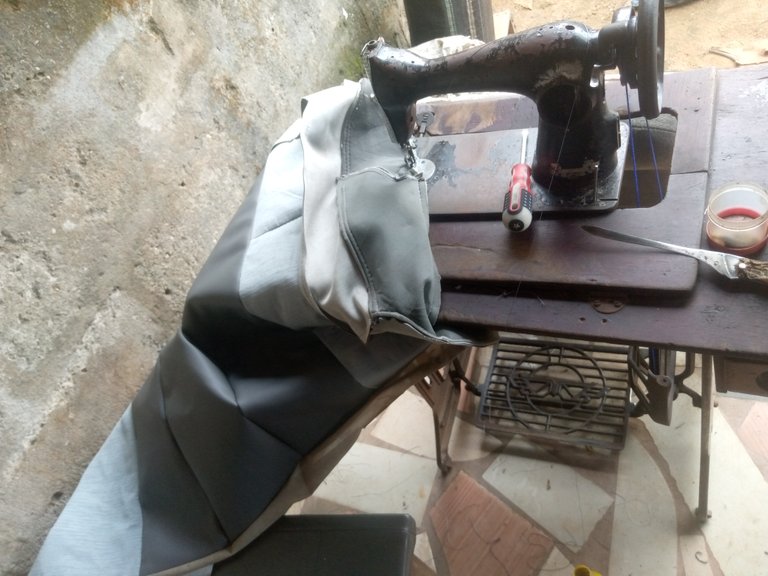
After sewing the seat and the new seat cover, I then proceeded to cover the old seat with the new seat cover.
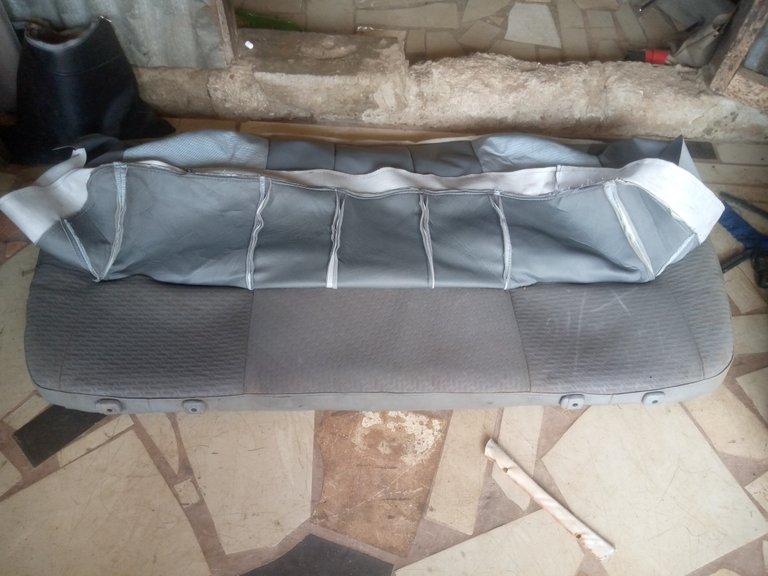
I am covering the seat.
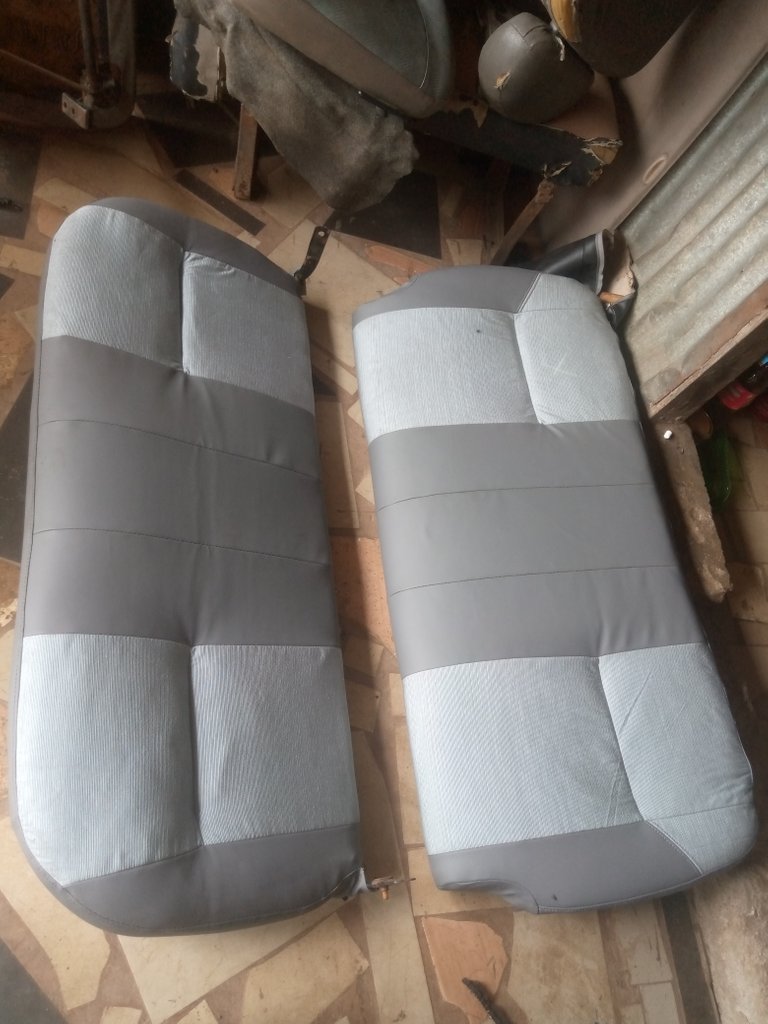
After I cover the seat, I then tighten the seat back up as before.

Wow, this is so beautiful, and the owner asked me to send a photo of the finished work to him, and when he saw it, he was so happy.
Me too; I was so happy to see this seat come out this way, and because of that, I chose to take a picture with the seat.
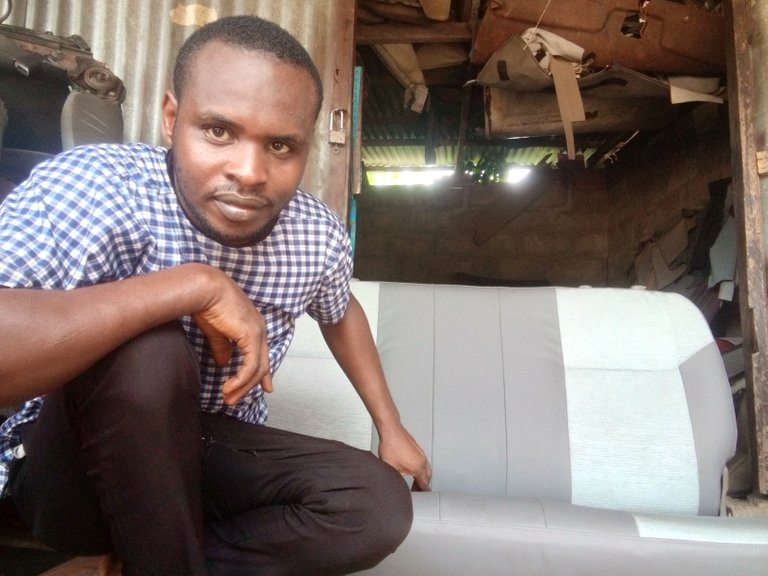
If you look at my face, you can see I am really happy. I used 8 hours to finish the back seat, and I will be working on the back seat, which will take me 2 days.
Special thanks to these special members of this community: @crosheille, @lauramica, @kattycrochet, @marblely, @needleworkmonday, and also to all the members of this community.
Thanks for your support and for stopping by. I look forward to your publication.