Hello everyone
Happy Thursday, how are you all doing, i hope you all are doing good and if you care about me i am doing pretty good.
Upholstery
It has been some days i don't post here just because i don't have a new project to share with guy's. Things are really getting hard here in Nigeria after the scarcity of money and everyone are complaining of no money because of this many of people many their car seat the Way it is.
Well i appreciate the almighty God for always standing by me, i have a new seat i am working on and this work was giving to me by my customer that just bought a old car and looking for a way possible to make the interior of the car neat.. he comes from far away for me to work for him because he trust me and believe i will do a neat work for him
I am sharing this post because it is a needlework and it is being done by me and cannot be seen any way or being repost.
Here is the finished seat
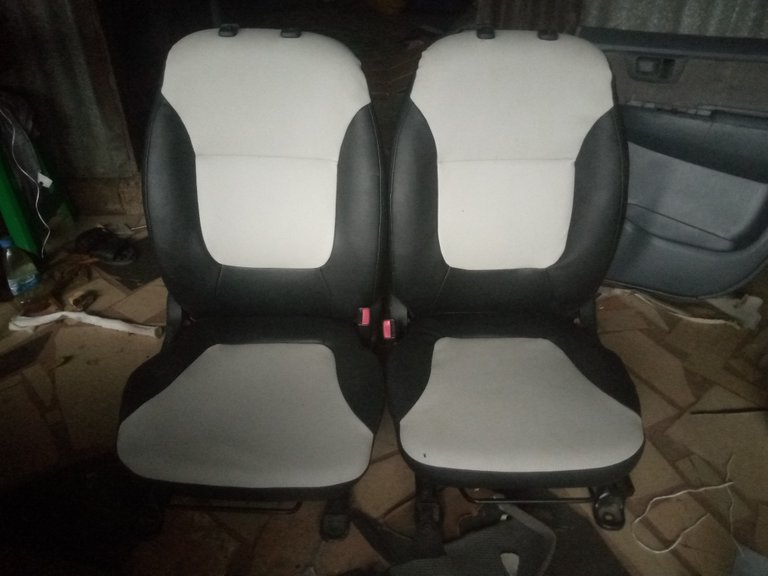
This seat two front seat took me 2 days to finish it up.
Here was the seat before
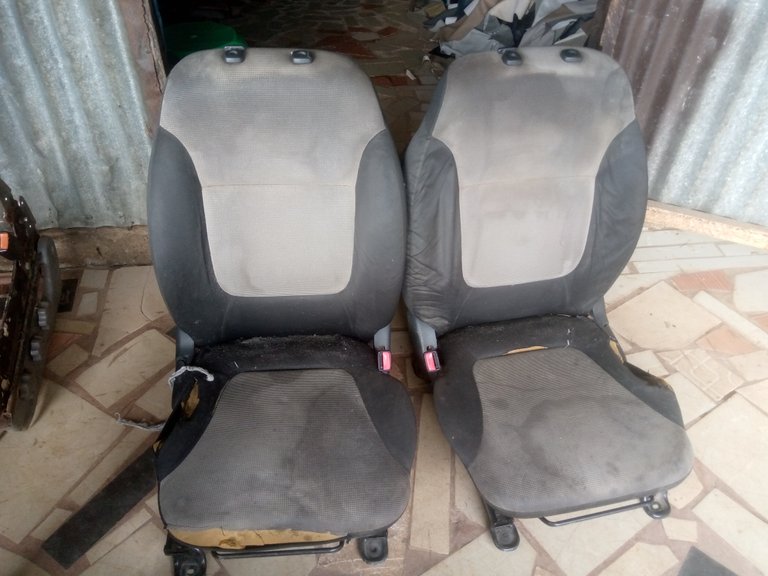
But before i proceed to the steps by steps i follow to renew this seat i will love to list out some material and tools i use in this seat .
Material and tools used
- sewing machine
- black thread
- white Ash leather
- black leather
- pliar
- flat and start screwdriver
- rods and clips
- car roof material
- chalk
- sewing tape
- long rule
- sucket 14'' spanner etc
Please if the is any tools you have not see before ask for picture and i will share with.
I believe you will find this post interesting and important and please do well to support if you love my skill.
I will really break down each steps i follow with the help of photos for easy understanding.
Let get started
Here are the two leathers i am using
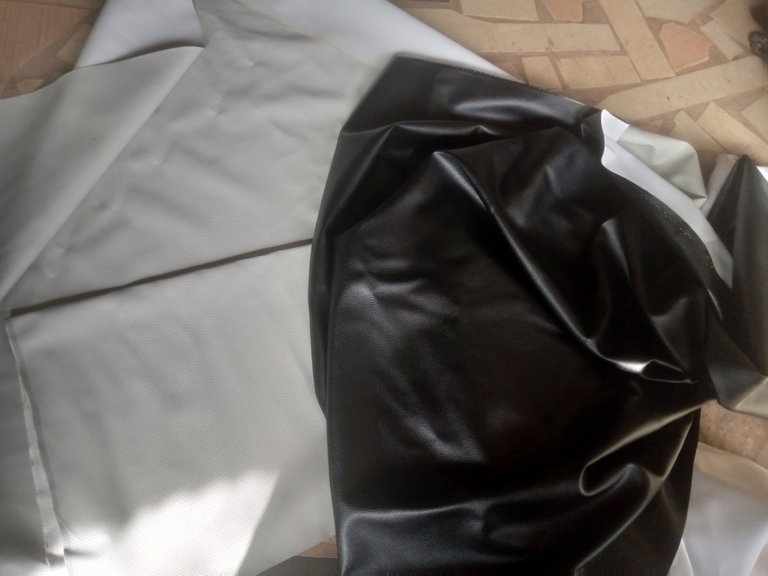
Here we have black and white ash. The ash will be used at the middle where the black at the side .
The seat are two but are the same in pattern but i will be using only on to illustrate my steps.
Here we go
Step 1
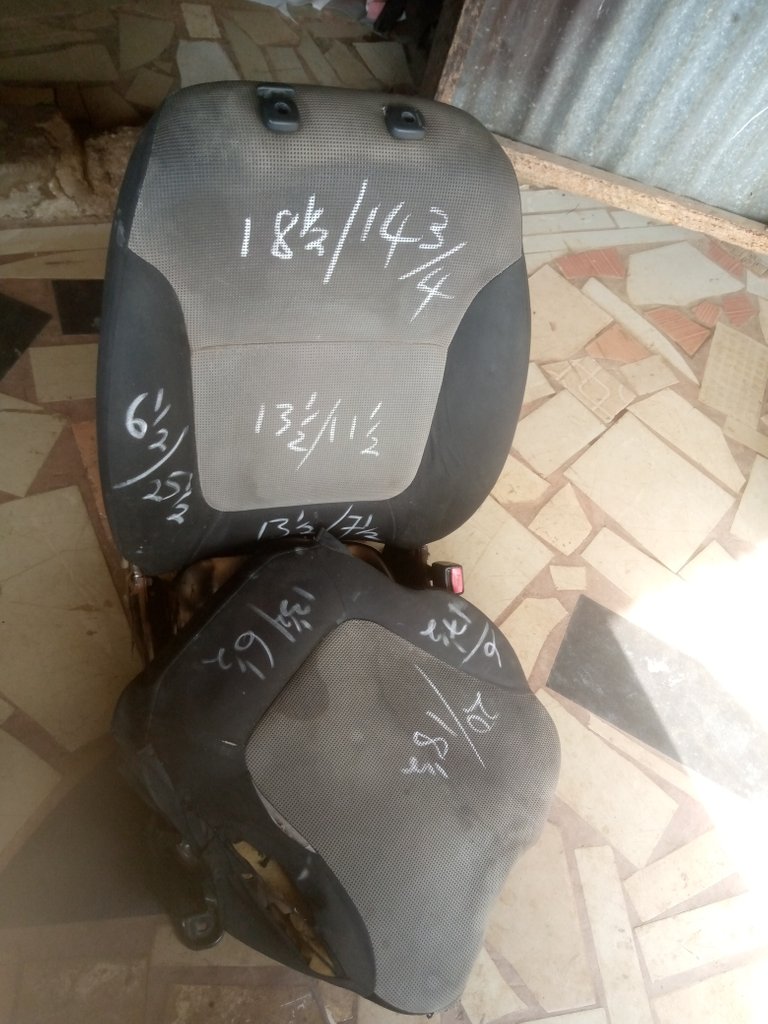
Firstly i use a measurement tape to take the vertical length and the horizontal length of each joining on the Old seat
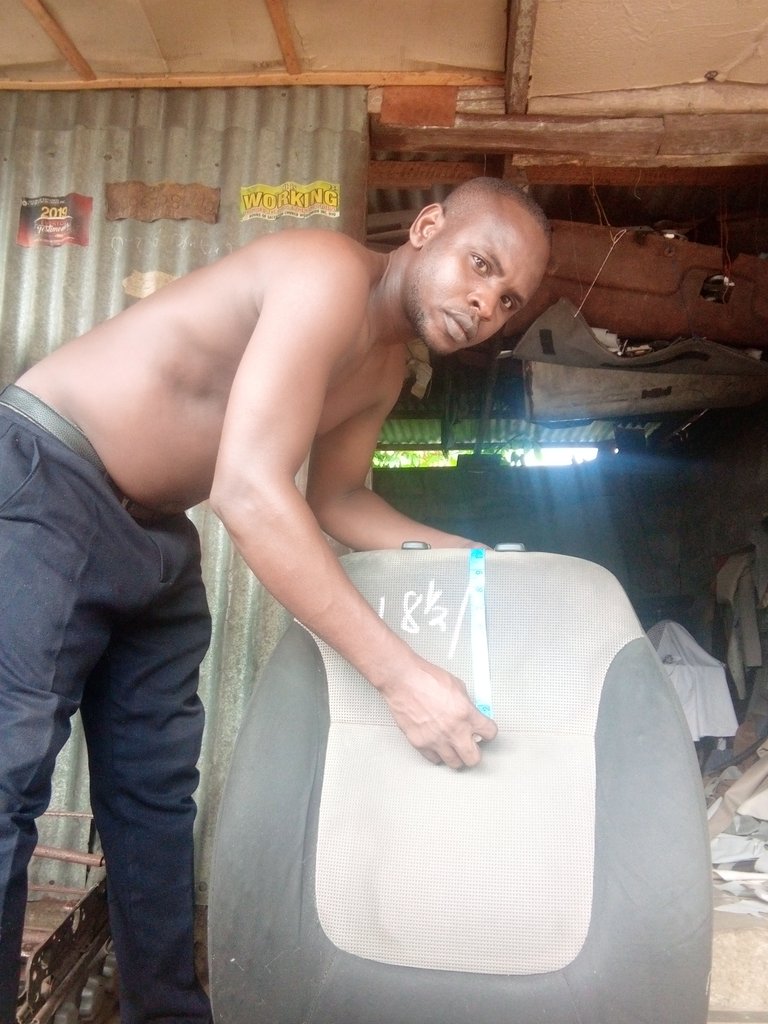
After taking the measurement i then write it down on the seat with the help of chalk.
Step 2
I transfer the measurement to the new leather.
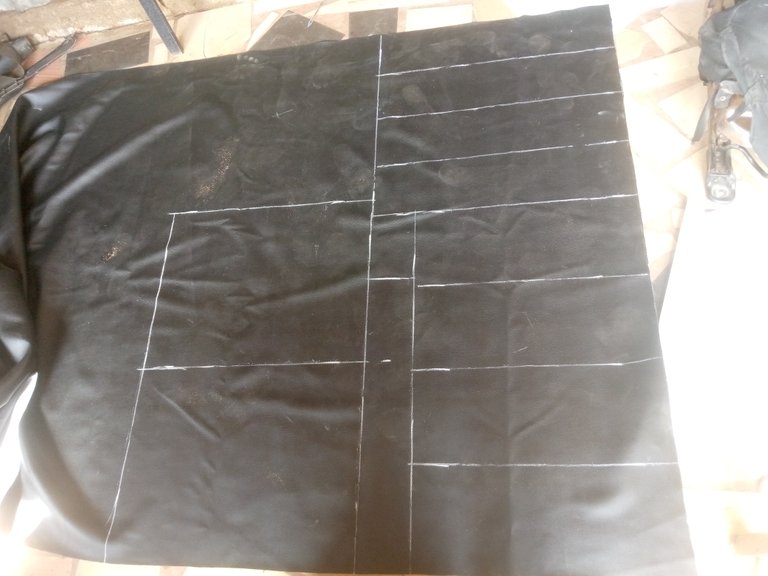
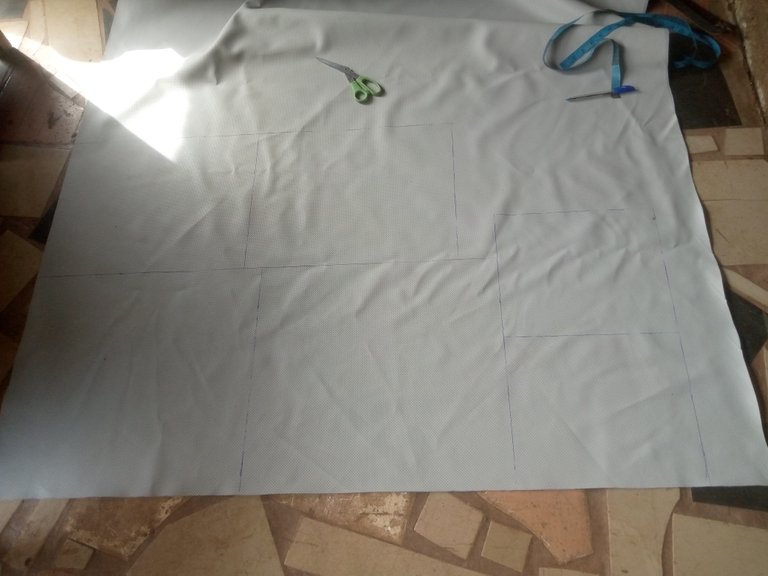
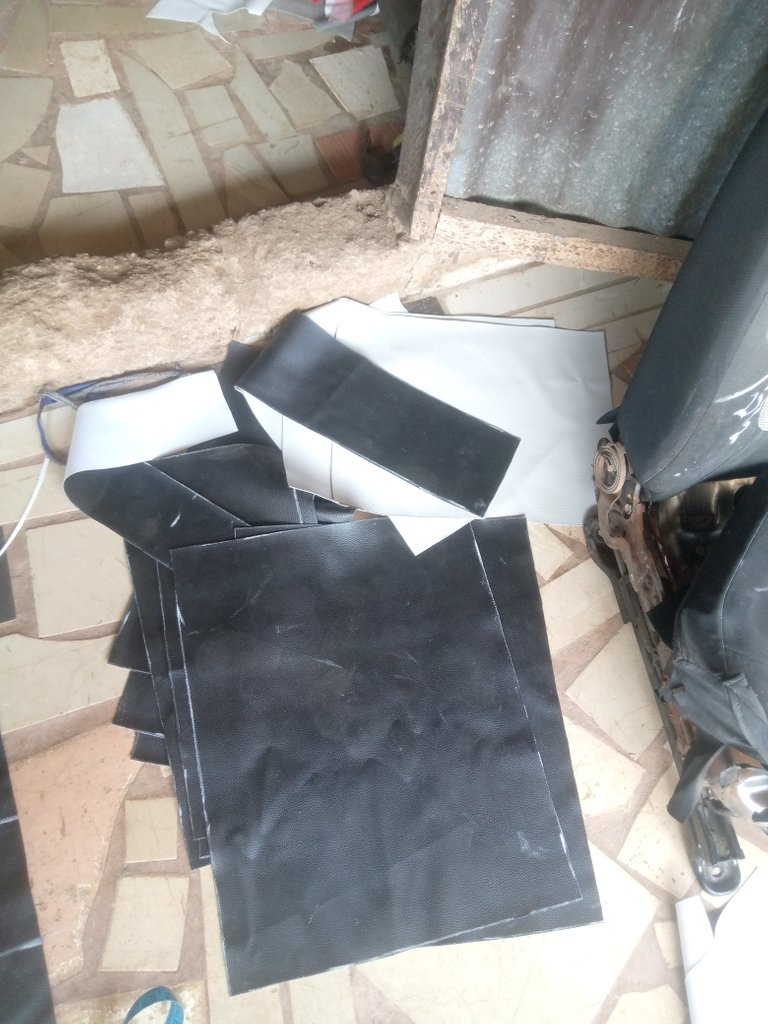
I then cut it out.
Step 3
After cutting it out i then place it on is position why i shap out the pattern.
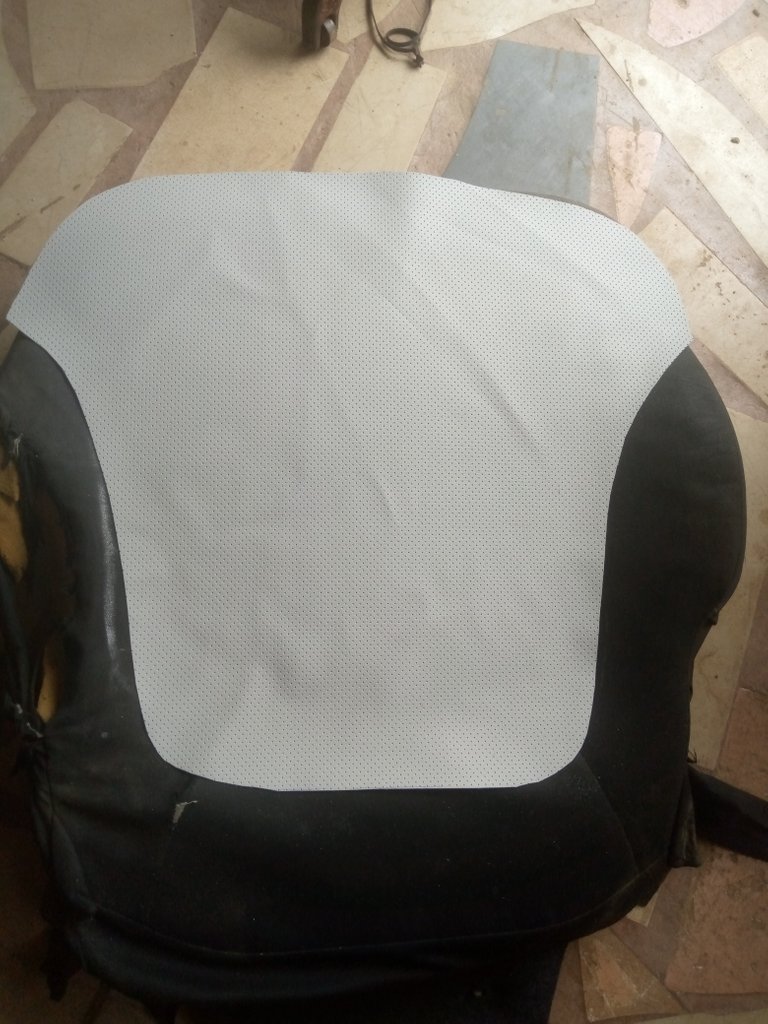
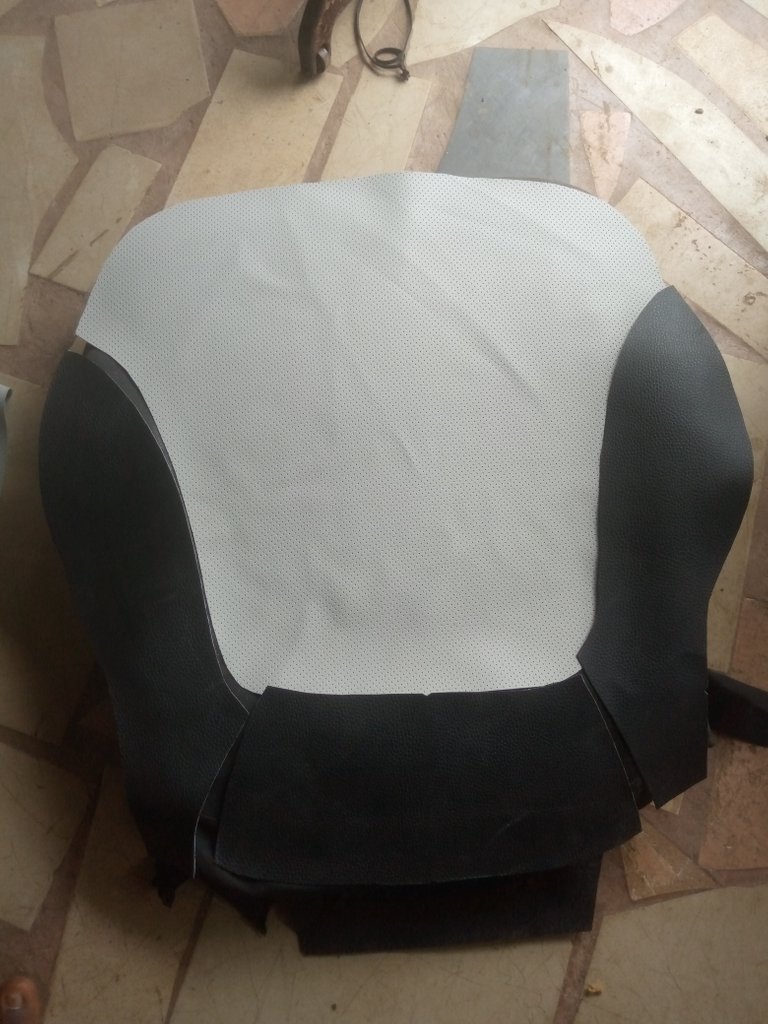
Step 4
To make the leather strong and smooth, i gum the new leather to a roof material.
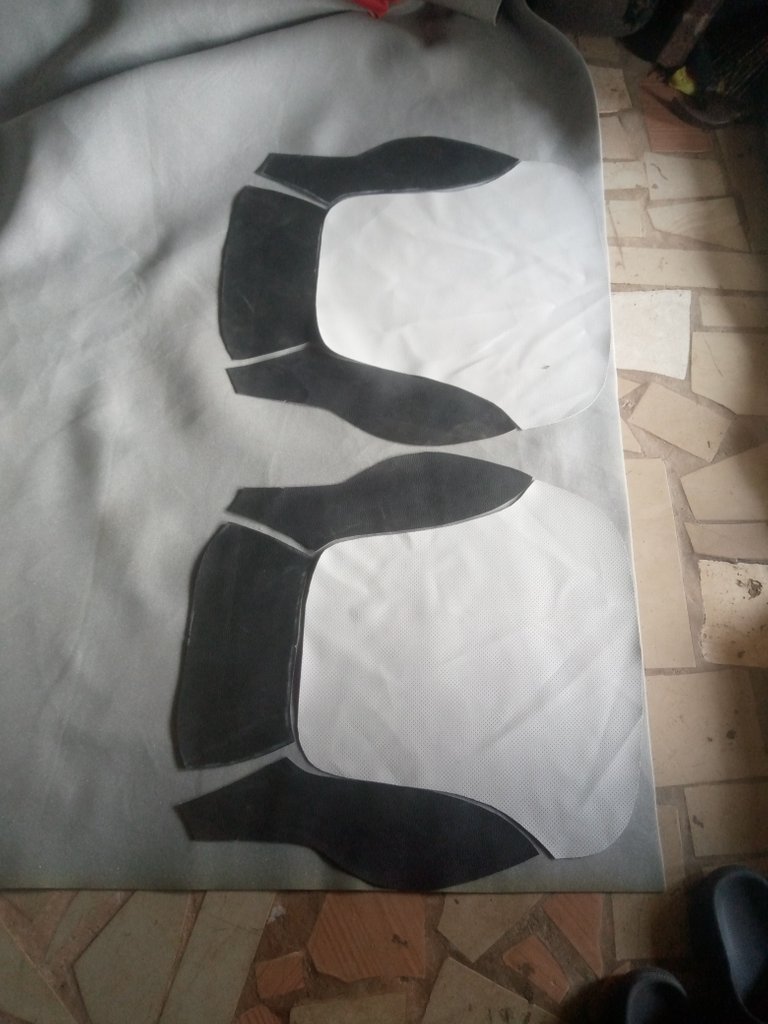
Then cut it out for sewing process.
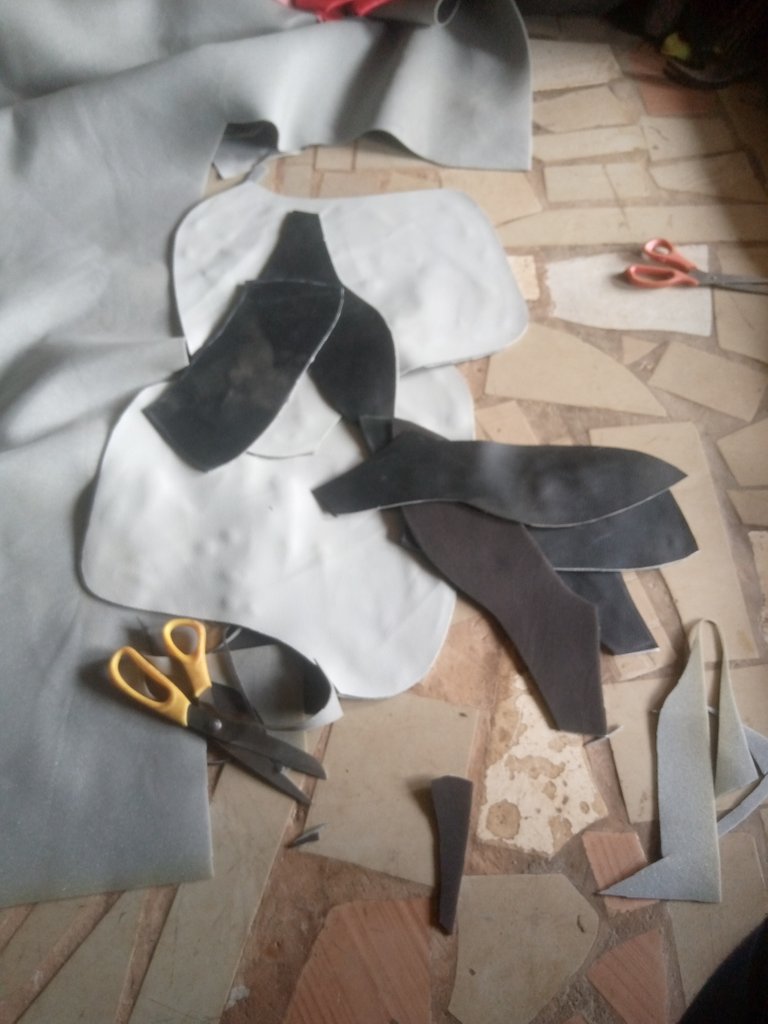
Step 5
With the help of sewing machine, i then join those pattern together carefully has i shape it.
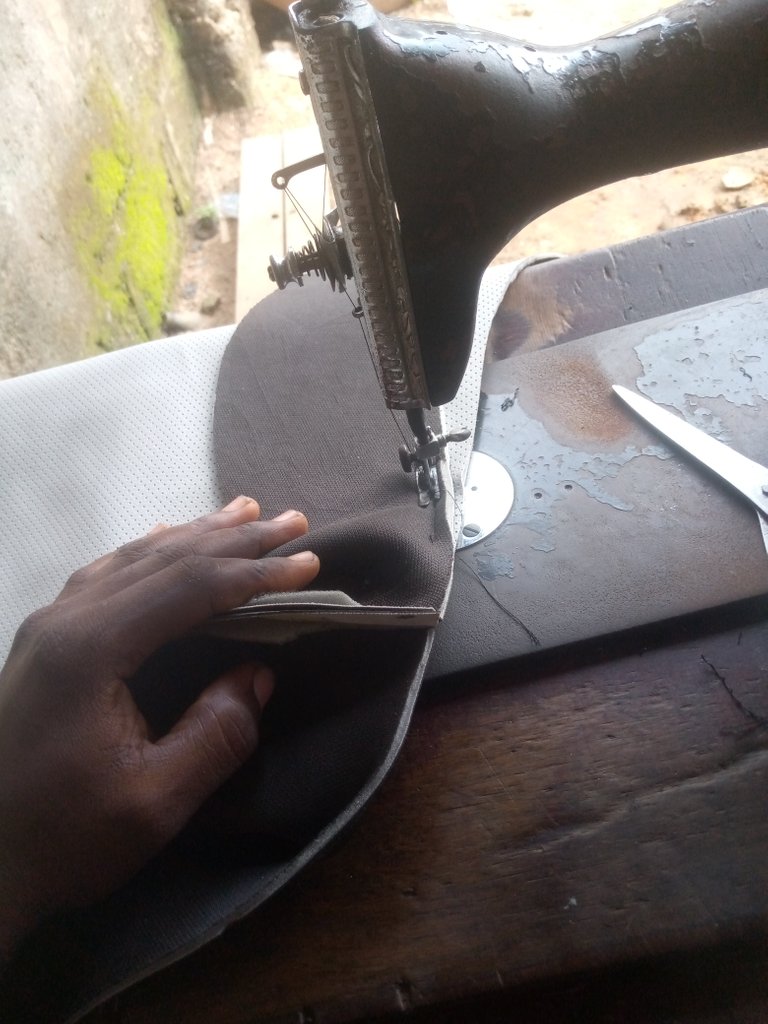
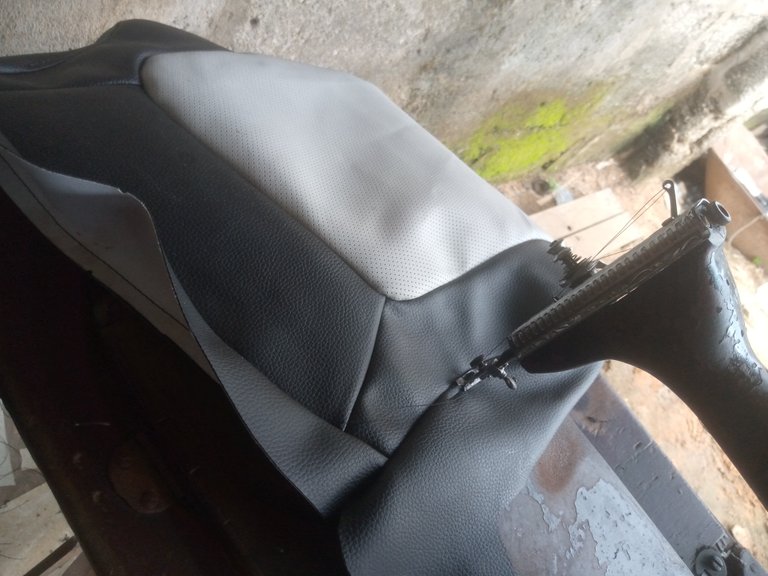
Done sewing the seat cover and the new seat cover is ready
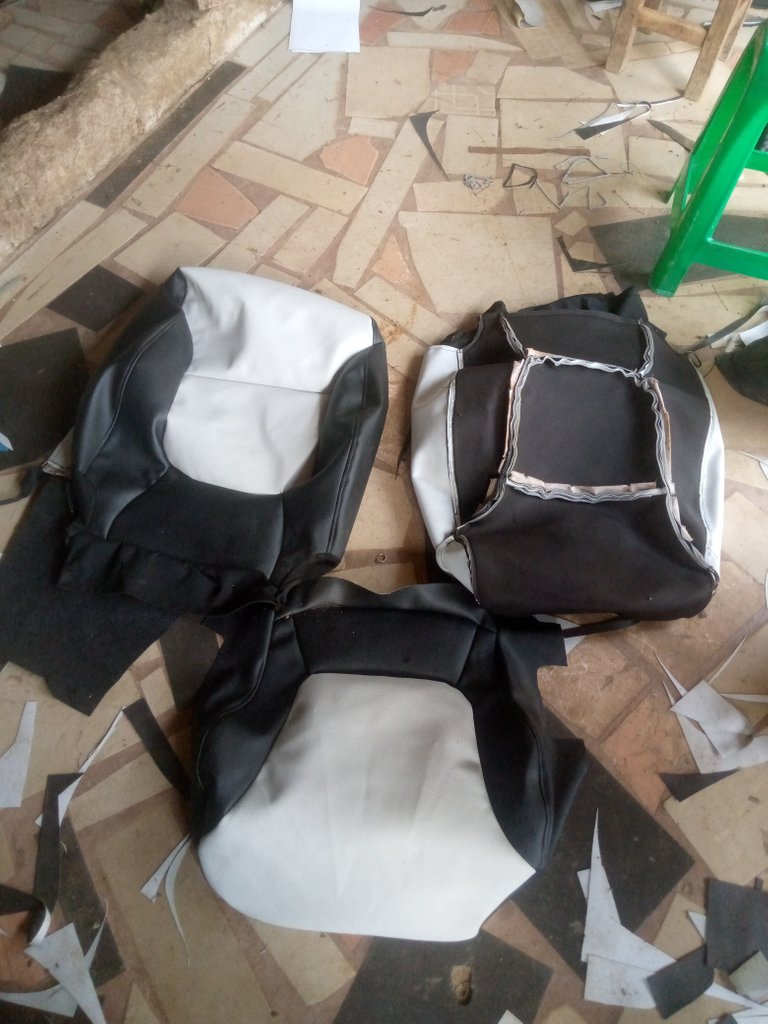
Step 6
After sewing the new seat covers, i then clip it to the frame with the help of pliar and with rods passing at the center of it.
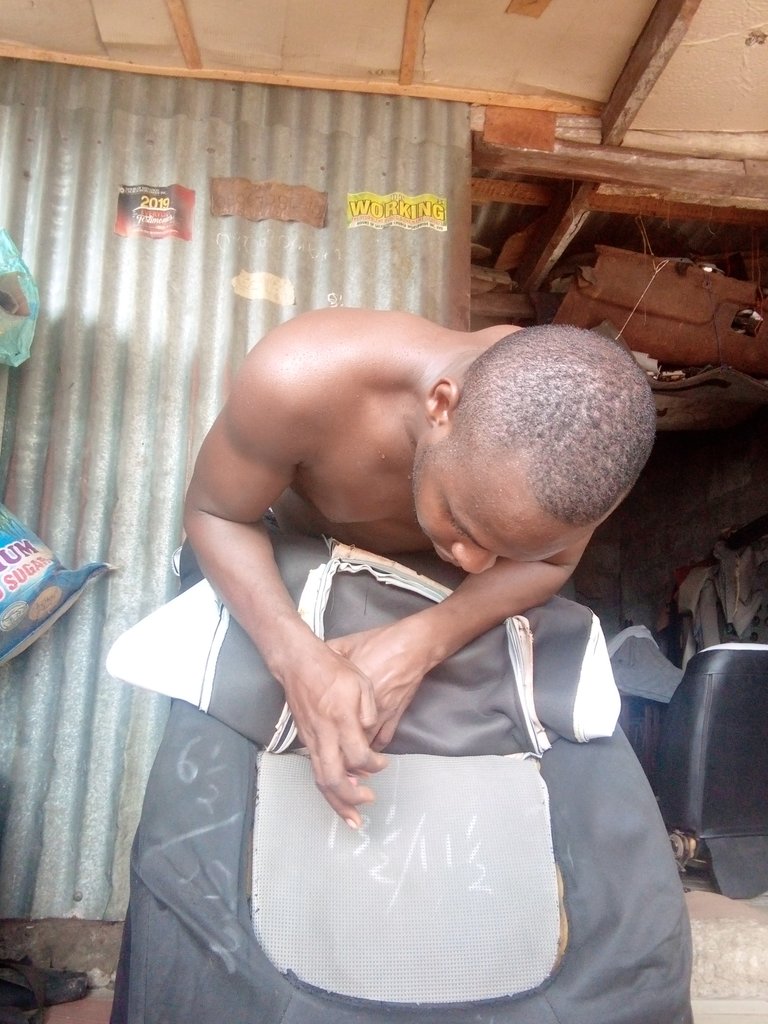
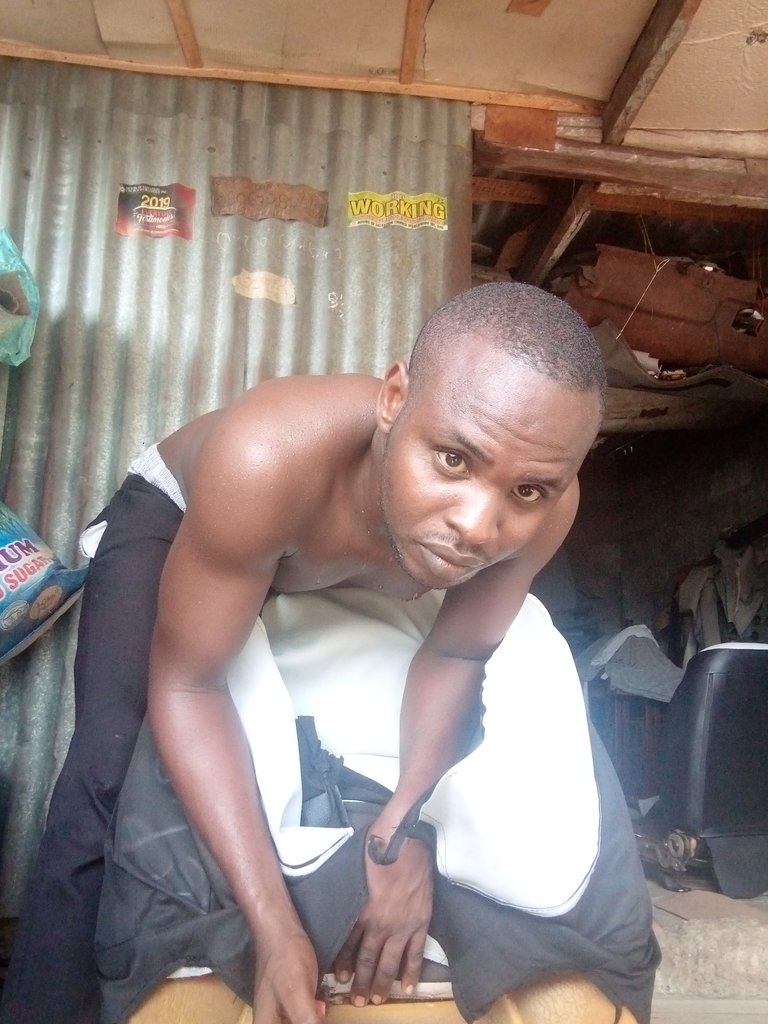
I finally clip the seat and cover it round.
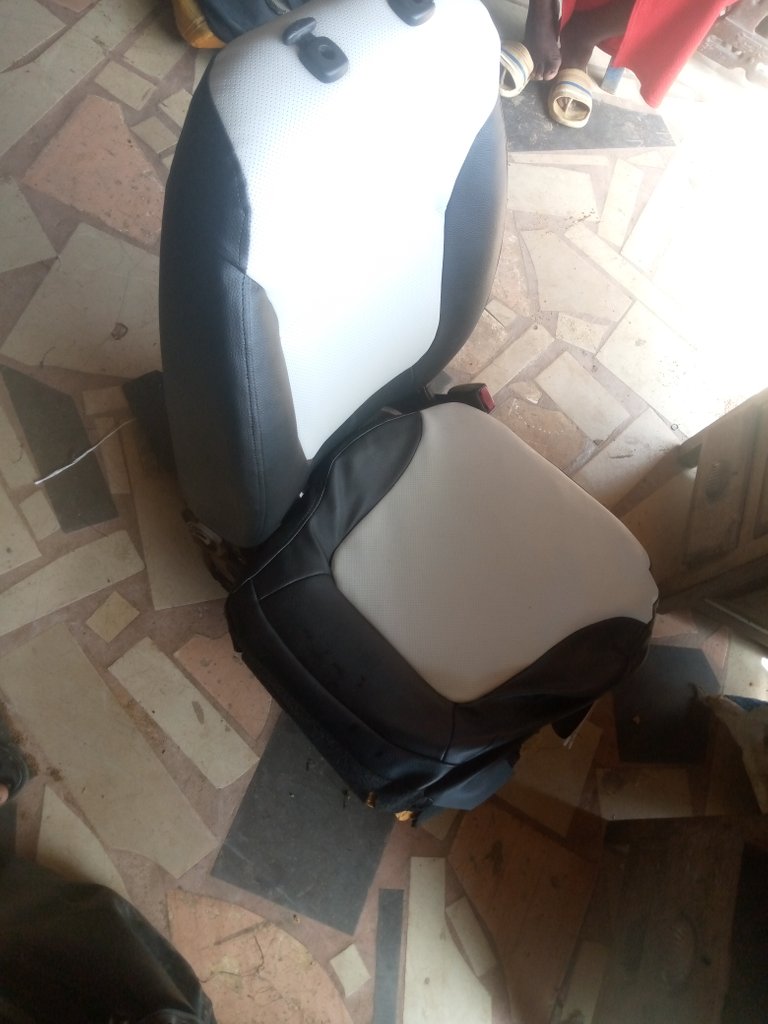
Step 7
The final steps, here tight back the seat has i loose it and here is the final out come of it.
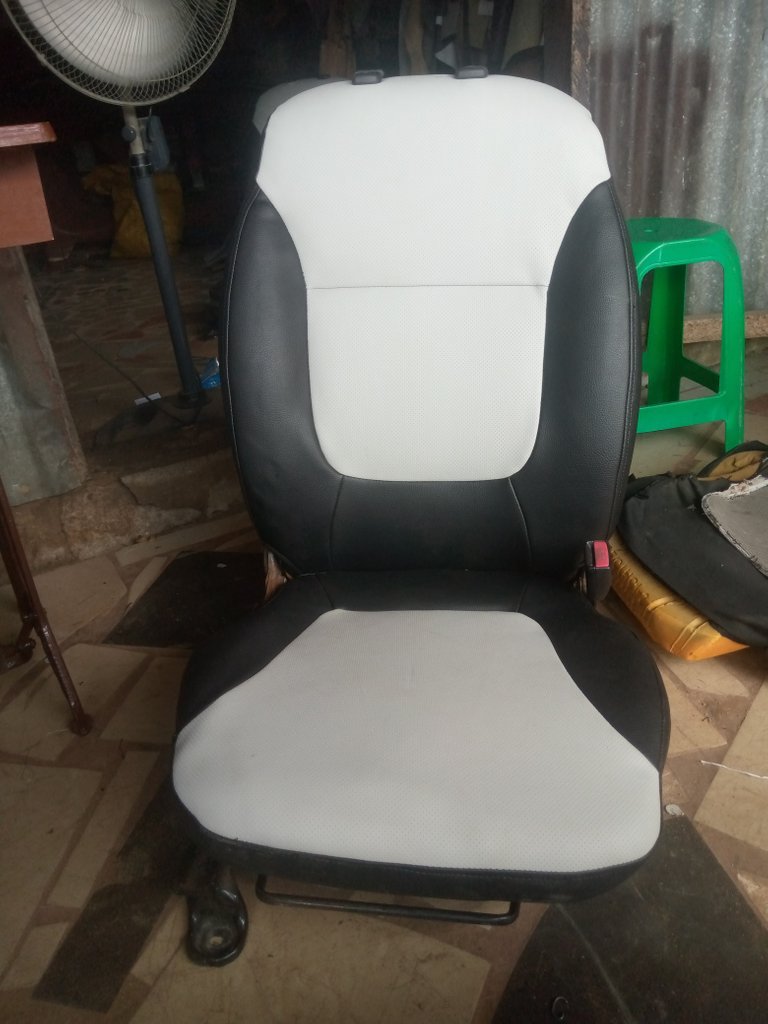

Hope you love the way i took my time to break it down. And finally how do you see the outcome of the seat?
First person to case the name of the car that owns this seat win 2 hive.
Thanks everyone especially
NeedleWorkMonday Founder:
@crosheille
Administrator:
@marblely
Moderator:
@kattycrochet
Community Builders:
@neumannsalva
@lauramica
@romeskie
This post is original and all photos are taking from my techno spark 4 phone. I will be happy if you comment and support my work
