Hello everyone
Happy Easter to everyone in this amazing community! I am very happy to be here with you guys today to share a tutorial on how to sew and reupholster a Lexus RX 200 back seat.
Before anything, how are you celebrating the death of our lord, Jesus Christ, because His death has saved us from the hand of our enemy and given us freedom?
Please permit me to apologize for not being active these few days. This is just because the phone I use for my blogging spoiled and it took me a while before it was fixed. I pay money at the first place to fix a screen for me, but I end up fixing a screen that doesn't last for a day, so I have to pay another amount of money to do that, so once again, I am sorry.Back to business. Today I want to post a tutorial on how to reupholster a Lexus back seat. This is going to be really interesting; please go through each step and, at the end, you will learn something. And I will be using photos for my illustration.
Let's get started.
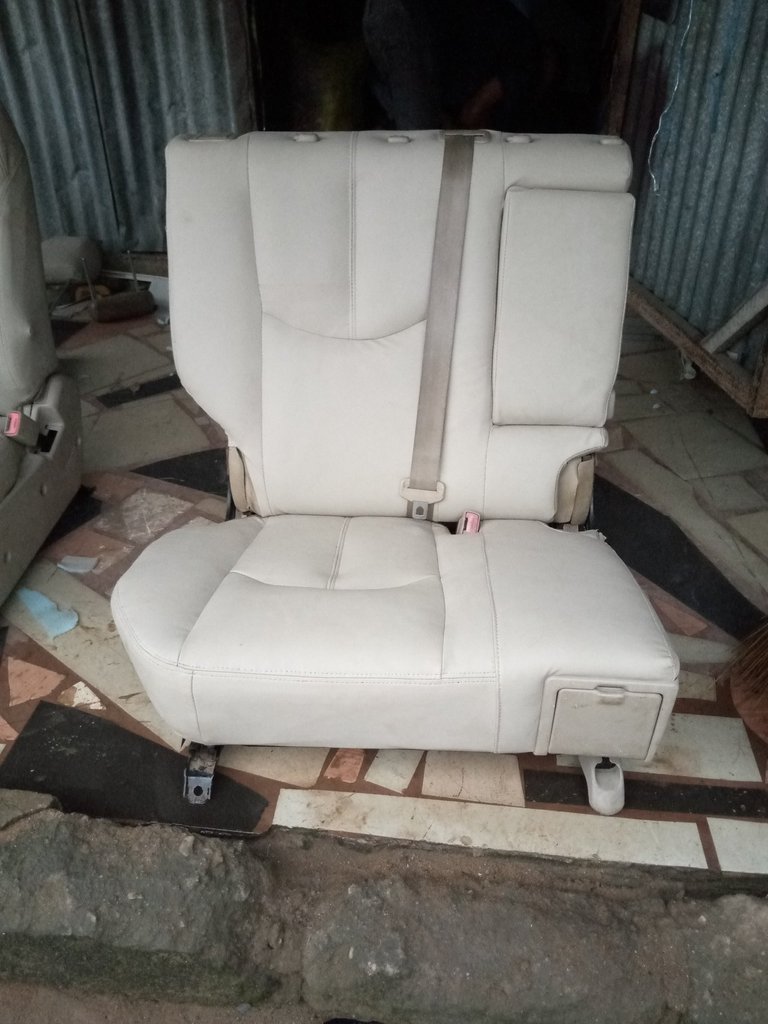
It took me about a week to complete this seat.Firstly, I loosen the seat from the car to my shop with the help of a spanner and screwdriver. Here is a photo of it.
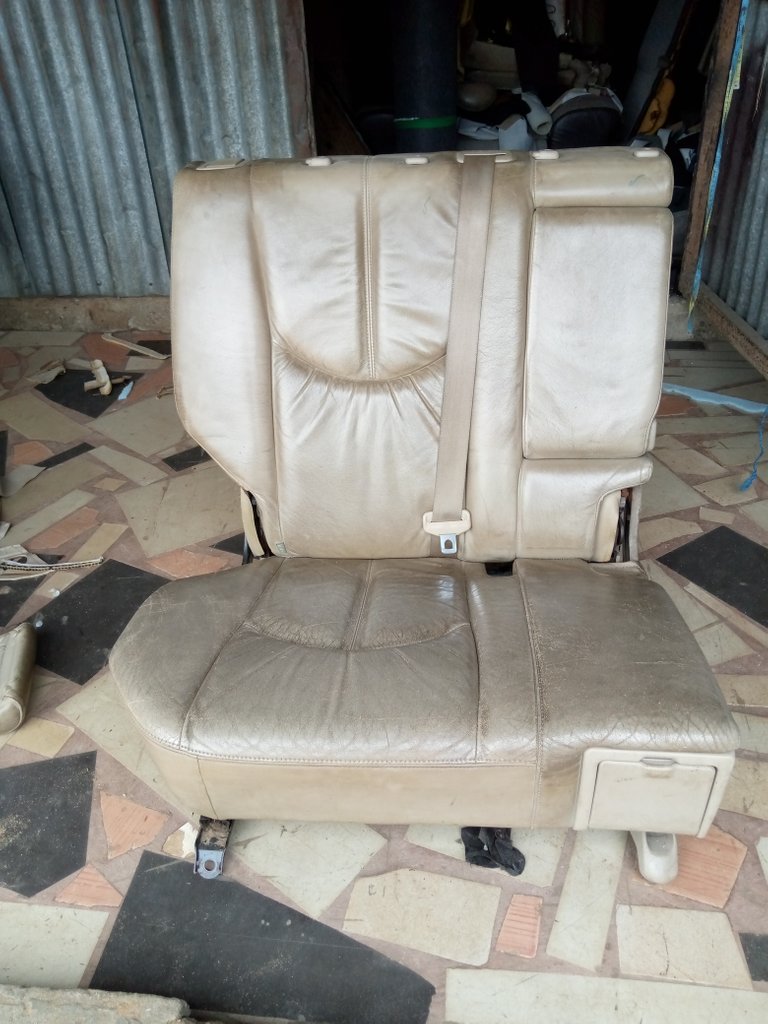
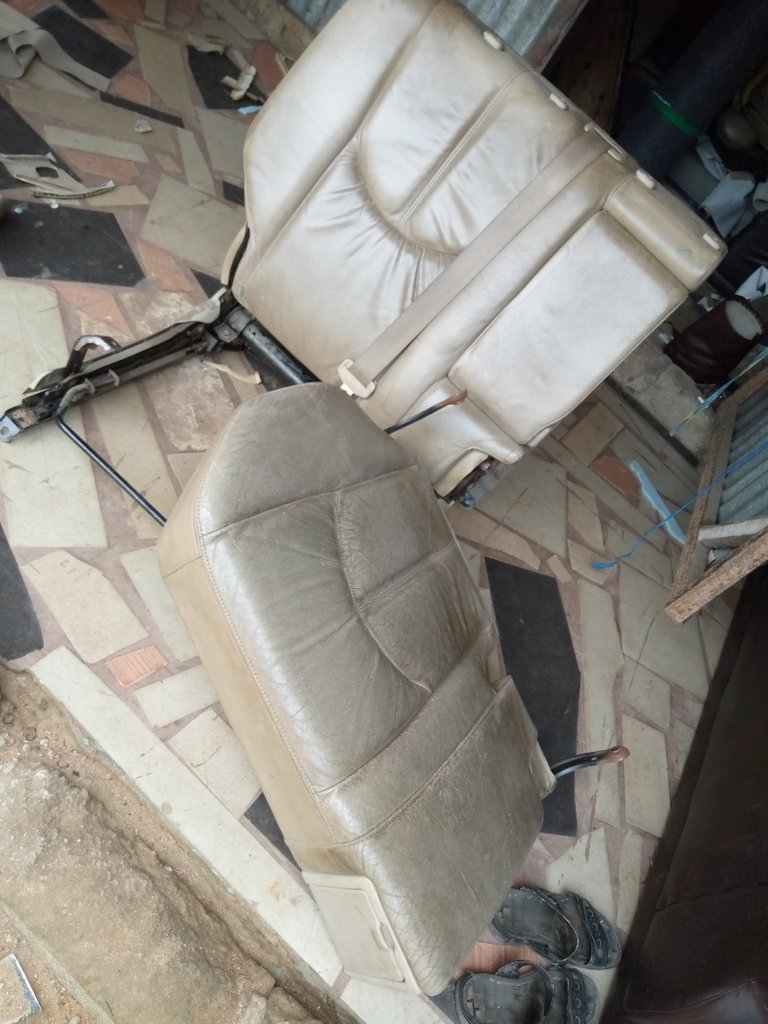
After losing it to my shop, the next thing I do is remove the back seat from the main seat for easy measurement, as well as the side of the seat. Here is the photo:
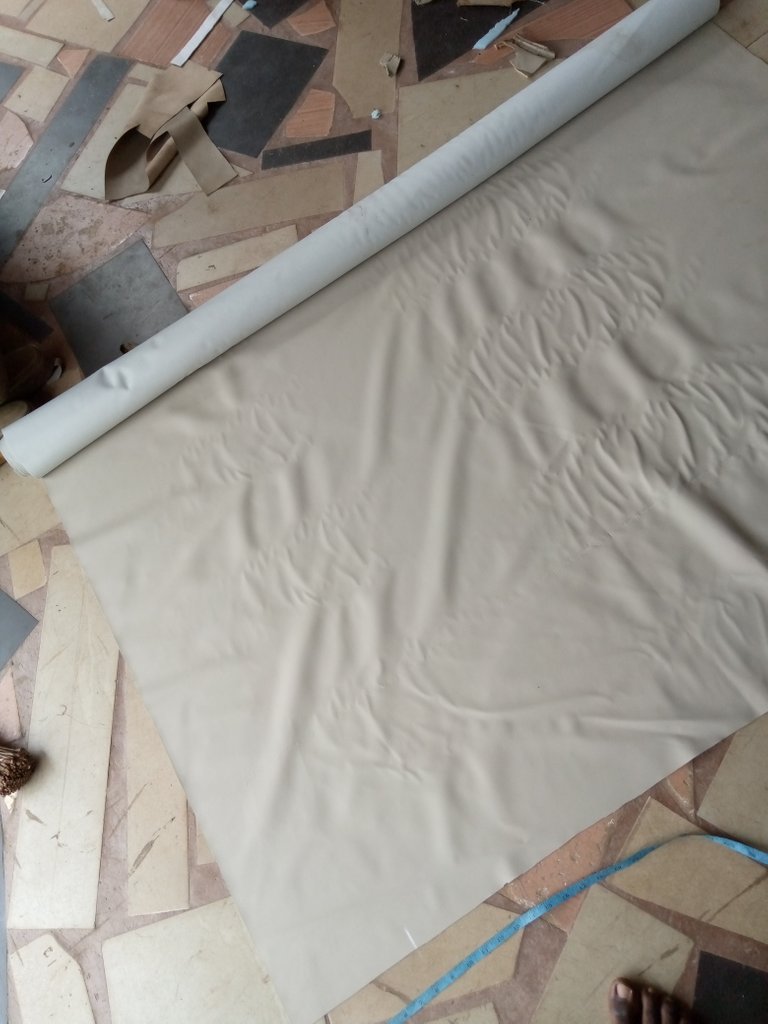
The next thing I did was for me to go to the market and choose the lather that would be suitable and also match the interior of the car so as to showcase my work. Here is the photo:
The next step is to measure out each joint of the seat with the help of tape. Photo
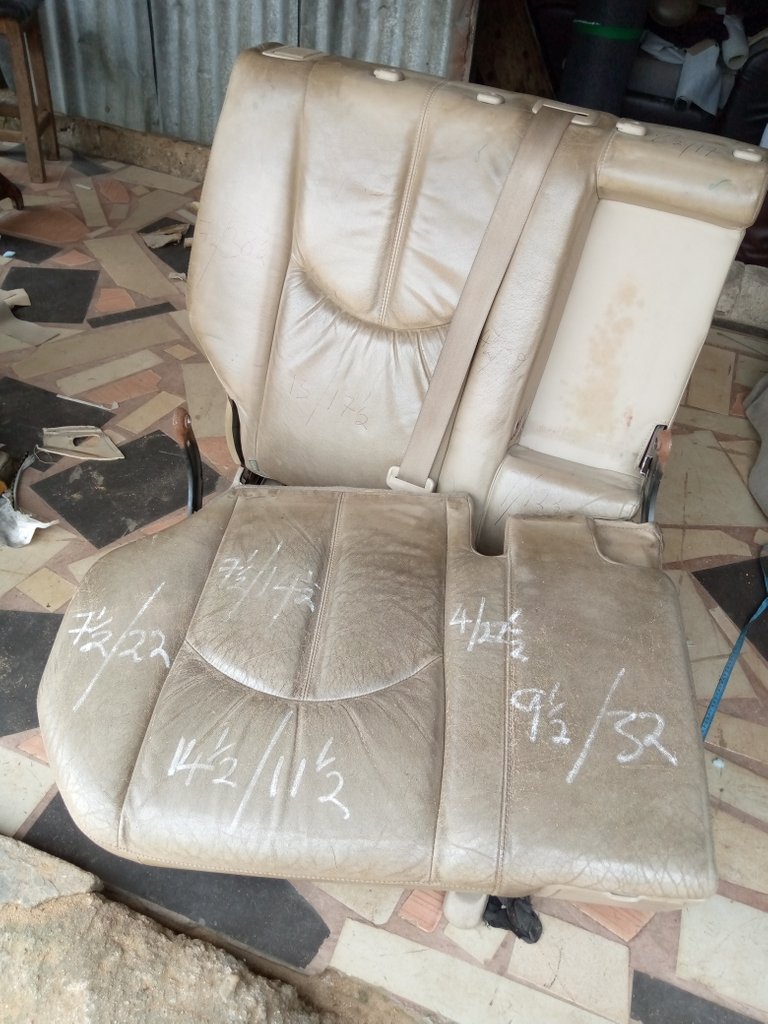
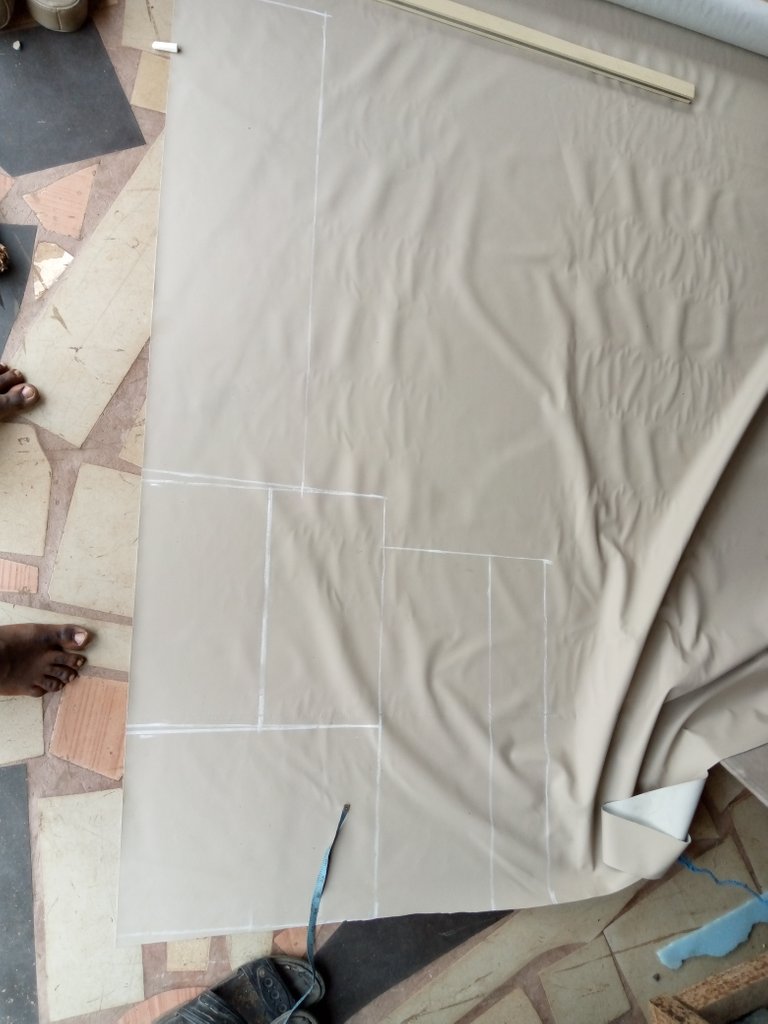
After the measurements, I now transfer the measurements to my leather and cut it out. Image
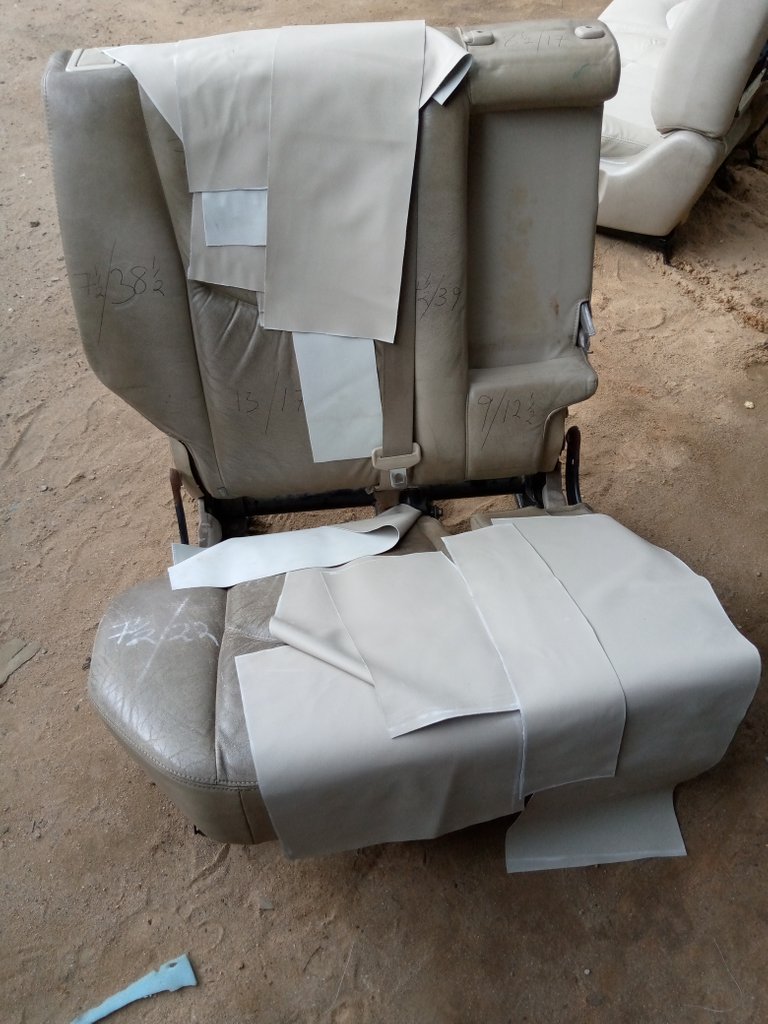
After cutting it out, I now seam it to form the shape of the seat by pressing it directly on the old leather on the seat, and then I use chalk to draw out the line that exactly matches the original one and seam it out, or you can cut out the old fabric from where it was sewn and place it on the new fabric and seam it out. all the same. Photo
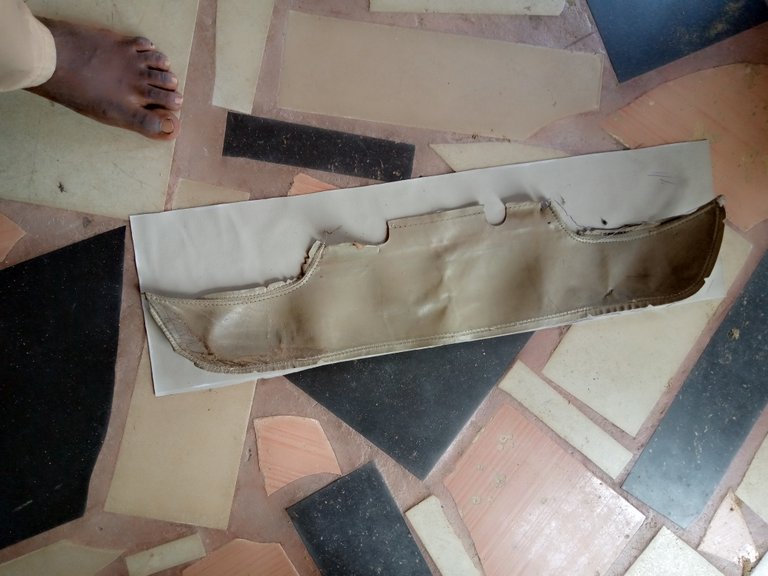 After i shape it i now place it on a foam and cum it together and cut it out. To make my finishing smooth and beautiful
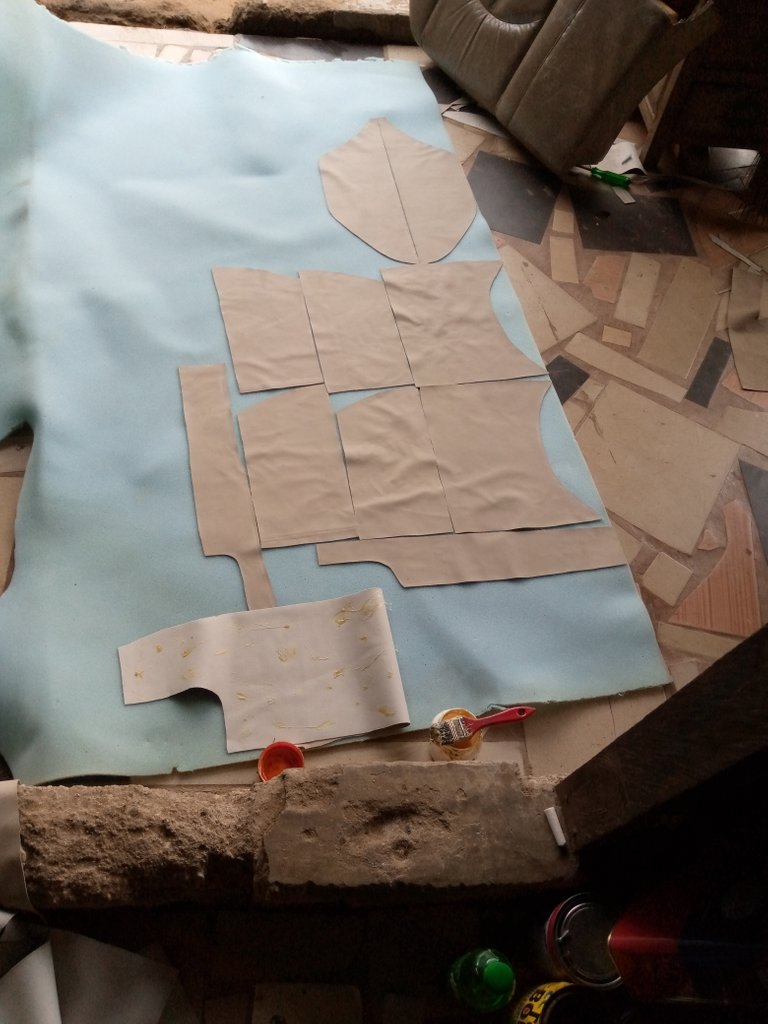
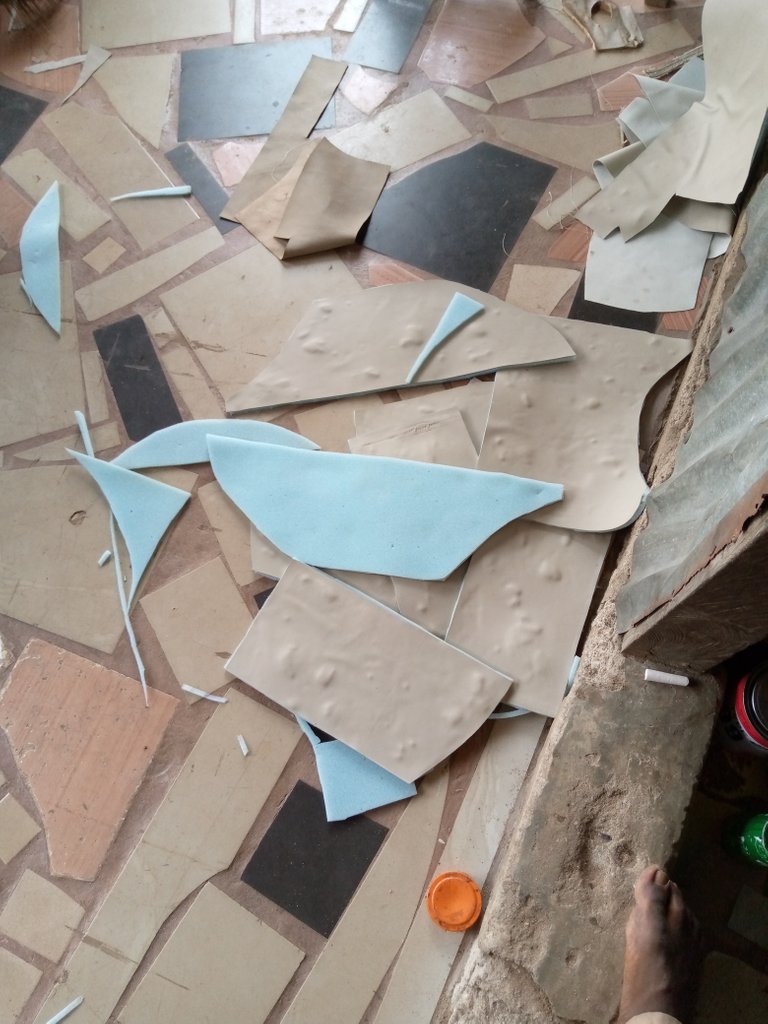
After that i now sew it with my sewing machine exalt the way the old one was photo
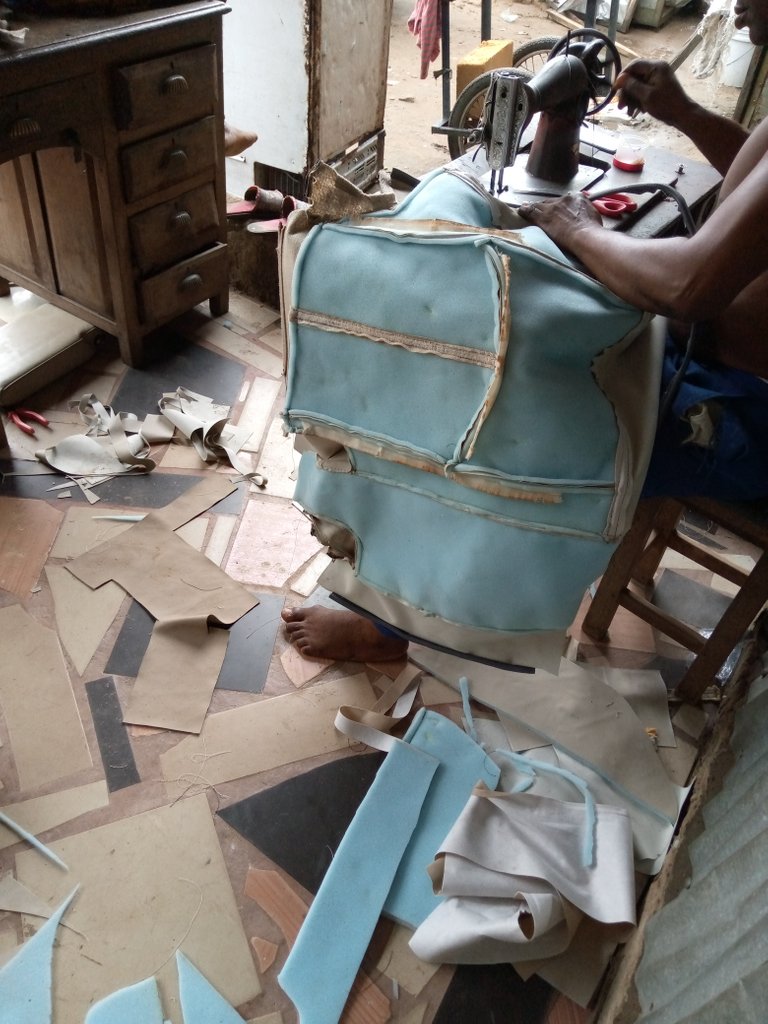
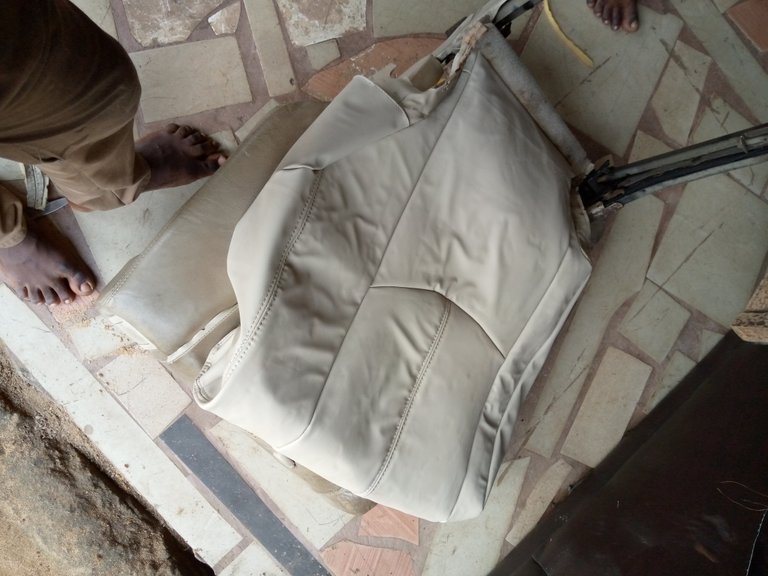
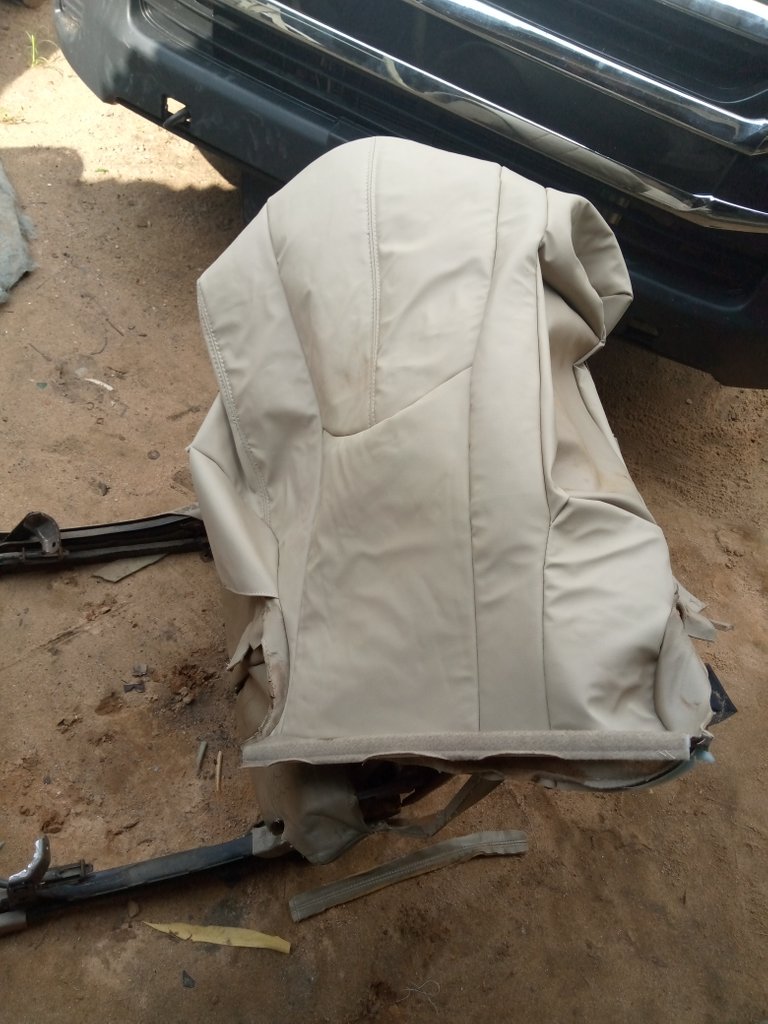
After sewing, I now cover the seat with the new leather.Here are the results: 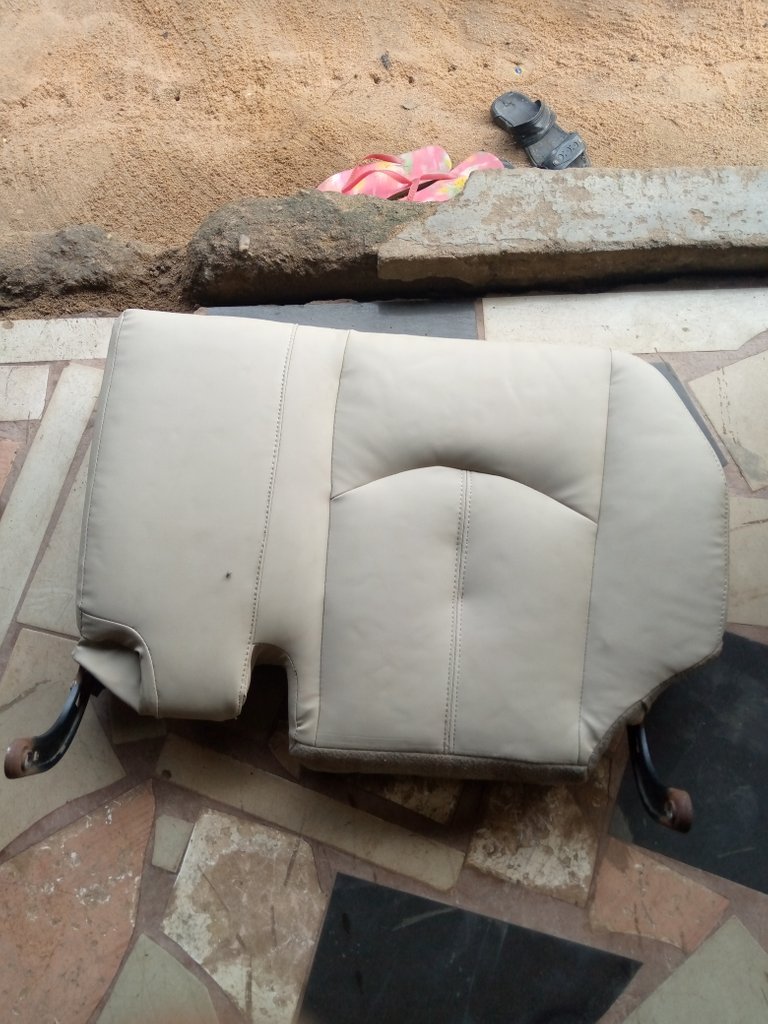
Finally i new tight back has was before and then fix it on the car
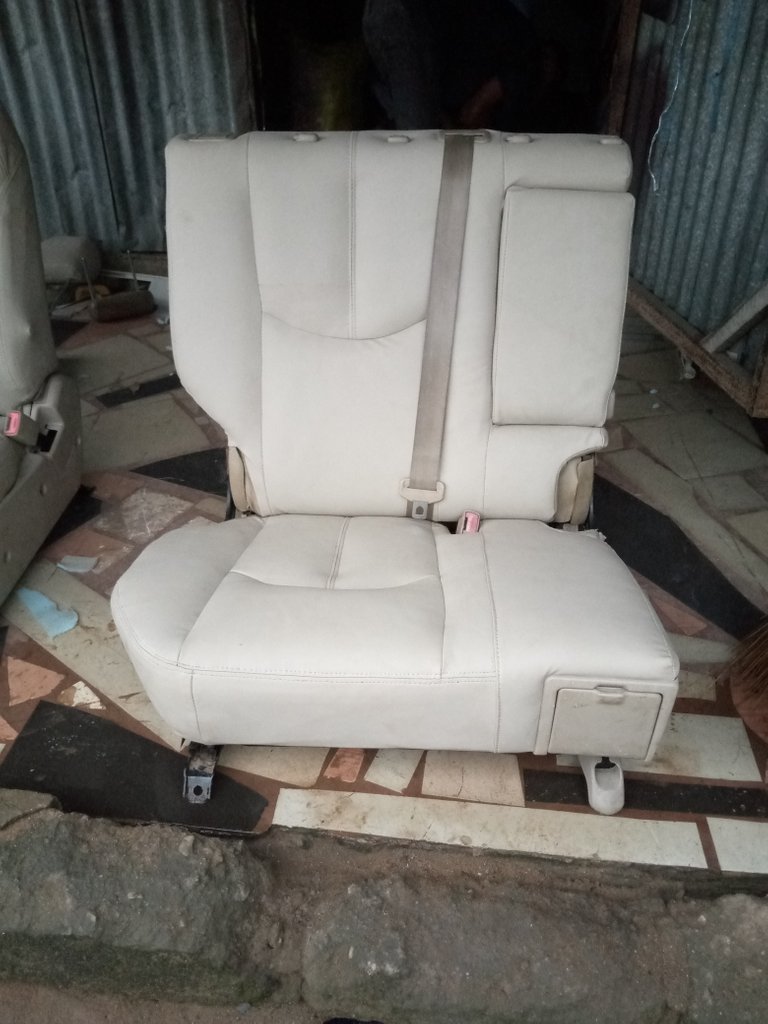
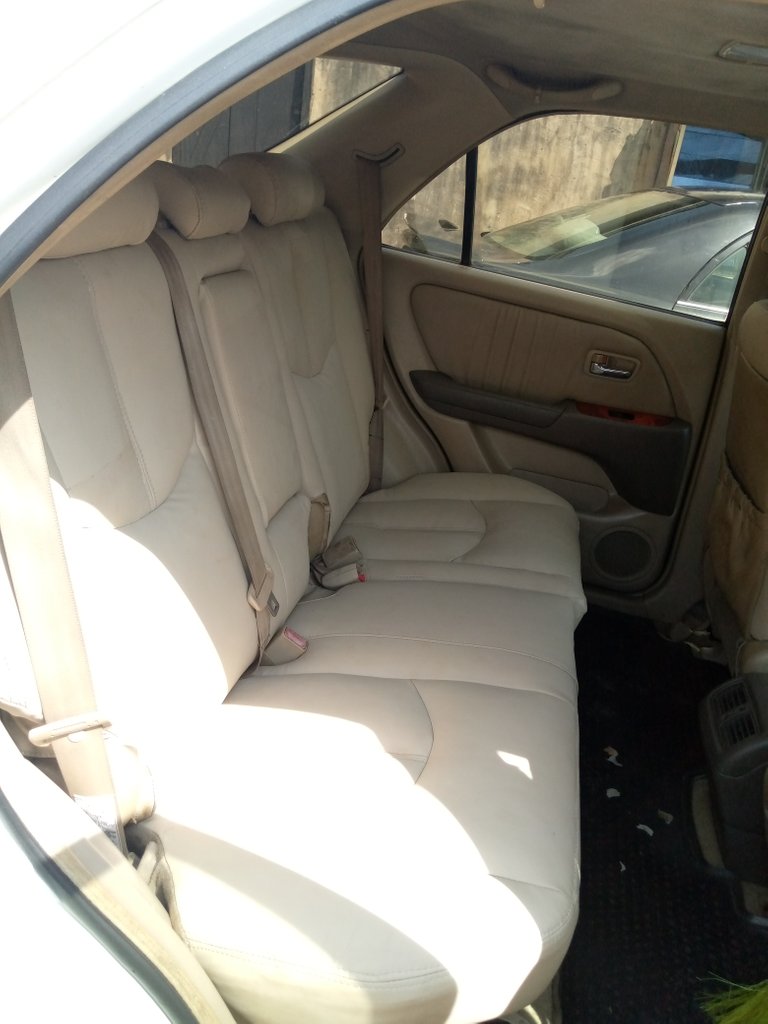
Wow, this is nice. The end of the tutorial. I hope the tutorial is well explained.
Special thanks to @crosheille, @needleworkmonday, @lauramica, @kattycrochet, and all the members of this community.Remain blessed. That is why we celebrate the death of our Lord Jesus Christ.