During a holiday like this, there are so many activities that always happen, and one of them is doing what you are supposed to do as a person in the house.
Since we would have so many visitors and I'm around too, it's more like my family has been waiting for me to come back home because there is so much work for me on the ground. Driving from one place to another and doing what I should do as a person.
The fact is that we have more females than guys, and my little siblings cannot do anything yet. That is another reason why the work is too much for me.
My uncle had already bought wall brackets for all the lights in our house. But then they have yet to fix it. So we are deliberating. On how to fix it.
The essence of the wall brackets is that they will protect the bulb and make everywhere look cool. Apart from that, it will not allow anyone to remove the bulb anyway. The wall brackets are working so well and perfectly, and one actually needs something like that in their house to avoid unnecessary issues or stealing your bulb, especially when it is expensive.
So I took on the responsibilities by fixing all eight wall brackets we have in our house so we could reduce the cost and not give them to anyone to fix for us. And since I can actually repair phones and I'm an engineer, I can just transfer knowledge, which I actually did.
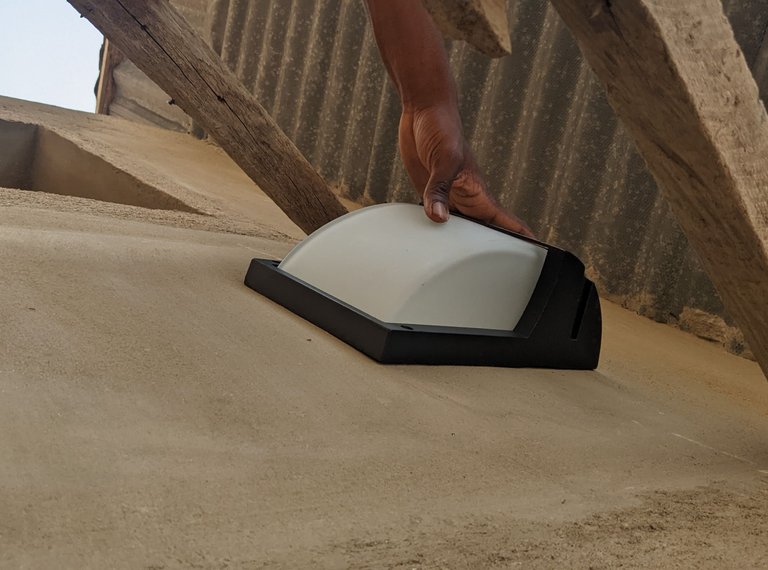
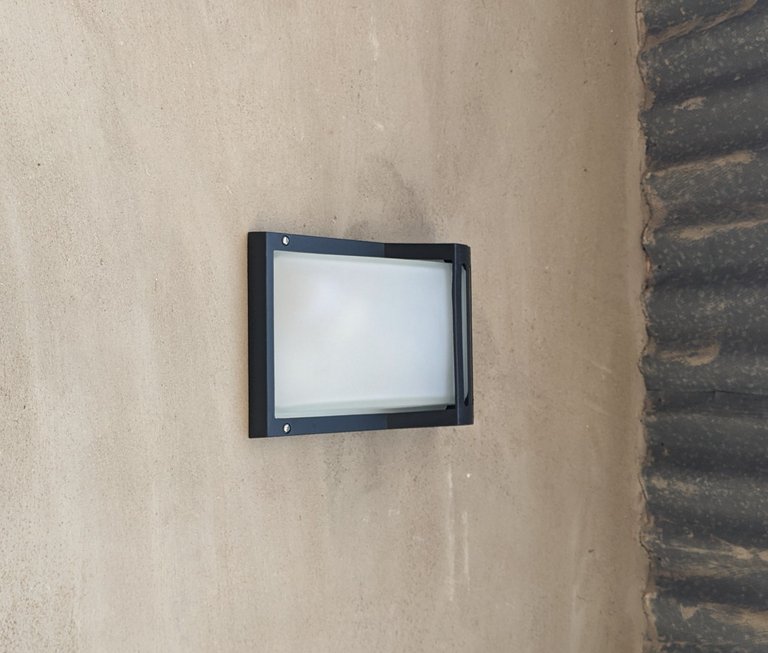
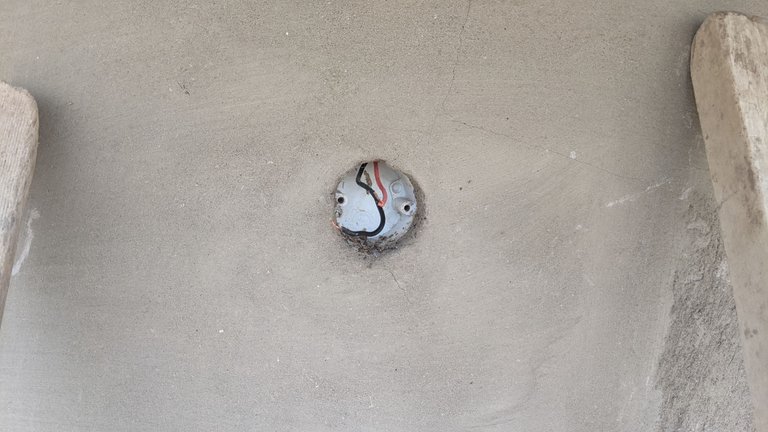
Material used and explanations
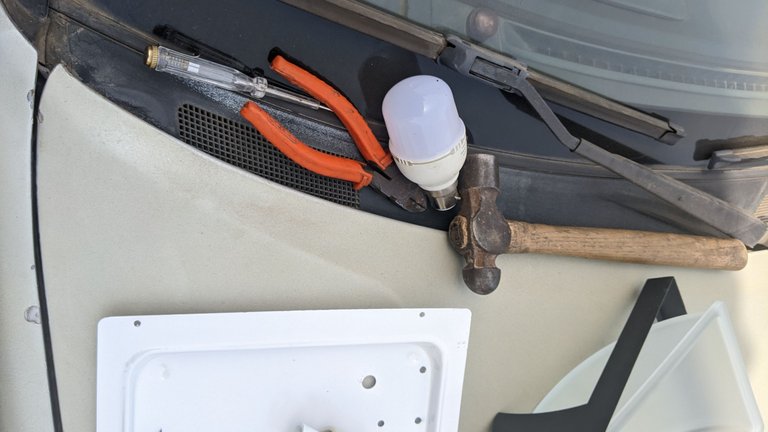
- Hammer: I used it to nail the plates of the wall brackets to the wall using a nail.
- Nail: This is what I used to hold the plates of the brackets using a harmer.
The wall brackets: This is what I needed to fix into the wall so it would guide the bulb. - The cutting pliers: I needed these to cut the wire, both red and black.
The bolts and nuts are used to hold the wall bracket together. - The texter: this is used to screw the nuts into the wall bracket.
- The bulbs: this is what will be in the wall brackets.
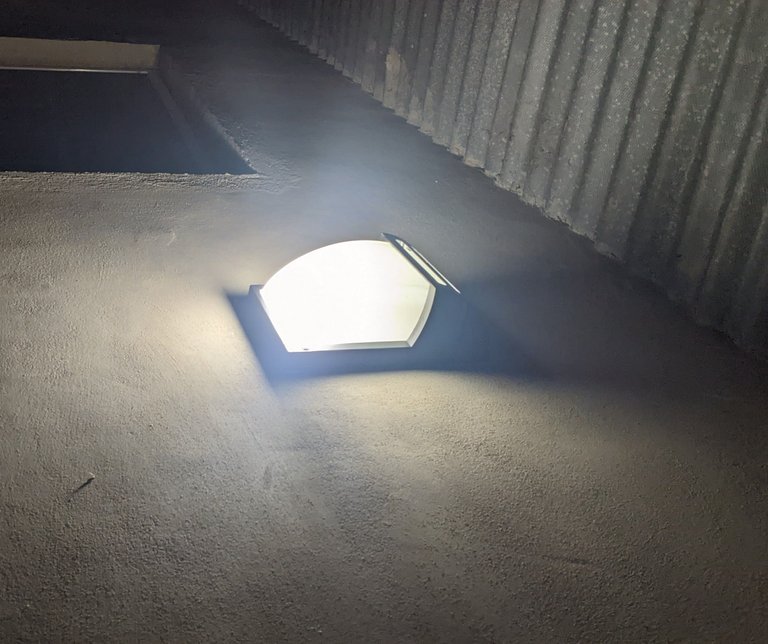
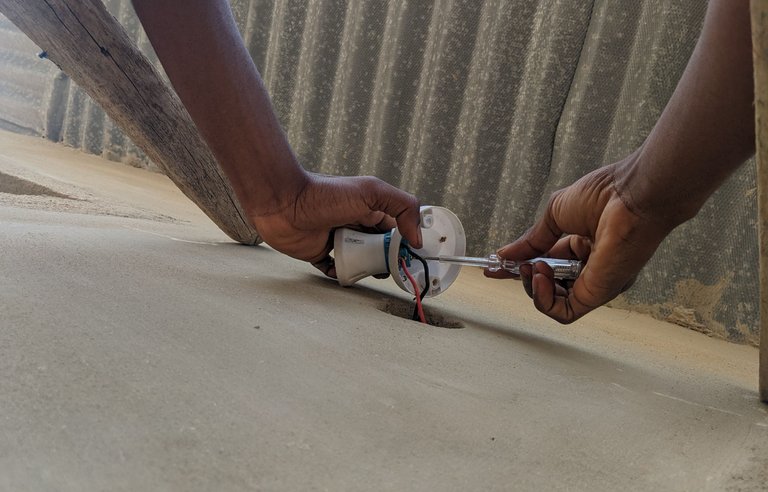
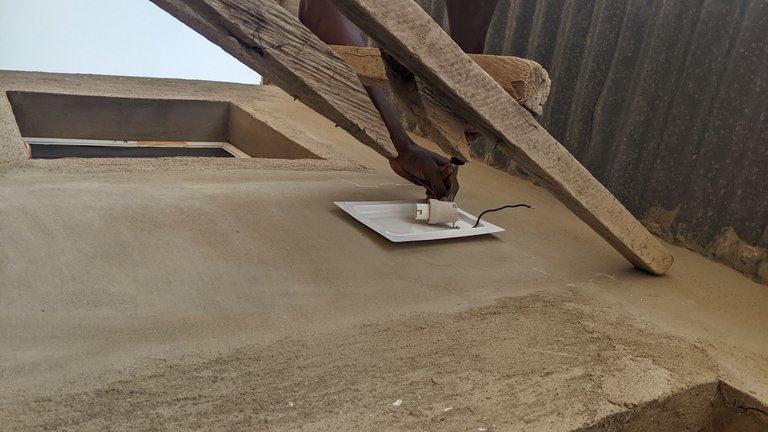
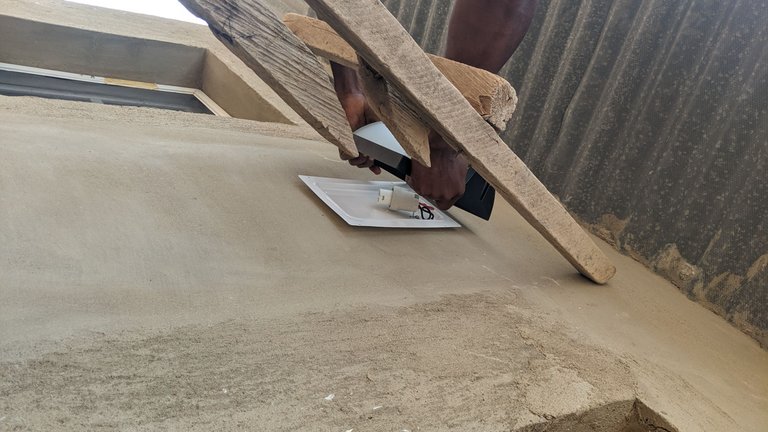
The process is very simple and short. I first removed the bulb from the wall, where I was able to use my plier to cut out more wires, both red and black. Then I took my texter to loosen the nuts and also fix the nuts when I'm done.
The first thing I put is the plate of the wall brackets, followed by the bulb. Then I put the real wall brackets in, and I screwed everything together.
I do make sure that I change the changeover in our house before I start doing the work, and when I'm done, I fix everything back to normal. Although there was no light to text it at the moment, later in the night, when I texted it, I realized it's working so well, and I'm so happy about it.
That's how I fixed our bulbs.
All pictures in this post are mine


