Hopefully I am in time to participate in contest, if not it's okay, I still want to share with you this tutorial and how I made this picture frame.
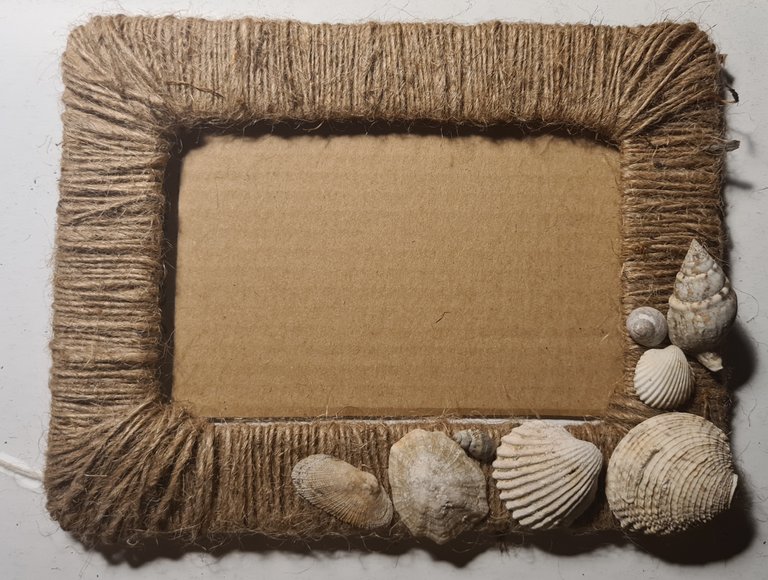
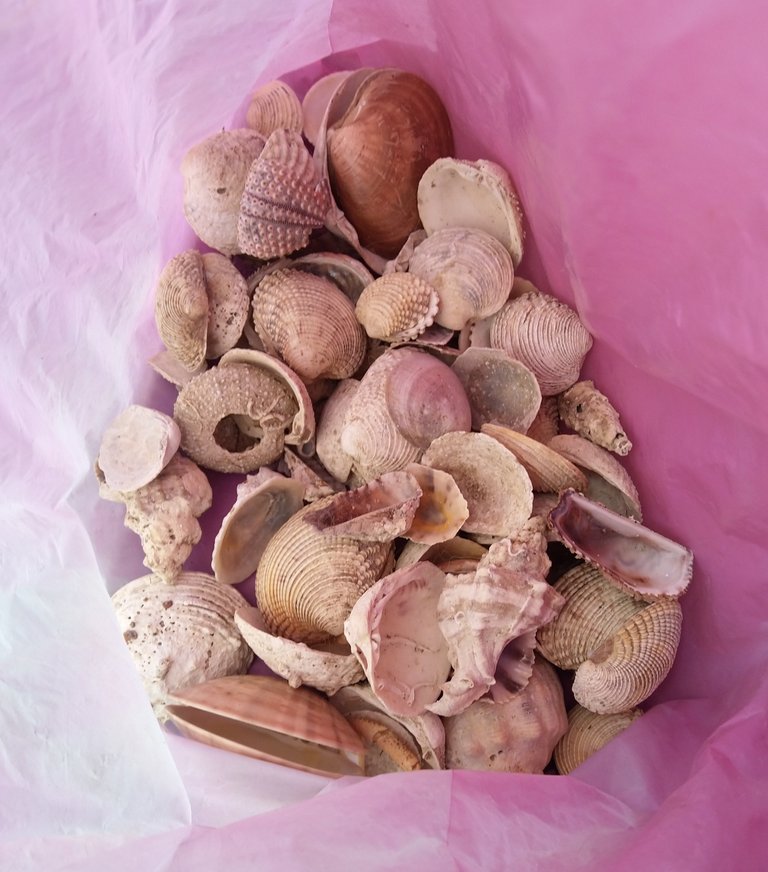
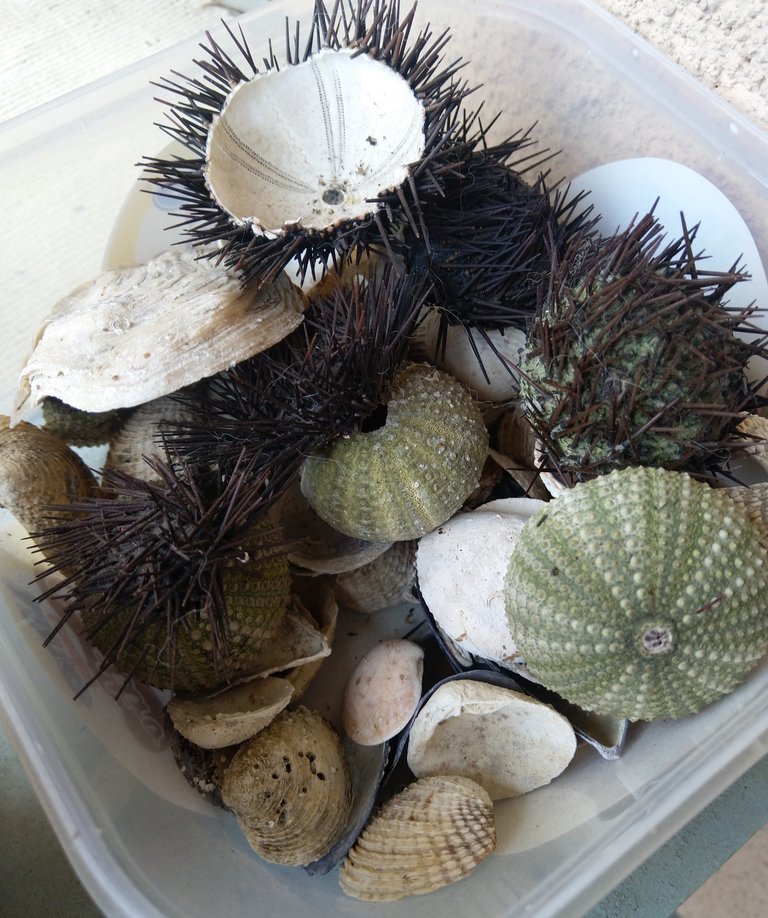
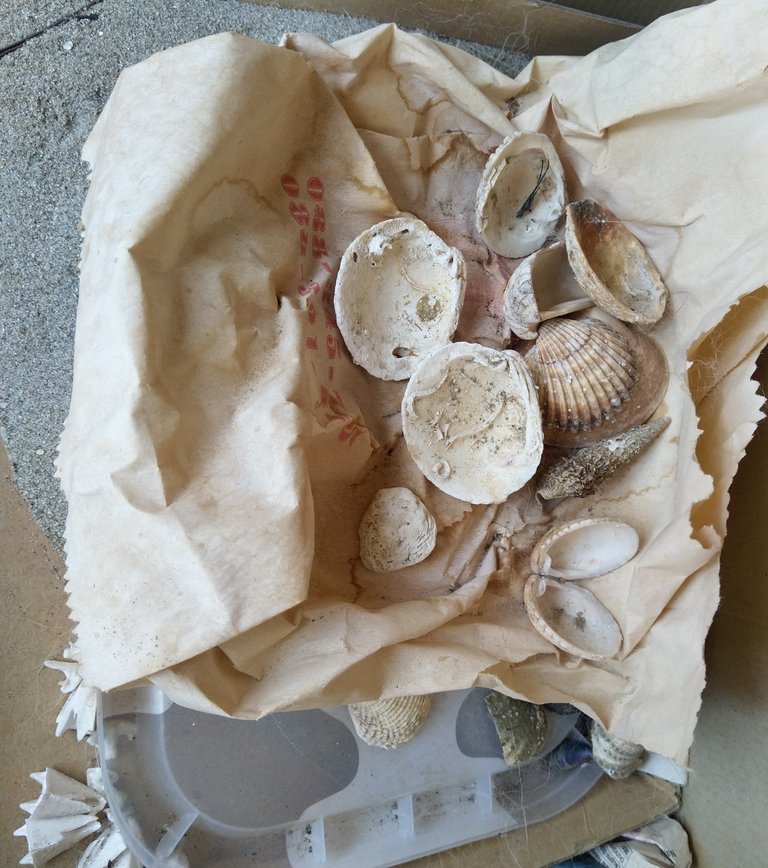
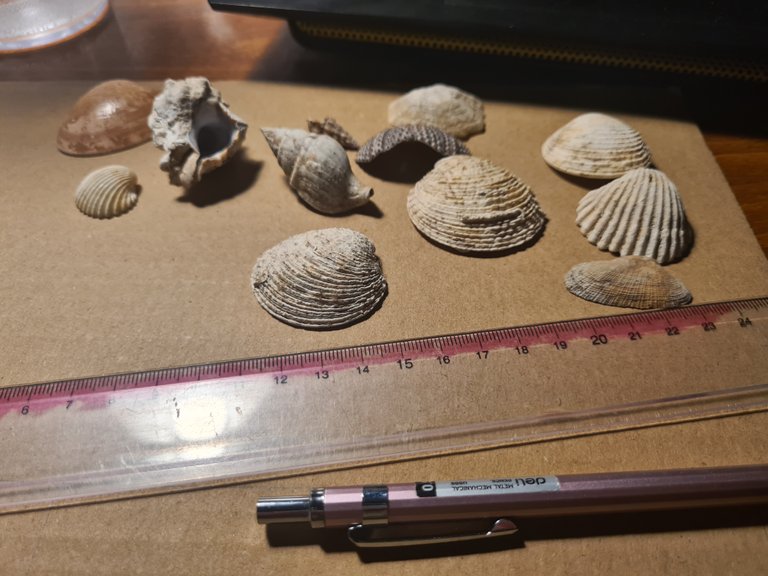
I saw contest a week or two ago, and I knew what to make right away, just didn't had time to do it before. It might not be so creative, but I was thinking to do it a while ago, so this was good motivation to finally make this picture frame. As someone who loves to dive I have a lot of sea treasures caught and brought home. All of these sea shells and sea urchin shells are taken while dead already, no creature was hurt or killed. So even though they are not as perfect as those shells you can buy in store (I had some nice catches, can't complain) they do have sentimental value, knowing that I was one to find them in the sea. In the next photos you can see that I had plenty of sea shells and sea treasures to chose from ( I even have send), but I wanted to get different forms of shells and maybe sea urchin.
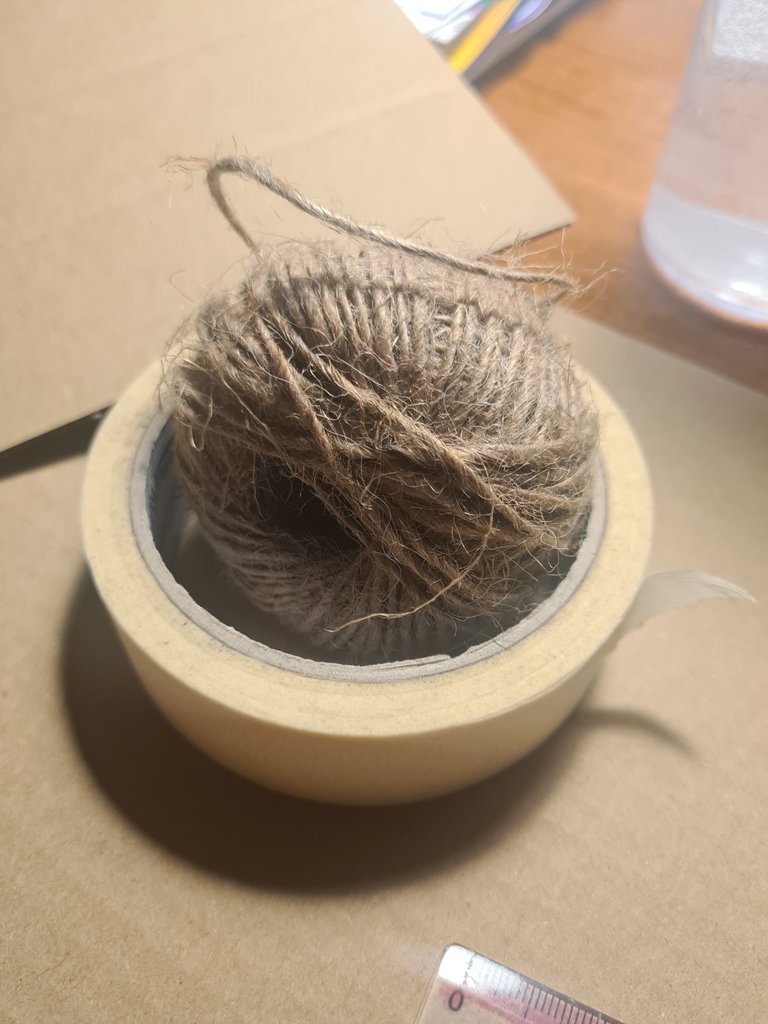
As far as other things that I needed, I have so much cardboard from many things (electronics, shoe boxes...) so that was not a problem. Firstly, I wanted to paint the frame with different shades of blue, I realized I have rope which will go perfect with sea theme and look nice with shells. I also needed ruler, scissors, scalpel, glue and patience.
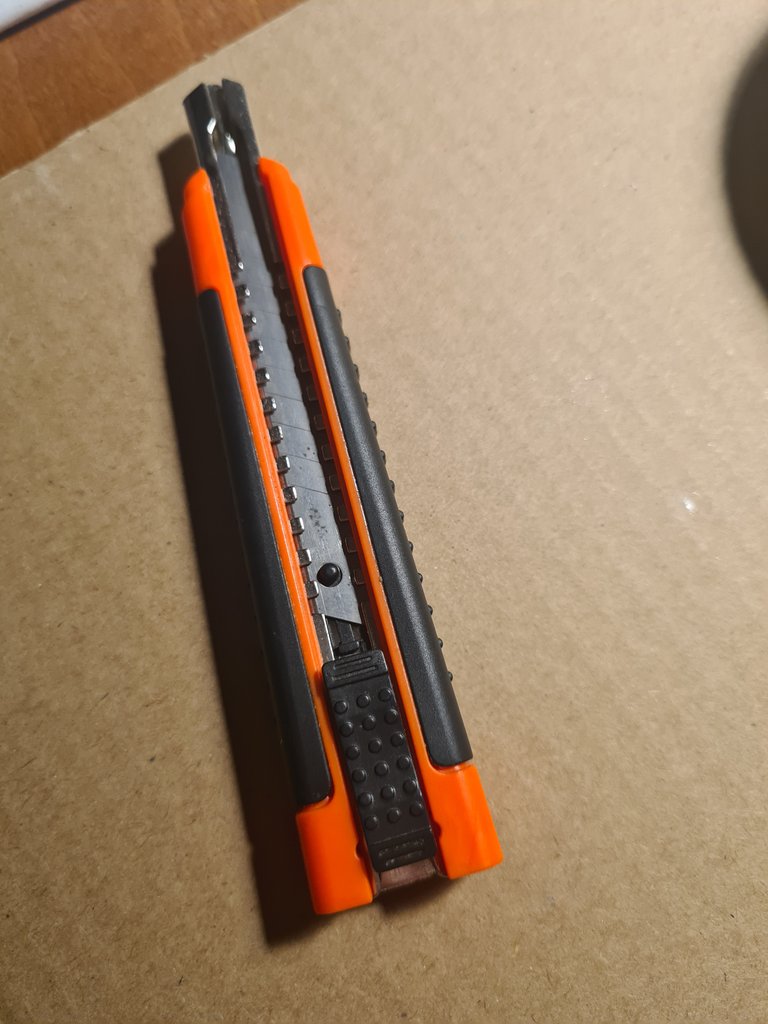
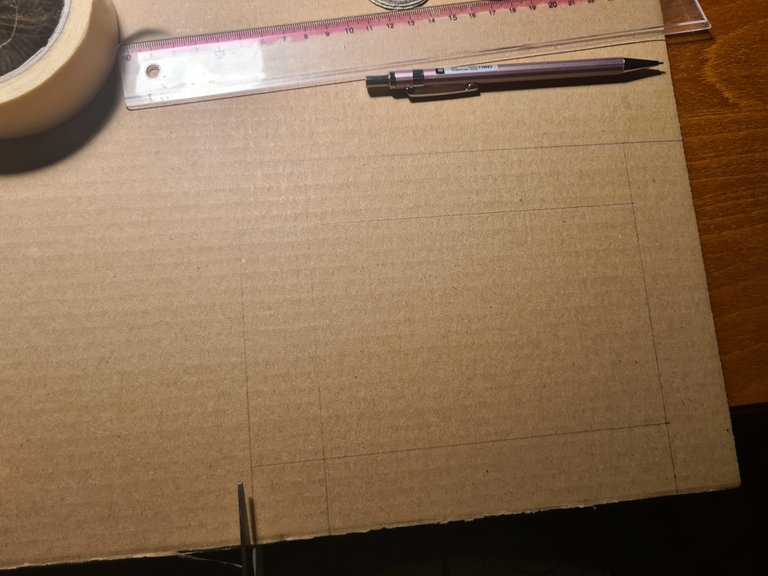
First steps are the ones that I hate the most, measuring and cutting. I decided to go with 18x15 size of the photo, and I added 3 cm for the frame. I used scissors for the edges and scalpel for the middle part.
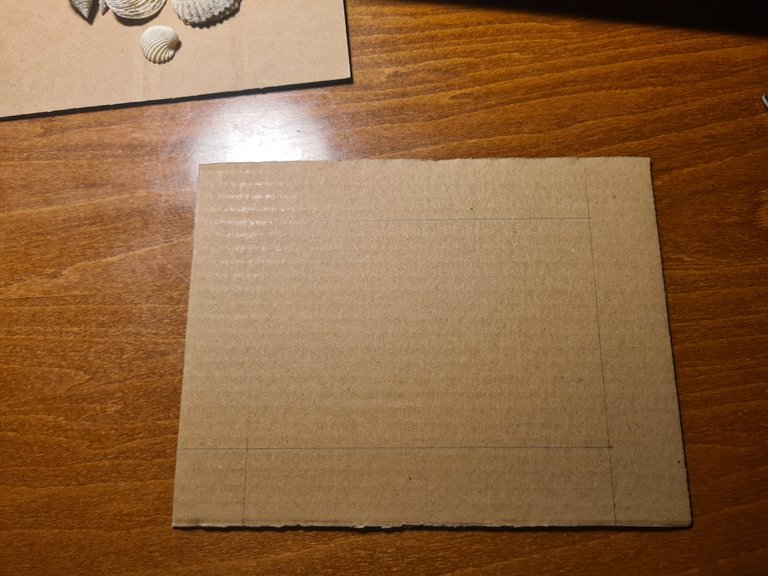
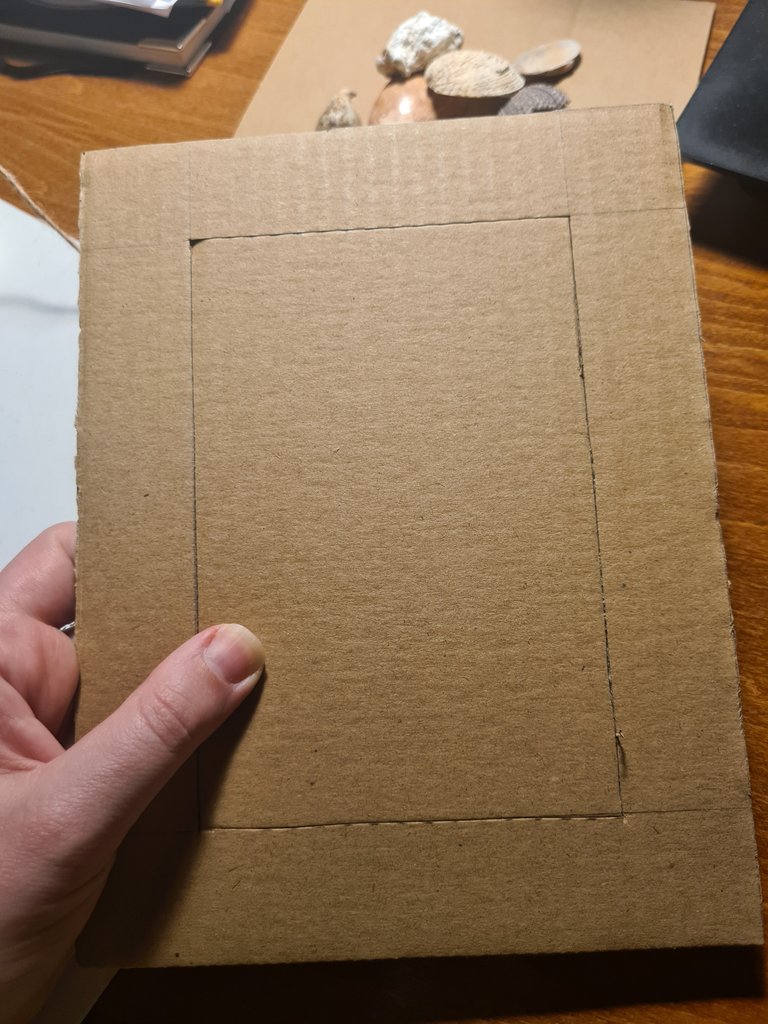
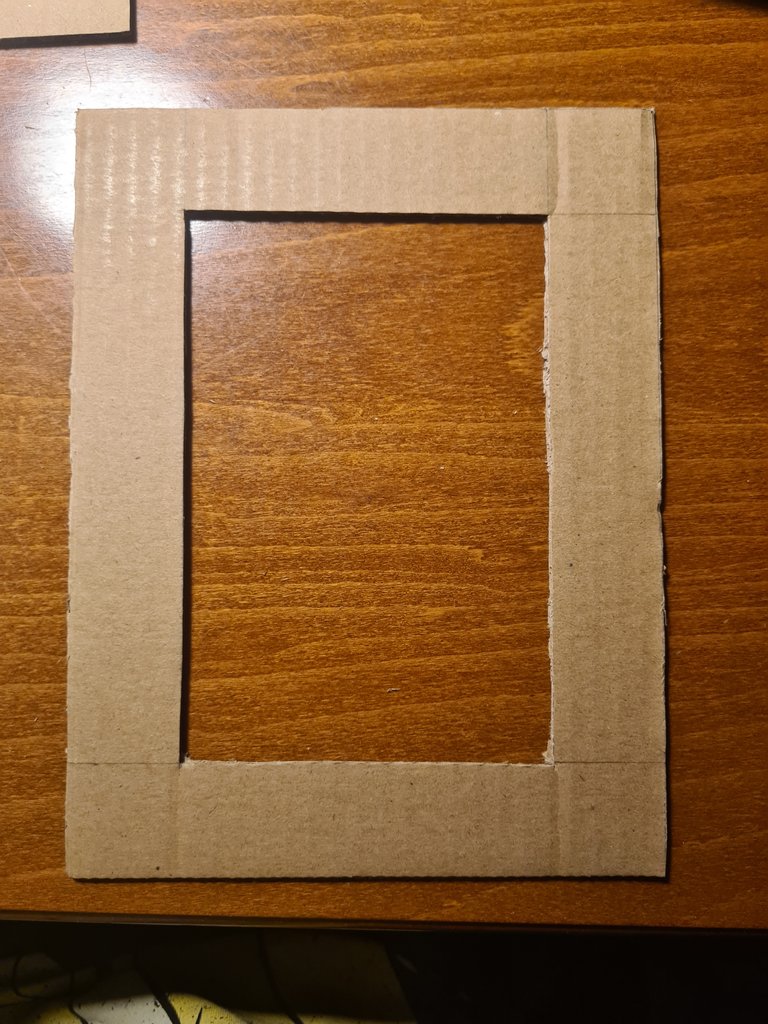
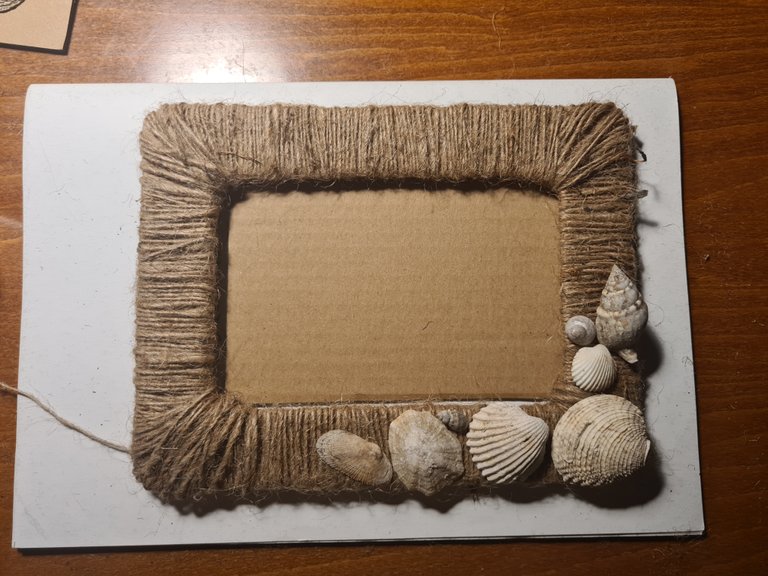
After this I added glue, and started rolling rope around it. It took, fair 30 minutes to go around it, and I had some trouble with corners, wasn't perfect but it was okay, I forgot my hot glue at home, which would probably make it easier.
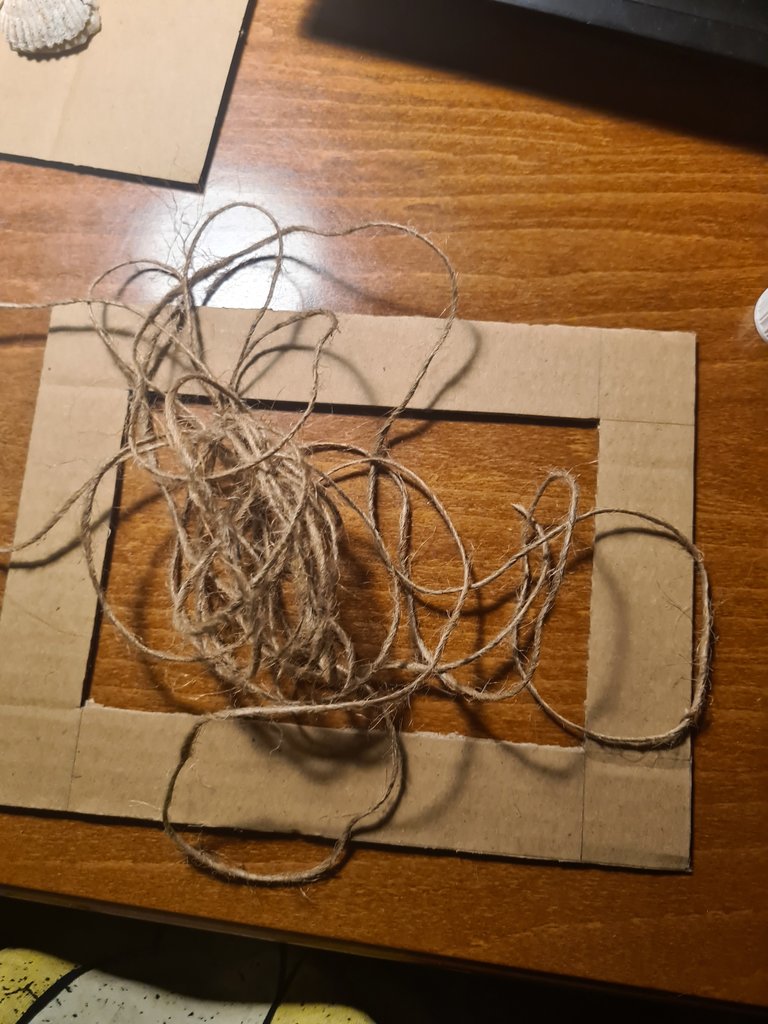
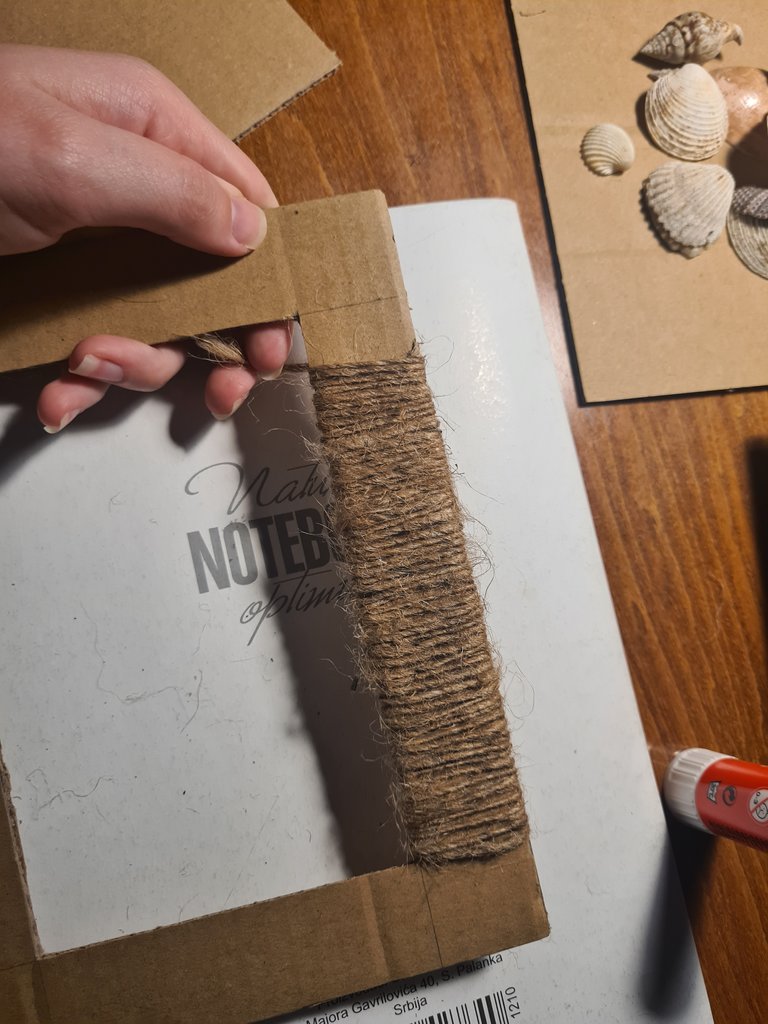
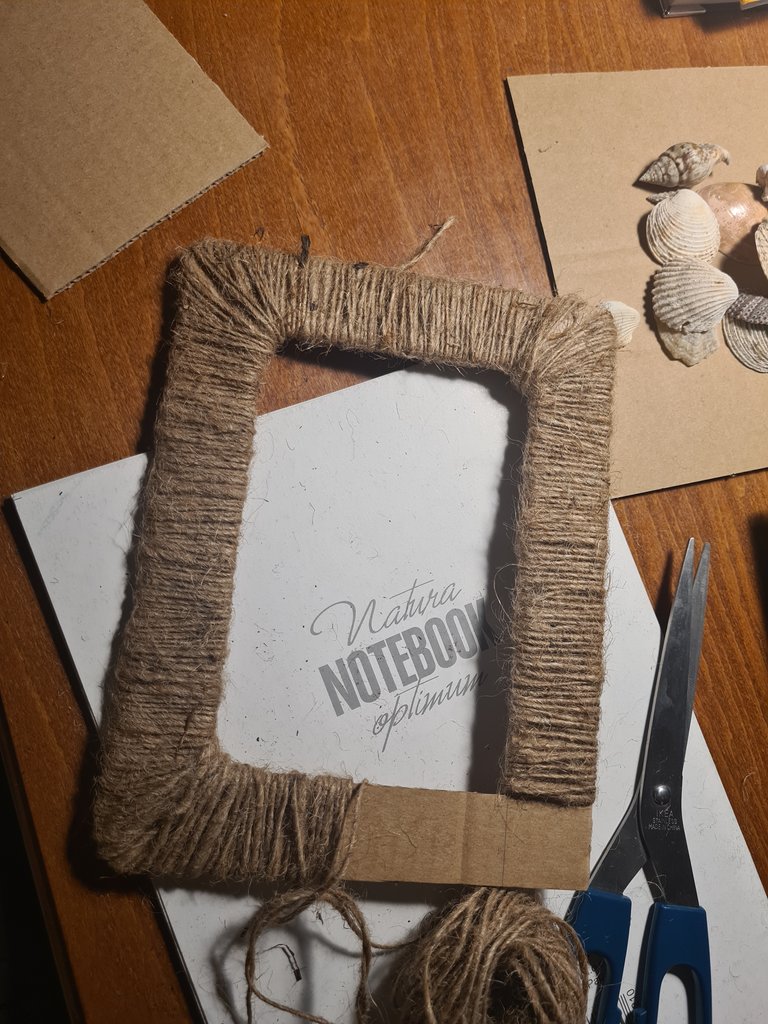
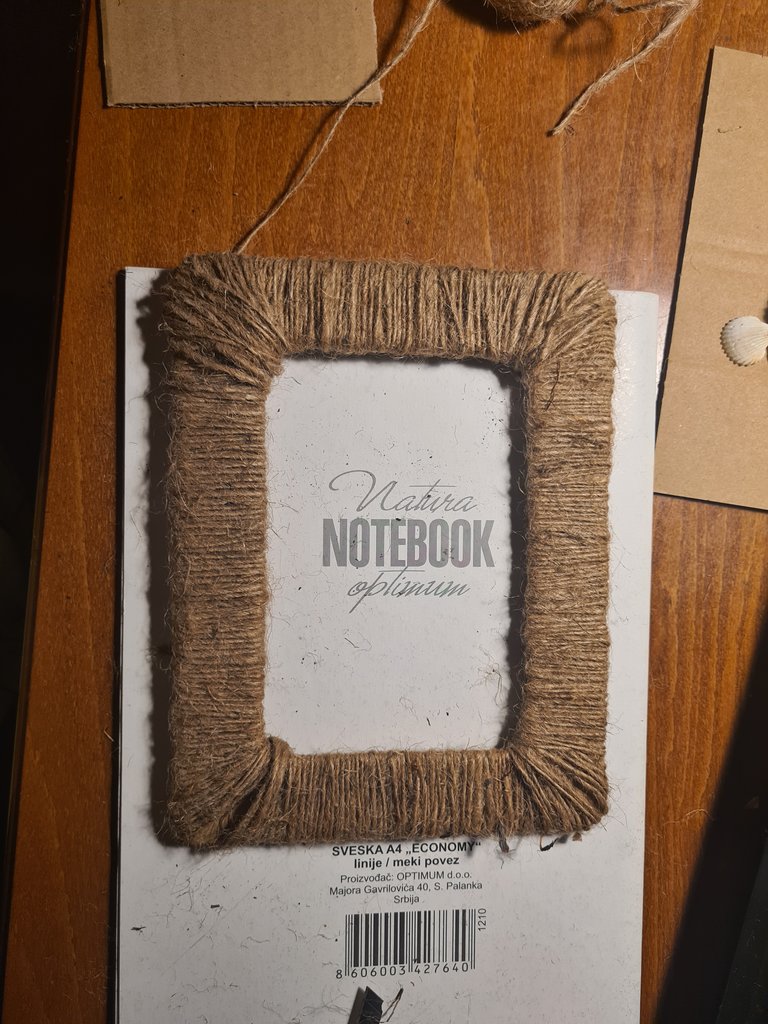
After this it was only one step left, to play with sea shell and find perfect spot for them. I wanted to do almost entire frame with it at first, but after choosing rope I decided to keep it more simple and put them in one corner only.
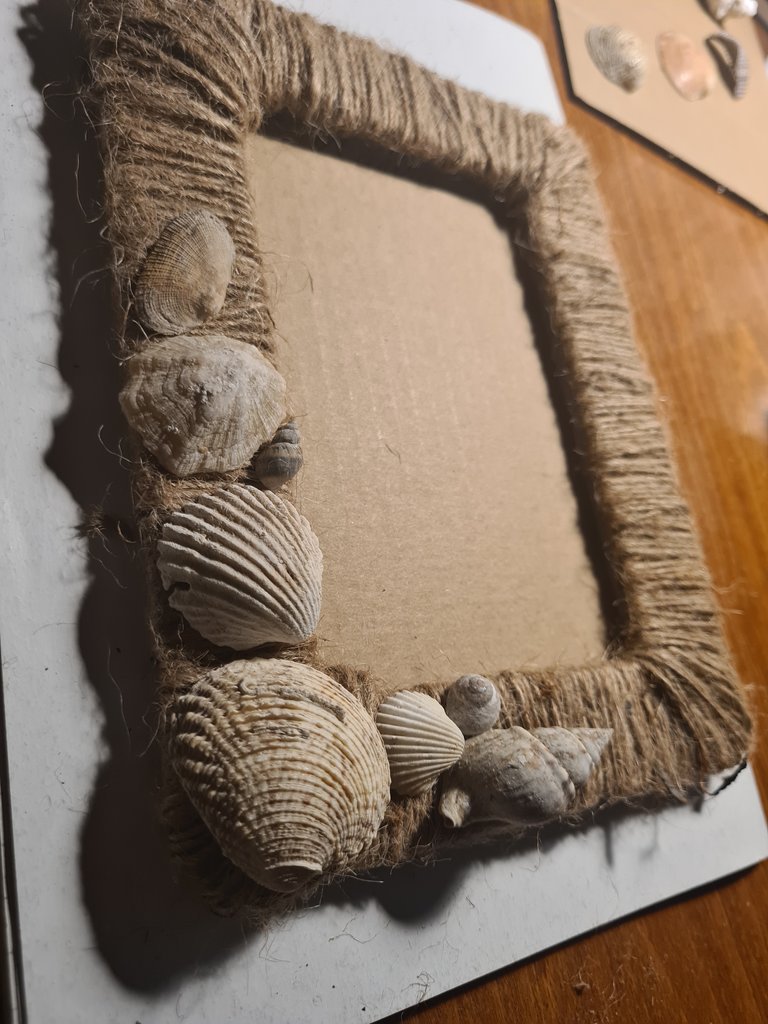
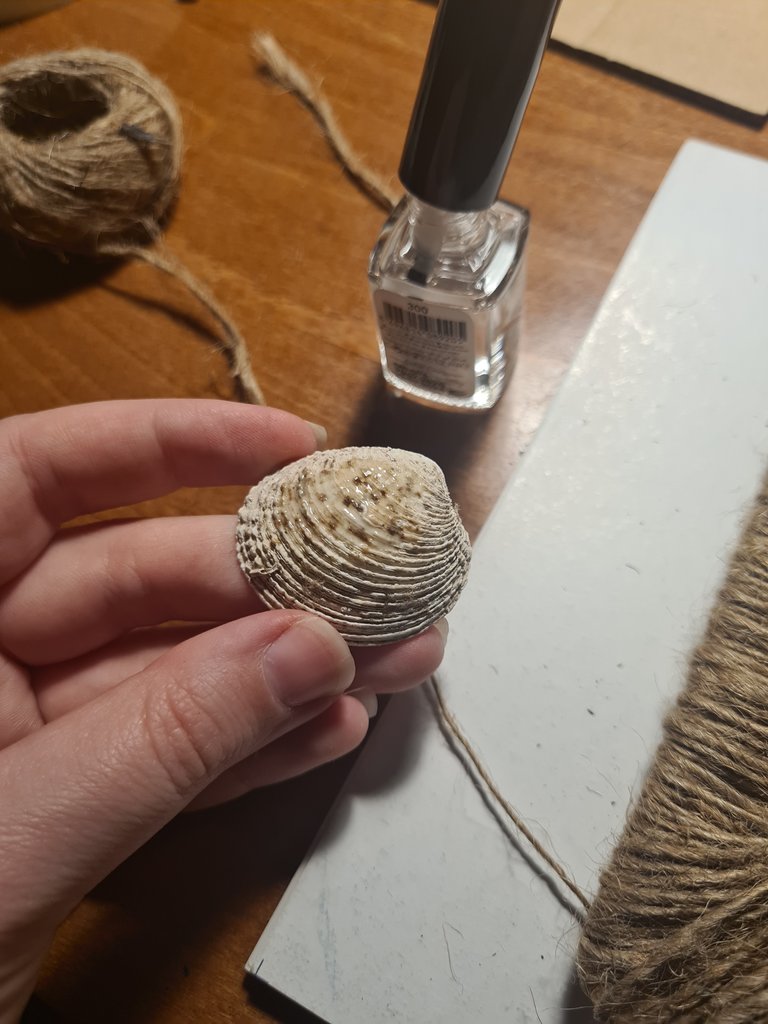
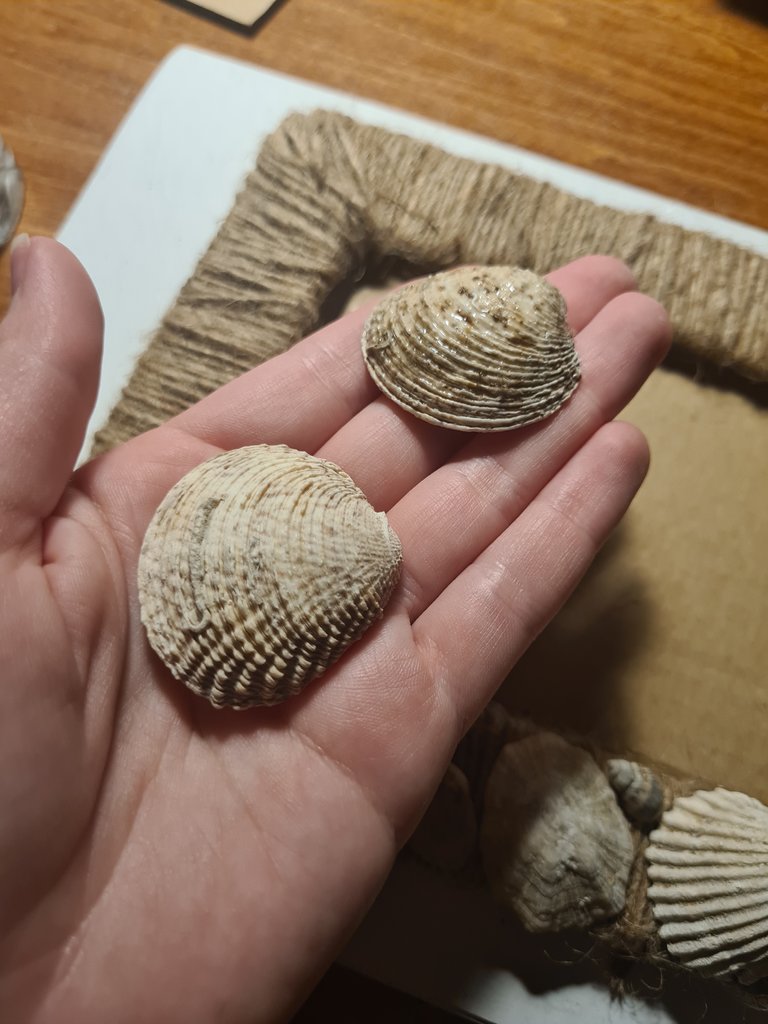
I would also like to give you a tip if working with real sea shells, you can always make them look better if you use transparent nail polish. This will make them look wet, and they always look better that way. It might work on some sea shells better then other. I decided to keep mine original and more rustic.
I owe you frame with picture in it, not sure which one I will chose but it will be from last summer. I have to print it first, and then I will add it to the post. After I add photo I will also glue piece of cardboard behind it, for protection.
Thank you for reading my post ^^


