
✨🌹✨🌹✨🌹✨🌹✨🌹✨🌹✨🌹✨🌹✨
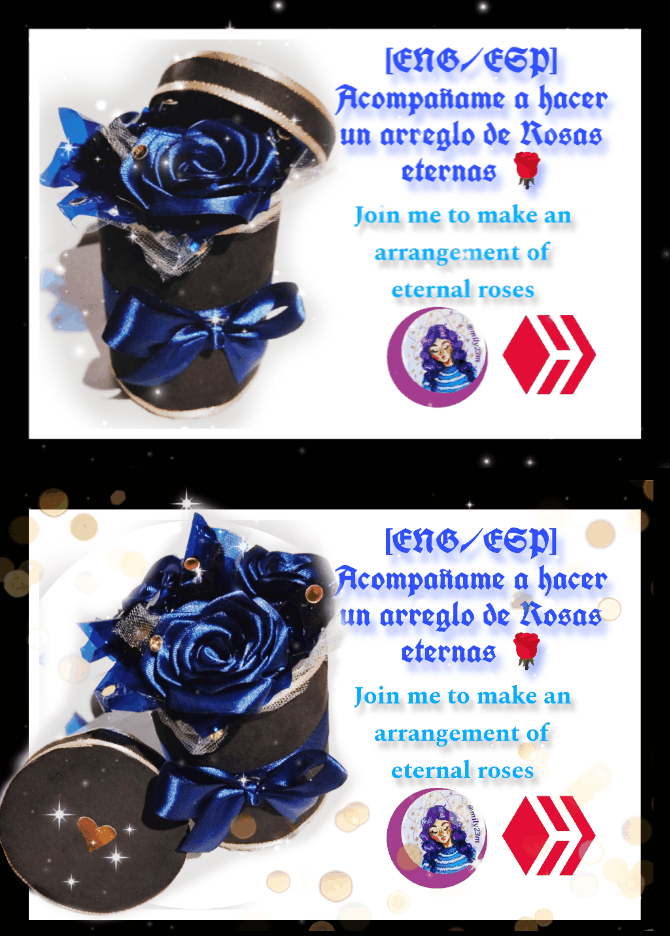
Hola linda comunidad de hive DIY ! Y artesanos 😊 hoy les traigo un nuevo post para esta comunidad , acompáñame a hacer este arreglito que te sacará de apuros para regalar ,y tiene un toque muy elegante y bonito para alguna ocasión especial ✨ un lindo ramo 💐 de flores eternas hechas de tela que nunca se marchitaran ✨.
Materiales
🌹Cinta de razo
🌹cartulina
🌹foami negro
🌹cinta cero
🌹tijeras y Regla
🌹tul y papel celofán
🌹palito de altura
✨🌹✨🌹✨🌹✨🌹✨🌹✨🌹✨🌹✨🌹✨
Hello lovely DIY hive community! And artisans 😊 today I bring you a new post for this community, join me in making this little arrangement that will get you out of trouble to give as a gift ,and it has a very elegant and pretty touch for a special occasion ✨ a beautiful bouquet 💐 of eternal flowers made of fabric that will never wither ✨.
Materials
🌹Satin ribbon
🌹Cardstock
🌹Black foam
🌹Scratch tape
🌹Scissors and ruler
🌹Tulle and cellophane paper
🌹High stick
 )
)
( )
)
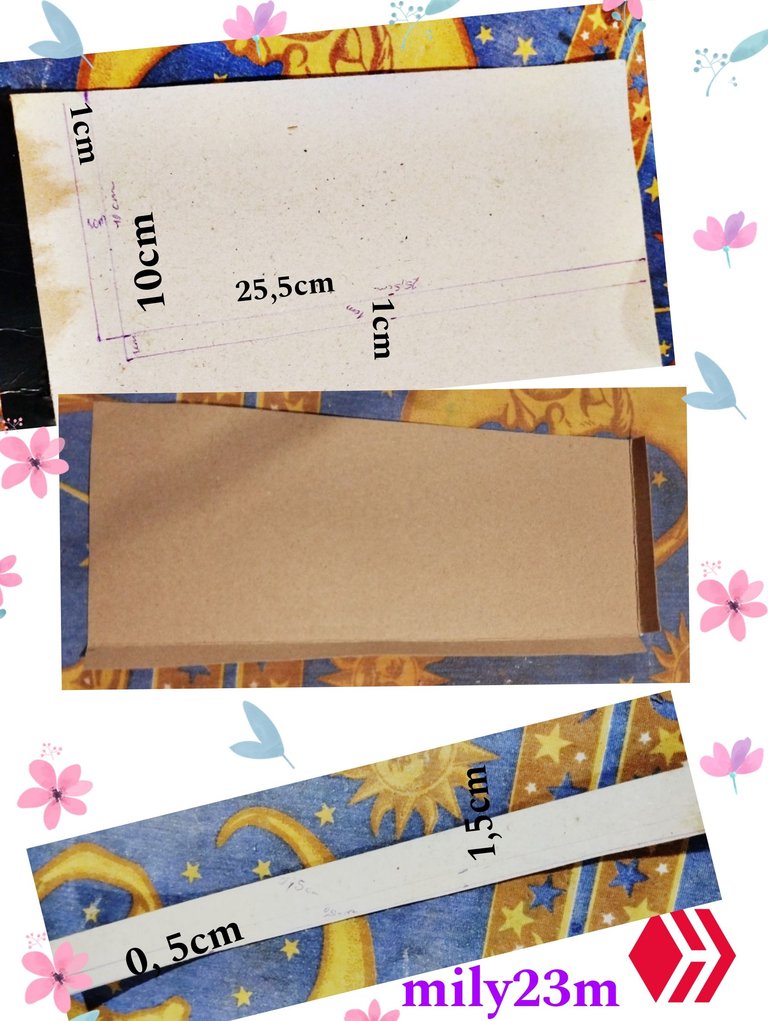
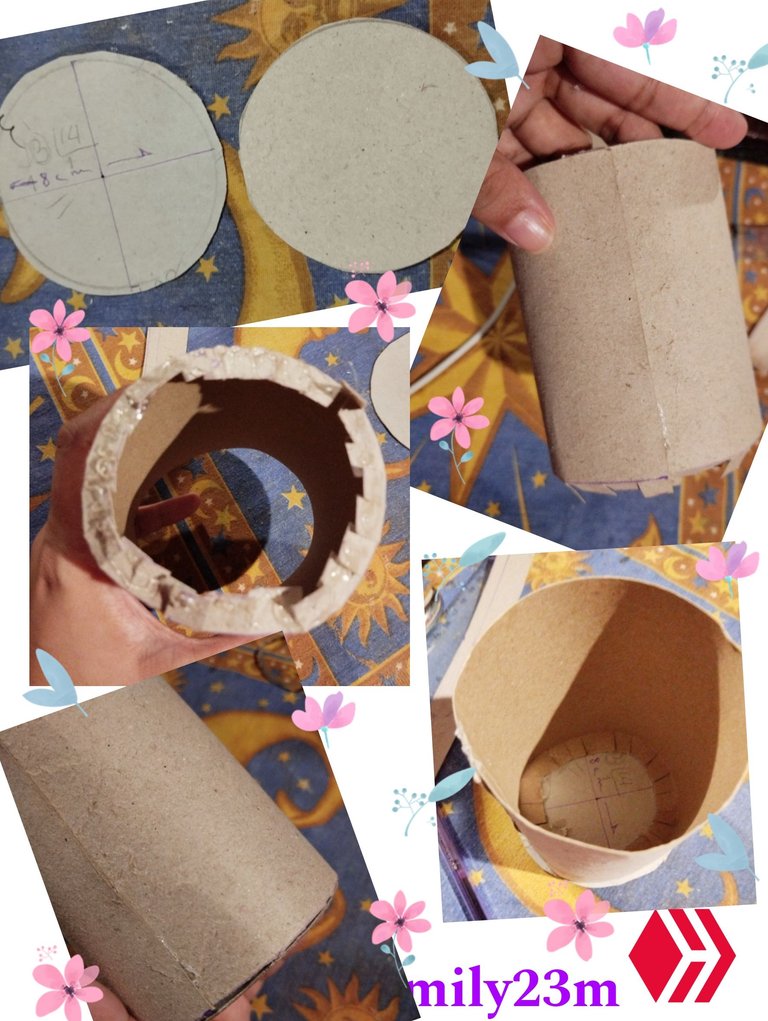
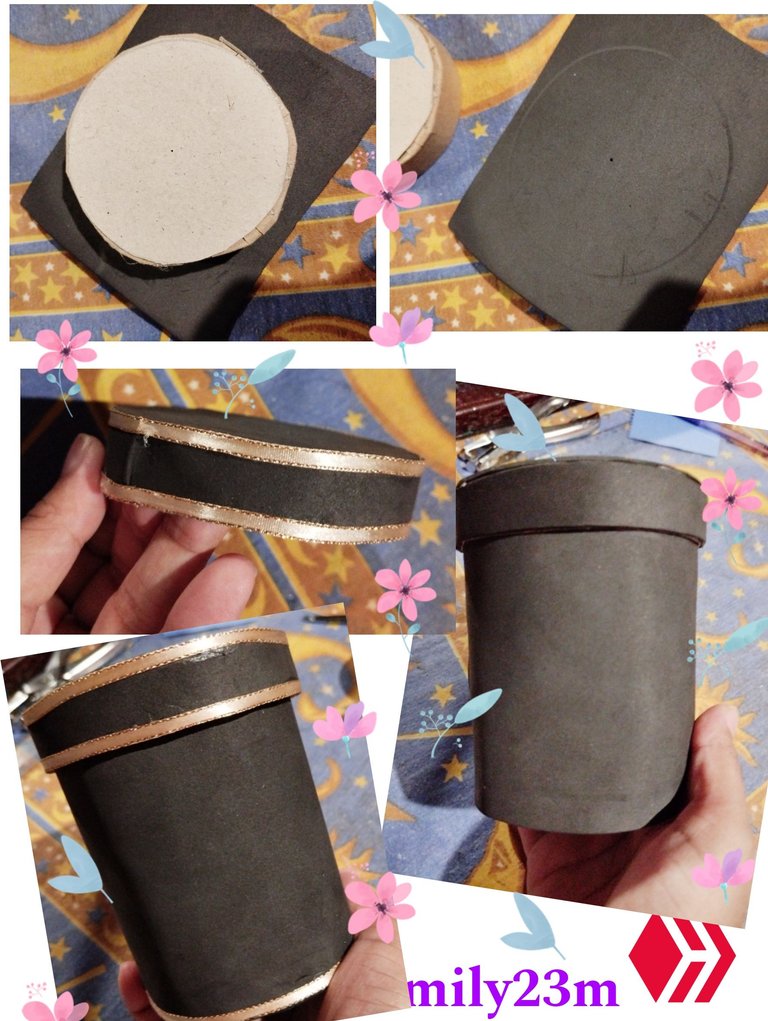
#1 Para realizar el cilindro que contendrá las flores , usé una cartulina,recicle la parte trasera de un block, marqué un rectángulo de 25,5cm de largo y 10 CM de ancho, también le dejé 1cm para una pestañita tanto en la parte inferior como en la parte lateral izquiera.tambiem hice otra tira de cartulina de 25,5 CM de largo por 1,5cm de ancho y una pestaña de 0,5cm en la parte inferior.Hice dos círculos de 8cm para el fondo y la tapa.Recorté las piezas e hice el doblez de las pestañitas. Armé el cilindro pegando los extremos y con el doblez hice pequeños cortes en la pestaña inferior para que se hiciera más fácil adaptar la forma círcular, a las pestañitas les puse bastante silicón caliente y pegue el círculo que sería el fondo haciendo presión para que quede bien unido, una vez pegado corté los pequeños sobrantes que quedaron en el fondo.
#1 To make the cylinder that will contain the flowers, I used a cardboard, recycled the back of a block, marked a rectangle 25.5 cm long and 10 CM wide, I also left 1cm for a tab both at the bottom and on the left side. I also made another strip of cardboard 25.5 CM long by 1.5cm wide and a 0.5cm tab at the bottom. I made two 8cm circles for the bottom and the lid. I cut out the pieces and made the fold for the tabs. I assembled the cylinder by gluing the ends and with the fold I made small cuts in the lower tab to make it easier to adapt the circular shape, I put a lot of hot silicone on the eyelashes and glued the circle that would be the bottom, applying pressure so that it would be well attached, Once glued, I cut off the small excess that remained at the bottom.
 )
)
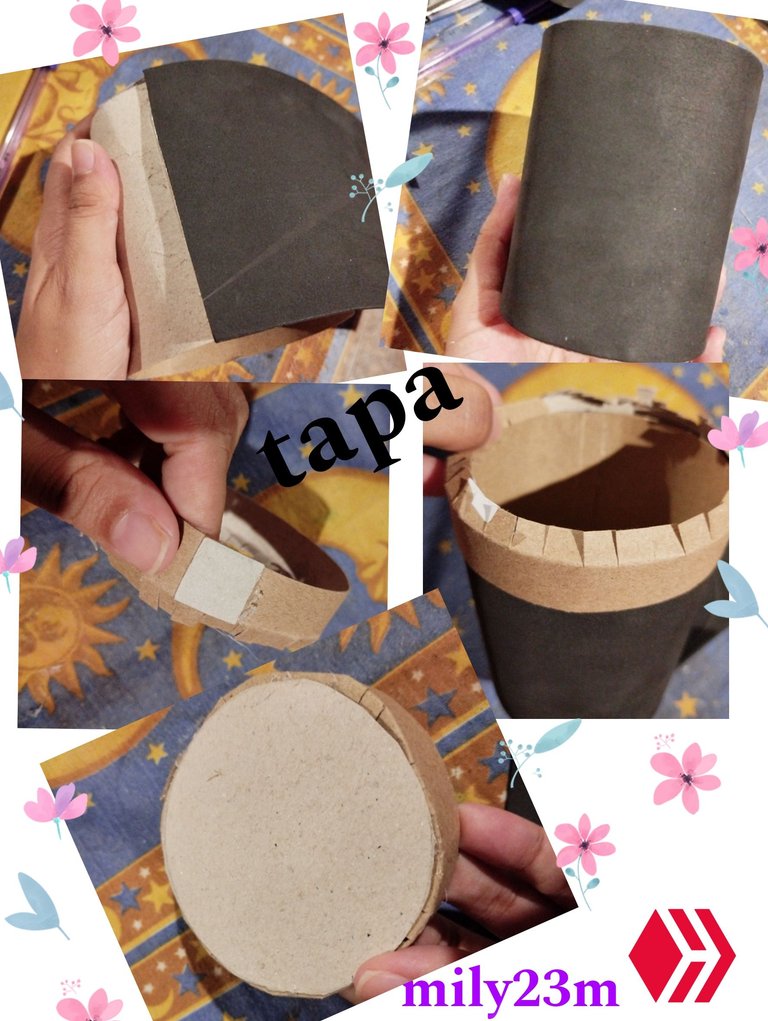
**#2 I used a black foam to cover the cylinder, cutting a piece with a few extra centimeters just in case, and I glued it with hot silicone, cutting the extra edges that were left, for the cover I used the long strip of Cardstock that I had taken out, I folded the little tab and cut small ones,I promise to measure the contour since with the foam the thickness increases a little, for me it remains exactly the same diameter but as It was just right, I put a little square on top of the joint to make it more secure, I bent the tabs so that the shape is easier circular by putting silicone to stick the remaining cardboard circle, making the lid.
 )
)
#3 With the lid already in cardboard, I covered it by cutting the same pieces in foam, I measured making sure that the lid could close well, so I could cover it For all the joints I used zero-grade tape and glued it around all the edges of the lid, and the upper and lower edges of the foam cylinder.
 )
)
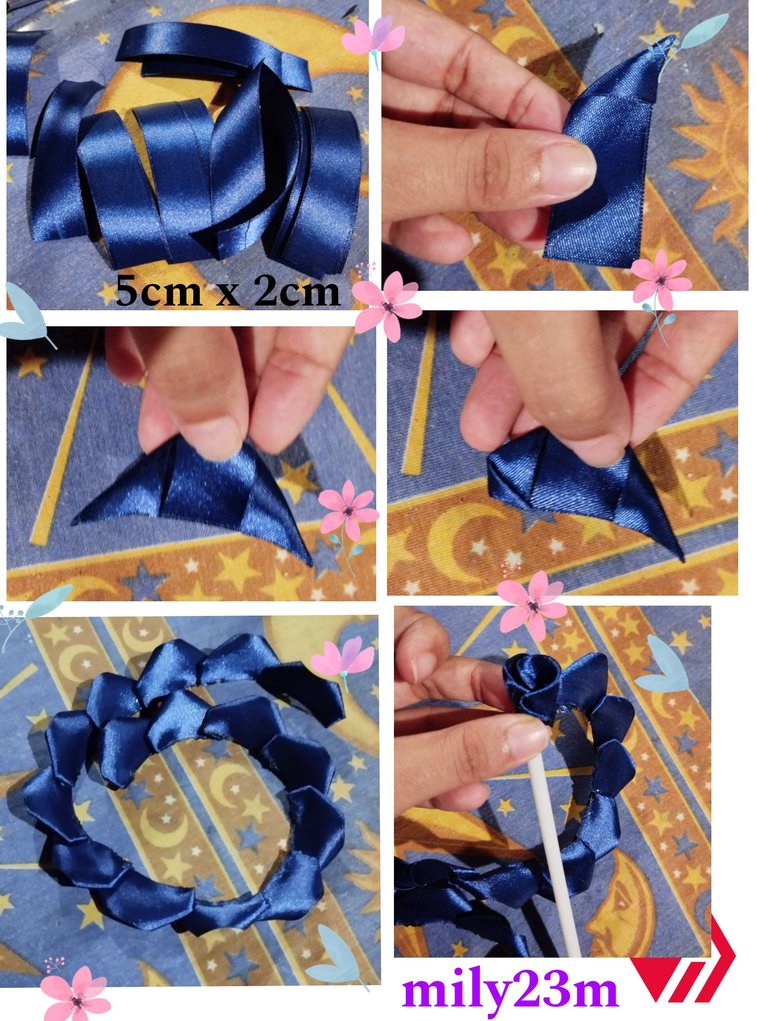
**#4 To make the Eternal Roses, use 2cm wide satin ribbon, to make these roses they are usually made with the size of a card 💳 but As this tape is a little thinner I used a 5cm x 2cm width tape, first fold the right corner making a triangle 📐and I sealed the end well with a tinderbox, on the other left end I also folded it in the shape of a peak or triangle 📐 and I also sealed it with tinderbox, once this peak shape is left I folded it inwards again and sealed it with tinderbox, I also did the same at the other left end and I sealed it again, it would be the shape of a petal, for each rose I made 15 petals, and I glued them by putting a drop of silicone
hot at each end and stick them all in a row making a long strip of petals, to make the shape of the rose 🌹 the center the first petal sticking it with small silicone dots rolling that first petal, this time rolling the center I glued it on a balloon stick but it can be a stick high, and I was gluing hot silicone drops on the petals while I was rolling the strip of petals around the stick.
 )
)
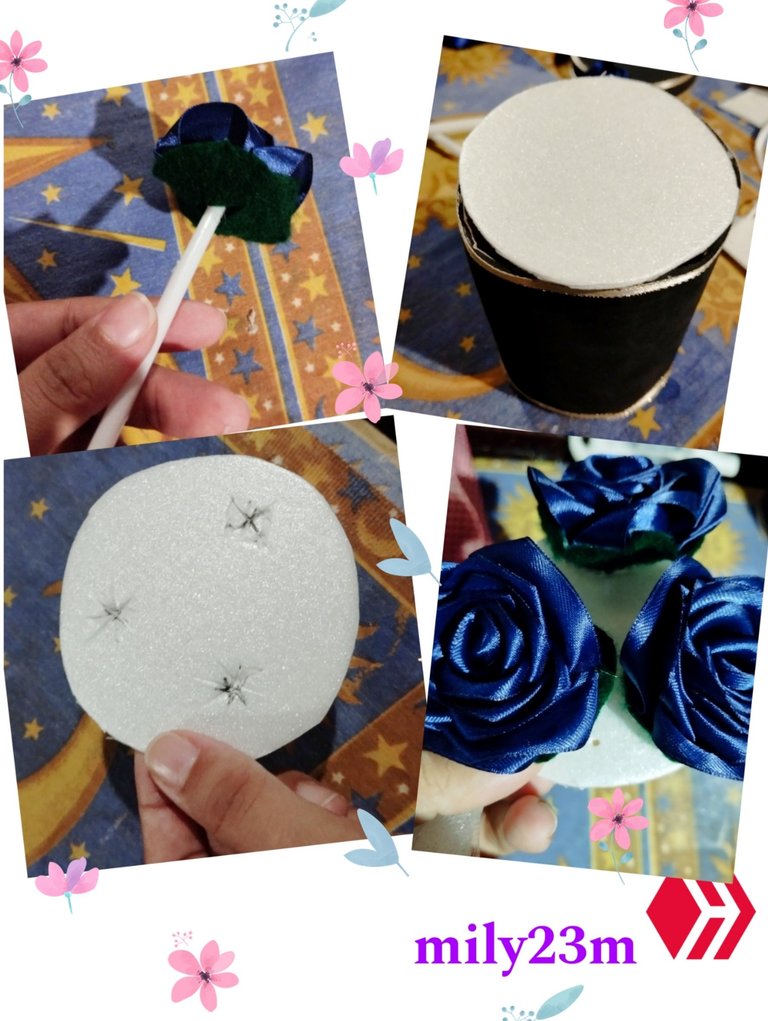
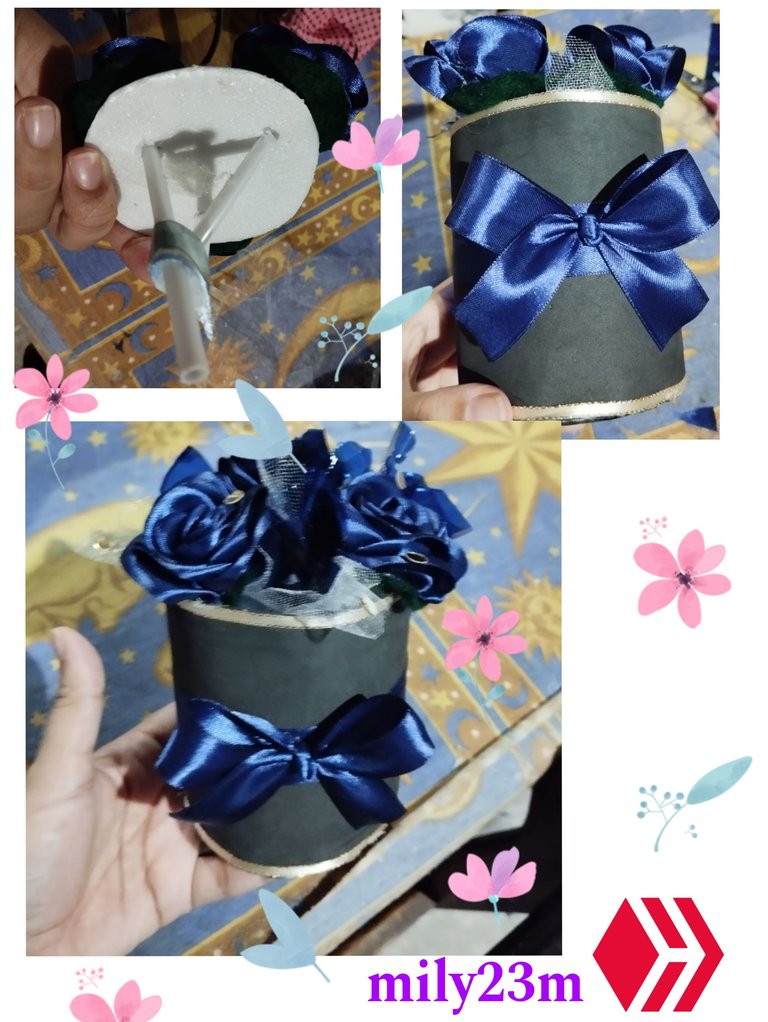
#5 To finish the rose at the end of the rose 🌹, I cut an oval of green felt 💚 to cover the bottom of the rose, I made three roses For this arrangement, with a Styrofoam tray or with an anime taking the diameter of the cylinder as a reference, and I tested to see what would look good and fit, I made three little holes in the circle to put the roses in there so they would stand up well.
 )
)
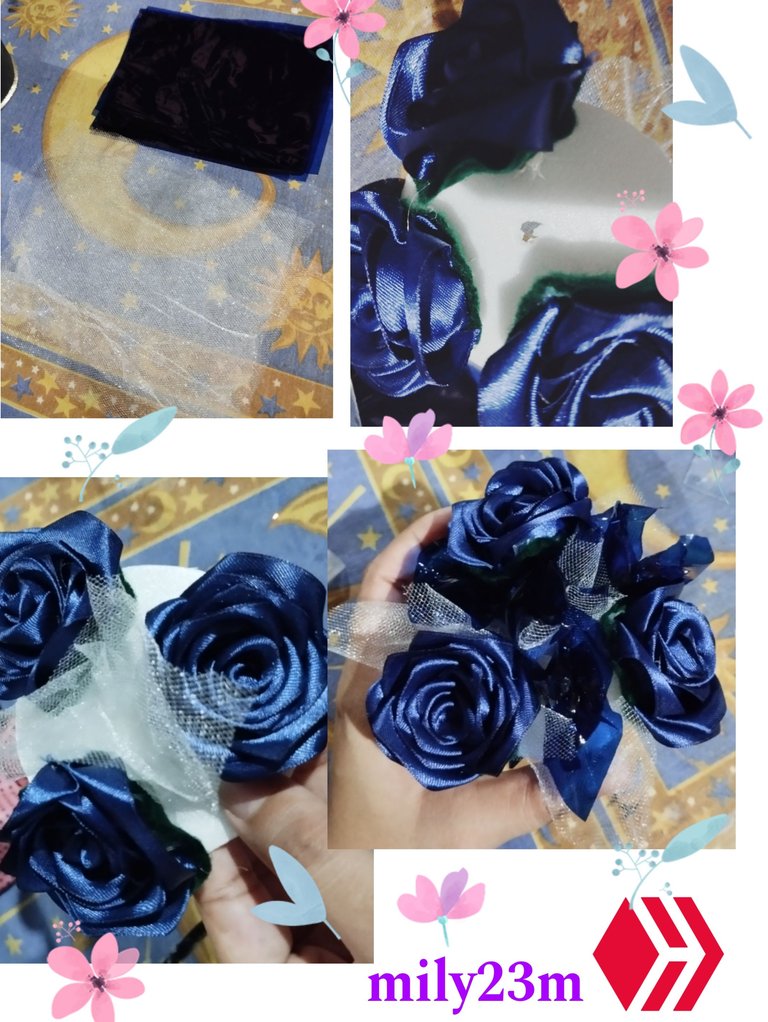
I attached the stems to the round piece with the roses so that they would remain static and not move. I cut some rectangles of tulle and cellophane paper, to make some folded handkerchiefs and fill the spaces between the three roses, to add them to the arrangement I made small holes and put the folded ends of the folded handkerchiefs and glued those ends with silicone to the other end, I also added the folded tulle as a border around the roses to further cover the blank spaces.
 )
)
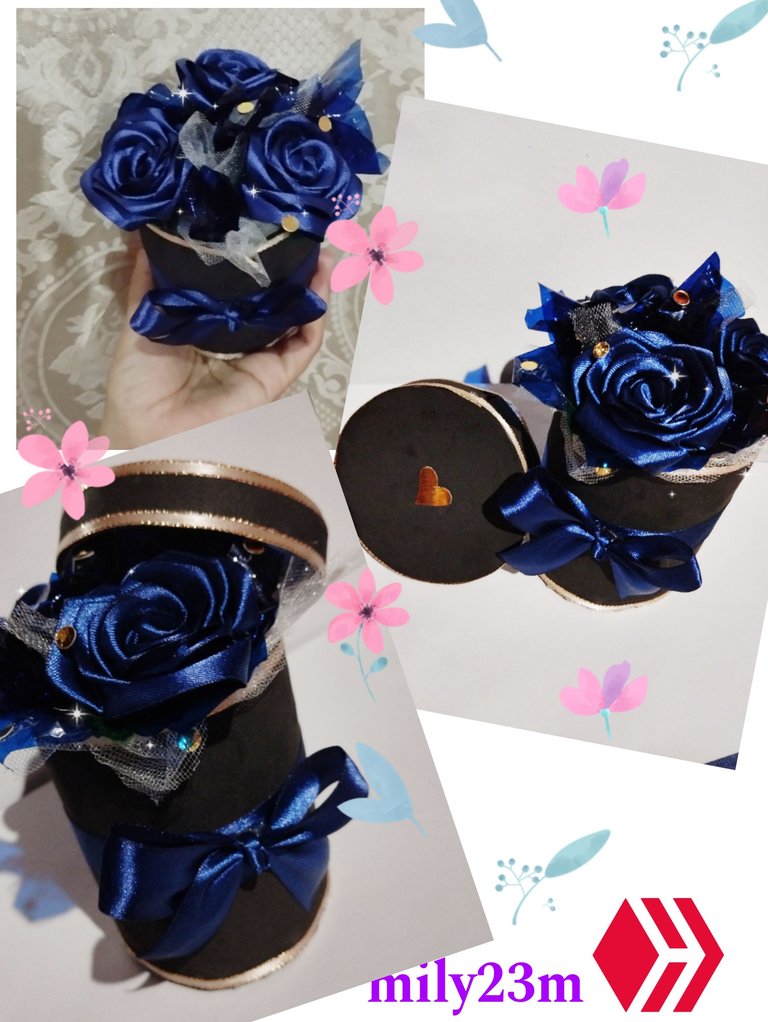
#7Then I inserted the round piece well into the cylinder, applying pressure so that it fit well. You can secure it by gluing silicone on the edges so that it doesn't move. To finish the decoration of the cylinder, I cut a satin ribbon of the same size as the roses and surrounded the entire body of the cylinder, sticking it right in the middle, I also made a bow 🎀 and put it in the middle of the cylinder, with scraps of gold mirror cardstock and a hole punch cut gold circles and glued them all over the roses and tulle, and a little heart for the lid to give it a shiny and delicate touch for the final details.
 )
)
✨Que te pareció ? Te animas a hacerlo ? muchas gracias por leer mi post☺️✨
Fotos tomadas por mí,en mi equipo redmi note 12 editadas en pics art y gifs creados en app creador de gifs, texto traducido en Google traductor.
English Version✨ And this is the final result 🔚
A beautiful arrangement of blue eternal roses that looks elegant and beautiful to give to a loved one and that you can You can also make it yourself, you can also add other details like butterflies or pearls and it will look even prettier
✨What did you think? Do you dare to do it? Thank you very much for reading my post☺️✨
Photos taken by me, on my redmi note 12 device edited in pics art and gifs
created in gif creator app, text translated in Google Translate.


