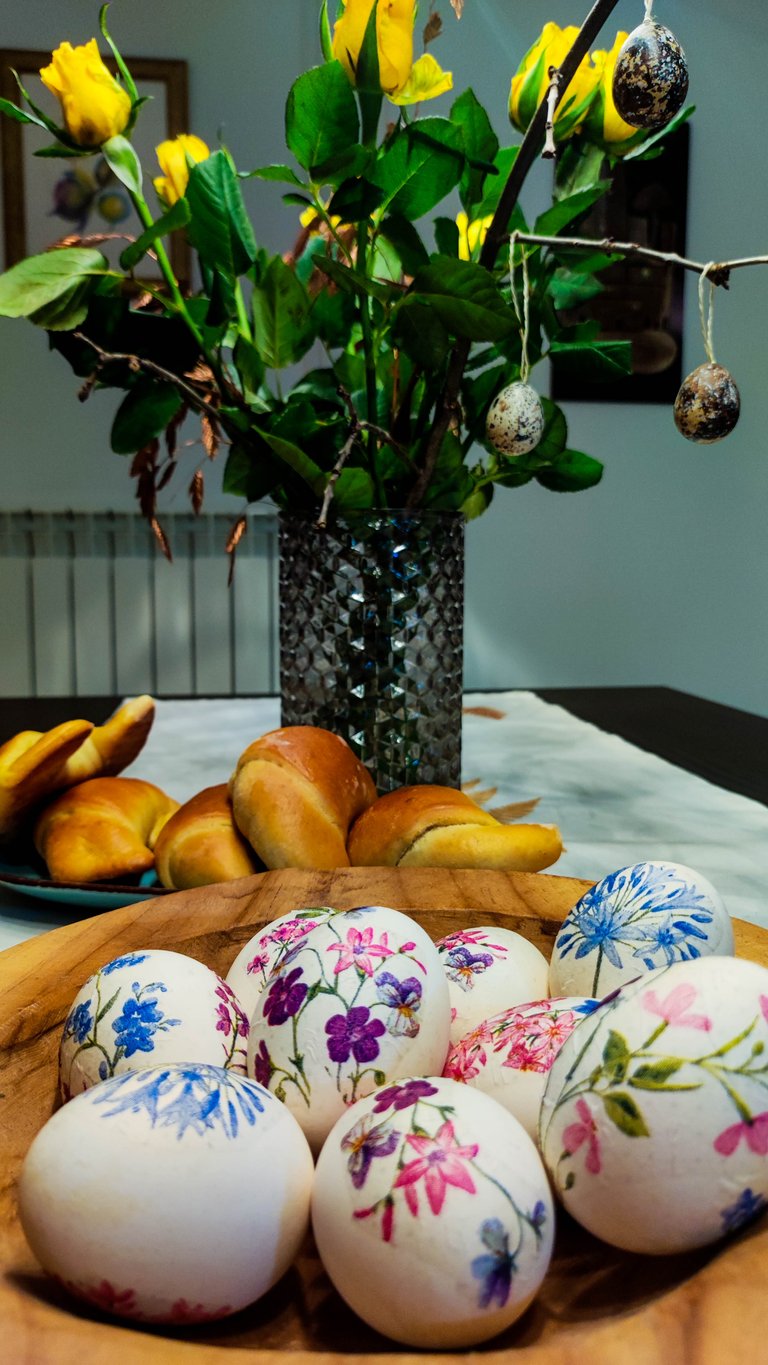
Every time I looked at the beautifully decorated Easter eggs, I thought how much effort and time it takes to prepare them. I was sure that the process is difficult and that we would certainly not be able to make such beautiful Easter eggs. But I was wrong. By coincidence, I came across a simple process for making beautiful Easter eggs on the Internet. I showed the article to my wife, and that's how this post came about. It took my son and my wife about an hour to get our beautiful Easter eggs ready. Of course, I participated too, with my camera in my hand 📷😉. This post shows our first Easter eggs, created using the egg decolouring process and decorated using the serviette technique. The process is really easy, simple and quick.
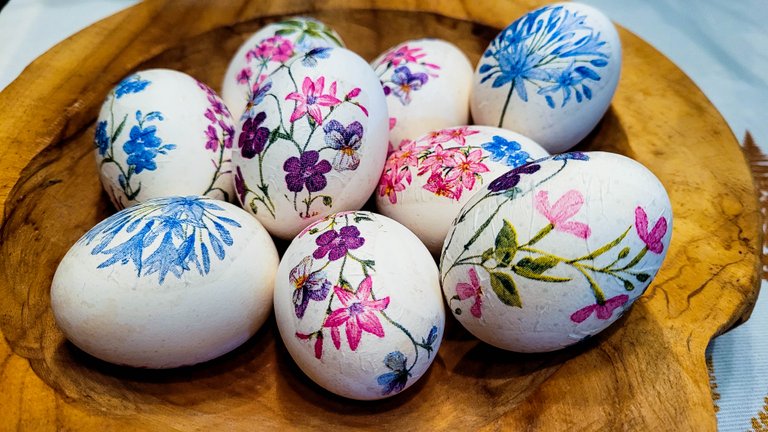
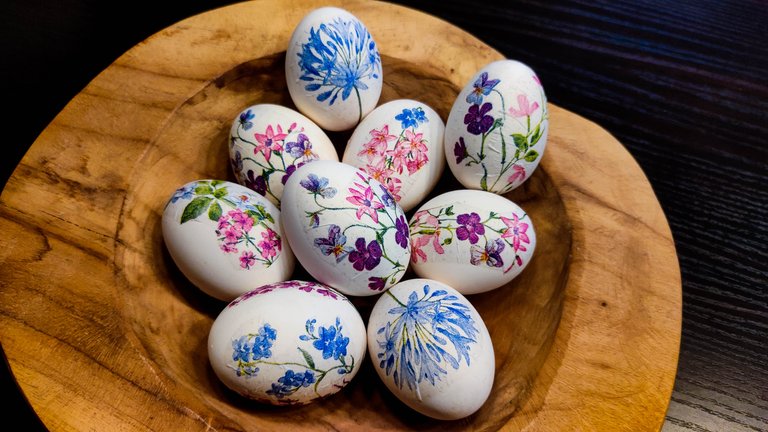
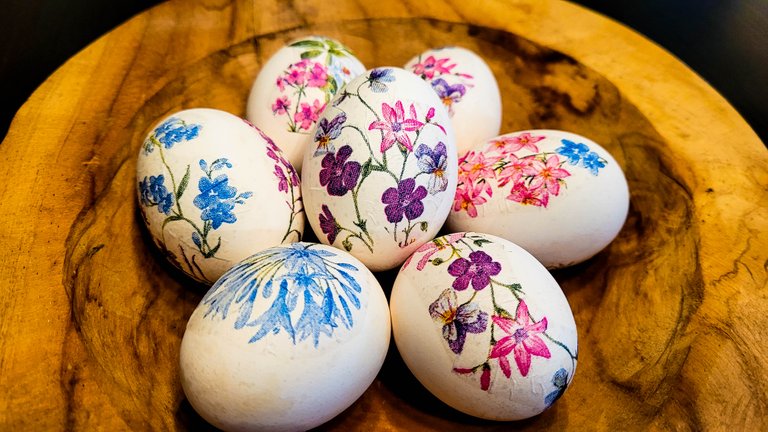
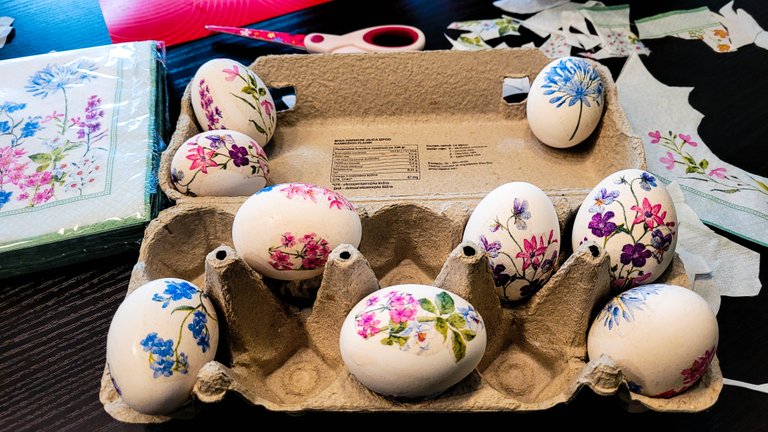
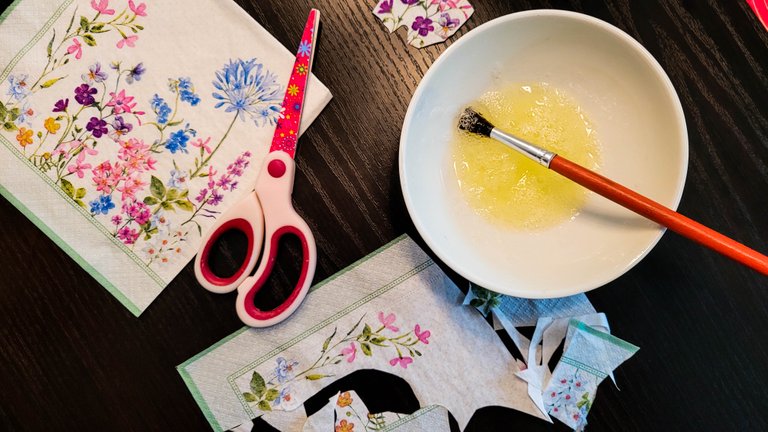
If you want to make similar Easter eggs using the egg decolouring process and the serviette technique, you will find this post helpful. All you will need are eggs, water, alcoholic vinegar, napkins, scissors and a small paintbrush.

The decolouring process
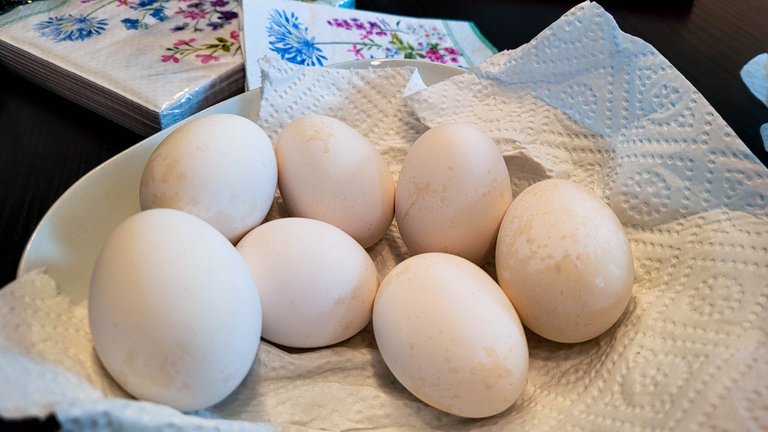
Pour the water and the alcoholic vinegar in a 1:1 ratio into a large pan. Then put the eggs in the pan, so that they do not touch each other. Bring the mixture of water and alcoholic vinegar to the boil and as soon as it boils, reduce the heat to almost minimum and let the eggs cook for 12 minutes.
As they cook, a brown foam will accumulate on the top, which should be removed with a spoon. When the eggs are cooked, remove them from the shrimp, rinse under cold water. If necessary, rub them a little more with a towel to remove any brown residue. Cool the eggs before sticking the napkins on them.
The decorating process
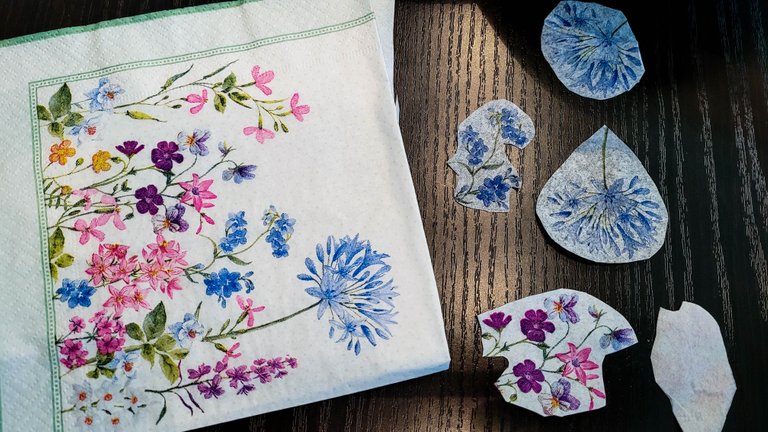
Cut out different motifs you like from the serviette you have chosen. The motifs do not have to be perfectly cut out, it is only important that the motif you have chosen is whole, i.e. not damaged in any way. Once the motifs have been cut out, carefully unpick each one individually so that you only have one layer of the serviette.
Brush the white of the egg over the part of the egg where you want to stick the motif.
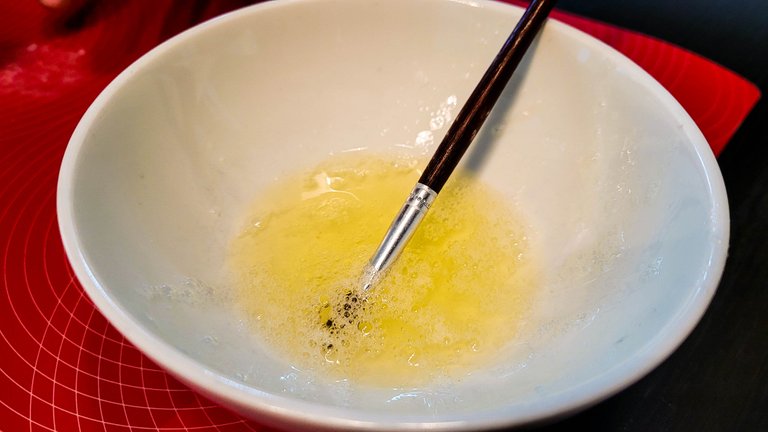
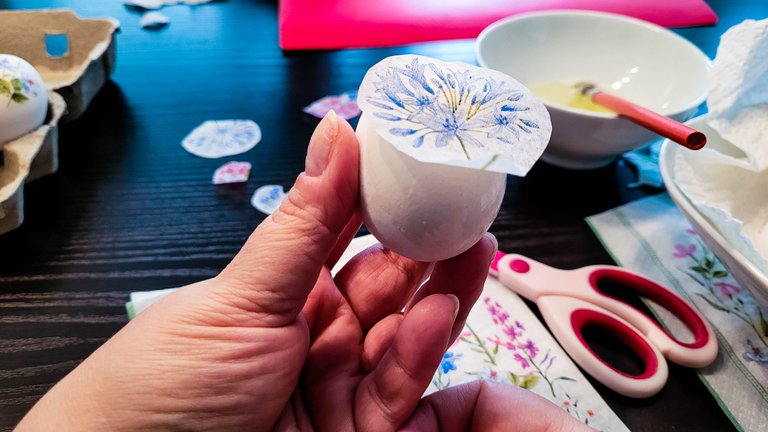
Place the cut-out motif on the coated surface and carefully brush the egg white over it so that it sticks to the egg.
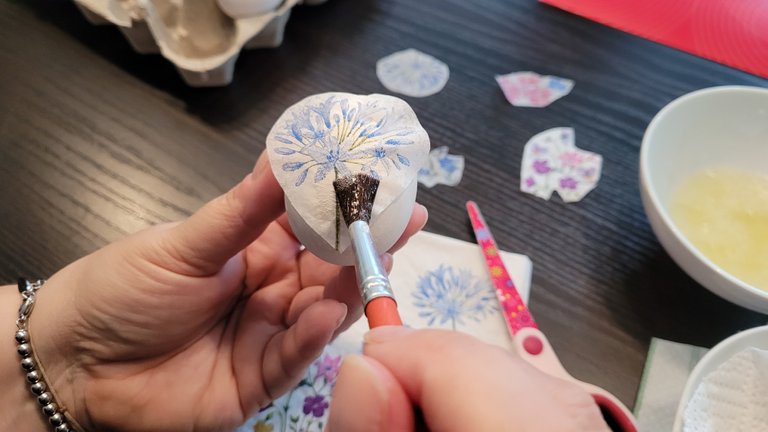
Let the egg white dry for a while and you have your Easter eggs ready. The good thing about this whole process is that you can eat the Easter eggs without fear, because we didn't use any artificial glues or paints to make them.

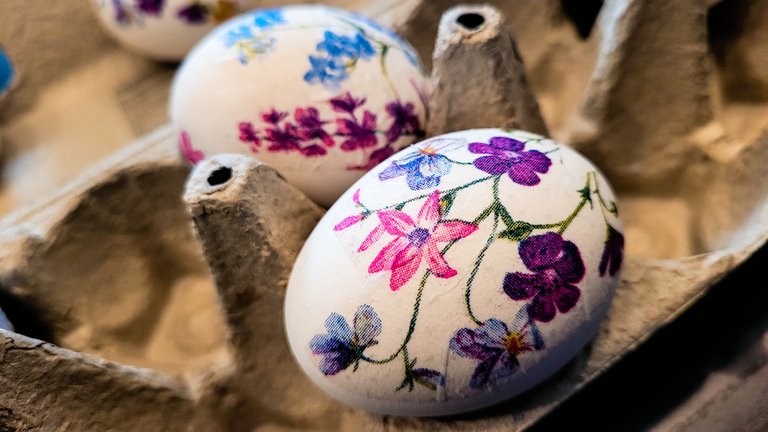

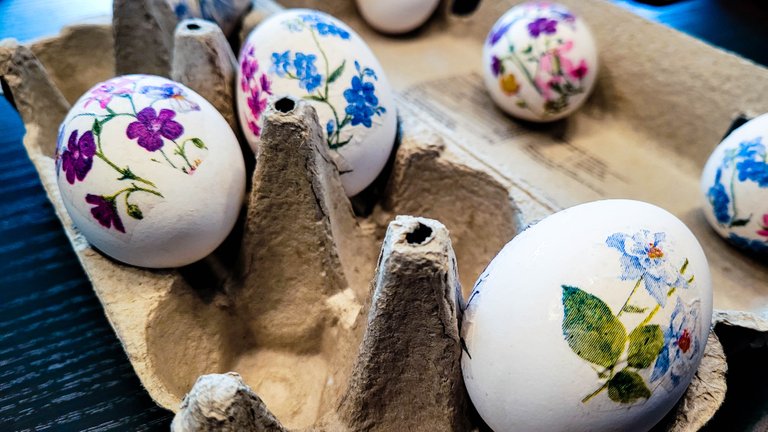
Have a great Easter 🐇🥚
Thanks for reading,
feel free to leave a comment, I will be glad to reply to.
Best regards, @miljo76
