Bienvenidos || Welcome

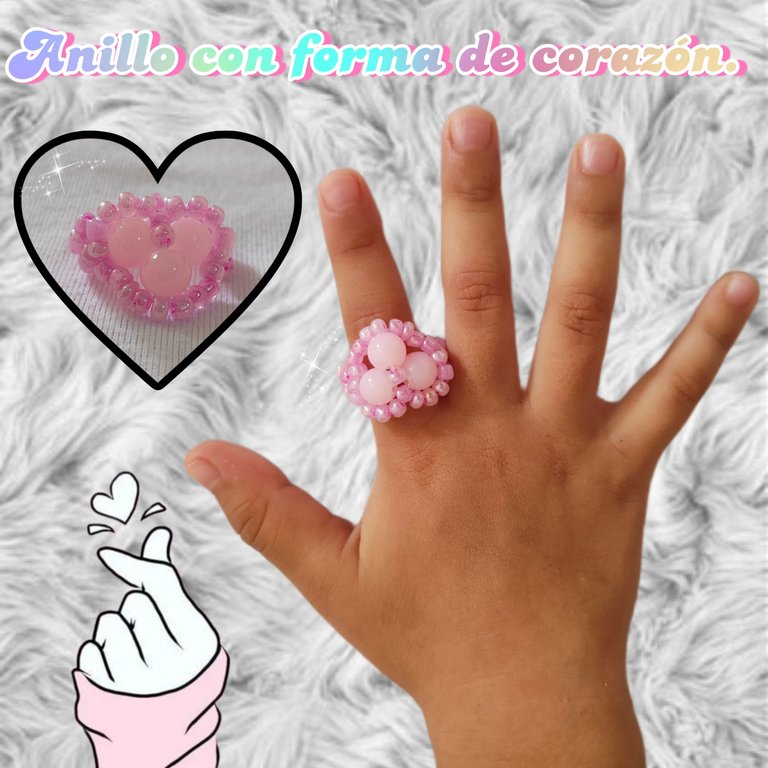
Feliz viernes queridos amigos, desde aqui le saluda su amiga como siempre esperando que hayan tenido un grandioso dia y en esta ocasión una gran semana, hace unos dias celebramos el dia del amor y la amistad asi que fue inevitable que esta linda temática me inspirará para crear un lindo accesorio asi que decidí hacer algo para regalarle a mi hija mayor (3 añitos ya... 😻🥰) ya que ella es un viva representación de lo que es el amor, asi que el color rosa sera el protagonista en esta ocasión para elaborar un lindo anillo con forma de corazón, los materiales que vamos usar son los siguientes:
Happy Friday dear friends, from here your friend greets you as always hoping you have had a great day and this time a great week, a few days ago we celebrated the day of love and friendship so it was inevitable that this cute theme will inspire me to create a nice accessory so I decided to make something to give to my oldest daughter (3 years old already. .. 😻🥰) since she is a living representation of what love is, so the color pink will be the protagonist on this occasion to make a nice heart-shaped ring, the materials we will use are as follows:

Materiales || Materials

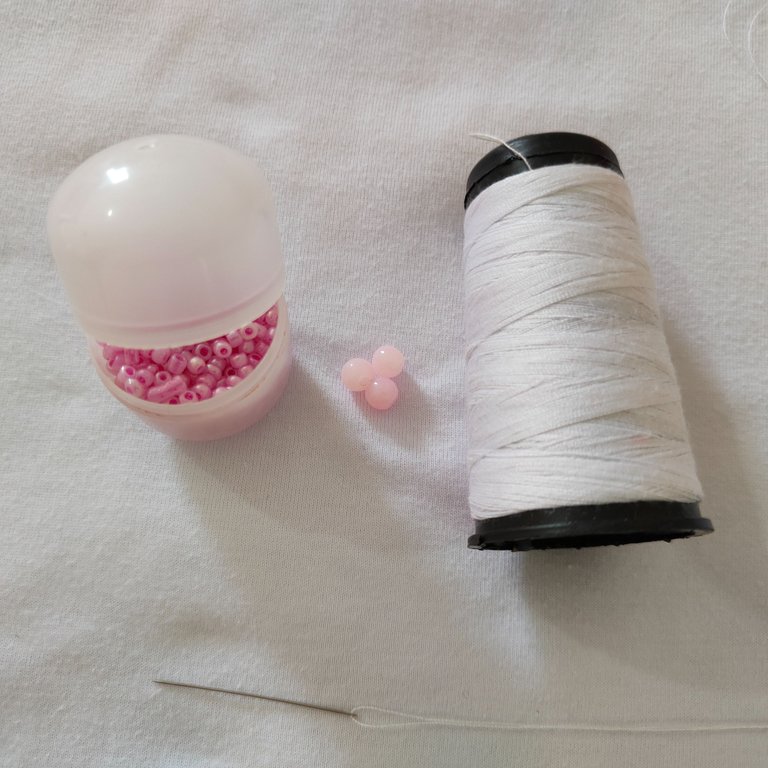
💗 Mostacillas color rosa.
💗 Nailon.
💗 3 perlas color rosas.
💗 Aguja.
💗 Pink beads.
💗 Nylon.
💗 3 pink beads.
💗 Needle.

Pasos ||Steps

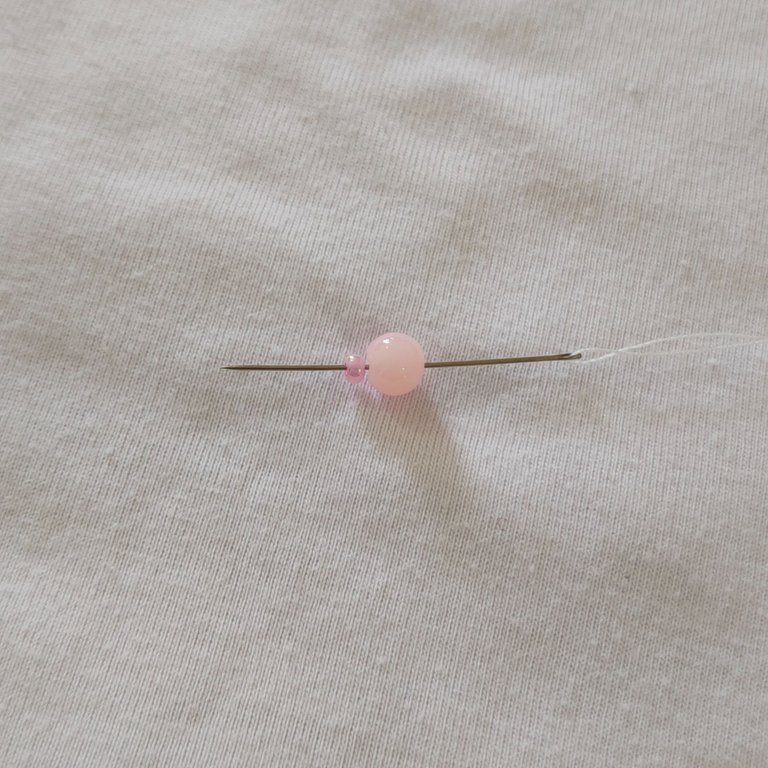
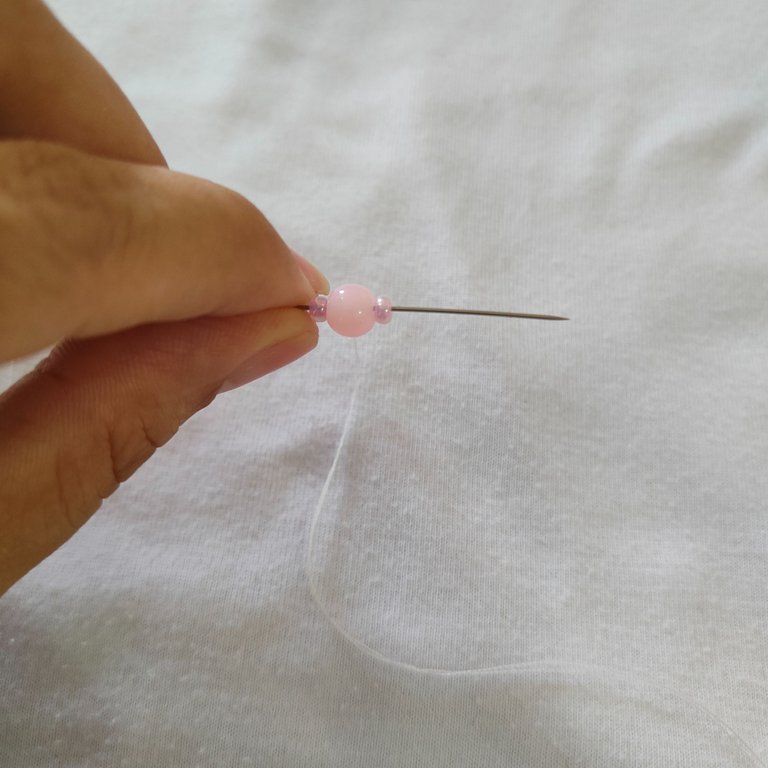
💗 Paso 1. Iniciaremos midiendo 100 centímetros de Nailon y ensartado nuestra aguja y en ella 1 perla y 1 mostacilla, las llevamos hasta el final del nailon y retornamos con nuestra aguja a través de la perla.
💗 Step 1. We will start by measuring 100 centimeters of nylon and stringing our needle and on it 1 bead and 1 bead, we take them to the end of the nylon and return with our needle through the bead.
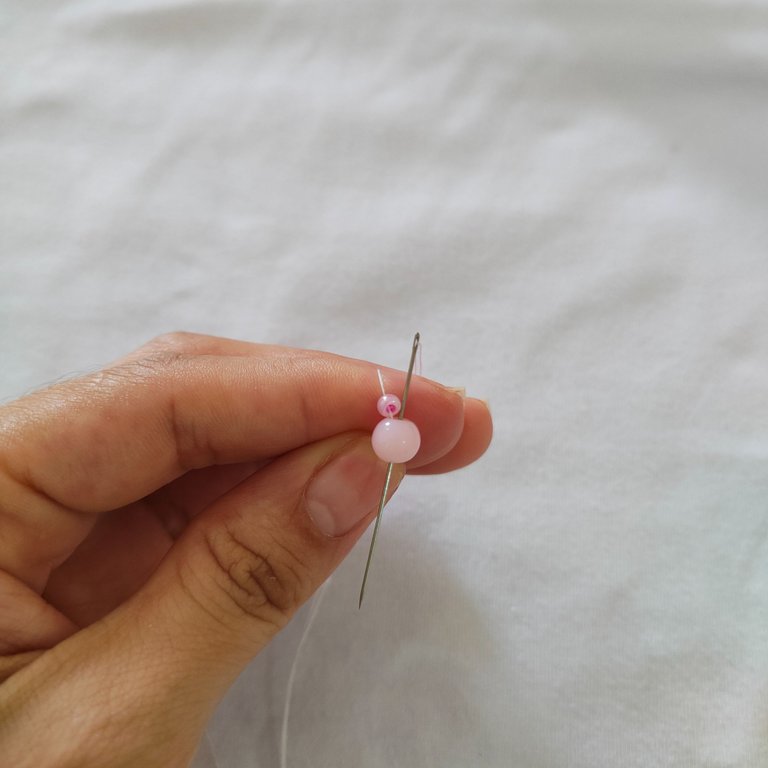
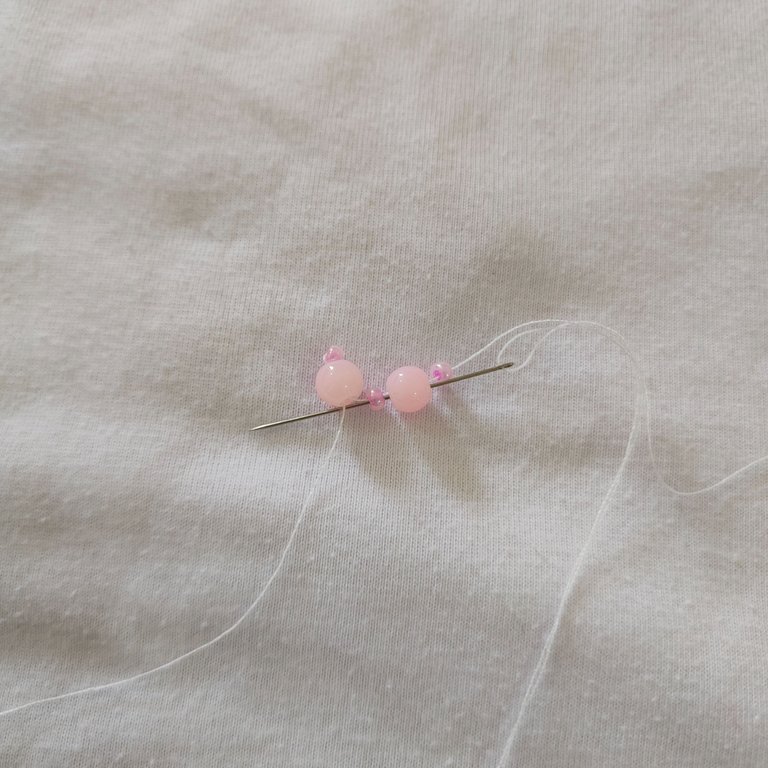
💗 Paso 2. Agregamos ahora 1 mostacilla, 1 perla y 1 mostacilla más, llevamos hasta el final del nailon las ajustamos con las otras mostacillas y retornamos con la aguja a través de la perla y la mostacilla que le sigue.
💗 Step 2. We now add 1 bead, 1 bead and 1 more bead, we bring them to the end of the nylon, we adjust them with the other beads and return with the needle through the bead and the bead that follows it.
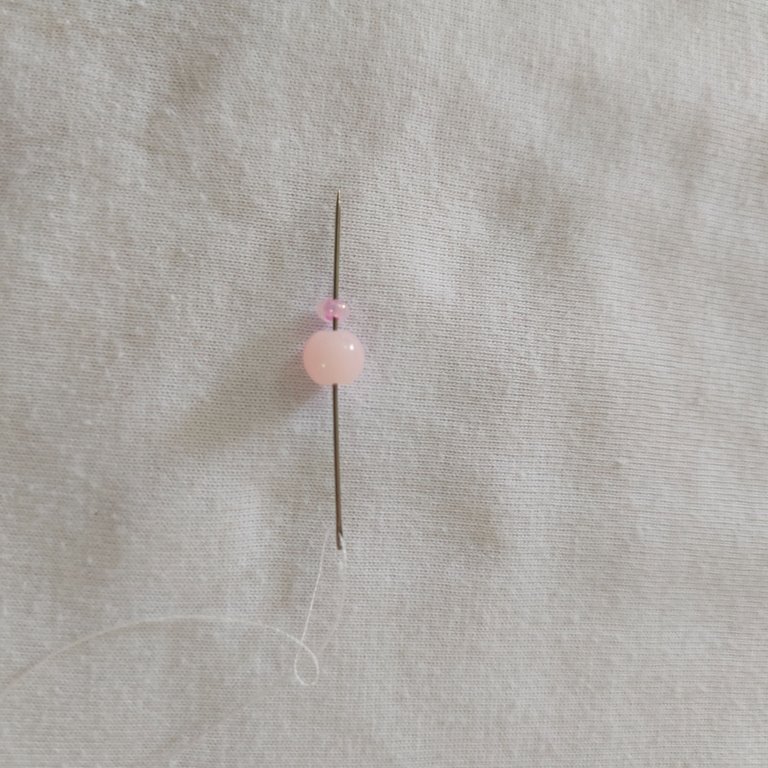
💗 Paso 3. Agregamos 1 mostacilla y 1 perla llevamos hasta el final y volvemos ajustar asi mismo retornar a través de la perla.
💗 Step 3. We add 1 mustard and 1 bead we carry to the end and we adjust again likewise return through the bead.
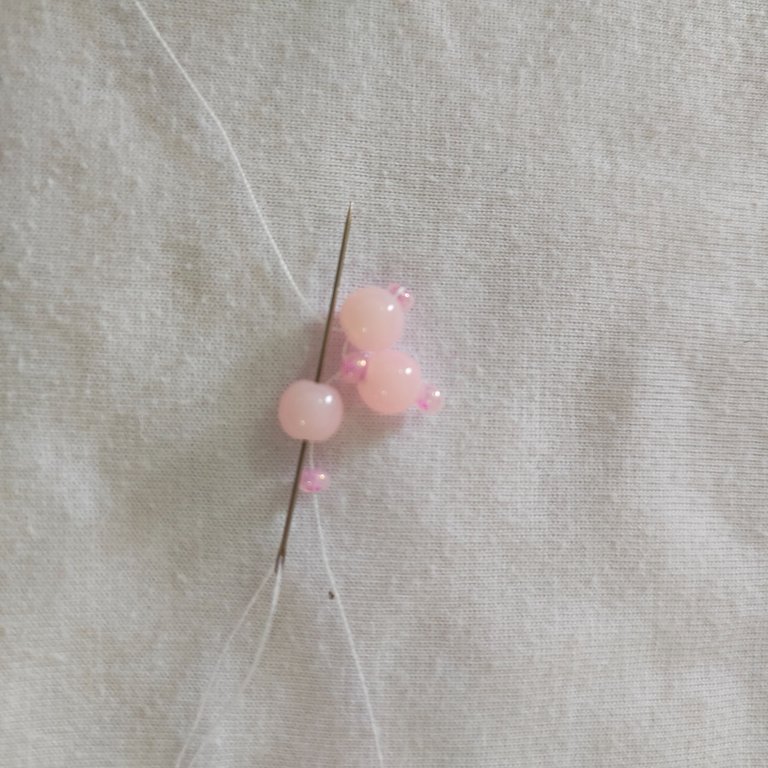
💗 Paso 4. Agregamos 1 mostacilla y pasamos con la aguja por la perla y la mostacilla que que le sigue a mano izquierda, seguidamente agregamos 4 mostacillas y pasamos con la aguja por la siguiente mostacilla a mano izquierda, de esta forma iremos rodeando las perlas y dando forma al corazón.
💗 Step 4. Add 1 bead and pass the needle through the pearl and the next bead on the left hand side, then add 4 beads and pass the needle through the next bead on the left hand side, in this way we will surround the pearls and give shape to the heart.
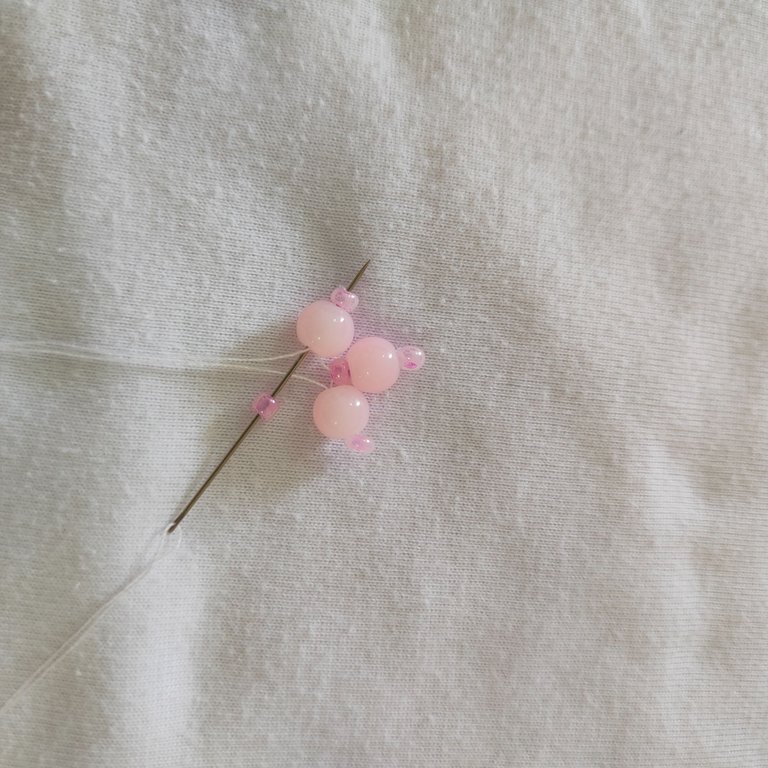
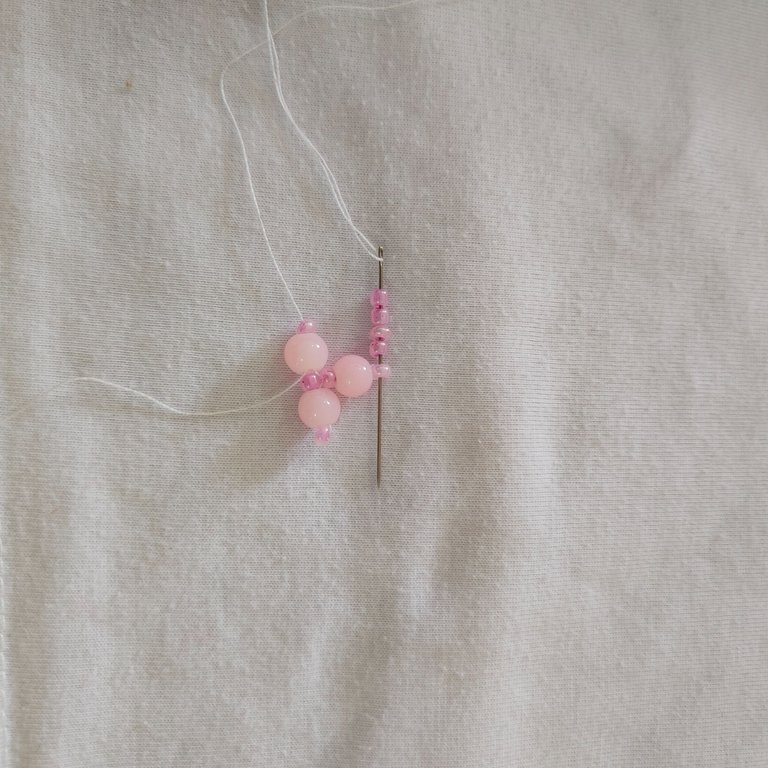
💗 Paso 5. Agregamos nuevamente 4 mostacillas y pasamos mediante la siguiente mostacilla que sobre sale a mano izquierda asi hasta haber bordeado todas las perlas.
💗 Step 5. Add again 4 beads and pass through the next bead that comes out on the left hand side and so on until you have bordered all the beads.
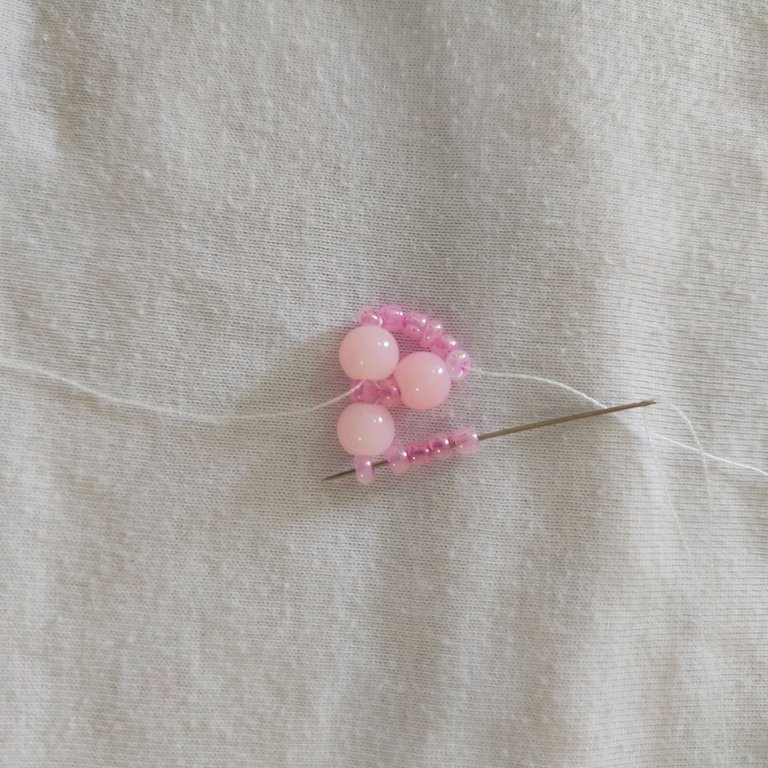
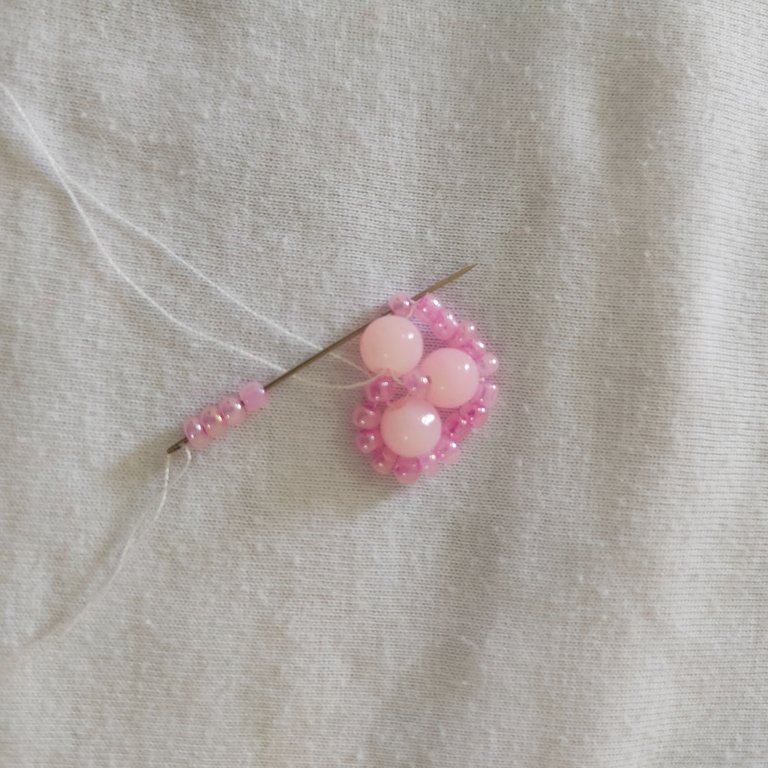
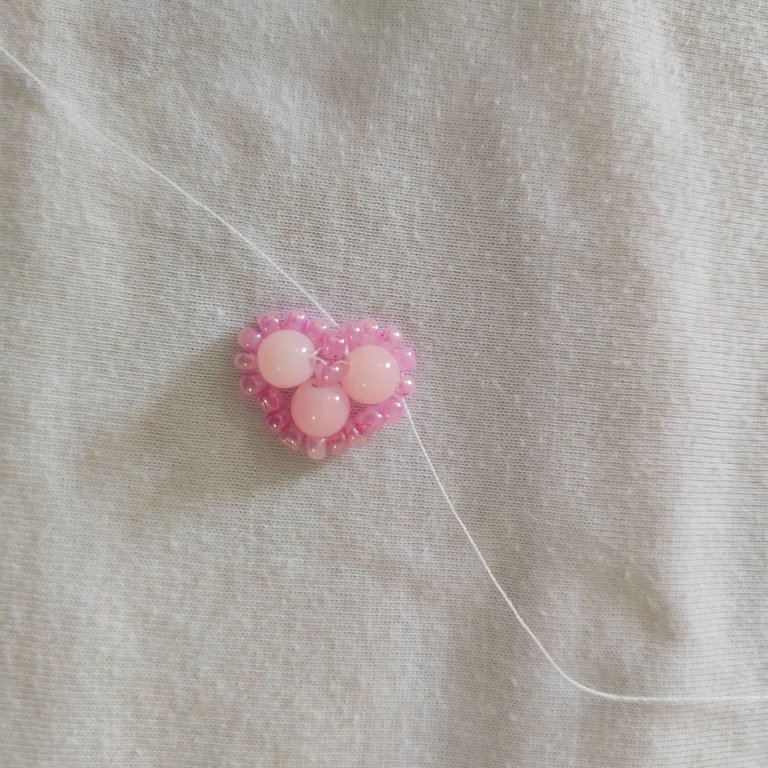
💗 Paso 6. Uan vez que ya tenemos nuestro corazon, tomaremos 4 mostacillas y pasaremos con la aguja por las 2 mostacillas que estan al costado del corazón pará asi comenzar a formar la area del anillo, un avez ajustamos las mostacillas pasamos con la aguja por las 2 mostacillas de la derecha y retornamos por las 2 mostacillas de la izquierda, esta será el grosor el anillo.
💗 Step 6. Once we already have our heart, we will take 4 beads and we will pass with the needle through the 2 beads that are on the side of the heart to begin to form the area of the ring, once we adjust the beads we pass with the needle through the 2 beads on the right and return through the 2 beads on the left, this will be the thickness of the ring.
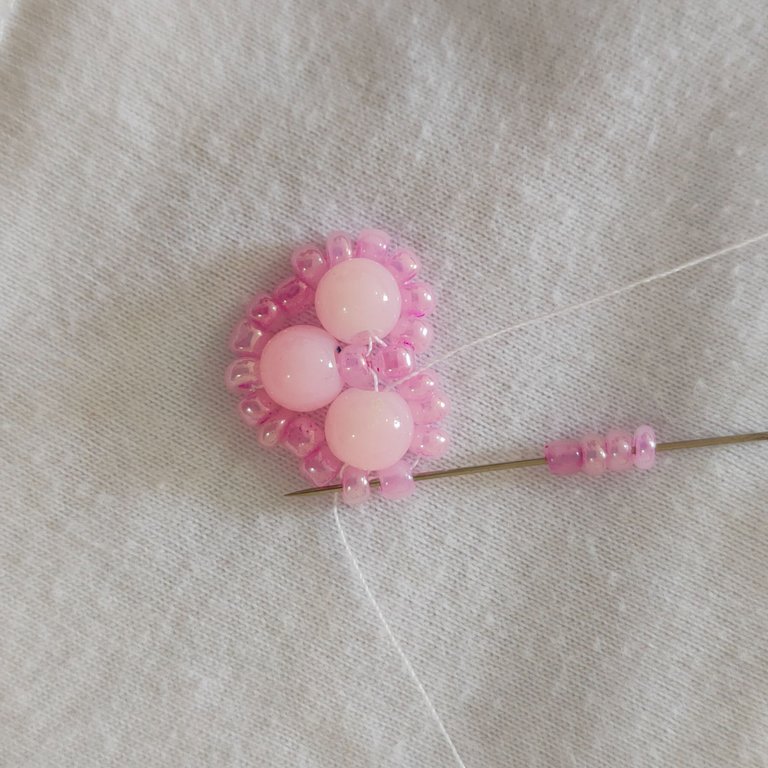
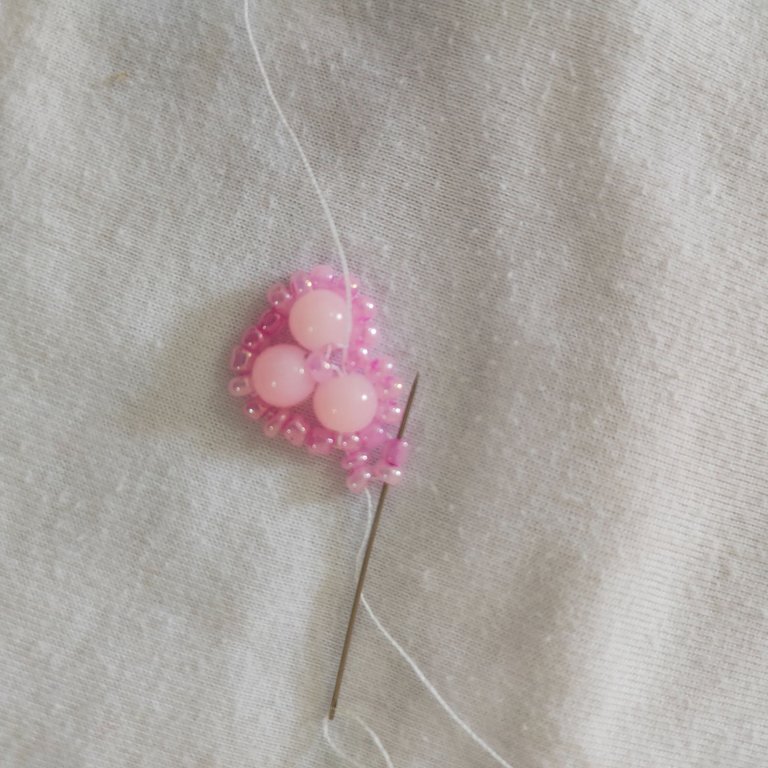
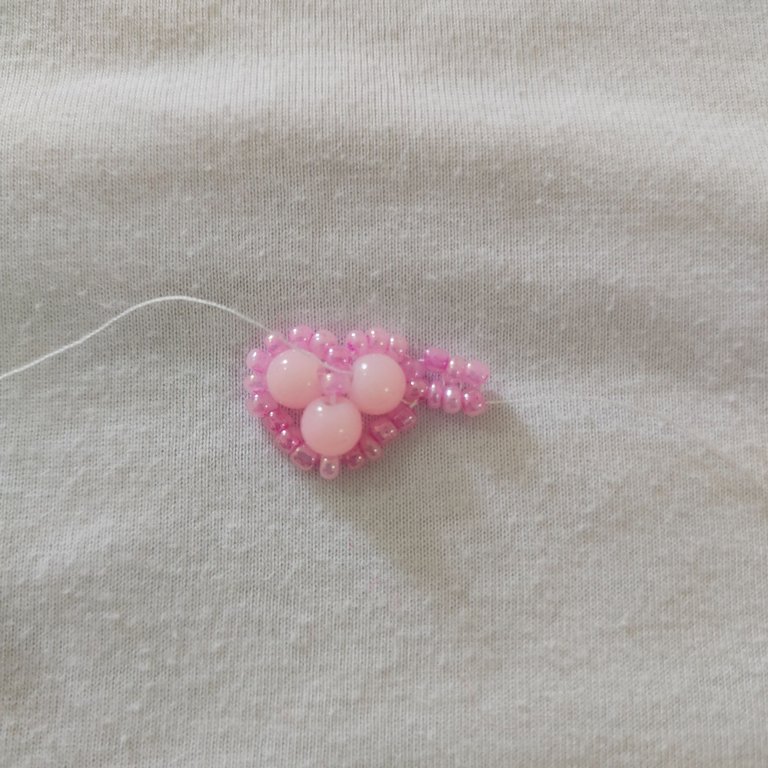
💗 Paso 7. De aqui en adelante vamos agregar 2 mostacillas pasamos la aguja por la mostacillas derecha que ya esta previamente como base y retornamos por la mostacilla izquierda, haremos esto hasta tener el largo que se requiere esta medida depende del grosor dedo de la persona que usara el anillo en mi caso como es para mi niña no esta tan largo.
💗 Step 7. From here on we will add 2 beads we pass the needle through the right bead that is already previously as a base and return through the left bead, we will do this until we have the length that is required this measure depends on the thickness of the finger of the person who will wear the ring in my case as it is for my girl is not so long.
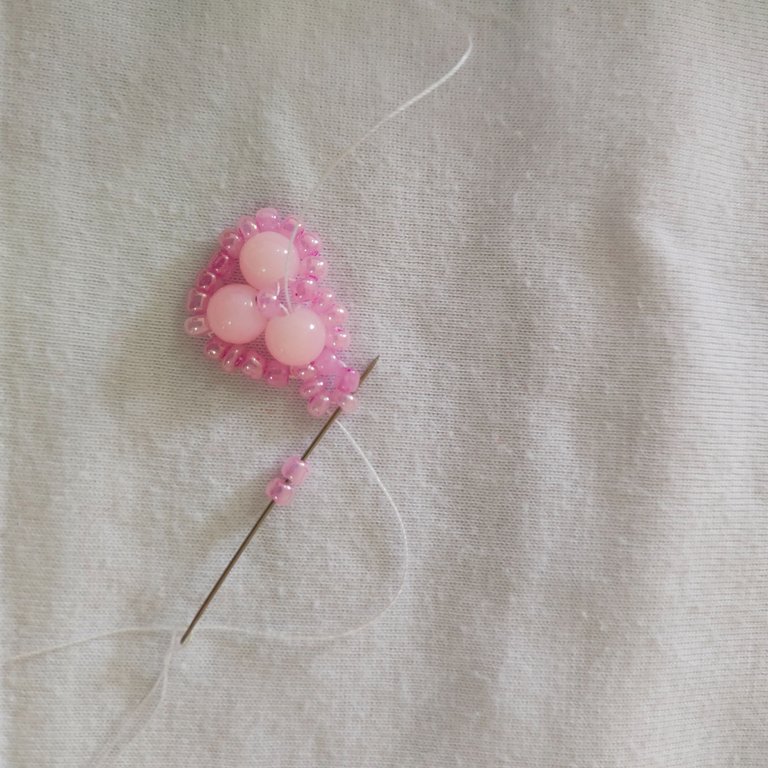
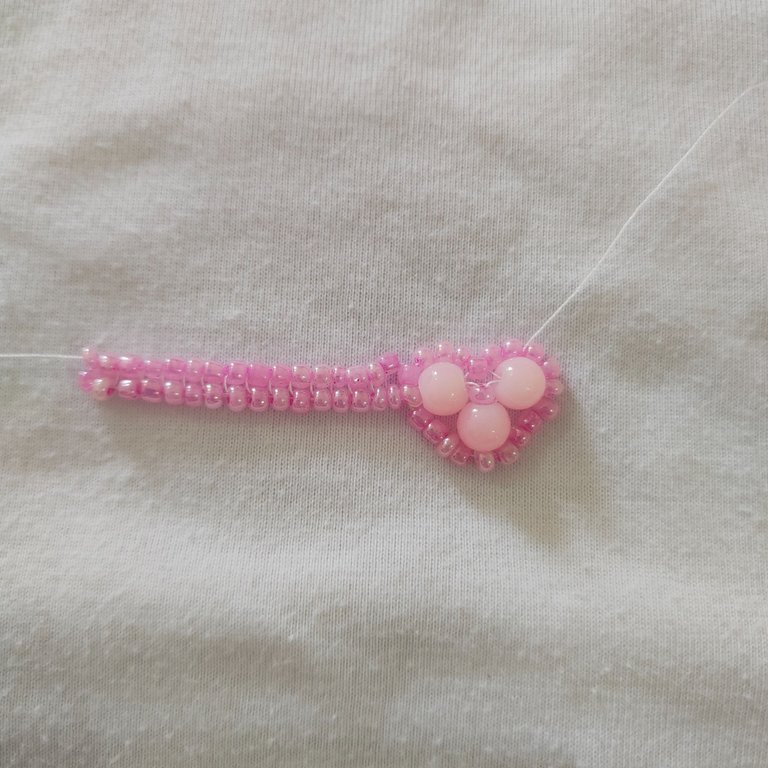
💗 Paso 8. Para ir culminado el anillo uniremos ambos extremos pasando la aguja por las 2 mostacillas del otro extremo del corazon para quede bien fijo pasamos la aguja por las mostacillas que estan en la parte del anillo y volvemos al corazon pasando con la aguja todas las mostacillas del borde del corazón al llegar al punto de partida pasamos la aguja por la perla del costado y la mostacilla que le sigue finiquitando con par de nudos clásicos.
💗 Step 8. To finish the ring we will join both ends passing the needle through the 2 beads of the other end of the heart to fix it well we pass the needle through the beads that are in the part of the ring and we return to the heart passing with the needle all the beads of the edge of the heart when arriving at the starting point we pass the needle through the bead of the side and the bead that follows it finishing with a pair of classic knots.
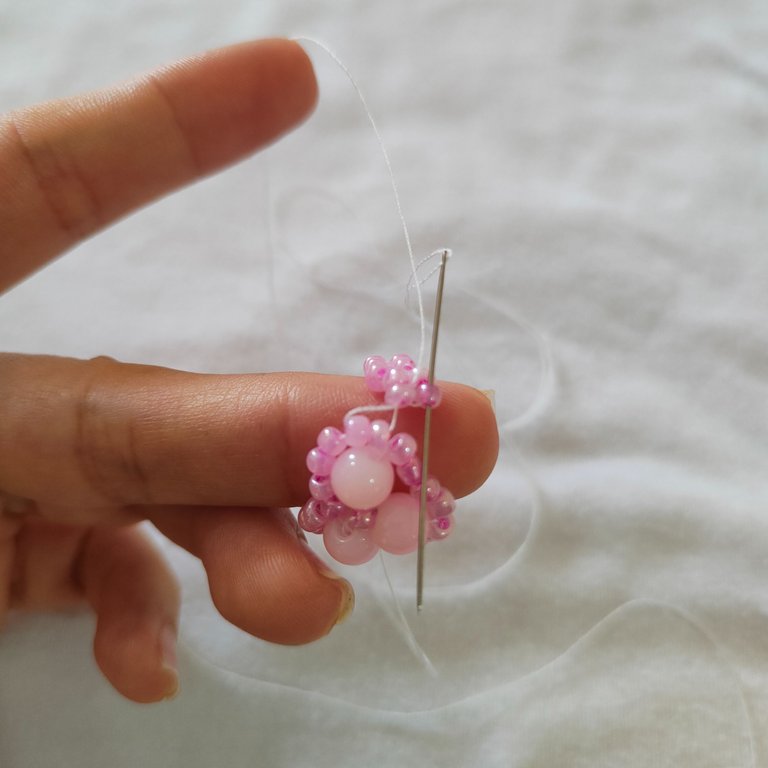
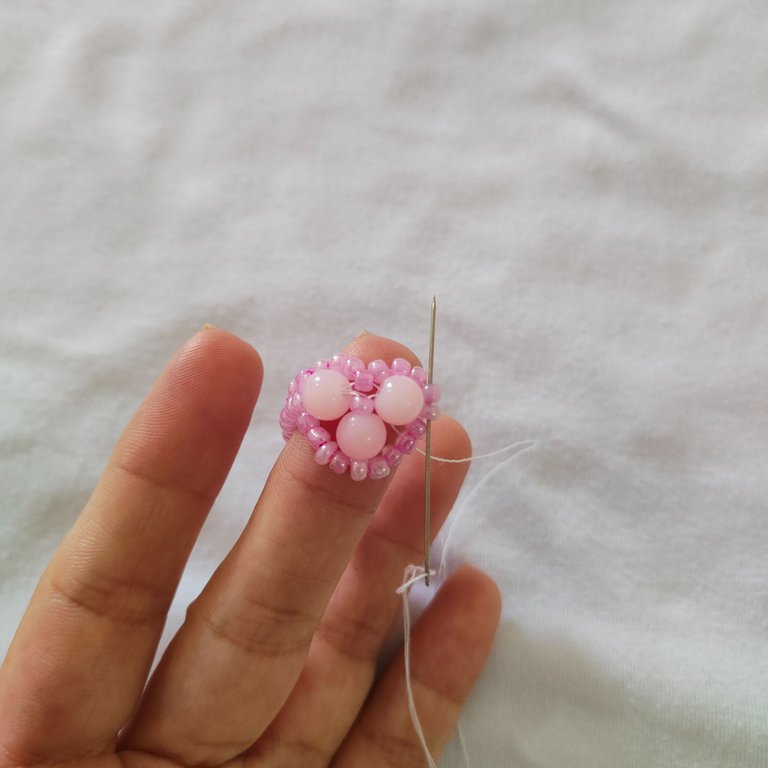
De esta forma habremos culminado nuestro anillo que para ser sincera me pareció que quedo demasiado tierno por el color utilizado.
In this way we will have finished our ring that to be honest I thought it was too tender because of the color used.

Resultado || Result

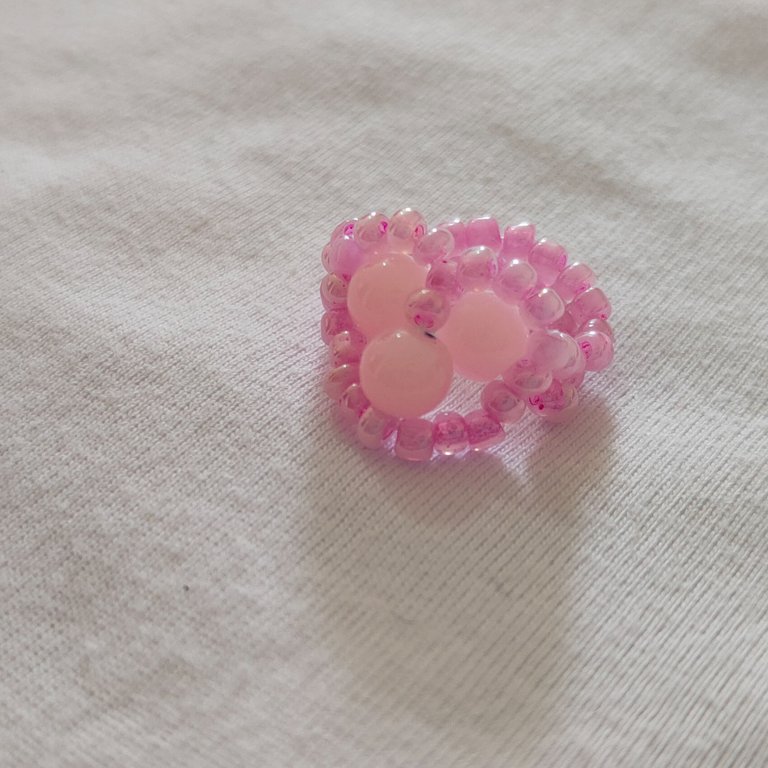
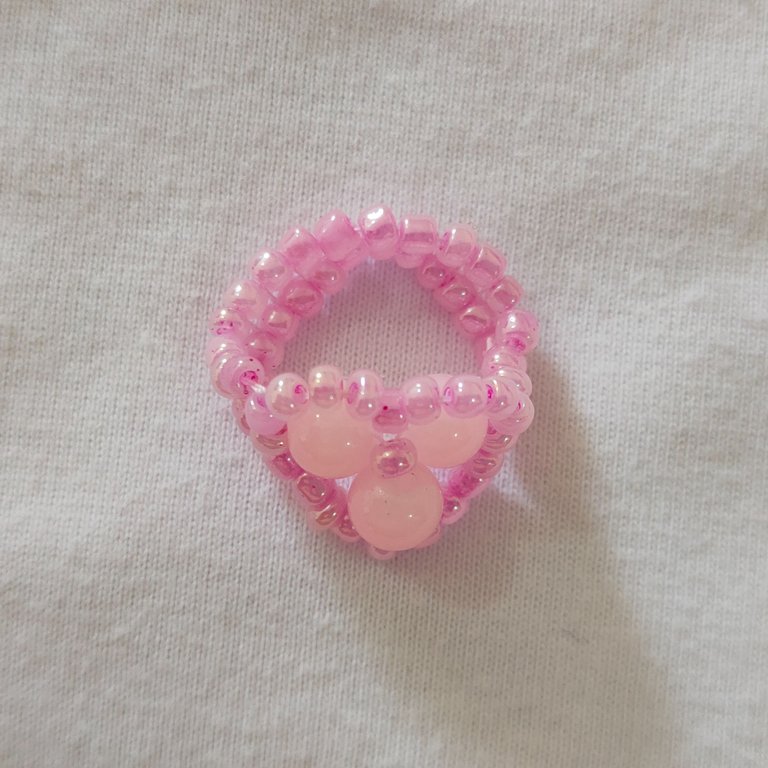
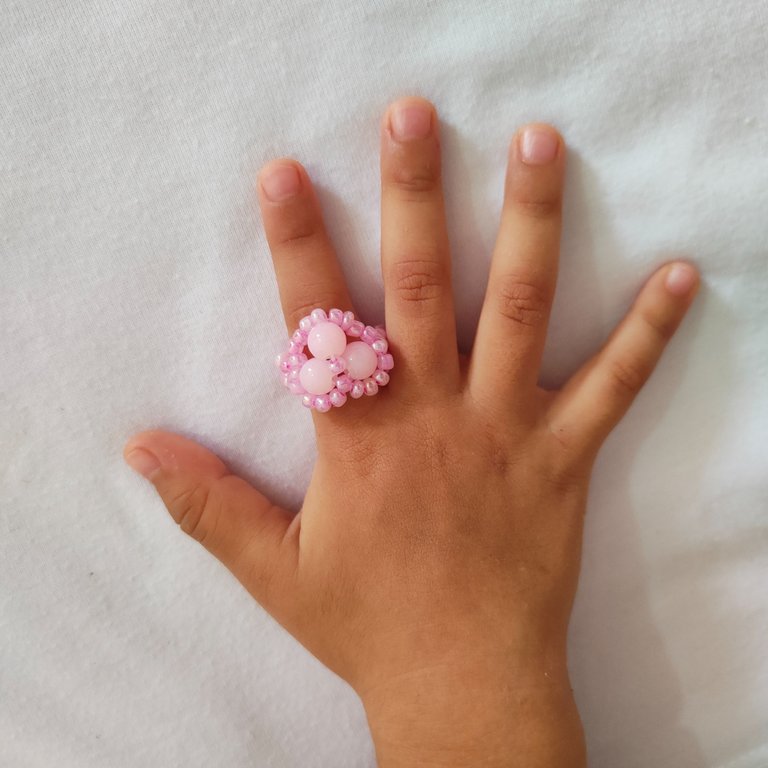

Ame tener este detallito con mi pequeña por el dia del amor y la amista y bueno ella anda modo coqueta ya que tiene otro accesorio, como siempre agradezco por su tiempo y atención si llegaron hasta aquí, espero hayan pasado un hermoso Dan Valentín rodeados de las personas que los aman, desde aca les envio un fuerte abrazo y feliz fin de semana mi gente bonita, chao chao hasta la próxima.
I love to have this little detail with my little girl for the day of love and friendship and well she is in flirt mode since she has another accessory, as always I thank you for your time and attention if you got here, I hope you have spent a beautiful Valentine's Day surrounded by the people who love you, from here I send you a big hug and happy weekend my beautiful people, bye bye until next time.
La creatividad no tiene límite. || There is no limit to creativity. ✨💎🎉🌷
COMMUNITY JEWELRY.

🎥Imágenes y vídeo creados con: |Images and video created with: Youcut video| Giphy | Canva |
🇪🇸 Traducido con DeepL


