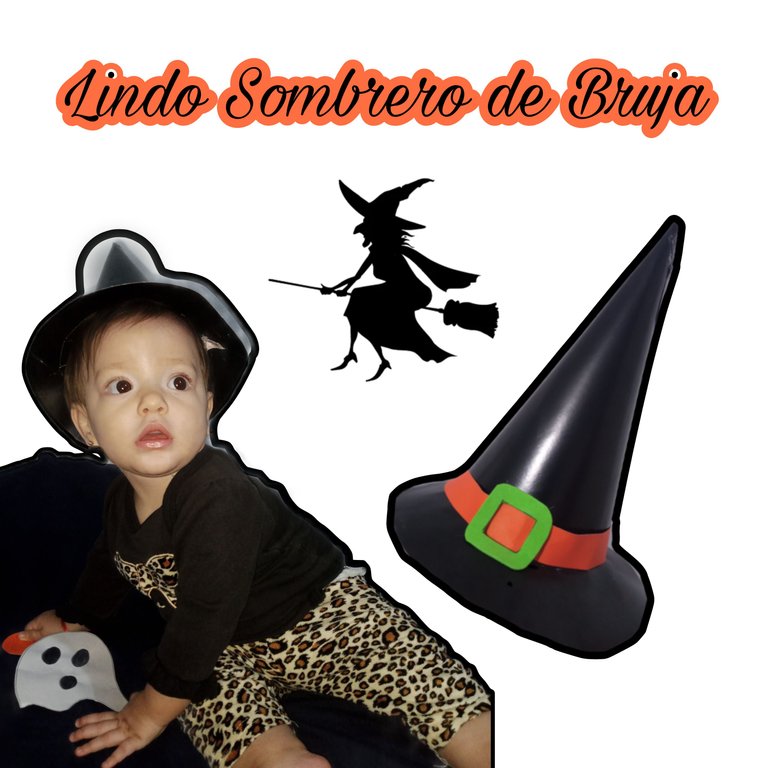
Hola hola amigos🥰 hace algun tiempo que no pasaba por acá, pero esta vez he vuelto para mostrarles esta manualidad que hice en vista de que mi beba hoy cumple sus 9 meses y debido al mes de halloween decidí hacerle la foto con esa tematica 😜 y como tenia materiales reciclables en casa, no pense dos veces en hacerle un sombrerito, ya que la cartulina que usé, fue la misma que usé para el barquito que le hice a mi niño en una actividad del colegio jeje asi que le sacamos bastante provecho, pero bueno aqui les explico el paso a paso de dicho sombrero 🧙🏻♀️
Hello hello friends🥰 it's been a while since I've been here, but this time I'm back to show you this craft I made since my baby is 9 months old today and because of halloween month I decided to make her the photo with that theme 😜 and since I had recyclable materials at home, I didn't think twice about making him a little hat, since the cardboard I used was the same I used for the little boat I made for my son in a school activity hehe so we got a lot out of it, but well here I explain the step by step of this hat 🧙🏻♀️

MATERIALES
✅ Cartulina negra
✅ Cartulina Anaranjada
✅ Cartulina Verde
✅ Cutter
✅ Foami Verde
✅ Silicon Caliente
MATERIALS.
Black cardboard
✅ Orange Cardboard
✅ Green cardboard
✅ Cutter
✅ Foami Verde
✅ Hot Silicon

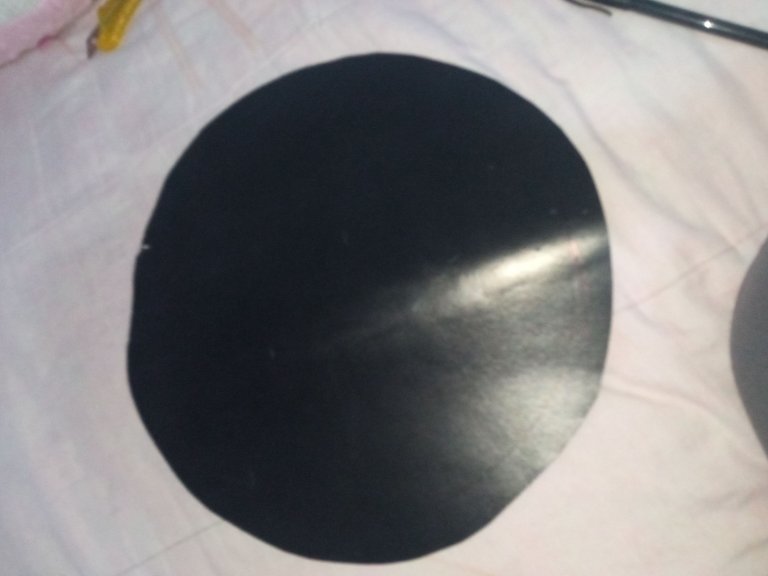
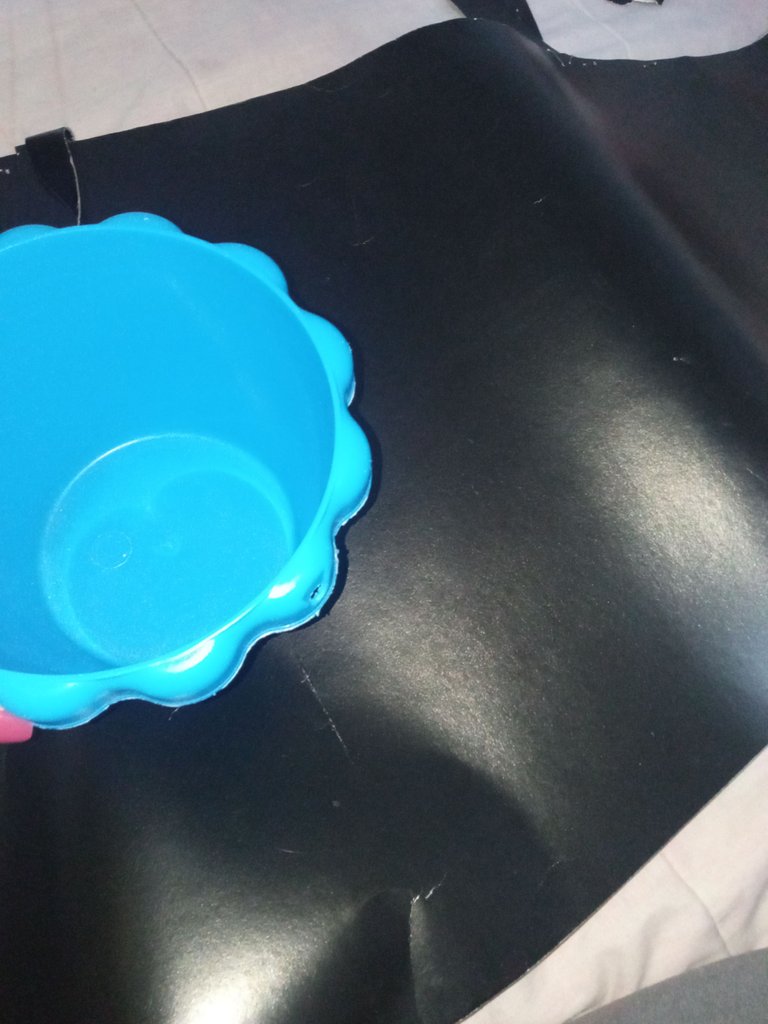
Okey lo primero que hice fue buscar 🔍 el compas por todos lados para hacer un circulo perfecto, pero como no apareció, usé un tobito de mi hijo jaja peeeero al darme cuenta que quedaria muy pequeño, lo hice al ojo, marque mi circulo que luego recorté con ayuda de la tijera
Okey the first thing I did was to look for 🔍 the compass everywhere to make a perfect circle, but as it did not appear, I used a little ankle of my son haha but when I realized that it would be too small, I did it by eye, I marked my circle and then I cut it with the help of the scissors.
 |  |
|---|

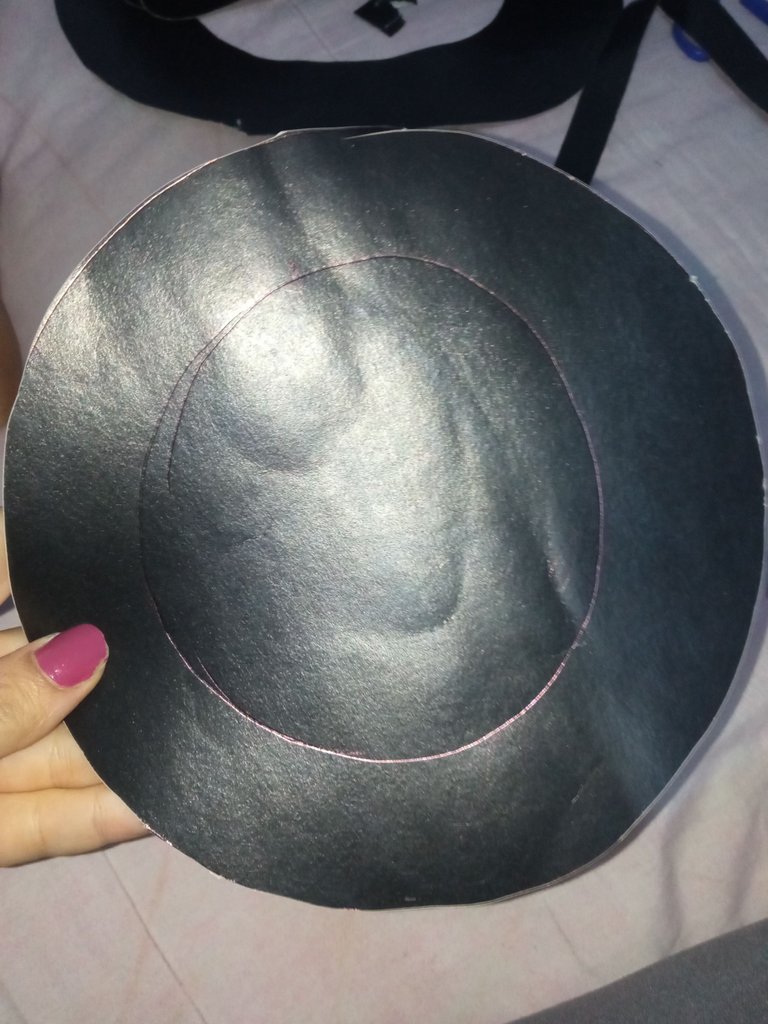
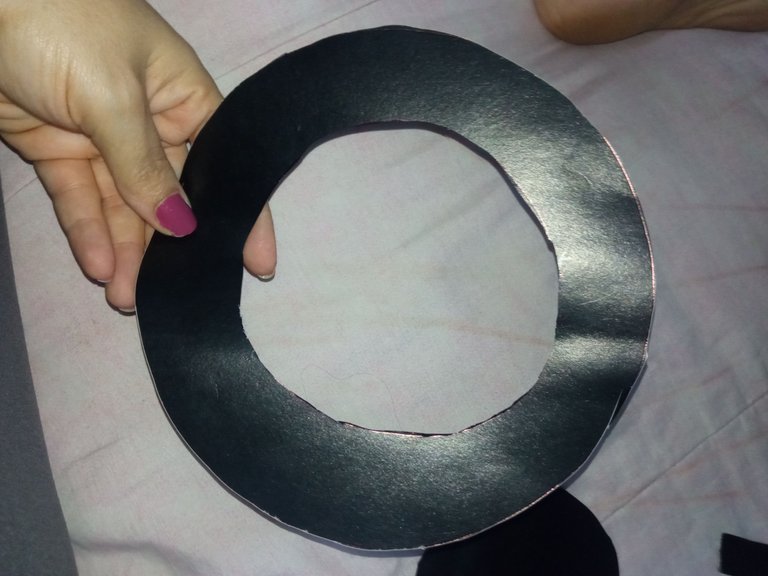
A ese circulo le marque dentro un circulo mas, que es donde mi nena meteria la cabeza, y aqui lo recorté con ayudar del cutter, como veran, nada derecho, pero al final no se iba a notar asi que no me estrese mucho jeje porque ya no tenia mas cartulina asi que continué
I marked one more circle inside that circle, which is where my baby would put her head, and here I cut it out with the cutter, as you can see, nothing straight, but in the end it wasn't going to show, so I didn't stress too much hehe because I didn't have any more cardboard, so I continued.
 |  |
|---|

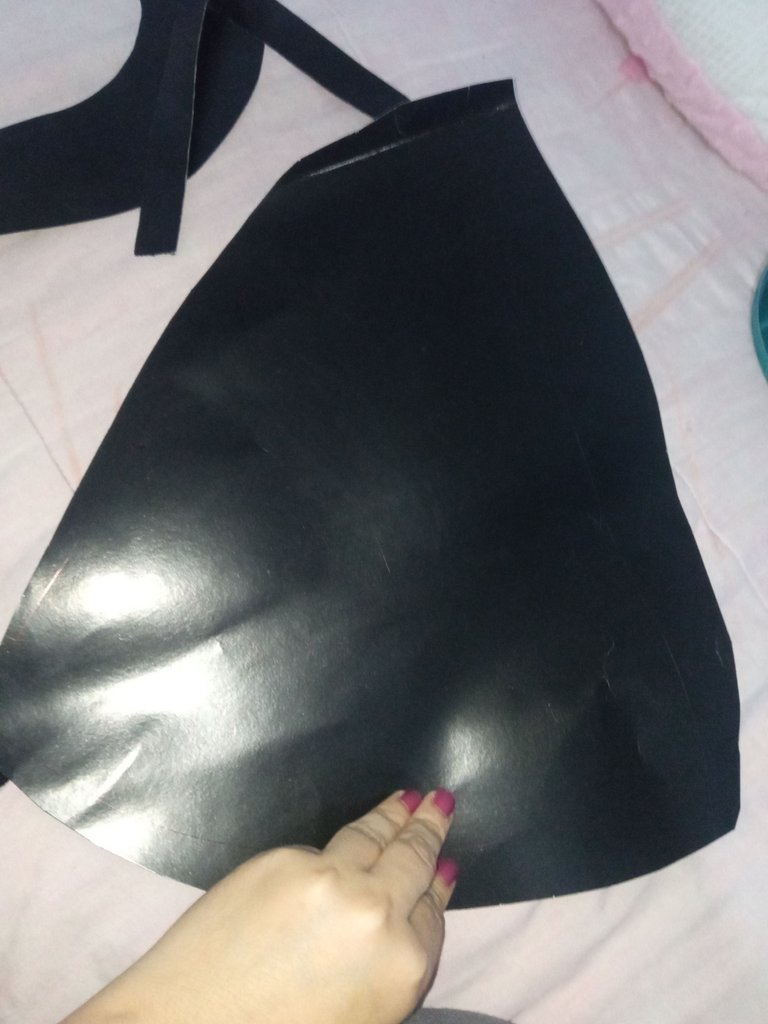
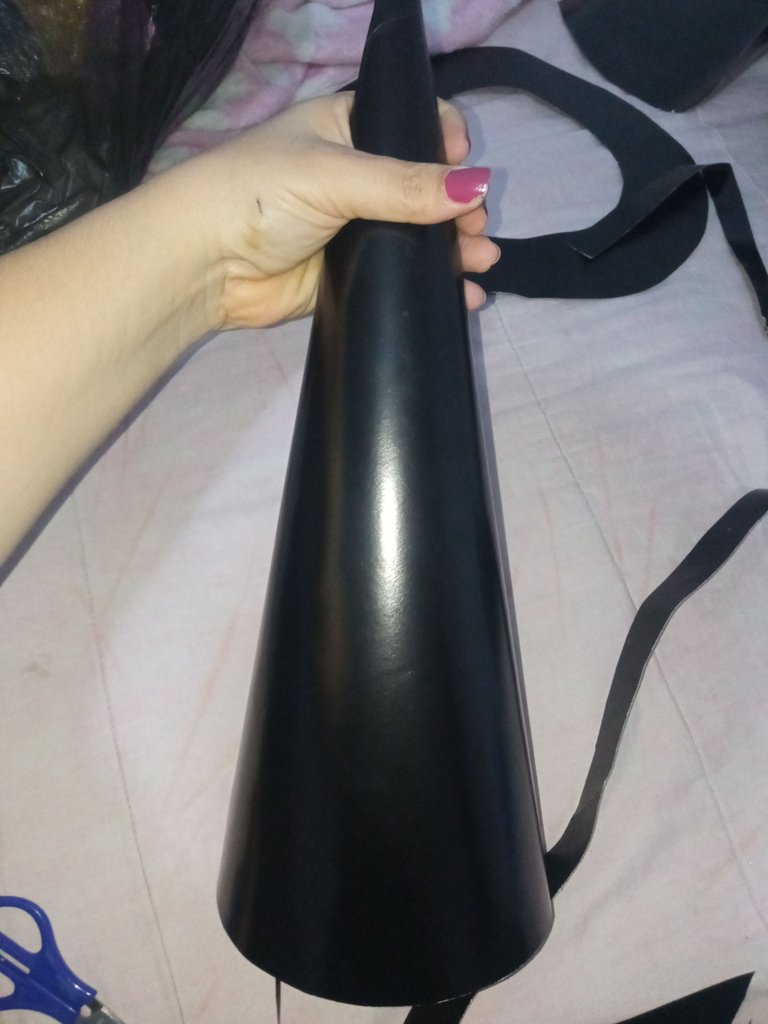
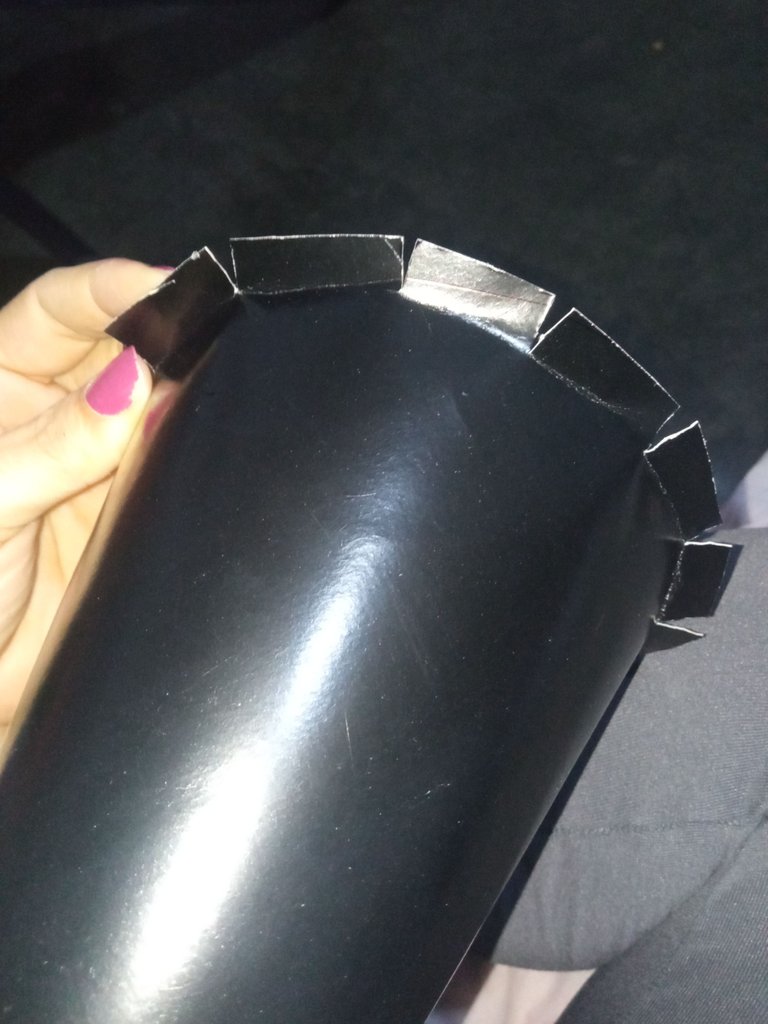
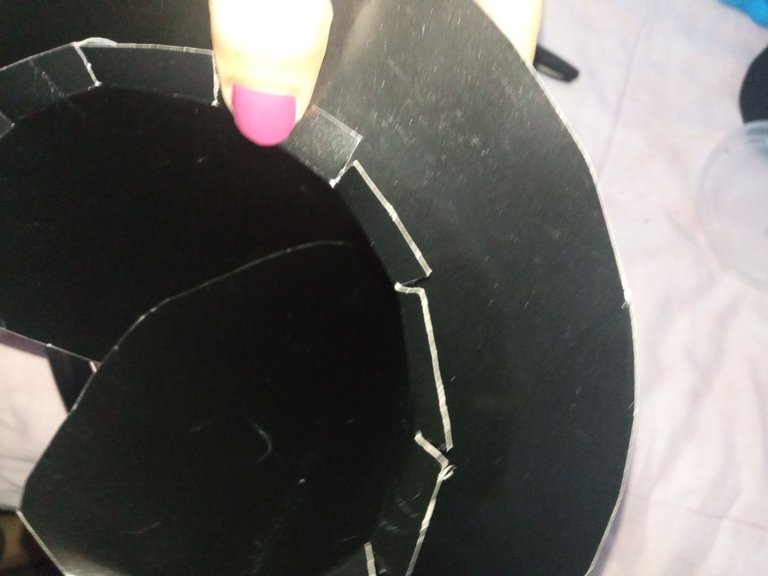
El siguiente paso fue cortar la parte del cono que seria la parte superior del sombrero, haciendo una especie de triangulo que luego enrollaria para pegar con el silicon caliente por la orilla, y en la parte de abajo hice pequeños cortes con el cutter, esos cortes nos ayudaran a fijarlo del circulo con silicon
The next step was to cut the part of the cone that would be the top of the hat, making a kind of triangle that I would then roll up to stick with hot silicone on the edge, and at the bottom I made small cuts with the cutter, these cuts will help us to fix the circle with silicone.
 |  |
|---|
 |  |
|---|

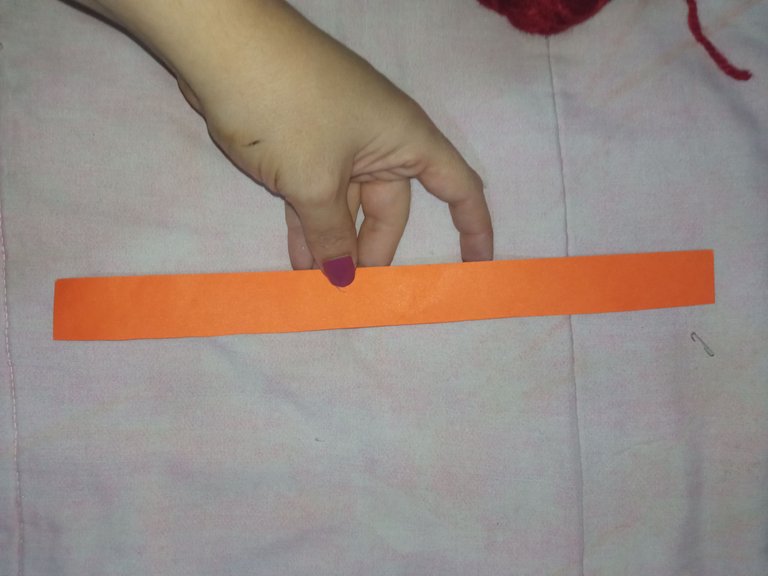
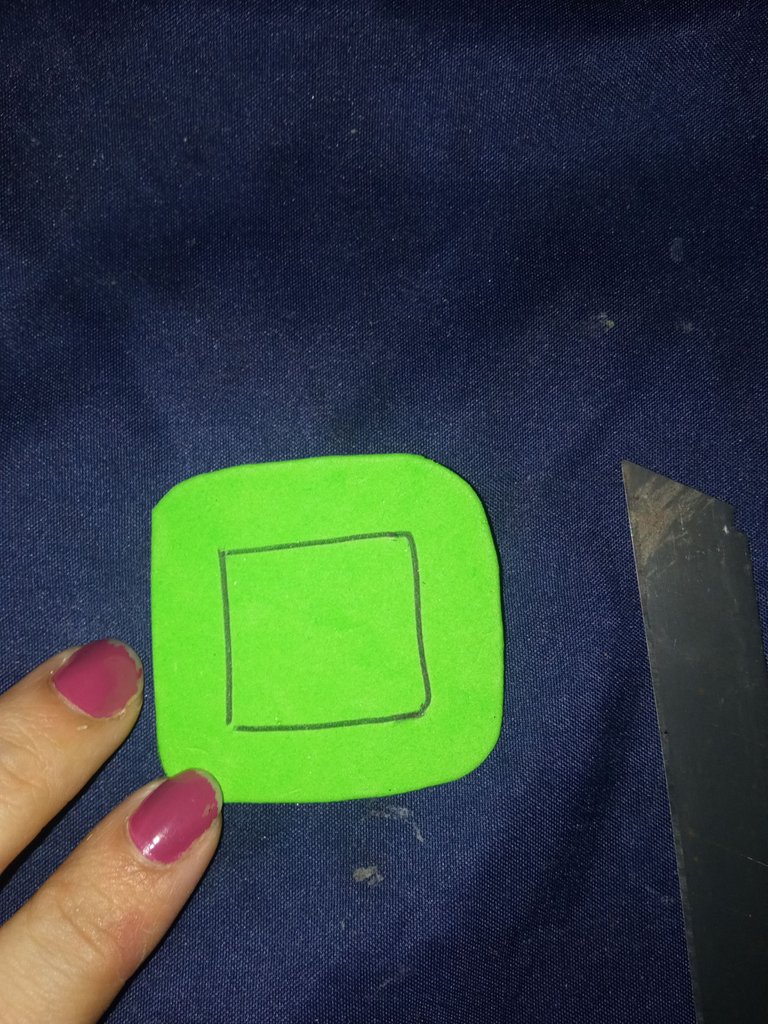
Y una vez armado el sombrero lo ultimo fueron los detalles, asi que piqué una tira en la cartulina anaranjada y marque la "hebilla" en el foami verde la cual recorté con el cutter tambien
And once the hat was assembled the last thing was the details, so I cut a strip in the orange cardboard and marked the "buckle" in the green foami which I cut with the cutter too.
 |  |
|---|

Para finalizar pegué la tira y la hebilla con silicon en mi sombrero y este fue el resultado final👇😍
Finally, I glued the strap and the buckle with silicon on my hat and this was the final result👇😍.
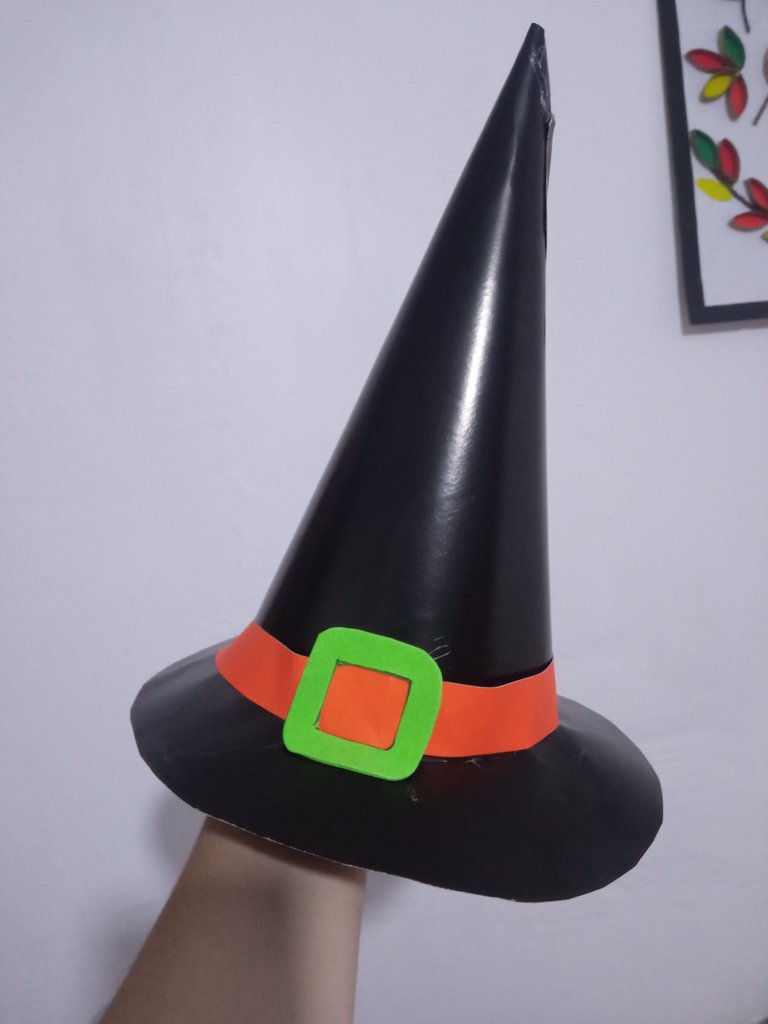

Y por aqui tienen a la modelo😍😍
And over here you have the model😍😍


Espero que les haya gustado💜💜
Hope you liked it💜💜
Todas las fotos fueron tomadas con mi Redmi 9
La portada la edité en PicsArt
All photos were taken with my Redmi 9
The cover was edited in PicsArt