Hello how are you all my dear friend
Click here to participate in the contest
Friends,Grettings everyone

Equipment:-
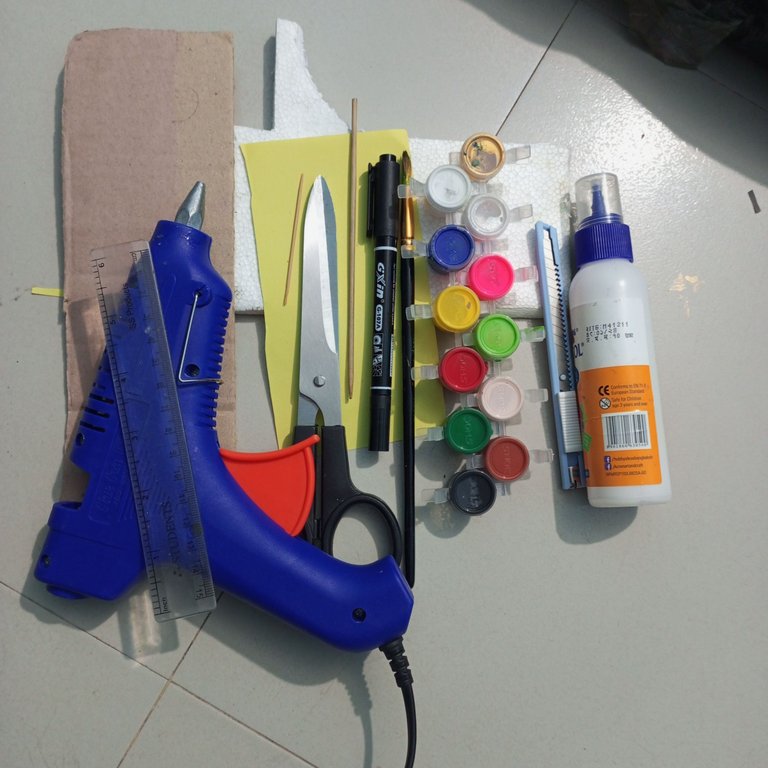
- cardboard/colour paper
- bamboo stick/toothpick
- Scale/Fevicol Glue
- glue gun/Marker Pen
- scissors/brushes
- scissors/anti cutter
- the cockpit/acrylic colour

Step by step making plan
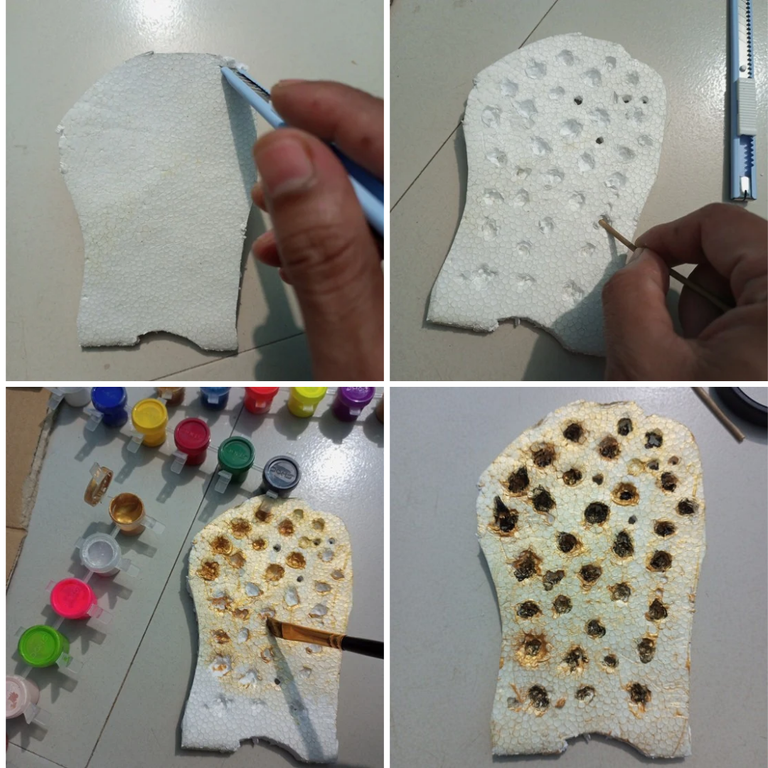
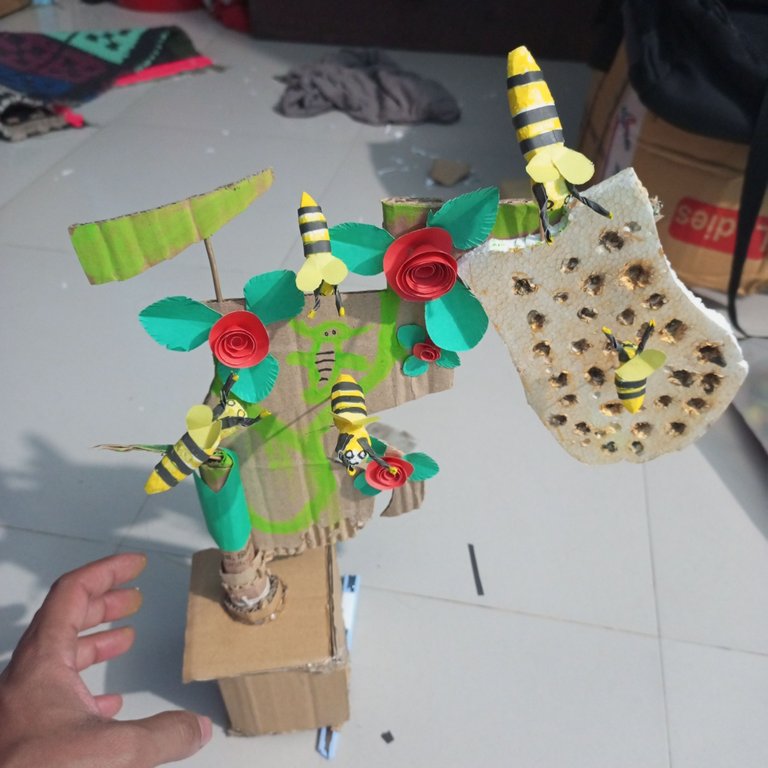
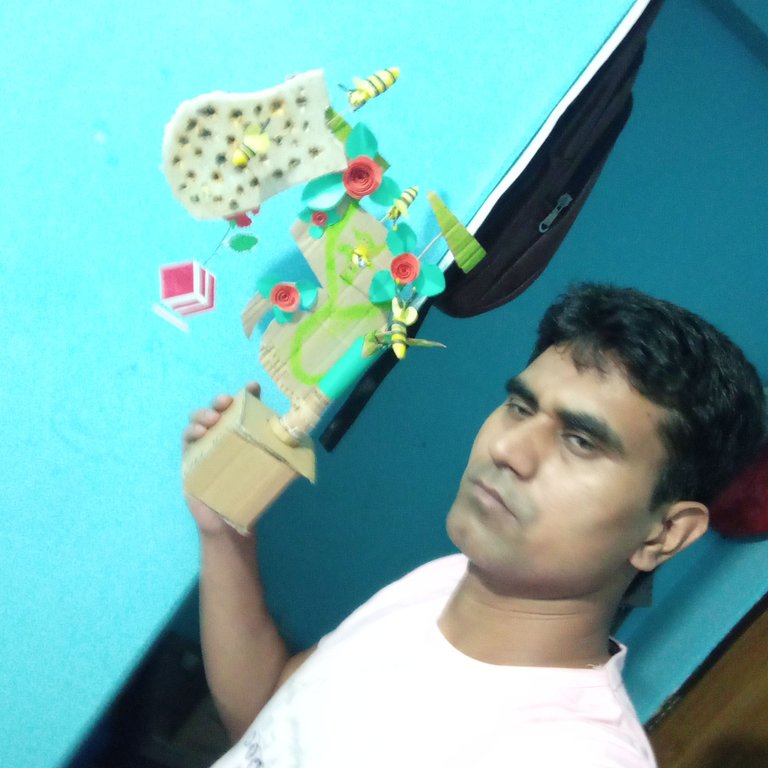
Here I have cut out a comb sheet with an anti cutter in the shape of a beehive. Then using a bus stick to create new bees in the small parts of the hive. Here I used acrylic colors. In the exhibition you can see the beehive.
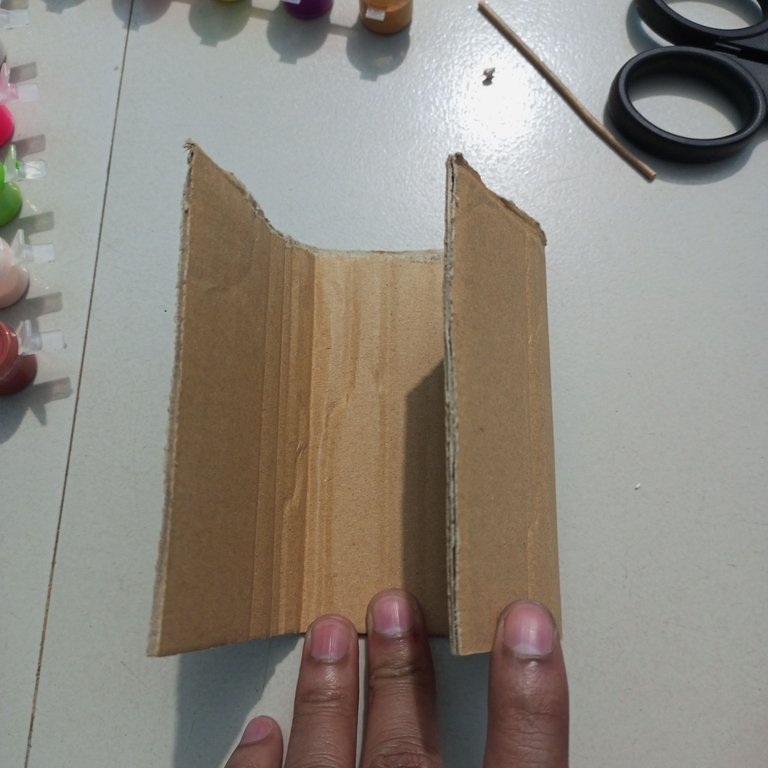
Here I cut a cardboard into three folds with a scale.
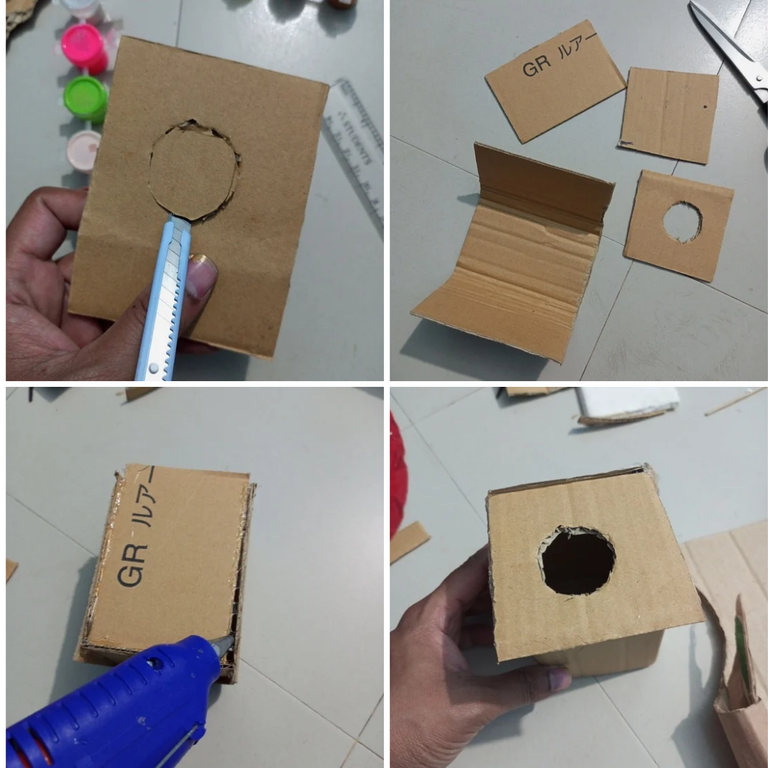
Here I took a small piece of cardboard and cut along the fish with the anti cutter.A total of four cuts including two more have been cut.I then attached the four pieces to the cardboard using glue gun to make a top.You can see your drop on display.
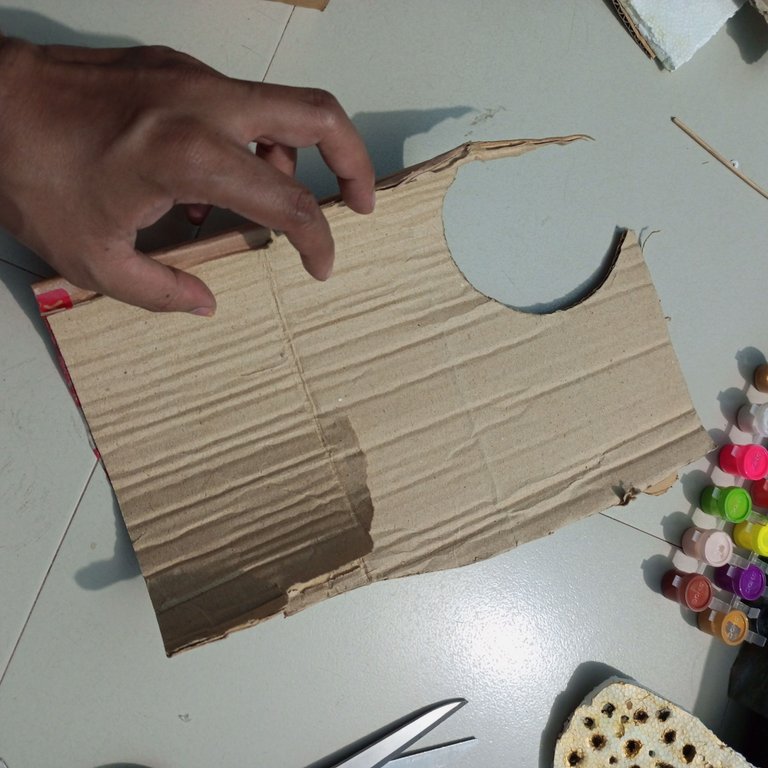
Here I have twisted a little big cardboard. Then I tore out the middle part.
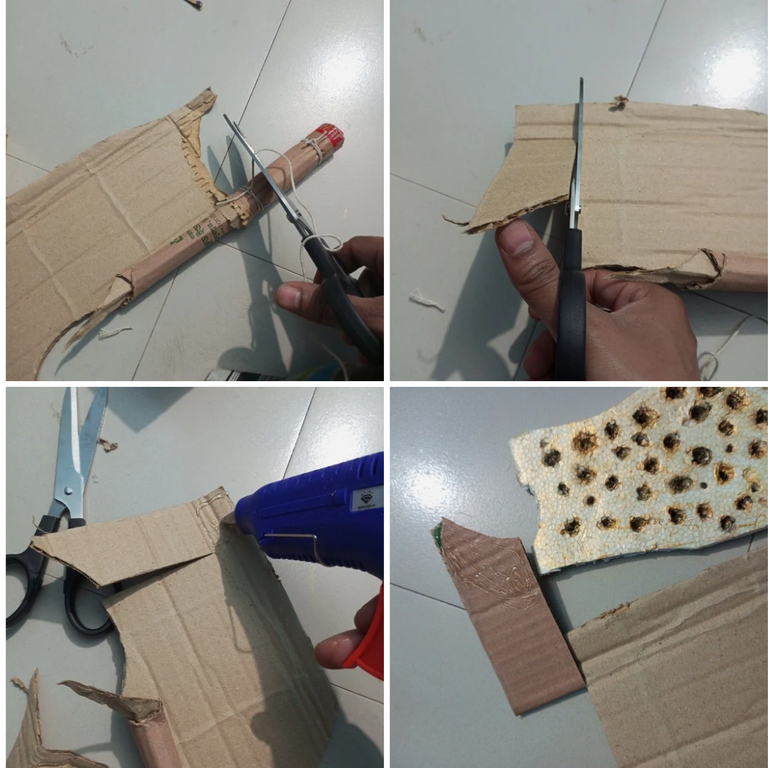
Here I have twisted the big cardboard and tied it with twine on both sides.Then with Glugan glue on the head.Next I fried it.And I applied Glugan glue to the head again.
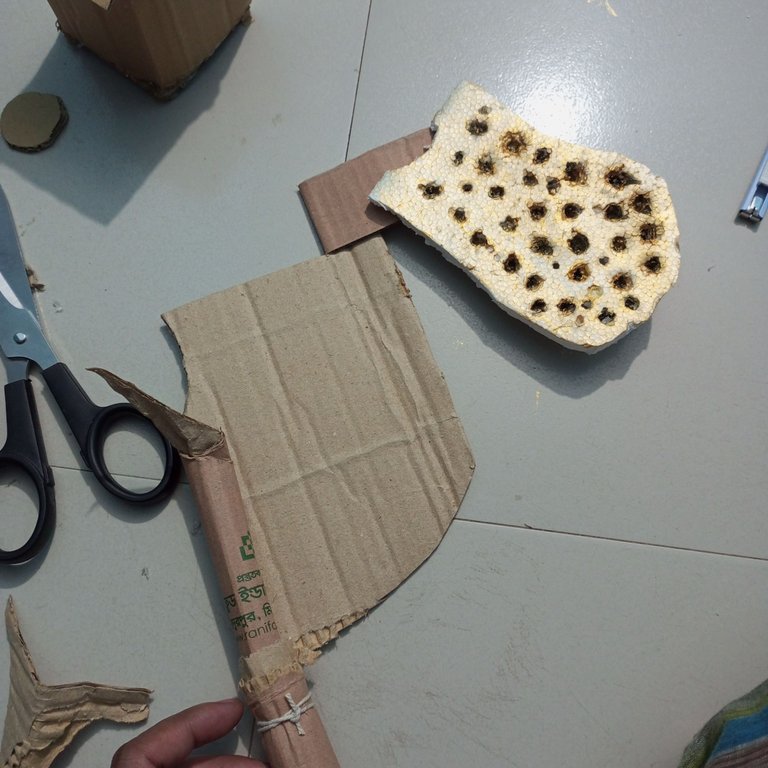
Then I attached the cardboard from the honeycomb with Glugan glue.
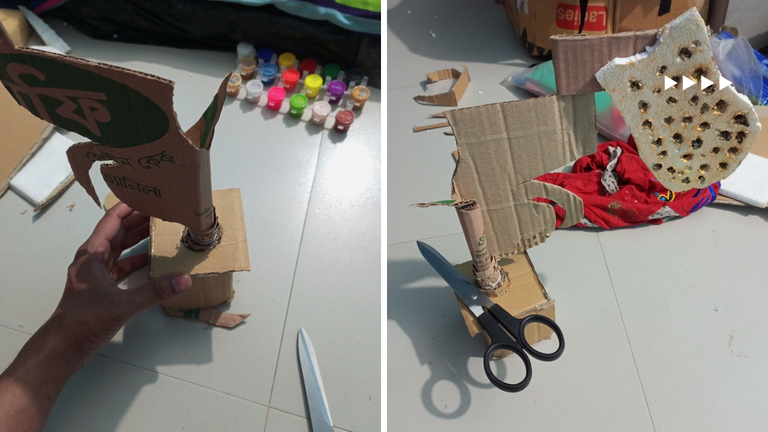
Here I have taken the top. I have inserted the base of the large wood board piece into the top with glue gun. Here I have drawn a design on the front of the cardboard close by.
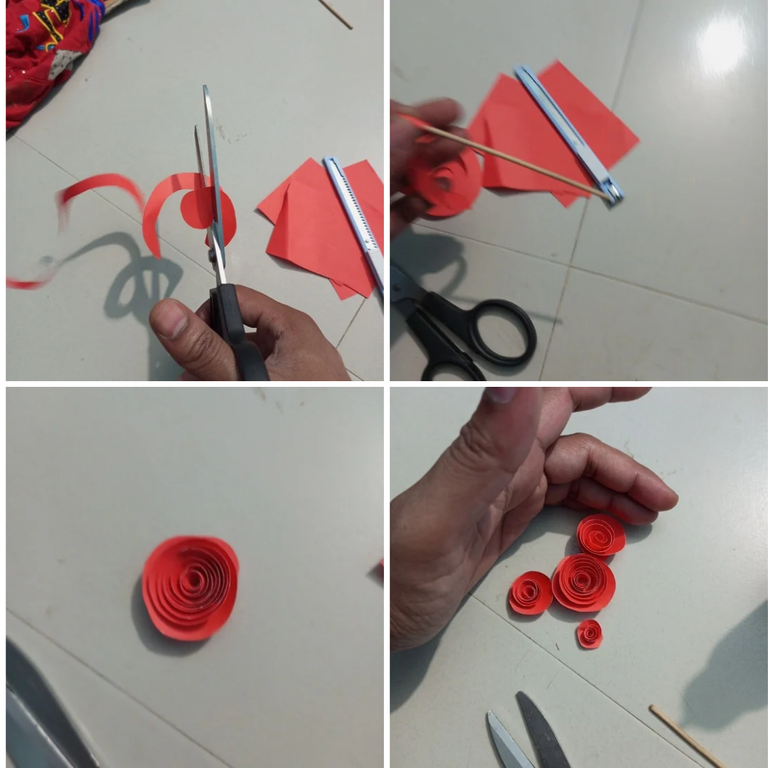
I took red color paper and cut it close.After that, I twisted it with a bus stick and turned it into a rose flower.You can see this beautiful rose flower in the exhibition.
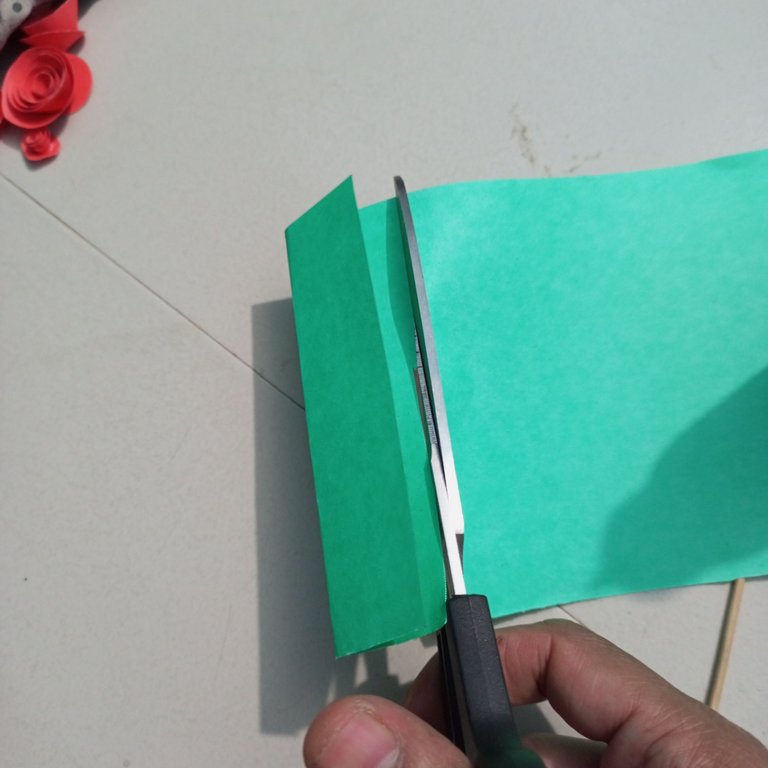
Here I have cut a green color paper to make the leaves of the tree.
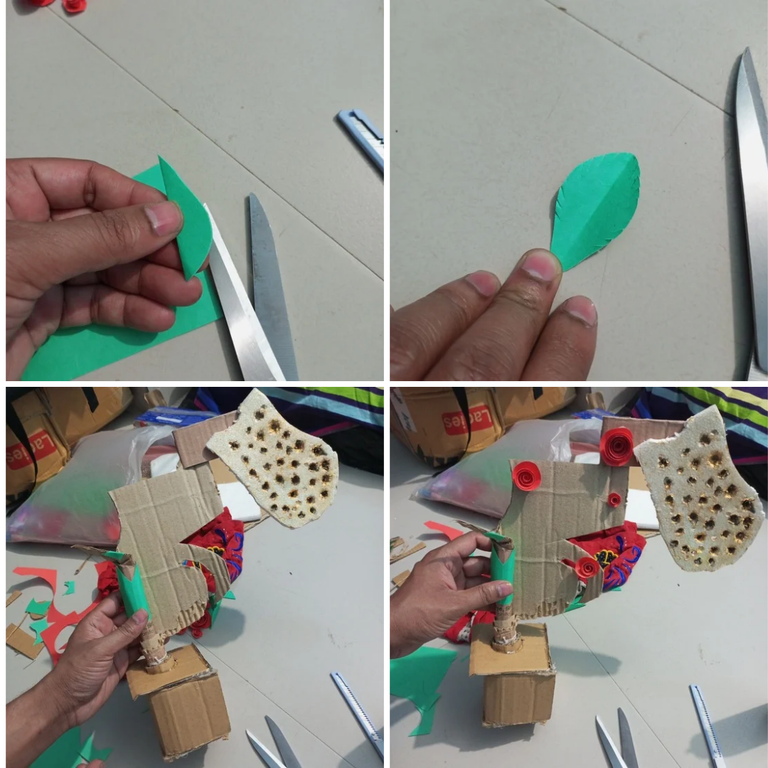
Here I have taken green paper. I cut that paper and prepared it in the shape of a tree leaf. I cut the side part of the leaf into small pieces. I made a design on the round part of the cardboard with green paper. After that I attached the flowers here one by one with the help of Favicol glue.
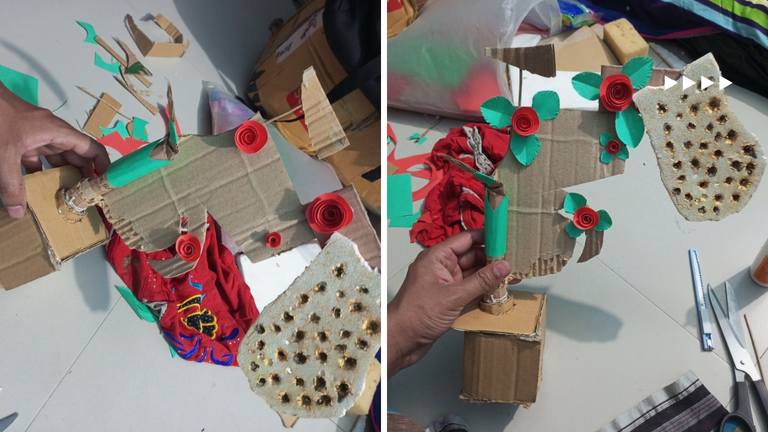
Here we have finished attaching the flowers. Next we attached the flower petals with the help of Favicol glue.
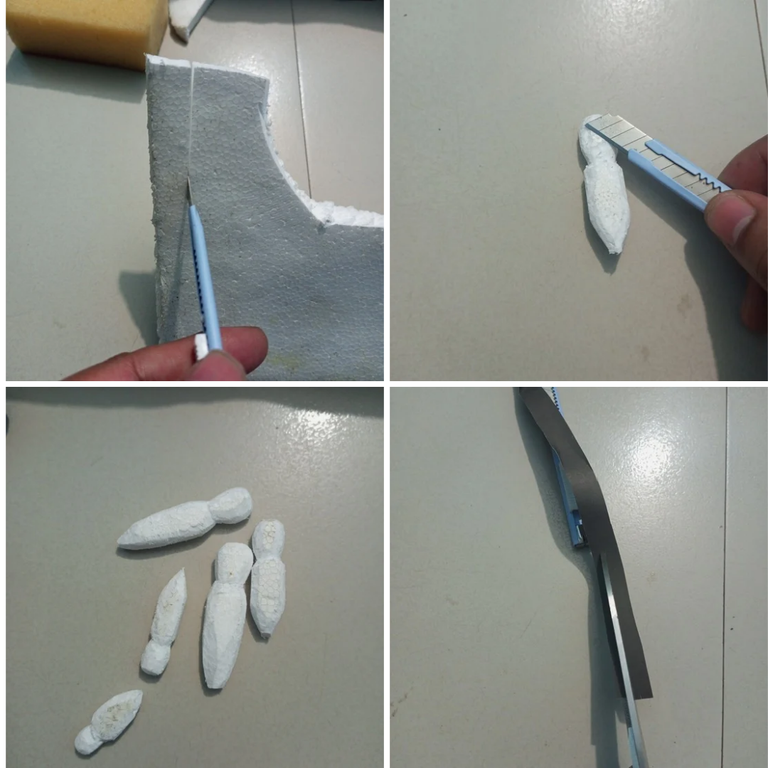
Here I have taken a cocksheet.And cut with anti cutter.Next I cut the cockpit with the anti-cutter and made it into a bee shape. Here you can see the bee shape made.Here I have taken black color paper. Thinly cut with scissors.
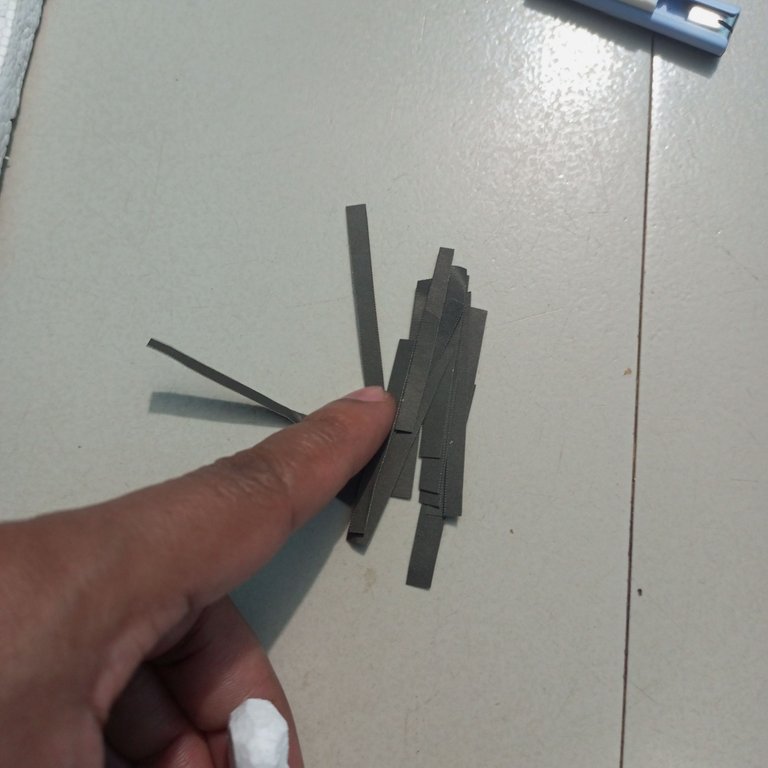
Here you can see that I have cut the color paper in nice size.
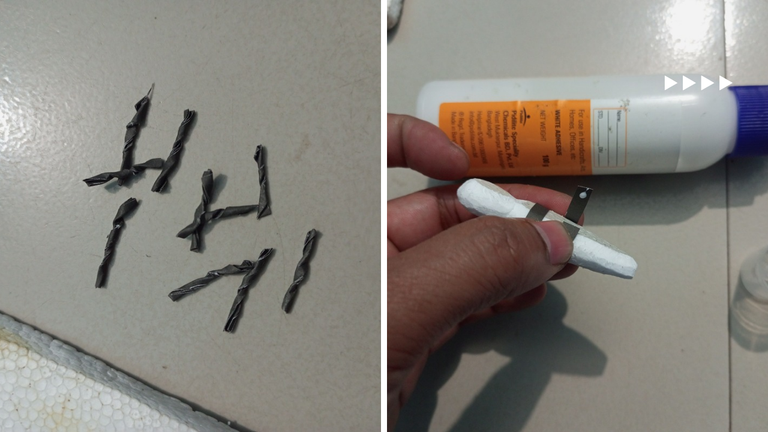
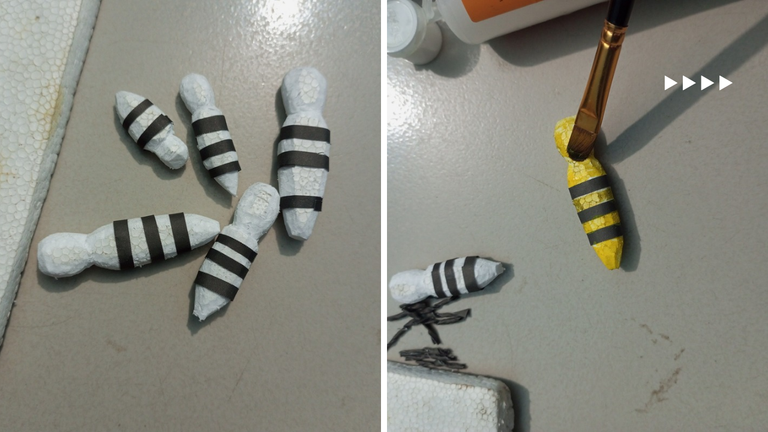
Here I have wrapped the black pieces of color paper. The rest of the pieces are attached with the help of Fabicol glue in the shape of the color of the bee skin. Here's what you can see on display. Then I used acrylic color to color the shape of the bee's body.
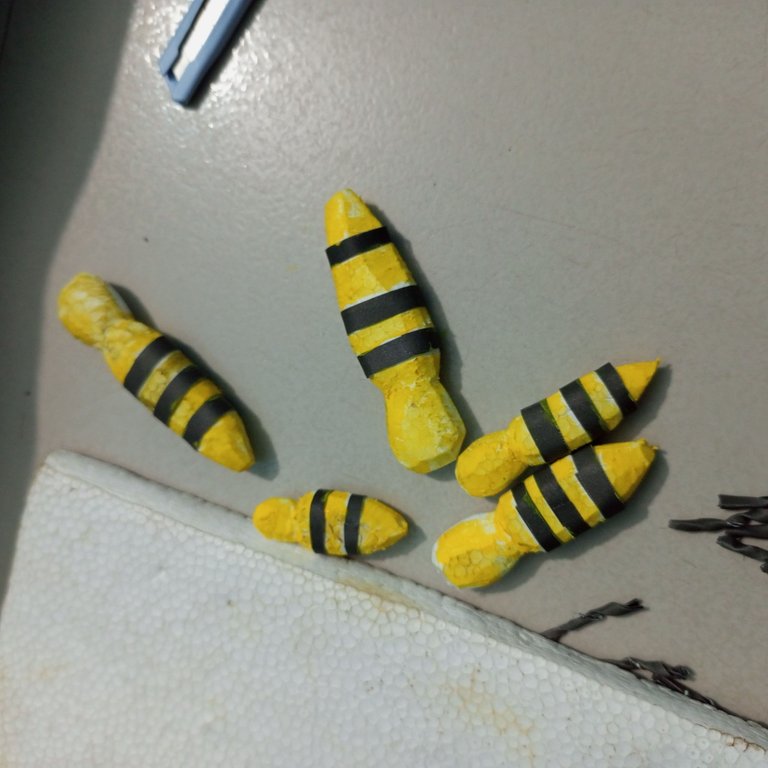
As you can see in the exhibition, it has turned into a beautiful color.
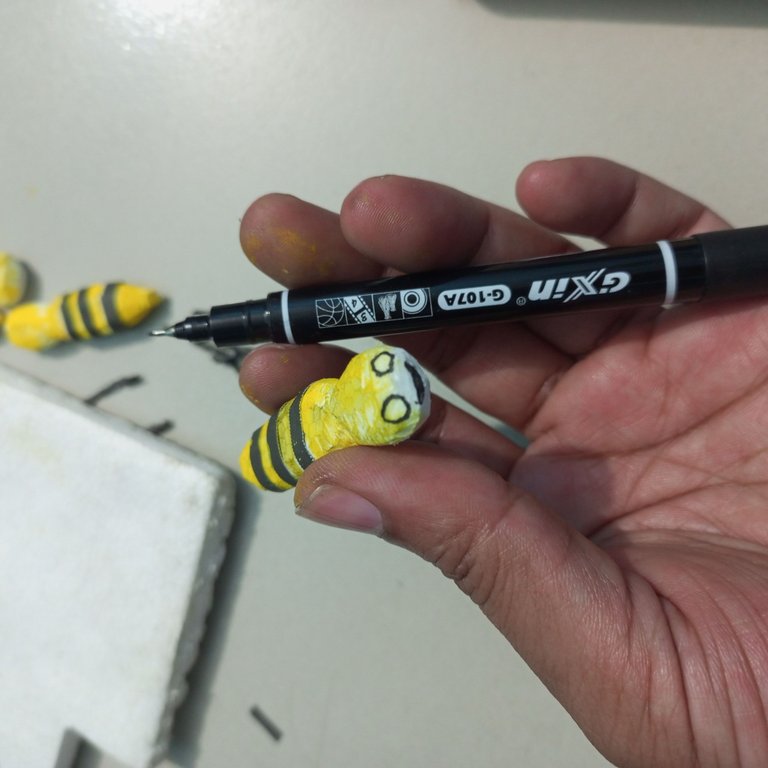
Here I have shaped the bee's eyes and mouth.
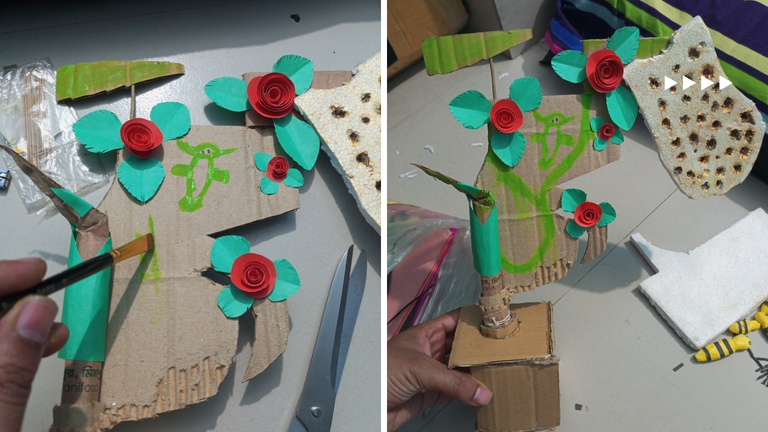
Here I have drawn a bee using acrylic colors. Next you can see a tree showing a nice shape through the drawing.
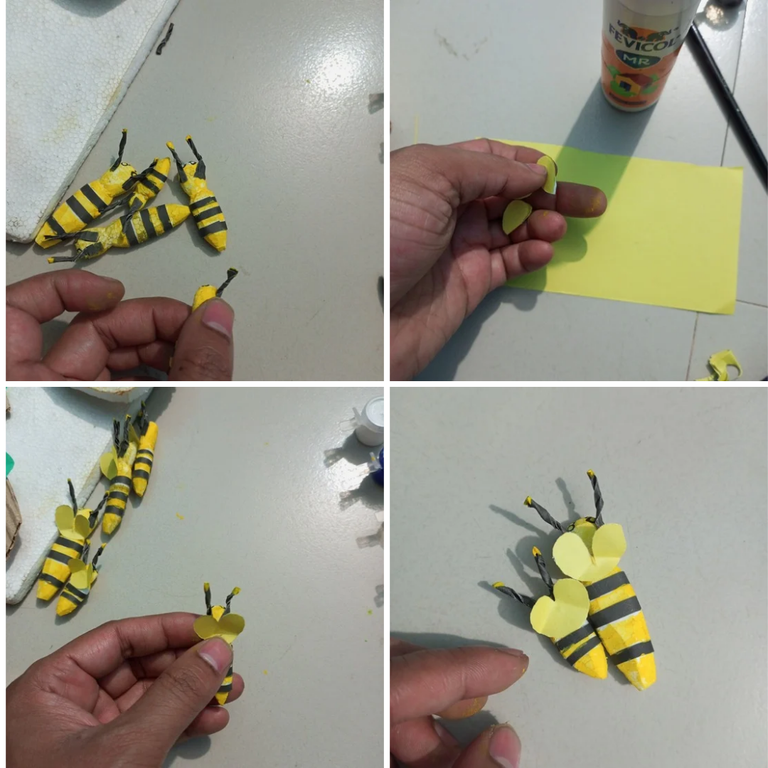
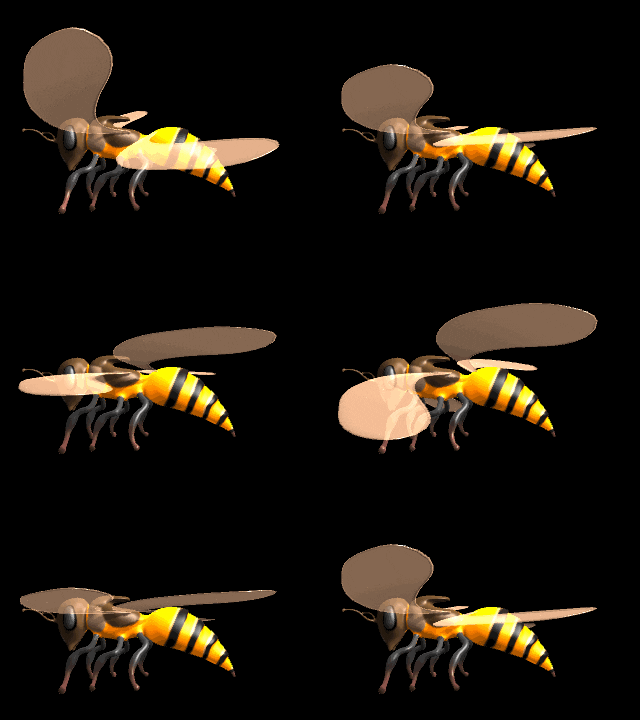
Here I have prepared bee horn shape with folded papers. Here I cut a paper and made bee wings. After that, I put those wings on the bee.
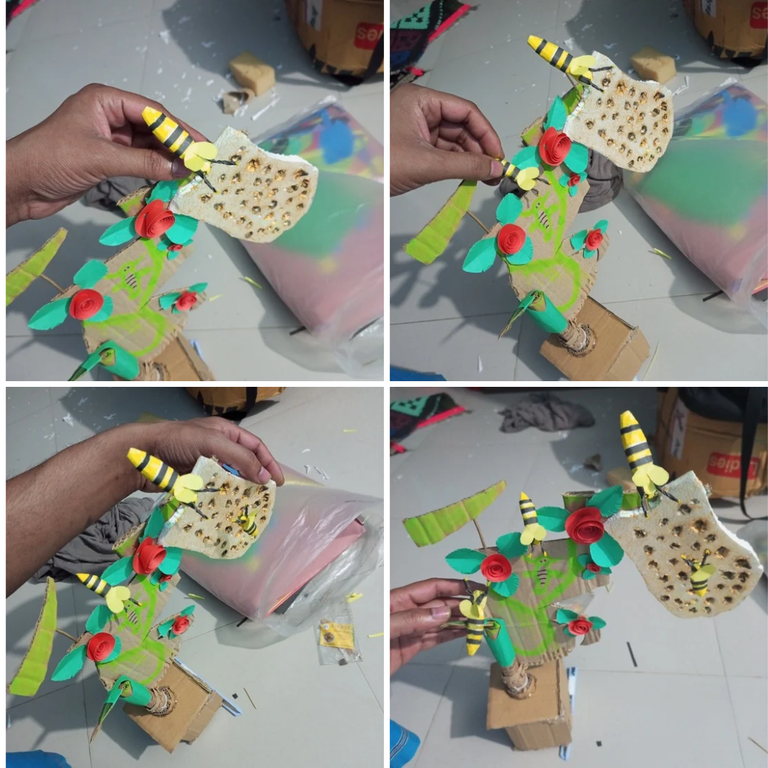
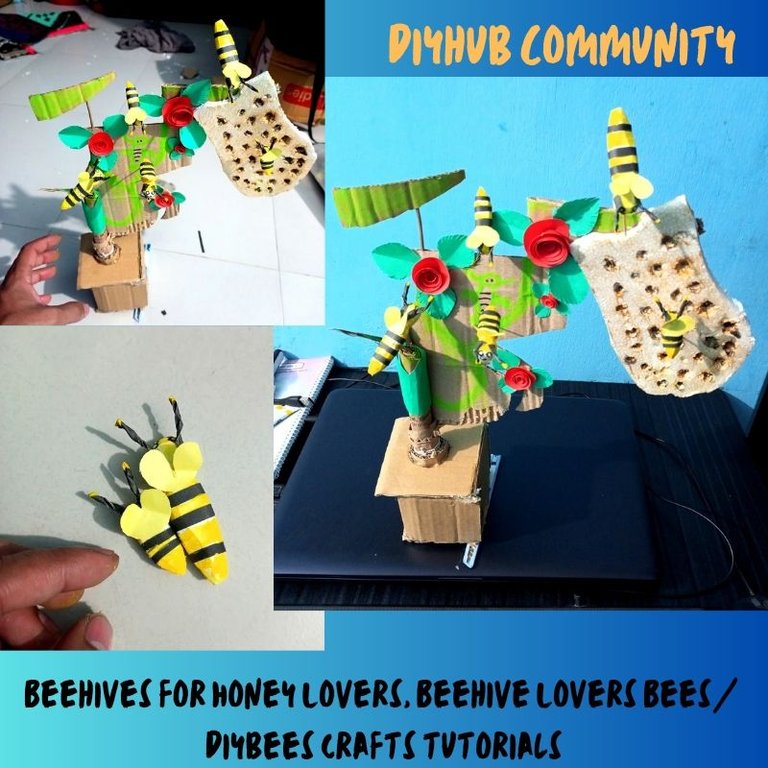
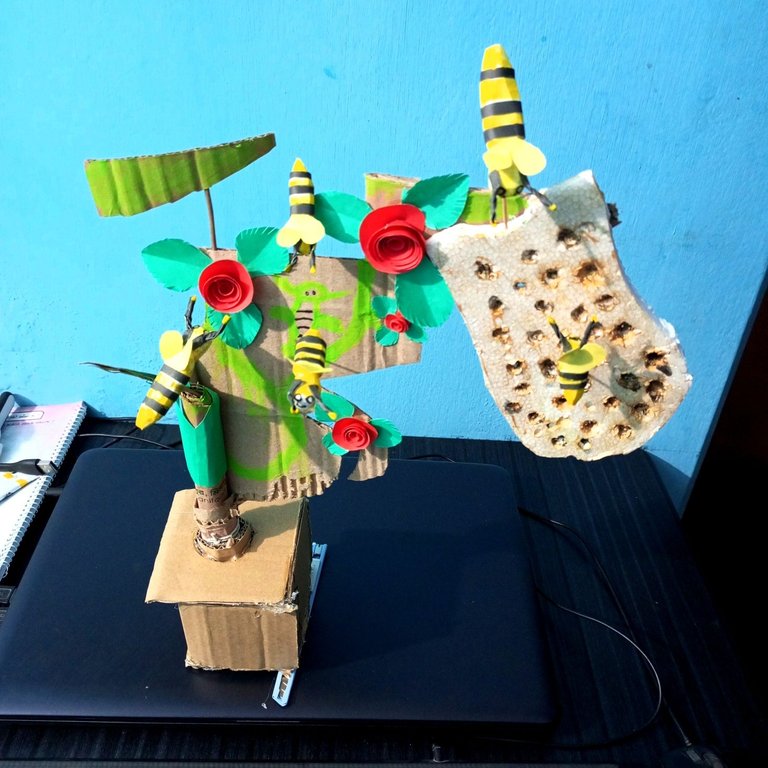
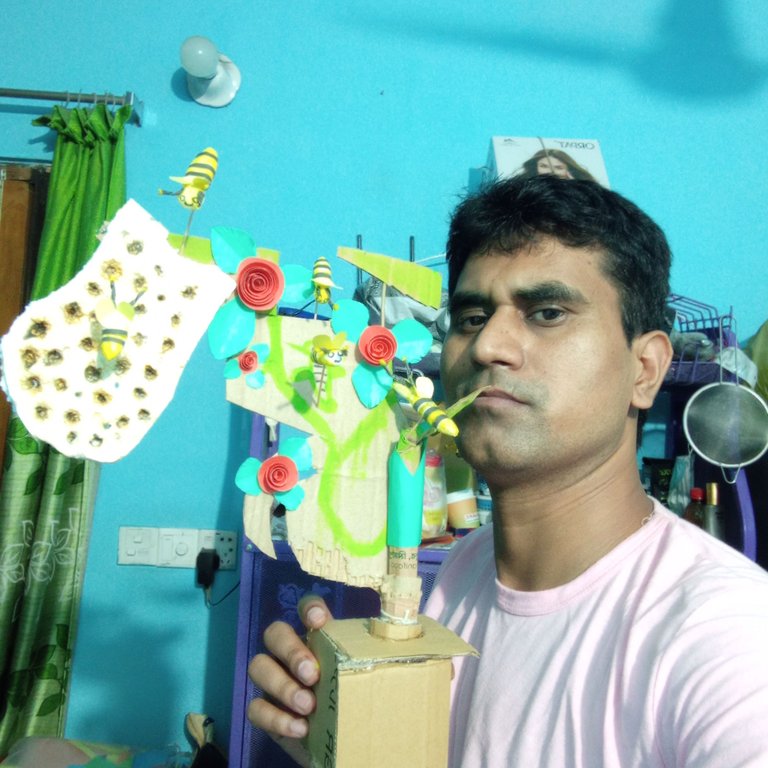
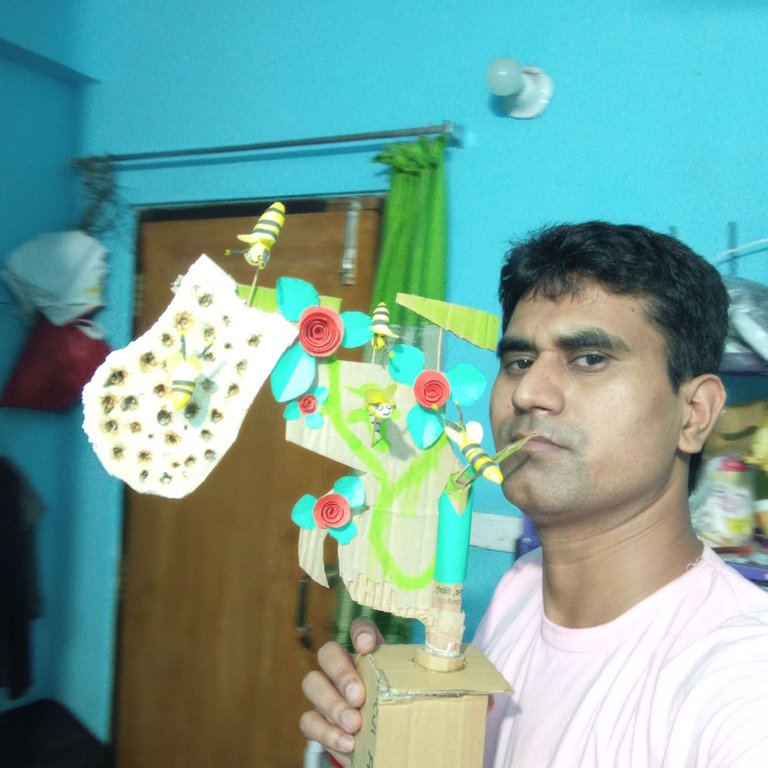
Here first I put a bee on top of the hive. Then a bee sits on top of my painted tree. Next I placed a small bee on top of the hive. Then I placed another bee from the branch for the flower. Where very easily the bee will enjoy the proper pleasure of collecting honey from the flowers.
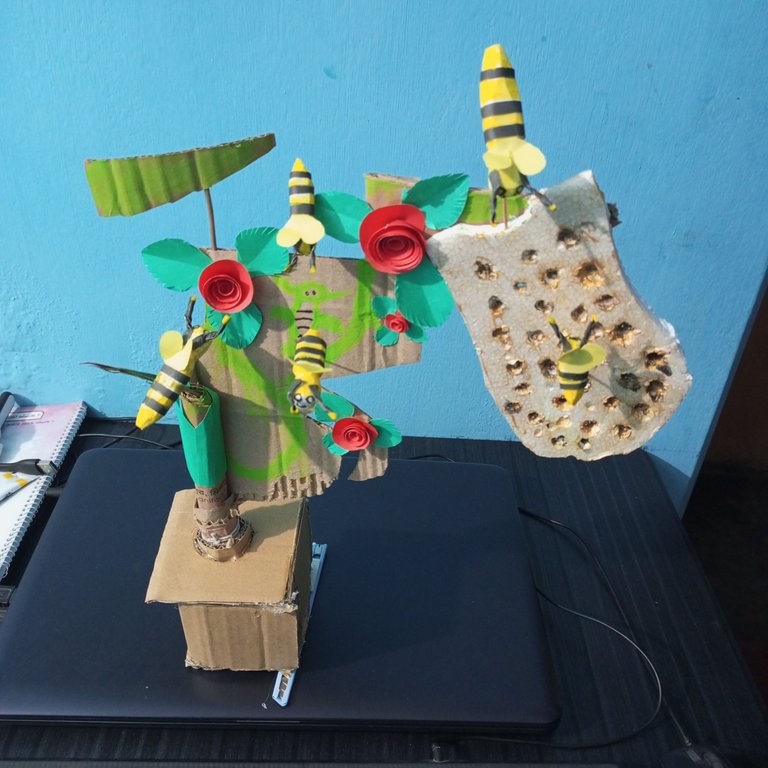
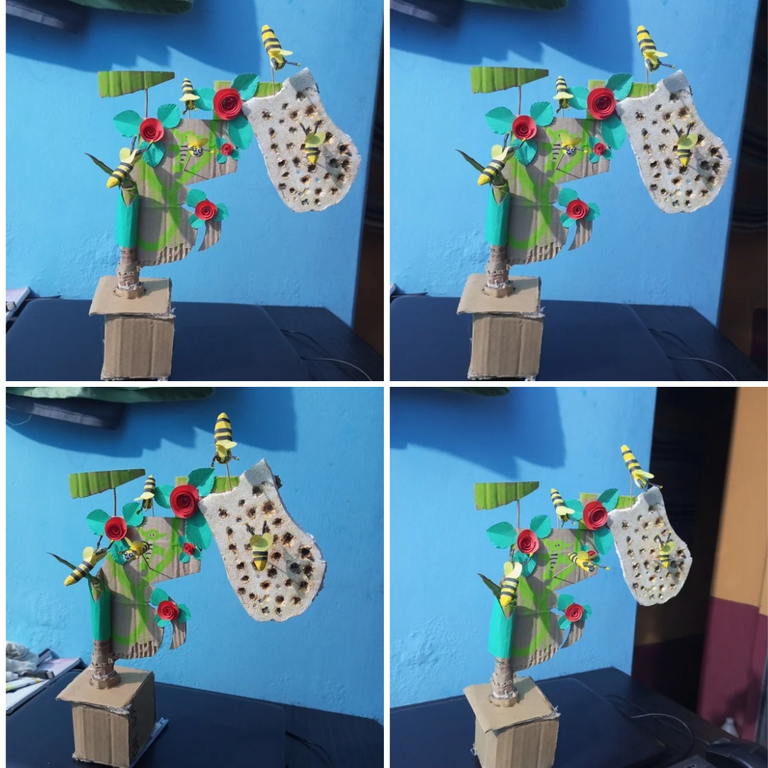
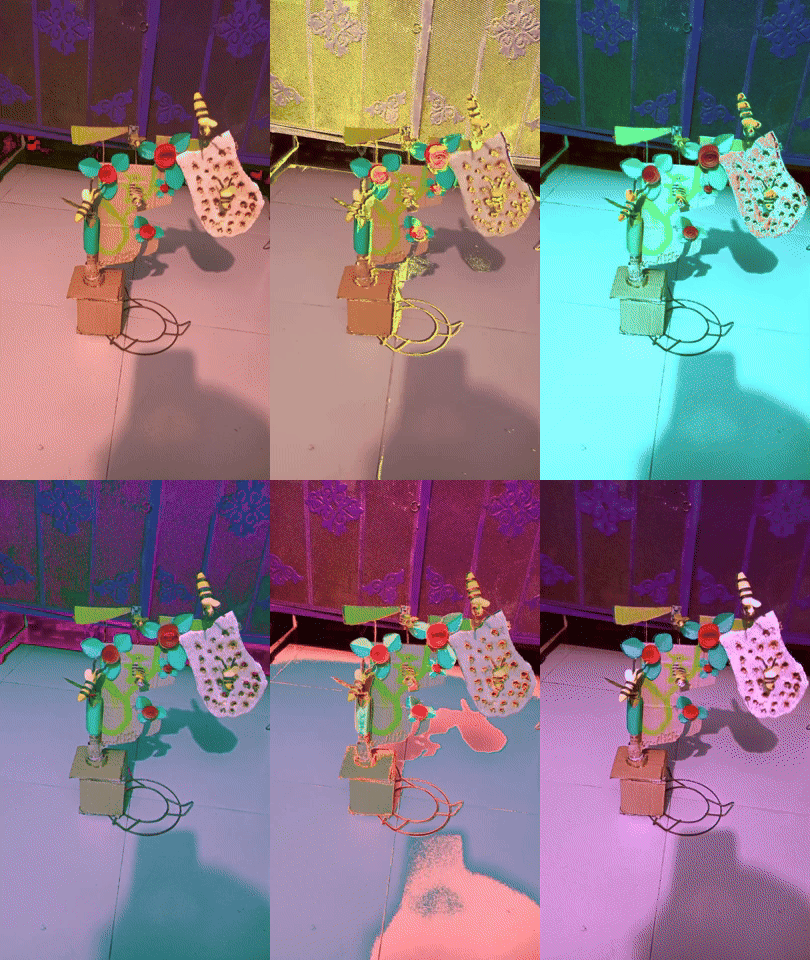

Here I have translated from Bengali to English using Google Translate.
Here I am giving my youtube channel link. I have uploaded a video through this channel.
Thank you for reading my creative article blog .Stay safe,stay happy.i think if you find any mistake in writing or something. Please allow me to correct it.And find me on social media.
My introduced link


