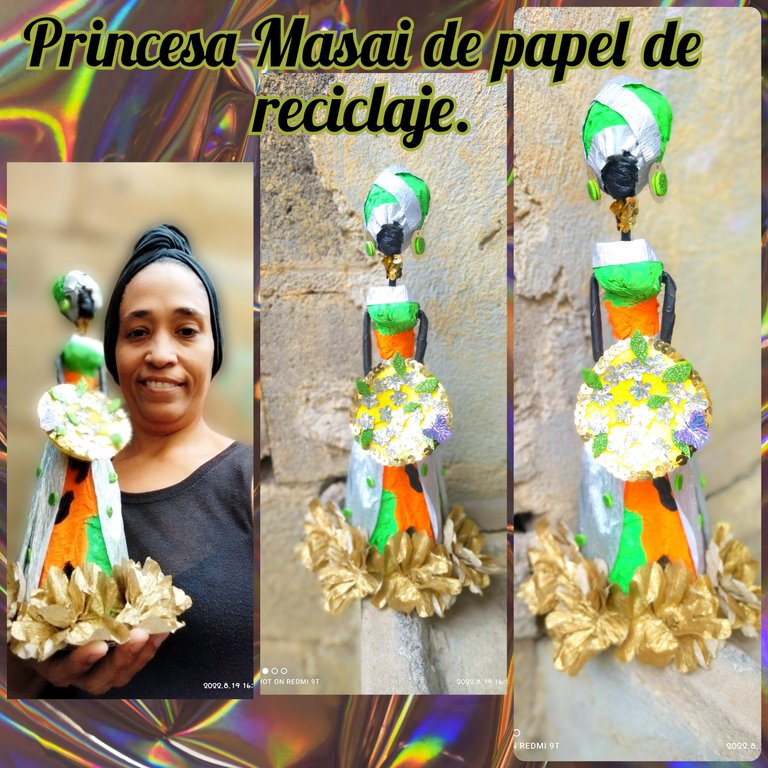

Hola, hola mis hermosas abejitas laboriosas, saludos a esos seres increíbles que llenan a la plataforma a través de esta comunidad de creaciónes mágicas que hacen de esta comunidad un espacio lleno de mucha creatividad.
Hoy les traje la elaboración de una hermosa propuesta de artesanía casera, que estoy más que segura les va a gustar, hace unos días atras me animé y realice un modelo de princesa Masai, pero el día de hoy lo que les traigo, es otra forma de realizar estás maravillosas muñecas que son tan hermosas y que a mí tanto me encantan, así que sin más les dejo el tutorial completo y las fotos finales.
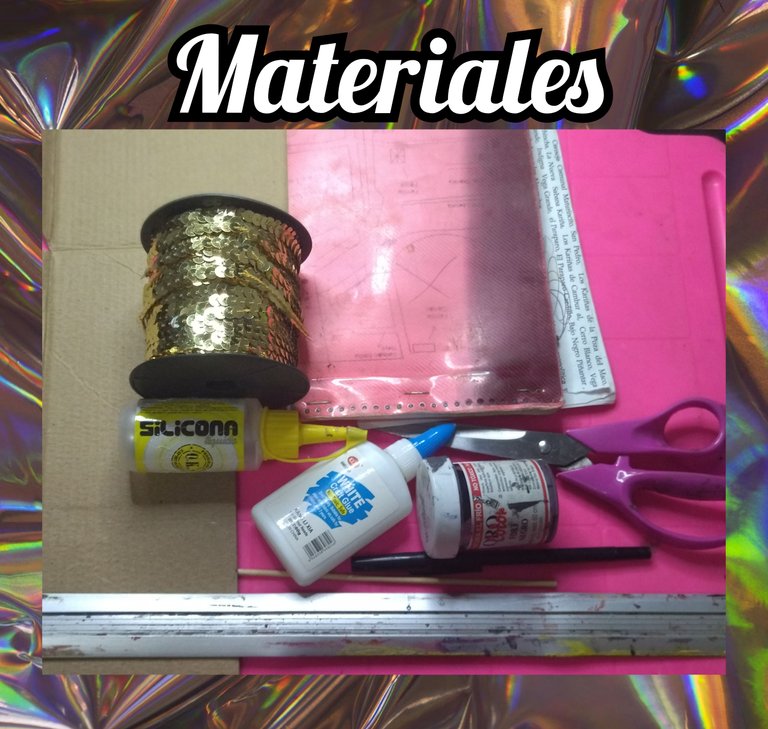
MATERIALES
 PASO A PASO
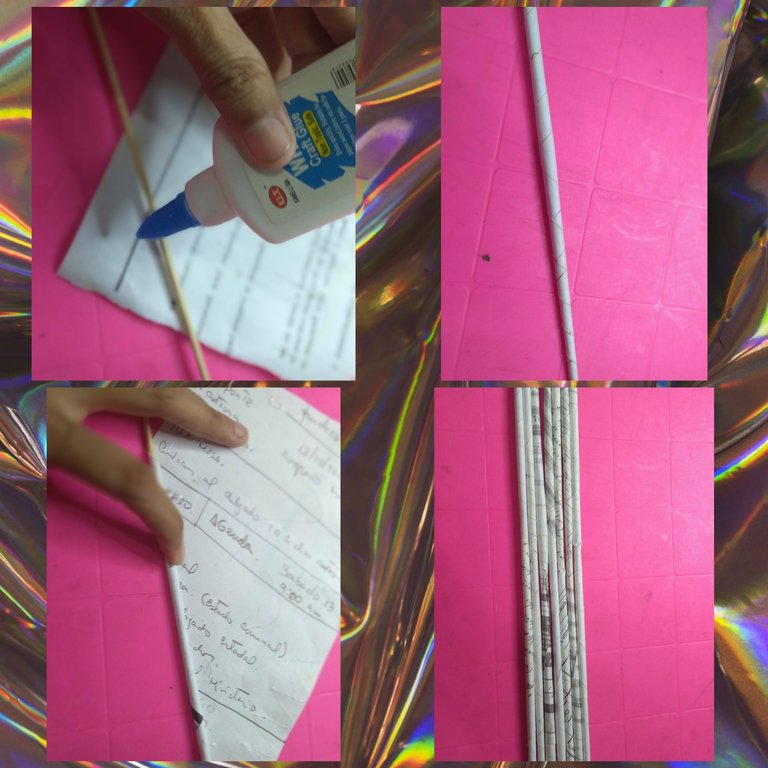
Para realizar este tipo de muñecas vamos a trabajar con tubitos de papel de reciclaje, así que tome una hoja de papel tipo carta y un palillo, coloque el palillo forma atravesada en la hoja y le coloque un poco de pega blanca y procedi a enrollar en el palillo y así formamos el tubo de papel, este procedimiento lo hice unas 8 veces que son los que voy a utilizar para realizar la muñeca.
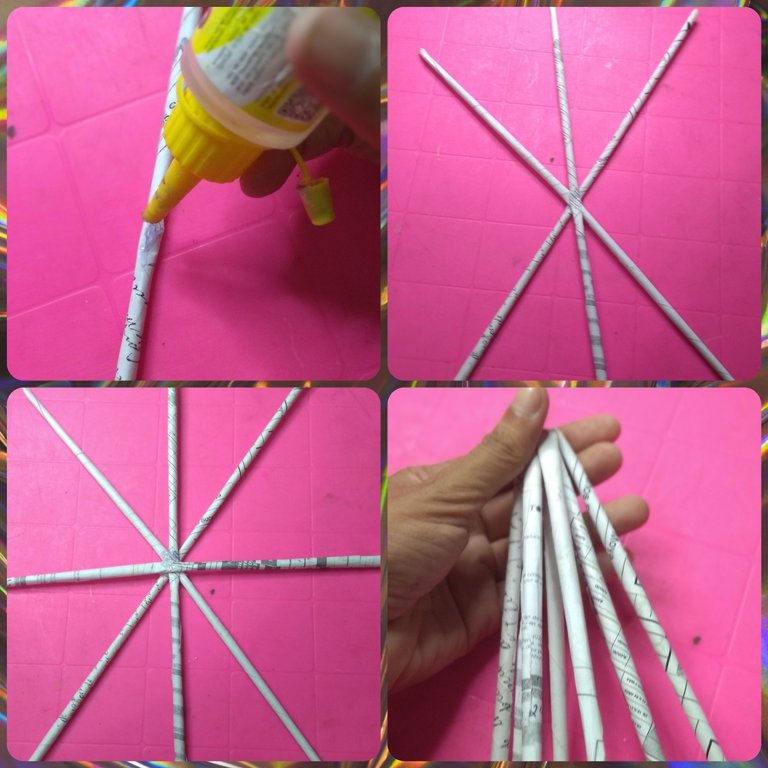
Ahora tome cuatro de los tubitos de papel y los pegue con un poco de silicón liquido, los coloque a modo de estrella (puede observar la fotografía).
Luego de secar agarre todos los tubitos de papel que peguen baje, formando una especie de falda.
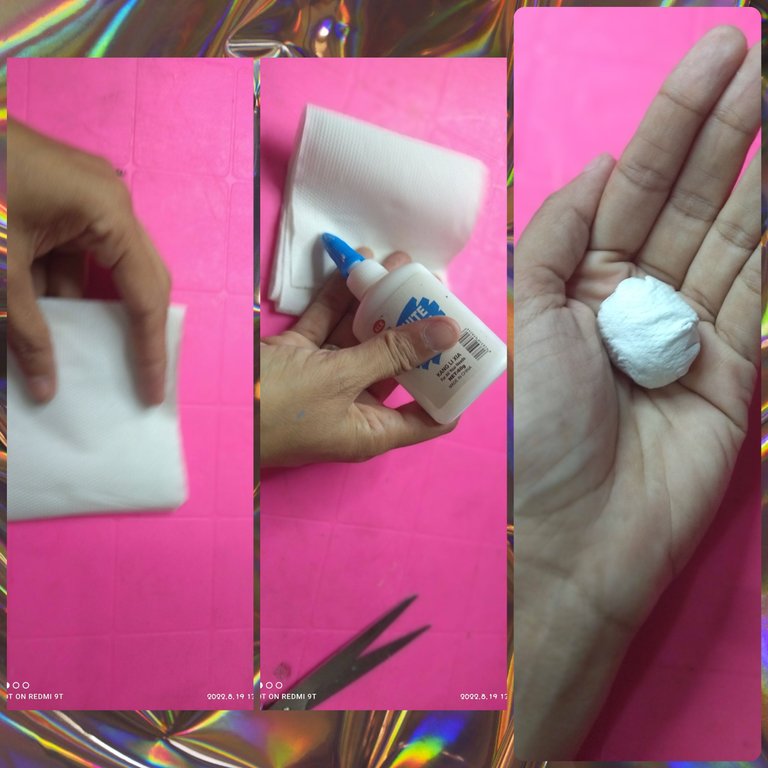
Ahora tome unas cuatro hojas de papel higiénico y le aplique un poco de pega blanca,para formar una especie de pasta y forme una pequeña bolita.
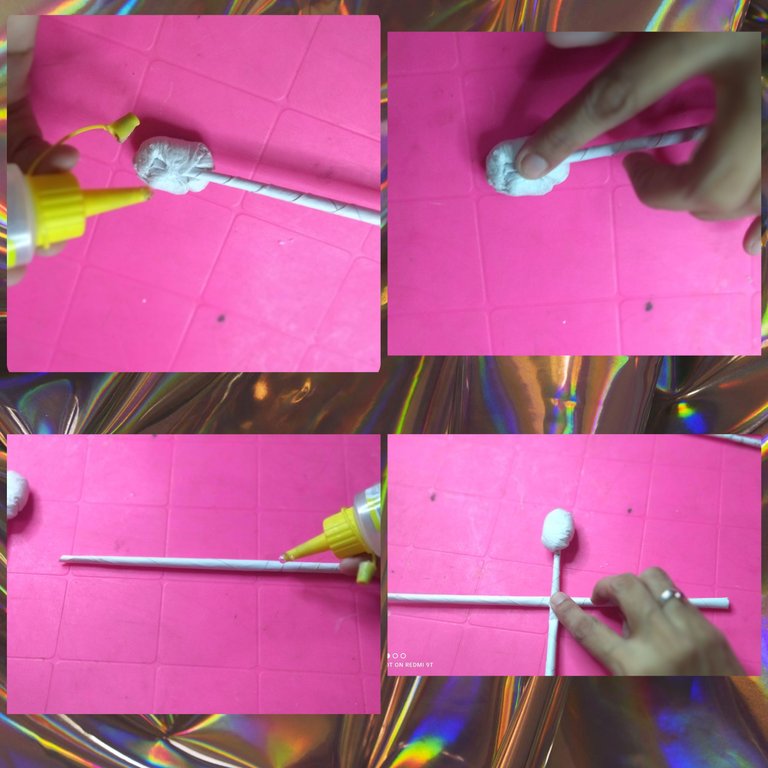
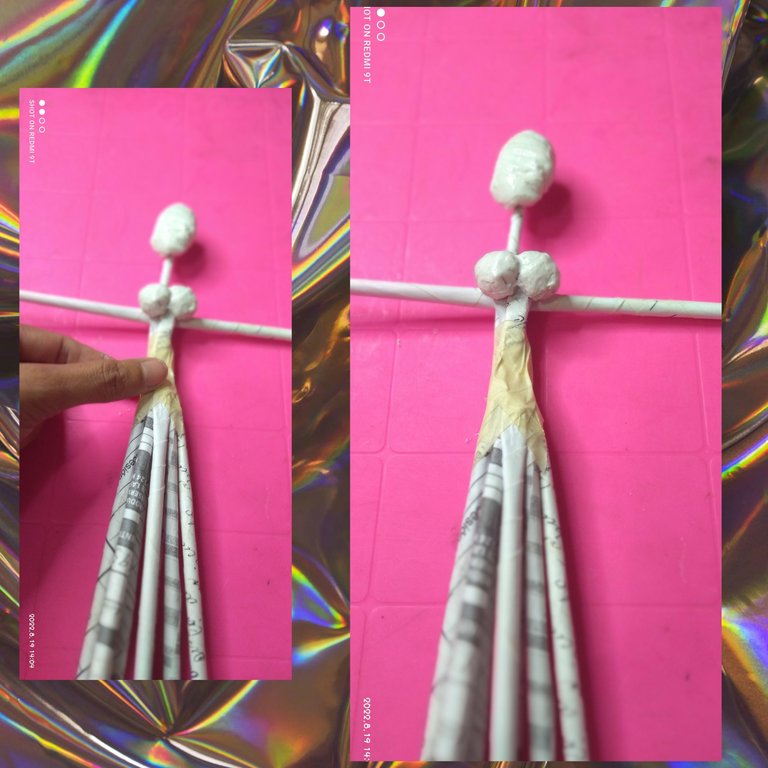
Ahora tome uno de los tubitos y lo pegue con silicón a la bolita que hicimos una vez que seco, y luego pego otro a mitad del tubito, para formar los brazos de la muñeca.
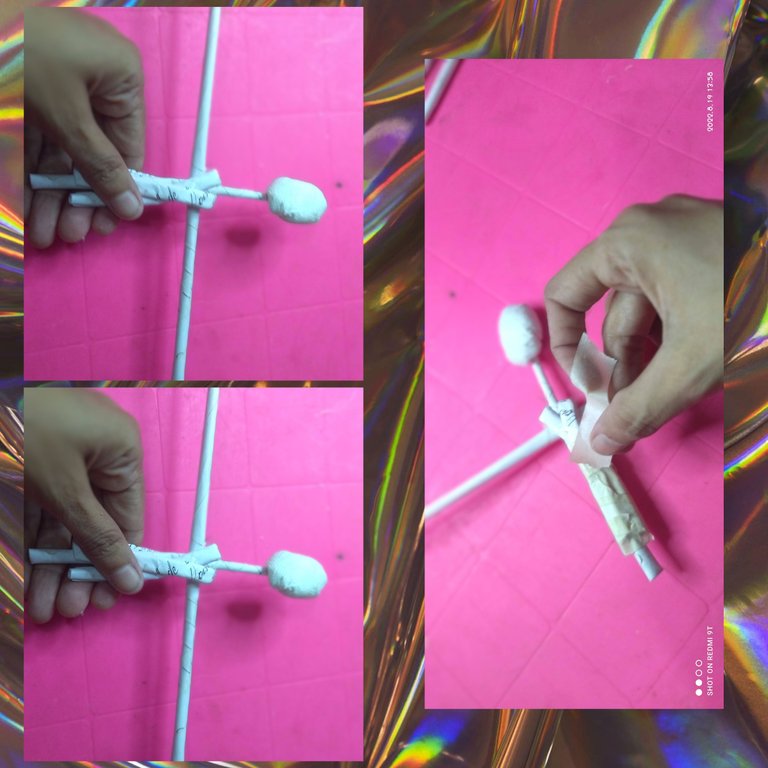
Luego tome otro tubito de papel y lo coloque tipo bufanda y cruzo esto para formar el pecho de la muñeca, lo pero con un punto de silicón liquido y le voy dando forma, forrando lo con tirro.
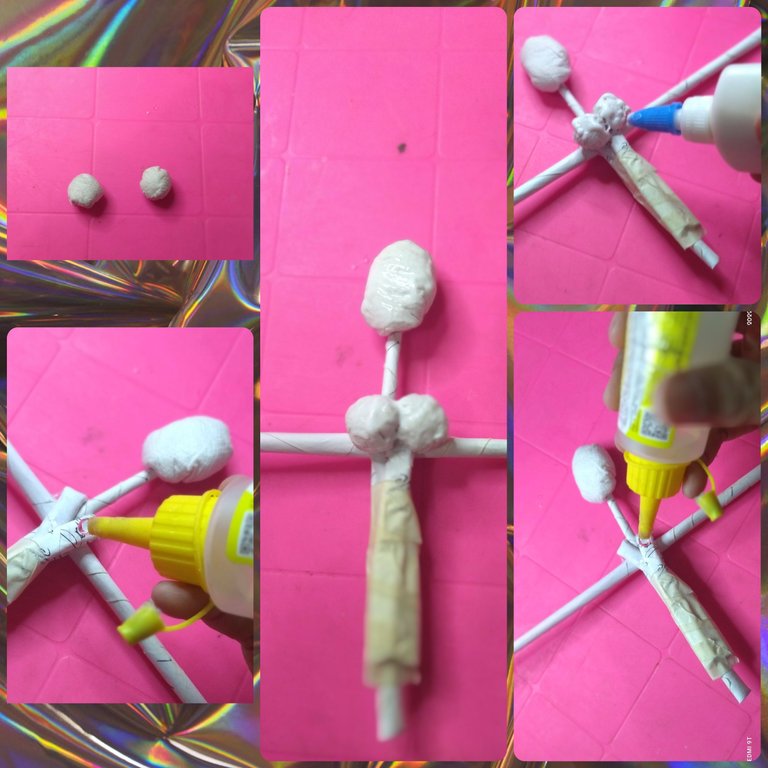
Tome dos hojas de papel higiénico y le coloque un poco de pega blanca y amasamos hasta formar una masita y hacemos dos pequeñas bolitas que serán los senos de la muñeca, luego con el silicón liquido aplicó solo un poco y pego las dos bolitas que acabamos de realizar una vez que ya estén bien secas.
Luego unimos la parte de arriba de la muñeca con la falda que hicimos y fijamos con un pedacito de tirro.
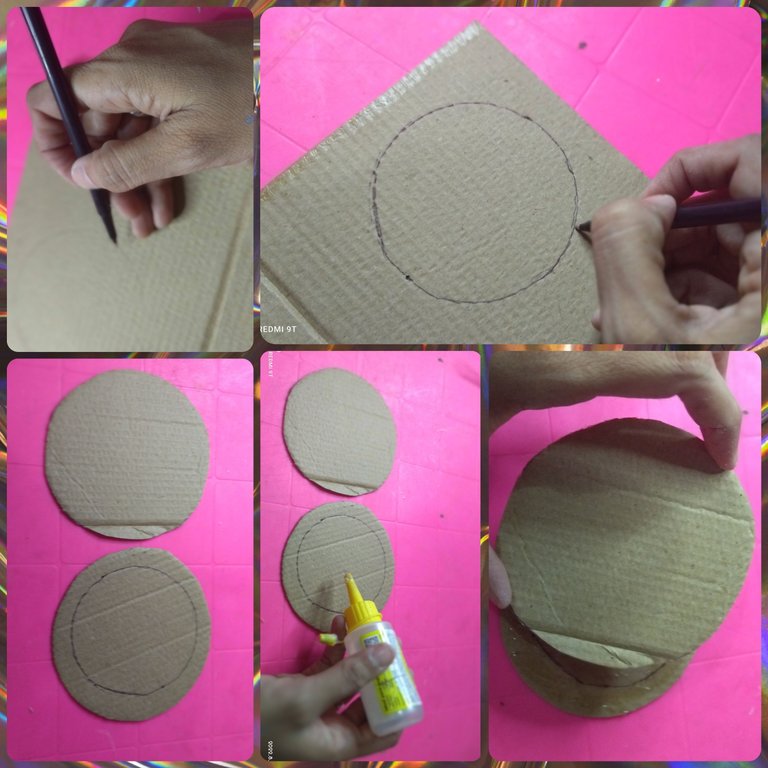
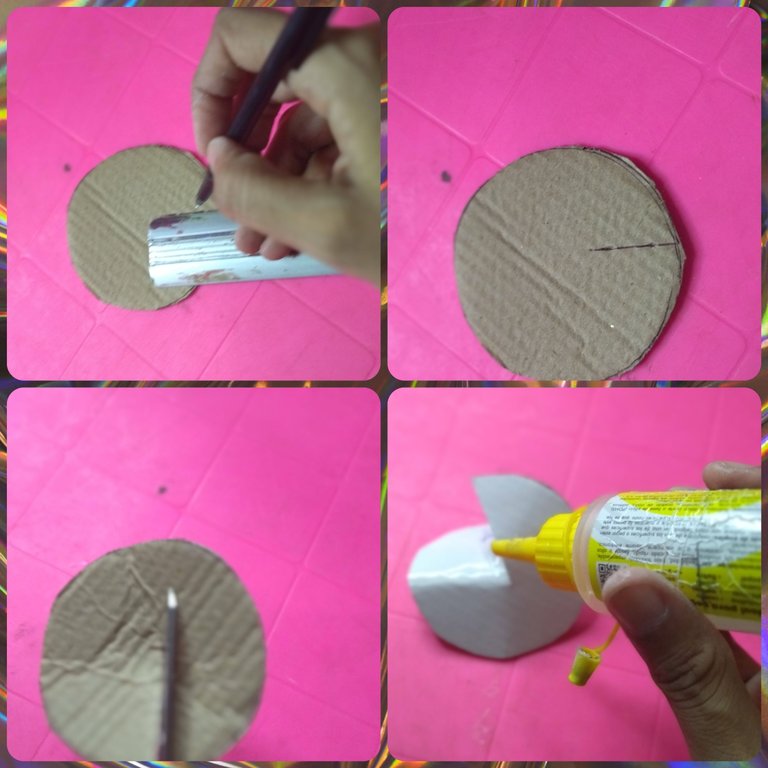
En un trozo de cartón de caja dibuje dos círculos que serán la base del vestido de la muñeca, luego las recorte y pegue ambas con silicón.
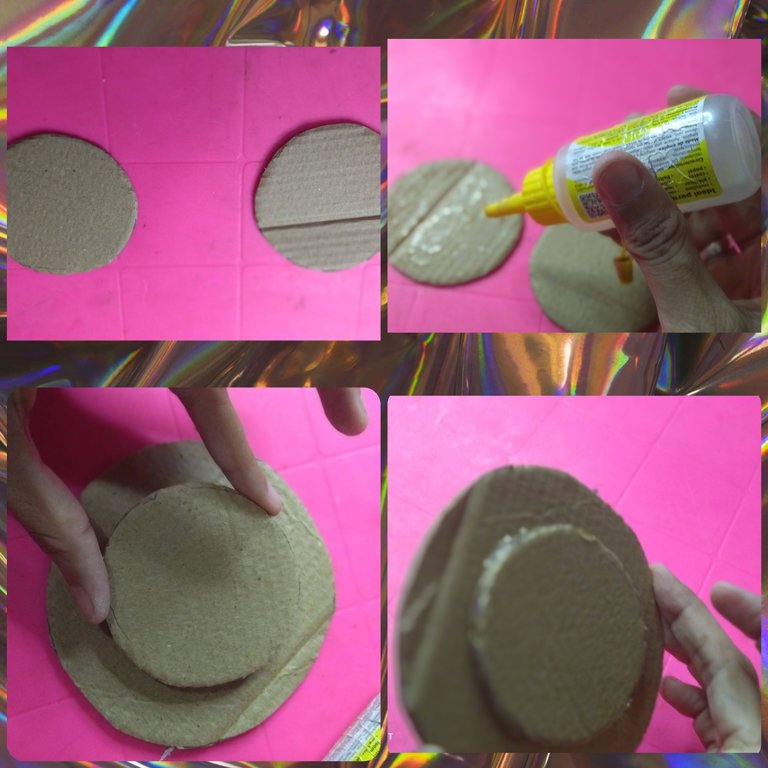
También dibuje dos círculos más pequeñas y pegue con el silicón liquido, luego lo pegue encima del círculo las grande que había hecho anteriormente.
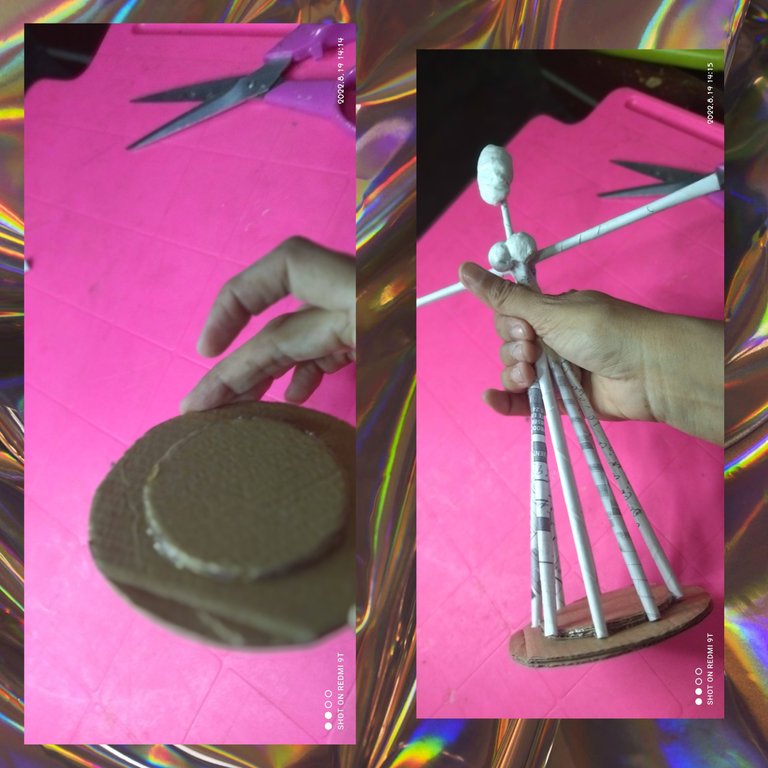
Ahora aplique un poco de silicón liquido al rededor del círculo pequeño, y abrí la falda hecha de tubitos de papel y fui pegando al rededor del círculo.
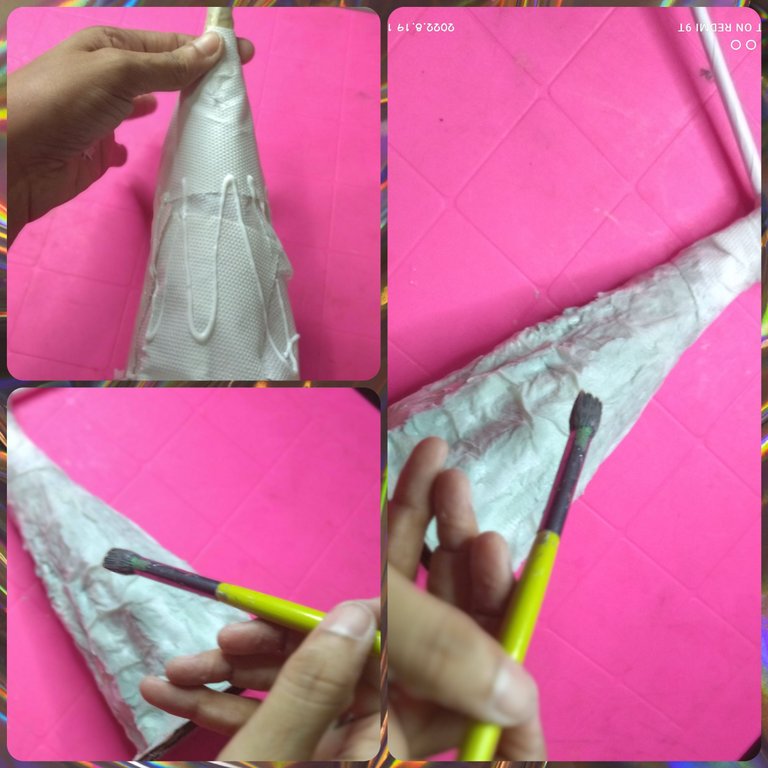
Para forrar la falda fui colocando capas de papel higiénico y le aplicaba pega, le di al menos 4 capas, la cantidad va a depender del grueso que se quiera dejar el vestido.
Mientras se seca la.falta del vestido, aprovecha de hacer la cesta que lleva la muñeca, así que recorte un círculo de cartón de caja y le hice un pequeño corte, luego aplique Silicón y pegamos.
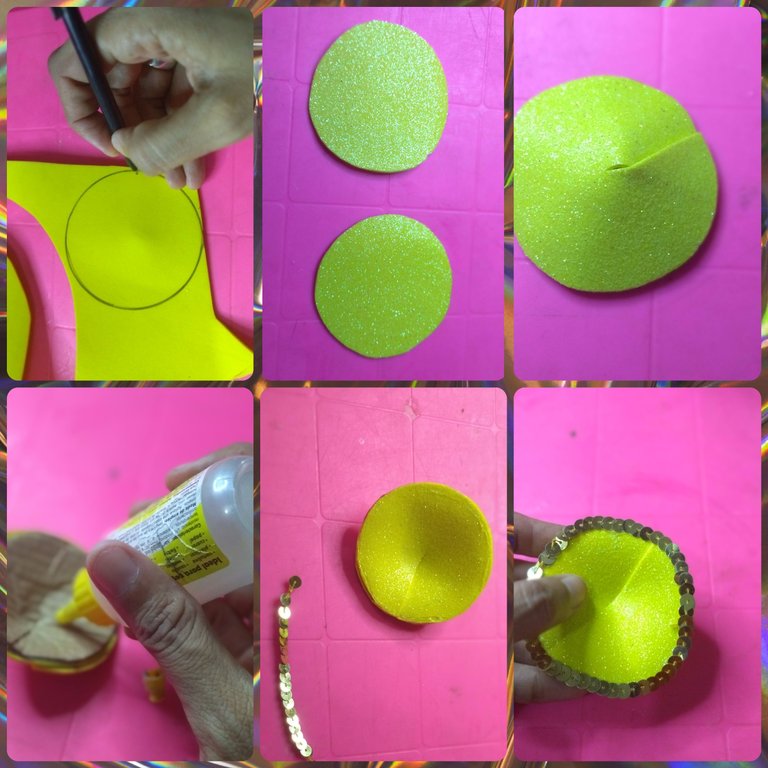
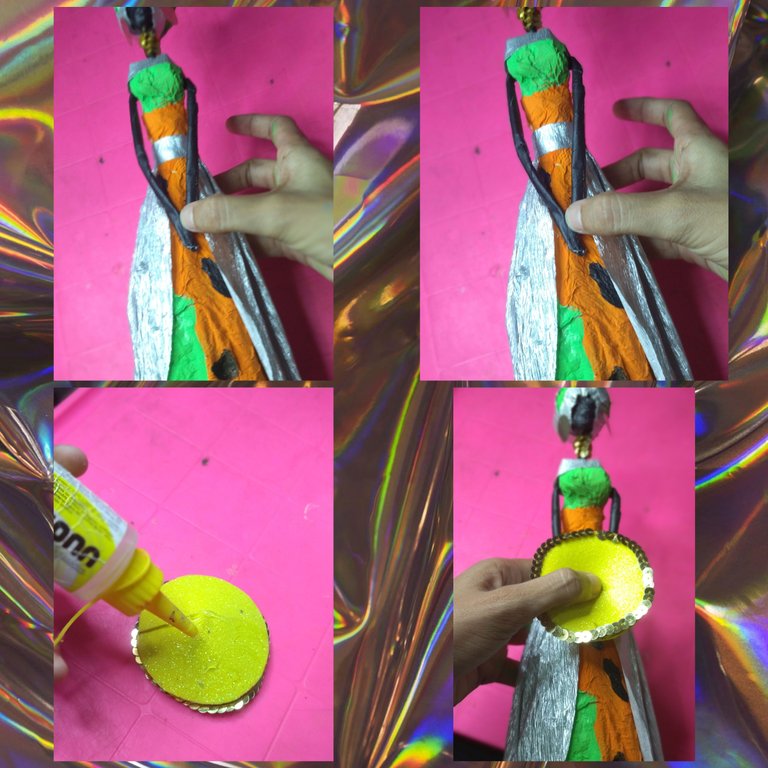
Después en el foami escarchado marcamos dos círculos del tamaño del que sacamos de cartón y recortamos, al terminar pego el foami al cartón y le doy el toque, pegándole unas lentejuelas al rededor.
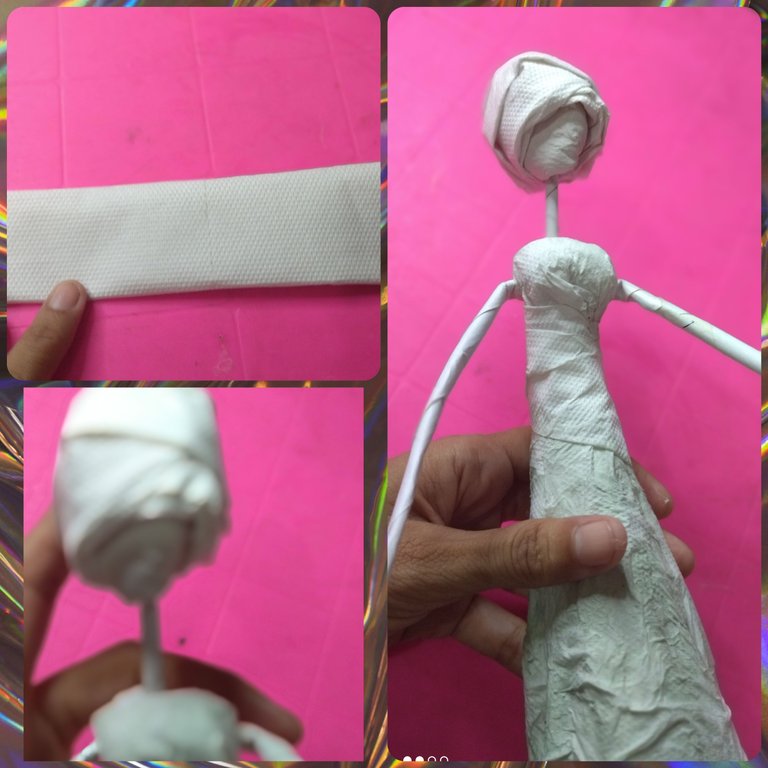
Tome un trozo de papel higiénico y forme una tira larga la cual fui enrollando en la cabeza,formando un turbante que caracteriza a estas muñecas.
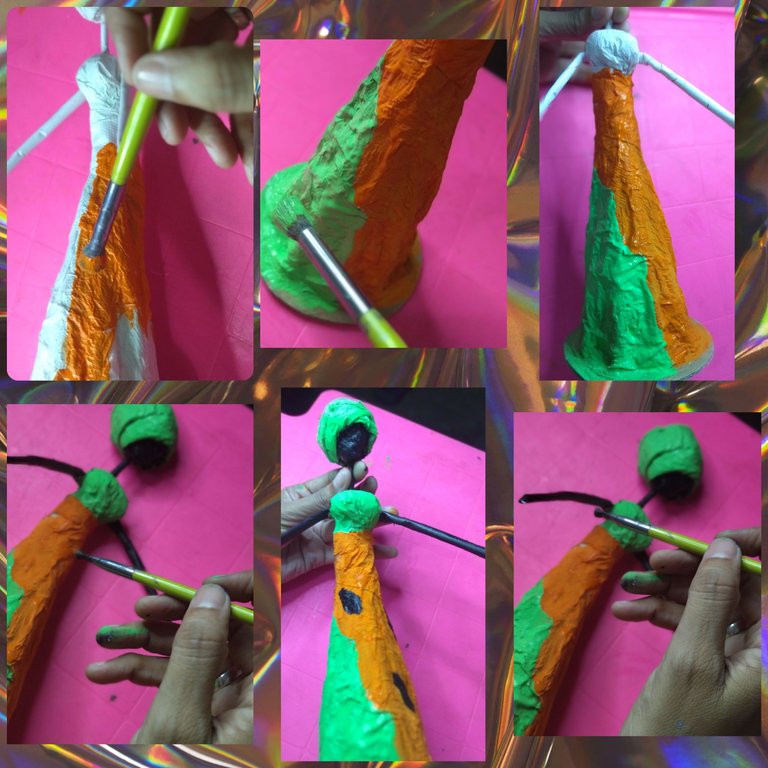
Ya armado y seco todo procedi a darle color, tome primero la pintura de color naranja y fui pintando, luego el color verde manzana, después tome la pintura negra y coloreamos el rostro, los brazos, cuello y torso, también di unas pequeñas pintadas de negro a la falda del vestido.
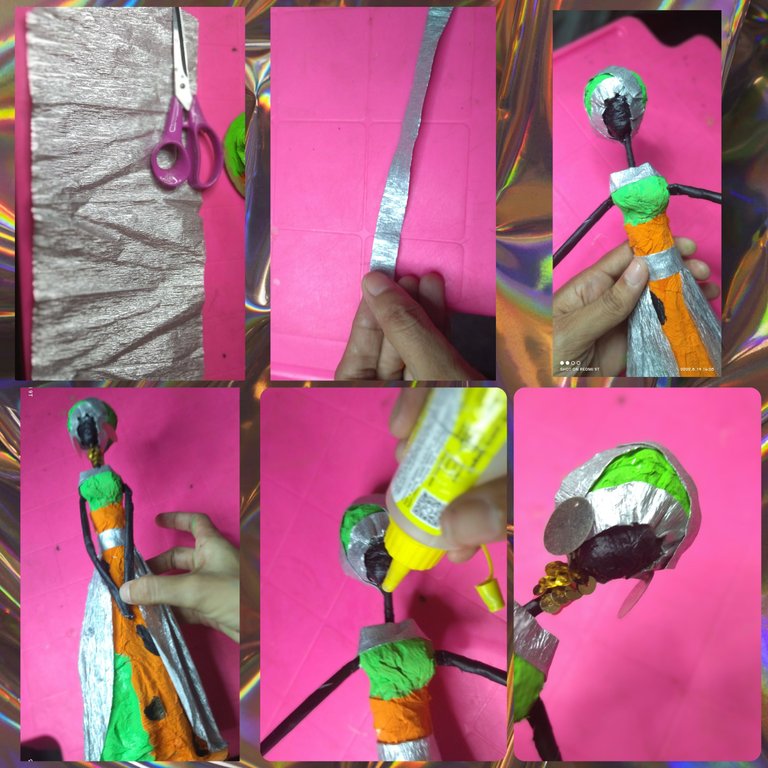
Ahora solo resta darle los toques a la muñeca, coloque el papel crepé al rededor de la cintura, también coloque lentejuelas en el cuello, formando un collar, también pegue unos aros bien grandes que serán los zarcillos.
Aplique un poco de silicón liquido en las manos de la muñeca y las junte y pegue del vestido, luego también pegue la cesta.
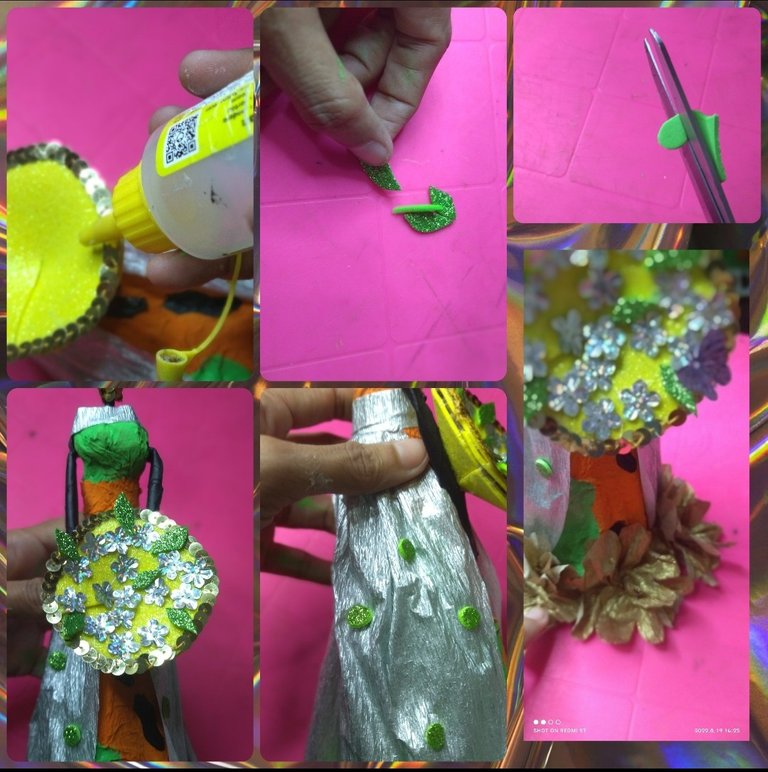
Ahora pegamos las flores y hojas en el cesto, también pequeños puntos verdes en diferentes partes del vestido y listo hemos terminado.
 RESULTADO
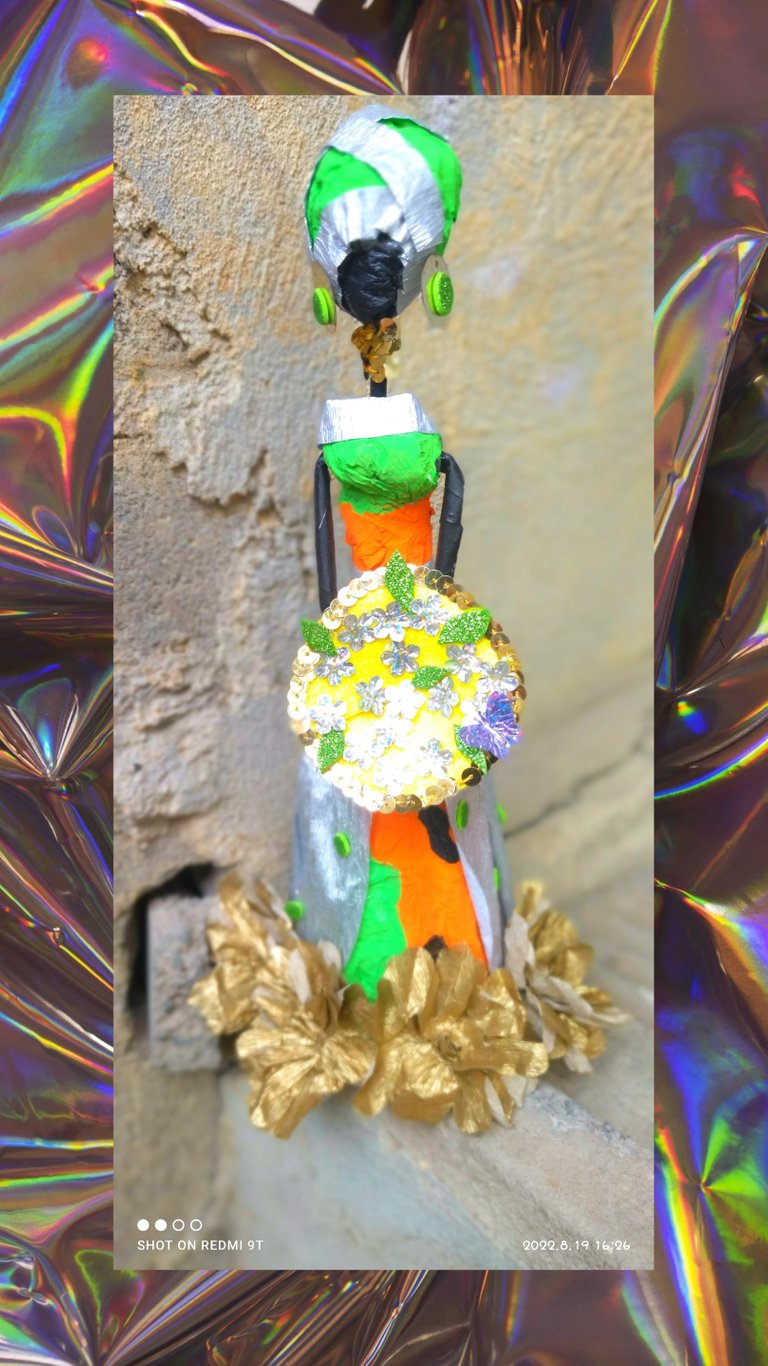
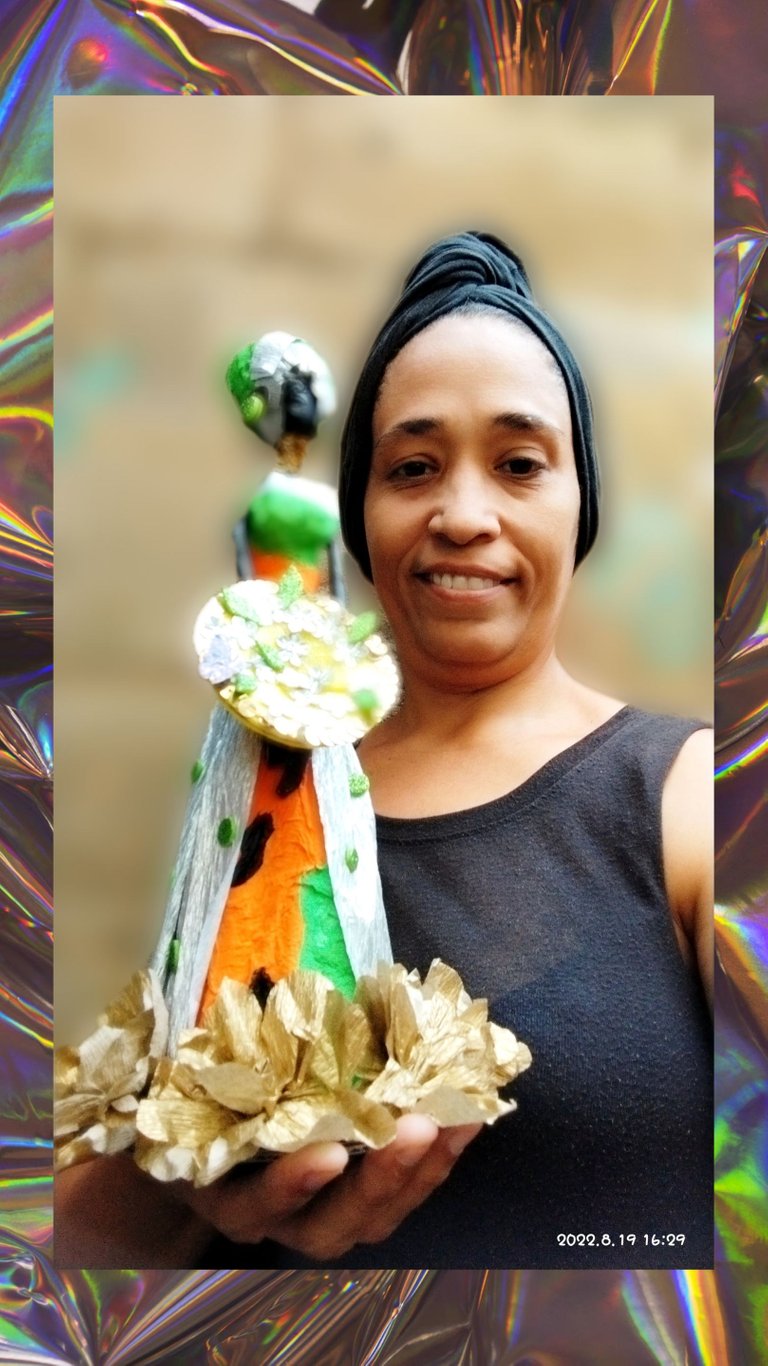
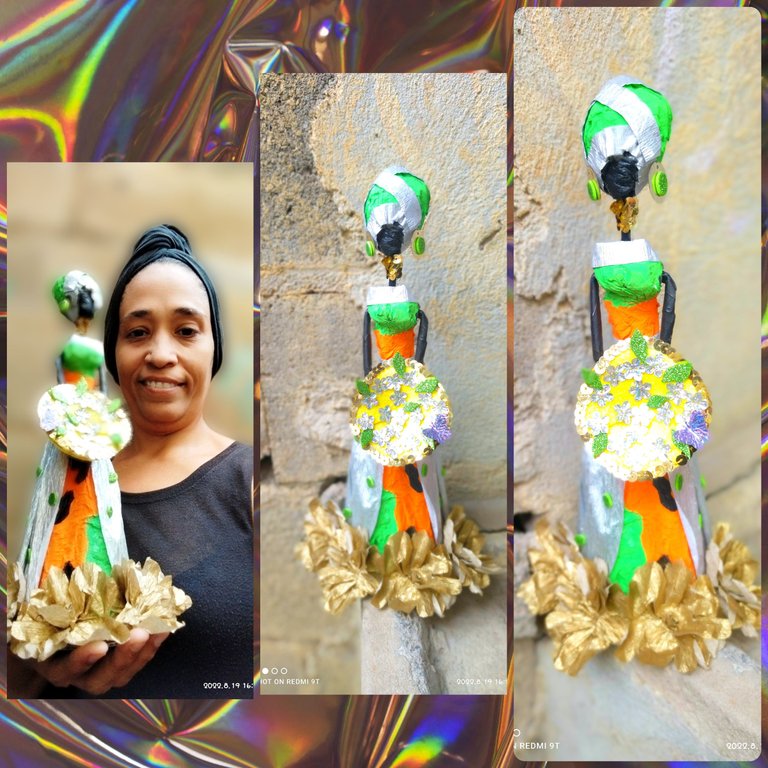
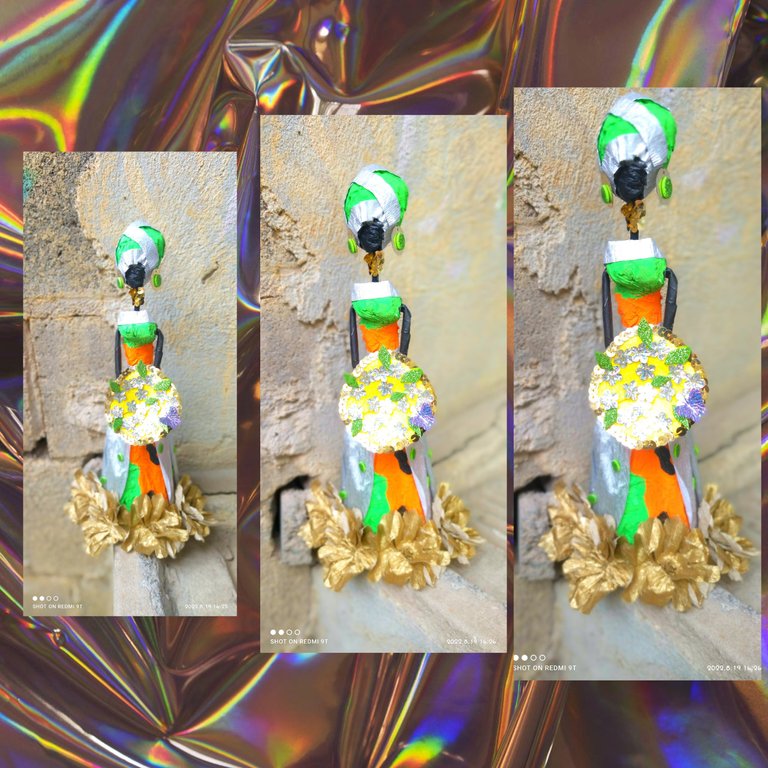
Hemos llegado al final de nuestra aventura por el día de hoy, espero que esté trabajo sea de su total agrado, el resultado para mí fue hermoso, y me parece increíble que ahora tenga dos princesas Masay, poco a poco vamos a ir creando una colección personal, por ahora me despido, esperando todo el apoyo que me puedas dar, será hasta el siguiente post.
 🇺🇸 INGLES 🇺🇸


Hello, hello my beautiful industrious bees, greetings to those incredible beings who fill the platform through this community of magical creations that make this community a space full of creativity.</ div>
Today I brought you the elaboration of a beautiful homemade craft proposal, which I am more than sure you will like, a few days ago I decided to make a model of a Masai princess, but today what I bring you is another way of making these wonderful dolls that are so beautiful and that I love so much, so without further ado I leave you with the complete tutorial and the final photos.
MATERIALS

STEP BY STEP
To make this type of dolls we are going to work with recycling paper tubes, so take a sheet of letter paper and a toothpick, place the toothpick across the sheet and I put a little white glue on it and proceeded to roll it on the stick and thus we formed the paper tube, I did this procedure about 8 times, which are the ones I am going to use to make the doll.

Now take four of the paper tubes and glue them with a little liquid silicone, place them as a star (you can see the picture).
After drying grab all the paper tubes that stick down, forming a kind of skirt.

Now take about four sheets of toilet paper and apply a little white glue to it, to form a kind of paste and form a small ball.

Now take one of the tubes and glue it to the ball we made once it's dry, and then glue another one in the middle of the tube, to form the doll's arms .

Then take another paper tube and place it like a scarf and I cross this to form the chest of the doll, but with a dot of liquid silicone and I shape it, lining I shoot it.

Take two sheets of toilet paper and put a little white glue on it and knead it to form a dough and make two small balls that will be the breasts of the doll, then with the silicone liquid applied just a little and stick the two balls that we just made once they are well dry.

Then we join the top of the doll with the skirt that we made and fix with a bit of tying.

On a piece of box cardboard, draw two circles that will be the base of the doll's dress, then cut them out and glue both with silicone.

I also drew two smaller circles and glued them with the liquid silicone, then glued the big ones that I had previously made on top of the circle.

Now I applied a little liquid silicone around the small circle, and I opened the skirt made of paper tubes and I was sticking around the circle.

To line the skirt I placed layers of toilet paper and applied glue, I gave it at least 4 layers, the amount will depend on how thick you want the dress to be.< /div>

While the skirt of the dress dries, take advantage of making the basket that the doll carries, so I cut out a circle of box cardboard and made a small cut, then applied Silicone and glue.
Later on the frosted foami we mark two circles the size of the one we took out of cardboard and cut out, when I finish I glue the foami to the cardboard and give it the touch, gluing some sequins around it.


Take a piece of toilet paper and form a long strip which I wrapped around the head, forming a turban that characterizes these dolls.

Once assembled and dry, everything proceeded to color it, first I took the orange paint and painted, then the apple green color, then I took the black paint and we colored the face, the arms, neck and torso, I also gave some small black paints to the skirt of the dress.

Now it only remains to give the doll the touches, place the crepe paper around the waist, also place sequins on the neck, forming a necklace, also glue some very large earrings which will be the tendrils.

Apply some liquid silicone to the doll's hands and join them and glue them to the dress, then also glue the basket.

Now we stick the flowers and leaves in the basket, also small green dots in different parts of the dress and that's it.
 RESULT


We have reached the end of our adventure for today, I hope that this work is to your total satisfaction, the result for me was beautiful, and it seems incredible to me that now I have two Masay princesses, little by little we are going to create a personal collection, for now I say goodbye, hoping for all the support you can give me, it will be until the next post.


