Un saludo a todos. En esta temporada en que el estilo coquette es el predominante, por supuesto que no podía dejar de hacer un tutorial para crear nuestros propios lazos. Y este estilo es tan bonito, femenino y delicado, a mí en verdad me ha venido como anillo al dedo pues coincide con todo lo que me gusta. Así que hoy te muestro cómo hacer un hermoso lazo coquette doble, sigue leyendo y acompáñame en el proceso.
English Version
Greetings to all. In this season when the coquette style is the predominant, of course I could not fail to make a tutorial to create our own bows. And this style is so pretty, feminine and delicate, to me it has really come like a ring to my finger because it matches everything I like. So today I show you how to make a beautiful double coquette bow, read on and join me in the process.
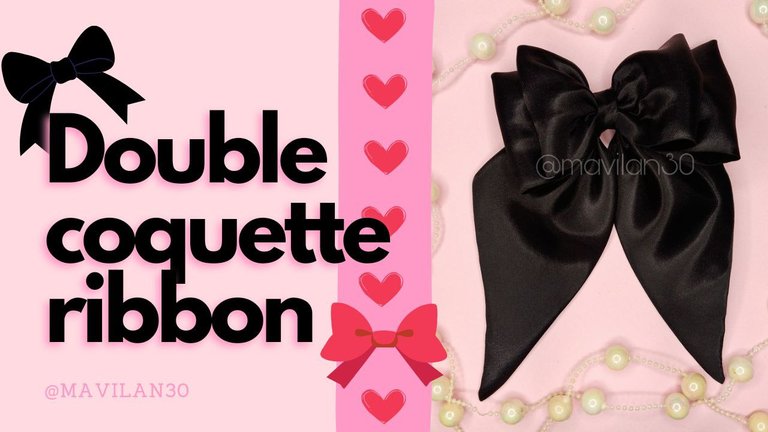
Imagen creada por mí en Canva / Image created by me in Canva
Materiales:
- Tela satinada
- Aguja
- Hilo de coser
- Tijeras
- Regla o cinta métrica
- Lápiz, tiza o algo que sirva para marcar la tela
- Alfileres
- Palillo de altura
Procedimiento:
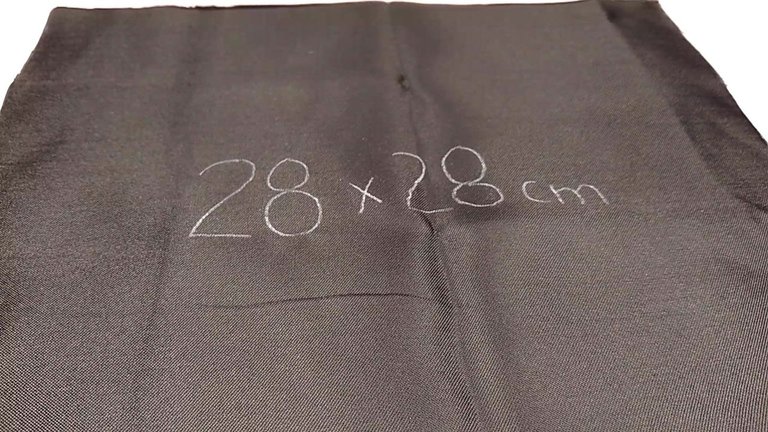
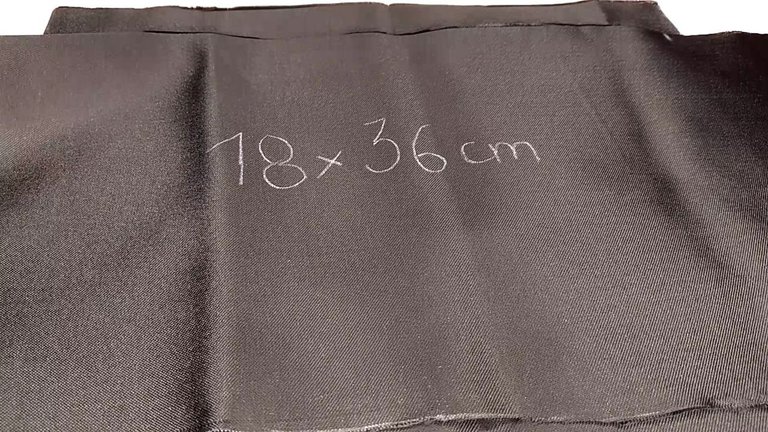
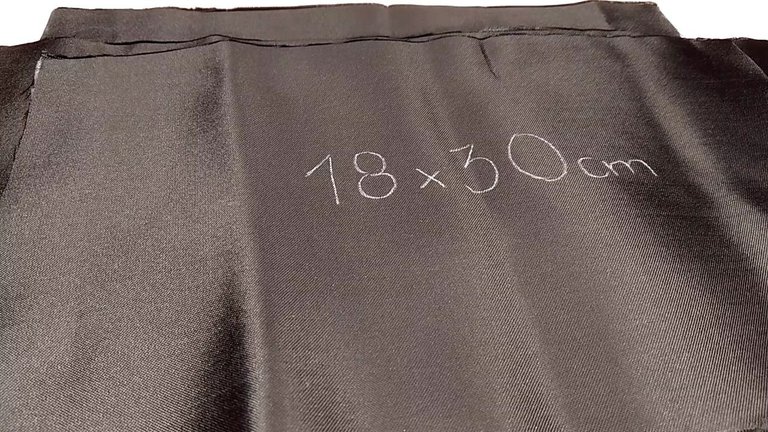
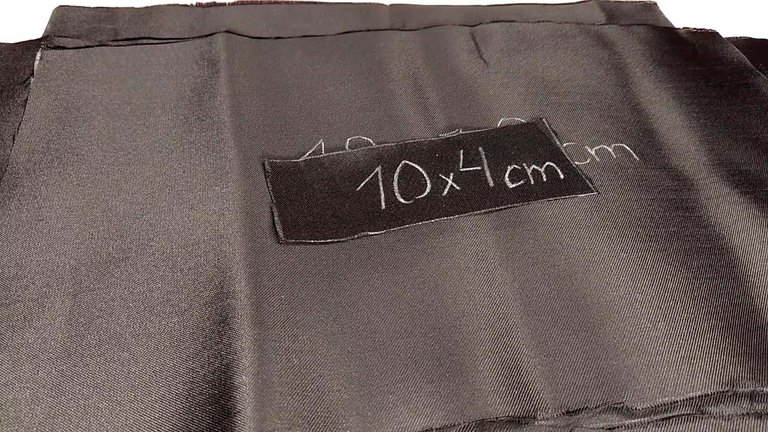
Iniciaremos por marcar un cuadrado de 28x28cm, un rectángulo de 18 x 36cm, un rectángulo de 18 x 30cm y uno más de 10 x 4cm. Yo he usado un lápiz de color blanco y una regla para tomar las medidas y trazar las líneas por donde debía recortar. Con mi tijera he recortado cada pieza.
English VersionMaterials:
- Satin fabric
- Needle
- Sewing thread
- Scissors
- Ruler or tape measure
- Pencil, chalk or something useful for marking the fabric
- Pins
- Height stick
Procedure:
We will start by marking a square of 28x28cm, a rectangle of 18 x 36cm, a rectangle of 18 x 30cm and one more of 10 x 4cm. I used a white pencil and a ruler to take the measurements and draw the lines where I had to cut. With my scissors I cut out each piece.
 |  |  |  |
|---|
Acto seguido, doblamos el cuadrado por su diagonal y aseguramos su posición con los alfileres que sean necesarios.
English Version
Next, we fold the square along its diagonal and secure its position with the necessary pins.
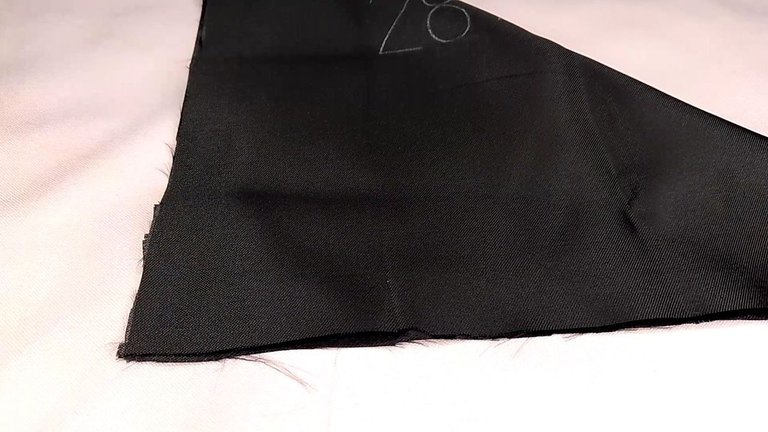
Doblez pieza cuadrada / Square piece fold
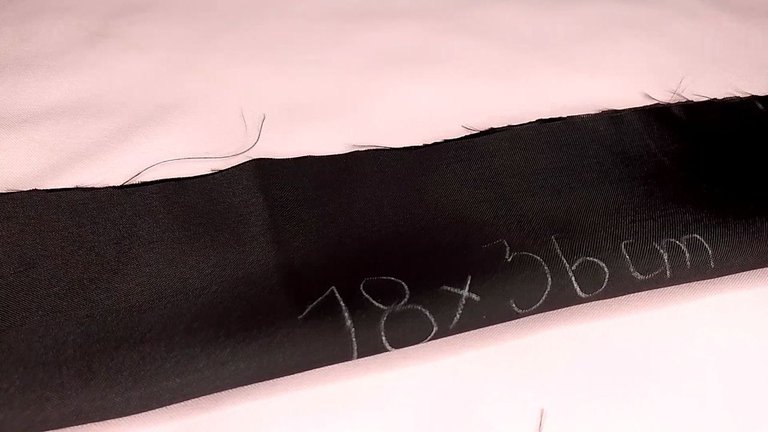
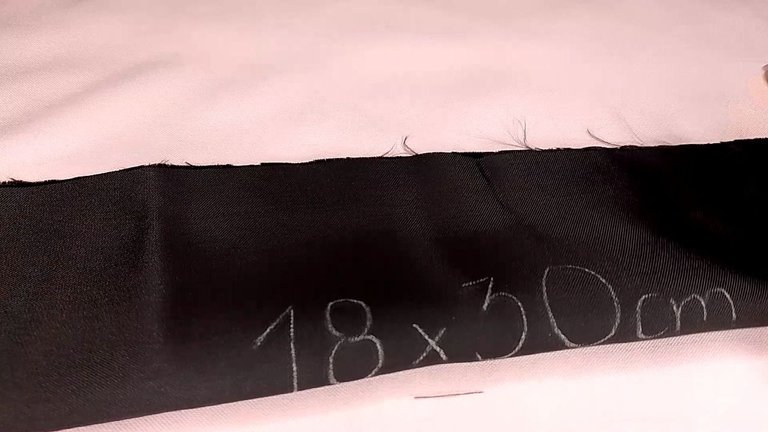
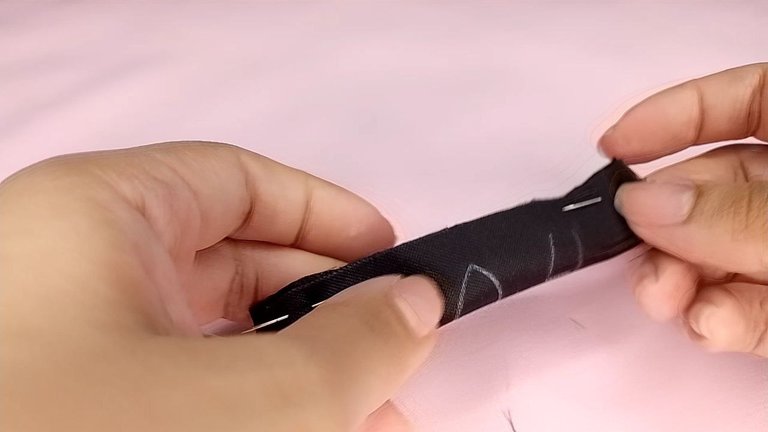
En el caso de las piezas rectangulares, las doblaremos por el medio, haciendo que sus aristas más largas se toquen. Igualmente, aseguraremos su posición con alfileres. Todas estas piezas que han sido dobladas, deben quedar con el lado de la tela que irá por dentro del diseño hacia afuera, para que cuando volteemos la pieza luego de coser, tengan la posición correcta.
English Version
In the case of rectangular pieces, we will fold them in the middle, making their longest edges touch. Likewise, we will secure their position with pins. All these pieces that have been folded should be folded with the fabric side that will be on the inside of the design facing out, so that when we turn the piece over after sewing, they will have the correct position.
 |  |  |
|---|
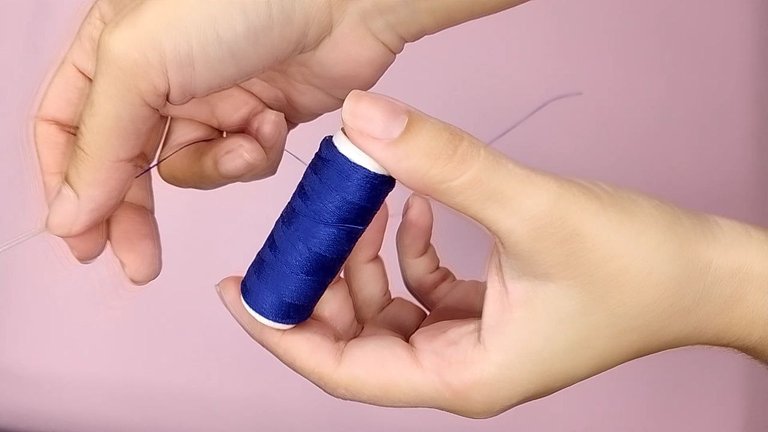
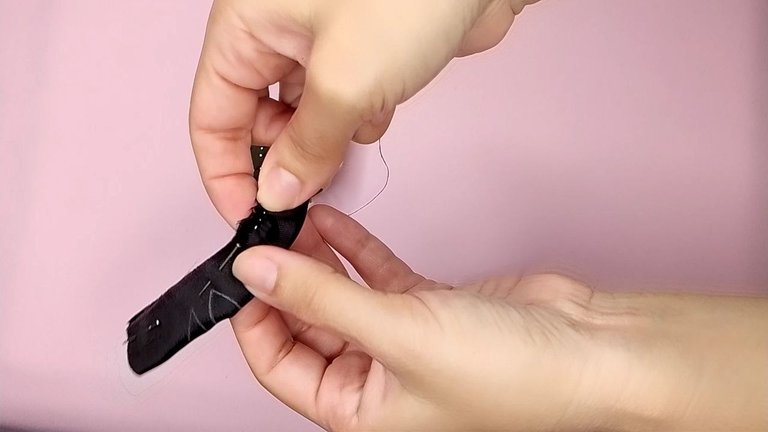
Tomamos hilo y aguja y procedemos a coser. Recordar siempre dejar un espacio suficiente libre, es decir, sin coser, para poder dar vuelta a la pieza. La costura se puede realizar a máquina, pero como yo no tengo, lo he hecho a mano. Lo ideal sería usar hilo del mismo color de la tela, pero a mí se me acabó el hilo de color negro, así que usé este azul que es el más oscuro que tengo, igual ya verán que al final no se ve ninguna de las costuras (risas).
English Version
We take thread and needle and proceed to sew. Remember to always leave enough free space, that is, without sewing, to be able to turn the piece. The sewing can be done by machine, but as I don't have one, I have done it by hand. The ideal would be to use thread of the same color as the fabric, but I ran out of black thread, so I used this blue one, which is the darkest I have, but you'll see that in the end you can't see any of the seams (laughs).
 |  |
|---|
Es momento de voltear cada una de las piezas. Para el rectángulo más pequeño, puedes ayudarte de algún elemento fino, yo empleé un palillo de altura. Así mismo lo utilicé para la pieza que era un cuadrado (luego de la costura se convierte en un triángulo), con él me aseguré de que la tela de las esquinas saliera completamente.
English Version
Now it's time to flip each of the pieces. For the smaller rectangle, you can help yourself with some thin element, I used a height stick. I used the same for the piece that was a square (after sewing it becomes a triangle), with it I made sure that the fabric in the corners came out completely.
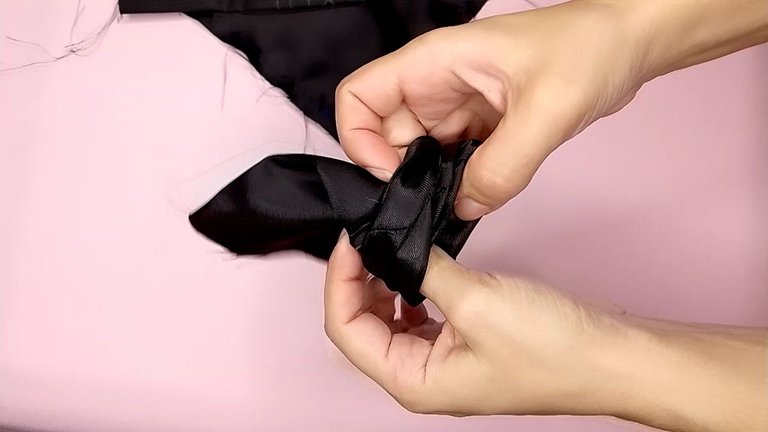
Volteamos las piezas / We flip the pieces
Con las piezas ahora por el derecho, debemos planchar cada una, créanme, es necesario, esto hará muchísimo más fácil lo que resta de la costura y da un acabado muy bonito.
English Version
With the pieces now right side out, we must iron each one, believe me, it is necessary, this will make the rest of the sewing much easier and gives a very nice finish.
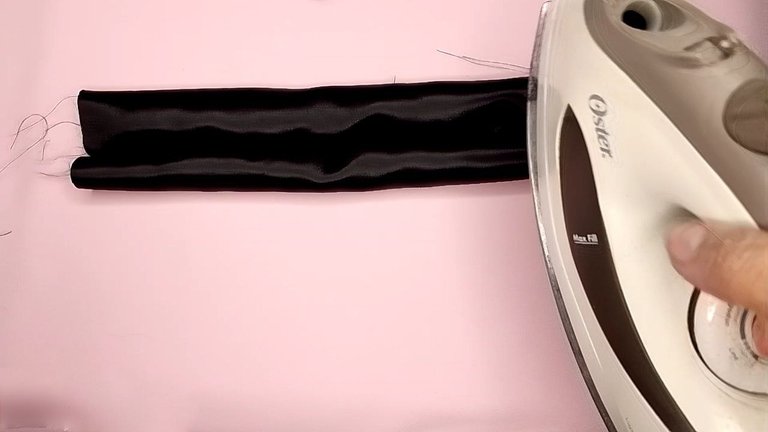
Planchamos / We iron
Una vez más colocamos alfileres en los extremos que deben ser cerrados y los cosemos con puntada oculta si es a mano o si no, con la máquina.
English Version
Once again we place pins on the ends that must be closed and sew them with a hidden stitch if it is by hand or with the machine.
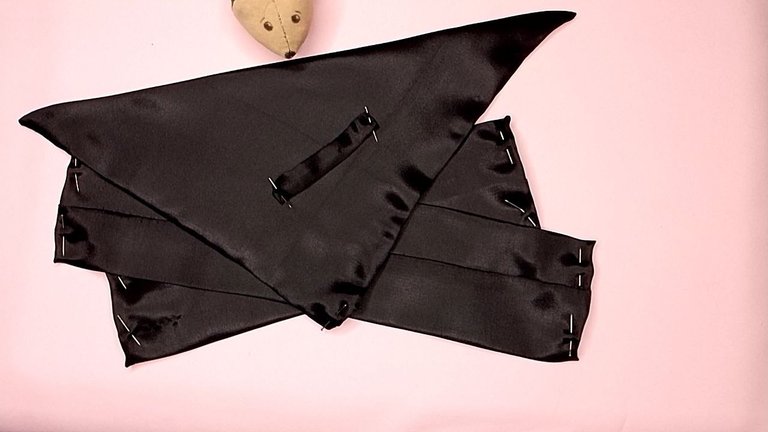
Alfileres en las telas / Pins in fabrics
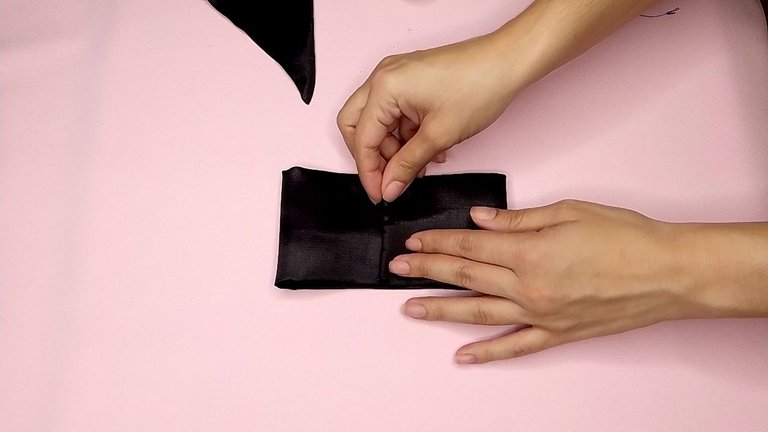
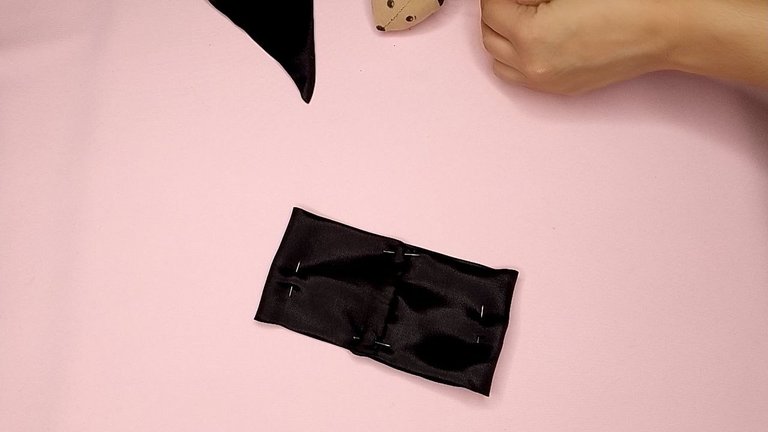
Ahora, doblamos por la mitad el rectángulo más grande, solo para marcar la línea del medio, abrimos de nuevo y llevamos uno de los extremos al centro, pero la metemos un poquito más allá. Igualmente, llevamos el otro extremo hacia el centro y lo solapamos con el primero. Aseguramos todo con alfileres y cosemos los dos extremos solapados entre ellos. Repetimos este proceso con el rectángulo mediano.
English Version
Now, fold the larger rectangle in half, just to mark the middle line, open it again and bring one of the ends to the center, but tuck it in a little further. Similarly, we bring the other end to the center and overlap it with the first one. Secure everything with pins and sew the two overlapping ends together. Repeat this process with the medium rectangle.
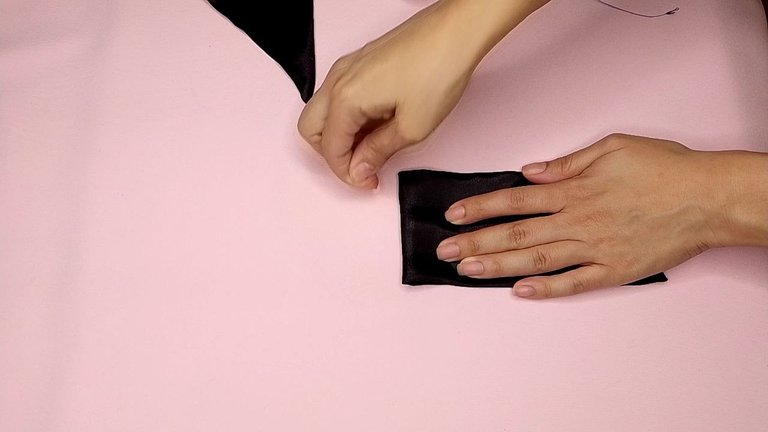 | 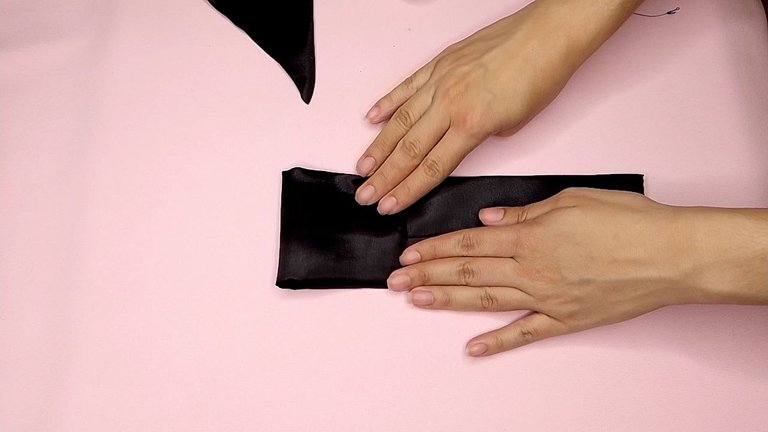 |  |  |
|---|
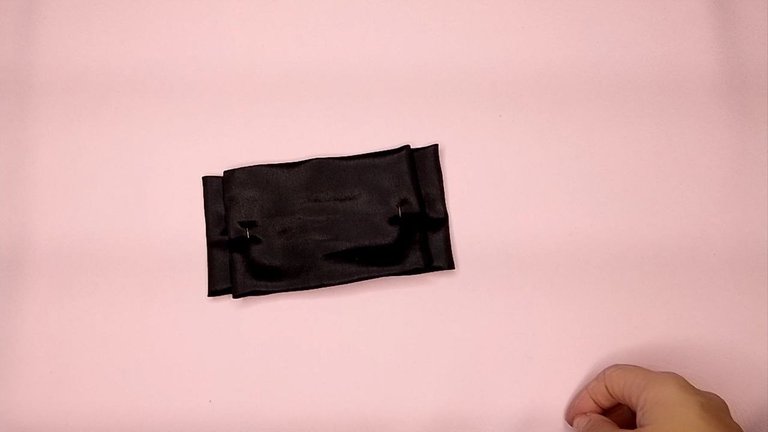
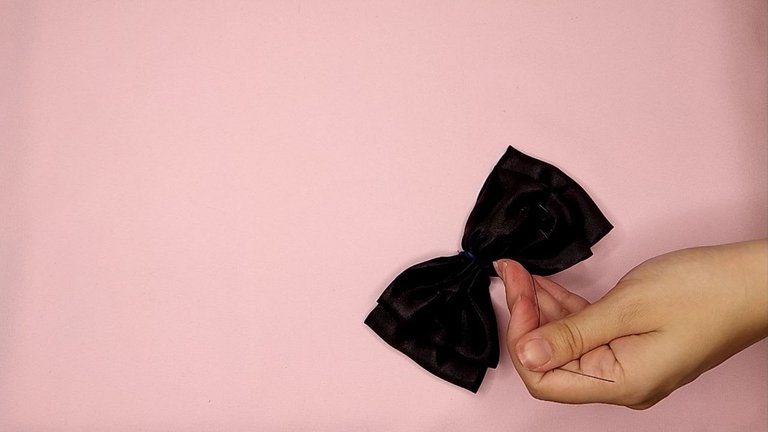
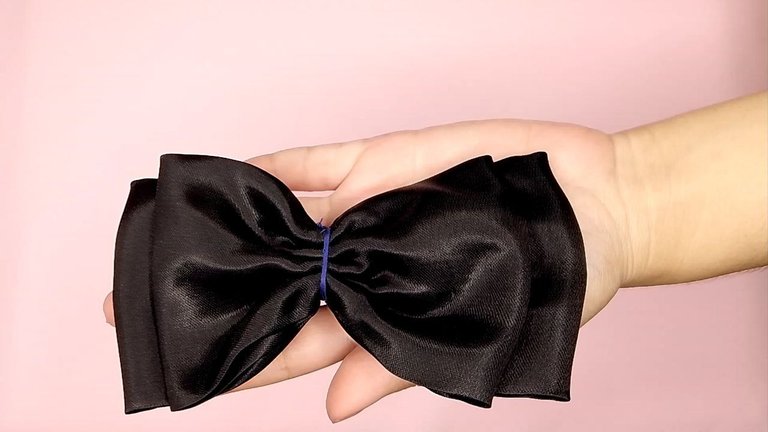
Una vez listos ambos rectángulos, colocamos el mediano sobre el grande, de modo que sus centros coincidan y hacemos una costura por el medio, pero sin asegurar al final, para así poder tirar del hilo y que se forme el fruncido del medio. Una vez que ya esté acomodado de la manera que nos gusta, con el mismo hilo, damos muchas vueltas alrededor del fruncido para asegurar y anudamos la costura para terminar.
English Version
Once both rectangles are ready, we place the medium rectangle on top of the large one, so that their centers coincide and we make a seam in the middle, but without securing it at the end, so that we can pull the thread and form the gathering in the middle. Once it is already arranged the way we like, with the same thread, we make many turns around the gathering to secure it and knot the seam to finish.
 |  |  |
|---|
El procedimiento para la pieza triangular es exactamente el mismo, doblamos para marcar la mitad, realizamos una costura sencilla, tiramos del hilo para formar el fruncido y aseguramos la costura.
English Version
The procedure for the triangular piece is exactly the same, fold to mark the middle, make a simple seam, pull the thread to form the gathering and secure the seam.
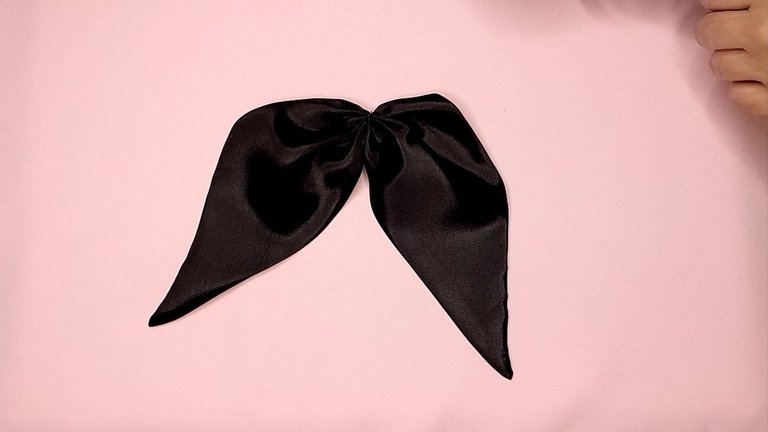
Fruncido pieza triangular / Gathered triangular piece
Para finalizar, superponemos el lazo sobre la pieza anterior haciendo que coincidan sus centros y rodeamos al mismo con el rectángulo más pequeño. Hacemos una última costura para que el rectángulo del nudo quede en su lugar.
English Version
To finish, we superimpose the loop over the previous piece making their centers coincide and surround it with the smaller rectangle. We make a last seam so that the rectangle of the knot remains in place.
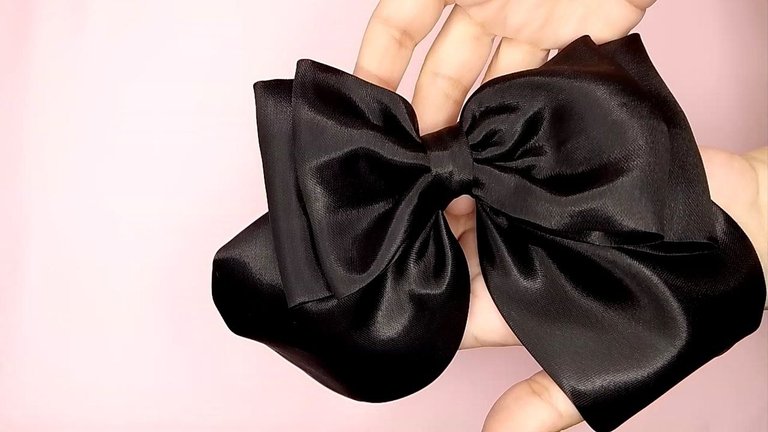
Lazo terminado / Finished loop
Por último, añadimos un ganchito a la parte posterior del lazo y listo, ya puedes ser una chica coquette con mucho estilo.
English Version
Finally, add a little hook to the back of the bow and that's it, you can be a stylish coquette girl.
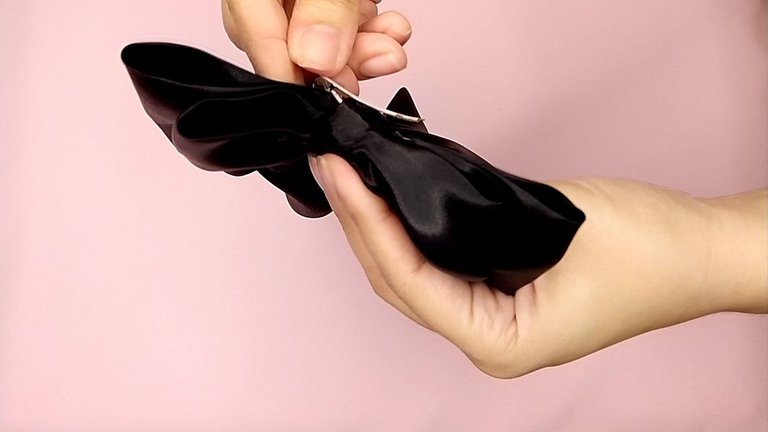
Añadiendo ganchito / Adding hook
Y este es el resultado final / And this is the final result:
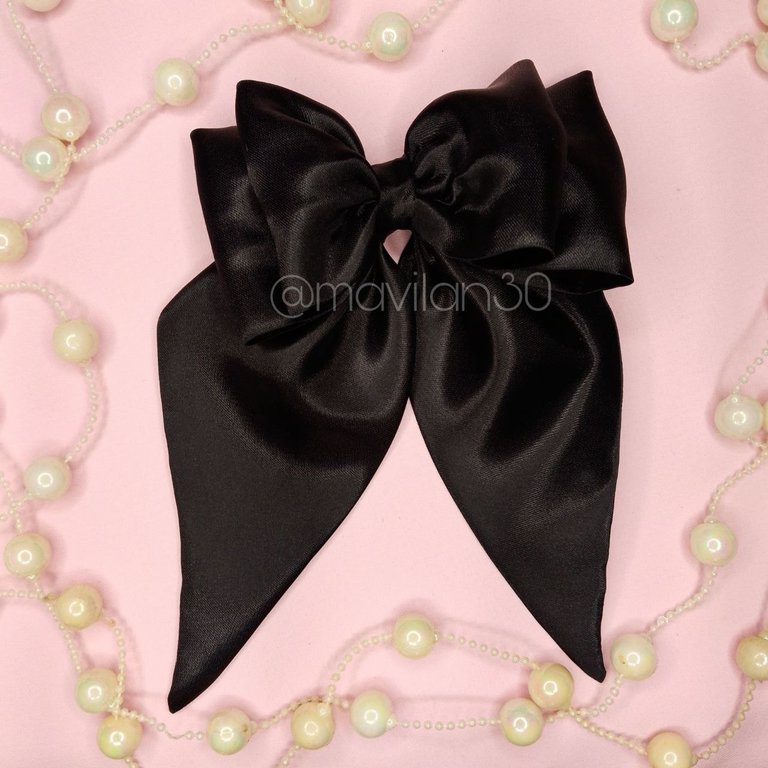
Resultado final / Final result
¡Muchas gracias por leerme!
Thank you so much for reading me!
Fotografías propias, tomadas con mi Tecno Spark 10C.
Traducido al inglés con DeepL. English Version
Own photographs, taken with my Tecno Spark 10C.
Translated to English with DeepL.

Banner creado por mí en Canva / Banner made by me in Canva
