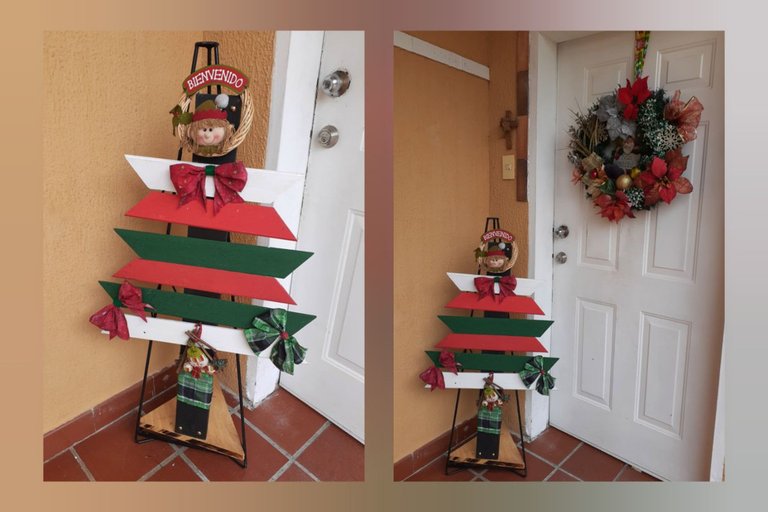
Hola amigos de Hive Diy! La decoración de la entrada de nuestra casa es la primera impresión que nuestros visitantes tienen de nuestro hogar, y qué mejor manera de darle un toque acogedor y único que utilizando materiales reciclados. Por eso hoy, les traigo un tutorial de cómo transformar listones de madera reciclada en una hermosa decoración. No solo estarás contribuyendo al cuidado del medio ambiente, sino que también podrás expresar tu creatividad y estilo personal.
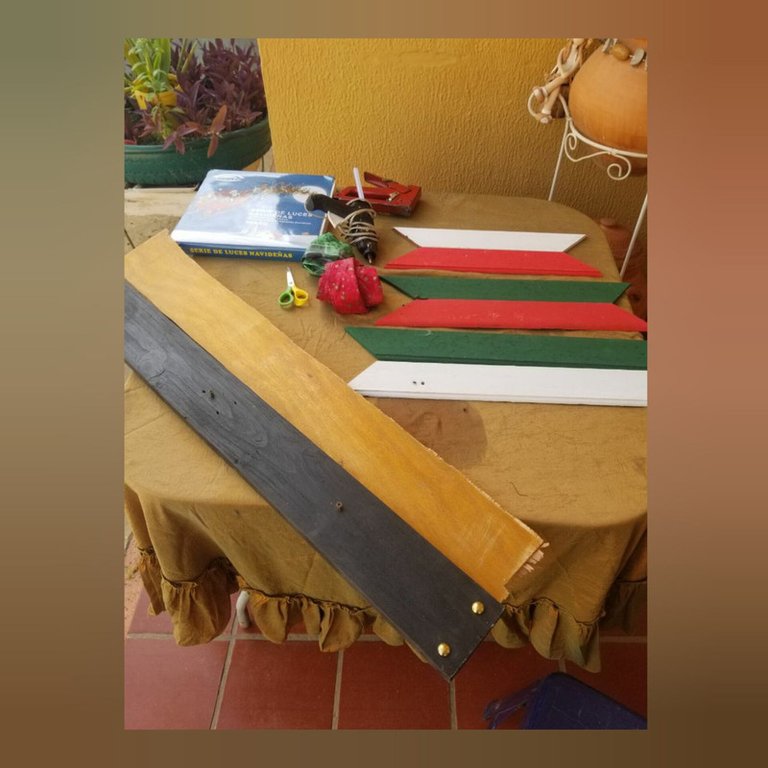
Para ello vamos a necesitar:
Listones de madera 7, también puedes usar cartón de las cajas de pizza o algún carton grueso
Tijeras
Adornos navideños, estos adornos eran de años anteriores que los utilice en guirnaldas y del árbol de navidad.
Lazos o tela para realizarlos
Tornillos de madera
Destornillador
Pintura roja, blanca y verde
Pistola de silicón
Base de hierro forjado (opcional)
Procedimiento:
Vamos a pintar nuestros listones de madera o cartón (dos en color verde, dos blancos y dos rojos), y el listón que nos servirá de base (negro), como estaba en buen estado no necesito que lo pintara.
Los listones miden entre 40 y 50 centímetros cada uno, no es necesario que todos tengan la misma medida.
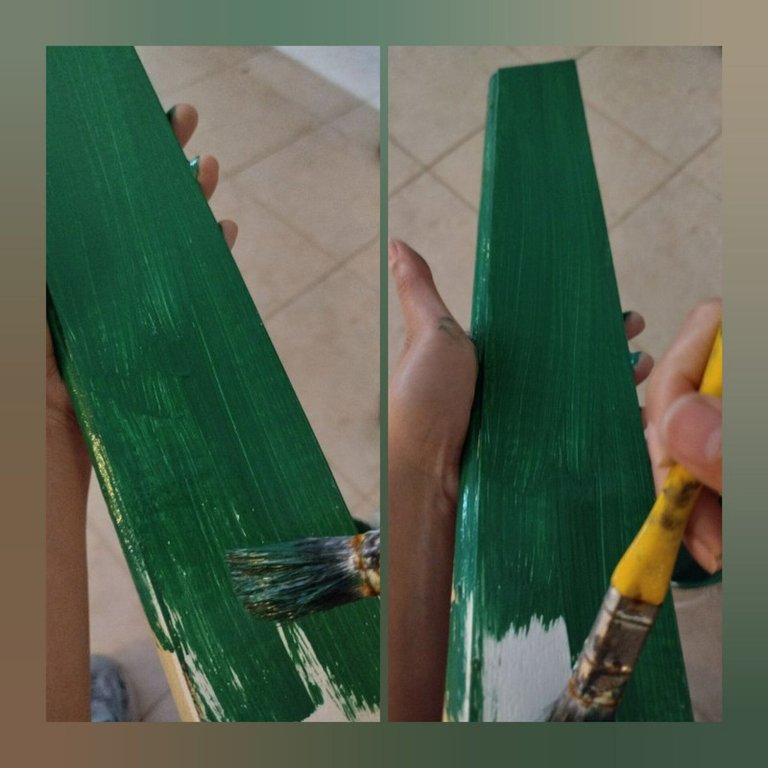
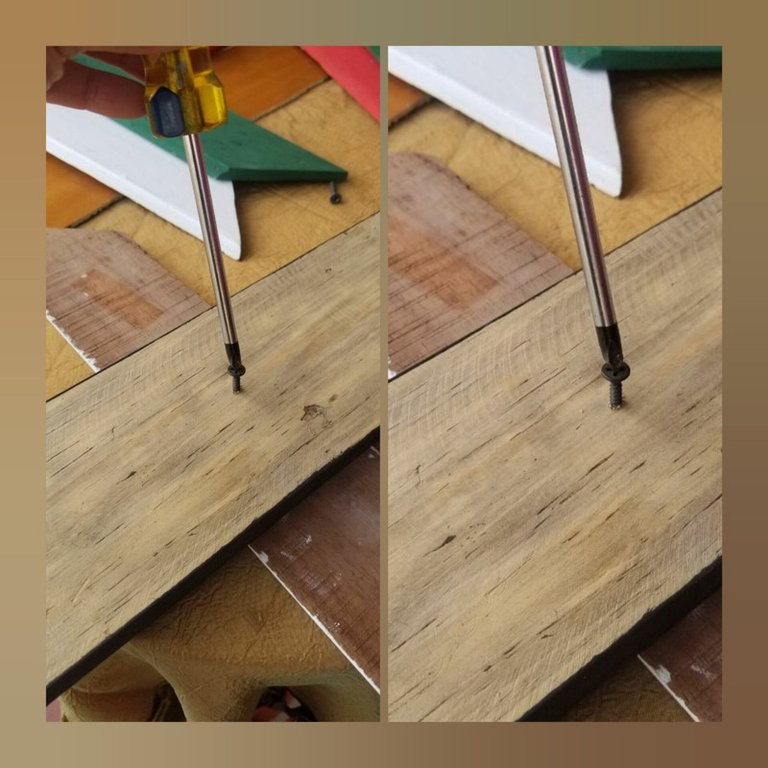
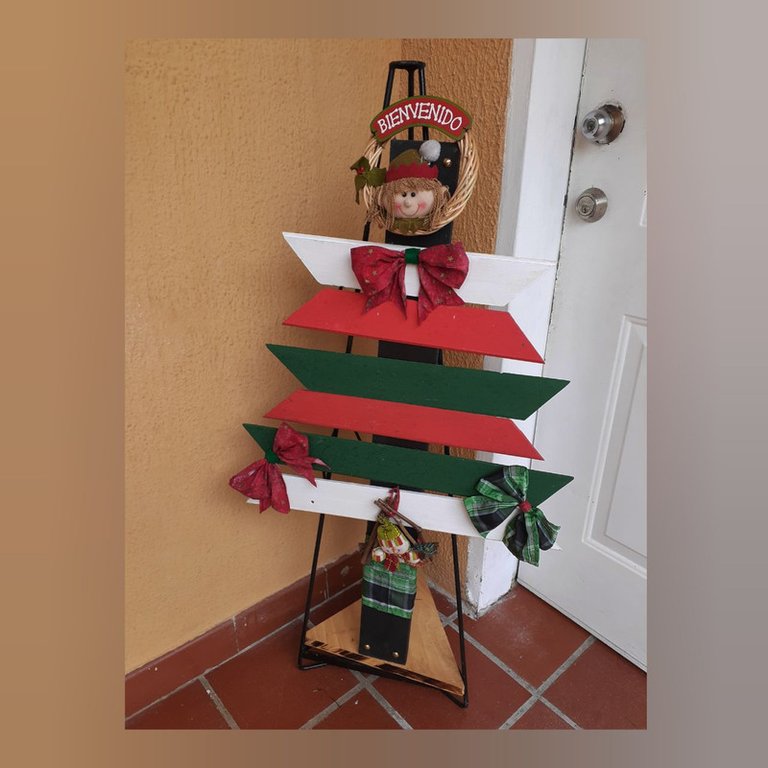
Una vez pintados y secos los listones; colocamos uno blanco uno rojo y uno verde. Luego, uno rojo, uno verde y uno blanco y vamos asegurarlos por la parte de atrás con los tornillos de madera a nuestro listón principal, que nos servirá de base.
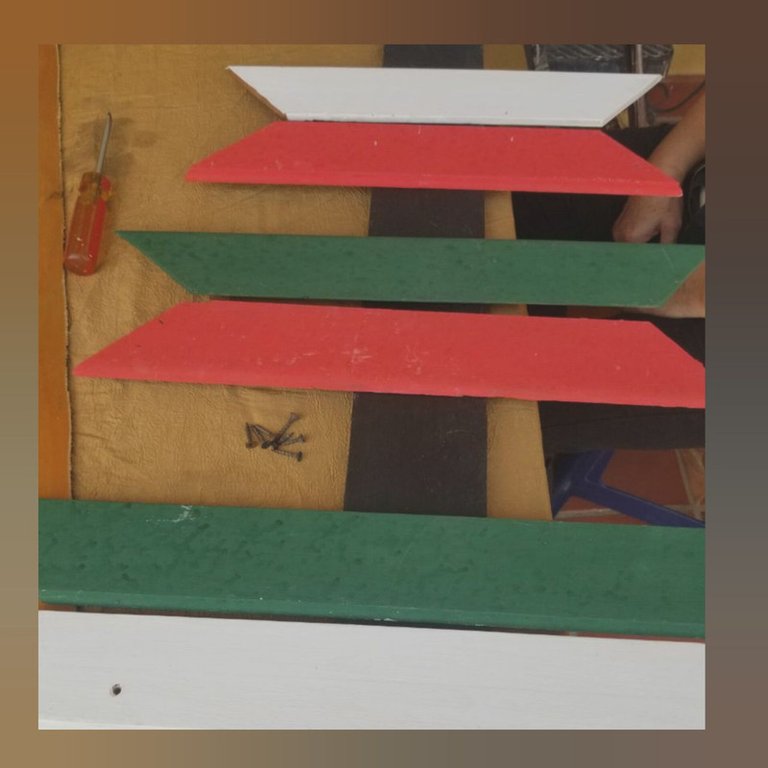
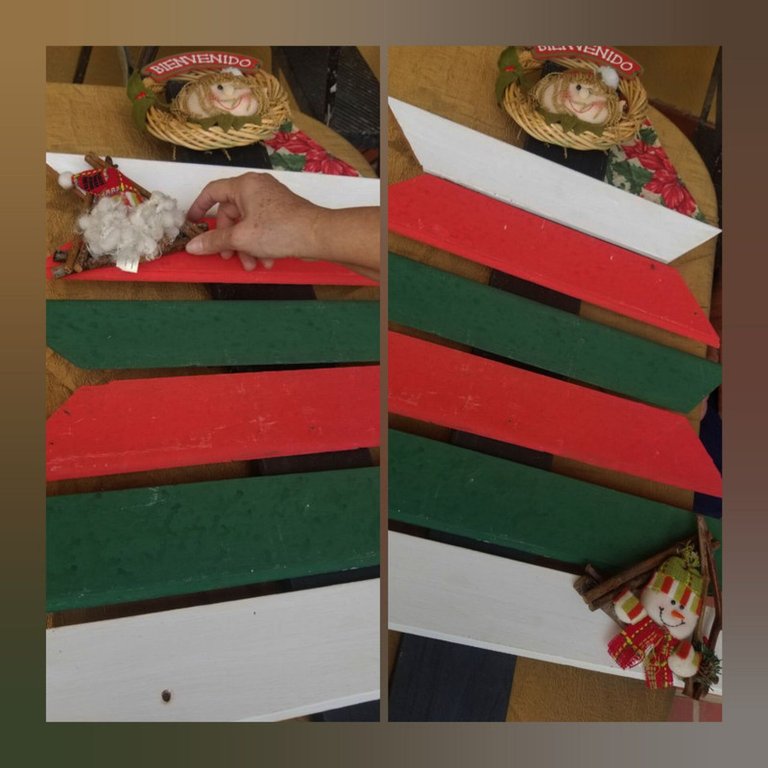
Una vez asegurados los listones, comenzamos a pegar los muñecos de nieve y los elfos a los listones, el que dice bienvenidos lo colocamos en la parte superior y los demás en los extremos.
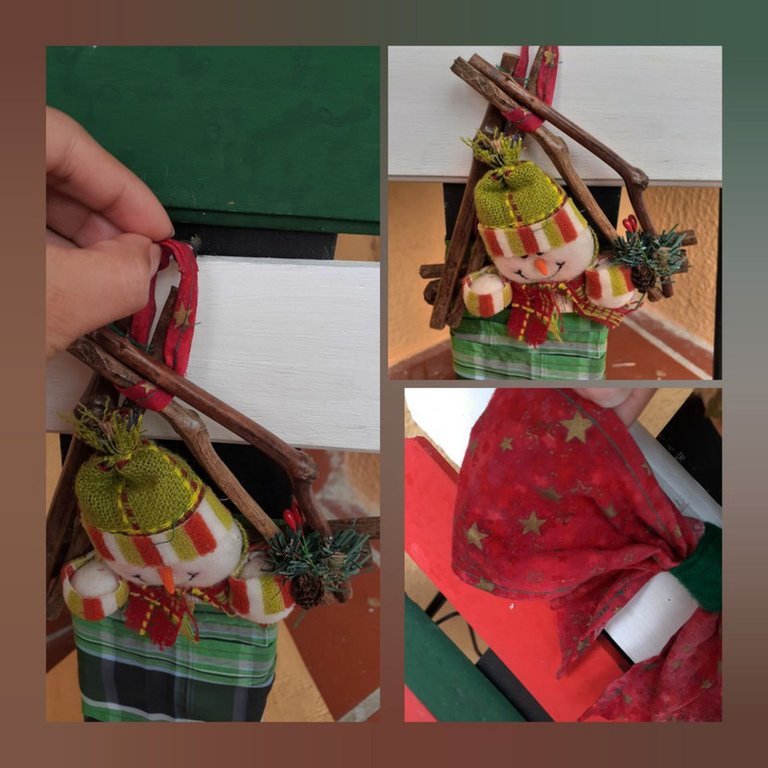
Vamos intercalando los adornos con lazos realizados en tela roja con estrellas doradas y de cuadros para crear un lindo contraste con los listones.
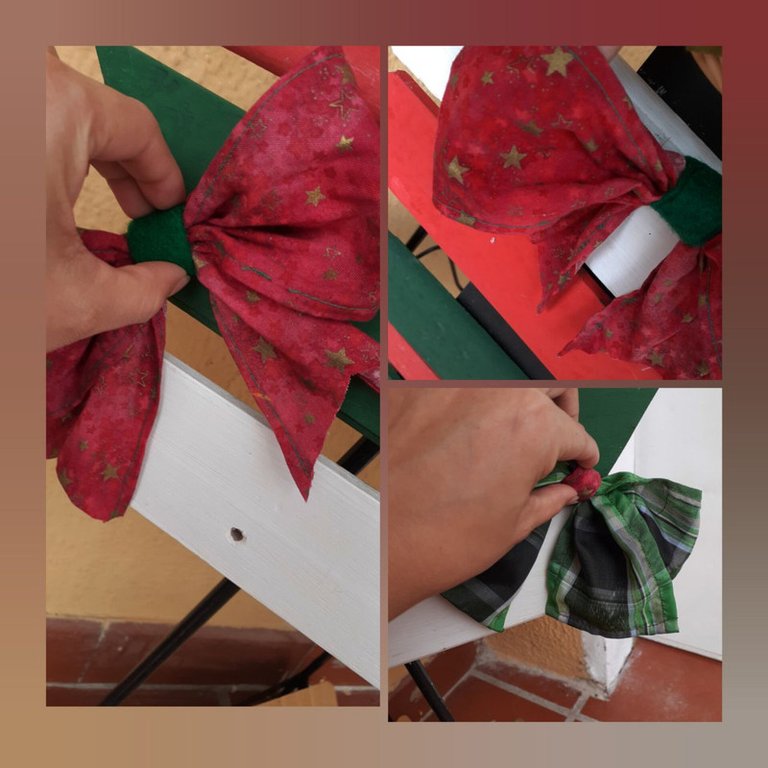

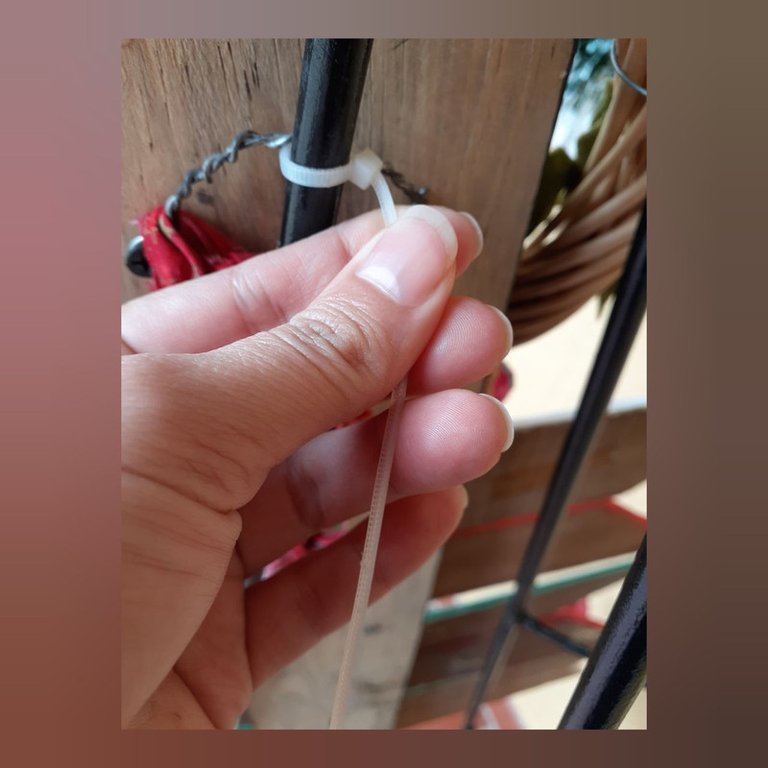
Luego, la parte inferior forramos con la tela de cuadros y aseguramos con tirraje plástico a una estructura que tenía en hierro forjado, pero tú puedes guindarlo en la pared o colocarlo en un rincón de la entrada de tu casa.
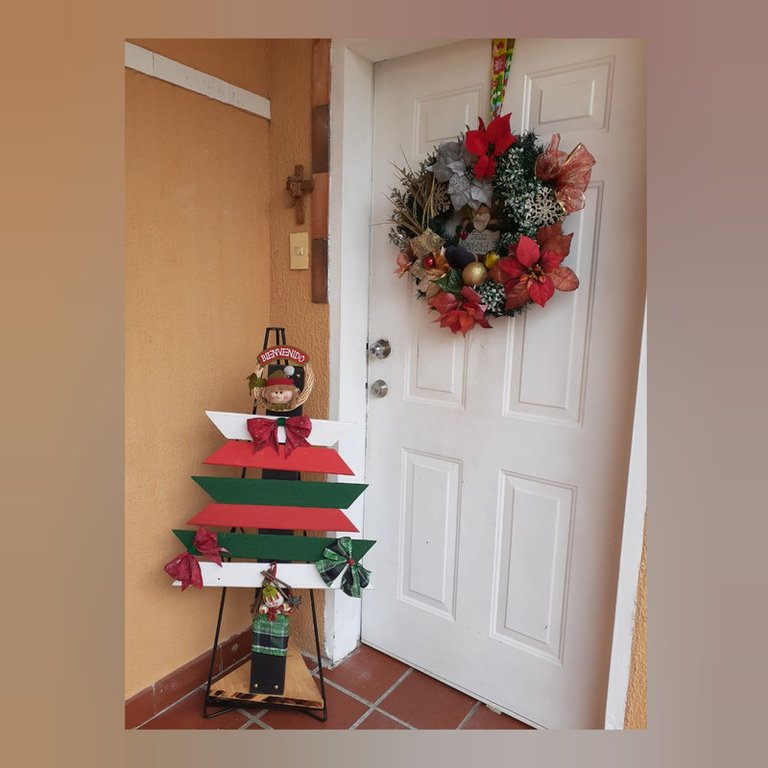
Para finalizar, coloque en la puerta una guirnalda decorada también con el mismo muñeco de nieve, flores , lazos y bambalinas doradas. No es necesario que gastes todo tu dinero en decoraciones costosas, considera también utilizar elementos naturales como ramas de pino, piñas o frutas secas. Puedes realizar adornos hermosos y económicos, reutilizar las bambalinas que tienes y pintarlas con spray o pintura acrílica, o colocarles los nombres de cada miembro de la familia en vinyl adhesivo. Lo importante es dejar volar tu creatividad e involucrar a los miembros de la familia para realizar las decoraciones.
Si ya comenzaste a decorar tu casa y tienes alguna idea me gustaría que la compartieras en los comentarios.
Las fotografías fueron tomadas por mi.
ENGLISH
Hello Hive Diy friends! Decorating the entrance of our home is the first impression our visitors have of our home, and what better way to give it a cozy and unique touch than using recycled materials. That's why today, I bring you a tutorial on how to transform recycled wood strips into a beautiful decoration. Not only will you be contributing to the care of the environment, but you will also be able to express your creativity and personal style.

To do this we will need:
Wooden strips 7, you can also use cardboard from pizza boxes or some thick cardboard.
Scissors
Christmas ornaments, these ornaments were from previous years that I used them in garlands and Christmas tree.
Bows or fabric to make them
Wood screws
Screwdriver
Red, white and green paint
Silicone gun
Wrought iron base (optional)

Procedure:
We are going to paint our wooden or cardboard strips (two in green, two white and two red), and the strip that will serve as a base (black), as it was in good condition I did not need to paint it.
The strips measure between 40 and 50 centimeters each one, it is not necessary that all have the same size.

Once the strips are painted and dry, we put a white one, a red one and a green one. Then, one red, one green and one white and we will secure them on the back with the wood screws to our main lath, which will be used as a base.


Once the ribbons are secured, we start gluing the snowmen and elves to the ribbons, the one that says welcome, we place it at the top and the others at the ends.


Interspersing the ornaments with ribbons made of red fabric with gold and checkered stars to create a nice contrast with the ribbons.


Then, we lined the lower part with the checkered fabric and secured it with plastic straps to a wrought iron structure, but you can hang it on the wall or place it in a corner of the entrance of your house.


To finish, I placed a garland on the door also decorated with the same snowman, flowers, bows and golden banners. You don't need to spend all your money on expensive decorations, consider also using natural elements such as pine branches, pine cones or dried fruits. You can make beautiful and inexpensive decorations, reuse the scenery you have and spray or acrylic paint them, or put the names of each family member on vinyl stickers. The important thing is to let your creativity fly and involve the family members to make the decorations.

If you have already started to decorate your house and have any ideas I would like you to share them in the comments.
The pictures were taken by me.
