Felíz noche comunidad Hive Diy, saludos queridos amigos amantes de las manualidades, espero estén pasando un buen fin de semana, yo me encuentro descansando en casa hoy estuve comprando algunas cosas para al decoración del árbol, y también para compartir algunas manualidades relacionadas al tema, me pone muy felíz la navidad jaja.
Happy night Hive Diy community, greetings dear friends who love crafts, I hope you are having a good weekend, I am resting at home today I was buying some things to decorate the tree, and also to share some crafts related to the topic, Christmas makes me very happy haha.
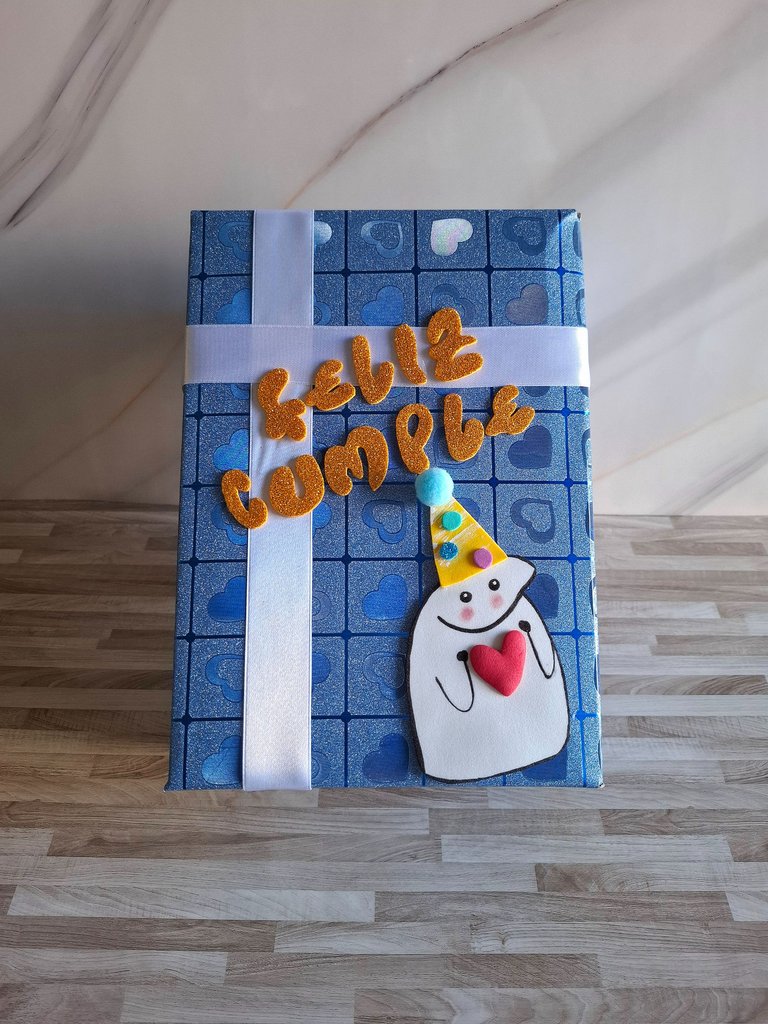
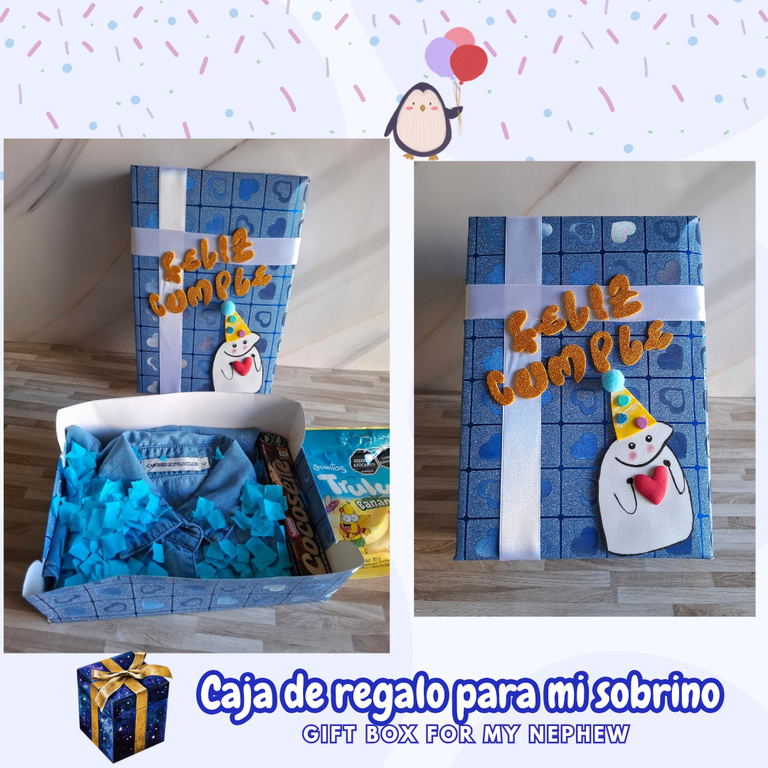
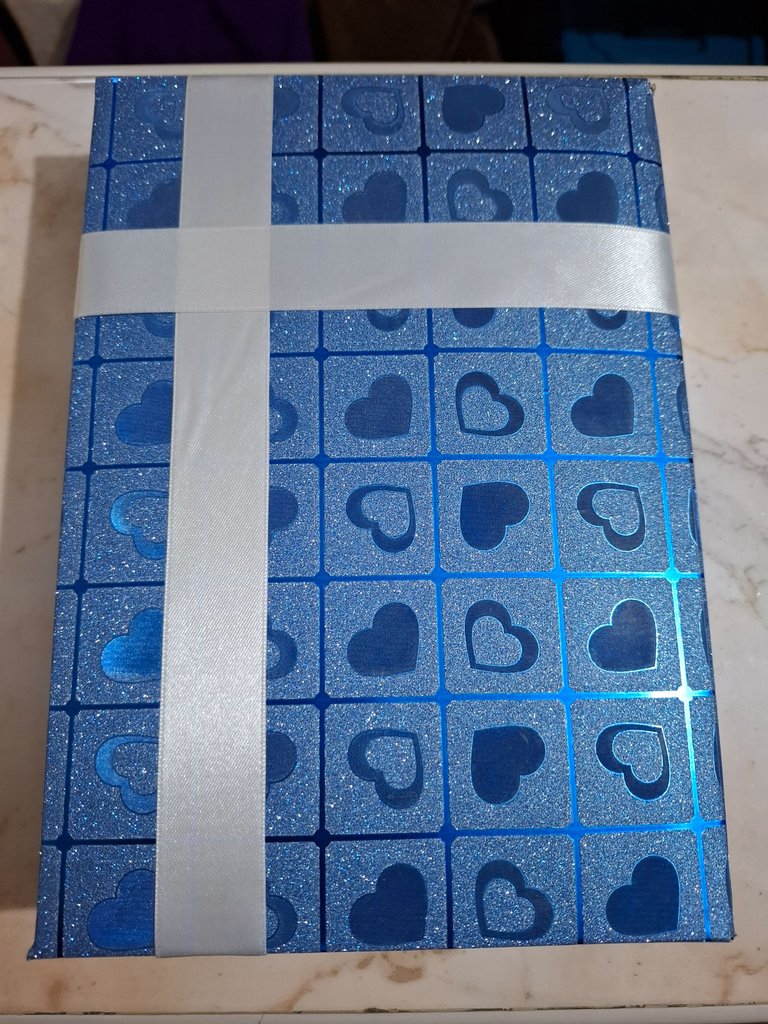
En ésta ocasión les quiero compartir una linda caja de regalo que elaboré para mi sobrino por motivo de su cumpleaños, utilicé cartulina además de letras de cumpleaños en foami y una tierna figura, en esta cajita coloqué el obsequio para mi sobrino es super fácil de realizar, espero les guste, les muestro los materiales y el paso a paso.
On this occasion I want to share with you a beautiful gift box that I made for my nephew for his birthday, I used cardboard as well as foam birthday letters and a tender figure, in this little box I placed the gift for my nephew, it is super easy to make I hope you like it, I show you the materials and the step by step.

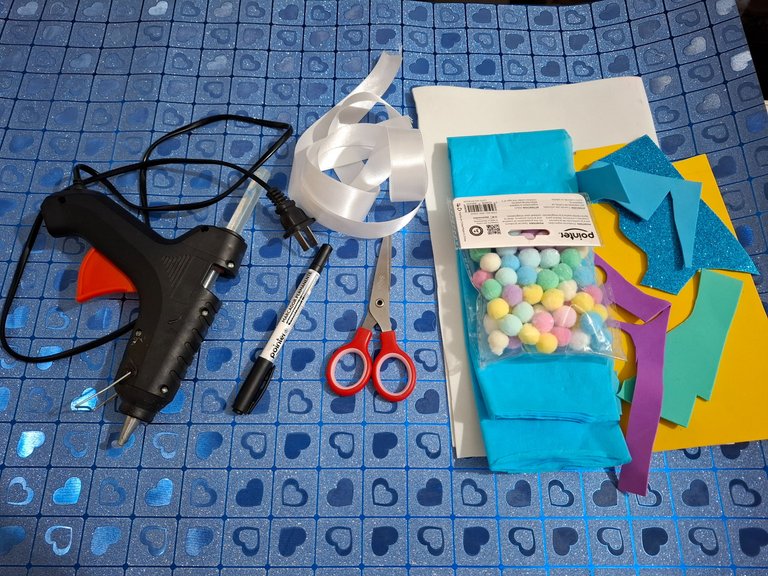
Materiales:
💙1 cartulina del diseño de tu preferencia.
💙Foami blanco.
💙Marcador negro punta fina.
💙Retazo de foami morado, azul, amarillo, rojo.
💙Tijera.
💙Silicón.
💙Cinta color blanco.
💙Papel crepé azul.
💙Pompones.
💙Pintura blanca.

Paso a paso / Step by step
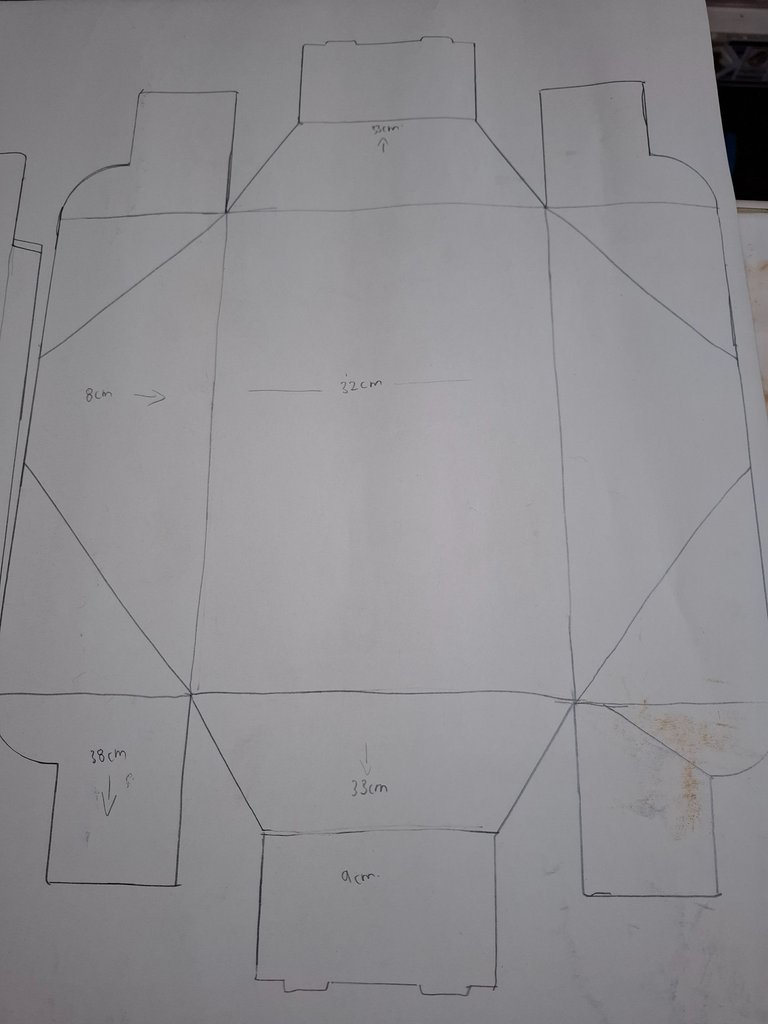
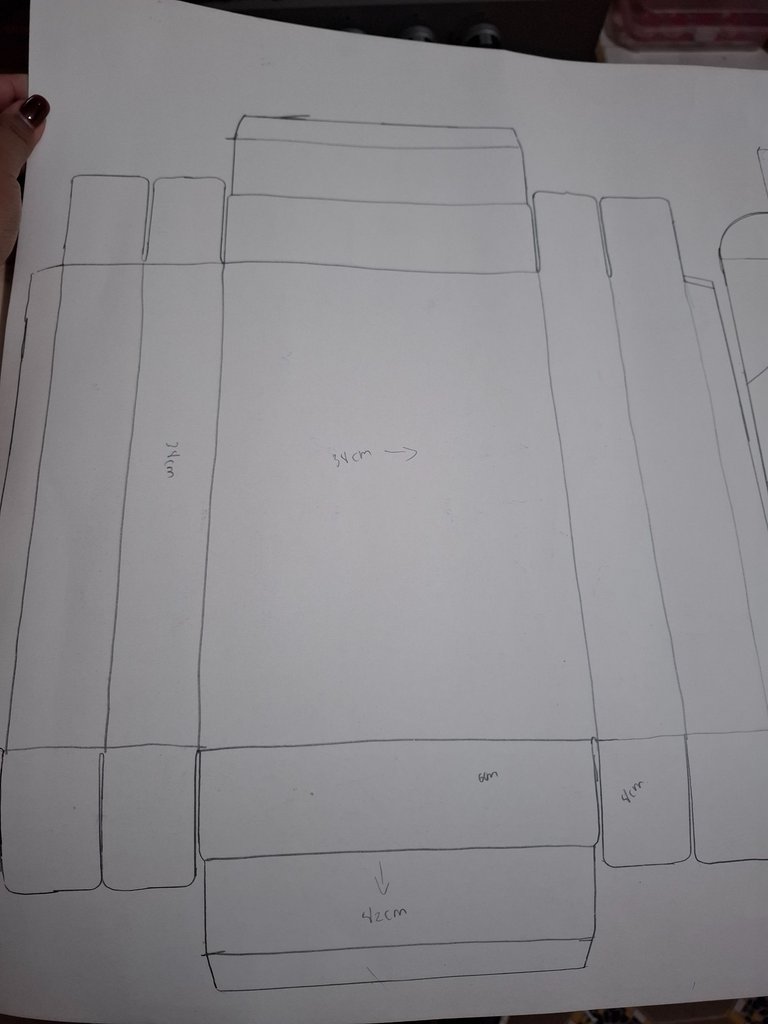
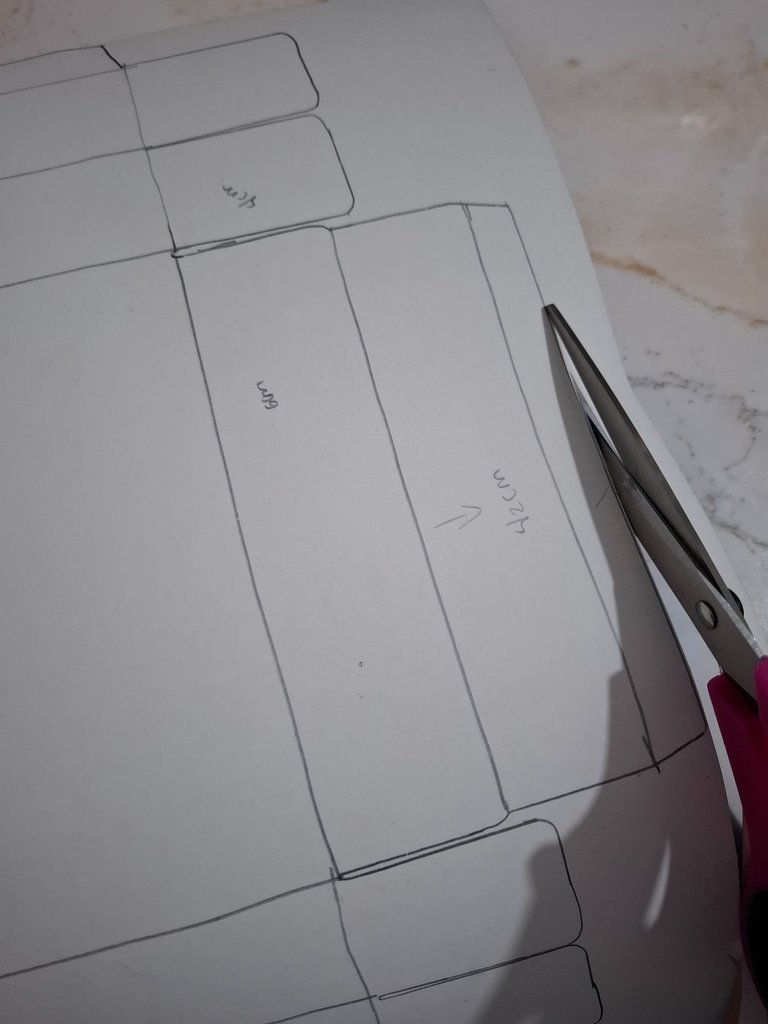
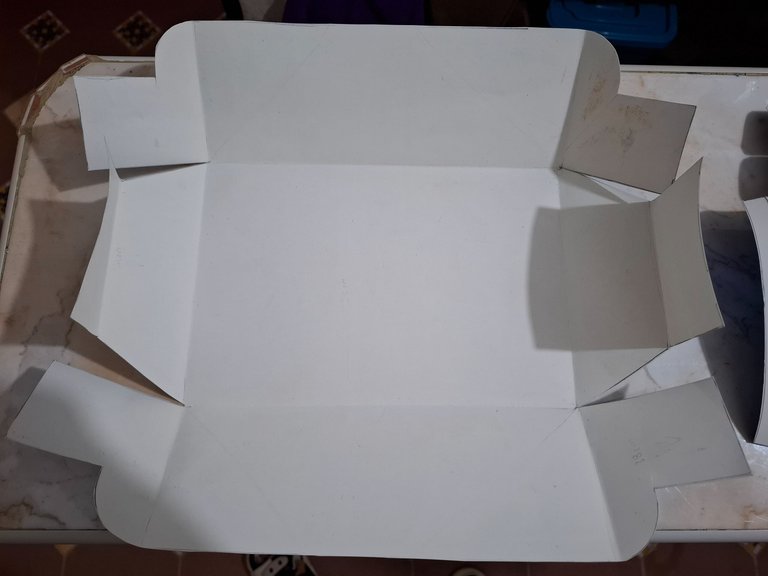
El primer paso se trata de dibujar la caja y tapa en la cartulina, en cada foto está la medida que utilicé, comenzamos a recortar con mucho detenimiento y cuidado.
The first step is to draw the box and lid on the cardboard, in each photo is the measurement that I used, we begin to cut out very carefully and carefully.
 |  |  |
|---|
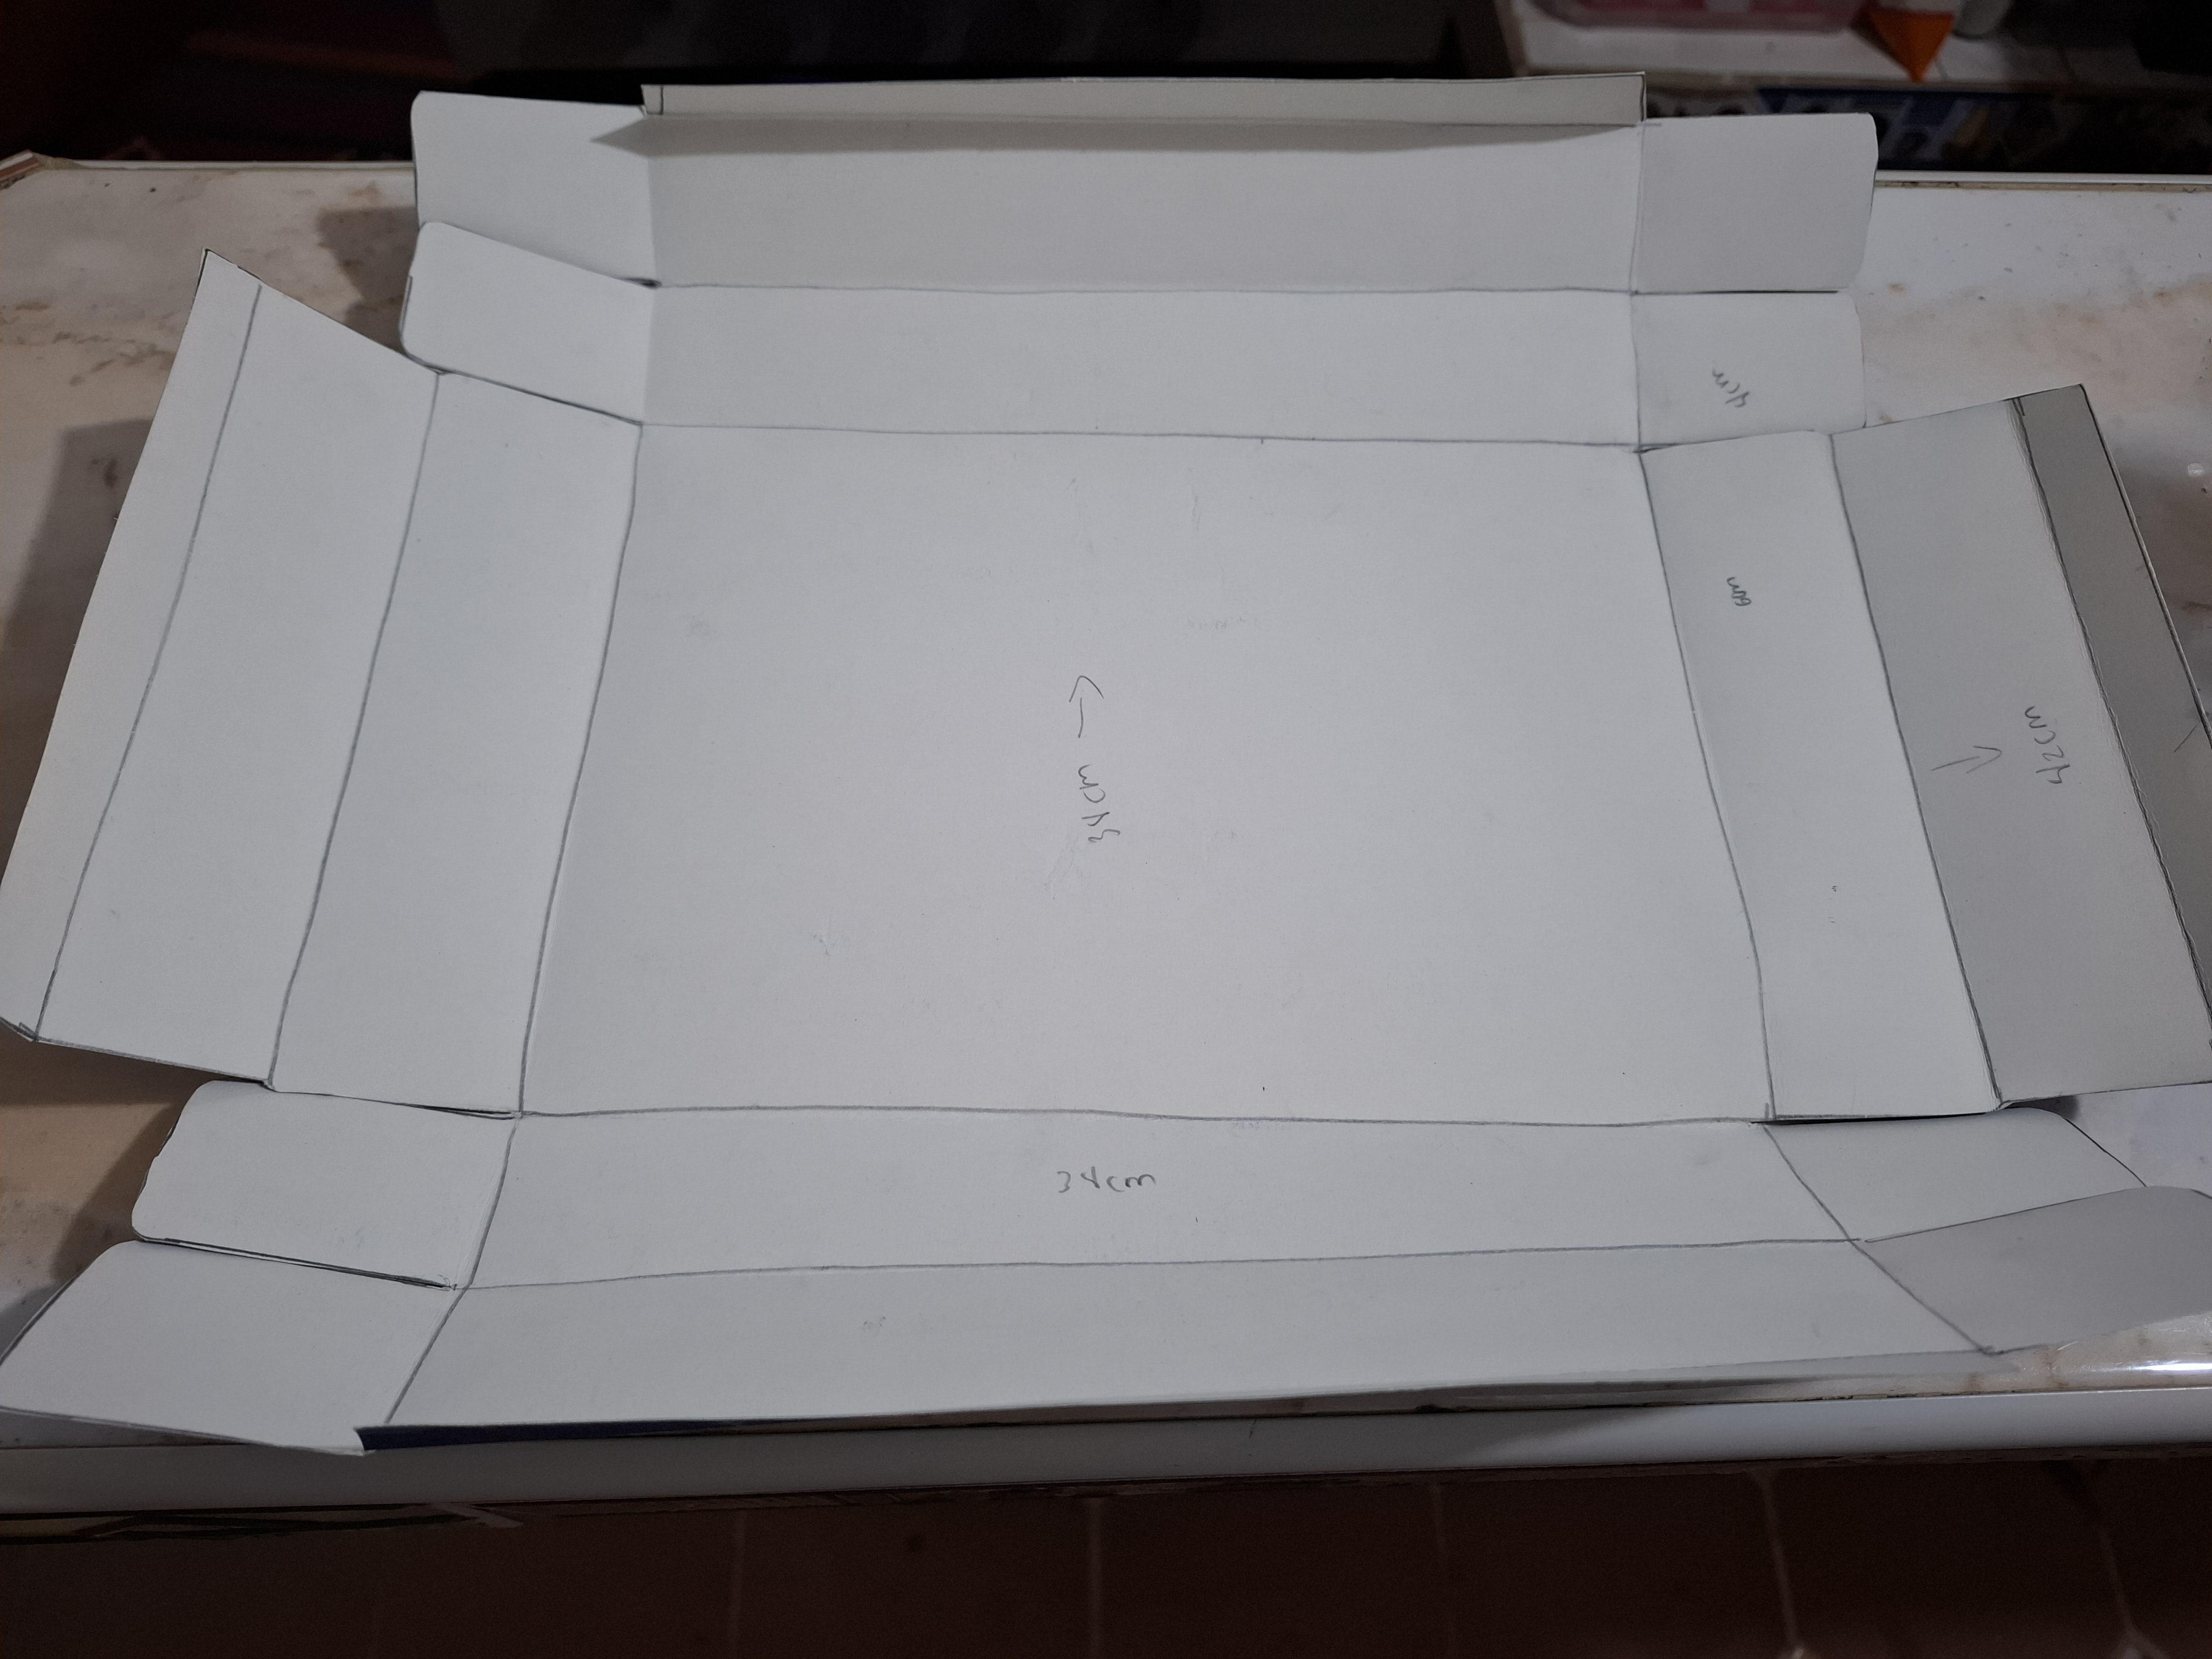
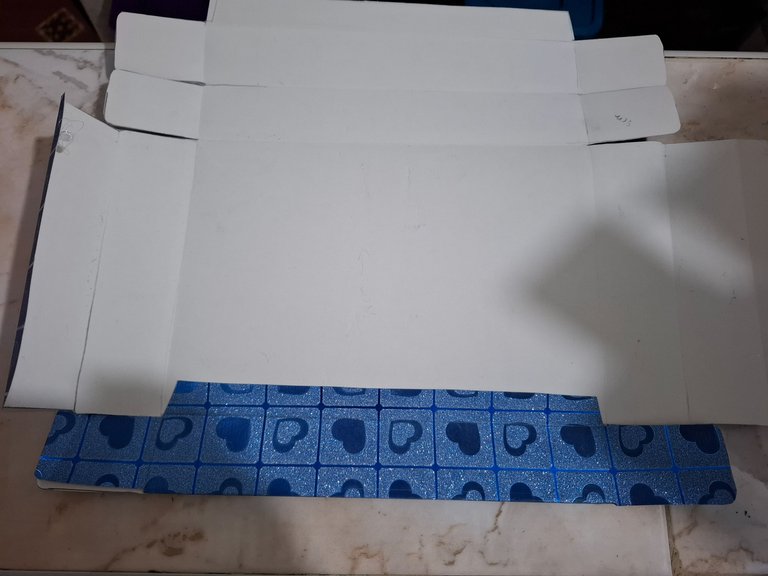
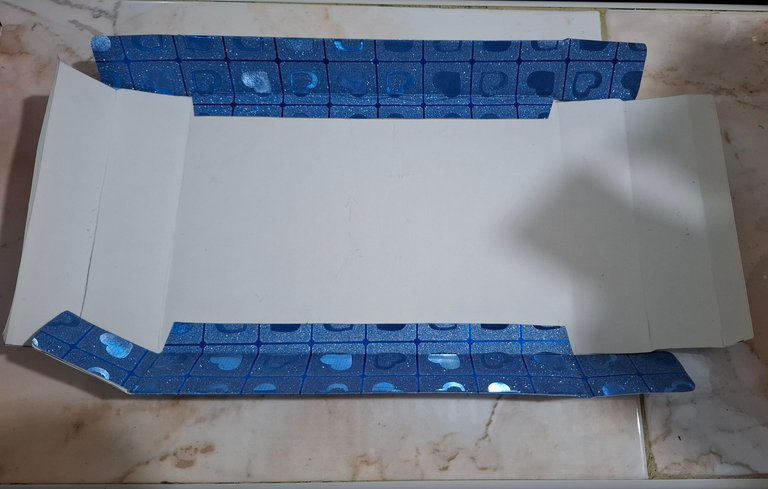
Una vez que cortamos las dos partes de la caja voy realizar el dobles en cada línea marcada esto para poder unirla, luego de realizar el dobles voy a borrar las lineas marcadas.
Once we cut the two parts of the box, I am going to make doubles on each marked line to be able to join them. After making the doubles, I am going to erase the marked lines.
 |  |  |
|---|
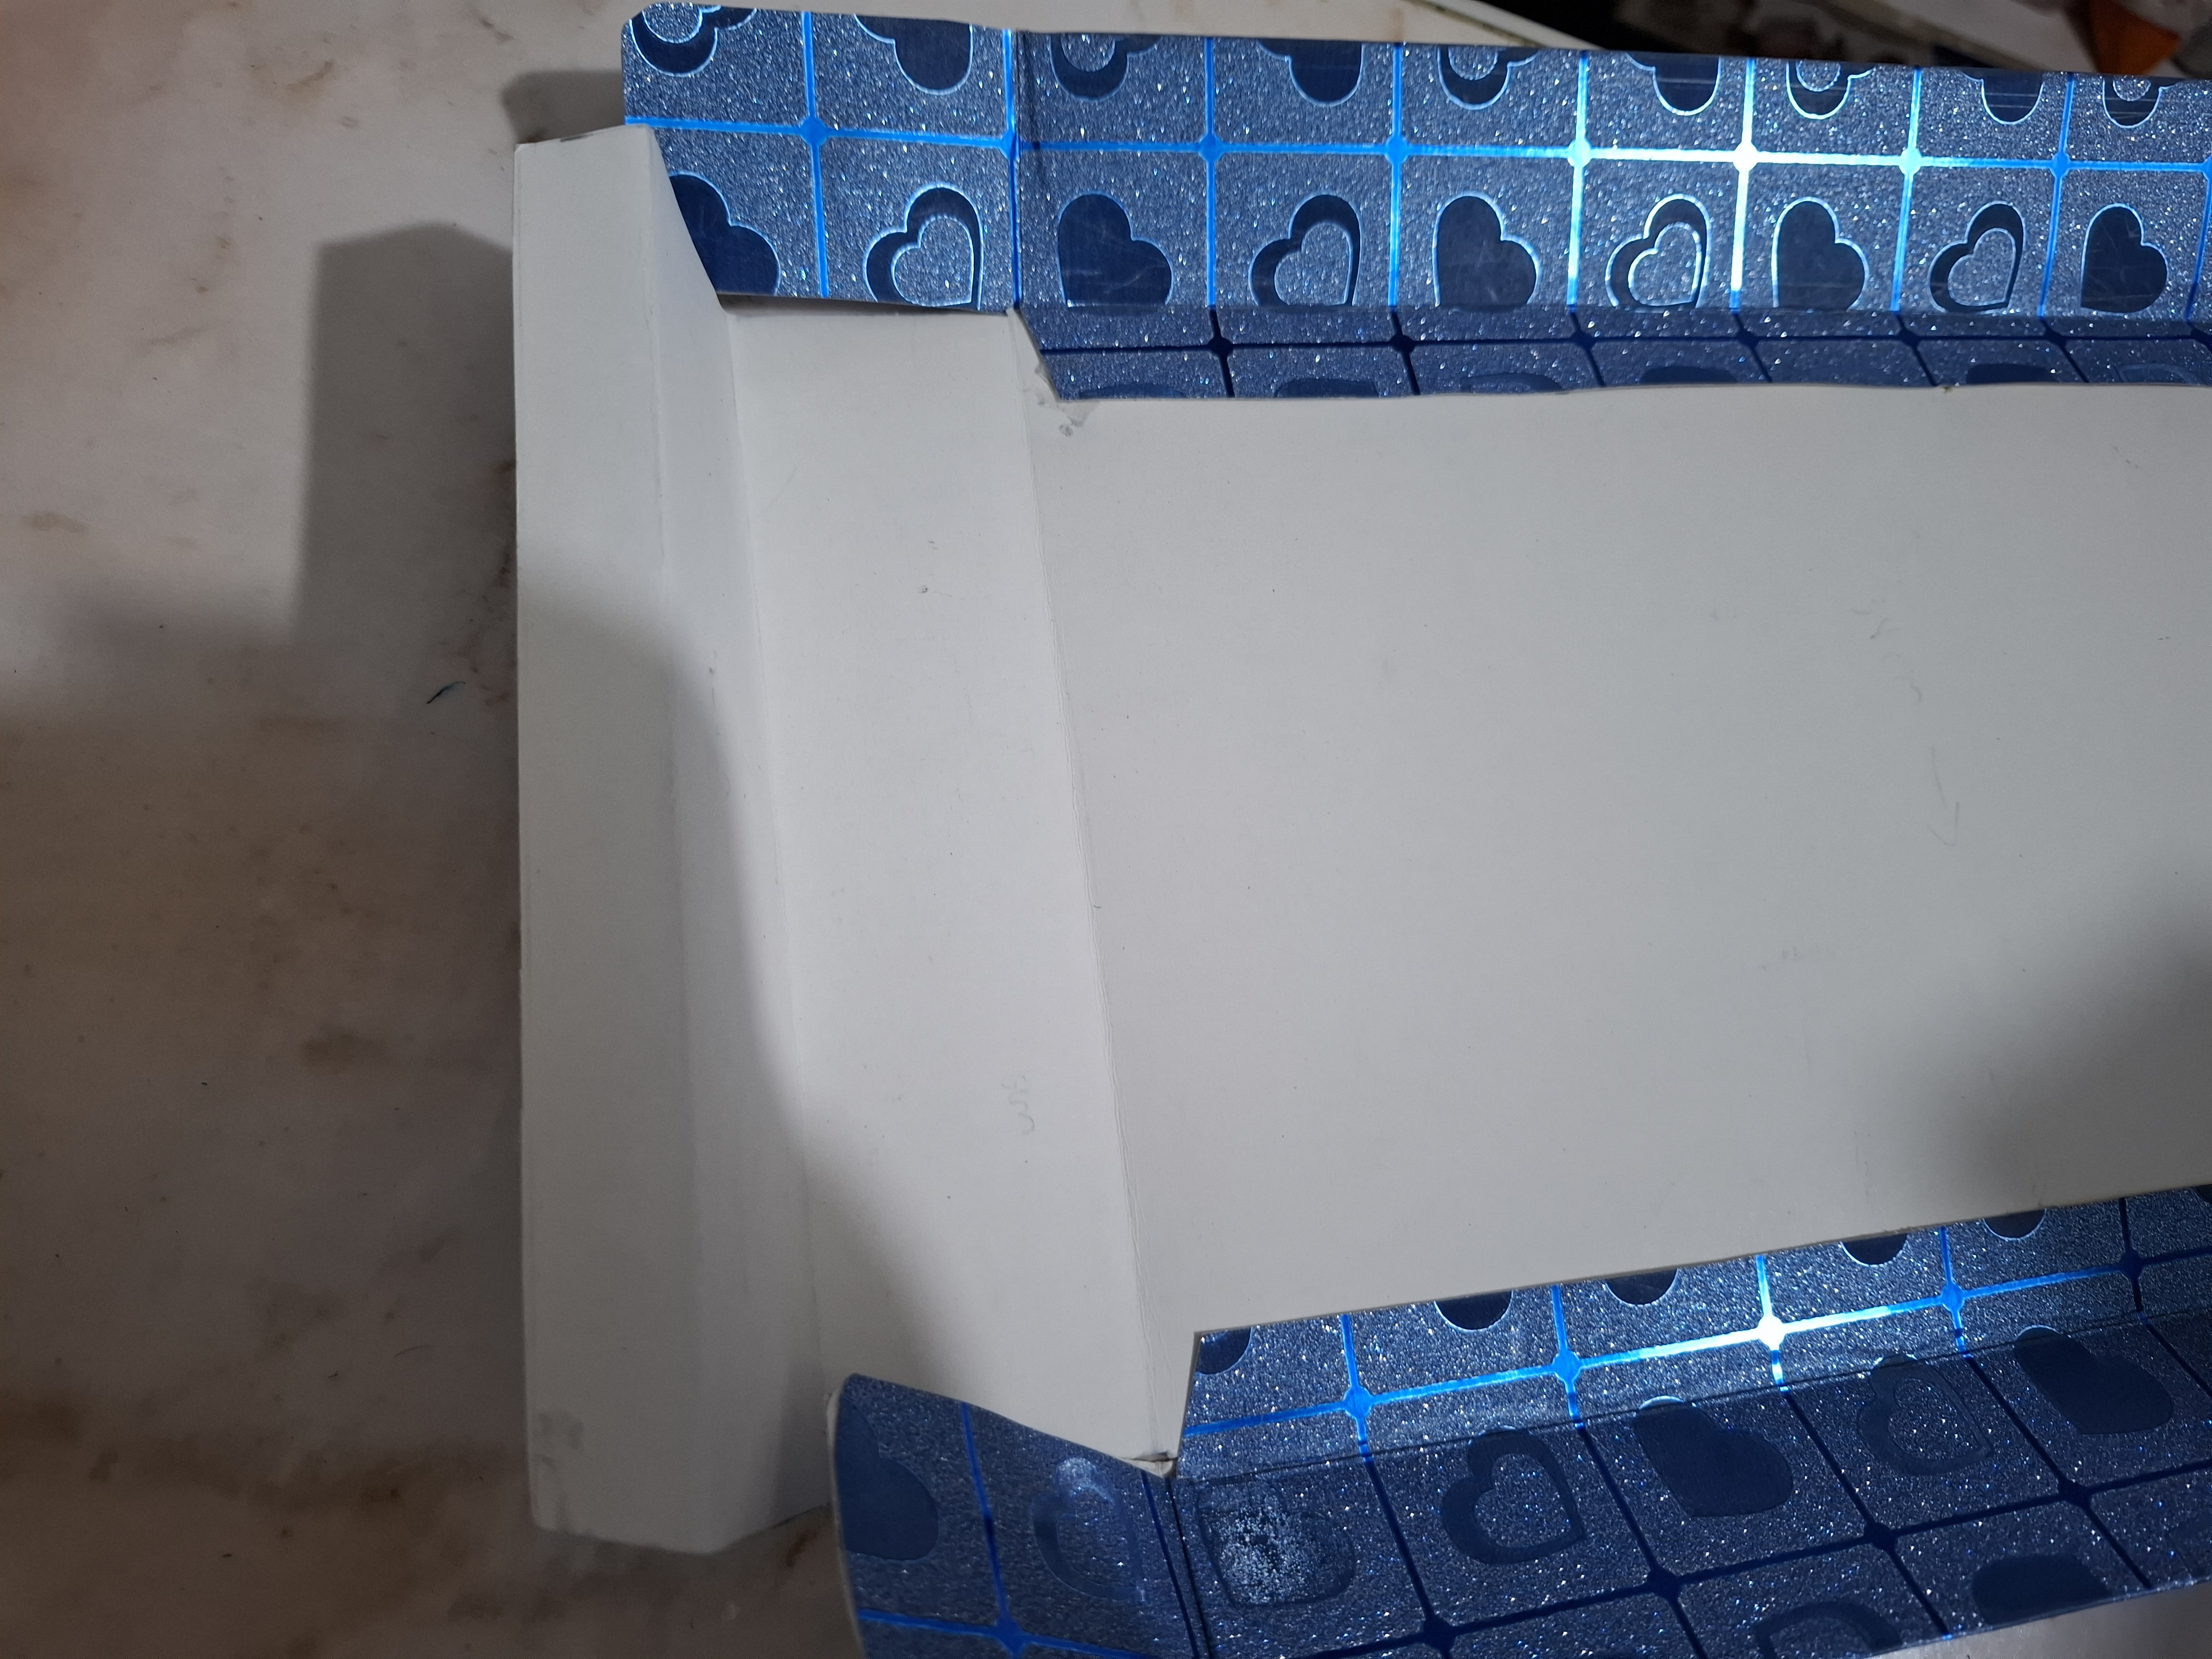

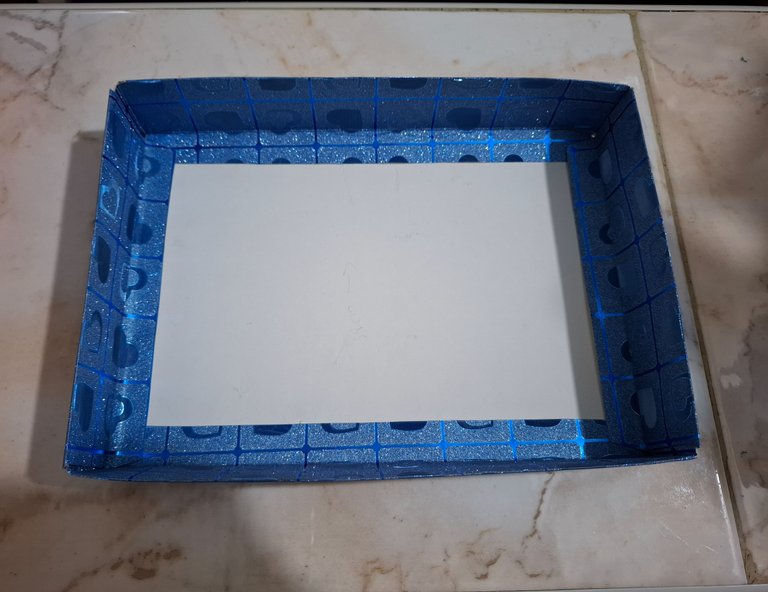
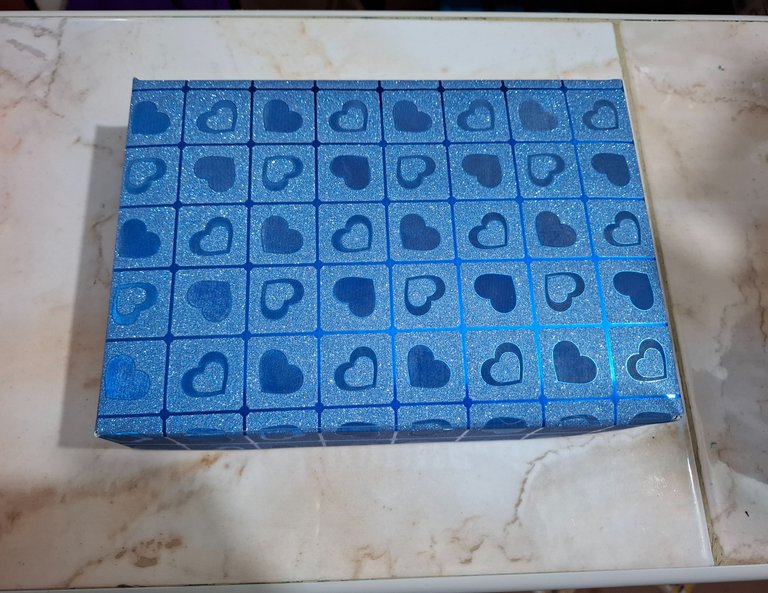
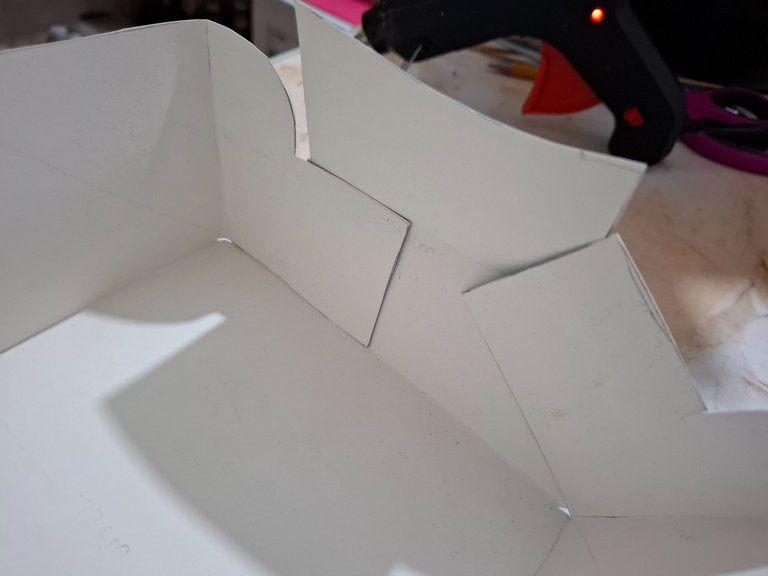
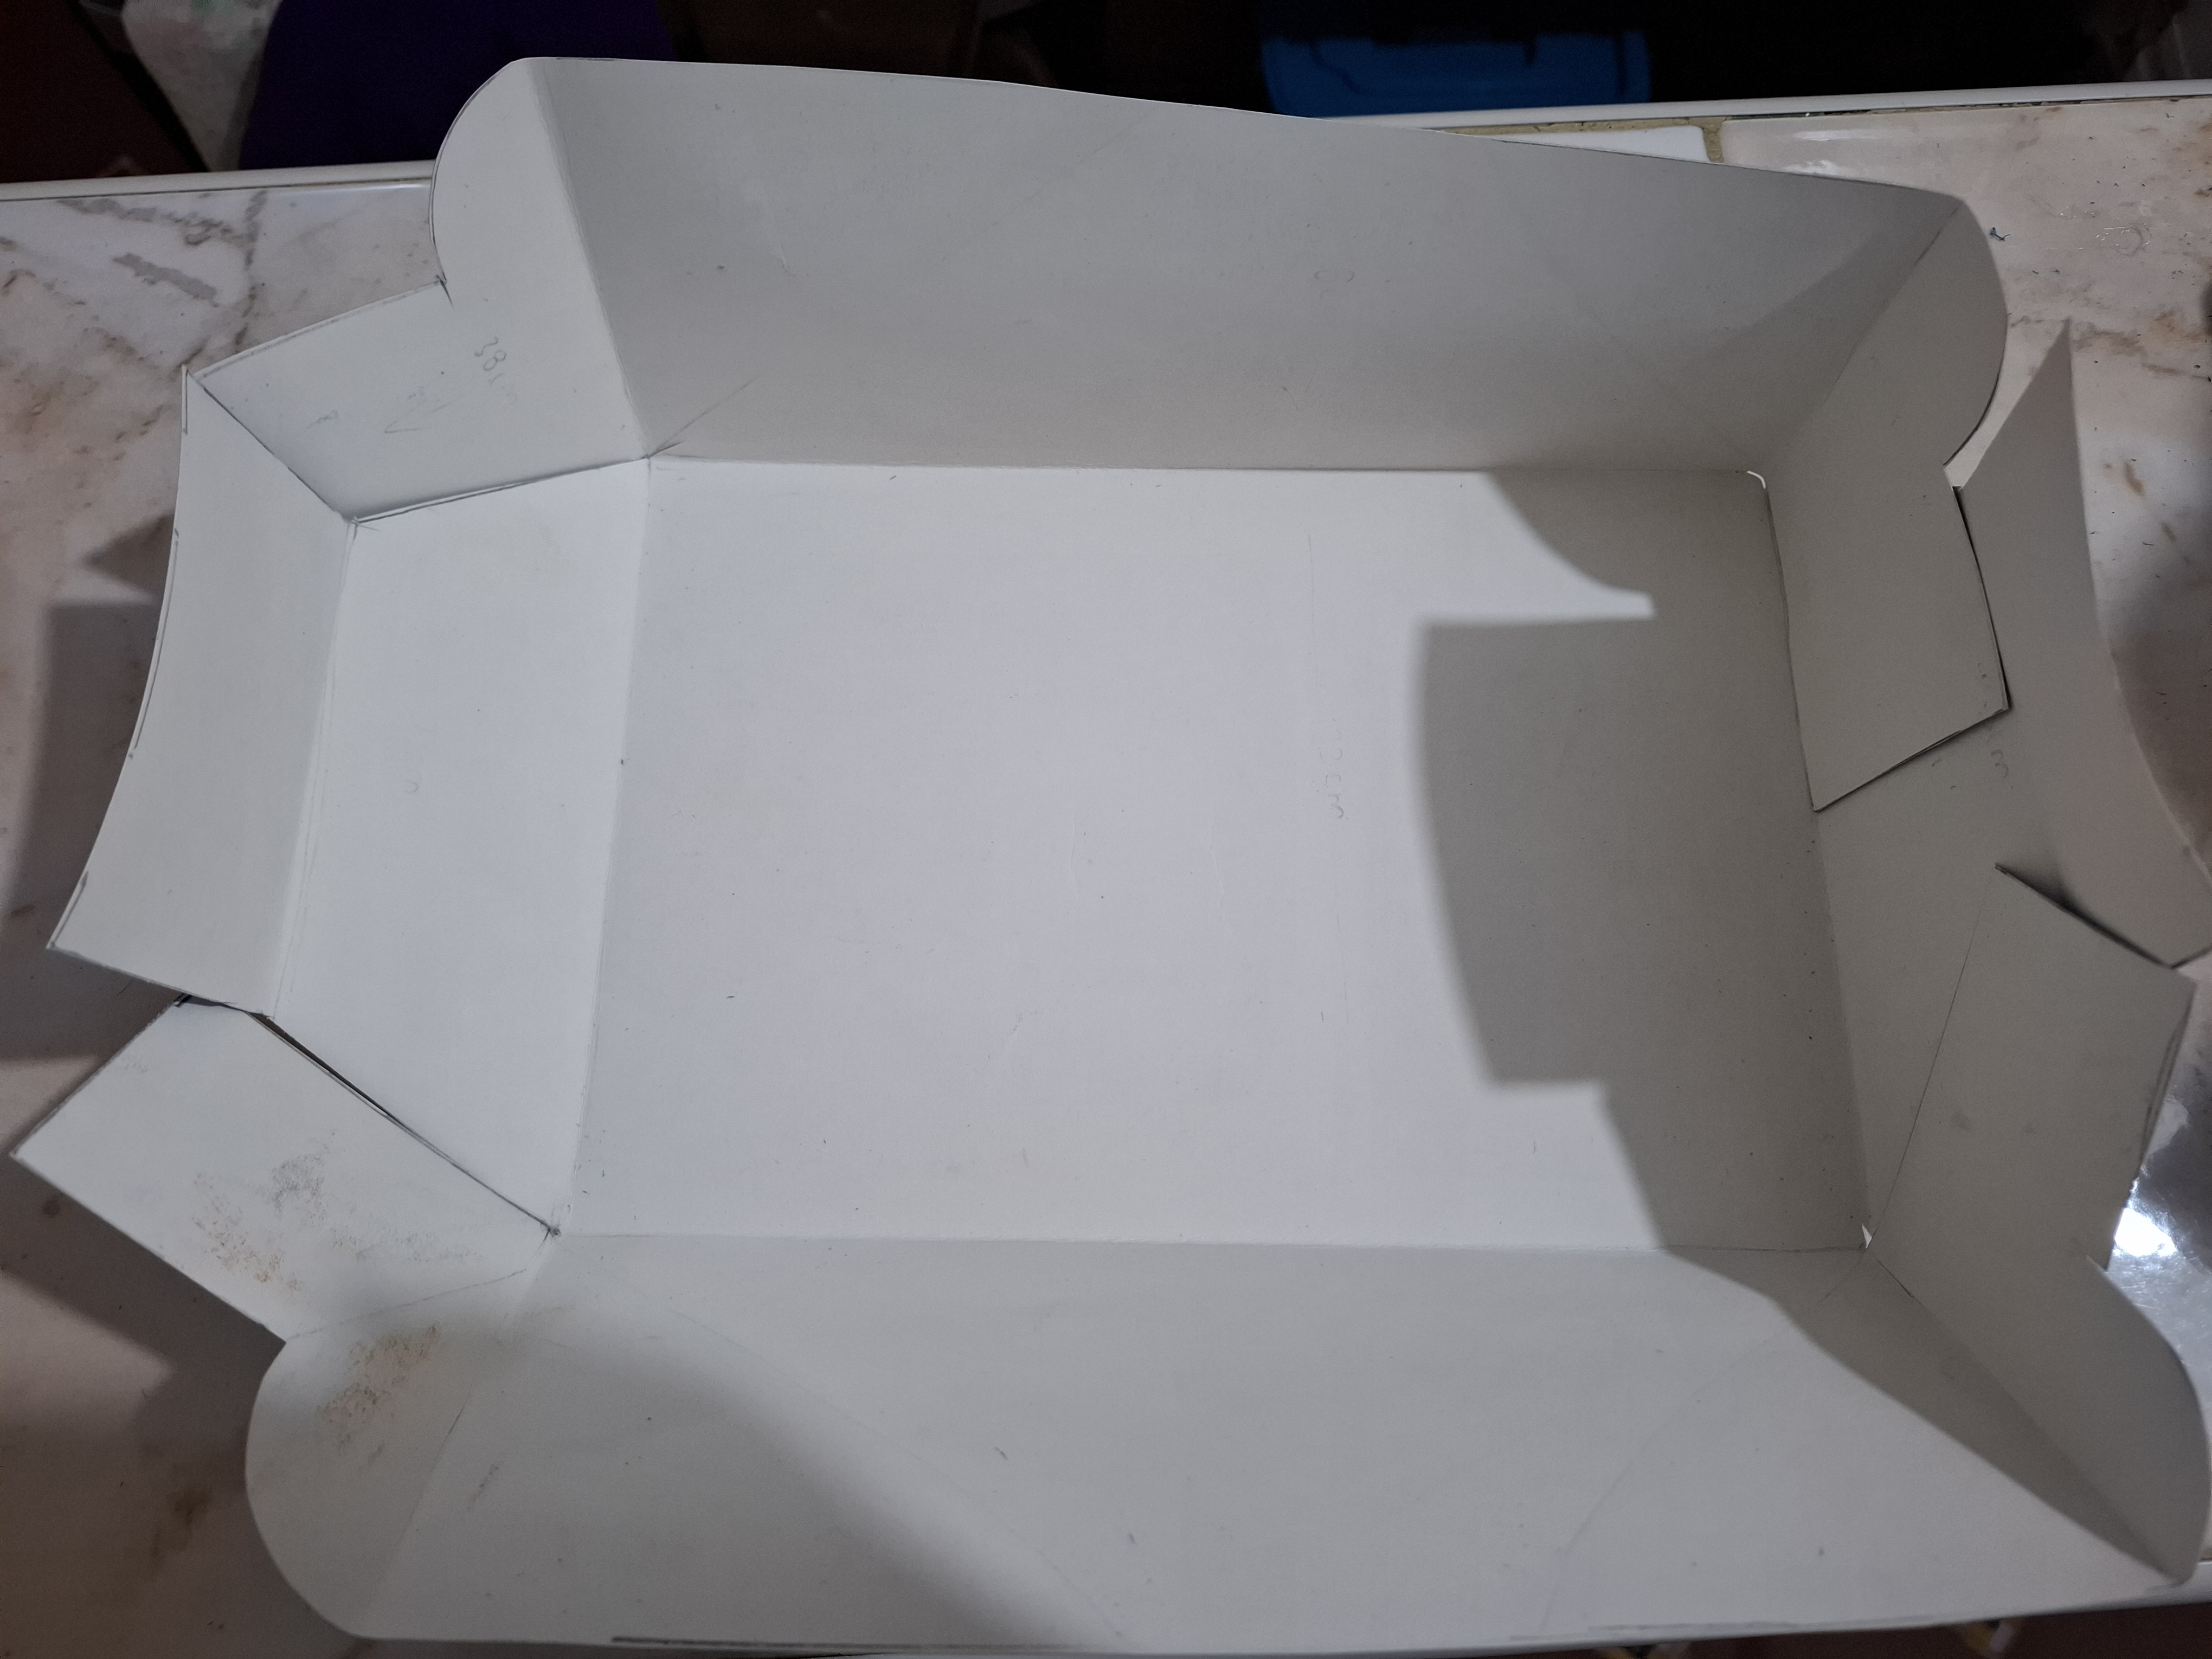
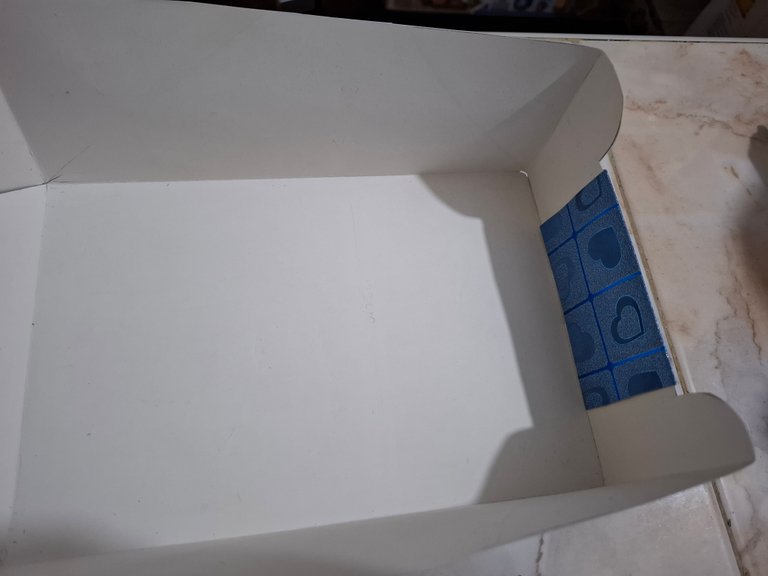
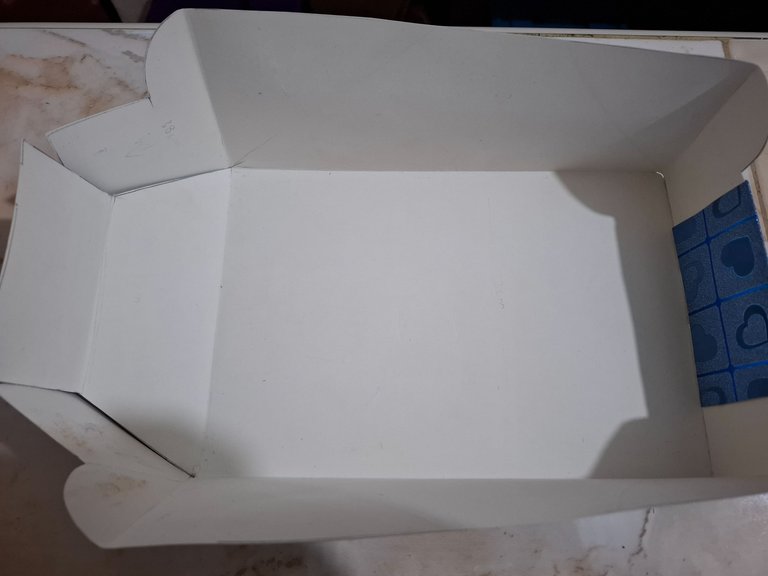
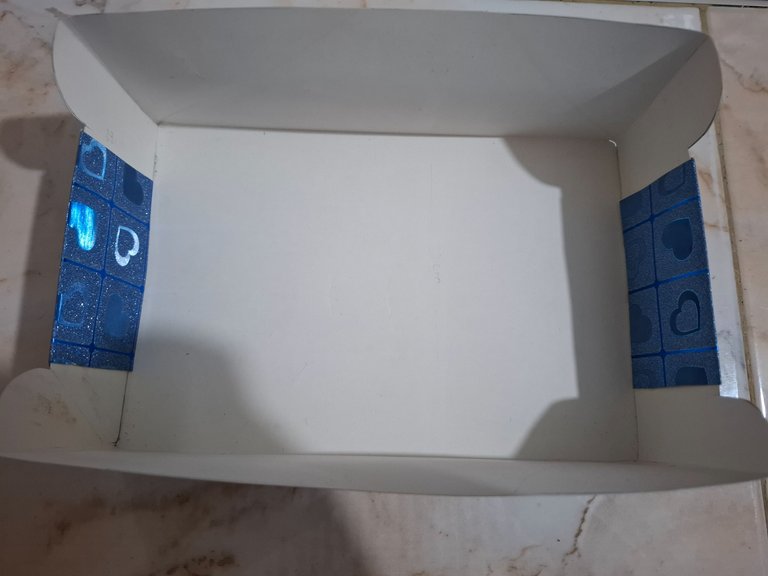
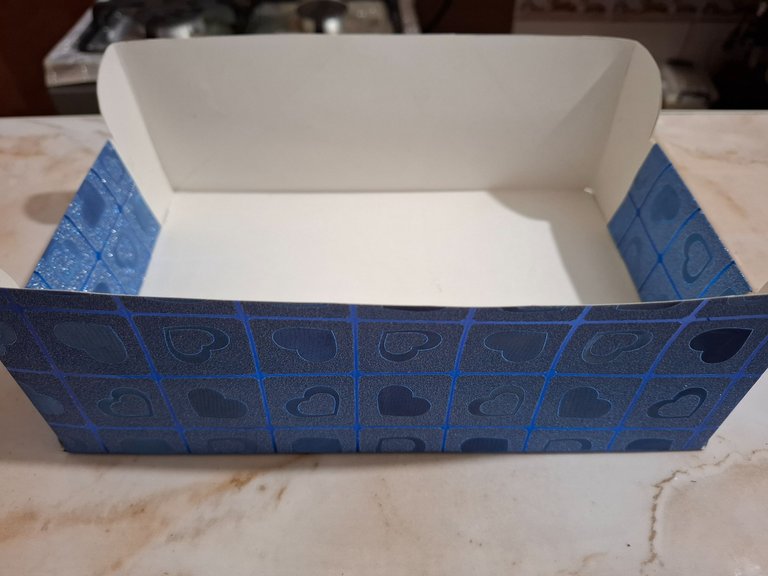
Luego comenzamos a unir y pegar con silicón para formar la tapa, luego armamos la caja, el siguiente paso es cortar la cinta blanca y ubicarla de forma vertical en una de las esquinas luego ubicamos en la parte superior de forma horizontal.
Then we begin to join and glue with silicone to form the lid, then we assemble the box, the next step is to cut the white tape and place it vertically in one of the corners then we place it horizontally at the top.
 |  |  |
|---|
 |  |  |
|---|
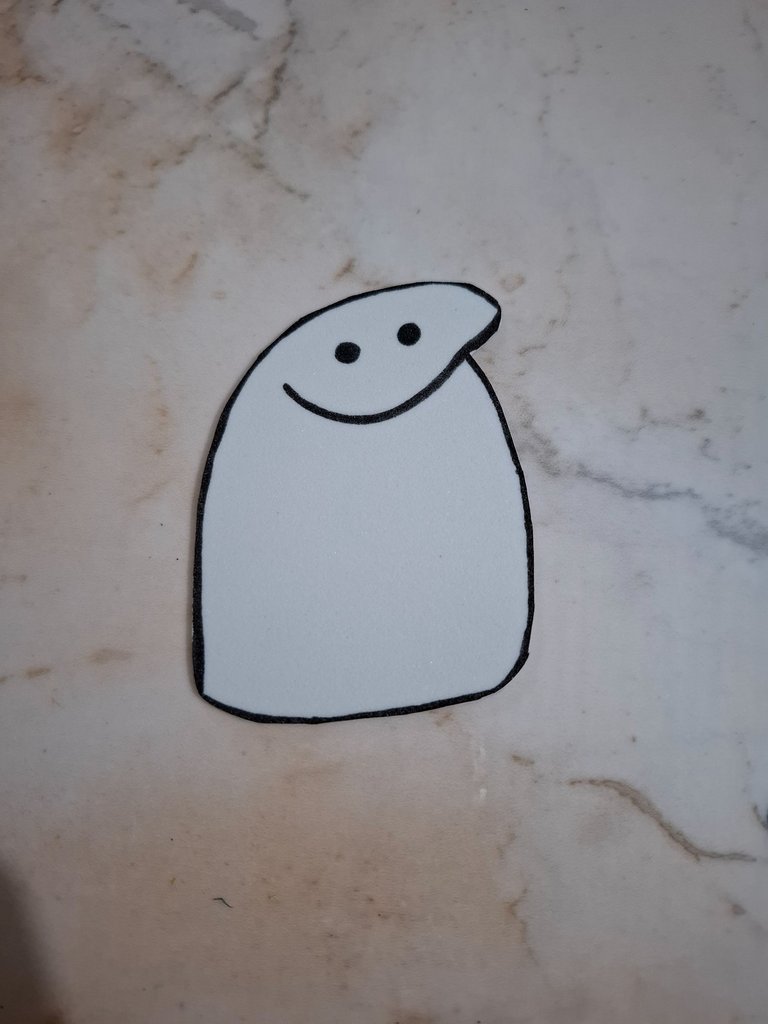
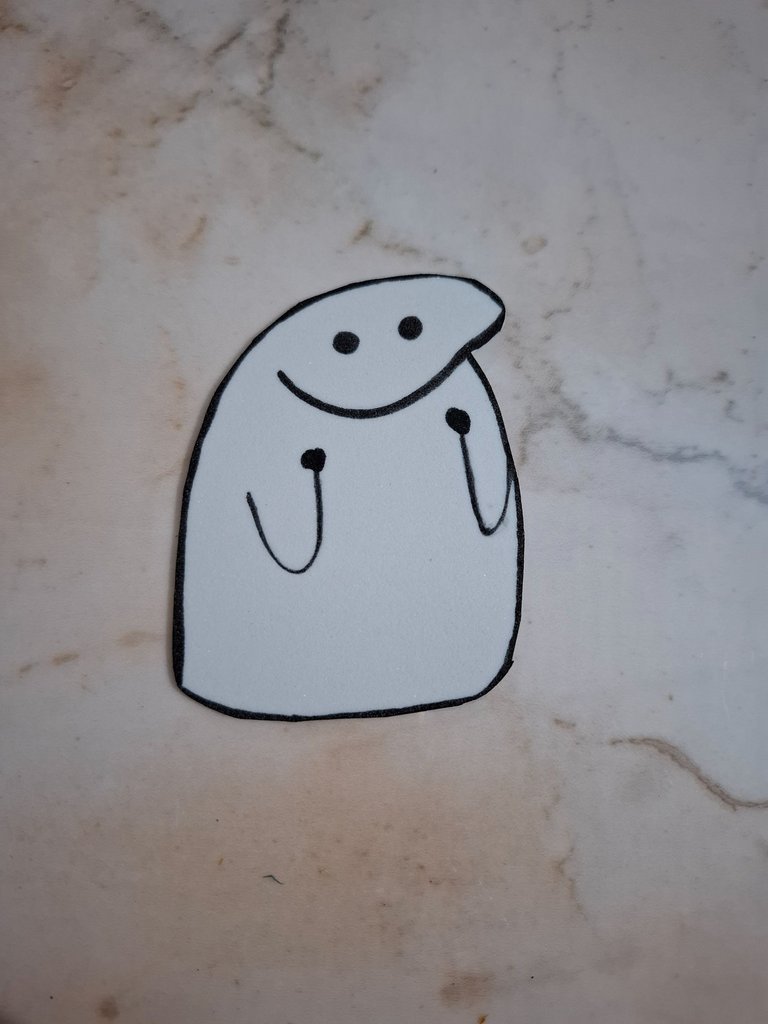
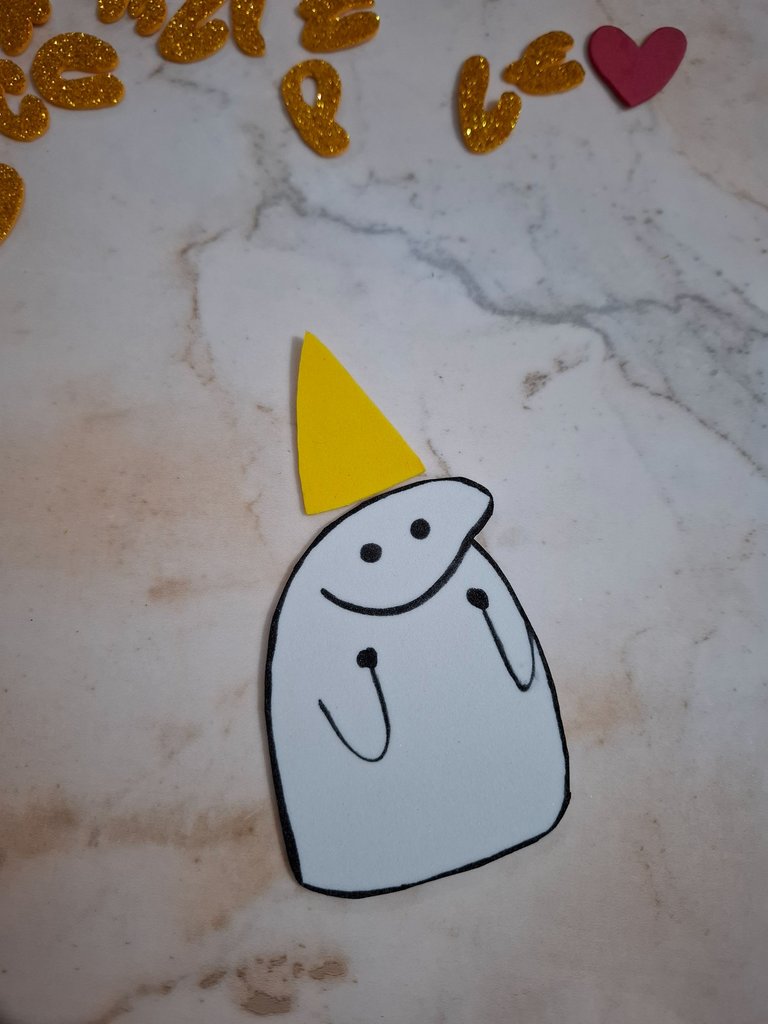
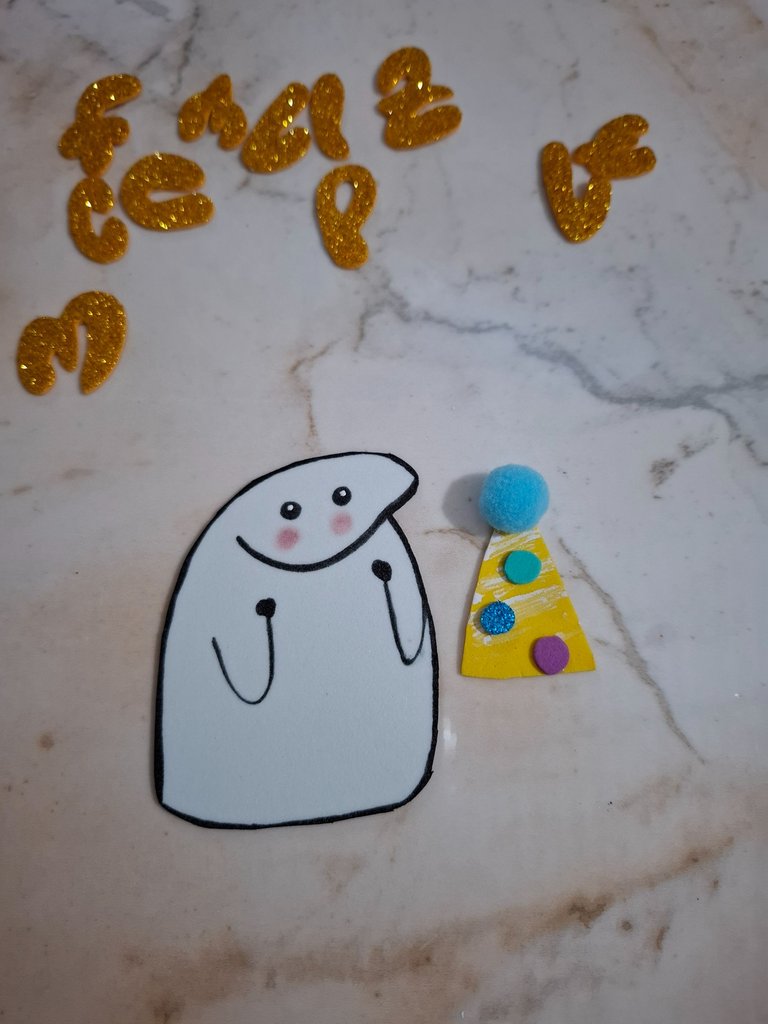
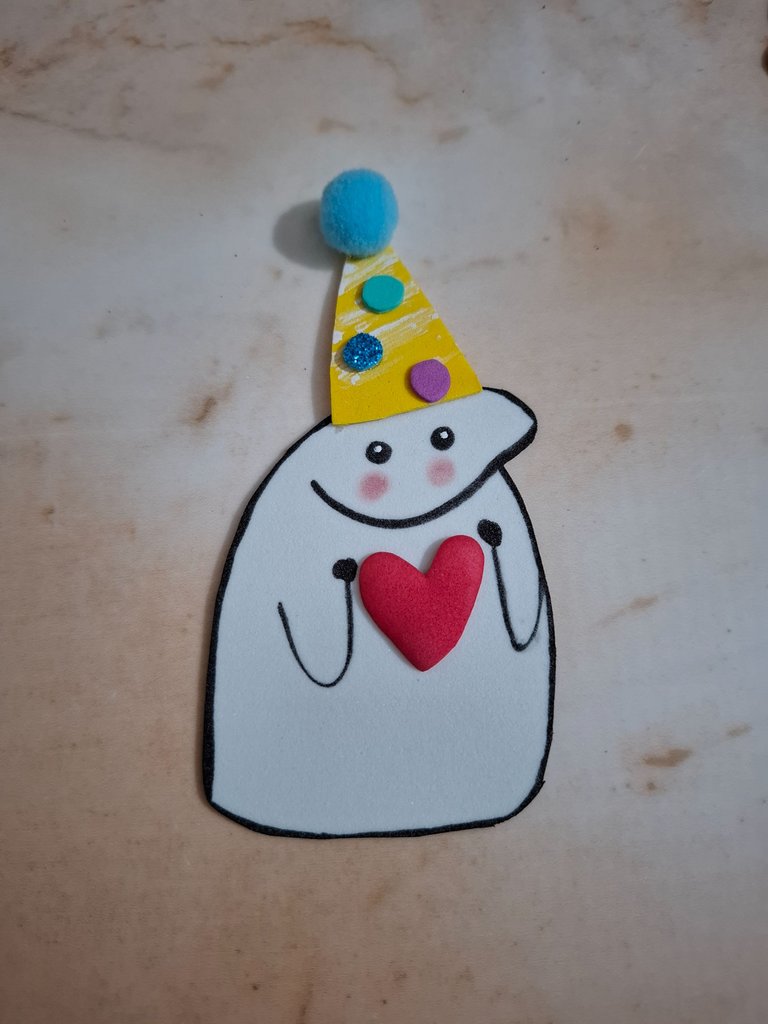
Para decorar la cajita voy a realizar la silueta de un muñequito, esta figura quizás la has visto en algún momento en un meme 😅 con la diferencia de que será más tierna, marcamos la silueta y brazos con marcador negro, luego voy a realizar un corazón en foami rojo y aplicamos calor con la plancha.
To decorate the box I am going to make the silhouette of a doll, perhaps you have seen this figure at some point in a meme 😅 with the difference that it will be cuter, we mark the silhouette and arms with black marker, then I am going to make a heart in red foam and apply heat with the iron.
 |  |  |
|---|
 |  |  |
|---|

También realicé un gorrito de cumpleaños en foami amarillo con pequeños puntos de foami de colores, realicé unas líneas blancas sobre el foami amarillo y ubiqué un pompón color azul claro en la parte superior, ubicamos el gorrito a nuestro muñequito ya listo.
I also made a birthday hat in yellow foam with small dots of colored foam, I made some white lines on the yellow foam and placed a light blue pompom at the top, we placed the hat on our ready doll.
 |  |  |
|---|
El siguiente paso es realizar las letras de feliz cumple en foami dorado, podemos cortar con una tijera pequeña y puntiaguda para mejor manejo y así lograr un resultado más limpio.
The next step is to make the happy birthday letters in gold foam, we can cut with small, pointed scissors for better handling and thus achieve a cleaner result.
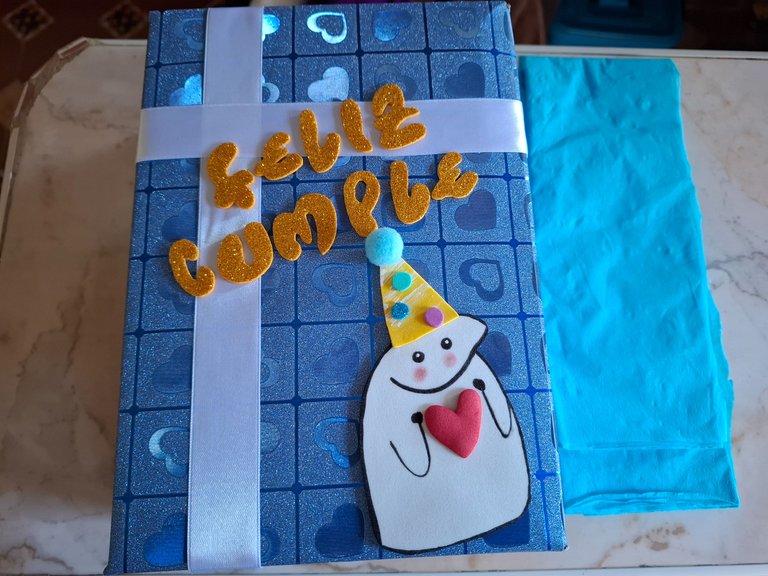
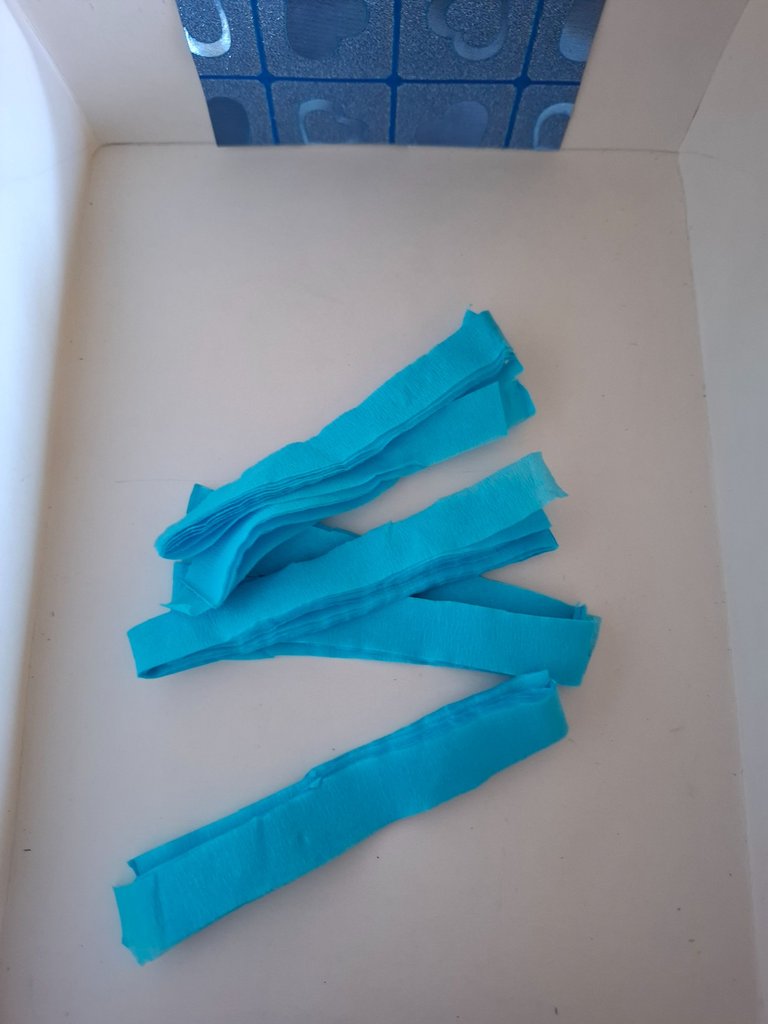
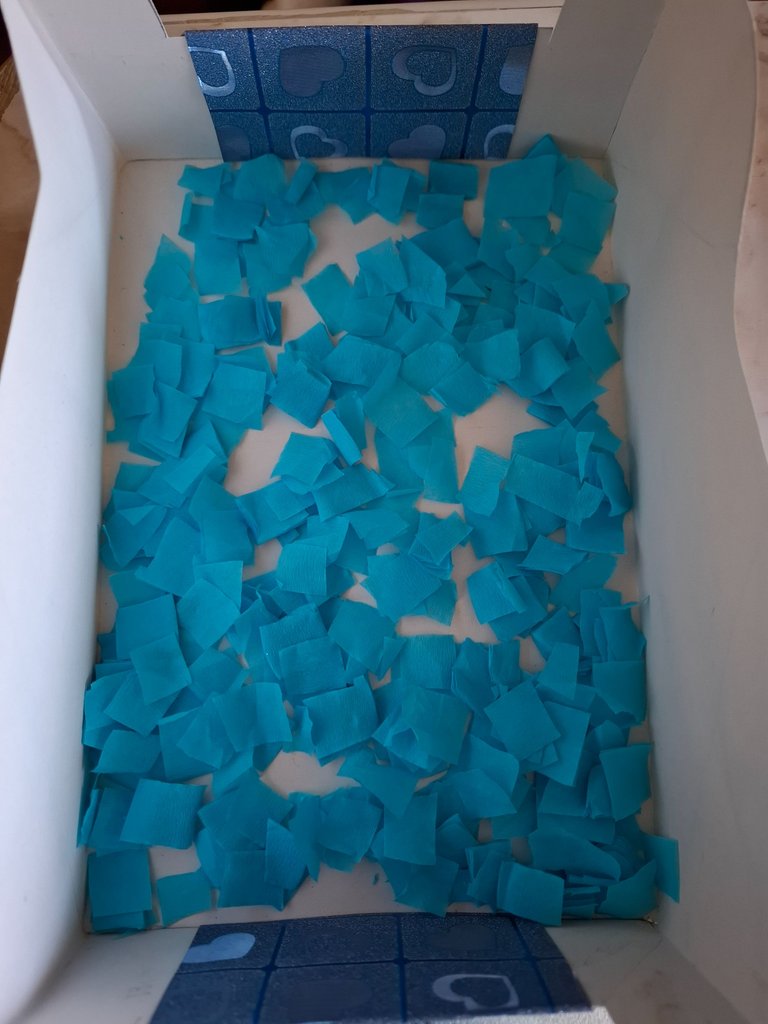
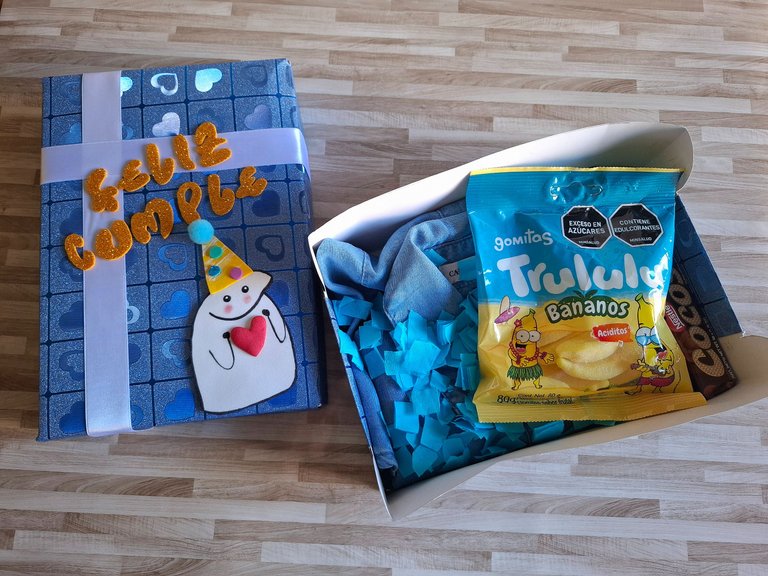
Luego ubiqué la decoración sobre la tapa de la caja, y con papel crepé azul corte pequeños cuadritos y los coloqué dentro de la caja para decorar. De esta forma terminé este linda cajita hecha con cariño, y pues apenas se lo dí le gustó 🥹.
Then I placed the decoration on the lid of the box, and with blue crepe paper I cut small squares and placed them inside the box to decorate. This is how I finished this beautiful little box made with love, and as soon as I gave it to him he liked it 🥹.
Muchas gracias por visitar mi publicación, nos vemos en una próxima oportunidad con más ideas creativas.
Thank you very much for visiting my publication, see you next time with more creative ideas.
