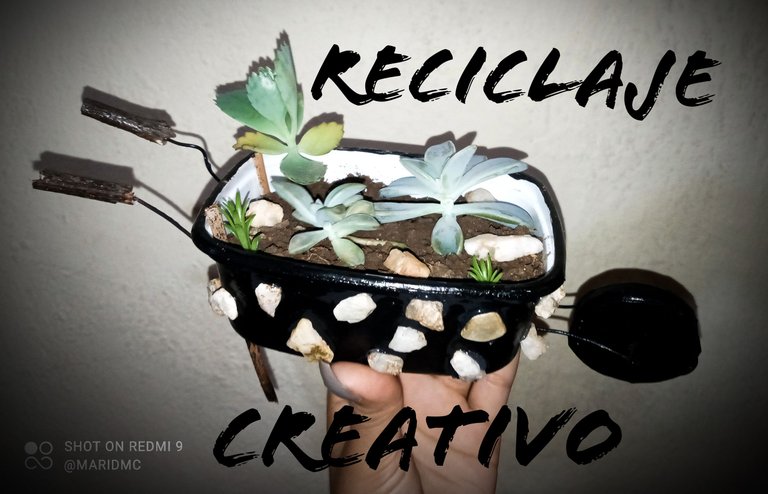
No sé si les ha pasado mis apreciadas amas de casa, que todo frasco de vidrio o plástico que va quedando vacío los vamos guardando con la comun excusa de: "Nos puede servir para algo" y al final no los usamos para nada! Pues viendo que ya estaba bastante rebosada de potes de plástico y que no los queria botar pensando en una futura utilidad, decidí decorar mi casa y darles un práctico uso, como todo!
Entonces me decidí por hacer una coqueta mini-carreta que me permite usarla de maceta para unas hermosas plantas que decorarán un pequeño espacio de mi hogar!
Realmente es muy sencillo de realizar, solo necesitamos creatividad y muy pocos materiales, te invito a ver el paso a paso hasta el final!
I do not know if it has happened to you my dear housewives, that all glass or plastic jars that are empty we keep them with the common excuse: "We can use them for something" and in the end we do not use them for anything! Well, seeing that I was already full of plastic jars and that I didn't want to throw them away thinking of a future use, I decided to decorate my house and give them a practical use, like everything else!
So I decided to make a cute mini-basket that allows me to use it as a pot for some beautiful plants that will decorate a small space in my home!
It really is very simple to make, we only need creativity and very few materials, I invite you to see the step by step to the end!

MATERIALES // MATERIALS

🌱 Potes de plástico.
🌱 Alambre.
🌱 Palos secos.
🌱 Pintura al frío negra.
🌱 Piedras.
🌱 Silicon.
🌱 Pega blanca.
🌱 Tapa de jugo, refresco, etc.
🌱 Tierra, plantas y mucha creatividad y amor 🤍✨!
🌱 Plastic pots.
🌱 Wire.
🌱 Dry sticks.
🌱 Black cold paint.
🌱 Stones.
🌱 Silicon.
🌱 White glue.
🌱 Lid for juice, soda, etc.
🌱 Soil, plants and lots of creativity and love 🤍✨!

PASOS // STEPS

Paso 1.
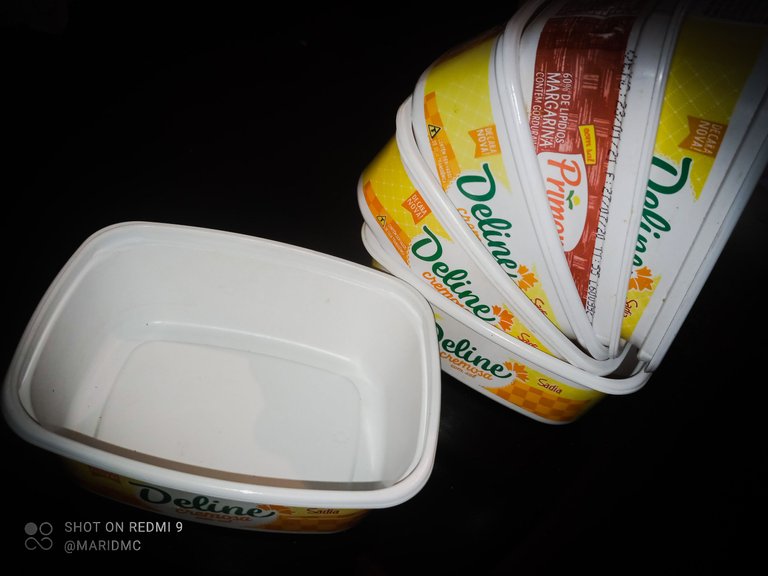
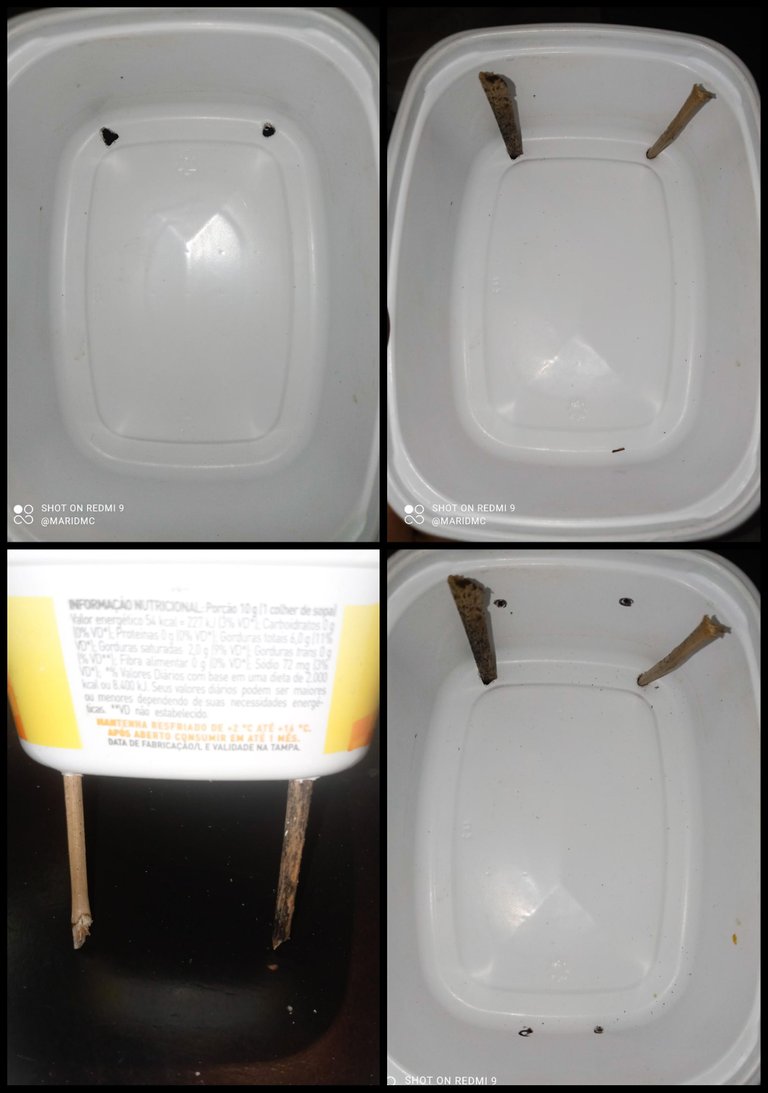
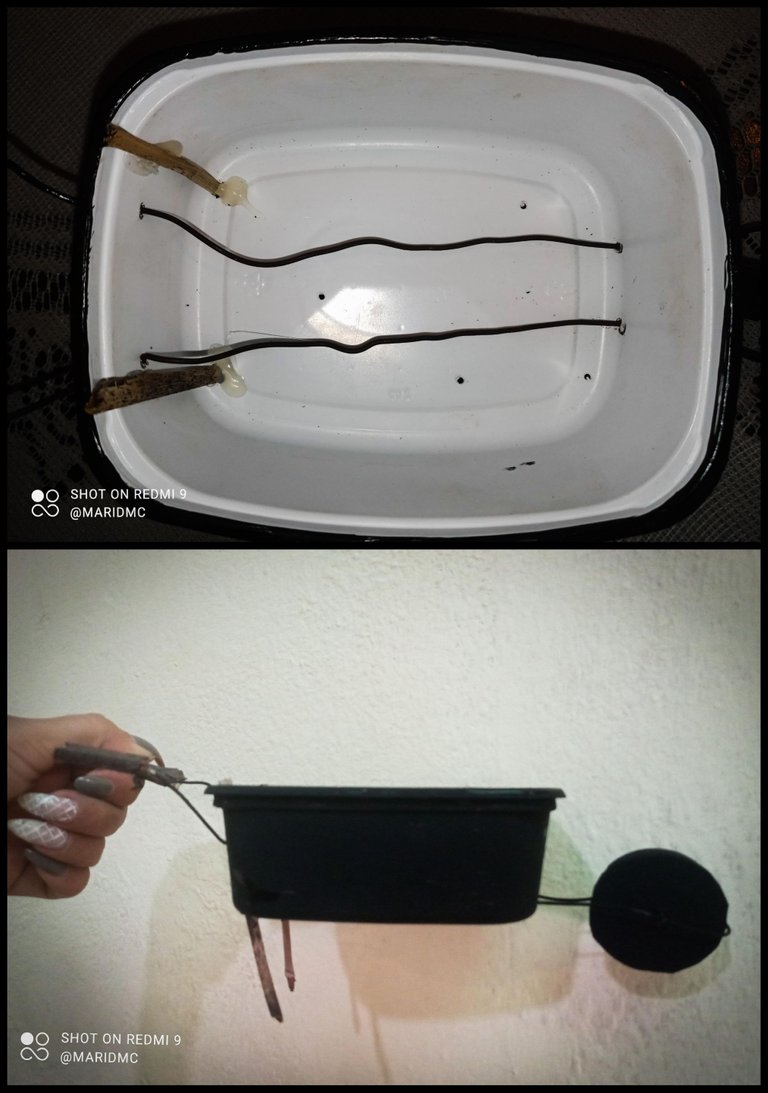
Seleccionamos nuestro pote de plástico, en esta ocasión tenia muchos de mantequilla 🤭. Previamente lo lave muy bien para quitar la grasa, luego busqué unos pedazos de palo seco (de palmera, porque son muy resistentes), lo medí y los corté, ellos seran el soporte de mi mini-carreta. Seguidamente le abrí 2 huecos al pote con un alambre caliente e introduje los palitos por allí. Luego medi dónde quería que pasara el alambre que sería los mangos de la carreta y dónde iria la rueda, y con el alambre caliente abrí los huecos.
Step 1.
We select our plastic pot, on this occasion I had a lot of butter 🤭. Previously I washed it very well to remove the grease, then I looked for some pieces of dry stick (palm tree, because they are very resistant), I measured and cut them, they will be the support of my mini-bowl. I then cut 2 holes in the pot with a hot wire and inserted the sticks through there. Then I measured where I wanted the wire to go, which would be the handles of the cart and where the wheel would go, and with the hot wire I opened the holes.
Paso 2.
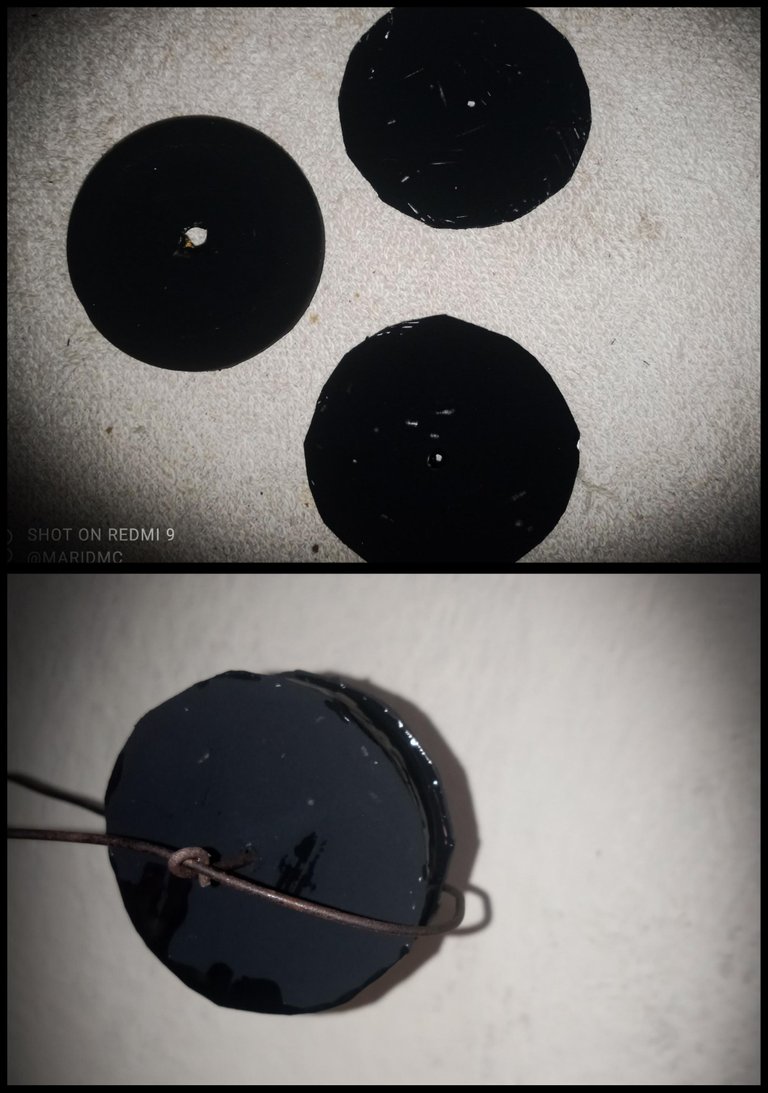
Tomé una tapa de metal de tamaño pequeño, la pinte con pintura negra y corte 2 trozos de cartón del mismo tamaño de la tapa para que hicieran la función de la rueda, les abrí el hoyo para que pasara el alambre más tarde, Los pinte de negro y cuando secaron los pegue con silicón. Luego los atravesé con el alambre y le di forma para que se viera como la rueda de la carreta.
Step 2.
I took a small size metal lid, painted it with black paint and cut 2 pieces of cardboard the same size as the lid to make the function of the wheel, I opened the hole for the wire to pass through later, I painted them black and when they dried I glued them with silicone. Then I went through them with the wire and shaped it to look like the wagon wheel.
Paso 3.
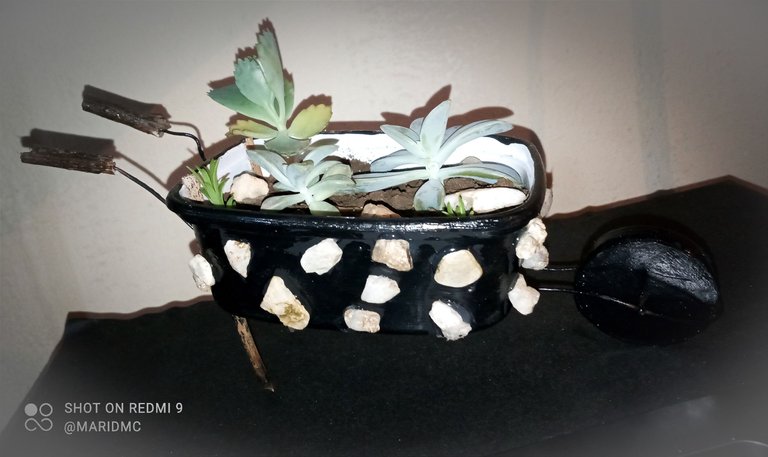
Procedo a traspasar la carreta con el alambre, le abro unos pequeños orificios con un alambre caliente al pote para que las plantas drenen el agua más tarde y pinto la carreta en color negro. Le agrego unos trozos de palo a los mangos y los fijo con silicón, al igual que los palos que sirven de soporte! Le agregué unos detalles más como unas piedritas que pegue con silicón y finalmente con la pega blanca y un pincel lo cubri 2 veces para un efecto barnizado.
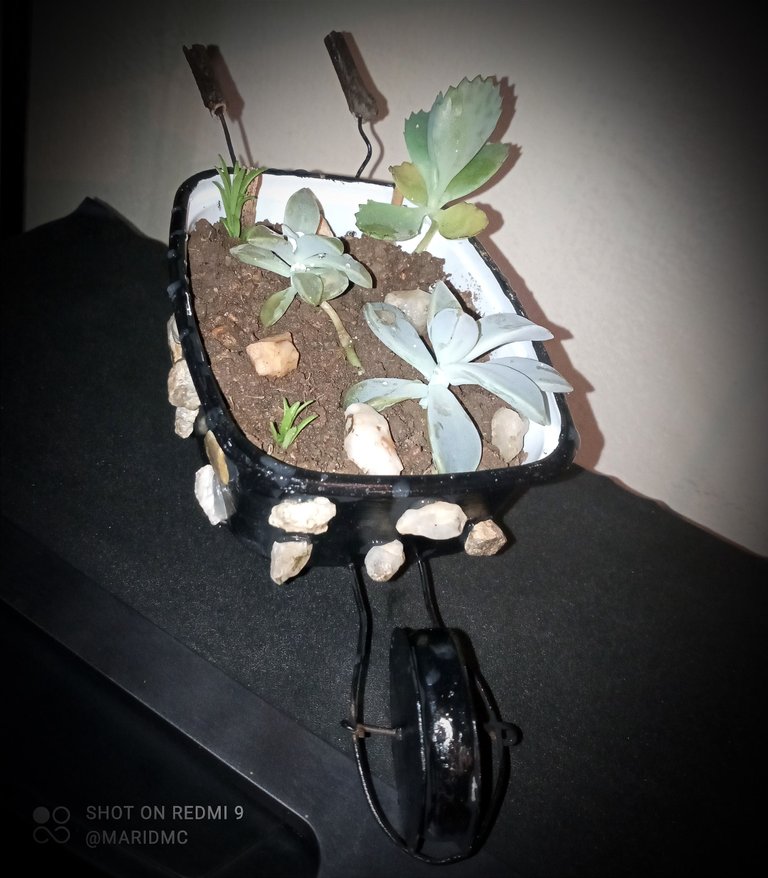
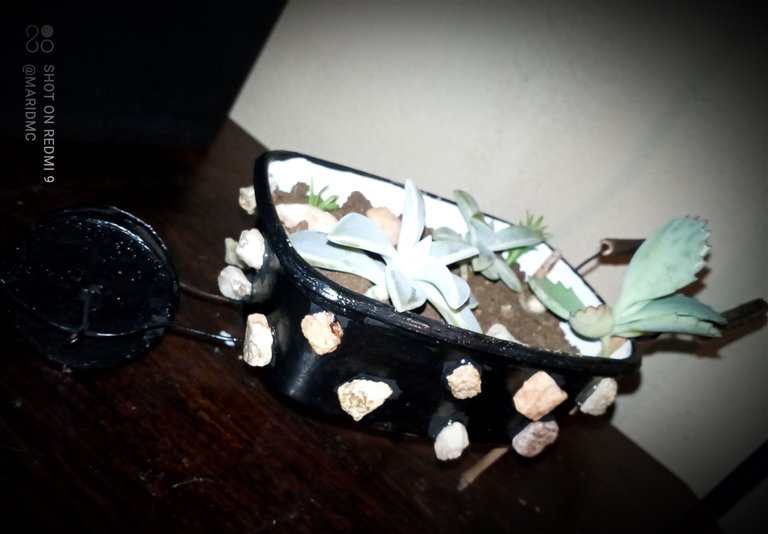
Al secarse, coloque la tierra y mis pequeñas y hermosas plantas. Trate de sembrar unas que no crezcan tanto y que lleven poca agua para no tener que transplantarlas tan rápido y este fue el resultado!
Step 3.
I proceed to pierce the wagon with the wire, I open some small holes with a hot wire to the pot so the plants will drain the water later and I paint the wagon in black color. I add a few pieces of wood to the handles and fix them with silicone, as well as the sticks that serve as support! I added a few more details like some pebbles that I glued with silicone and finally with the white glue and a brush I covered it twice for a varnished effect.
When it dried, I placed the soil and my small and beautiful plants. I tried to plant some that do not grow so much and that take little water to not have to transplant them so fast and this was the result!

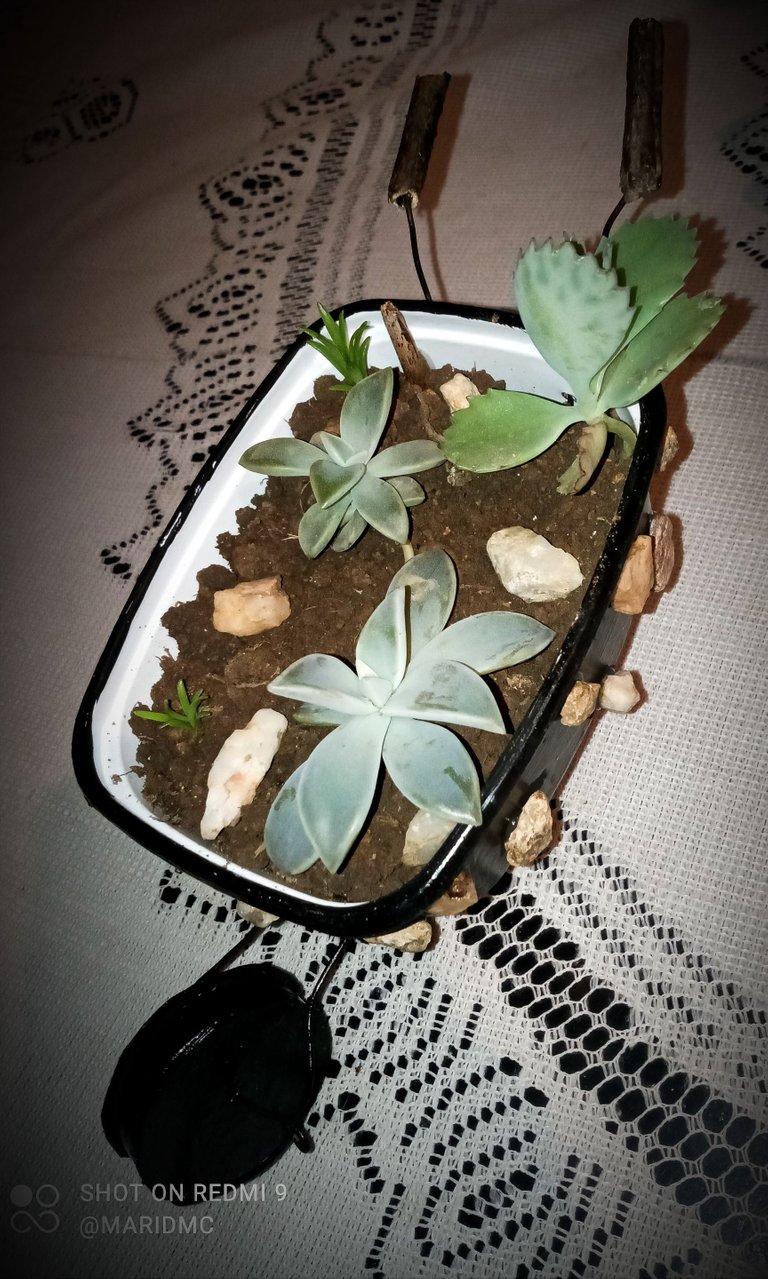
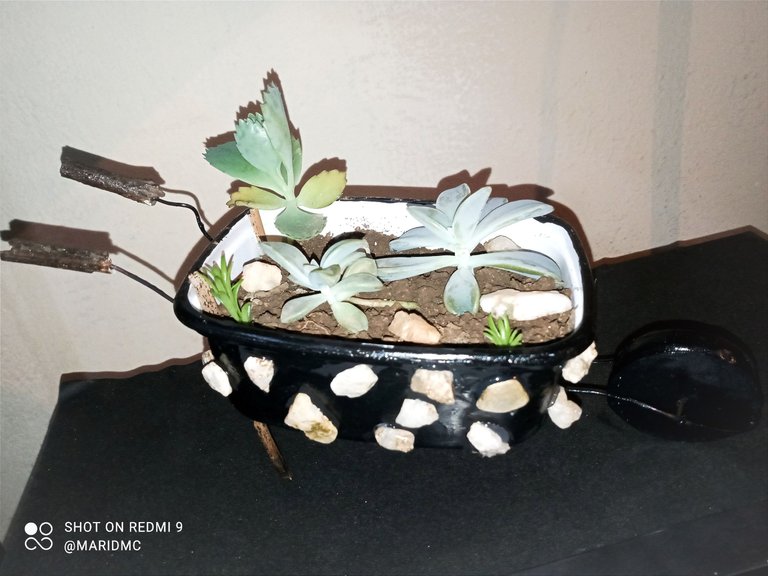
Me pareció una práctica y decorativa utilidad para este tipo de material que siempre solemos guardar. Además de ser muy coqueto, contribuimos a preservar nuestro planeta evitando desechar este tipo de material que tanto tarda en descomponerse. Tengo en mente hacer varios para obsequiar, es una bonita manera de reciclar!
Muchas gracias por su tiempo y atención, como siempre es un gusto escribir para ustedes y esforzarme por presentarles trabajos de calidad y sobre todo con mucho amor y dedicación, reciban un cálido abrazo en la distancia y FELIZ INICIO DE SEMANA! ☺️🤗
It seemed to me a practical and decorative utility for this type of material that we always tend to save. Besides being very coquettish, we contribute to preserve our planet by avoiding discarding this type of material that takes so long to decompose. I have in mind to make several as gifts, it is a nice way to recycle!
Thank you very much for your time and attention, as always it is a pleasure to write for you and strive to present quality work and above all with love and dedication, receive a warm embrace in the distance and HAPPY START OF WEEK! ☺️🤗


