Saludos y bendiciones apreciados amigos de la comunidad de Hive Diy, es un gusto compartir mi nuevo proyecto con todos ustedes, para esta ocasión les mostraré como realice una pulsera tejida con hilo chino, con la palabra Lucky, la hice en color rosado, para hacerla mas delicada, este era un proyecto que queria hacer desde hace tiempo, pero fue hace poco que compre lis materiales para poder hacerlo, el resultado me encantó 🙂 😚
Greetings and blessings, appreciated friends of the Hive Diy community, it is a pleasure to share my new project with all of you, for this occasion I will show you how to make a bracelet woven with Chinese thread, with the word Lucky, I made it in pink, to make it more delicate, this was a project that I wanted to do for a long time, but I recently bought the materials to be able to do it, I loved the result 🙂 😚
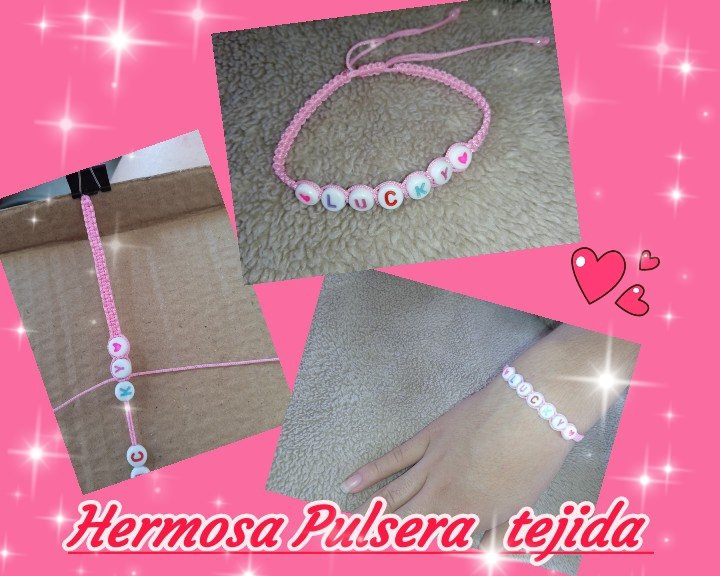
Diy: Hermosa Pulsera tejida y la palabra "Lucky", "Afortunada"🍀
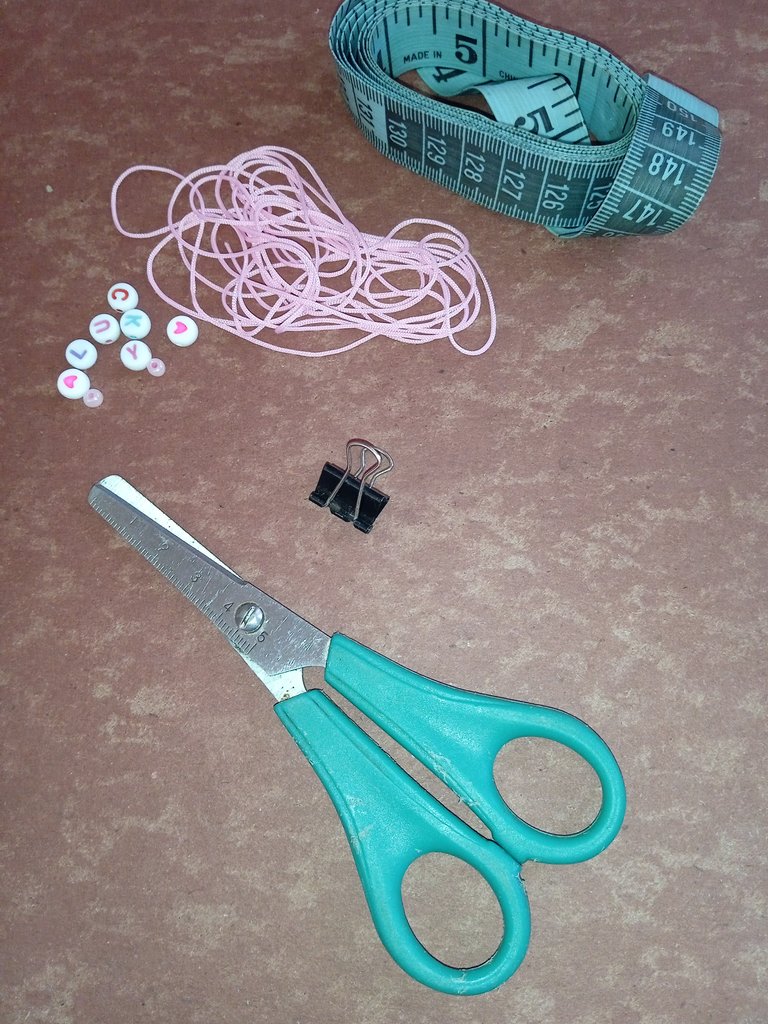
Materiales
2,5 m de hilo chino rosado
Piedras de bisutería con letras, corazón y color rosada
Tijera
Yesquero
Gancho o clip con pinza
Diy: Beautiful woven bracelet and the word "Lucky", "Lucky"🍀
Materials
2.5 m pink Chinese thread
Jewelry stones with letters, heart and pink color Scissors
tinderbox
Hook or clip with clamp
Procedimiento
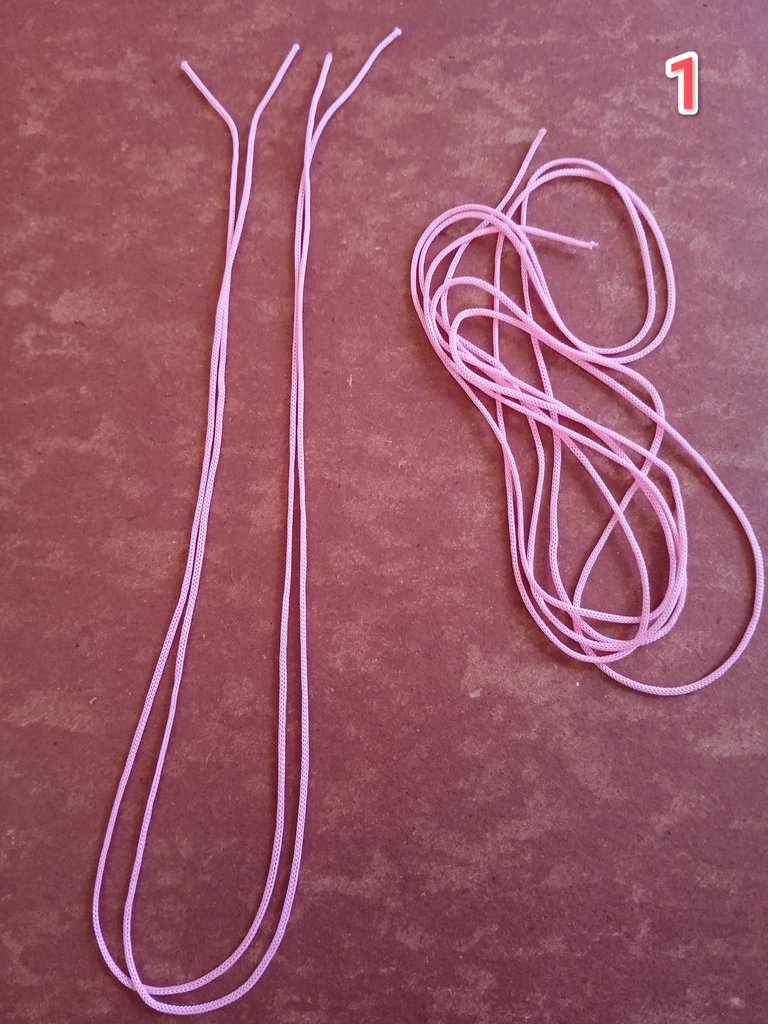
1.Primero vamos a medir y cortar el hilo chino, dos pieza de 35 centímetros y otra de 120 centímetros.
Procedure
1.First we are going to measure and cut the Chinese thread, two pieces of 35 centimeters and another of 120 centimeters.
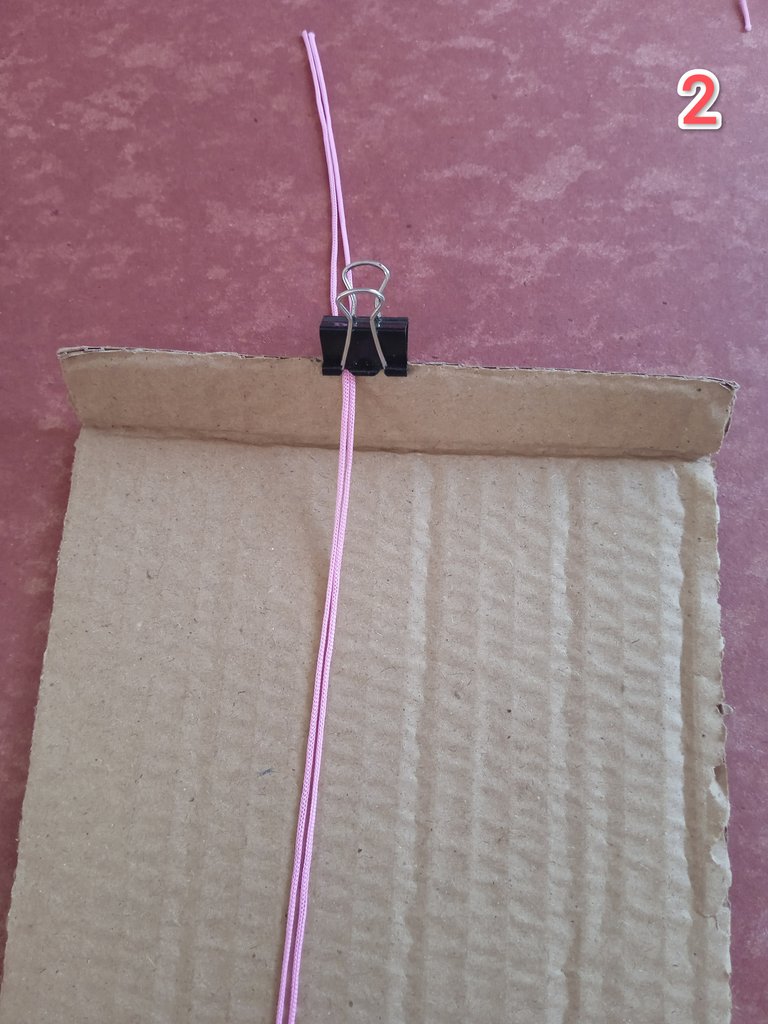
2.Luego vamos a sujetar en un cartón los 2 hilos cortados a 35 centímetros con el gancho o clip pinza, procurando dejar dios centímetros fuera del cartón.
2.Then we are going to fasten the 2 threads cut at 35 centimeters to a piece of cardboard with the hook or clip, trying to leave two centimeters outside the cardboard.
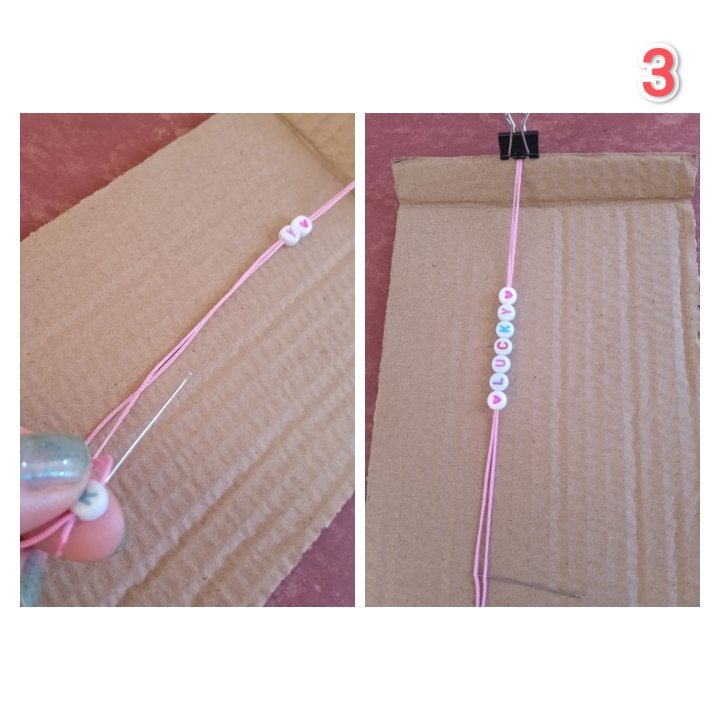
3.Luego vamos a introducir las piedras con letra por el otro extremo de los hilos, como es un poco grueso me ayude con una aguja, en este caso quise colocar la palabra afortunada en inglés, medi para colocar justo en el centro y que a los lados quede igual distancia de tejido, sujetamos el otro extremo también a 10 centímetro de distancia con cinta adhesiva.
3.Then we are going to introduce the stones with letters through the other end of the threads, as it is a little thick, I helped myself with a needle, in this case I wanted to place the lucky word in English, I measured to place it right in the center and that the sides have an equal distance of fabric, we hold the other end also 10 centimeters away with adhesive tape.
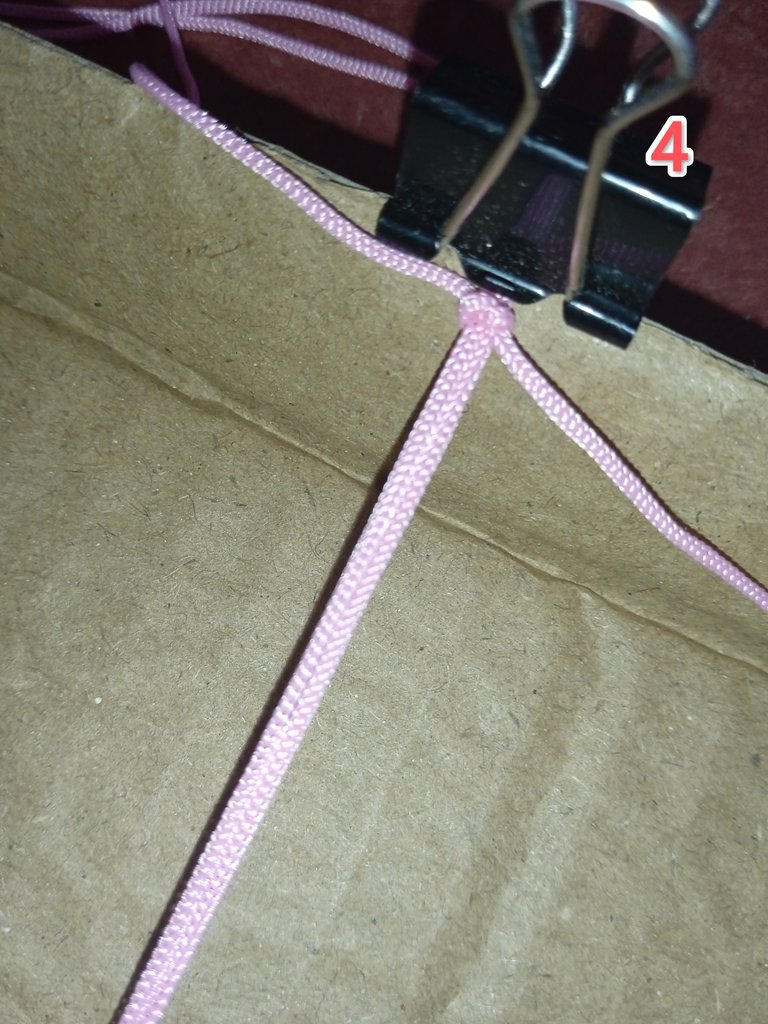
4.En este paso comenzamos con el tejido, para ello colocamos el hilo de 120 centímetros y hacemos un nudo justo en la parte superior donde colocamos el gancho, procurando que quede a la misma medida.
4.In this step we begin with the weaving, to do this we place the 120 centimeter thread and make a knot right at the top where we place the hook, making sure that it is the same size.
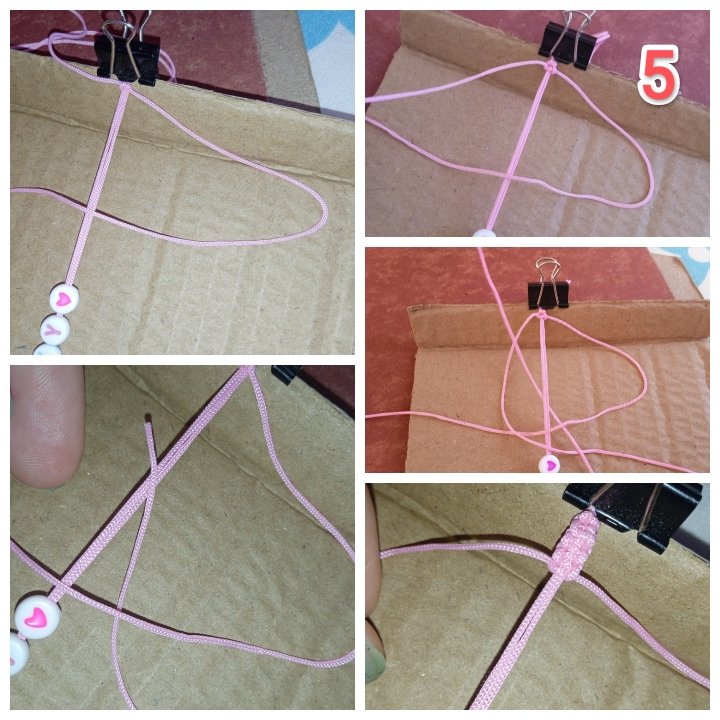
5.Seguidamente con el hilo de la derecha lo pasamos por encima de hilo del centro o guía, procurando que quede en forma de p, ahora con el hilo de la izquierda su extremo o punta lo pasamos por encima y debe salir por debajo de la p, luego ajustamos el hilo quedando igual uno de lado izquierdo y otra de lado derecho, repetimos el mismo proceso pero ahora con el hilo izquierdo y quedará en forma de 4, hacemos lo mismo, repetimos hasta donde comienzan las piedras.
5.Next, with the thread on the right we pass it over the center thread or guide, making sure that it is in the shape of a p, now with the thread on the left we pass it over the end or tip and it should come out below the p, then we adjust the thread so that one on the left side and the other on the right side are the same, we repeat the same process but now with the left thread and it will be in the shape of 4, we do the same, we repeat up to where the stones begin.
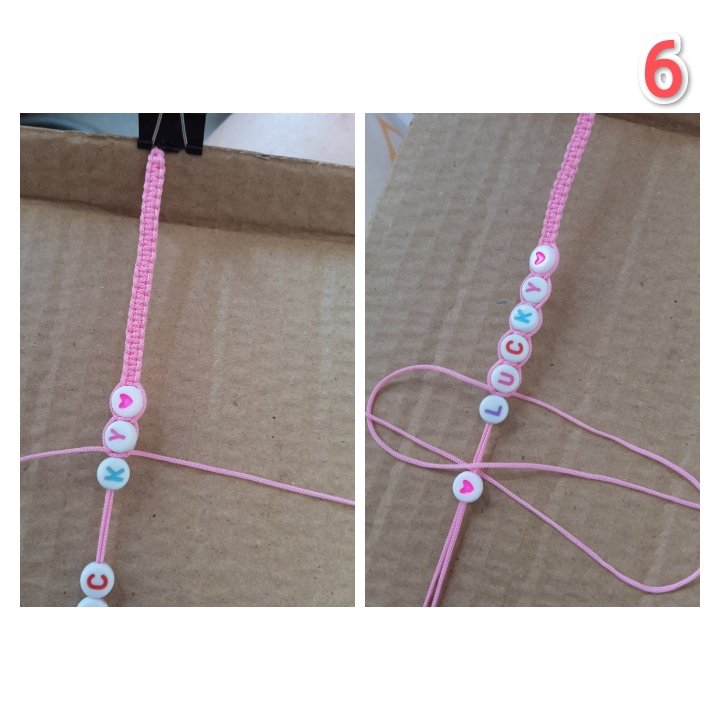
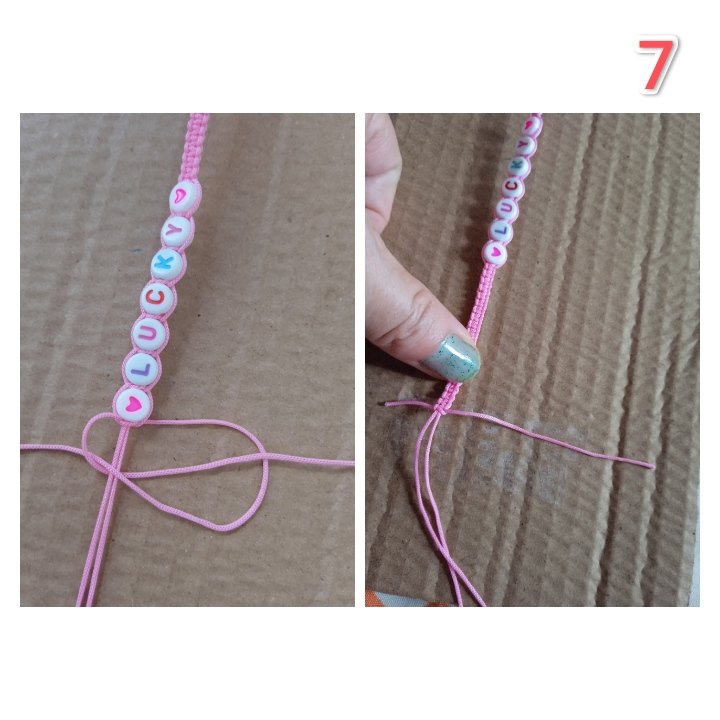
6.Luego a cada piedra hacemos un nudo plano y repetimos otro nudo, eso hasta culminar con las piedras.
6.Then we make a flat knot for each stone and repeat another knot, until we finish with the stones.
7.Después seguimos con nuestro tejido siguiendo procedimiento del paso 4 y hacer hasta donde pusimos la cinta adhesiva.
7.Then we continue with our fabric following the procedure in step 4 and go up to where we put the adhesive tape.
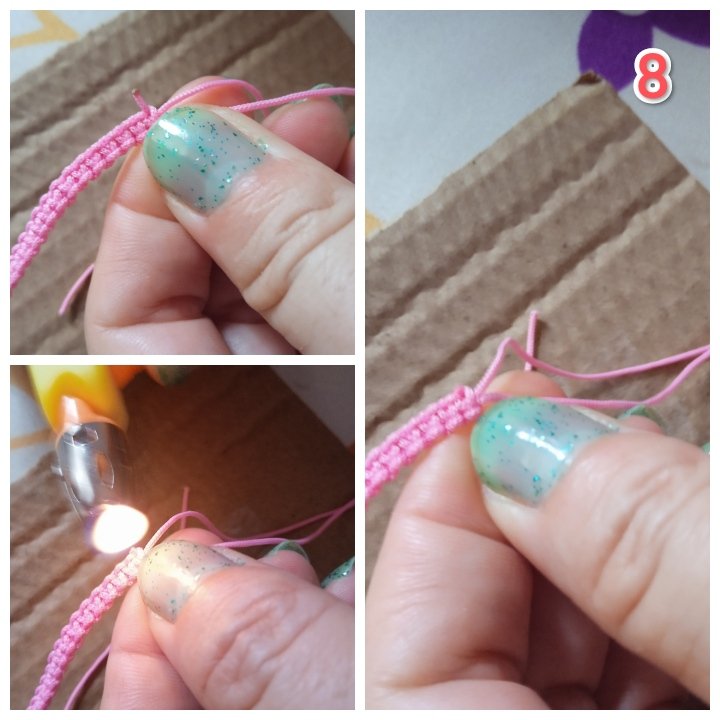
8.Seguidamente cortar el hilo excedente y quemar la punta con el yesquero.
8.Next, cut the excess thread and burn the tip with the tinder box.
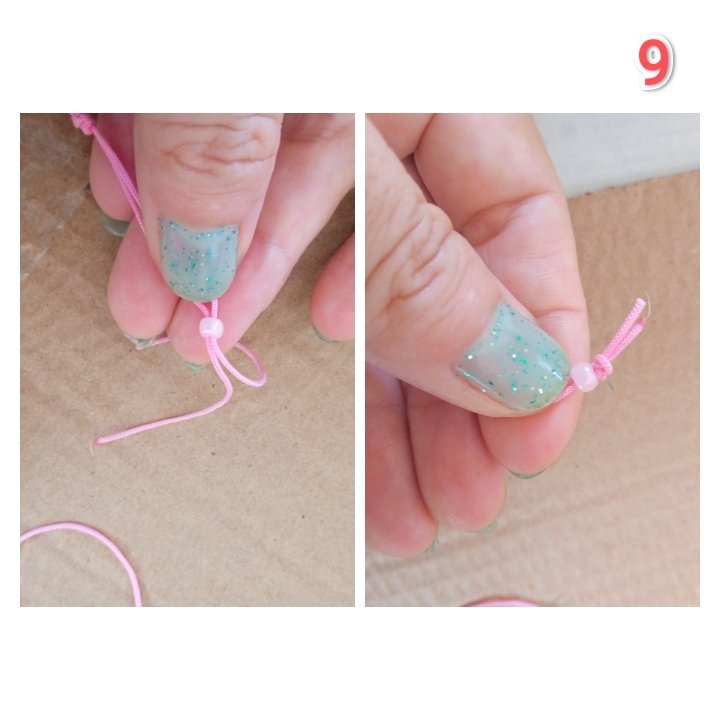
9.Luego colocamos en los hilos colgantes la piedra rosada, hacemos un nudo en el extremo y de igual manera sellamos con el yesquero.
9.Then we place the pink stone on the hanging threads, we tie a knot at the end and in the same way we seal it with the tinder box.
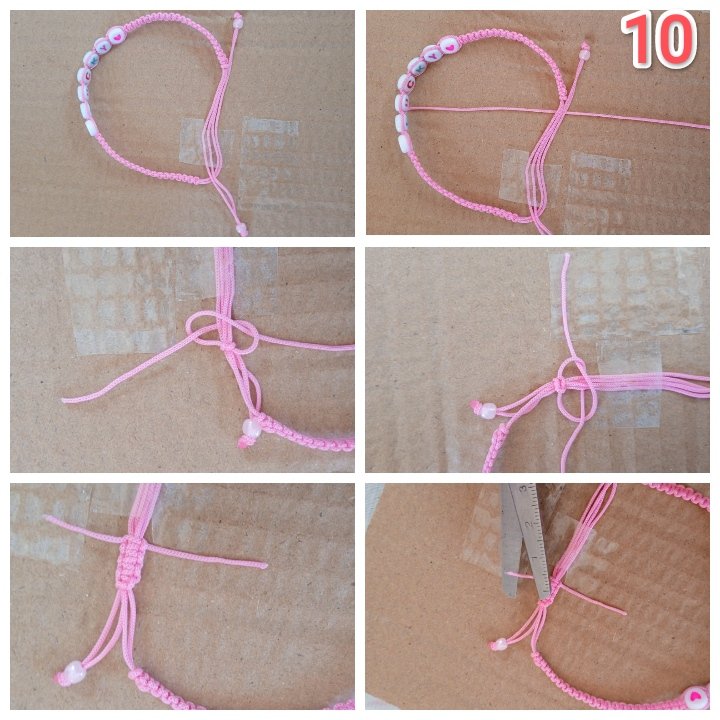
10.Por ultimo vamos a cerrar la pulsera para ello sujetamos el hilo a ambos lados con cinta adhesiva, cortamos un hilo de 16 centímetros, colocamos por dónde sujetamos la pulsera y hacemos el mismo tejido plano, comenzando con un nudo y hacemos el mismo proceso del pasó 4, podemos hacer 5 o más nudos, todo dependerá de la distancia que se quiere, cortar el excedente y quemar con el yesquero y listo.
10.Finally, we are going to close the bracelet. To do this, we hold the thread on both sides with adhesive tape, we cut a 16-centimeter thread, place where we hold the bracelet and make the same flat weave, starting with a knot and do the same process. From step 4, we can make 5 or more knots, everything will depend on the distance we want, cut off the excess and burn with the tinderbox and that's it.
Listo!
Ready!
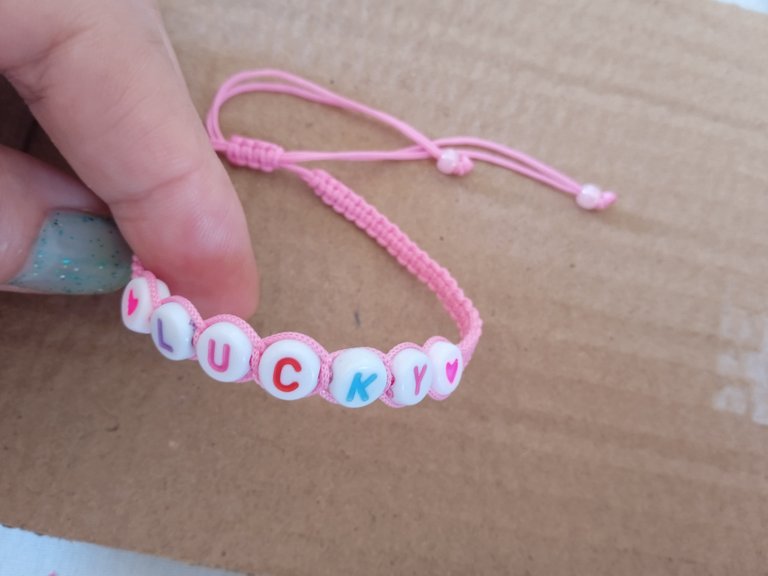
Afortunada, como debe sentirse una mujer todos los días!
Lucky, how a woman should feel every day!
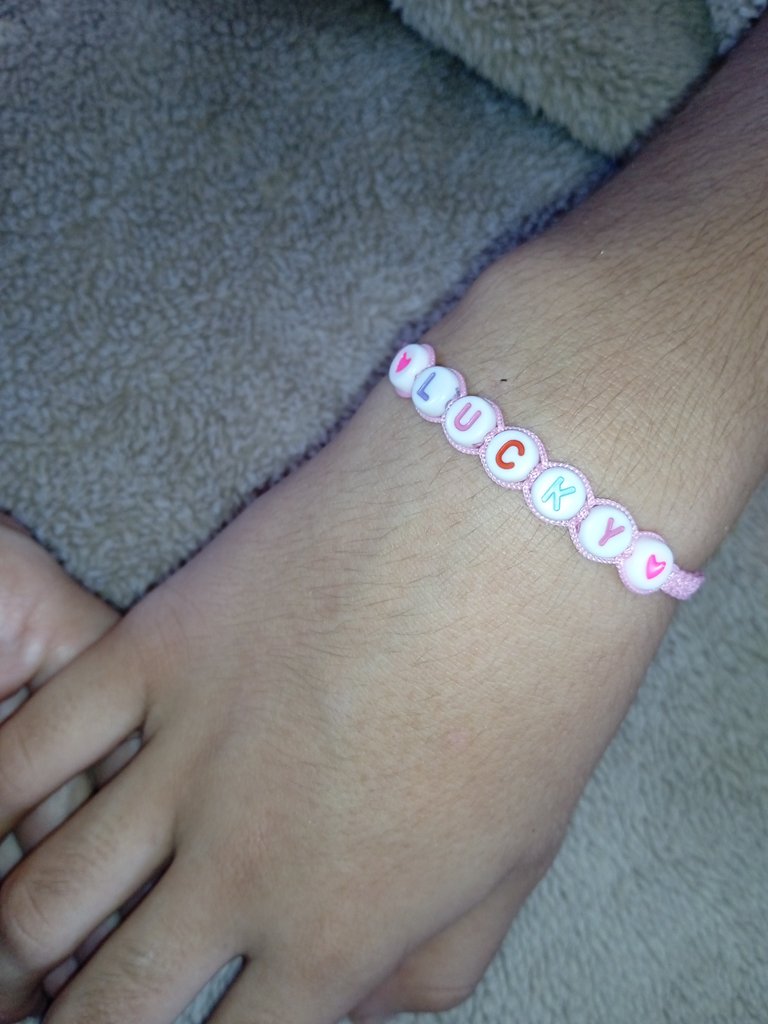
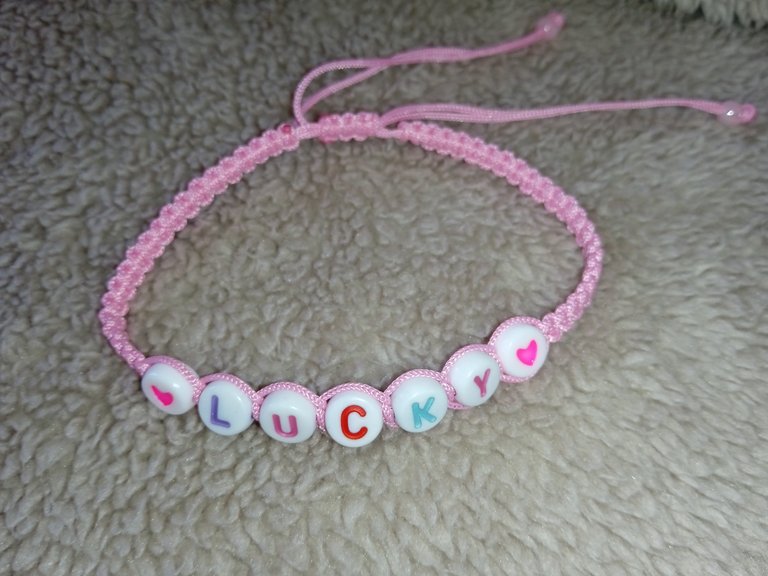
Hasta aquí mi Proyecto de este día, espero les haya gustado, muchas gracias por el apoyo brindado. Saludos 🍀
So Project for this day, I hope you liked it, thank you very much for the support. Greetings
Todas las imágenes son de mi autoria por @mariarodriguez, tomadas especialmente para esta publicación.
All images are my own by @mariarodriguez, taken especially for this publication.


