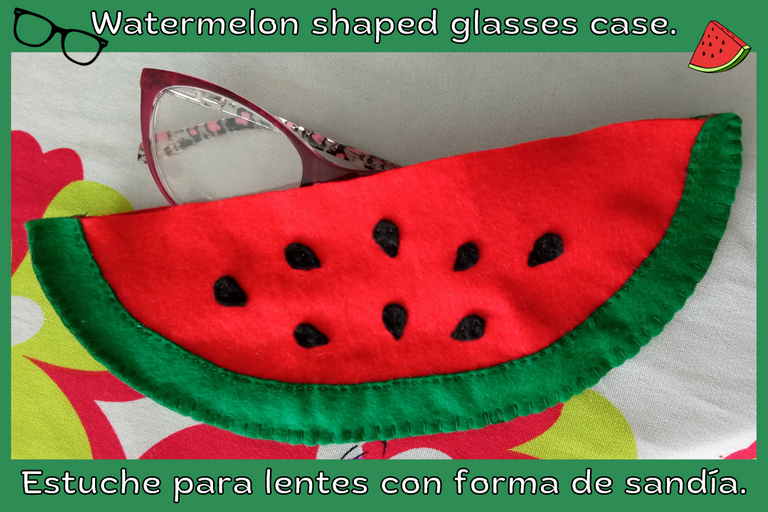
Espero que estén pasando un lindo miércoles!!❤️ En esta ocasión les compartiré el paso a paso para realizar un estuche que podemos utilizar para guardar nuestros lentes, aunque es multiusos. Es muy fácil de elaborar, lo que necesitamos es fieltro de distintos colores, podemos recrear la forma que deseemos, lo importante es dejar volar nuestra imaginación, esta vez en lo que me inspiré fue en la sandía. Espero que les guste muchoo este post!! A continuación les mostraré cómo lo hice:
I hope you are having a nice Wednesday!!❤️ This time I will share with you the step by step to make a case that we can use to store our glasses, although it is multipurpose. It is very easy to make, what we need is felt of different colors, we can recreate the shape we want, the important thing is to let our imagination fly, this time what I was inspired by was the watermelon. I hope you like this post! Next I will show you how I did it:
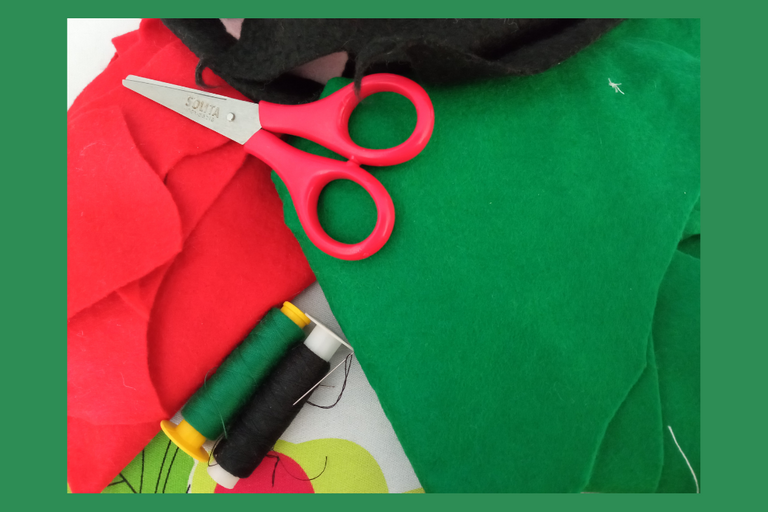
📌 Materiales:
- Fieltro, colores: rojo, verde y negro.
- Hilo y aguja.
- Tijera.
- Alfileres.
- Papel y bolígrafo.
📌 Materials:
- Felt, colors: red, green and black.
- Thread and needle.
- Scissors.
- Pins.
- Paper and pen.
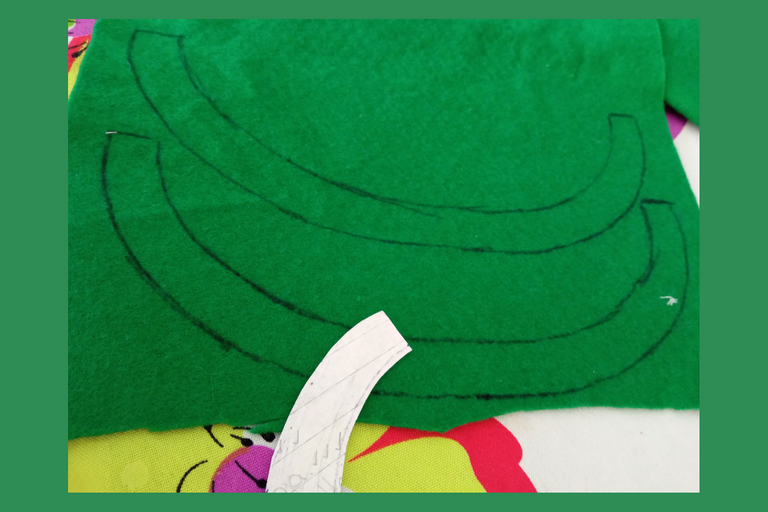
Primero creé un patrón, lo corté y marqué dos piezas de la parte verde de la sandía en el fieltro de ese color.
First I created a pattern, cut it out and marked two pieces of the green part of the watermelon on the felt in that color.
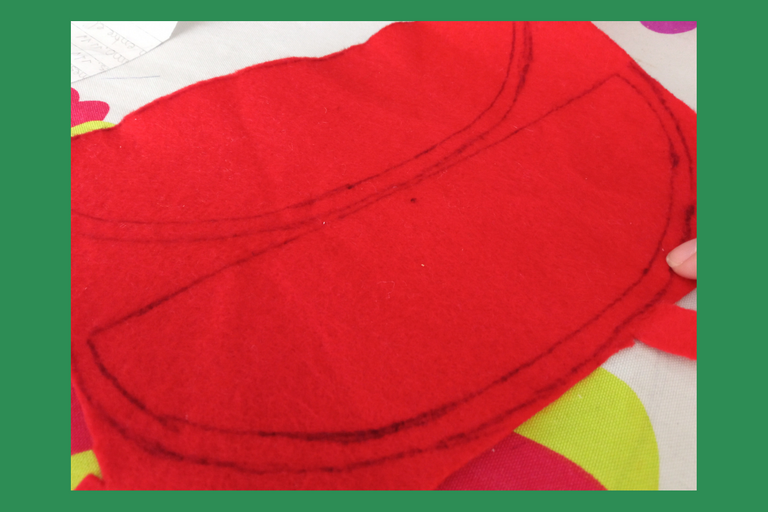
Luego hice lo mismo con la parte roja en el fieltro, con una diferencia de que marqué un centímetro más para poder coser como se observa en la imagen.
Then I did the same with the red part on the felt, with the difference that I marked an extra centimeter to be able to sew as shown in the image.
Uní la pieza roja con la verde.
I joined the red piece with the green one.
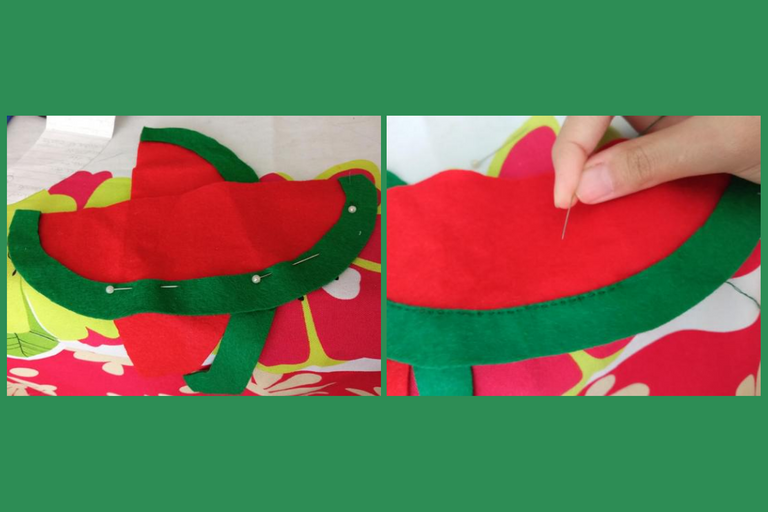
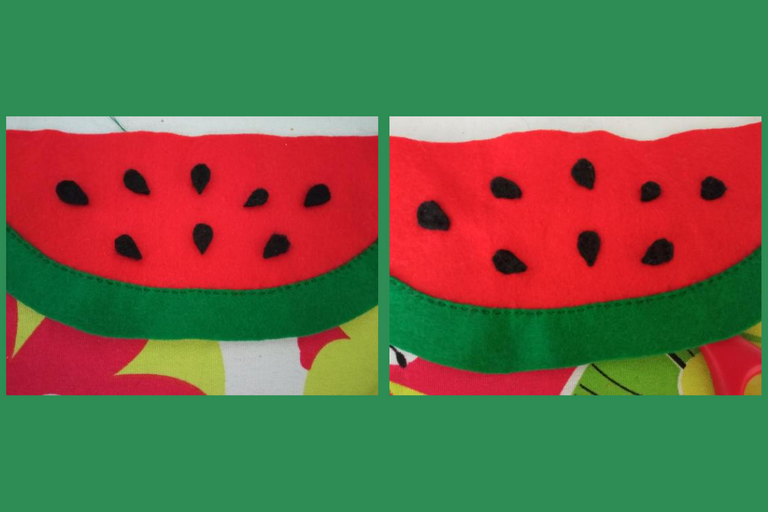
Usé el fieltro negro para hacer las semillas, corté algunas y las adherí a la pieza que había terminado anteriormente.
I used the black felt to make the seeds, cut some of them and attached them to the piece I had previously finished.
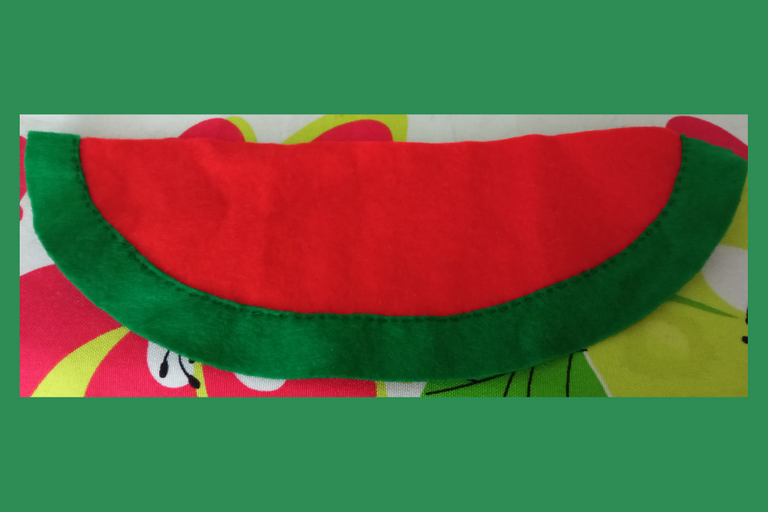
Luego procedí a coser las otras dos piezas.
I then proceeded to sew the other two pieces together.
Uní las dos partes, y terminé este lindo estuche.
I joined the two pieces together, and finished this cute case.
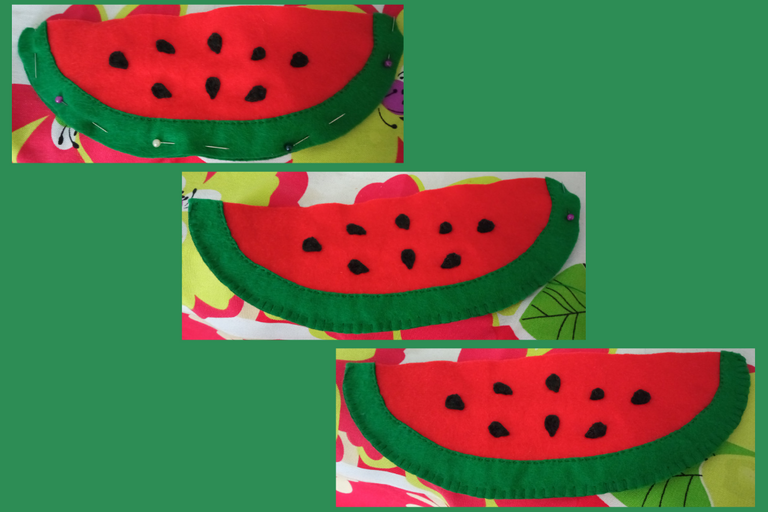
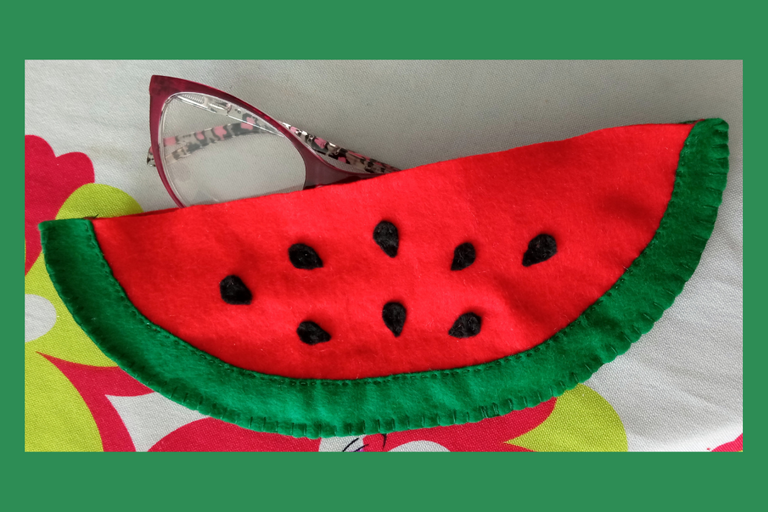
Este fue el resultado del estuche, espero que les haya gustado mucho este post. Graciaaas por leer. Hasta una próxima oportunidad!!❤️🍉
This was the result of the case, I hope you liked this post. Thanks for reading. Until a next opportunity!!!❤️🍉
Todas las imágenes son de mi autoría @mariamglow, tomadas con mi teléfono Redmi 9, editadas en Canva, texto traducido en DeepL.
All images authored by me @mariamglow, taken with my Redmi 9 phone, edited in Canva, text translated at DeepL.

