Feliz fin inicio de semana espero que todos estén súper bien disfrutando de mucha salud. Hoy es un día excelente para compartir con ustedes mi tarea creativa.
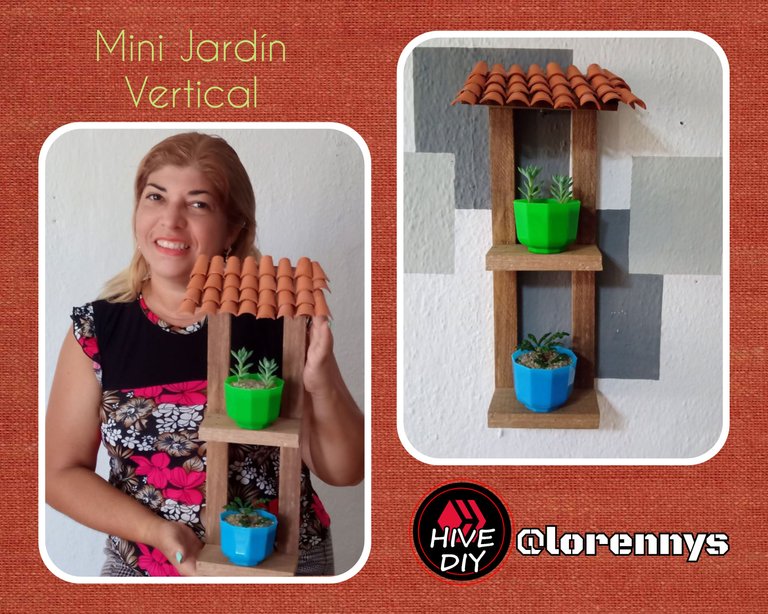
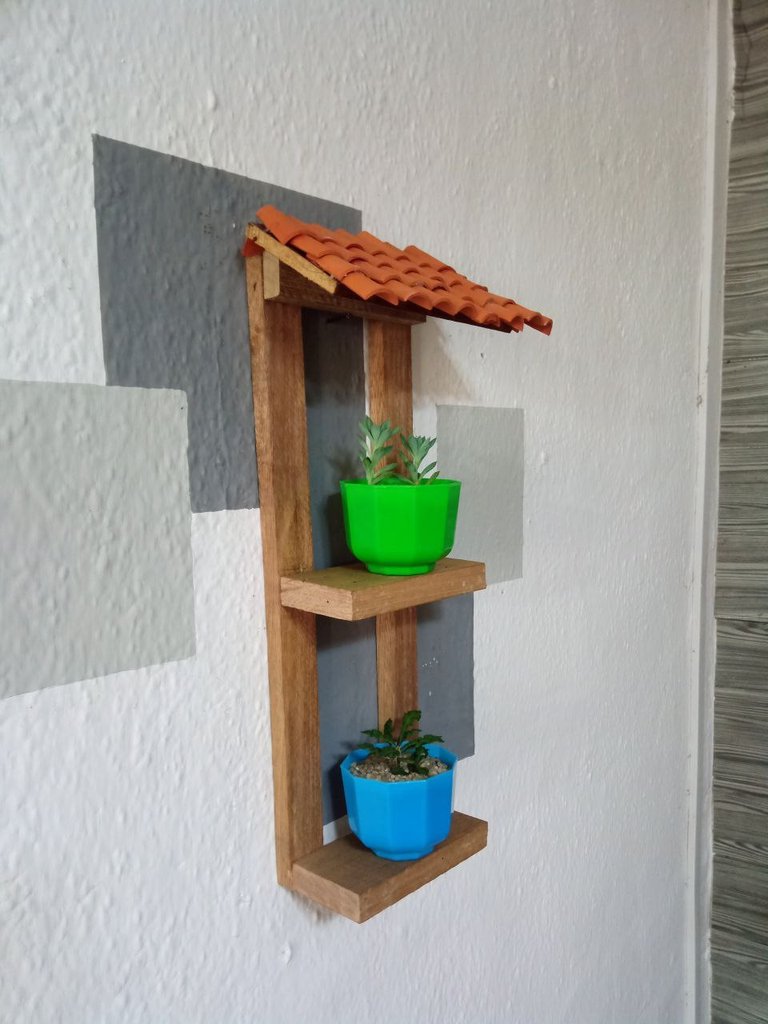
Además de vender ,comprar, intercambiar y coleccionar plantas, mi emprendimiento también se dedica a la decoración verde 🌿 así que hoy les traigo este sencillo tutorial de un modelo muy sencillo de jardín vertical para decorar el espacio de tu preferencia.
Los jardines verticales son elaborados en paletas de maderas , botellas etc con ellos rompemos la manera tradicional ya que no estarán en el suelo como es la costumbre. Para aquellos lugares que cuentan con poco espacio son una maravillosa opción y se pueden realizar tanto en exteriores como interiores.
El jardín vertical que hoy te presento es pequeño y sencillo pero los hay de tamaños más grandes ya que su fin principal es hacer pequeños bosque urbanos aprovechando espacios en desuso.
Happy start of the week , I hope everyone is doing great and enjoying good health. Today is an excellent day to share with you my creative endeavor.
Besides selling, buying, exchanging and collecting plants, my enterprise is also dedicated to green decoration 🌿 so today I bring you this simple tutorial of a very simple model of a vertical garden to decorate the space of your choice.
The vertical gardens are made in pallets of wood, bottles etc with them we break the traditional way as they will not be on the ground as is the custom. For those places that have little space are a wonderful option and can be performed both outdoors and indoors.
The vertical garden that I present to you today is small and simple, but there are larger ones, since their main purpose is to make small urban forests taking advantage of unused spaces.
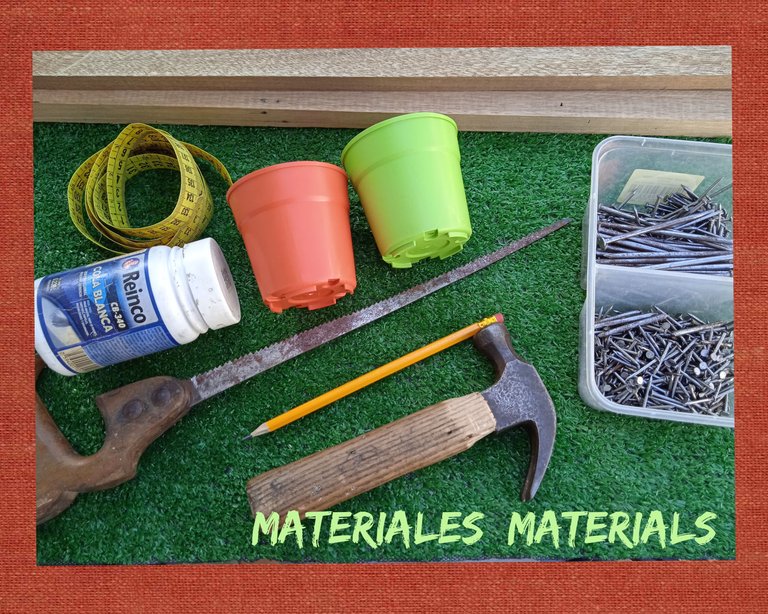
Las herramientas necesarias para hacer un jardín vertical, no son nada complicadas de conseguir, por lo que será muy facil crear uno o muchos espacios verdes verticales en donde lo desees.
MATERIALES QUE UTILICÉ PARA ELABORAR EL JARDÍN VERTICAL
✓MADERA
✓SERRUCHO
✓CLAVOS
✓PEGAMENTO
✓MARTILLO
✓CINTA MÉTRICA
✓LAPIZ
MATERIALS I USED TO MAKE THE VERTICAL GARDEN.
✓WOOD
✓SERRUCHO
✓CLAVES
GLUE
✓MARTILLO
✓ METRIC TAPE
✓PENCIL
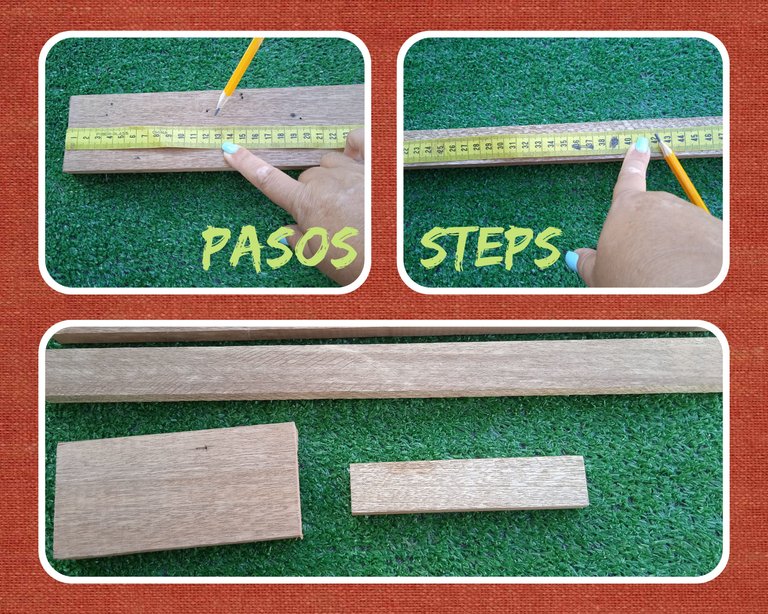
PASOS PARA REALIZAR UN JARDÍN VERTICAL
PASO UNO :
Tomo la cinta métrica y el lápiz ✏️ y mido las tablas para picar dos de 147 cm dos de 432 cm y dos de 14*2 cm. Para hacer un total de seis tablas y comenzar a armar mi jardín vertical.
STEPS TO MAKE A VERTICAL GARDEN.
STEP ONE :
I take the tape measure and pencil ✏️ and measure the boards to chop two of 147 cm two of 432 cm and two of 14*2 cm. To make a total of six boards and begin to assemble my vertical garden.
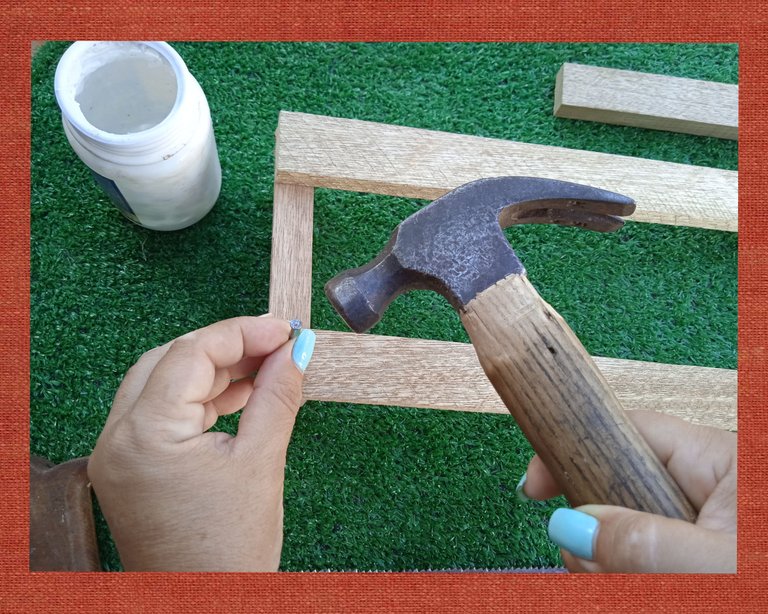
PASO DOS:
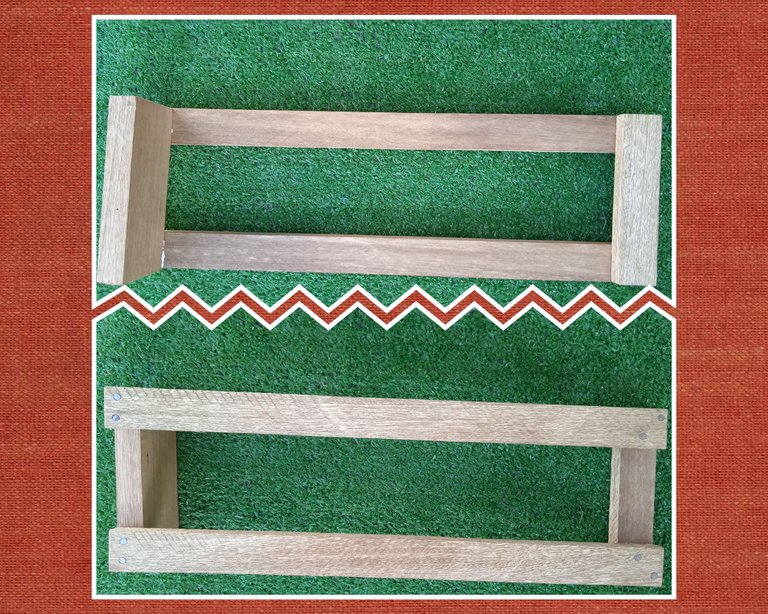
En este siguiente paso comencé a ensamblar mi jardín vertical utilizando la pega, el martillo y los clavos. Cómo tips de carpintería a estos últimos le damos unos pequeños toques en la punta para que al penetrar en la madera no la rasgue.
STEP TWO:
In this next step I started assembling my vertical garden using the glue, hammer and nails. As carpentry tips, we give the nails a few small touches on the tip so that when they penetrate the wood they do not tear it.
PASO TRES:
En este siguiente paso, les muestro cómo ya están acoplados los listones de Madera. En su parte trasera y delantera.
STEP THREE:
In this next step, I show you how the Wood slats are already attached. In the back and front.
PASO CUATRO:
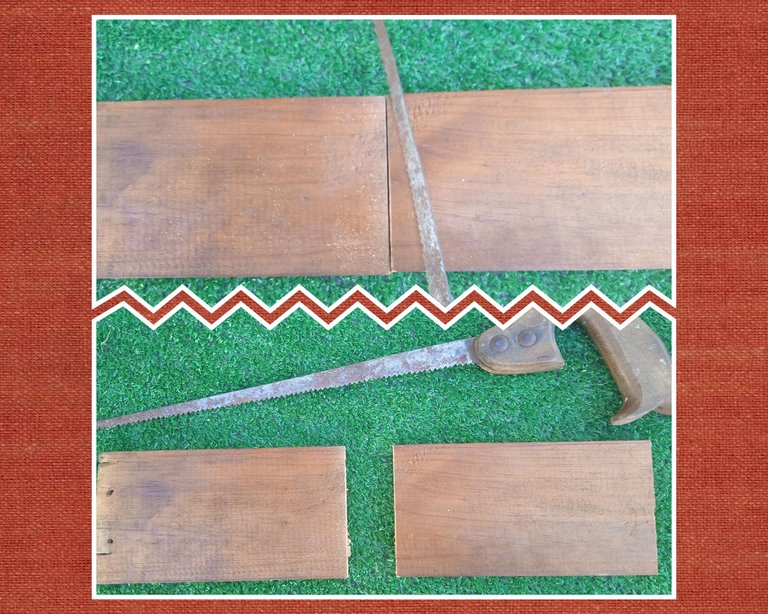
Una vez está lista la estructura de mi jardín vertical, prosigo a la elaboración del techo para darle aspecto de casita. Para esto pique otro pedazo de madera de 15*8 cm.
STEP FOUR:
Once the structure of my vertical garden is ready, I proceed to the elaboration of the roof to give it the appearance of a little house. For this I cut another 15*8 cm piece of wood.
PASO CINCO:
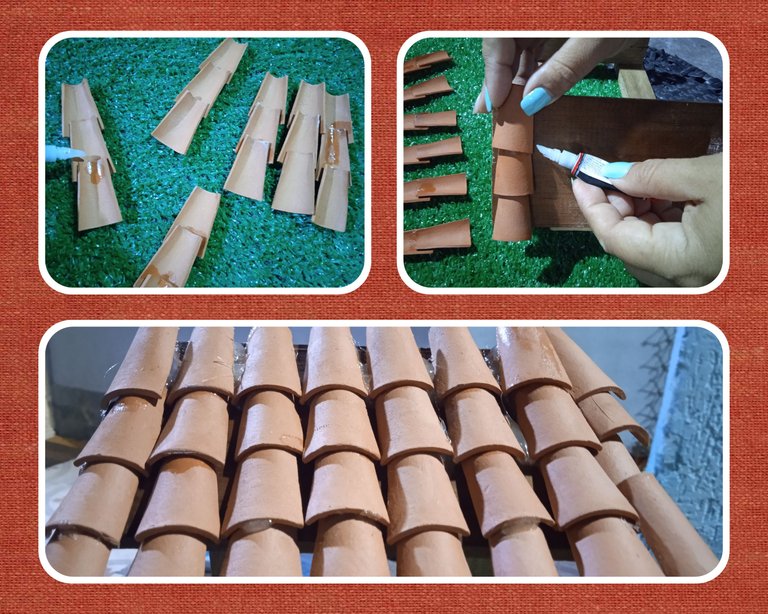
Con este último paso terminó la estructura del jardín, decore el techo con unas pequeñas tejas de arcilla que tenía en mi estante de materiales y que uso para la elaboración de los mini jardines o cualquier otro adorno de mi emprendimiento verde 🌿 y decorativo. Al recordar que las tenía de inmediato pensé son la ideales para este proyecto.
STEP FIVE:
With this last step finished the structure of the garden, I decorated the roof with some small clay tiles that I had on my materials shelf and that I use for the elaboration of the mini gardens or any other ornament of my green 🌿 and decorative venture. Remembering that I had them I immediately thought they are the ideal for this project.
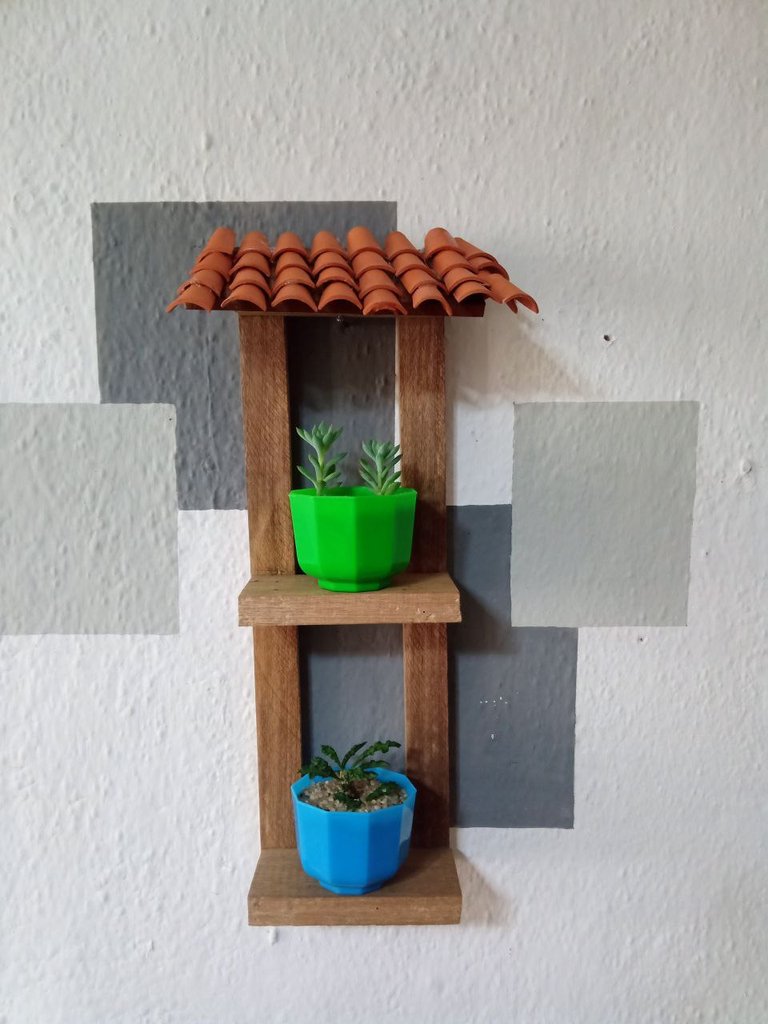
Los jardines verticales pueden ser grandes, pequeños o mini todo dependerá del espacio que deseemos utilizar,recordando que es la manera de hacer nuestros bosques urbanos. Así mismo,las plantas a utilizar pueden ser de una especie o variada también son a nuestra elección y dependiendo del paisajismo que se quiera realizar.
De esta manera he finalizado mi tarea creativa, de hoy espero haya sido de su agrado y se animen a realizar uno para ustedes.
The vertical gardens can be large, small or mini everything will depend on the space we want to use, remembering that it is the way to make our urban forests. Likewise, the plants to use can be of a species or varied are also to our choice and depending on the landscaping you want to do.
In this way I have finished my creative task, of today I hope it has been to your liking and you are encouraged to make one for you.
✓Todas las fotografías son de mi propiedad ,capturadas con mi Redmi A9. Editadas con GridArt y banner final editado con Canva versión libre.
✓Deelptraductor fue utilizado para esta publicación.
Éxitos y bendiciones para todos 🙏🏻 hasta las próxima publicación.
¡Tengan un feliz día!
¡Gracias por detenerte a leer!
All photos are my property, captured with my Redmi A9. Edited with GridArt and final banner edited with Canva free version.
✓Deelptraductor was used for this post.
Success and blessings to all 🙏🏻 until the next posts.
Have a happy day!
Thanks for stopping by to
read!
