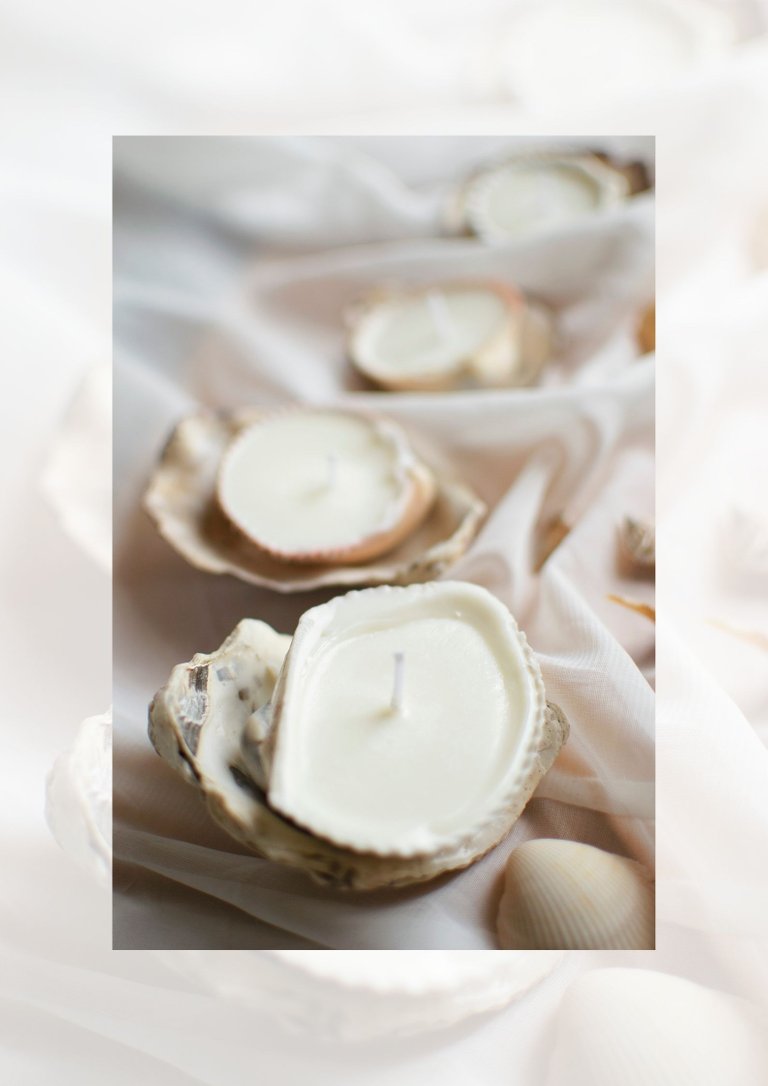
Hello Hive DIY people! Want to make something really cute? As a gift for someone special or just for yourself. Keep on reading, in this post I will explain step by step how to make these adorable seashell candles.
What you need
- Seashells
- Soy wax
- Candle wicks
Step1 | Go find some seashells on the beach:
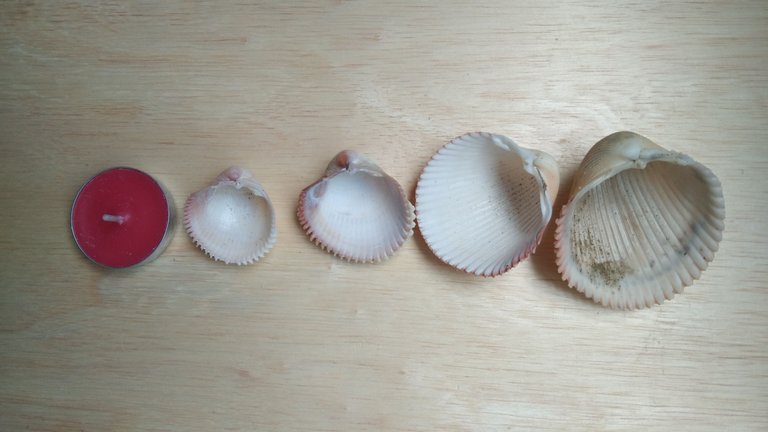
Off course you can probably also buy the seashells online, however personally I find it more fun and challenging to go to the beach nearby my place to find the seashells myself. When looking for the seashells you have to consider the shape and size of the shell. Some shells are more suitable than others to make candles. I always look for ones that are not too flat so it can hold more volume inside. Once you have collected some seashells, you can take them home carefully and when you get home you can clean them in case, they have any sand grains stuck to them.
Step2 | Prepare for seashell candle making:
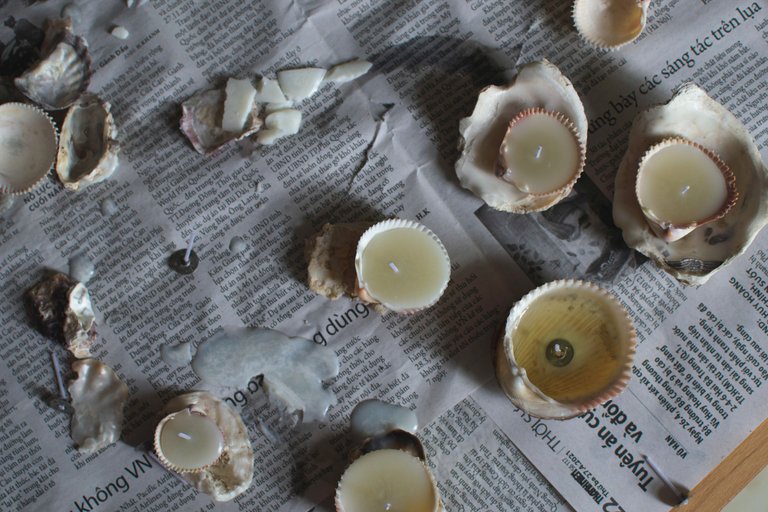
When I start making the candles, I put newspaper on top of the table I will be working on, just in case I spill some of the soy wax. It will be easier to clean up afterwards. Then, I get the seashells I’m going to use and place them on top of the table. Underneath the seashells I place oysters to keep the shells up straight and leveled. You can use anything you have to keep your seashells standing straight.
Step 3 | Melt the soy wax:
Once the table is ready you can start bowling some water, you just need a little bit of water. Before you start cooking it place a bowl inside the pan with water and pour the soy wax inside the bowl. Once the water starts cooking the soy wax will start to melt slowly, until it becomes of a liquid consistency. When cooking the water, you have to make sure that the water doesn’t end up inside of the bowl with soy wax. To avoid this from happening keep the fire low to medium.
Step 4 | Pour the soy wax into the seashells:
This step requires a lot of focus and care. Now your soy wax is ready to be poured into the seashells. With a thick cloth I always try to get the hot bowl with the dissolved soy wax outside of the pan. Please do this with a lot of care. Once you get the bowl out, I normally pour the wax inside a smaller cup, just to make it easier when I aim the wax inside of the seashells. When you are filling up the seashells with soy wax make sure you don’t overpour, because then the soy wax will start spilling outside of the shell.
Step 5 | Place the wicks:
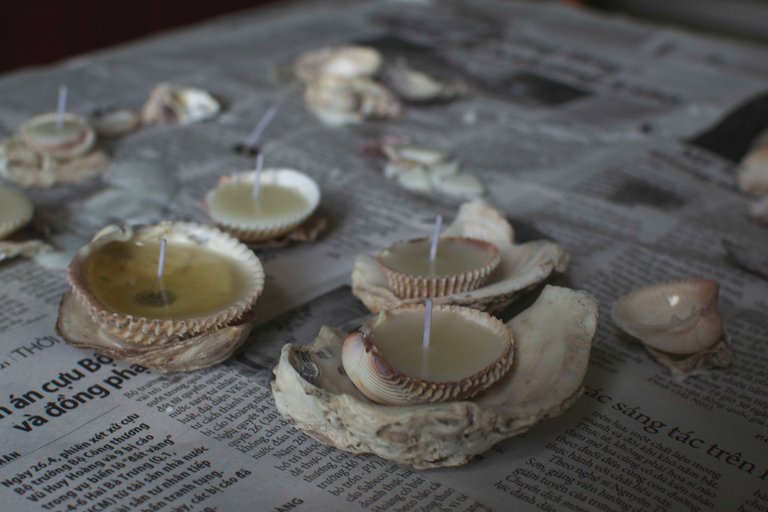
I normally don’t place the wicks straight away after having poured the wax inside of the shells, because they are not likely to stand by themselves. So, I just wait a little bit for the soy wax to become less liquid like and then I place the wicks on the bottom of the seashells. Don’t wait too long to place the wicks, I have had occasions where I got distracted for a bit and then the wax got too hard to be able to place a wick.
Step 6 Just wait and the candles are ready to use:
Just wait for a bit and your seashell candles will be ready in no time. Depending on the size of the shell it will take longer or shorter. When using the seashell candles you have to make sure again that they are standing up straight, that way the wax will stay inside when you start burning the candle.
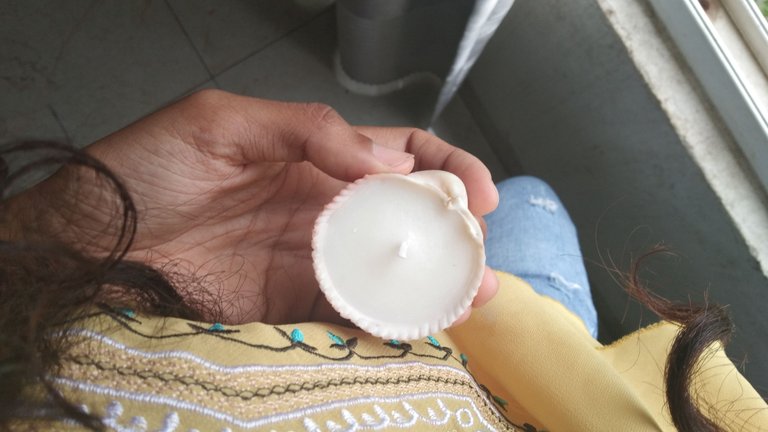
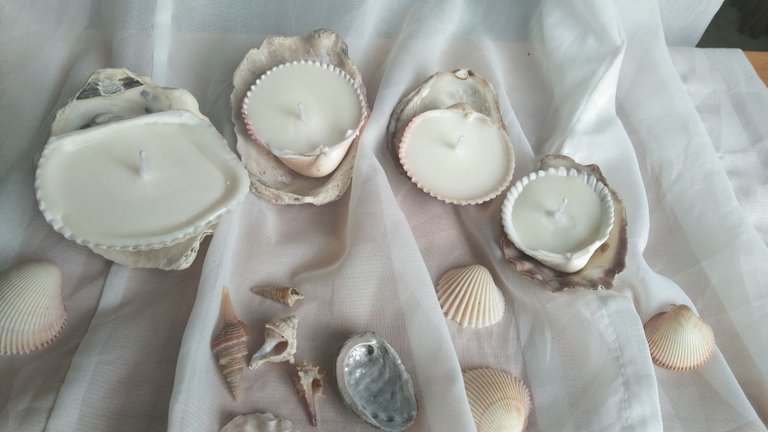
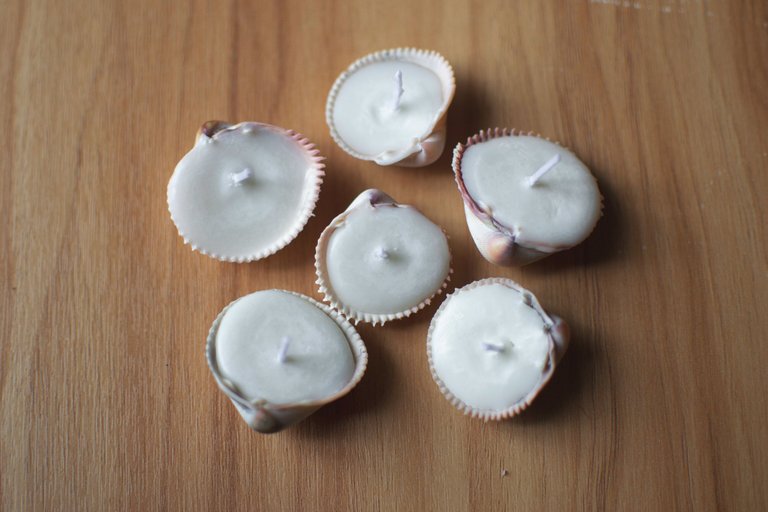
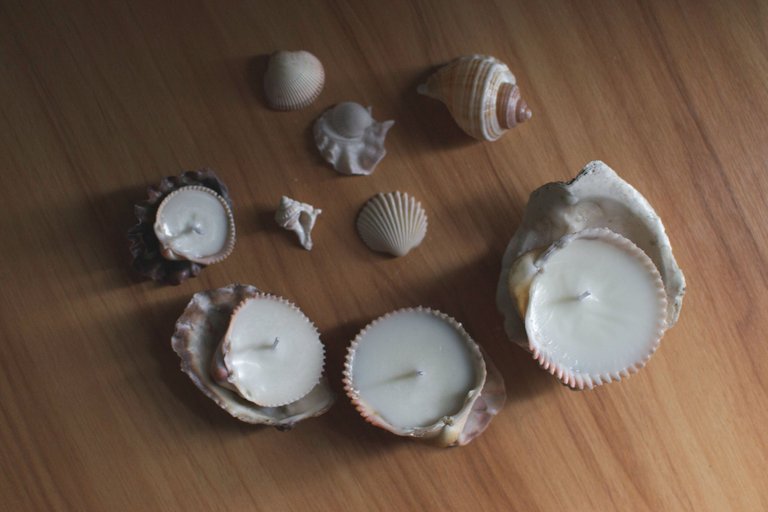
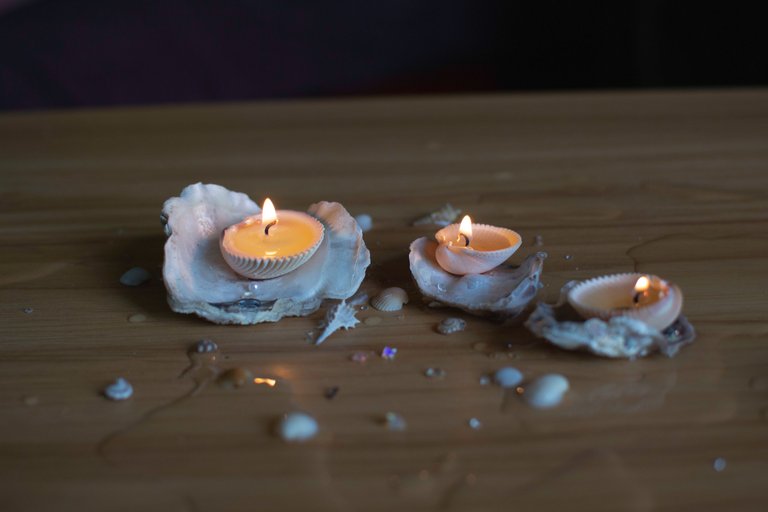
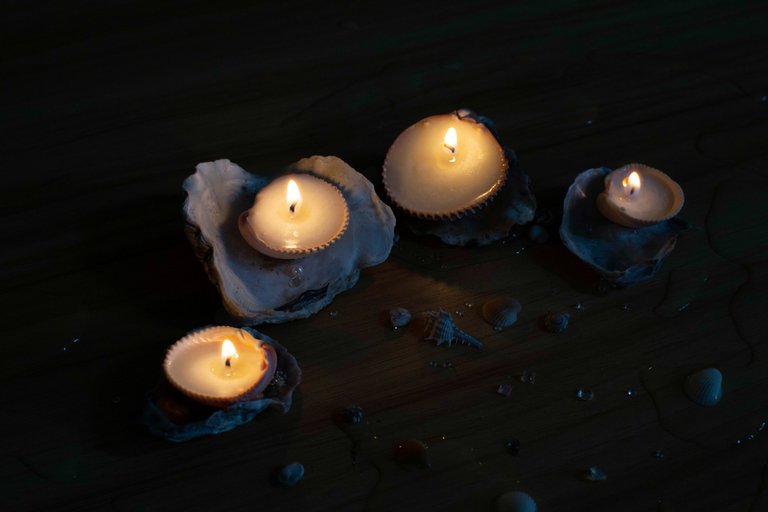
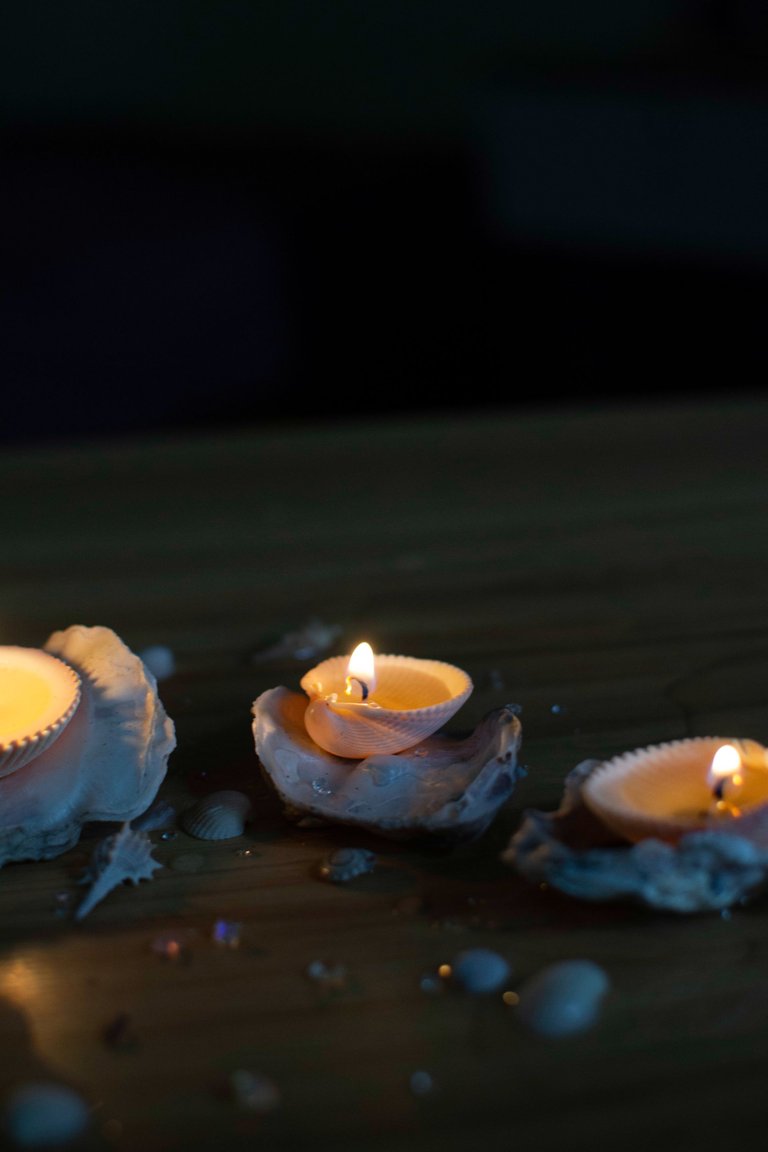
The smallest seashell candle I have made is about the size of a tealight. I like using soy wax for my seashell candles, because the candles last 50% longer in comparison with candles which are made out off parrafin wax. In addition soy wax is non - toxic and good for our environment 🙂.
Some more pics...
May every light bring you light..

