Kokedama Workshop DIY
I'm not gonna get so repetitive, sorry for having disappeared for such a long time.
Let's say I am setting priorities and I haven't mastered the art of organization for myself.
Because of this, I would like to announce my return with a kind present and share with you something fantastic that I learned last week with my mother!
I say a present, because believe me, it was so easy and so satisfying to do... that I think many of you would like to try to make this :)
Last week, mum and I went to "handmade Barcelona Festival" it's the first time we go and believe me, it's quite difficult to leave from there with some money left on your credit card. There are lots of workshops to learn plenty of crafts, as well as lots of materials... for almost everything you can imagine.
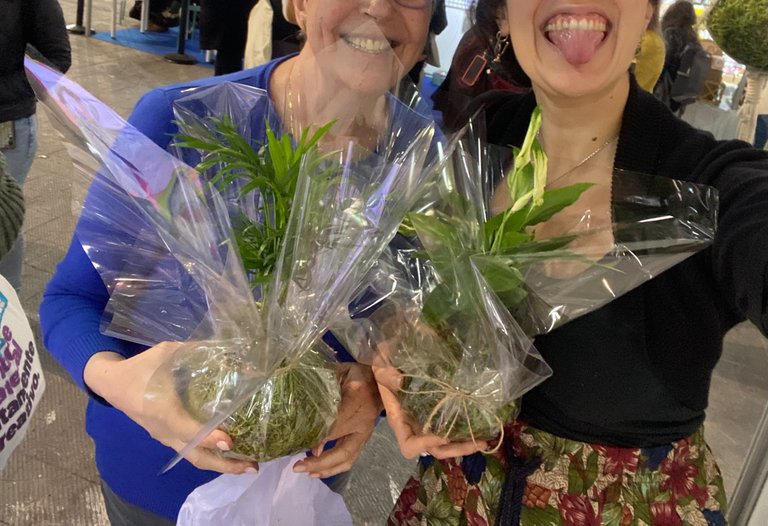
Well, mum and I bumped into this little workshop, where some participants were going home with their hands dirty of ground and with beautiful plants packed as if they were a bombon.
All right, you might be asking, Lluna, what is a Kokedama?
To be honest, I didn't know its name before I was there.
It's this beautiful house plant that is surrounded by moss. That's pretty much it. But of course, you can have a proper read on Wikipedia description if you are interested, but I'm going to jump to the point in case you want to make your hands dirty already.
The workshop was led by the beautiful Laura from kokesgaia
We need:
An interior plant
a plastic piece around 60x60 (a piece of a trash bag is what we used)
Good soil (with mycorrhizae (To keep the moisture)
Moss (ethically collected)
Florist's wrapping thread
Plastic and rope to transport home if necessary.
First of all, we create a "patty" of soil about 20cm round and 3cm high, on top of the plastic bag.
The soil we worked with has mycorrhizae, which means that contains beads that hold water and leave it little by little, this way keeping the moisture for longer. As well, having good soil helps the plant and the roots to recover from the touch that we've given.
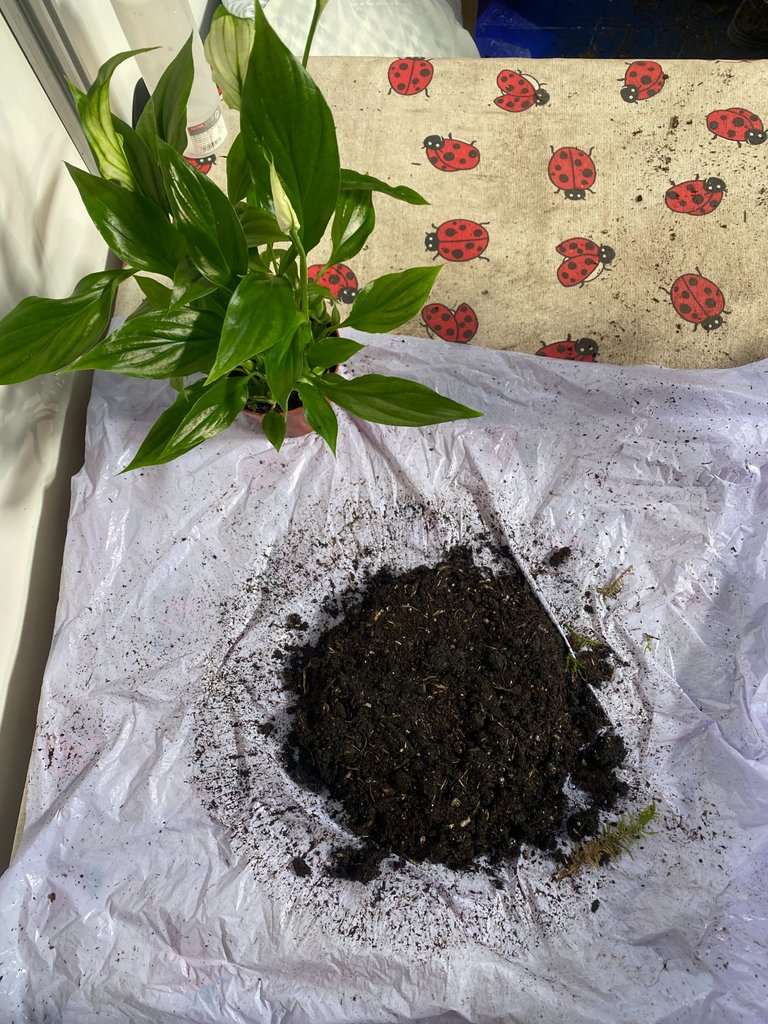
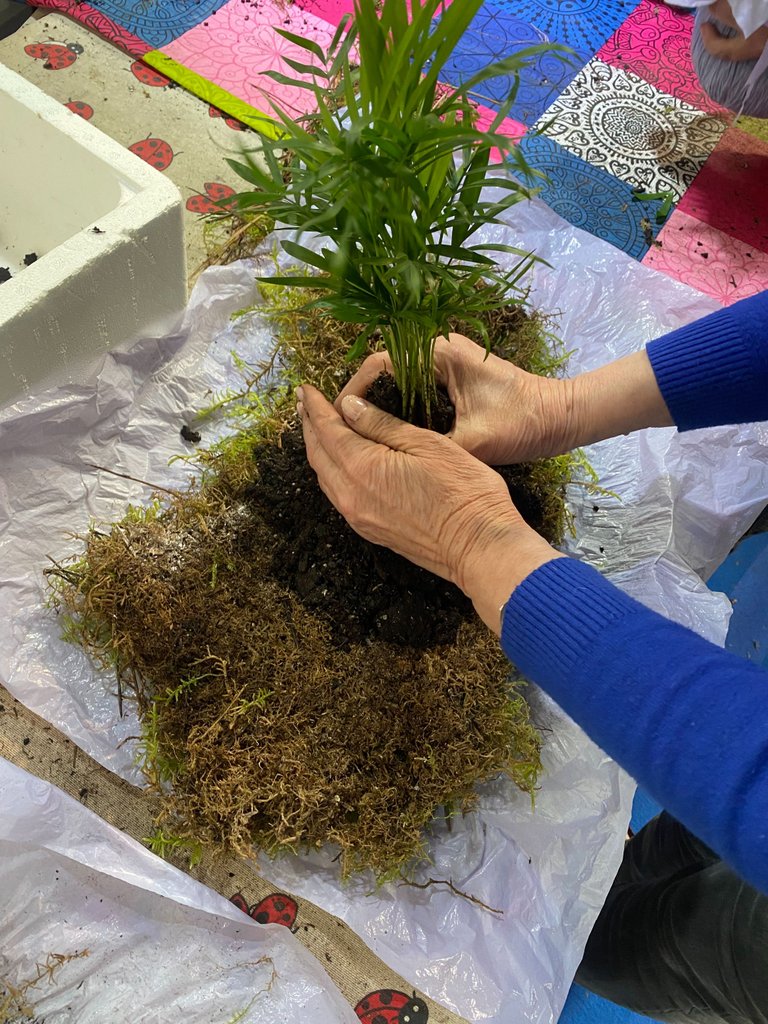
We take out the pot of the plant and we remove the excess soil, we remove it little by little, the limit is when you hear that the roots are breaking. In the case of my plant, there was not so much to take so it stayed like this:
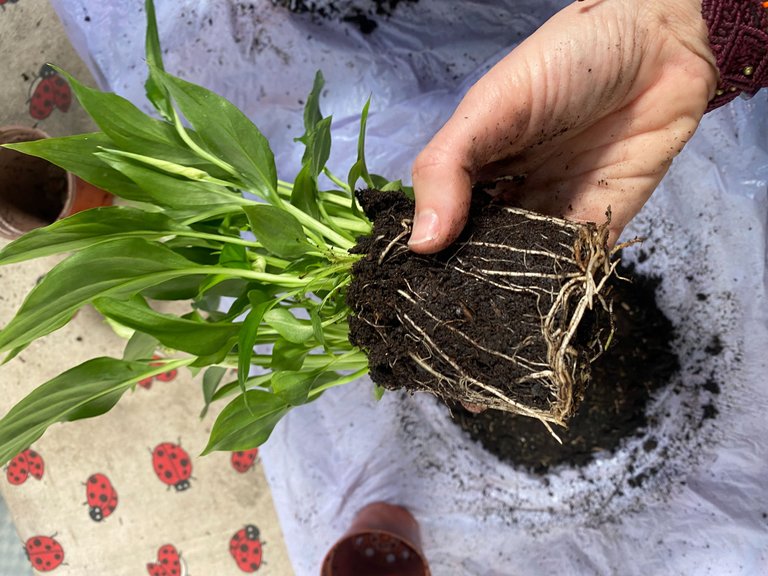
During the process, the teacher was sharing with us how there are studies that support the idea that touching soil relaxes. It brings in a substance that is similar to dopamine.
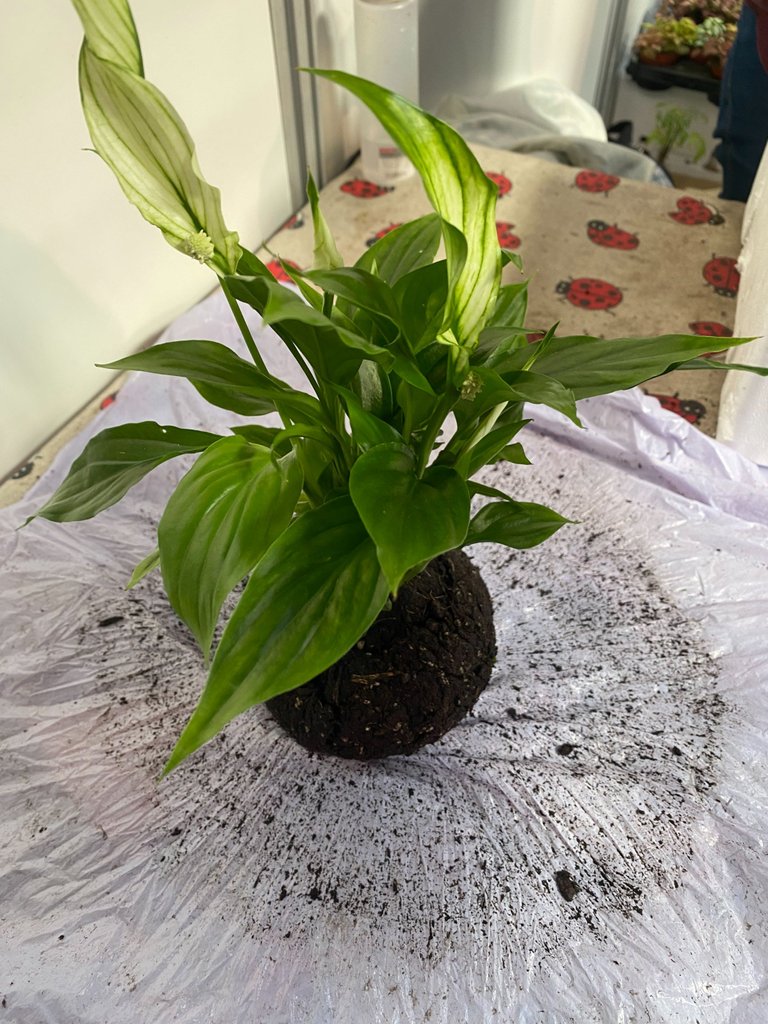
Then, we put the plant on top of our patty and we make a ball with the help of the plastic bag
We give it a round shape by climbing up with our fingers little by little, making sure that there are no big folds in between.
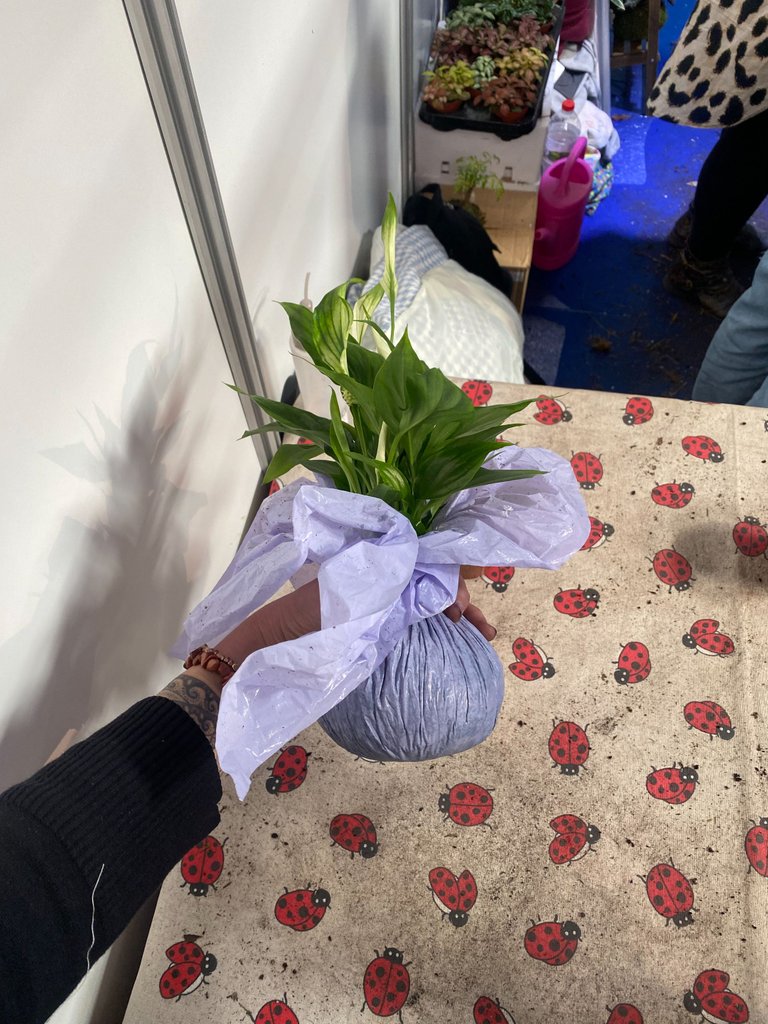
Once it has a nice round shape and we have pressed it enough, we open it. Technically it should hold, but if it doesnt hold we would place it how it is on top of the moss and lift the moss fast so that it holds. It was so sweet and funny how she was saying ironically all the time how "technical" were the explanations that she gave us, but in reality everything was so easy and intuitive, and she knew that :P
Afterward, we take the moss, clean it and place it upside down. If the pieces weren't so big, we would place them next to each other but a little bit one on top of the other so they would be together.
She also shared how important is to take care of the forest and how below the moss there is the mycelium, which is a network that connects the forest from below and we must respect it. For more about this, you can watch Fantastic Fungi on Netflix.
Btw, the plant I was working with is a Spathiphyllum.
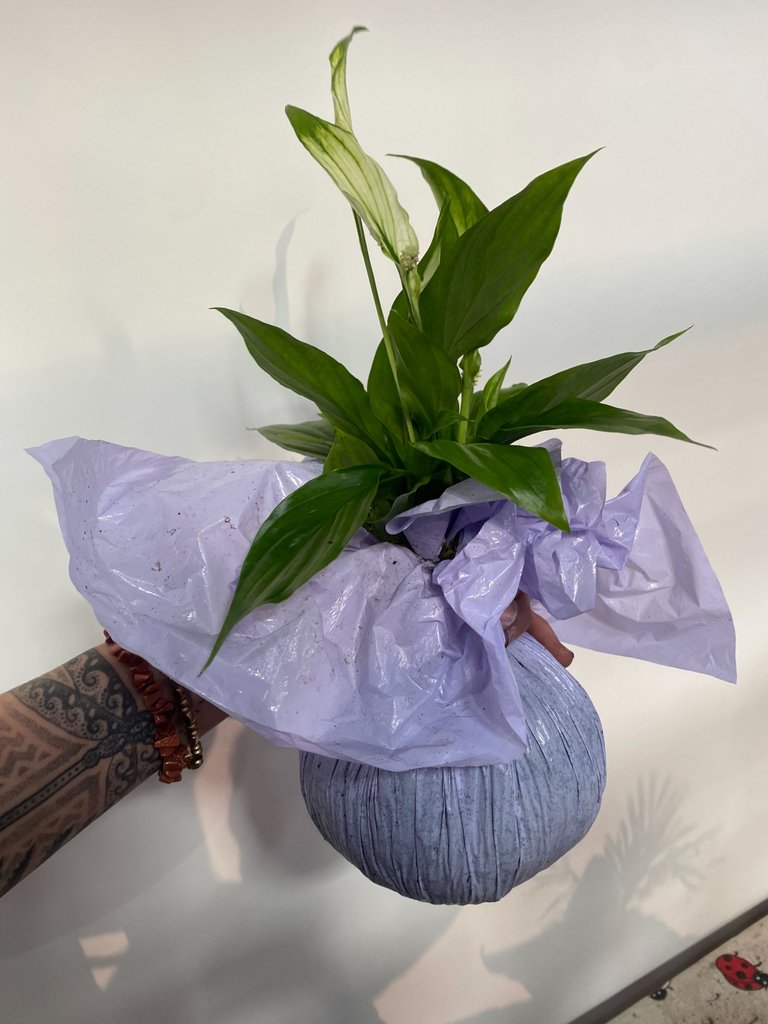
To hold it all together, we use a florist's wrapping thread, it is perfect because if we use too much strength it would break, and this is the limit to knowing how strong we can press the muss.
We start from the top and we pass the thread through the bottom repeatedly, until we feel it is holding.
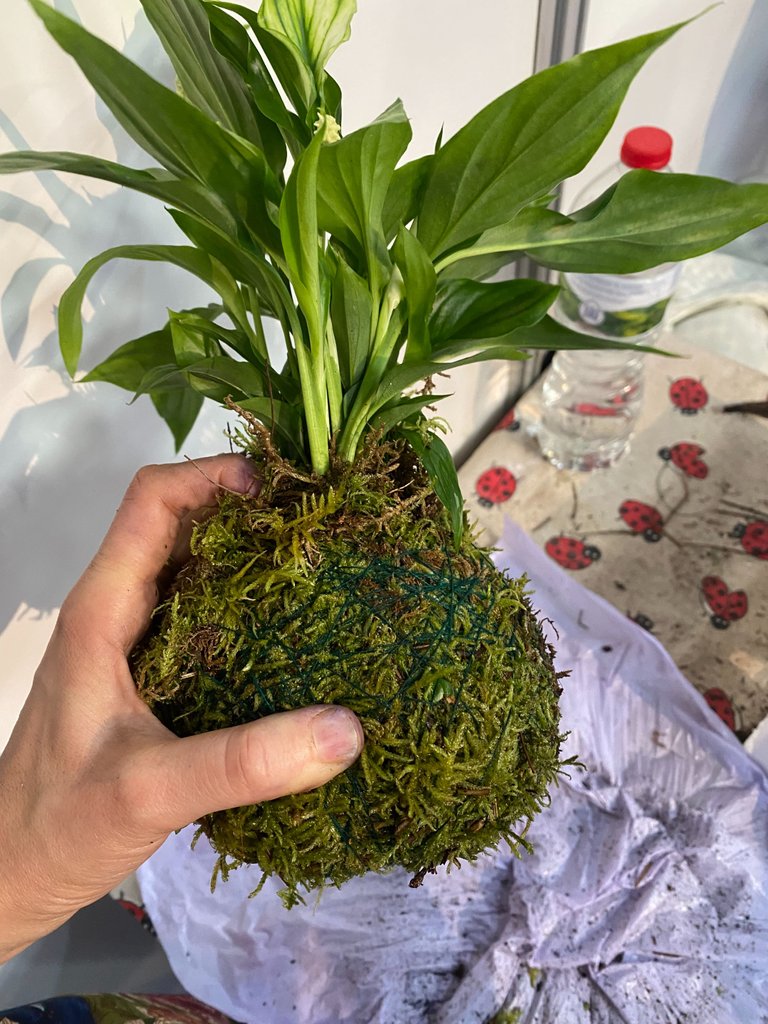
That's it family!
Then the instructions to water it.
We just water it when we lift the plant and it doesn't feel heavy.
The best way if we don't use filtered water would be to fill up a jar with water and leave it to rest for 24h, then we put the water into a "bucket" or boul (where the plant could fit) we make sure we leave the bottom of the jar full, that water that was at the bottom has all the heavy minerals that the plant doesn't need.
Then we place the plant inside the boul and we leave it there for 30 min or as long as the plant needs.
Remember to place the plant with some plate on the bottom cause it could destroy the furniture.
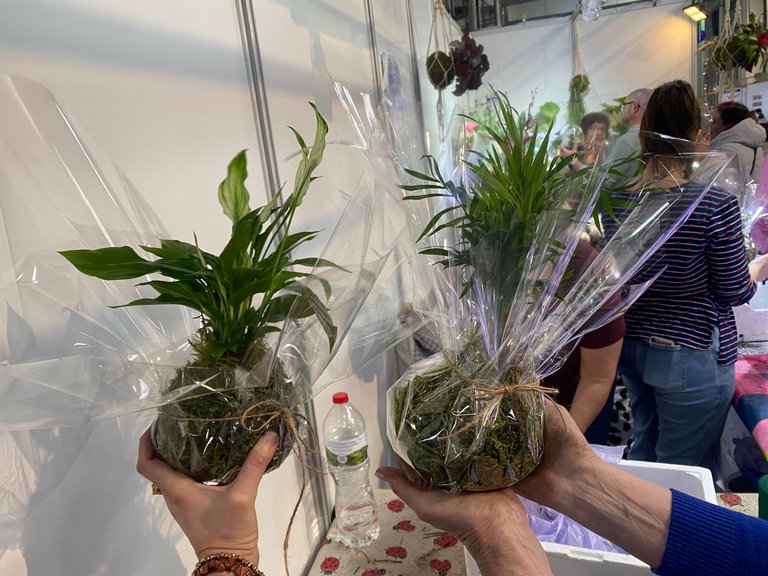
This is an idea of how to transport it, but you cannot leave it like this.
If you wanna make a Kokedama with an Orqidea, we make a patty with less soil and we also add tree bark.
Btw, I found it quite difficult sometimes to explain this "step by step" If you decide to make one, please let me know if the explanation helped you or if there's something I could improve. I hope you like it and Thank you.
PS: If you have any questions I will be so happy to answer and if I don't know the answer I will ask the teacher :)
To know more about what I do, have a look at my instagram: @llunasoul.ink
@llunasoul.art


