
Hi everyone, today I'll show you some step-by-step directions on how to create a decorative rosette. I'll also show you how to create a ribbon with it, too. These rosettes can be turned into all kinds of things: gift tags, holiday ornaments, ribbons, and much more. They can also be used for all kinds of events and holidays, depending on how you decorate them. I used washi tape on white card stock, but you could also make them with patterned card stock. You can also use your choice of a center piece to glue on. I personally think the circle looks best and decided a cut-out of the Hive logo was appropriate : )
Check out the directions below:
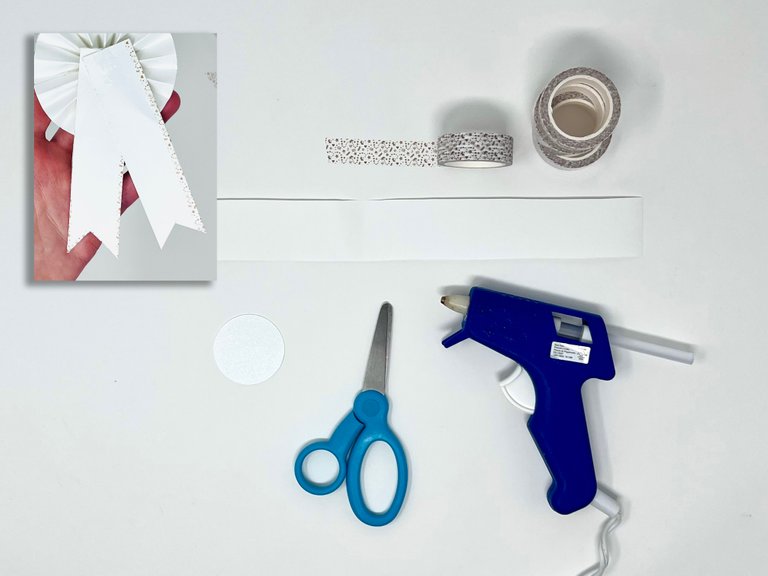
Materials:
- Glue gun
- Scissors
- Washi tape
- A strip of white card stock (For the rosette)
- Your choice of a center piece
- Optional: smaller strips of cardstock to create the bottom ribbons
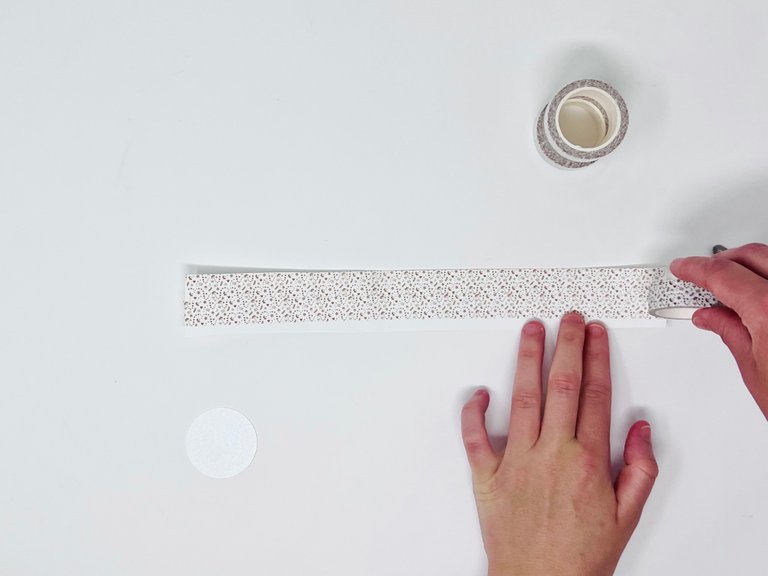
1. Stick washi tape evenly on strip of card stock.

2. Fold a tiny fold of the card stock.
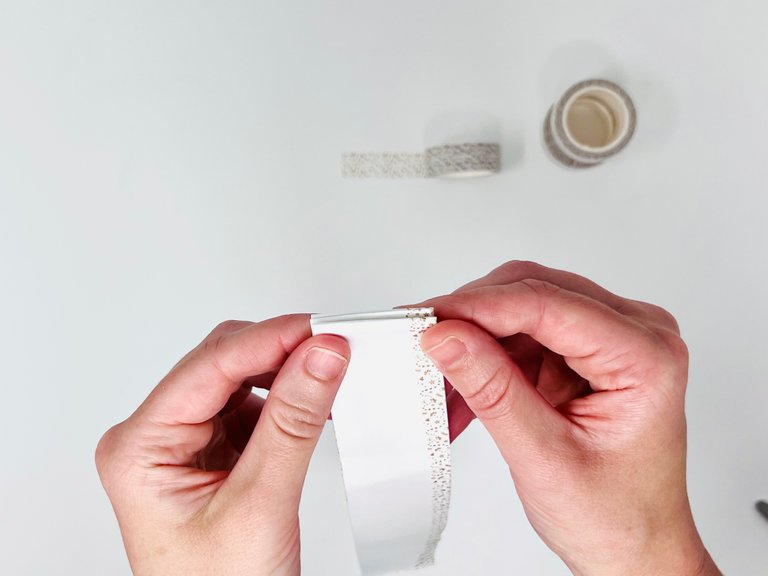
3. Flip over the card stock and fold again in the other direction. Keep folding this simple zig-zag pattern until you reach the end. Be sure to create strong creases.

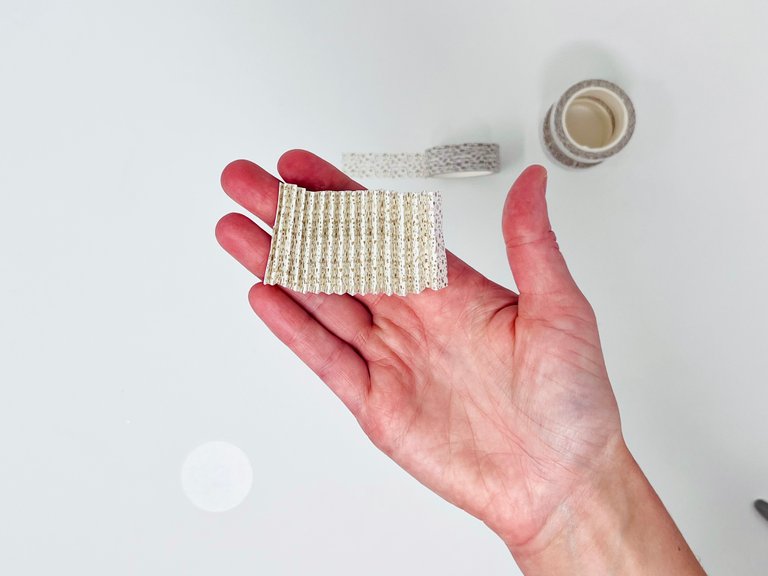
It should look something like this when released ⬆️
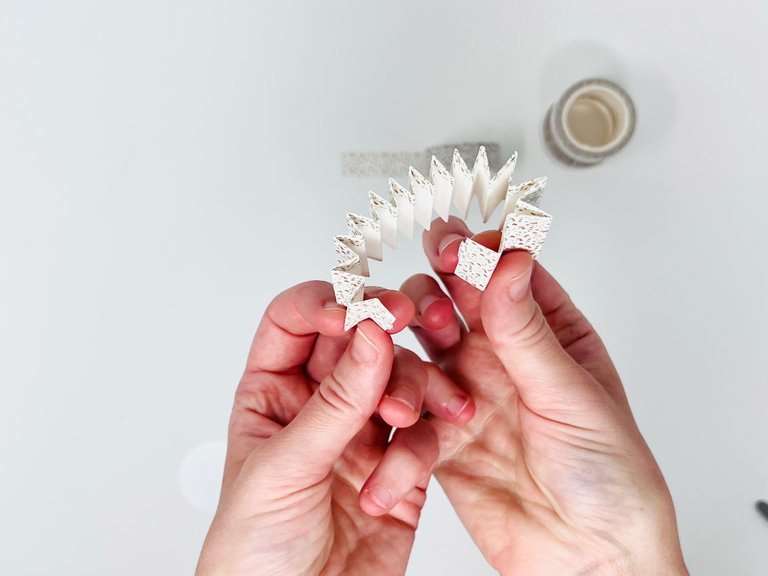
4. Fold the card stock around to create a loop shape.
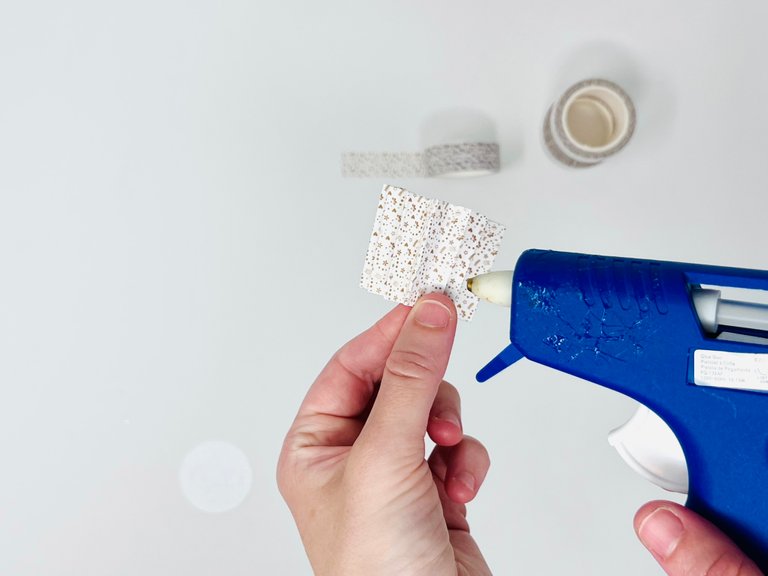
5. Glue the end folds together.
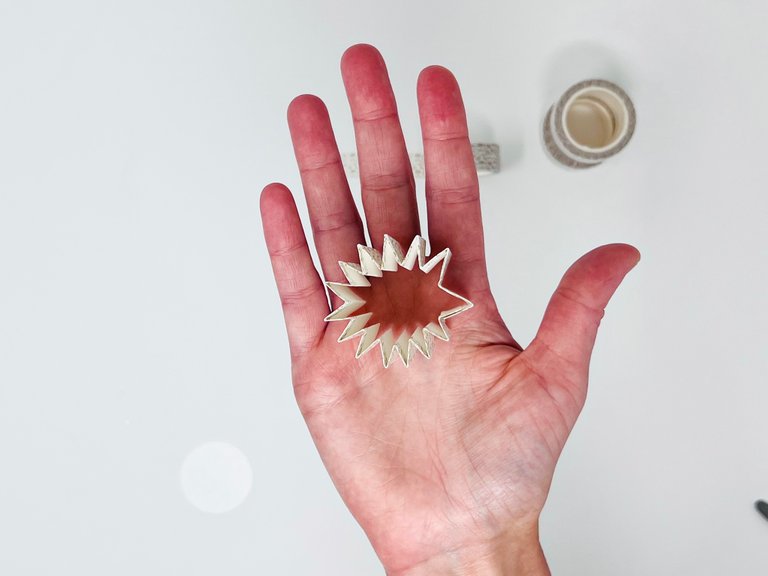
It should look something like this ⬆️
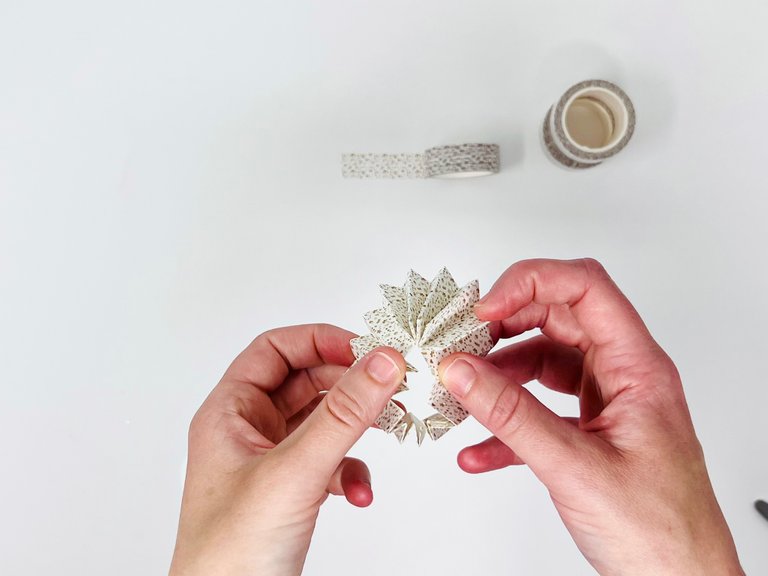
6. Push the top of the loop toward the center, so that the bottom part fans out.
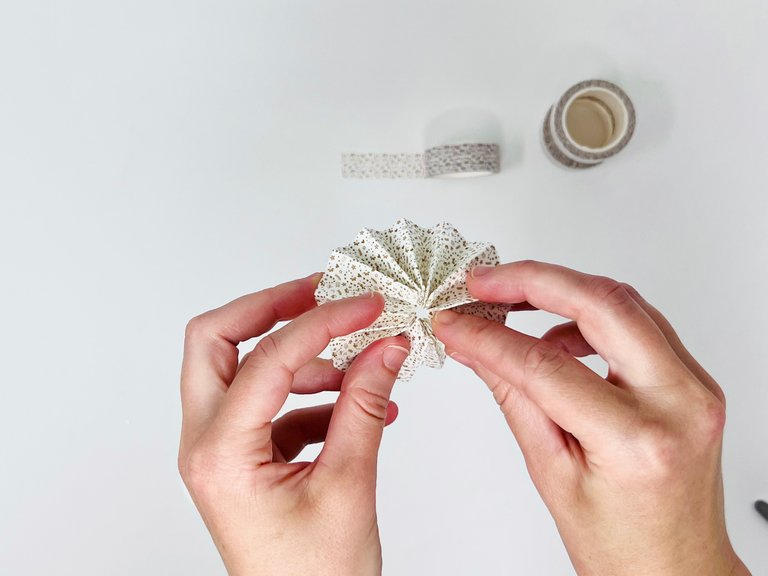
The hardest part is making it fan out evenly.
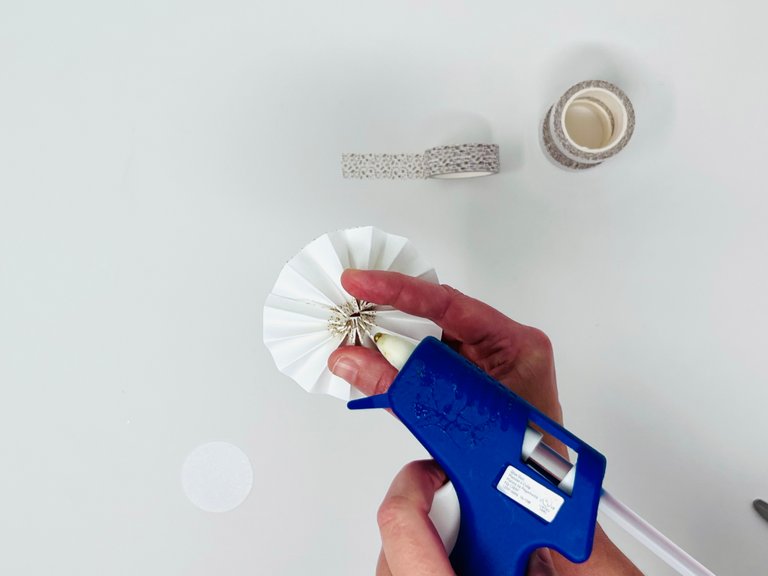
7. Flip over the rosette and glue the center folds together.
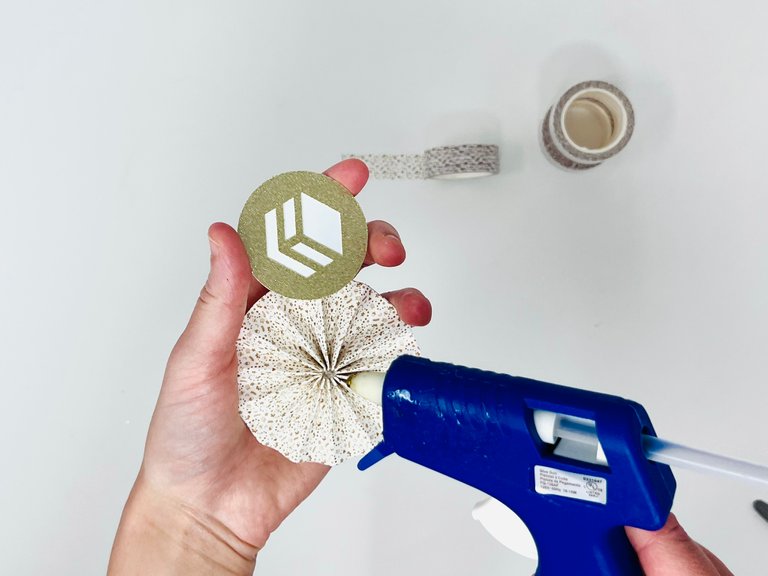
8. Glue on your choice of a center piece.
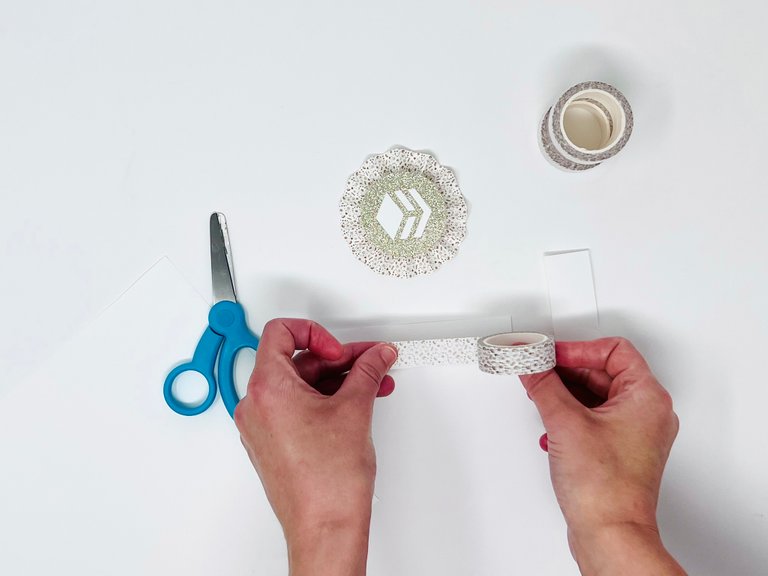
9. Put washi tape on the small pieces of card stock to create the bottom ribbons.
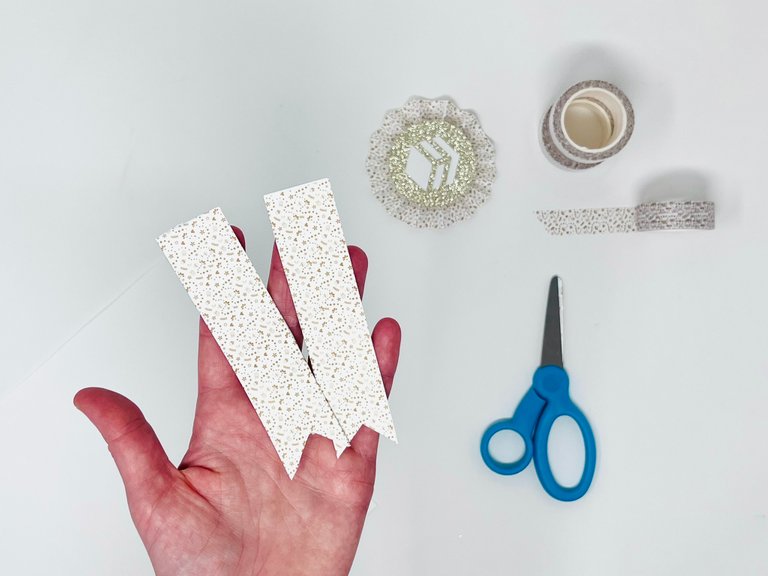
10. Cut a triangle at the end to create a ribbon shape at the bottom.

11. Glue the ribbon pieces to the back.


