Hola muy buenos dias amigos de jewelry, tenia tiempo sin publicar en esta comunidad, en esta oportunidad hice un pequeño tutorial de una pulsera hecha en telar, me tomo varios dias hacerlo, porque me sucedieron varias cosas y bueno pero sigo asi, y logré hacerlo.
Hello very good morning jewelry friends, I had some time without posting in this community, this time I made a small tutorial of a bracelet made in loom, it took me several days to do it, because several things happened to me and well but I'm still like that, and I managed to do it.
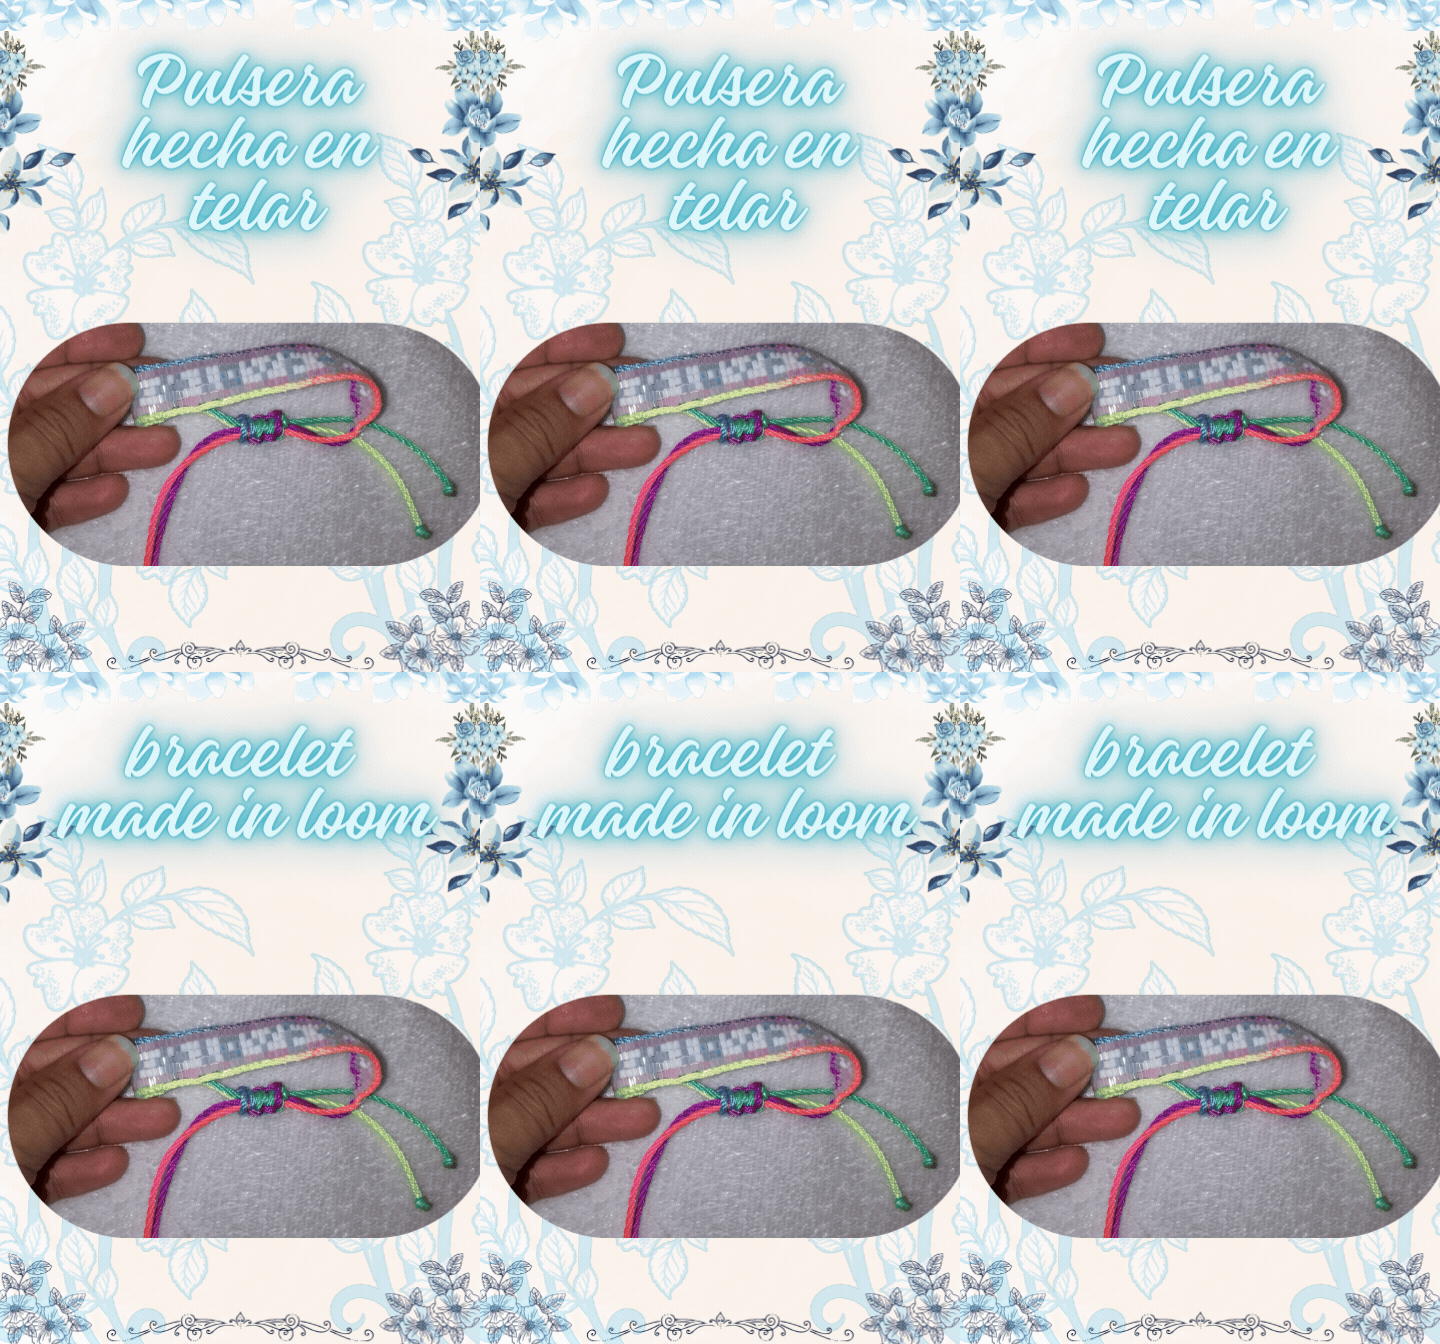
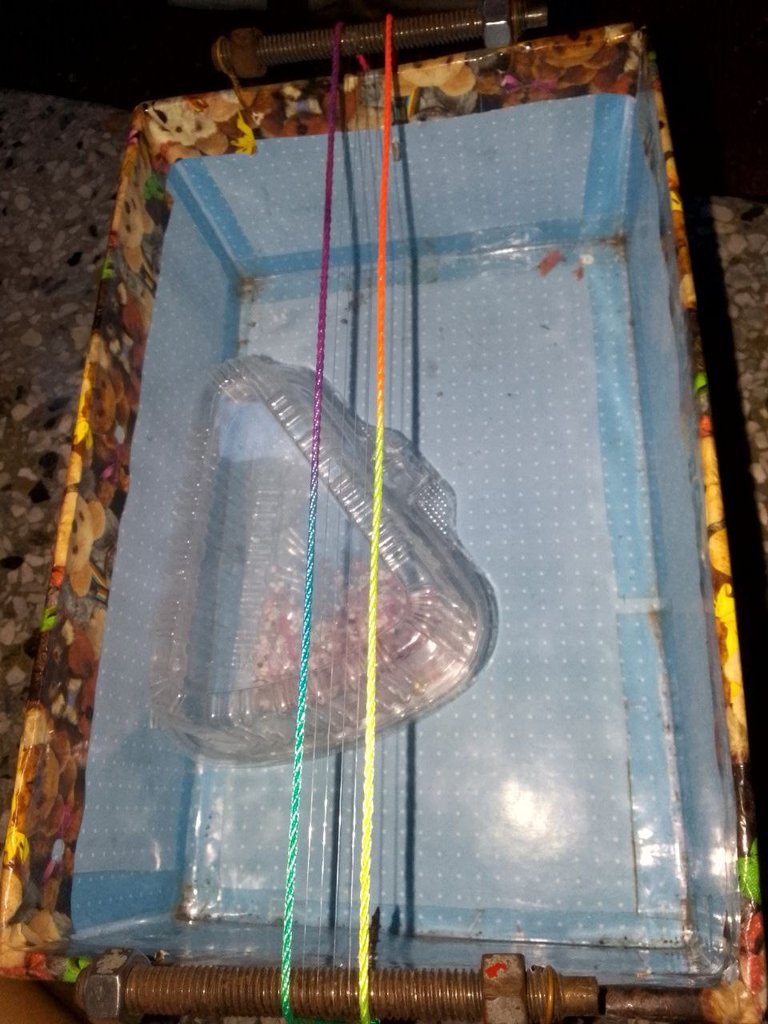
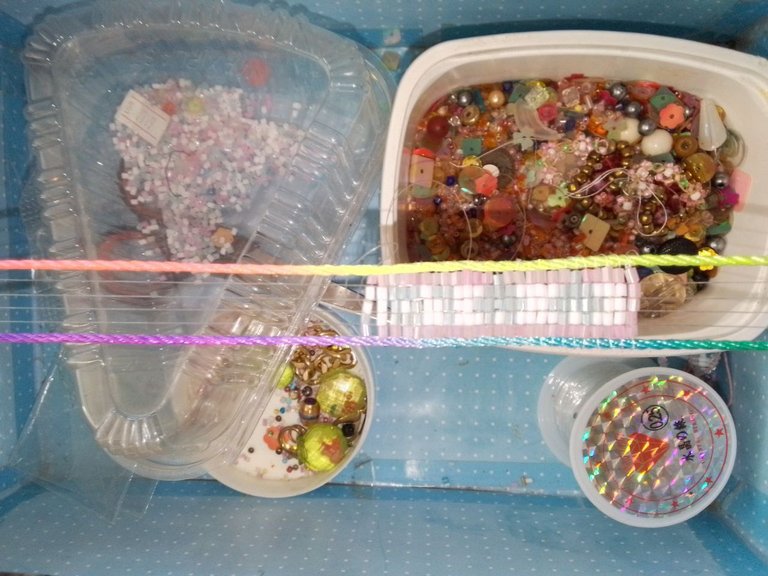
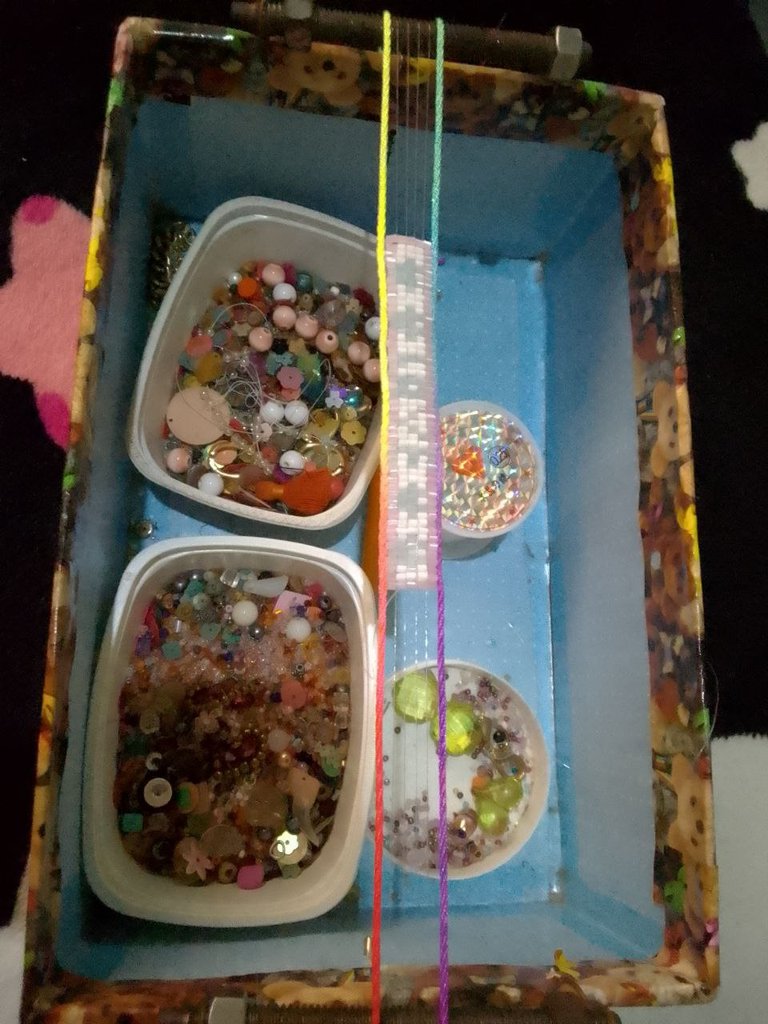
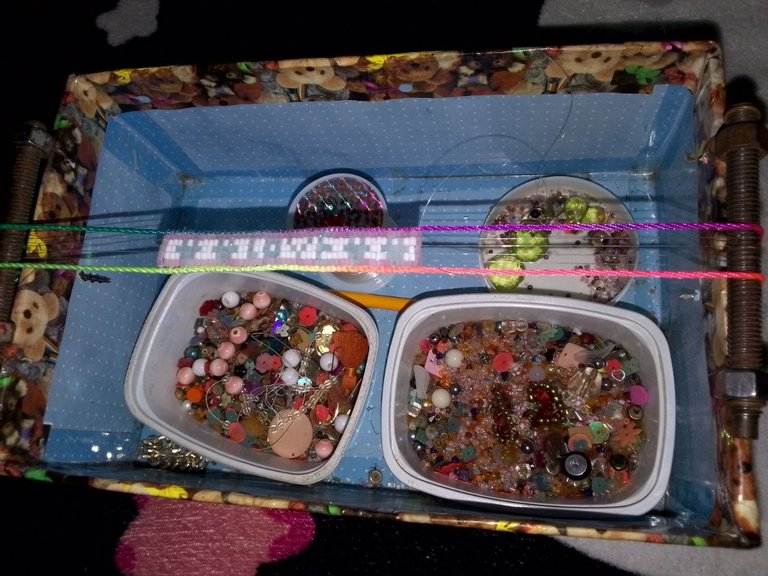
Materiales | Materials
- Cordon de colores
- Hilo nylon
- Canutillos de colores
- Yesquero
- Telar
- Colored string
- Nylon thread
- Colored beads
- Tinder
- Loom
Procedimiento | Procedure
Paso 1 | Step 1
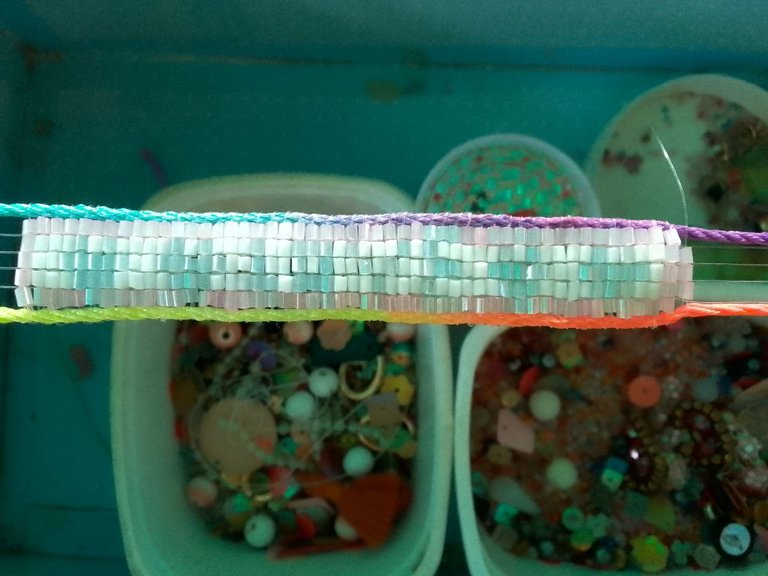
Coloque en un telar cuatro hilos de nylon y dos de cordon. Los de cordón van en los extremos, luego hacemos un nudo con el hilo nylon del cordon y vamos colocando los canutillos, por el nylon que queda vertical , los canutillos se van colocando por la partye de abajo y luego se pasa el hilo nylon en sentido contario pero por arriba del telar y por dentro de los canutillos.
Place in a loom four nylon threads and two cord threads. The cord threads go at the ends, then we make a knot with the nylon thread of the cord and we place the canutillos, by the nylon that remains vertical, the canutillos are placed by the bottom partye and then the nylon thread is passed in the opposite direction but above the loom and inside the canutillos.
|
|
|
Paso 2 | Step 2
En esta oportunidad hice el texto love con corazones, luego
con mucha paciencia pude terminar el patrón y luego le hice las esquinas de la parte final de la pulsera.
In this opportunity I made the text love with hearts, then with a lot of patience I could with a lot of patience I was able to finish the pattern and then I made the corners of the final part of the bracelet.
|
|
|
Paso 3 | Step 3
En esta parte hago las esquinas primero empiezo con cinco canutillos, luego voy haciendo reduccione de tres canutillos, dos lineas verticales de canutillos y luego tres lineas de canutillos, luego alfinal para hacer cierre de la pulser a vamos colocando el hilo nylon devolviendolo entre cada canutillo y llegamos a las lineas verticales de5 canutillos.
In this part I make the corners first I start with five bobbins, then I make reductions of three bobbins, two vertical lines of bobbins and then three lines of bobbins, then at the end to close the bracelet we place the nylon thread returning it between each bobbin and we arrive to the vertical lines of 5 bobbins.
|
|
|
Paso 4 | Step 4
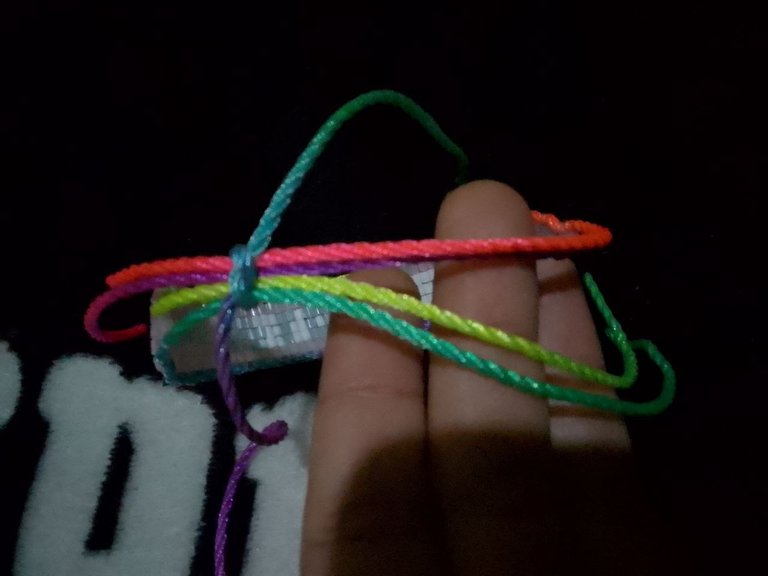
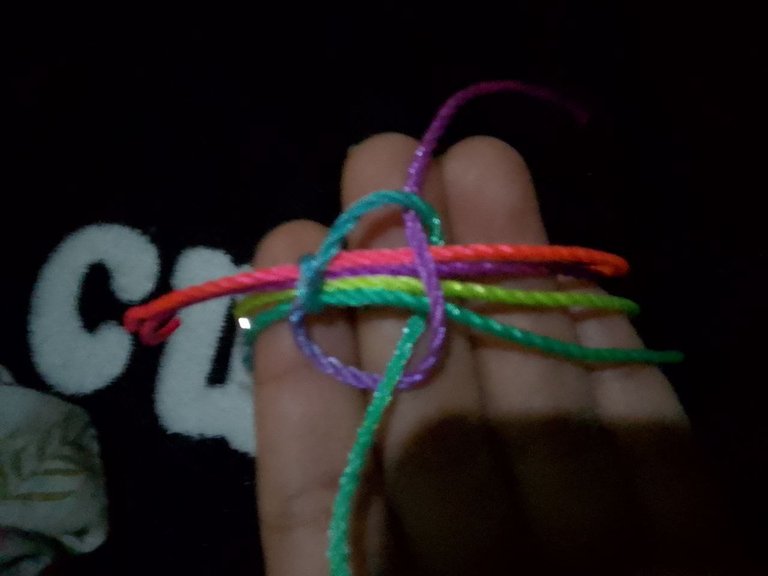
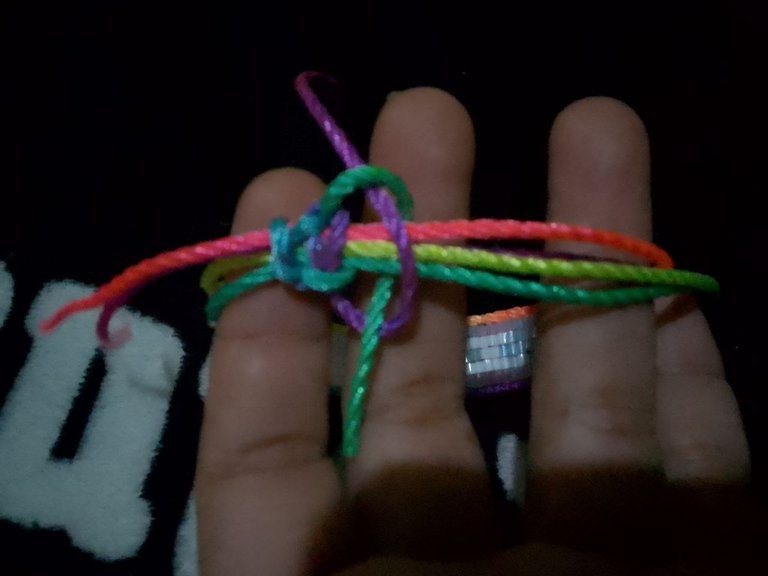
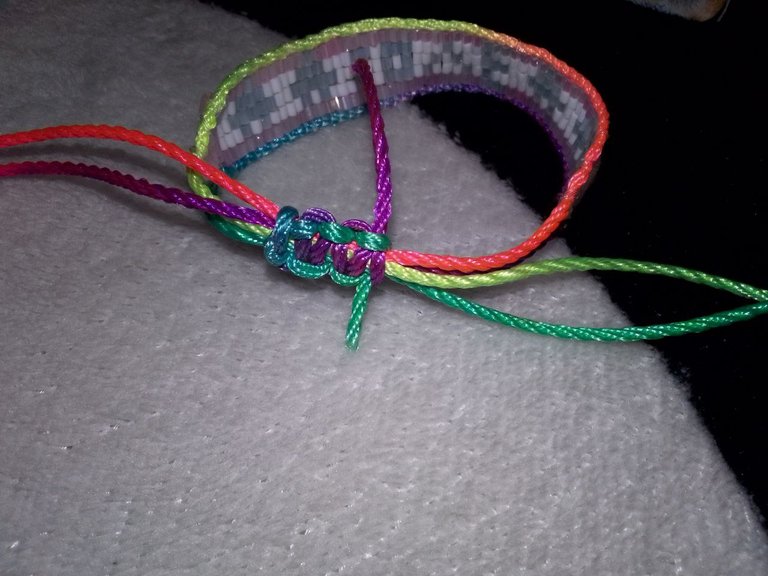
Luego cortamos un poco de cordon y uno va colocando el nudo plano corredizo, primero coloco un cordon de adentro hacia afuera, con el otro igual , de aqui hacemos como tres pequeños nudos planos, , cortamos el cordon , quemamos con el yesquero, y pisamos con la parte trasera del yesquero.
Then we cut a little bit of cord and one goes placing the sliding flat knot, first I place a cord from the inside out, with the other one the same, from here we make like three small flat knots, we cut the cord, we burn with the tinder, and we step on it with the back part of the tinder.
|
|
|
|
|
|
|
|
|
Resultado | Result
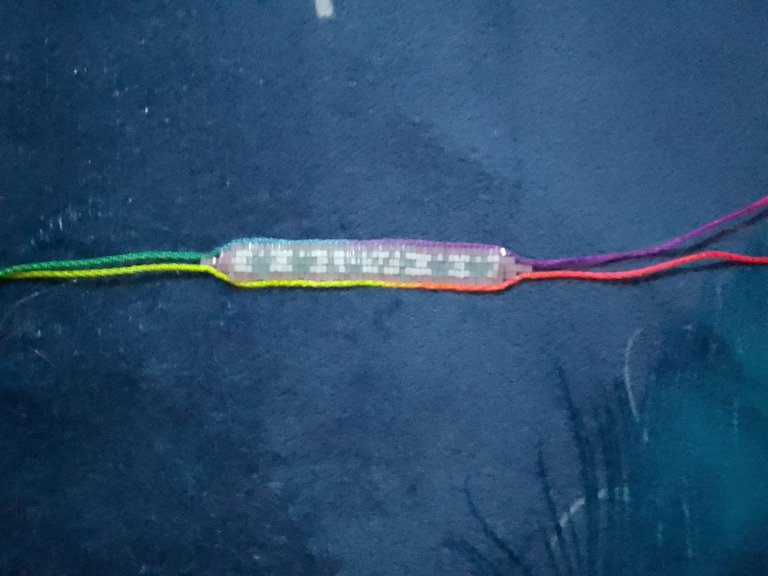
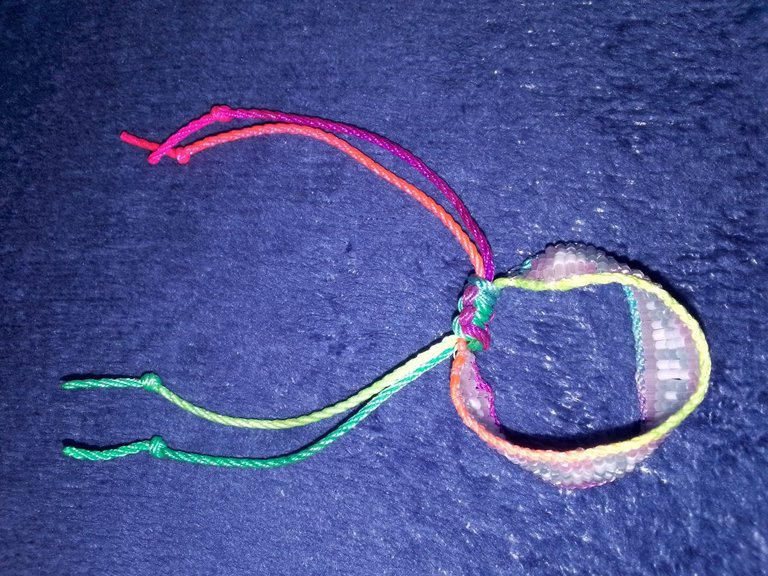
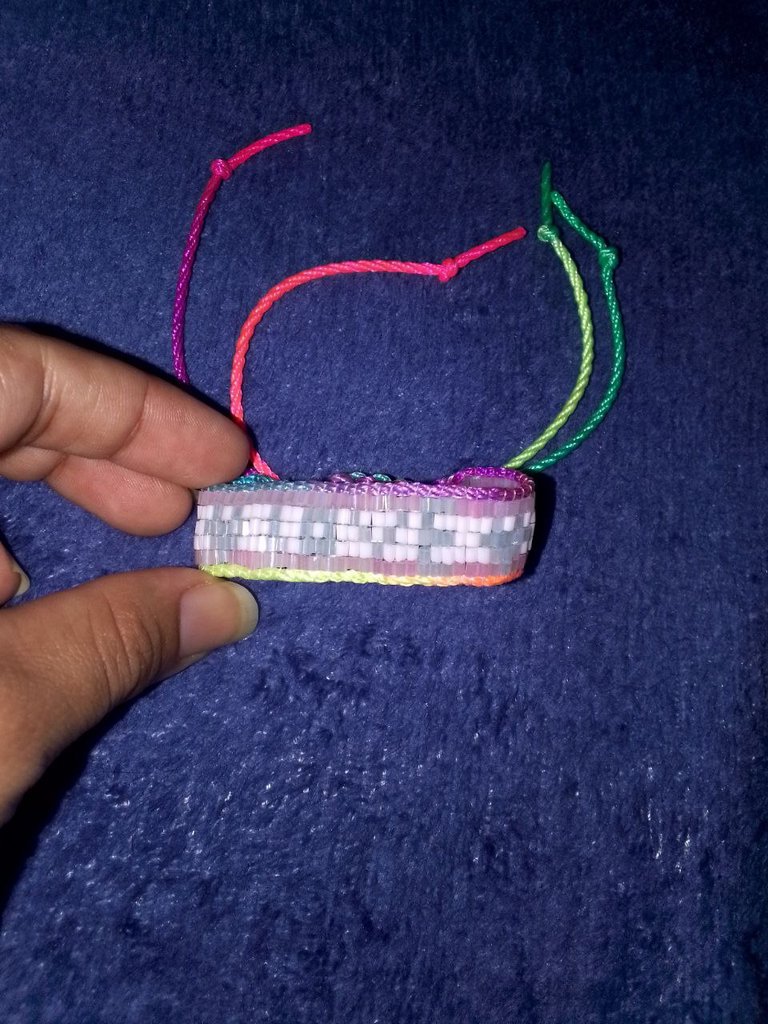
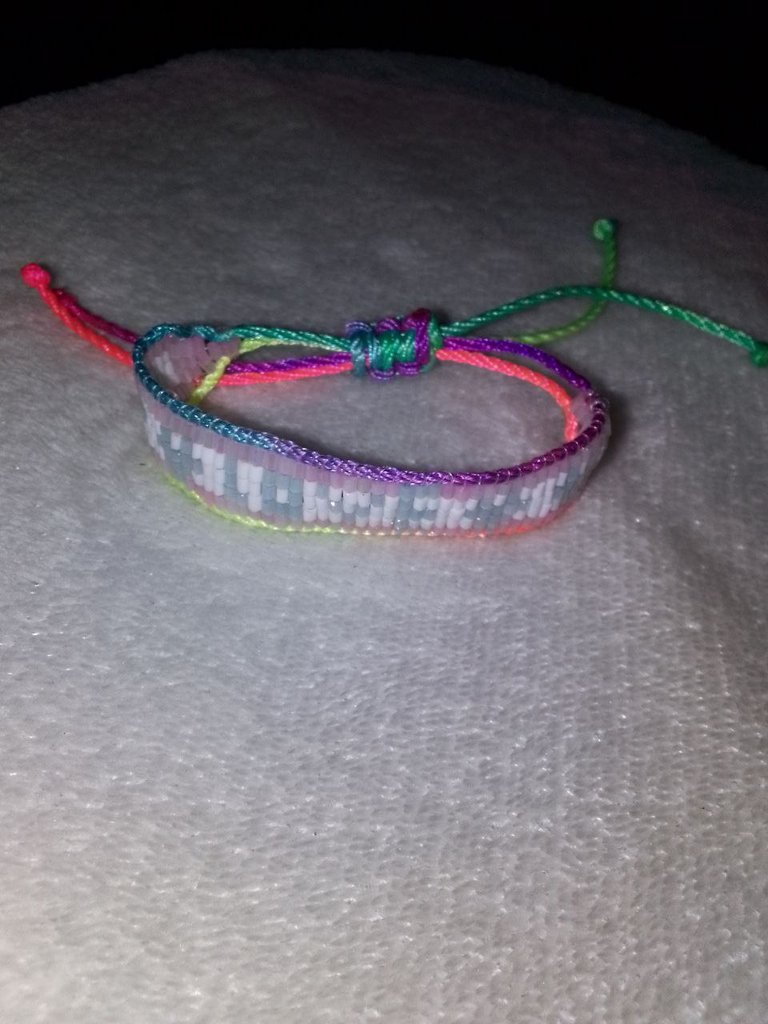
Asi es como queda en esta opcion no quise colocar perlas porque no cabian, me gustó mucho el resultado. Quedo muy sencillo. Este tipo de pulseras de canutillos con textos escritos me gusta mucho, bueno eso esto por hoy amigos espero que les haya gustado. Me gustan como los colores van cambiando y la textura del cordón creo que es la parte de la pulsera que mas me gusta.
This is how it looks in this option I did not want to place pearls because they did not fit, I really liked the result. It is very simple. I really like this kind of bracelets of beads with written texts, well that's all for today friends I hope you liked it. I like how the colors are changing and the texture of the cord I think it is the part of the bracelet that I like the most.
Y ahora quiero que me cuentes que te ha parecido, te atreves a participar, si te ha gustado mi post, hazmelo saber en los comentarios, agradeceria mucho tu apoyo, nos leemos en proximos post!
Esto es todo amigos espero que les haya gustado, ¡os leo en los comentarios!
And now tell me what you thought, do you dare to participate, if you liked my post, let me know in the comments, I would appreciate your support, see you in next post!
That's all folks I hope you liked it, I'll read you in the comments!
Gracias por visitar mi blog.
Thanks for visiting my blog.
No te detengas, no dejes de creer en ti y de buscar ideas y opciones para salir adelante.
Don't stop, don't stop believing in yourself and looking for ideas and options to get ahead.
Creditos | Credits
Use https://www.deepl.com/es/translator para la traducción.
I used https://www.deepl.com/es/translator to traduction.
Las imagenes son propias.
The images are my own.
Los folletos se crearon con herramientas gratuitas de canva
The flyers were created with free tools from canva
