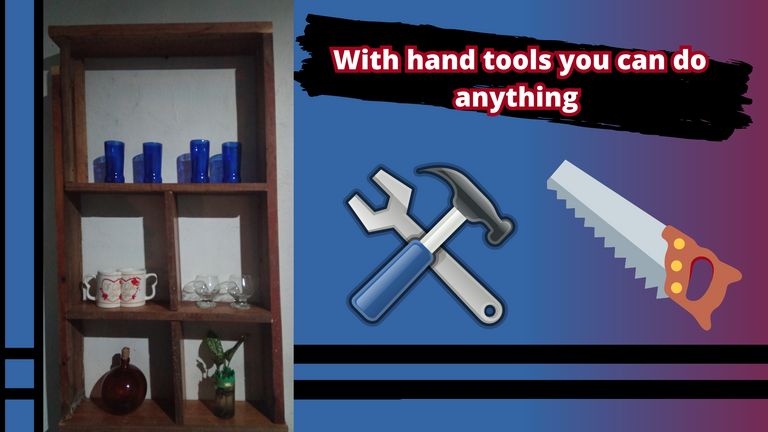

Saludos amigos manualistas, sean todos bienvenidos a mi post.
Hoy te vengo a presentar una repisa que cree con algunas viejas tablas de una base de cama que tenía en un rincón de la casa sin uso.
Cabe destacar, que estas repisas ya estaban muy antiguas y que ya no podían soportar el peso de un colchón y una persona, puesto que este base de cama era para una persona, honestamente me daba un poco de sentimiento botarla porque lleva conmigo muchos años, unos 17 años para ser exactos, sin embargo, tiene más años desde el momento de su fabricación.
Así que tome la decisión de reusarla para algo que fuera útil y que tuviera uso, así que me elabore esta repisa sencilla.
Greetings fellow craftsmen, welcome to my post.
Today I come to present a shelf that I created with some old boards of a bed base that I had in a corner of the house without use.
It should be noted that these shelves were already very old and could no longer support the weight of a mattress and a person, since this bed base was for one person, honestly gave me a little feeling to throw it away because it has been with me for many years, about 17 years to be exact, however, it has more years from the time of its manufacture.
So I decided to reuse it for something that was useful and had a use, so I made this simple shelf.
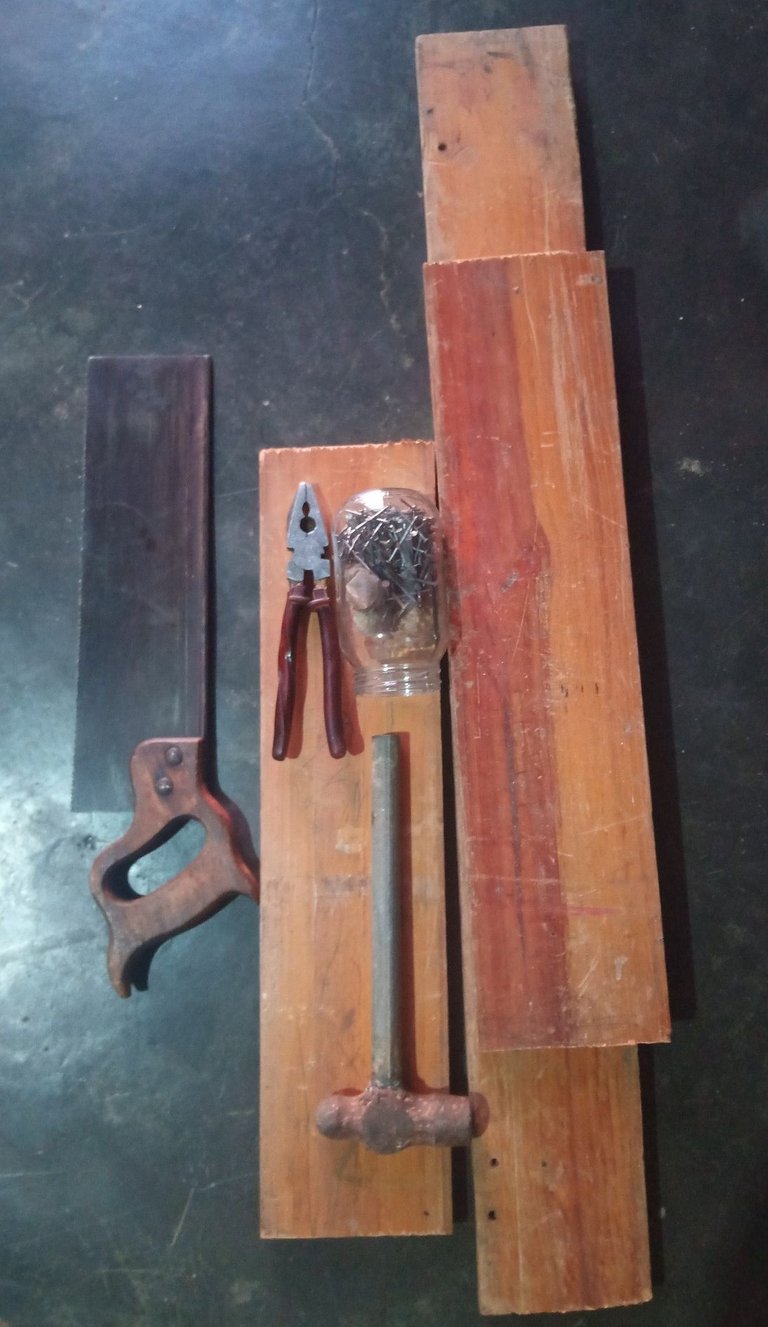

Los materiales que utilice para hacer esta repisa fueron los siguientes:
Serrucho.
Martillo.
clavos.
Alicate
Tablas de madera.
No son mucho los materiales de esta repisa, pero este trabajo toma su tiempo.
The materials I used to make this shelf were the following:
Saw.
Hammer.
Nails.
Pliers
Wooden boards.
Not a lot of materials for this shelf, but this job takes time.
 |  |
|---|

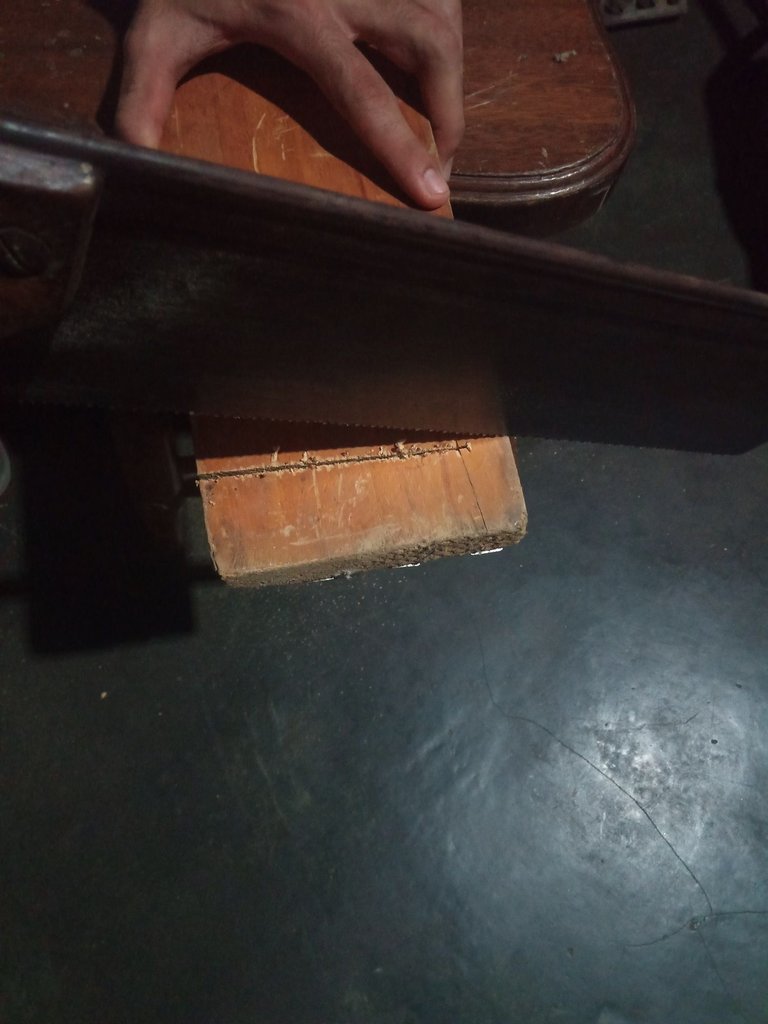
Mi primer paso fue usar el serrucho para poder picar todas las piezas de madera que voy a utilizar para este estante.
Estas tablas tienen una anchura de 11 Centímetros, ideal para hacer estantes grandes y resistentes, así que la altura de esta fue de 105 centímetros.
En esta parte es importante tener en cuenta de cuál es la cantidad de cosas que vamos a almacenar en este estante, en mi caso es solo para decorar la casa y agregar algunos accesorios como vasos de colores, tazas, plantas, entre otros.
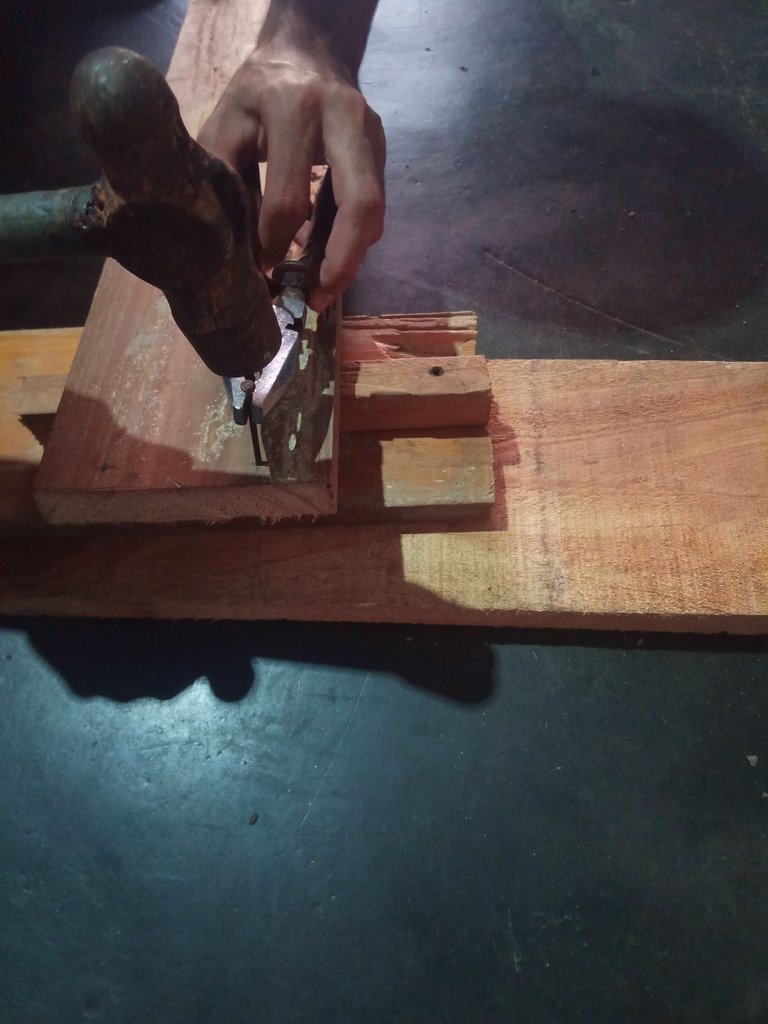
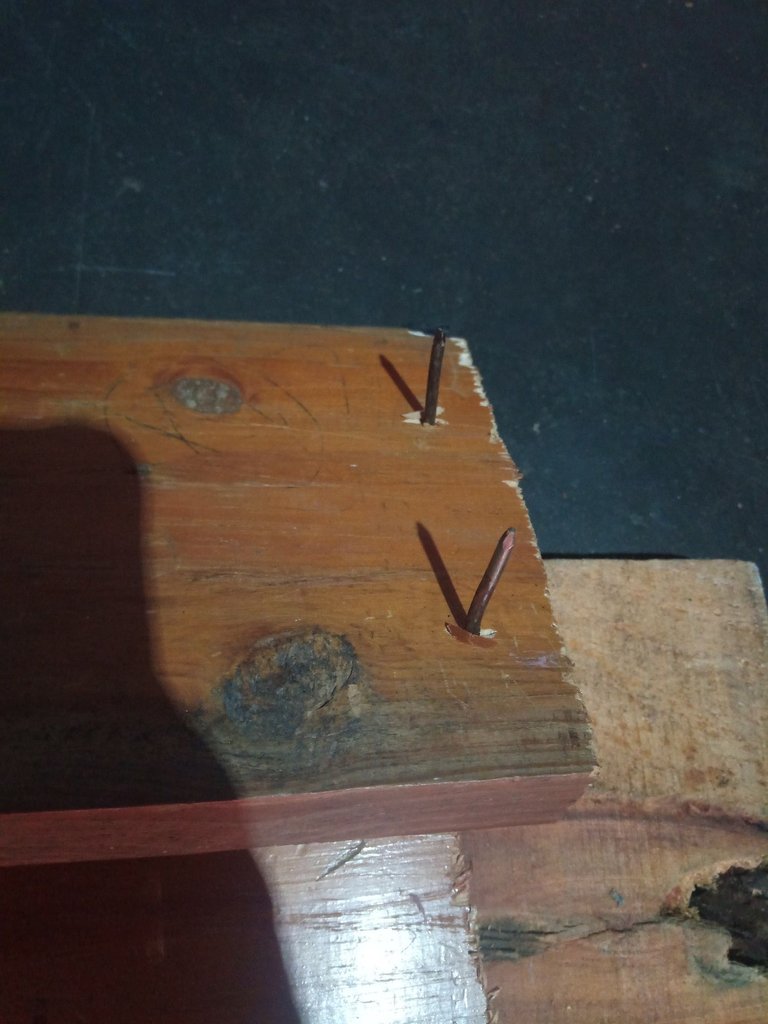
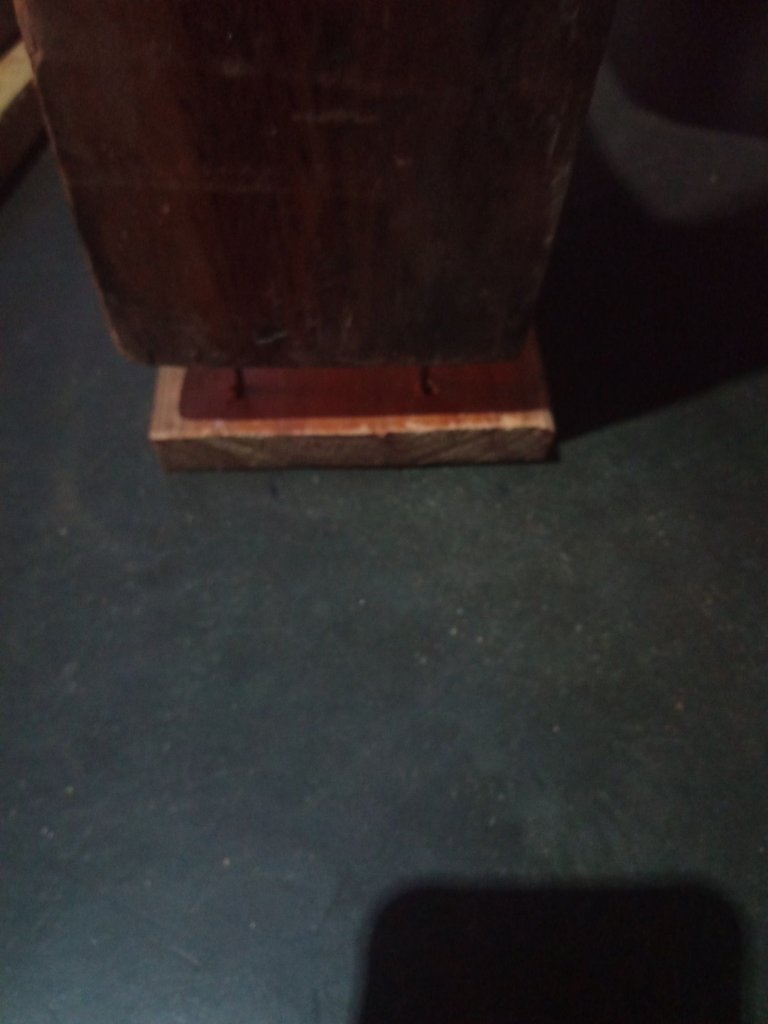
Luego de tener ya picada todas las piezas, el segundo paso fue clavar unos clavos, dejando sobresalir, como no tengo un área de trabajo y prácticamente todo lo hice en el interior de la casa, tuve que buscar la forma de no dañar el suelo.
Así que use otra tabla que me diera una altura lo bastante alejado del suelo para que me permitiera clavar los clavos y que se sobresalieran.
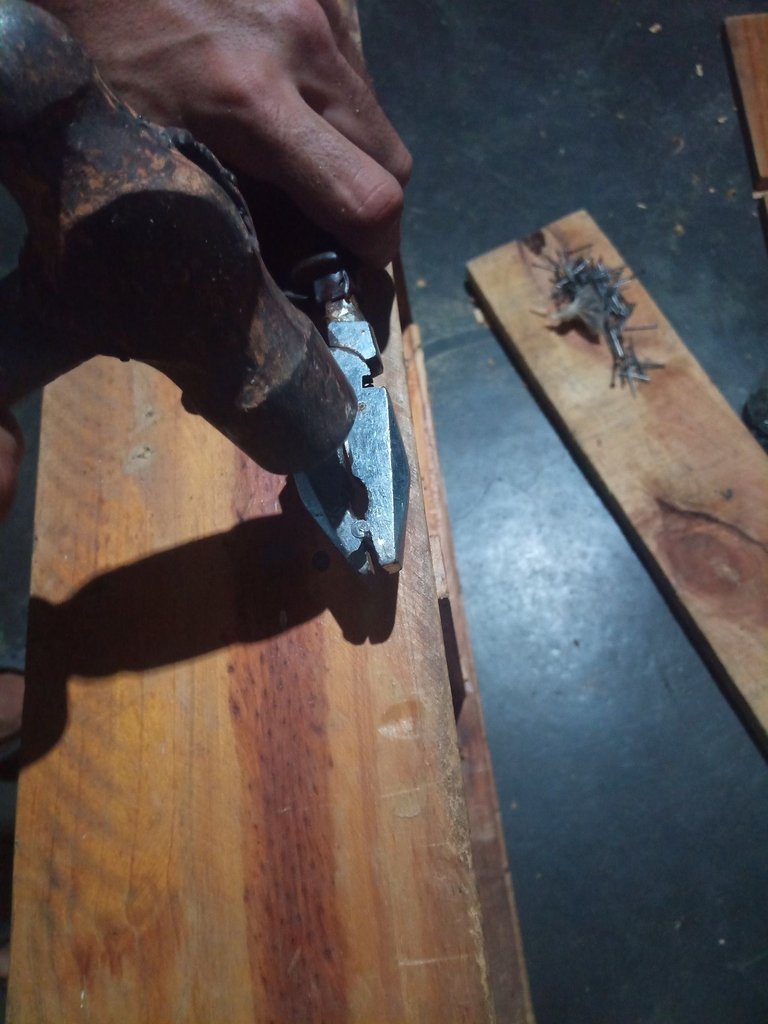
Para poder darle el uso al martillo de la manera más segura posible, porque existe la posibilidad de que nos golpeemos los dedos, podemos usar cualquier herramienta que nos permita mantener los dedos alejados del lugar donde vamos a golpear, en este caso use un alicate, por supuesto los golpes no serán fuertes para no dañarlas, pero prefiero darle golpes a una herramienta que lastimarme los dedos.
My first step was to use the handsaw to cut all the pieces of wood that I am going to use for this shelf.
These boards have a width of 11 centimeters, ideal for making large and resistant shelves, so the height of this one was 105 centimeters.
In this part it is important to take into account the amount of things we are going to store on this shelf, in my case it is just to decorate the house and add some accessories such as colored glasses, cups, plants, among others.
After having already chopped all the pieces, the second step was to hammer some nails, leaving protruding, as I do not have a work area and practically everything I did inside the house, I had to find a way to not damage the floor.
So I used another board that gave me a height far enough away from the floor to allow me to drive the nails and let them protrude.
In order to use the hammer in the safest way possible, because there is the possibility of hitting our fingers, we can use any tool that allows us to keep our fingers away from the place where we are going to hit, in this case I used pliers, of course the blows will not be strong so as not to damage them, but I prefer to hit a tool than to hurt my fingers.
 |  |
|---|

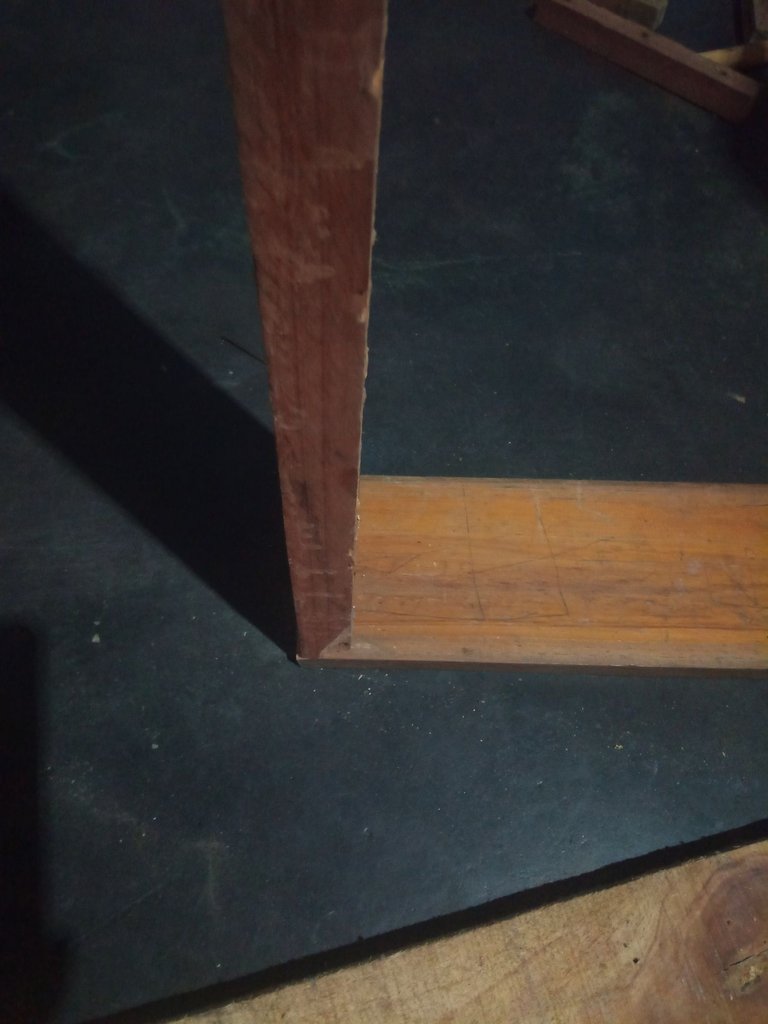
Una vez terminado de colocar los clavos, mi siguiente paso fue colocar la base, coloque los calvos de esta manera para poder adherir ambas partes de la mejor manera.
Después coloqué una tabla sobre la otra dándole golpes suaves en la otra esquina y quedará fijo mi marco.
Once I finished placing the nails, my next step was to place the base, I placed the nails in this way to be able to adhere both parts in the best way.
Then I placed one board on top of the other, giving it gentle blows on the other corner and my frame will be fixed.
 |  |
|---|

Si es para colocar muchas cosas en este tipo de estantes, lo ideal sería usar un tipo de pega para madera, pero como en este caso no son muchas cosas y a demás que la madera se encuentra un poco antigua, lo hice sin pega.
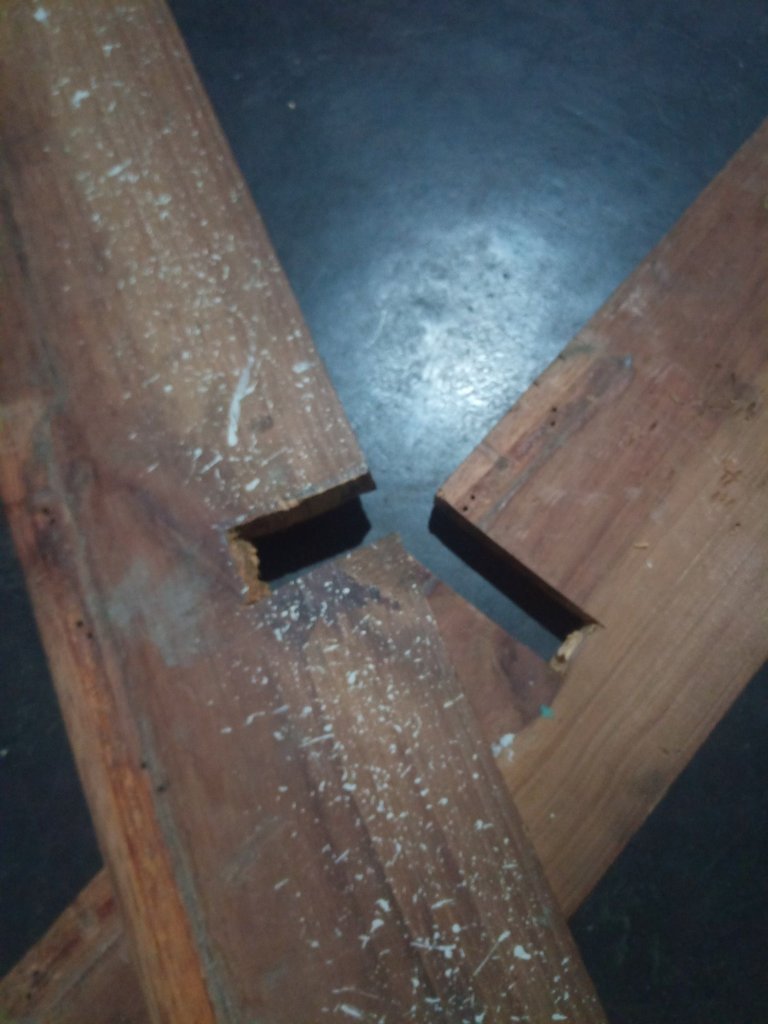
Al finalizar de adherir los 4 lados de la base del estante, comencé a usar nuevamente el serrucho para picar 3 tablas de 154 centímetros, las mismas irán en la parte de en medio, lugar donde irán las decoraciones.
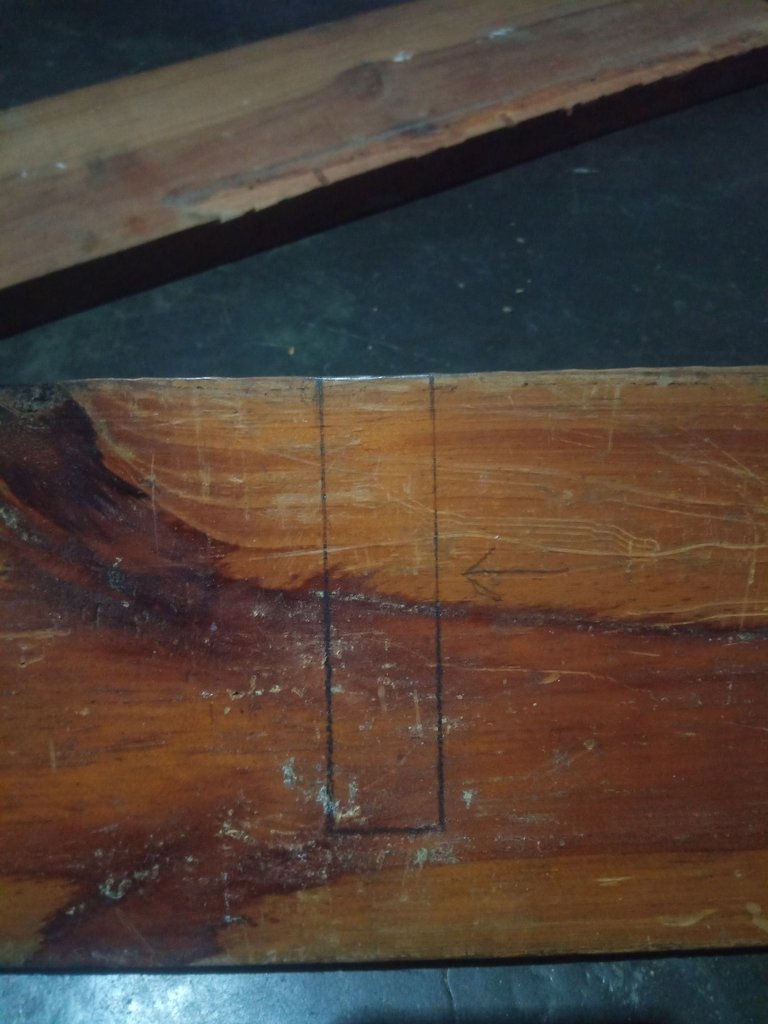
Seguido a esto comencé a marcar algunas líneas de la parte de en medio de dos tablas, estas piezas irán unidas entre sí para que queden lo más estéticos posible.
If it is to place many things in this type of shelves, the ideal would be to use a type of wood glue, but as in this case there are not many things and the wood is a little old, I did it without glue.
Once I finished gluing the 4 sides of the base of the shelf, I started to use the saw again to cut 3 boards of 154 centimeters, which will go in the middle part, where the decorations will go.
Then I started to mark some lines in the middle part of two boards, these pieces will be joined together to make them as aesthetic as possible.
 |  |
|---|

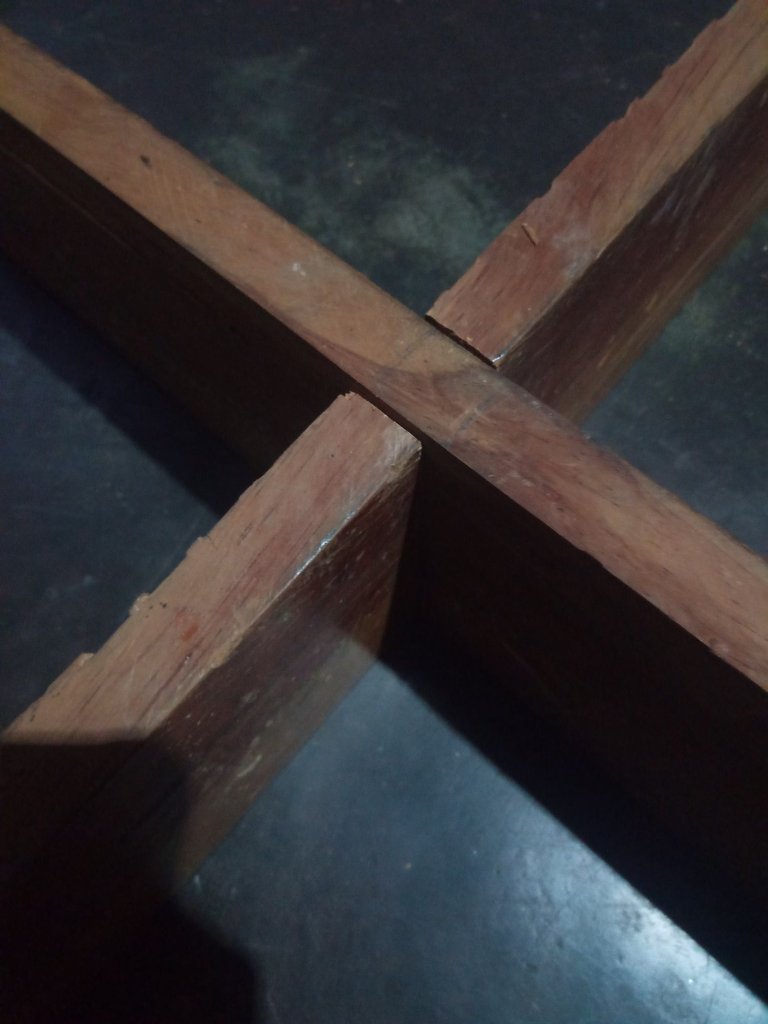
Al tener dos tablas con las ranuras ya picadas con el serrucho, comencé a unirlas entre sí, dándome la forma de cruz.
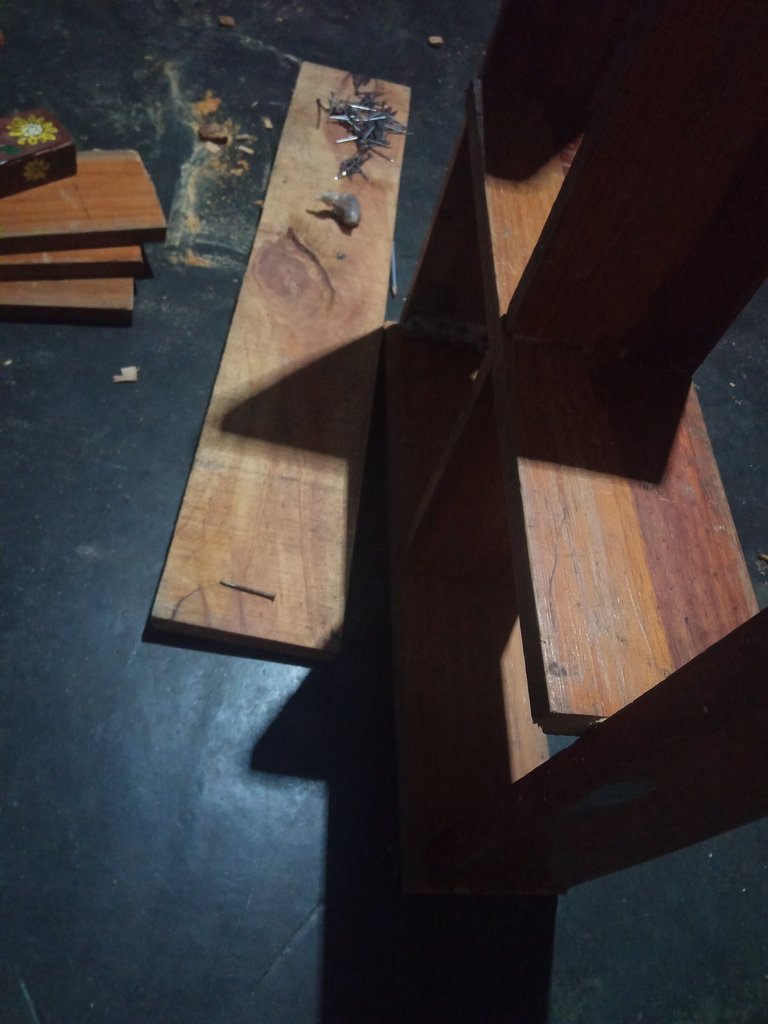
Después de tener las partes que van a sostener los adornos, comencé a clavarlas con la base que anteriormente había creado y reforcé algunas partes para que quedara todo bien fijado.
When I had two boards with the grooves already cut with the saw, I began to join them together, giving me the shape of a cross.
After having the parts that will hold the ornaments, I started to nail them with the base that I had previously created and reinforced some parts so that everything would be well fixed.
 |  |
|---|

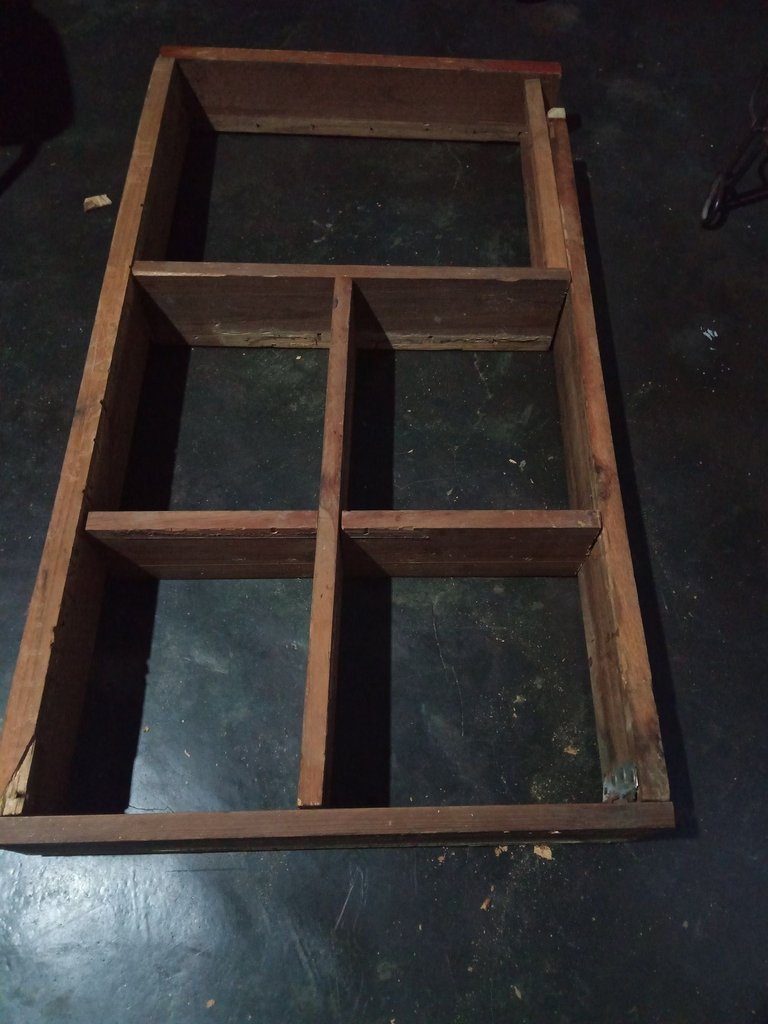
Por último le di algunos golpes por cada una de las partes donde agregue los calvos para que estas quedaran bien fijas, ya que no quise colocarlas en su totalidad hasta que tuvieran todas las partes ya presentadas.
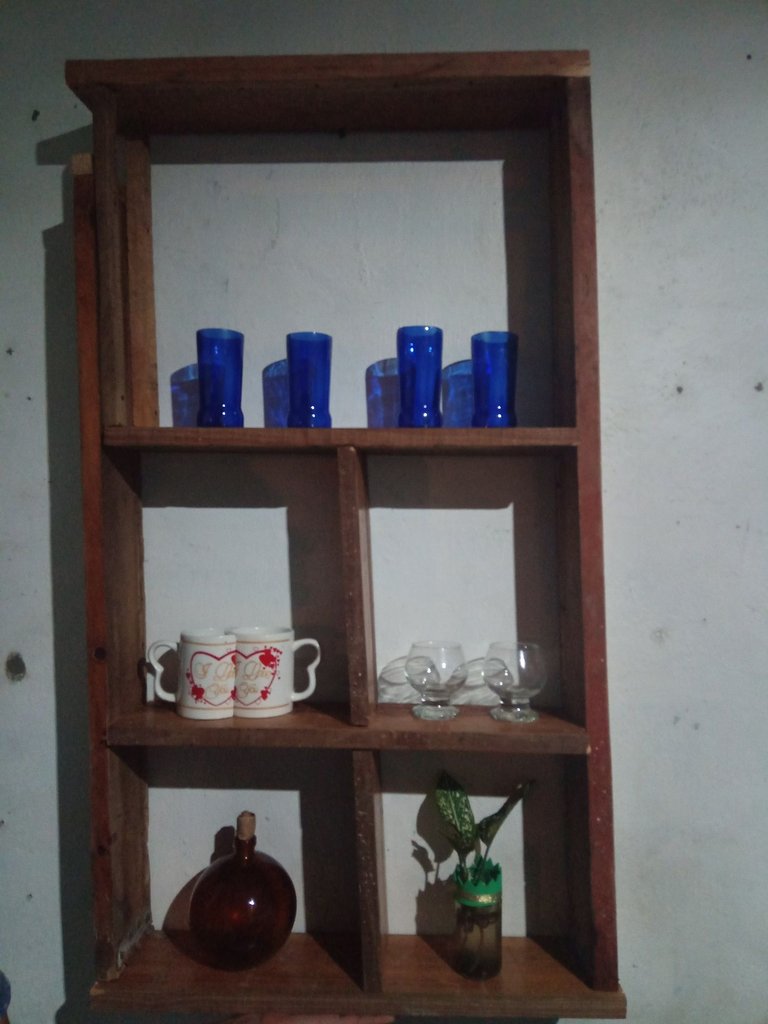
Finalmente, estaría listo nuestro estante, sinceramente fue muy divertido trabajar en ella, tomo mucho su tiempo porque tuve que pensar en un modelo que combinara con algunas cosas dentro de la casa, también porque picar todas estas piezas con el serrucho fue complicado, debido a que al calentarse el serrucho tiende a templarse impidiendo que este pueda picar cuando ya estemos en una profundidad.
Gracias por llegar hasta aquí en mi publicación, espero que sea de tu agrado, hasta la próxima.
Finally I gave a few strokes for each of the parts where I added the bald spots so that these were well fixed, since I did not want to place them in their entirety until they had all the parts already presented.
Finally, our shelf would be ready, honestly it was fun to work on it, it took a lot of time because I had to think of a model that combined with some things inside the house, also because chopping all these pieces with the saw was complicated, because when heated the saw tends to temper preventing this can chop when we are already in a depth.
Thank you for coming this far in my publication, I hope you like it, see you next time.
Discord LionSaturBix#7545
Source / Fuente Castle of Castlevania
Source / Fuente Terra Blade of Terraria
Los separadores son de mi autoría, las fotos fueron tomadas con la ayuda de mi teléfono Bison X serie Umidigi, las ediciones del GIF son creados por mí.
The separators are my authorship, the photos were taken with the help of my Umidigi Bison X series phone, the GIF edits are created by me.
Programas que utilicé para crear mi diseño es este:
This is the program I used to create my design:
Gif y portada cortesía de Canva
Gif and cover courtesy of Canva
Traducido por Deepl

