WELCOME TO MY BLOG
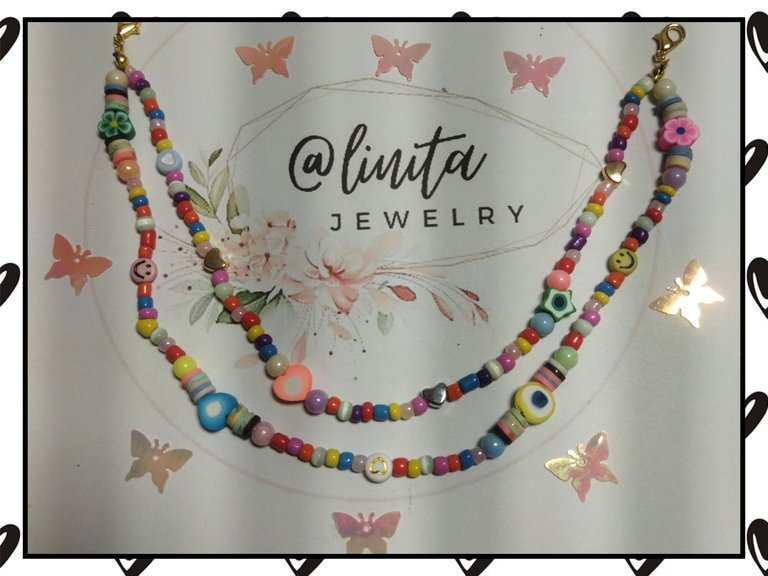
Hellooooo, hellooooooo! The world of jewelry is very varied, generally when we talk about jewelry we focus only on accessories to adorn our body, however we can find a large number of accessories for our wardrobe.
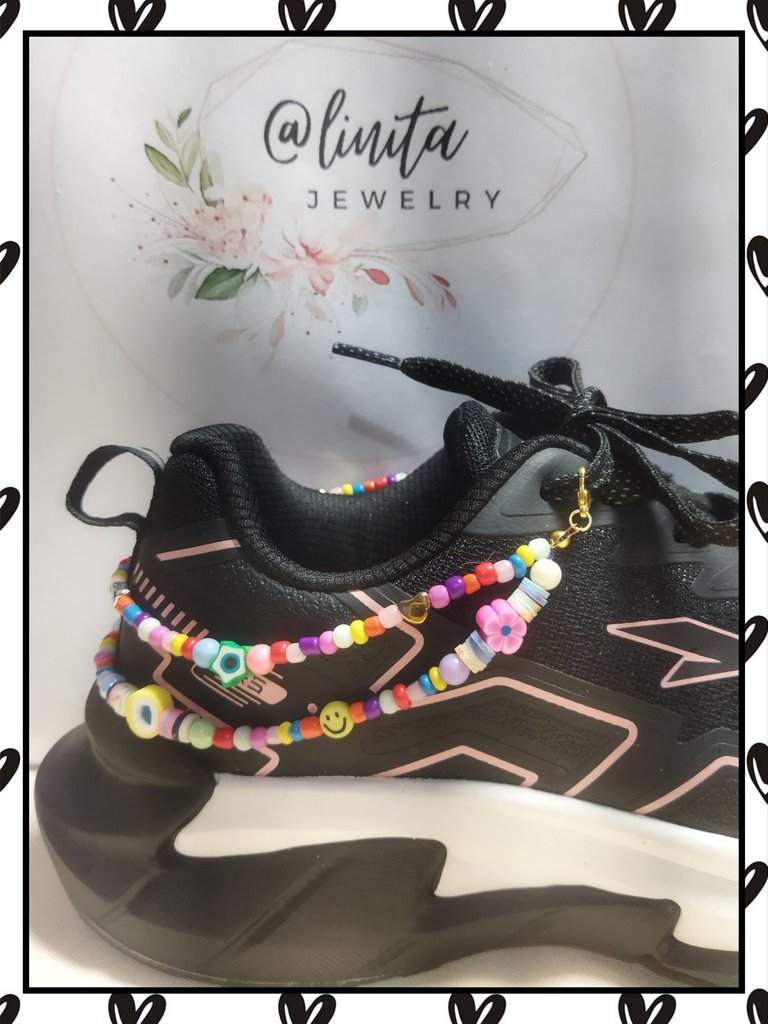
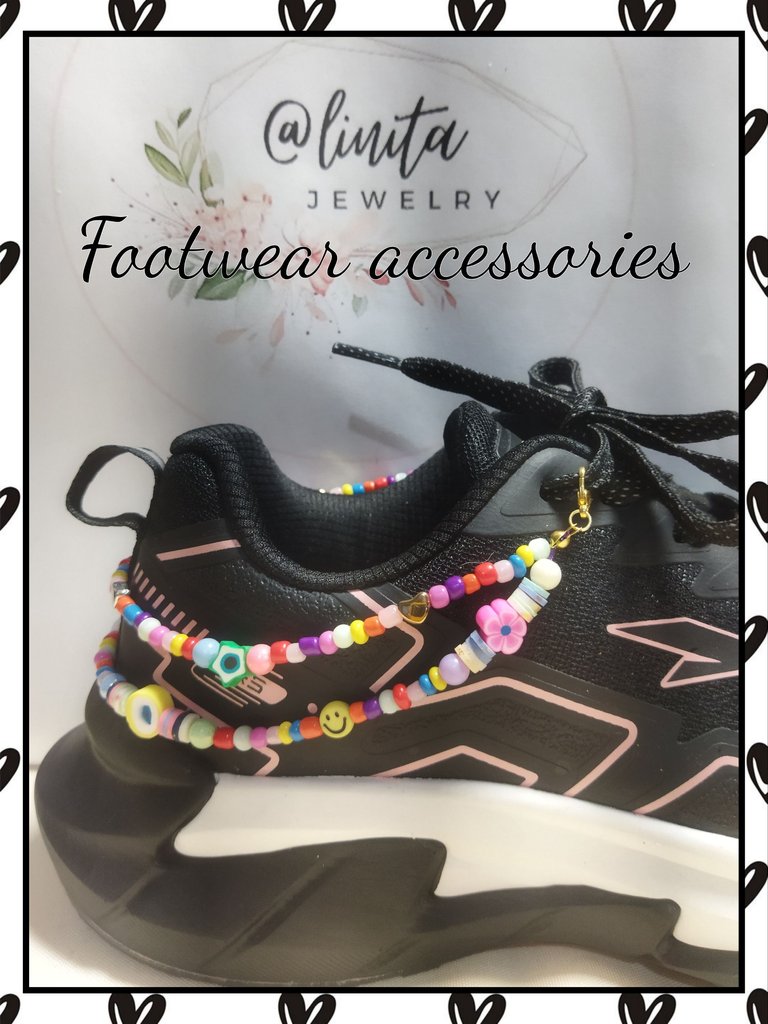
Nowadays, accessories for decorating our shoes are in trend. The vast majority are used to personalize these clothing items, giving them that touch that will identify you wherever you go.
Today I want to share with you this tutorial, very simple and practical, to create an accessory that can be placed on sports shoes or on the well-known cholas, flip flops or however you know them. Currently, some stores sell accessories to customize them according to your taste and preference. Today I will show you one of the many ways that exist to personalize them. Without further ado, let's get started.
BIENVENIDOS A MI BLOG
¡Holaaaa, holaaaaa! El mundo de la bisutería es muy variado, por lo general cuando hablamos de bisutería nos enfocamos solo en los accesorios para adornar nuestro cuerpo, sin embargo podemos encontrar gran cantidad de accesorios para nuestro vestuario.
Hoy en día están en tendencia, accesorios para la decoración de nuestros calzados. La gran mayoría son utilizados para personalizar dichas prendas de vestir, dándoles ese toque que te van a identificar donde vayas.
Hoy quiero compartirles este tutorial, bien sencillo y práctico, para crear un accesorio que puede ser colocado en los zapatos deportivos o en las muy conocidas cholas, chancletas o como quiera que las conozcas. Actualmente en algunas tiendas venden los aceesorios para personalizarlas de acuerdo a tu gusto y preferencia. Hoy les enseñaré una de las tantas formas que existe para personalizarlas. Sin más, comencemos.
MATERIALS
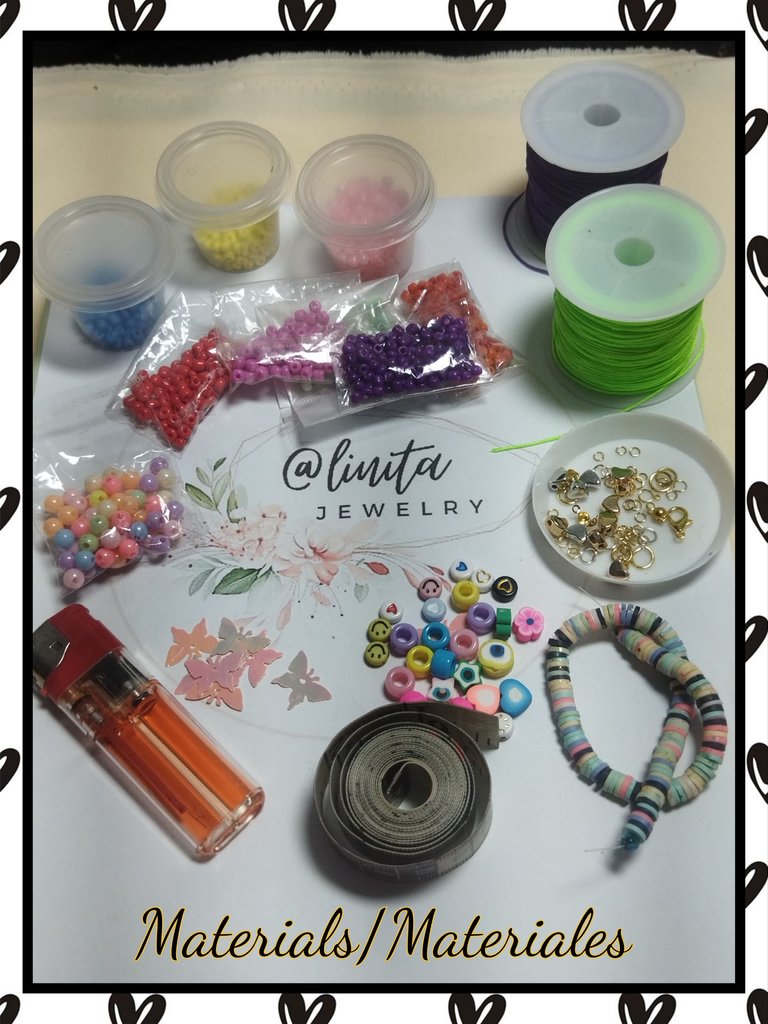
- Chinese thread (green and purple)
- Varied colored mustaches
- Varied Fimos
- Heart pins
- 6mm colorful beads
- 5 mm hoops
- Safe parrot beak
- Scissors
- Lighter
- Jewelry tweezers
- Measuring tape
MATERIALES
- Hilo chino (verde y morado)
- Mostachones colores variados
- Fimos variados
- Pasadores de corazón
- Cuentas de colores de 6 mm
- Aros de 5 mm
- Seguro pico de loro
- Tijera
- Encendedor
- Pinzas de bisutería
- Cinta métrica
STEP BY STEP // PASO A PASO
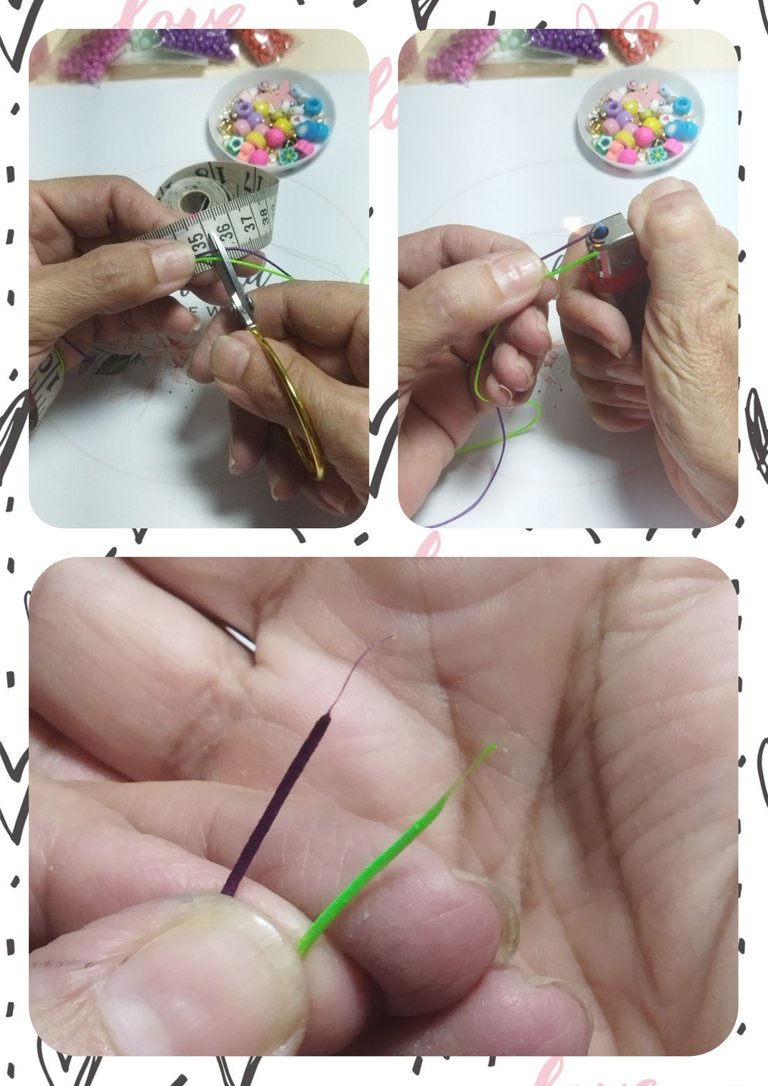
We are going to use 35 cm of Chinese thread in the two selected colors. With the lighter we will make the needle tip that will allow us to insert the beads more easily.
Vamos a utilizar 35 cm de hilo chino en los dos colores seleccionados. Con el encendedor realizaremos la punta aguja que nos permitirá la introducción de los abalorios con más facilidad.
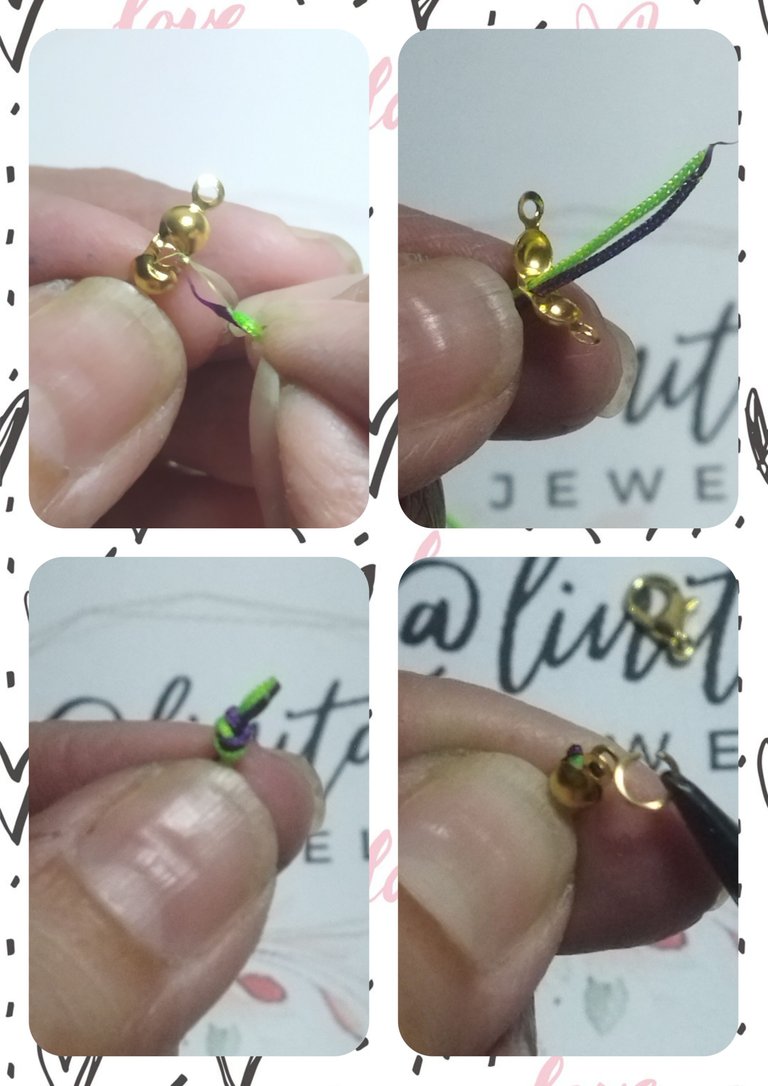
We begin by placing a knot stopper at the beginning of the two strands that we are going to use. We tie a knot to prevent the threads from coming out.
Comenzamos colocando un tapanudos en el inicio de las dos hebras que vamos a utilizar. Realizamos un nudo para evitar que se salgan los hilos.
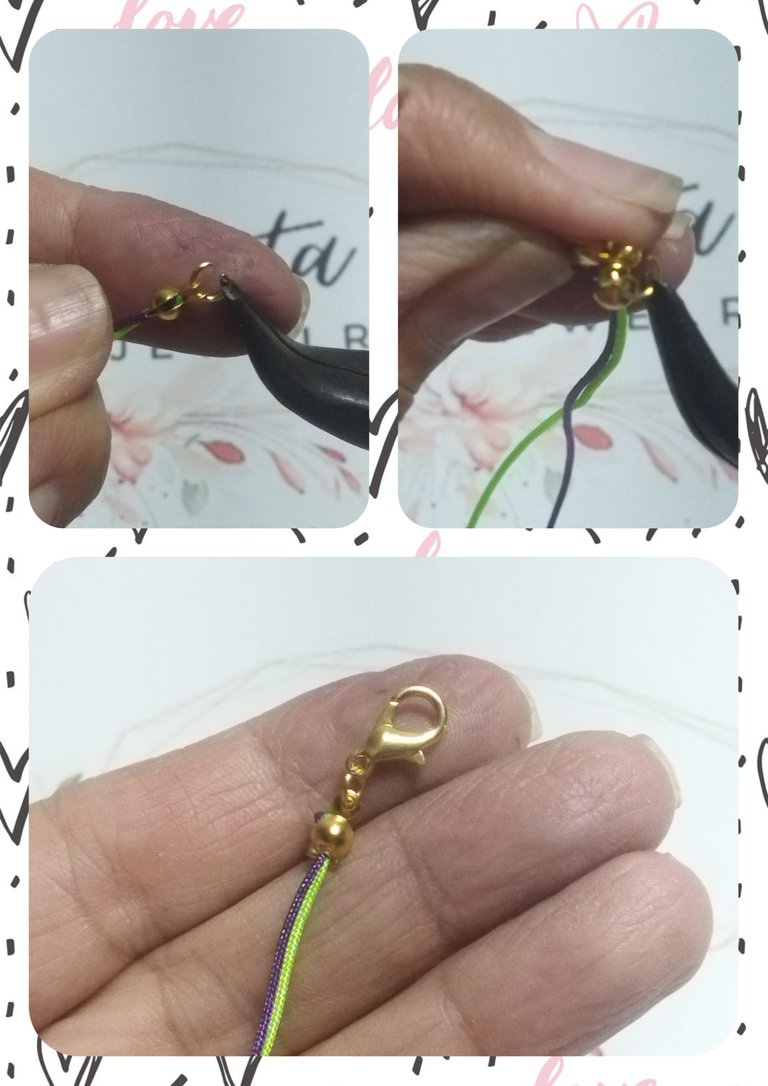
We introduce a 5 mm ring and place the secure parrot beak. With the flat clamp we close the ring and we have already formed the first closure of the accessory.
Introducimos un aro de 5 mm y colocamos el seguro pico de loro. Con la pinza plana cerramos el aro y ya hemos formado el primer cierre del accesorio.
This design consists of forming a varied line of beads randomly, depending on each person's taste.
I will start using a 6 mm bead, then 5 round fimos, and flower-shaped beads, again 5 round fimos.
Este diseño consiste en formar una línea variada de abalorios de manera aleatoria, dependiendo del gusto de cada quien.
Yo comenzaré utilizando una cuenta de 6 mm,seguidamente 5 fimos redondos, y abalorio en forma de flor, nuevamente 5 fimos redondos.
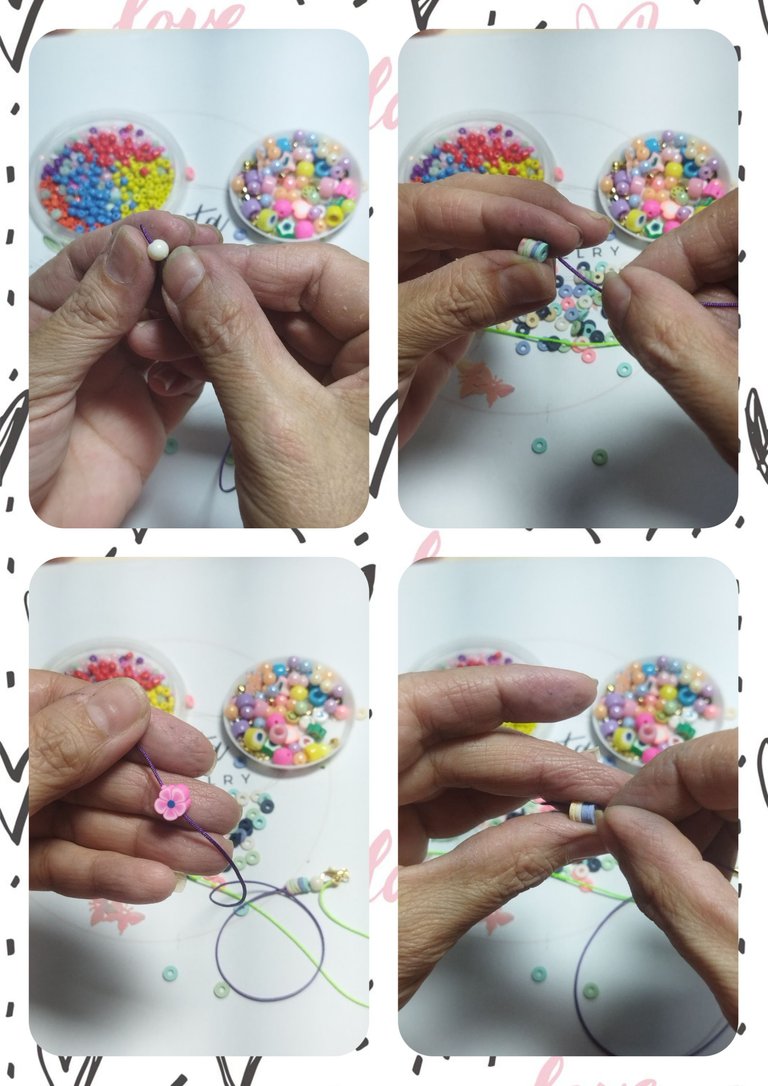
Next I introduced 7 mustaches of various colors, a smiling emoji fimo and 7 more mustaches.
Seguidamente introduje 7 mostachones de colores variados, un fimo de emoji soriente y 7 mostachones más.
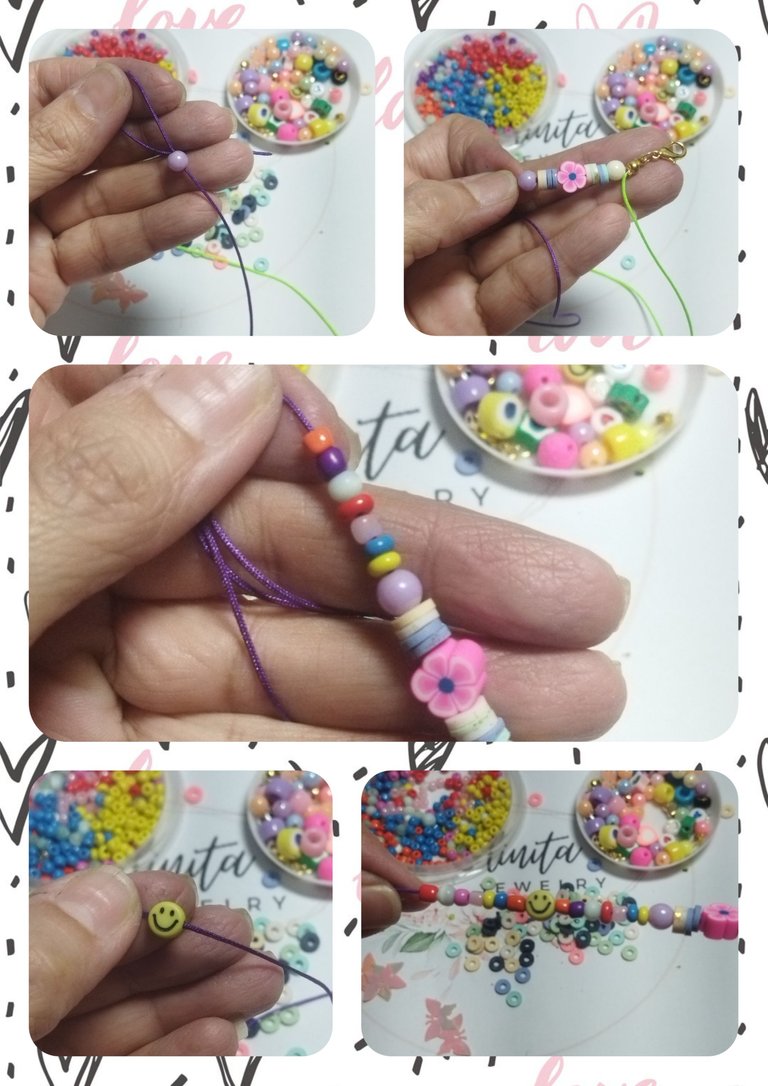
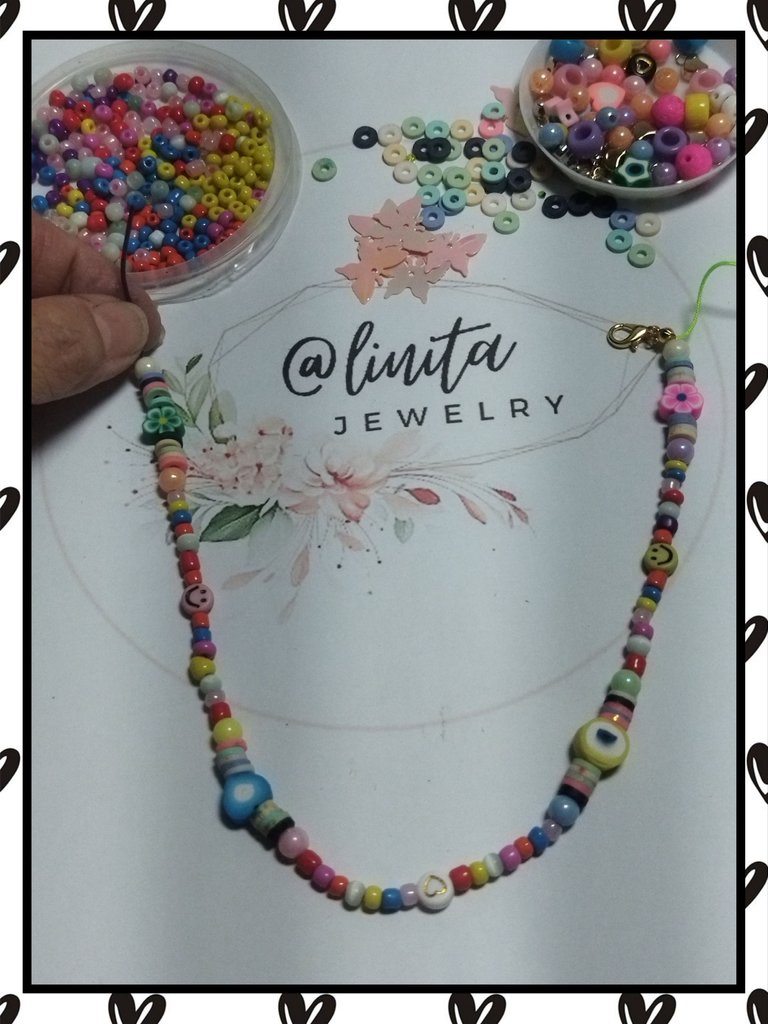
We will do 3 more series in the same way until we reach 30 cm. We hold the end of the excess thread so that the beads do not come off and we begin to work the next strand.
Realizaremos 3 series más de igual manera hasta alcanzar 30 cm. Sujetamos la punta del hilo sobrante para que no se salgan los abalorio y comenzamos a trabajar la siguiente hebra.
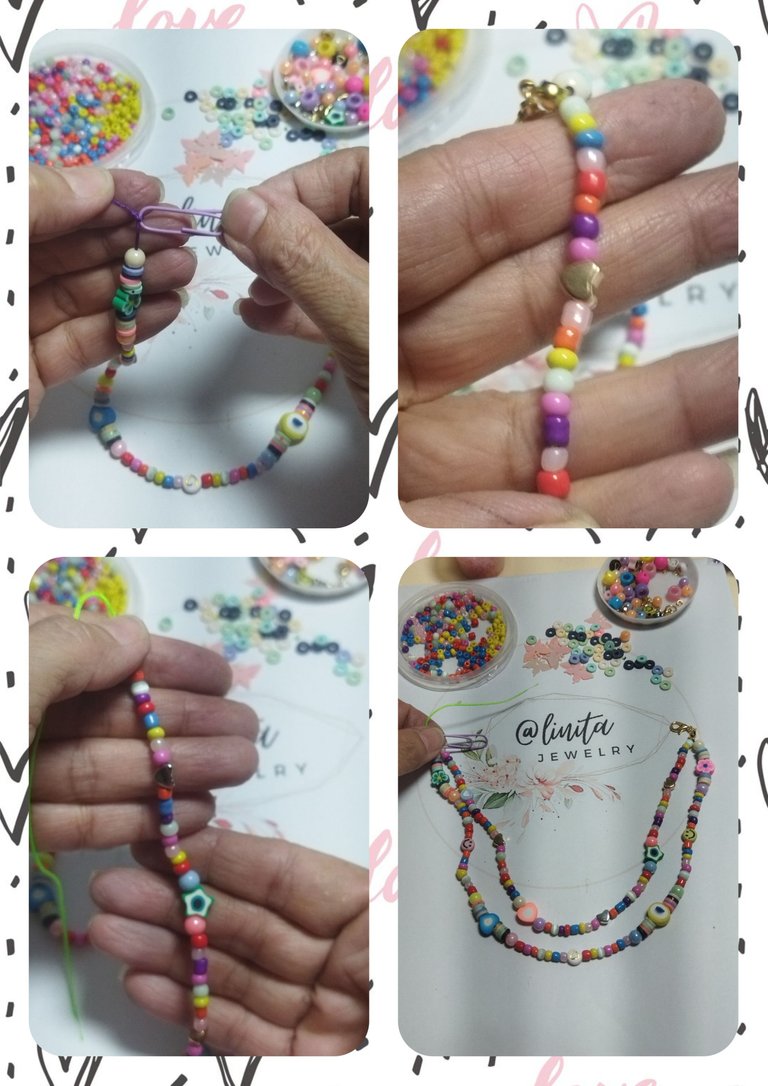
In this strand we are going to start by introducing 8 mustaches, a heart pin, then 8 mustaches and we alternate with fimos and beads of different shapes and colors, until reaching 25 cm. So that when you join both threads with the knot stopper at the end, a design remains on top of the other in the shape of an inverted rainbow.
En esta hebra vamos a comenzar introduciendo 8 mostachones, un pasador de corazón, seguidamente 8 mostachones y alternamos con fimos y cuentas de diferentes formas y colores, hasta alcanzar 25 cm. De manera qye al unir ambos hilos con el tapanudos del final quede un diseño sobre el otro en forma de arcoiris invertido.
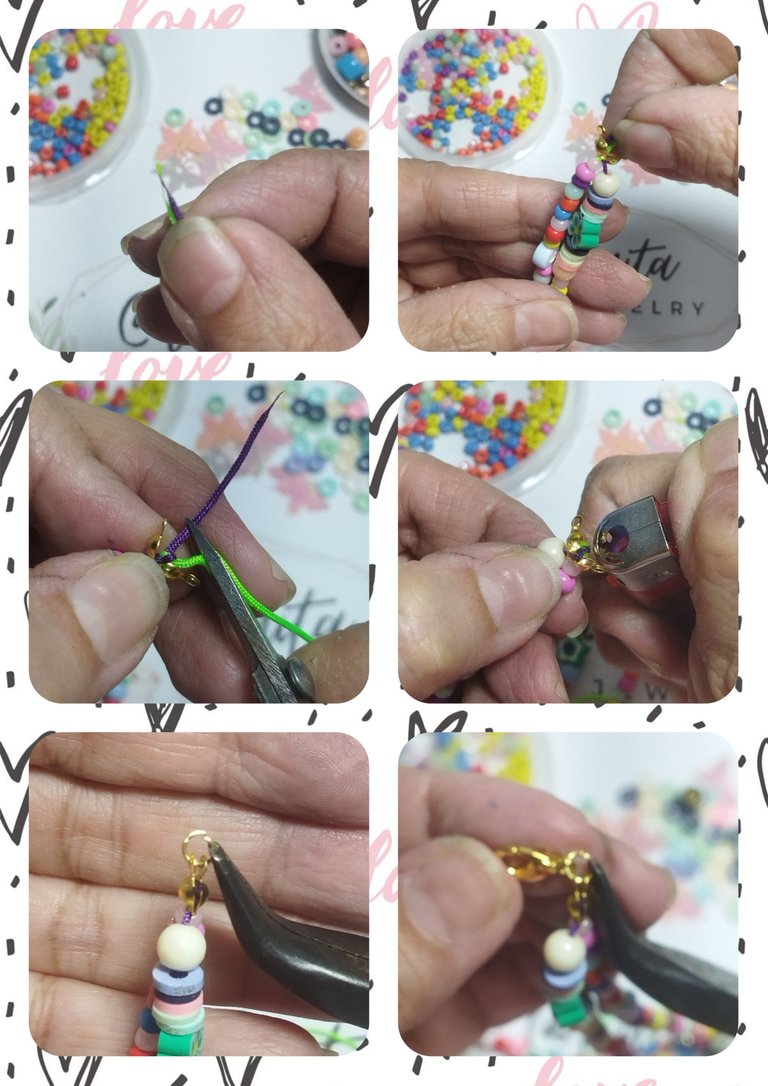
To close the accessory, we take both strands and place a knot stopper that is attached to the beads. We knot and seal with the lighter. Then we place a 5 mm ring.
Para cerrar el accesorio, tomamos ambas hebras y colocamos un tapanudos que quede pegado de los abalorios. Anudamos y sellamos con el encendedor. Luego colocamos un aro de 5 mm.
With this accessory the footwear is much more colorful and looks spectacular. We can use it both in sports shoes and in the cholas that are in fashion, like a frog. So now you know what to do to make your shoes more chic and fashionable. I hope you like it. See you next time.
Con este accesorio el calzado queda mucho más colorido y luce espectacular. Lo podemos usar tanto en deportivos como en las cholas que están de moda, tipo sapito. Así que ya sabes qué hacer para que tus calzados sean más chic y estén a la moda. Espero les guste. Nos vemos en la próxima.
