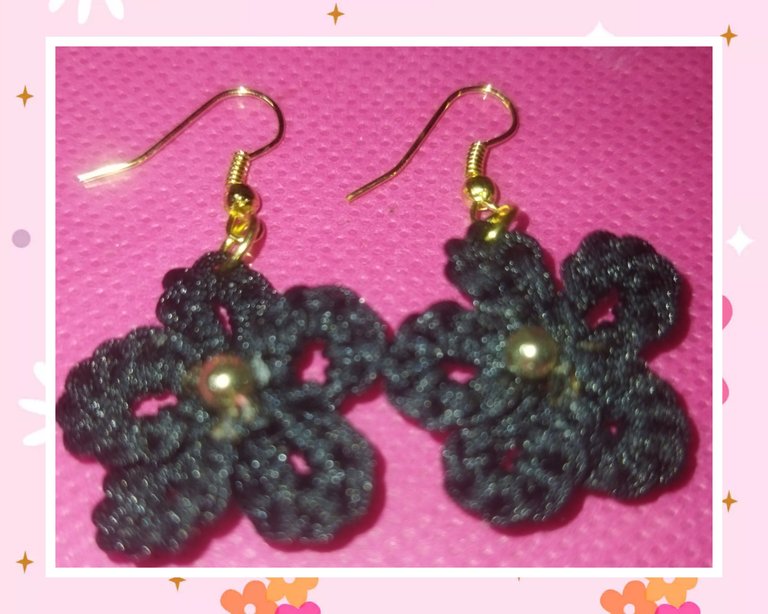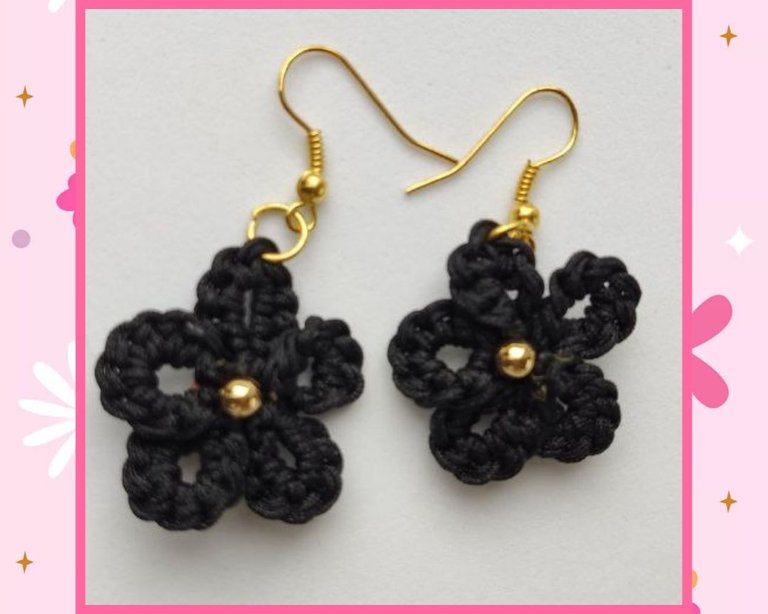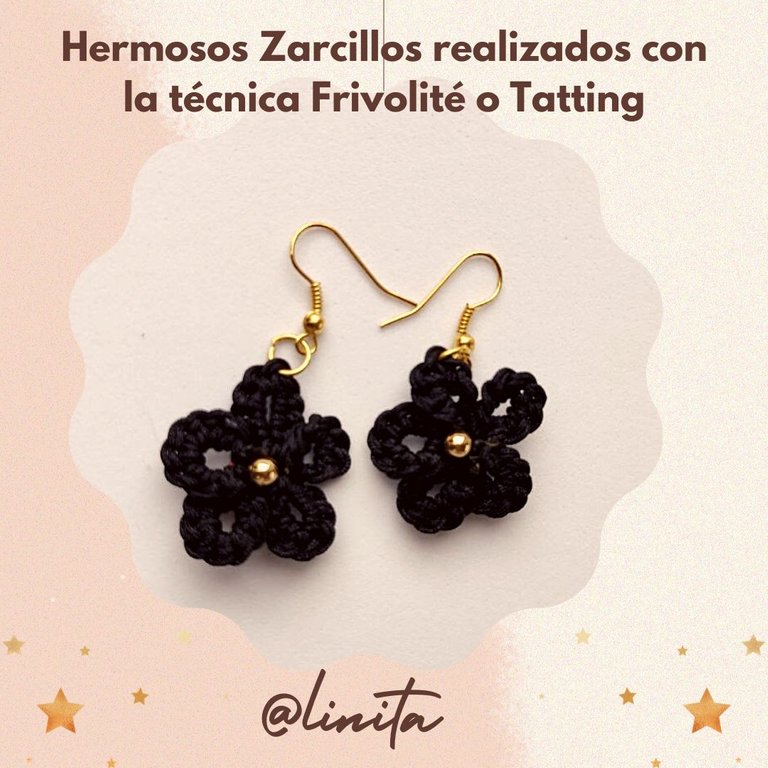
WELCOME TO MY BLOG
Hellooooo, hellooooo. How are you around here? I want to tell you and at the same time share my excitement with these techniques for making clothing, jewelry, among others, that you may know but that are totally new to me. On this occasion, it is the tatting or tatting technique. This technique consists of making designs from knots, either by hand, by machine and also with the use of needles.
Although my first design is very simple, I wanted to share it with you. It could be said that this is the basic point of tatting, I did it with a needle that is used in shoe repairs because it was the longest one I had at home and that would also make it easier for me to make the fabric. I did several tests with threads of various types and mm, but since what I wanted to make were earrings or tendrils, the use of Chinese thread seemed great to me, because when I made the weave it was firm and hard.
These earrings are very simple to make, they are delicate and they look very pretty. Join me in this new tutorial. Let's start.
BIENVENIDOS A MI BLOG
Holaaaa, holaaaa. Cómo están por aquí? Quiero contarles y a la vez compartirles mi emoción con estas técnicas para la confección de prendas de vestir, joyas, entre otras, que quizás ustedes conozcan pero que para mi son totalmente nuevas. En esta ocasión, es la técnica de tatting o frivolité. Esta técnica consiste en la elaboración de diseños a partir de nudos, bien sea a mano, a máquina y también con el uso de agujas.
Aunque mi primer diseño es muy sencillo, quise compartirlo con ustedes. Se podría decir que este es el punto básico del tatting, yo lo realicé con una aguja que se utiliza en la reparación de calzados por ser la más alargada que tenía en casa y que además me facilitaría la elaboración del tejido. Hice varias pruebas con hilos de varios tipos y mm, pero como lo que quería realizar eran unos aretes o zarcillos, la utilización del hilo chino me pareció genial, porque al realizar el tejido me quedaba firme y duro.
Estos aretes son bien sencillos de hacer, son delicados y quedan bien lindos. Acompáñame en este nuevo tutorial. Comencemos.
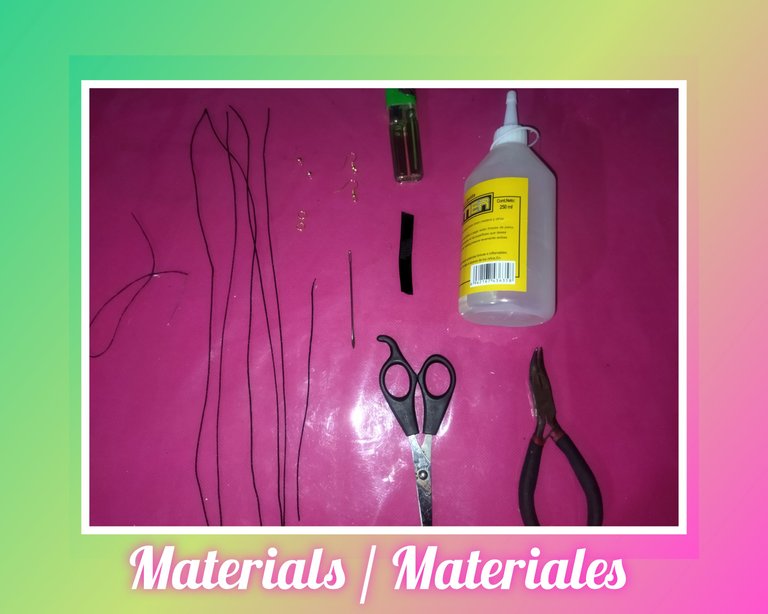
MATERIALS
- Black Chinese thread (210 mm approx.)
- 2 golden 4mm pellets
- 2 hooks for tendrils
- 2 rings
- A piece of cloth tape
- Black sewing thread and sewing needle
- A long needle of 10 to 15 cm approx.
- Liquid silicone
- Lighter
- Scissors
- Gripper
MATERIALES
- Hilo chino color negro (420 mm aprox.)
- 2 balines dorados de 4mm
- 2 anzuelos para zarcillos
- 2 argollas
- Un trozo de cinta de tela
- Hilo de coser negro y aguja de coser
- Una aguja larga de 10 a 15 cm aprox.
- Silicón líquido
- Encendedor
- Tijera
- Pinza
STEP BY STEP // PASO A PASO
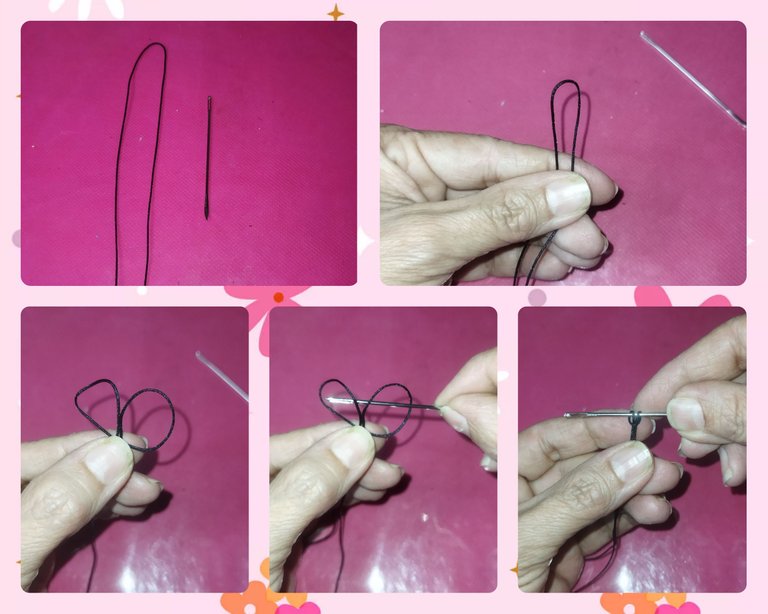
To make these flower-shaped earrings, we have to make 5 petals, so we will need 5 strands of Chinese thread of 40 cm each.
We start by making the first petal, taking a 40 cm strand of thread that we will fold in half. Then we make a fold to make a lark knot on the needle, in order to form the first stitch.
Para la hacer de estos aretes en forma de flor, tenemos que realizar 5 pétalos para cada arete, por lo que necesitaremos 5 hebras de hilo chino de 40 cm cada una.
Comenzamos realizando el primer pétalo, tomando una hebra de hilo de 40 cm que doblaremos a la mitad. Luego realizamos un doblez para hacer un nudo alondra en la aguja, para así formar el primero punto.
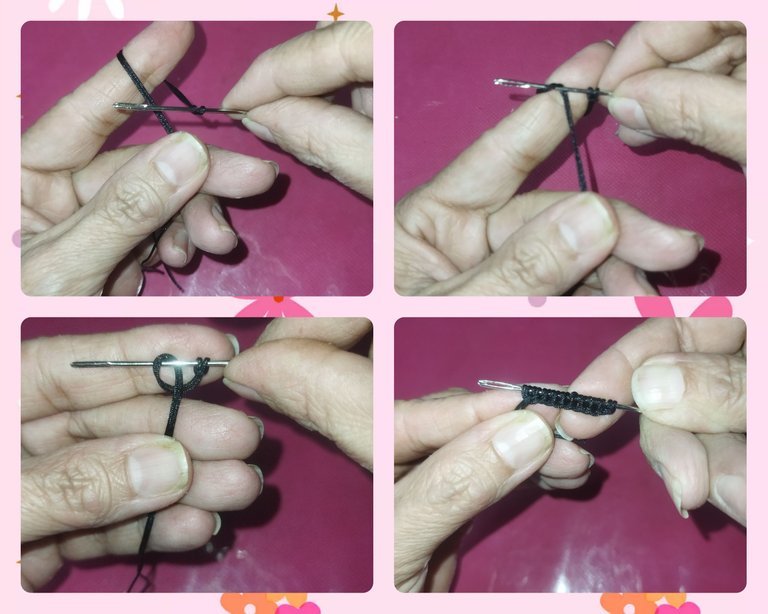
Then with the index finger we take the thread and go behind it to form the other stitches until we complete 10 in total.
Luego con el dedo índice tomamos el hilo y pasamos por detrás para ir formando los demás puntos hasta completar 10 en total.

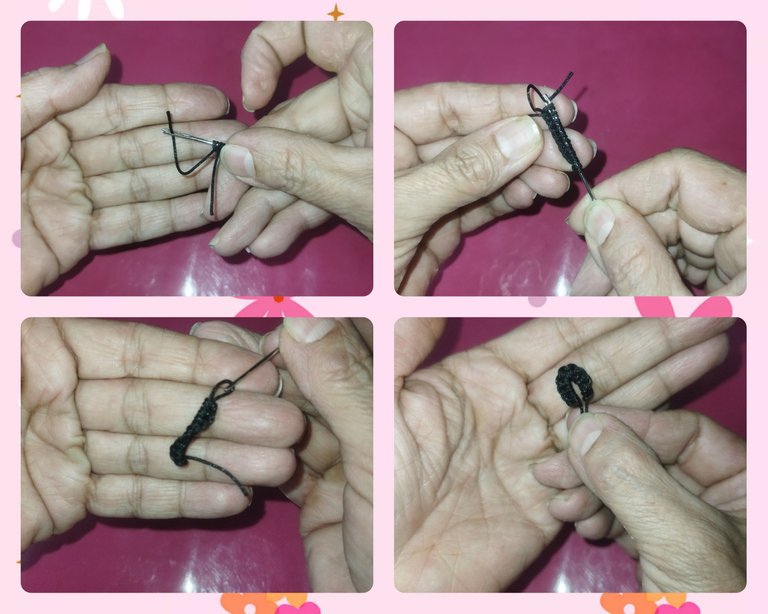
Next we take one of the ends of the threads and thread through the needle to pass it through the fabric and take it to the other end, so that there is a thread on each side to form the petal.
A continuación tomamos uno de los extremos de los hilos y ensartamos por la aguja para pasarlo por dentro del tejido y llevarlo al otro extremo, de manera que quede un hilo en cada lado para formar el pétalo.
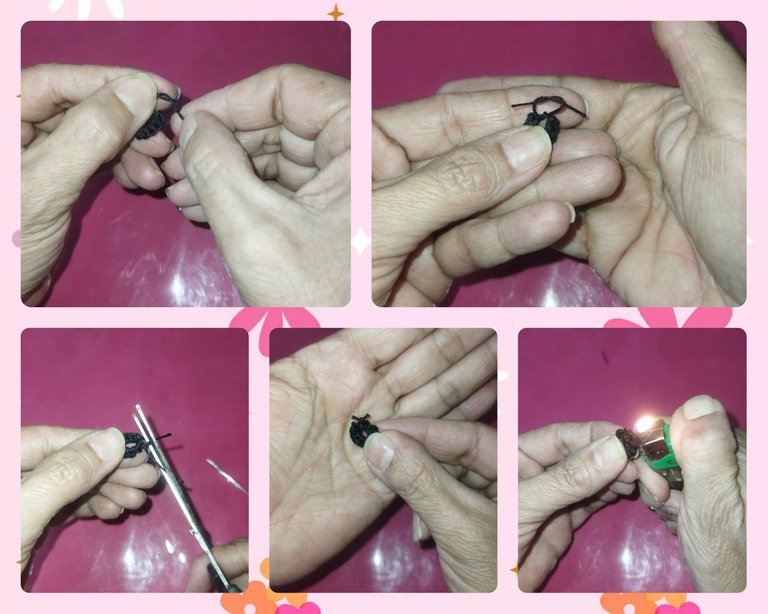
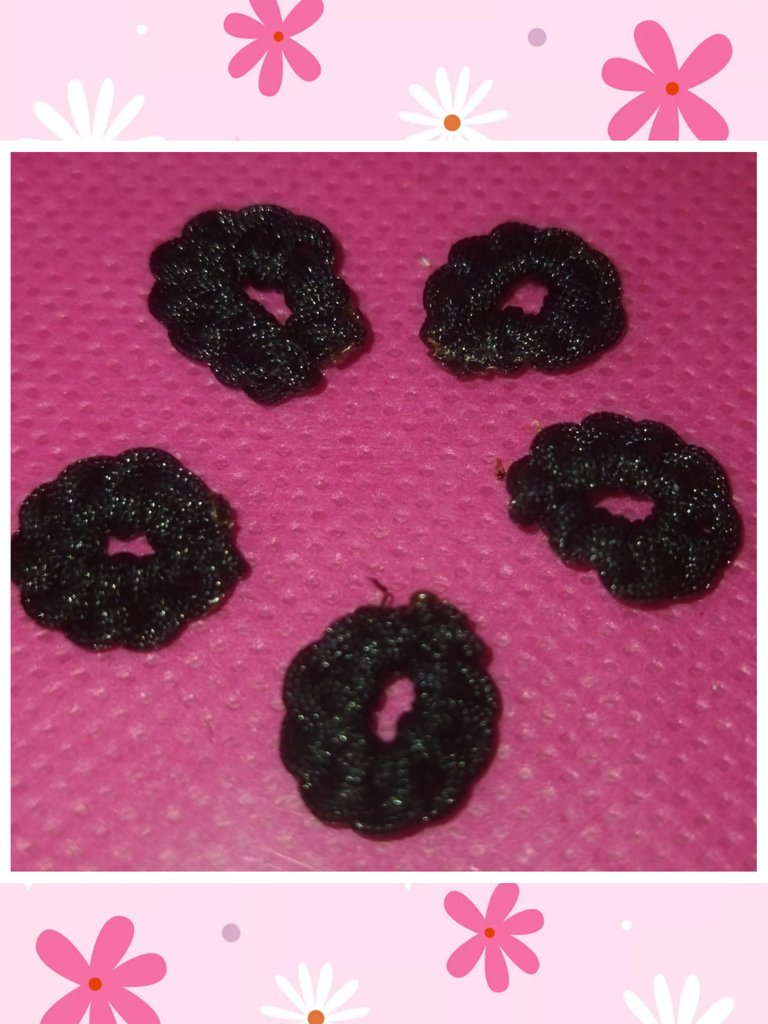
We make a tight knot with the ends, cut and seal with the lighter to prevent them from falling apart. We will make 4 more petals to complete the series and form an earring and repeat to complete the pair.
Realizamos un nudo bien ajustado con los extremos, cortamos y sellamos con el encendedor para evitar que se deshagan. Realizaremos 4 pétalos más para completar la serie y formar un arete y repetimos para completar el par.
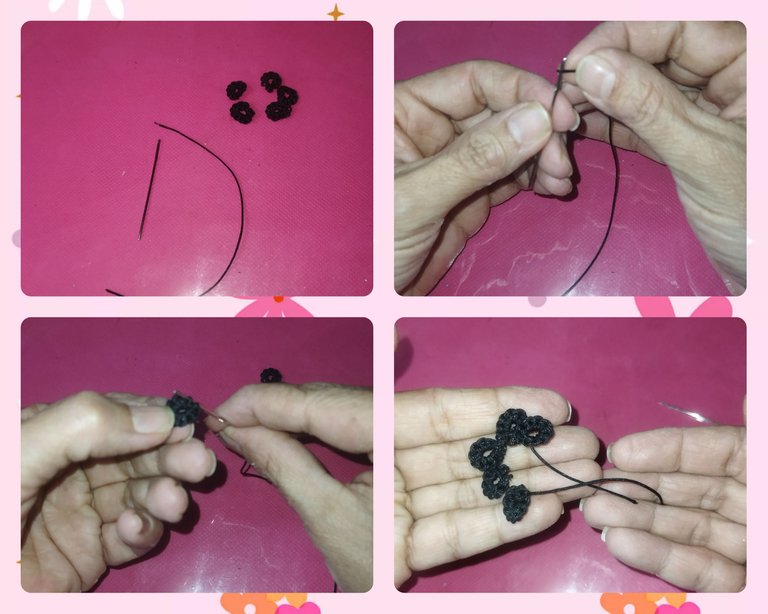
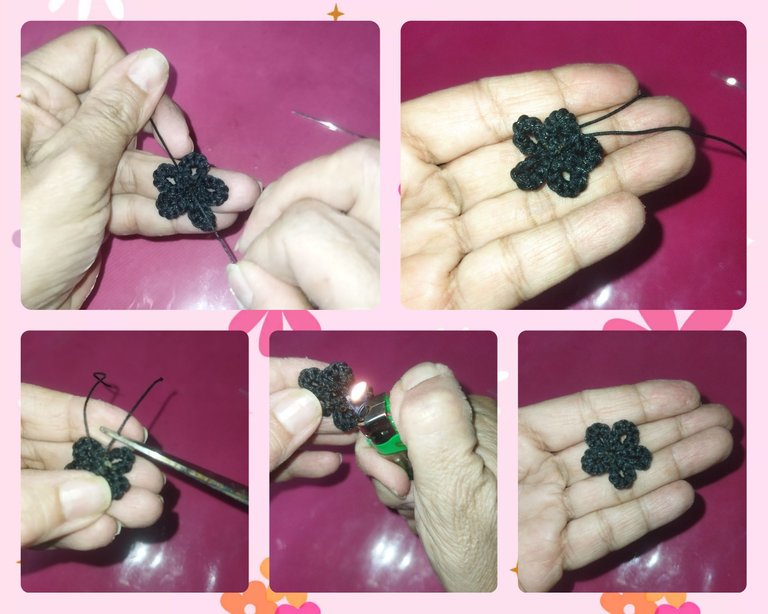
Once the 5 petals are ready, we take a 10 cm long strand of Chinese thread and begin to join the petals. To do this, we introduce the needle through each petal so that when pulling the thread they form a flower, we cut the excess thread and seal with the lighter.
Una vez listos los 5 pétalos, tomamos una hebra de hilo chino de 10 cm de largo y comenzamos a unir los pétalos. Para ello introducimos la aguja por cada pétalo de manera que al halar el hilo formen una flor, cortamos el exceso de hilo y sellamos con el encendedor.
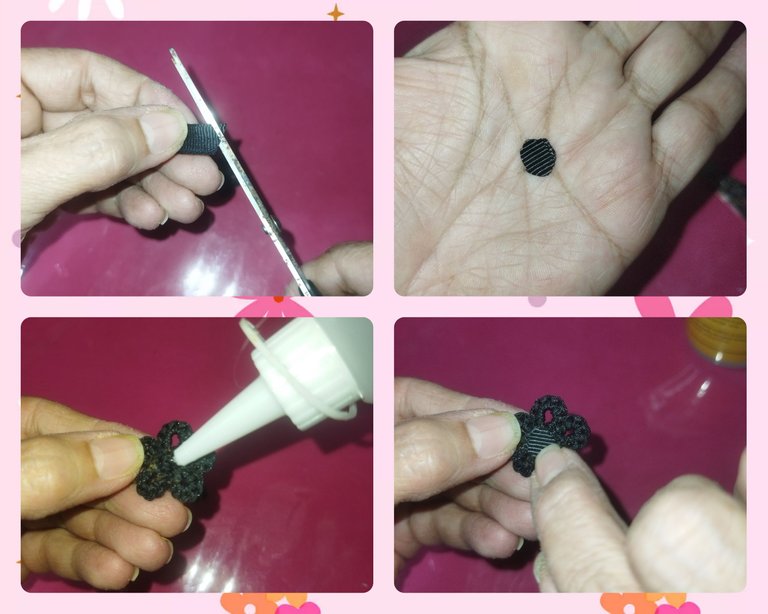
We take a piece of fabric tape and make a circle taking the central part of the petal as a reference, to cover the petal joints from behind and glue with liquid silicone.
Tomamos un trozo de cinta de tela y realizamos un círculo tomando como referencia la parte central del pétalo, para cubrir por detrás las uniones de los pétalos y pegamos con silicón líquido.
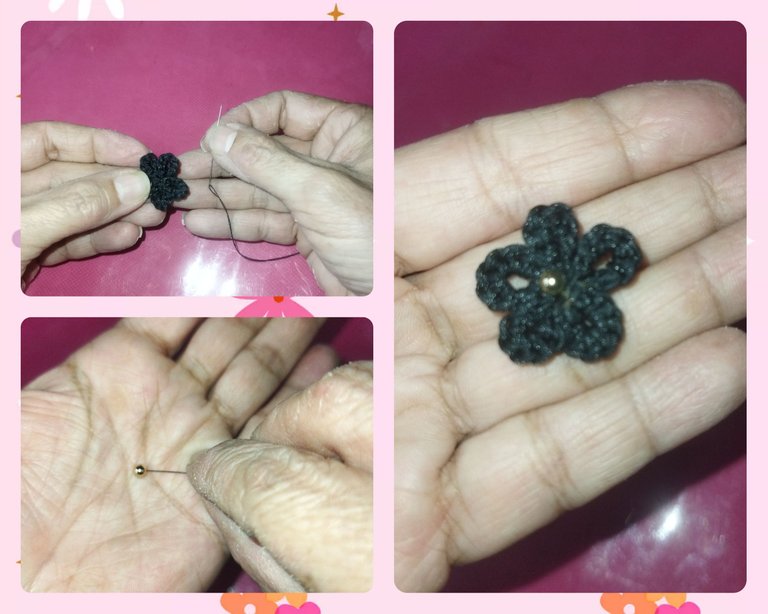
Now we place the pellets in each earring, for this we use the sewing thread and the needle.
Ahora colocamos los balines en cada arete, ara ello utilizamos el hilo de coser y la aguja.
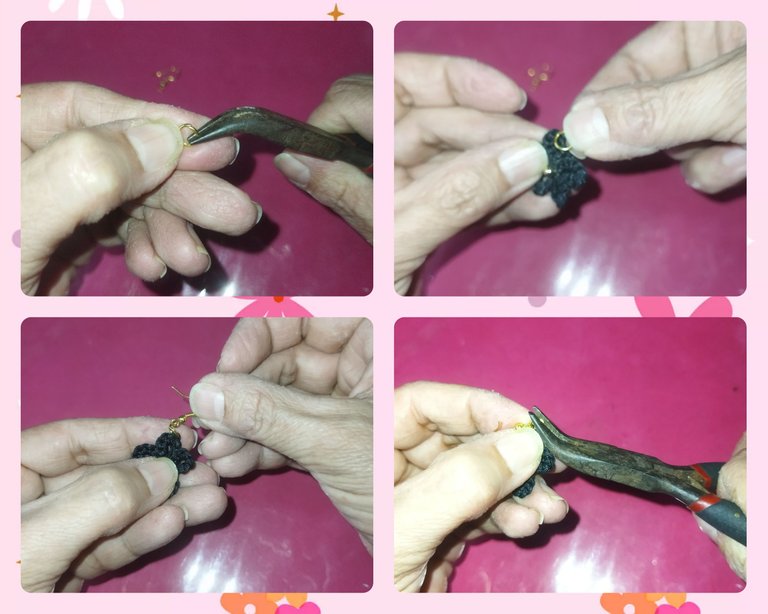
And finally, we place the ring on one of the petals of each earring, then the hook and adjust with the clamp.
Y por último, colocamos la argolla en uno de los pétalos de cada arete, seguidamente el anzuelo y ajustamos con la pinza.
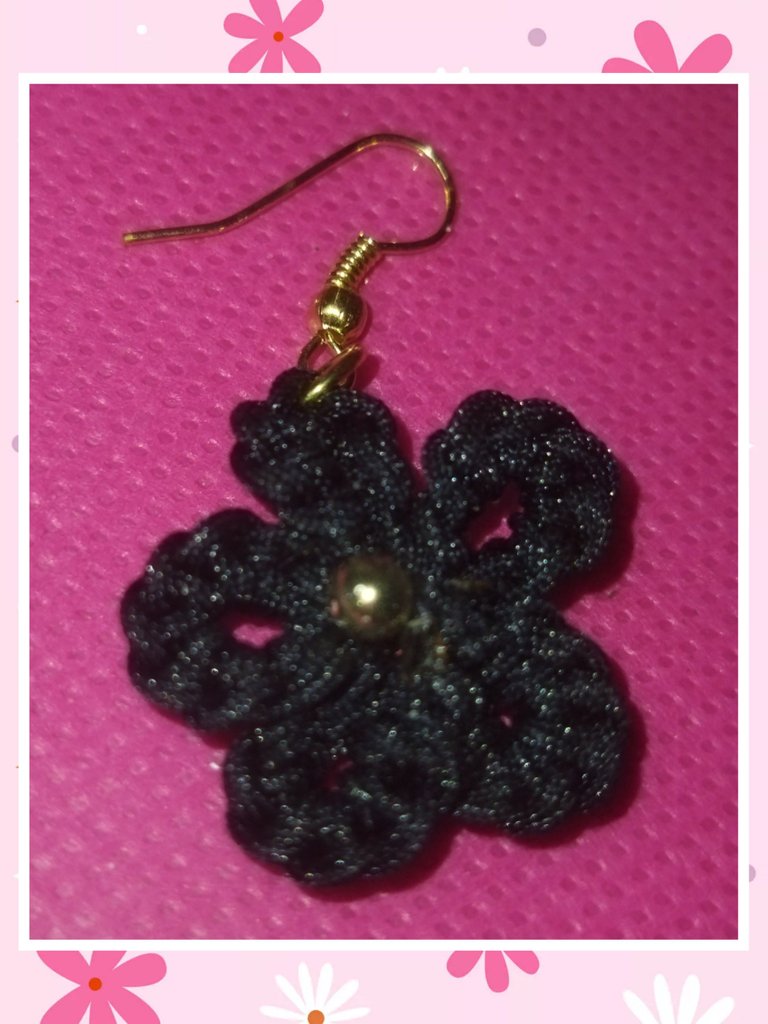
did you like them They fascinated me, they are very easy to do and the best thing is that when you can't find some earrings to combine your outfit with, you already have an option to get out of trouble. Every day I am surprised by the number of weaving techniques that exist and with which you can create wonders. I hope you liked it. See you next time.
Te gustaron? A mi me fascinaron, son muy fáciles de hacer y lo mejor es que cuando no consigas unos aretes con qué combinar tu outfit ya tienes una opción para salir del apuro. Cada día me sorprende la cantidad de técnicas de tejidos que existen y con las que puedes crear maravillas. espero te haya gustado. Nos vemos en la próxima.
