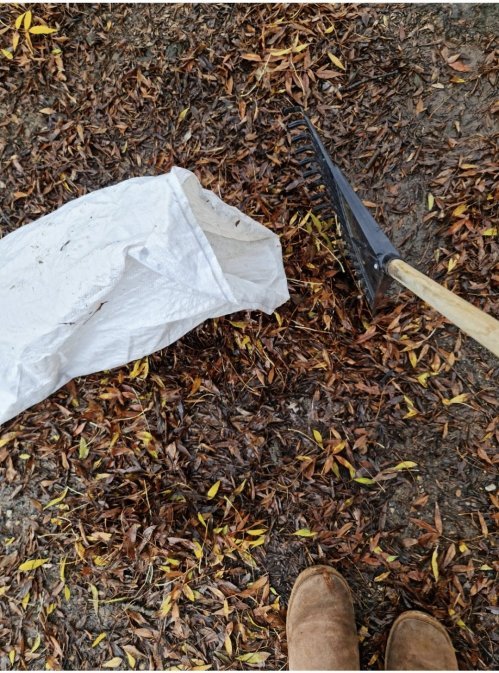
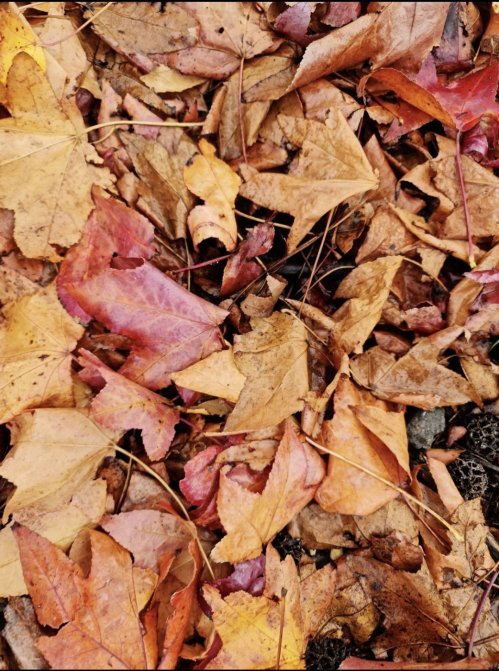
It’s the time of year when deciduous trees and other plants either drop their leaves or have them blown off of their branches by strong winds. The leaves cover the ground in that characteristic, cold weather, red and yellow blanket.
Many gardeners curse it and spend their time raking this bounty into piles for disposal. The canny gardener knows though that this bonus material is a boon for their garden soil. It can be put to many uses – added straight onto the soil, added to the chicken run, the worm farm, composted or, best of all, made into leaf mould.
Why do leaves turn red?
It’s because where deciduous plants originate, the there is little direct sunlight over Winter, so there is little point spending the energy to make chlorophyll. The plant withdraws the green chlorophyll from its leaves to store, leaving us with the orange and red beauty of cyanins and carotenes to inspire local painters and photographers.
What is leaf mould
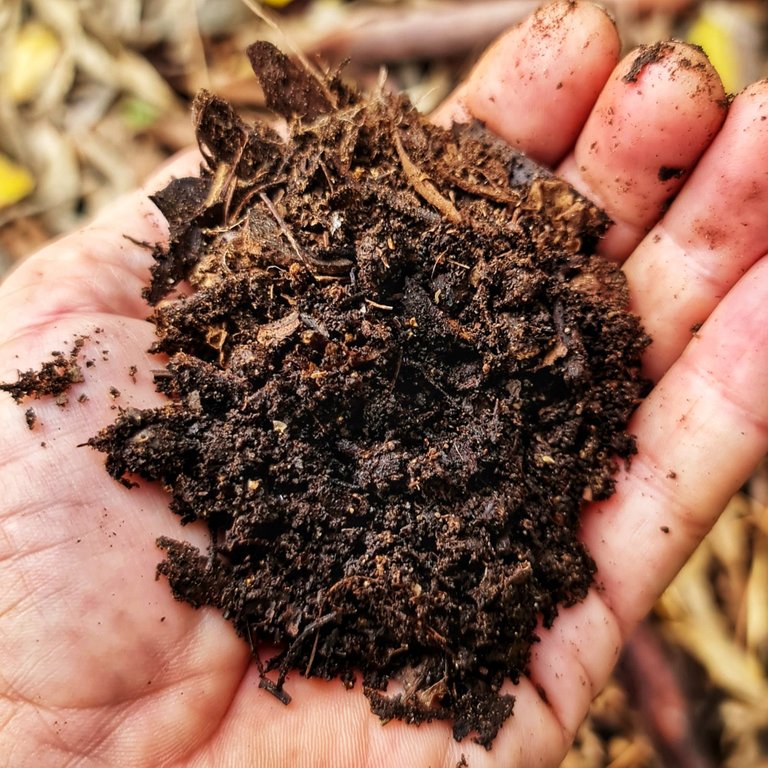
You can find leaf mould in Nature very easily, it is the crumbly, organic material that lies under a layer of undecomposed or fresh leaves and above the soil. Leaf mould is full of practically every type of micro-organism that you can think of, it is the product of fungal and microbial breakdown of leaf tissue. It is a rich, humus like substance that crumbles easily in the your hand and provides a boost for every aspect of soil structure and ecology. It takes a six months to a year to make, depending on the type of leaves used and the method of making it.
You can mix leaves from different trees and locations. Some leaves may take longer to break down than those from other species of tree but persevere because each tree will yield a different leaf mould.
In my book, leaf mould is the best garden amendment that you can make for free!
How do you make leaf mould?
In nature, leaf mould is created simply by the accumulation of drifts and piles of fallen leaves. Fungi and microbes break it down slowly and very thoroughly, leaving and friable, loose structured material enriched by their digestive and excretory processes.
We can copy that process in our garden and even speed it up a little.
Technique #1
All you need is a wire cage , chaff bag or other open weave container. A plastic tub with lots of holes in it works too. You simply pile in the leaves, make sure that they’re damp and press them down. Then you wait a year and add the result to your soil or compost.
Technique #2
If you’re like me, you don’t want to wait a year to get your hands on the rich leaf mould so there is a way to speed things up, Three ways in fact, but I’ll combine them all into one process. You don’t have to do them all, but shredding your leaves is recommended.
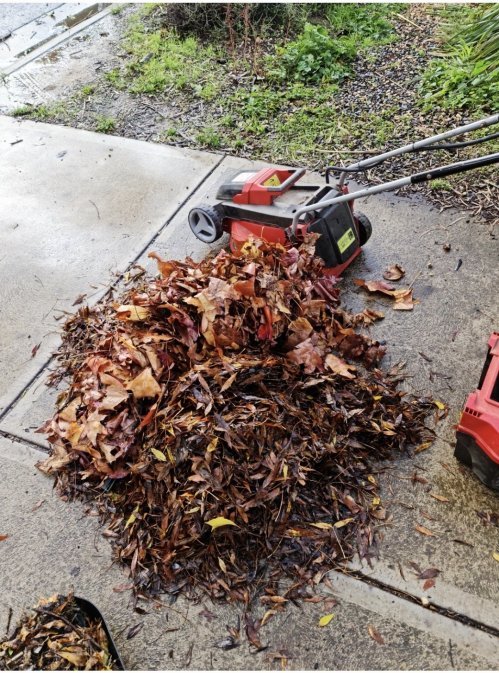
First. roughly shred the leaves that you will be using. This increases the surface area for Fungi and microorganisms to work on. It also breaks up the hard structure of the leaves.
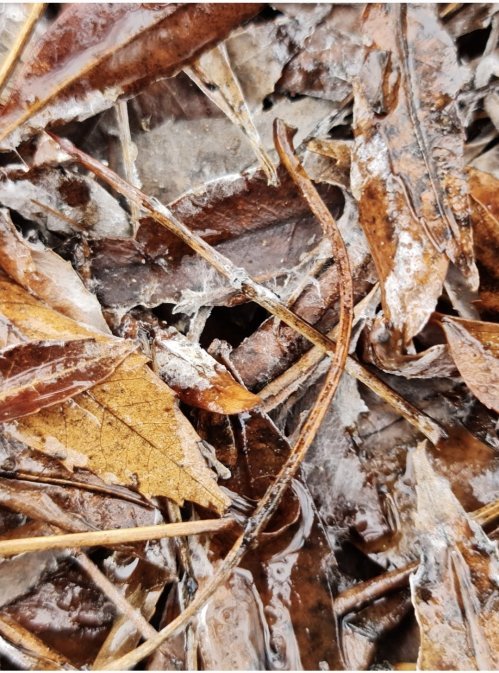
Second, look under and in piles of the leaves you will be using for white, thread – like mycelia. That means that one or more Fungi are already starting work. By adding this to your pile, you speed up the process.
Next, get some well broken down mulch or compost from your own garden. Mix this in to your pile. This adds your own, local, microorganisms into the mix.
You can also add an accelerant such as urine or coffee grounds., even a little blood and bone will help. This gives a little extra food to give energy to the microbes to get working. Avoid adding green plant material or sugary additives like molasses. These will feed the bacteria at the expense of the Fungi. The bacteria help and even get some processes started but it is the Fungi that we want to encourage.
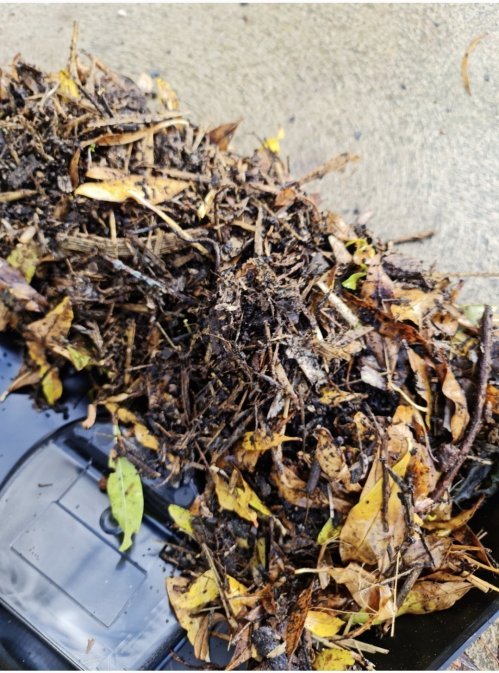
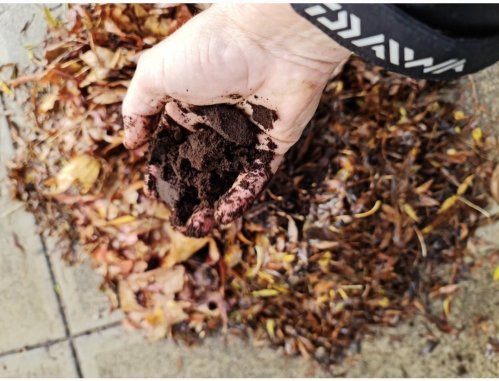
Make sure it’s all moist, mix it all well and put the resultant blend into an open weave container as suggested above. I prefer chaff bags because they are free and I can move them if I need to.
Whichever technique you use, position your container of leafy material in a sheltered place where it won’t be in direct Sun in Summer or be able to dry out. I like to place my chaff bags under a tree or a bush and ensure that it is in contact with the soil so that garden life has easy access to the material within.
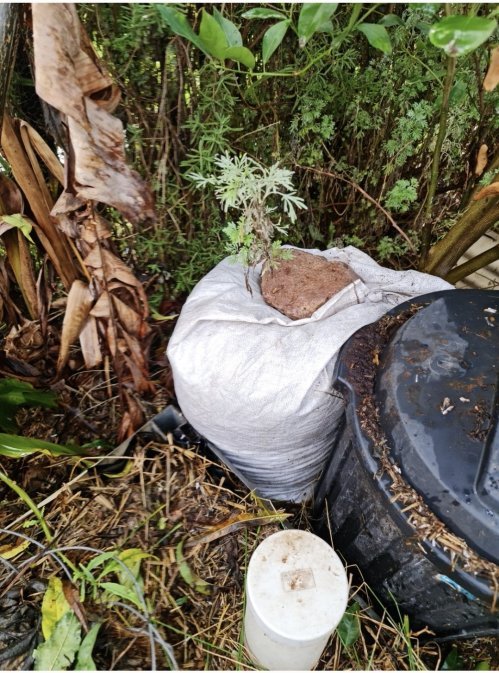
Then it’s a waiting game. After 6 months, peek inside the bag and check that the leaves are well broken down. The top layer may not have been broken down but as you reach deeper into the pile, it will become finer and crumblier. That’s your leaf mould!
What to do with your leaf mould?
Leaf mould can be incorporated into your soil in any way that compost can. You can sprinkle it around the base of plants, add it to the ground or pots when planting or mix it into garden beds when digging them over (who still does that?) or adding new material. I like to add it under new mulch as well.
You can also add leaf mould to your ferments such as weed , nettle or compost teas to give them more punch. I’ll be adding a new page just on garden ferments soon, so keep an eye out!
Some natural leaf mould from a drift of leaves left from last Winter.
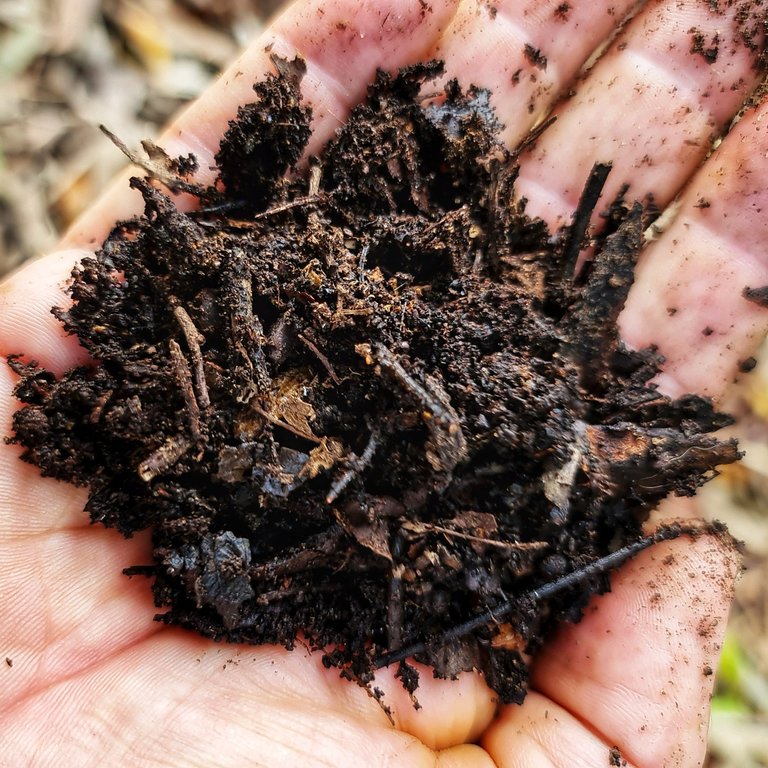
Near the bottom of the pile.
At the soil level.


