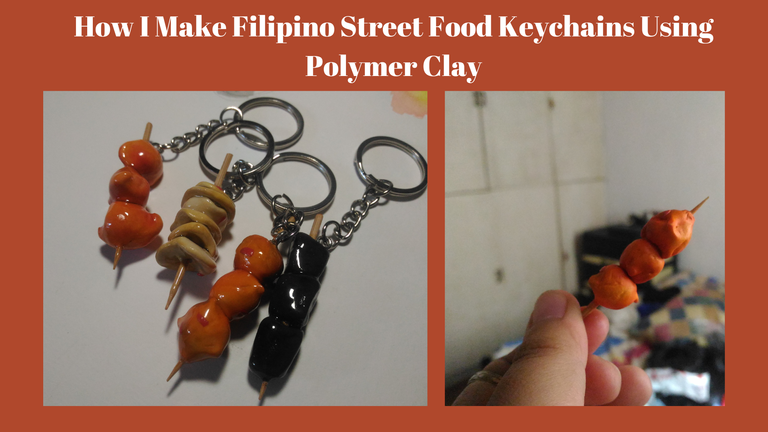
When I was young I remember when I was a kid my family didn't allow me to eat street food but I was the curious one, my friends were the ones pushing me to eat some so when my mom was around I would hide and my friend would buy it for me, LOL it is good to remember that kind of moment I was thankful though that my parents always reminding me before I am not into it not like before. But I can cook some of them at home when I crave them.
Thank god I documented this process so I can share it with you. I am making street food that I like to eat but I only documented one of my favorites to eat is called Kwek-Kwek it is an orange ball with quail egg inside it is a fried street food that you can deep in a sauce or vinegar with red onion on it.
Materials:
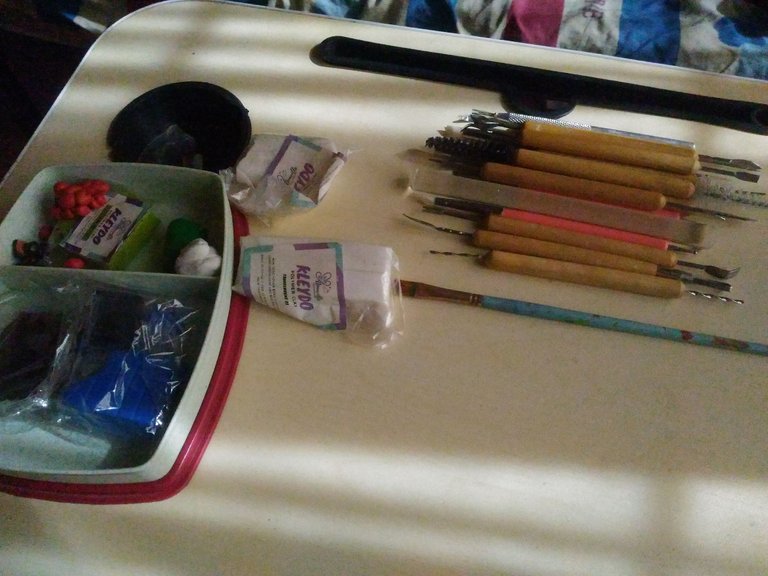
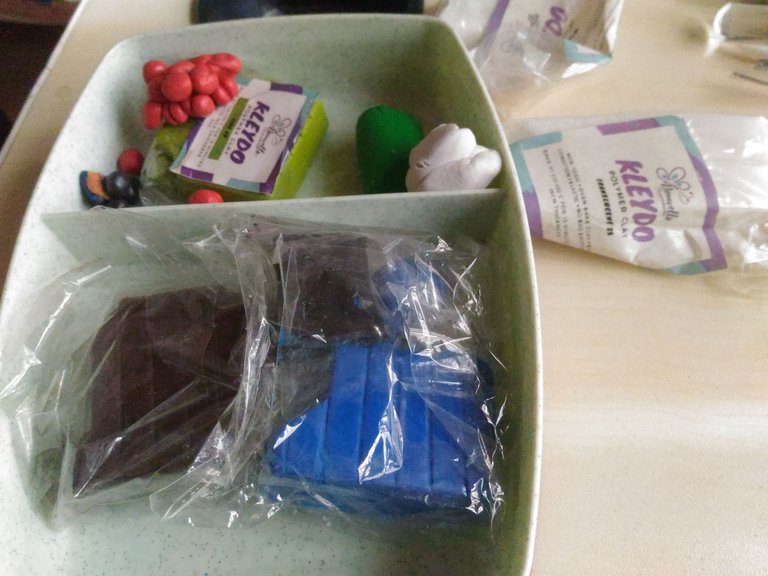
Polymer Clay
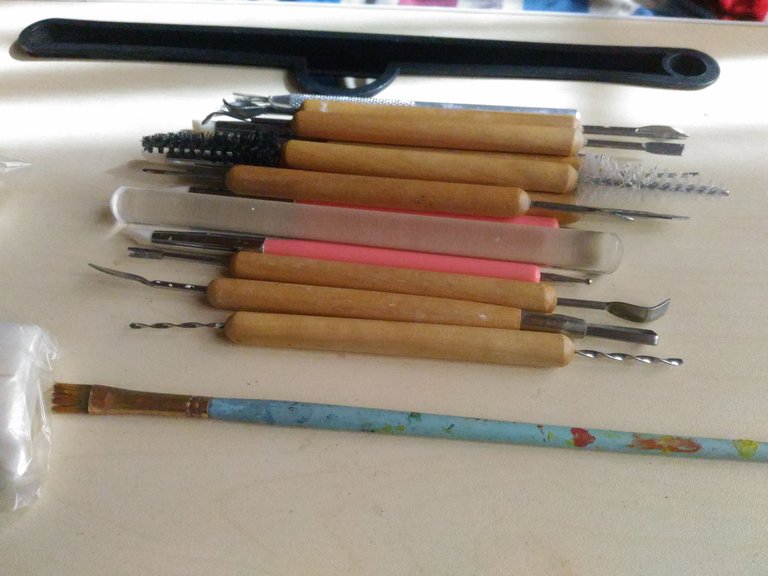
Sculpting Tools
Brush
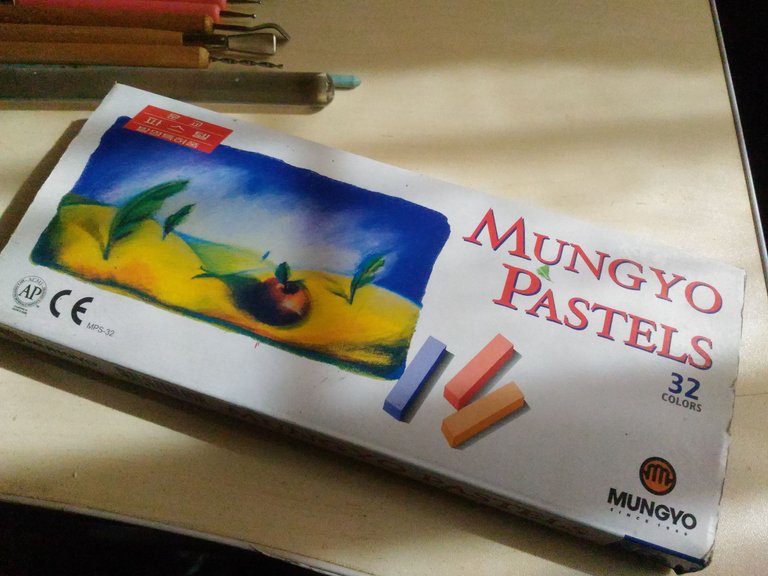
Soft Pastel
Toothpick
Oven
Keychain Ring and Chain
Eyepins
Rolling Pin
Oven
Uv Resin
Baking sheet
The Process:
The Process:
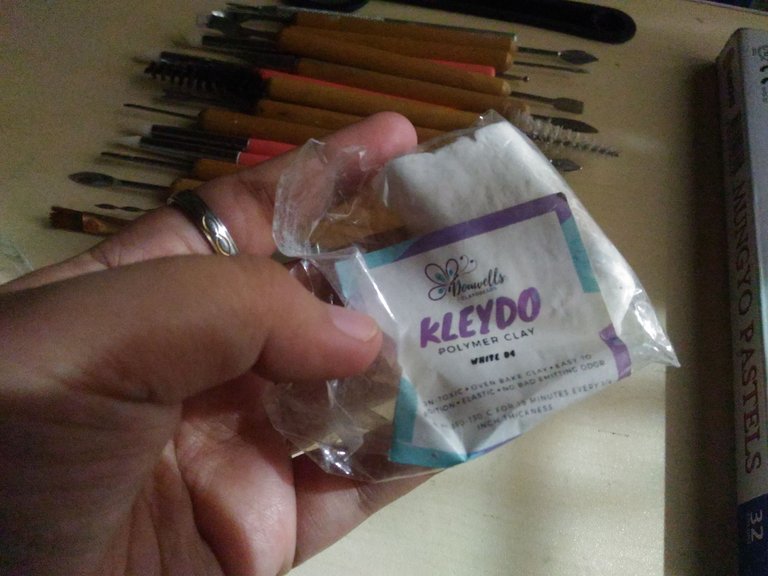
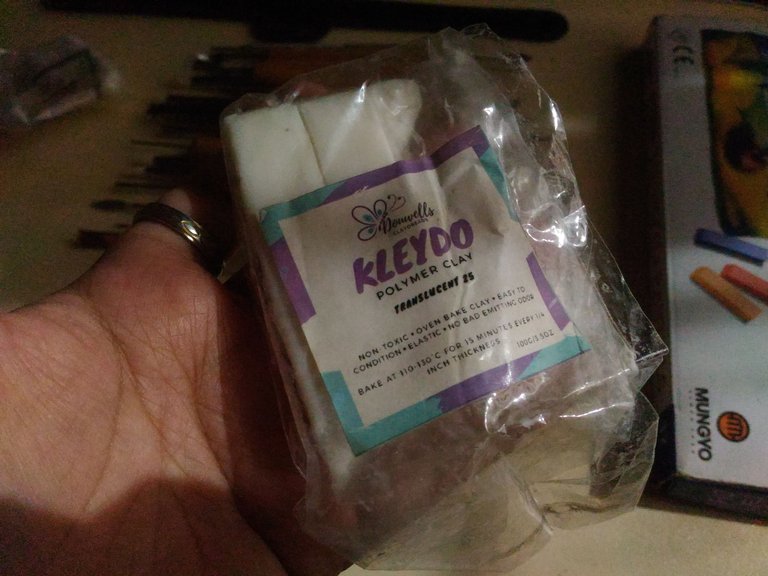
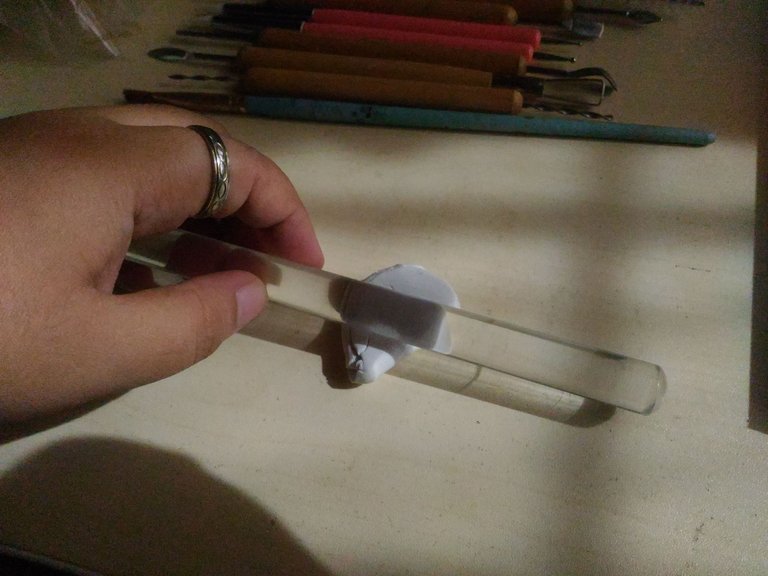
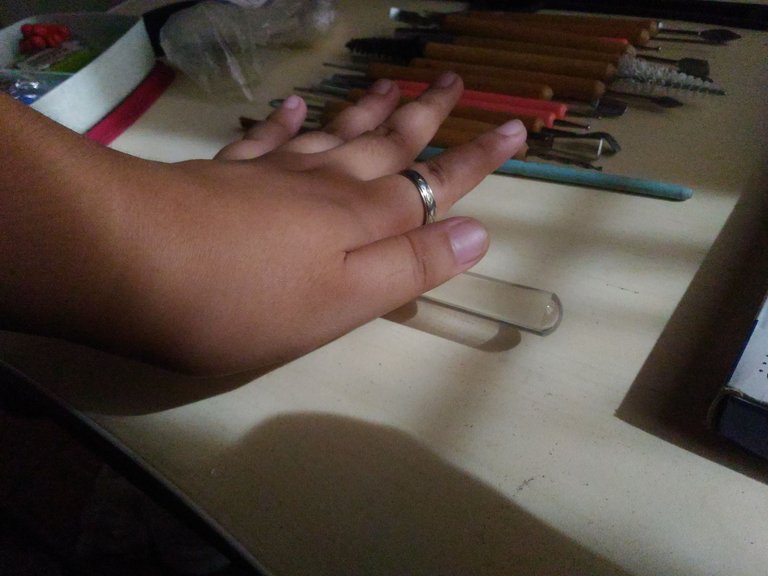
The first step is I condition the polymer clay until soft to work with, to make the clay condition fast is I add translucent clay a little bit by bit because if you put a lot the clay texture will be oily so be careful in adding translucent. Using an acrylic rolling pin will make the work easier.
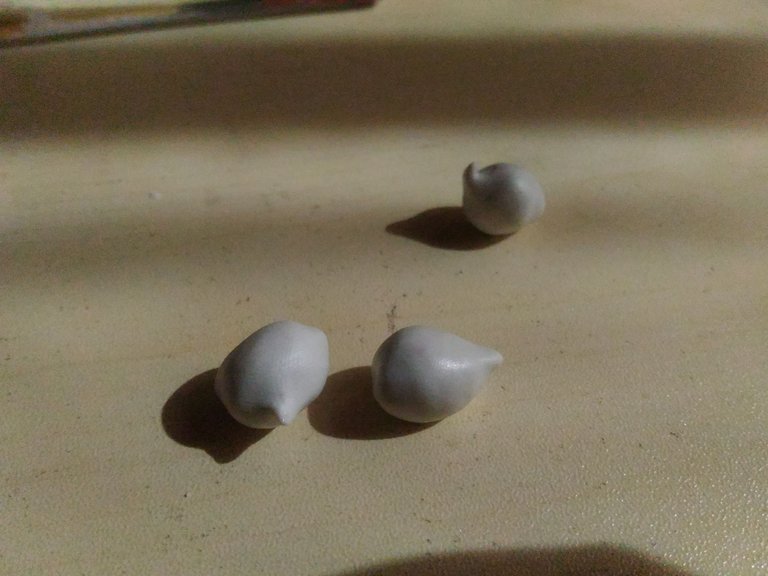
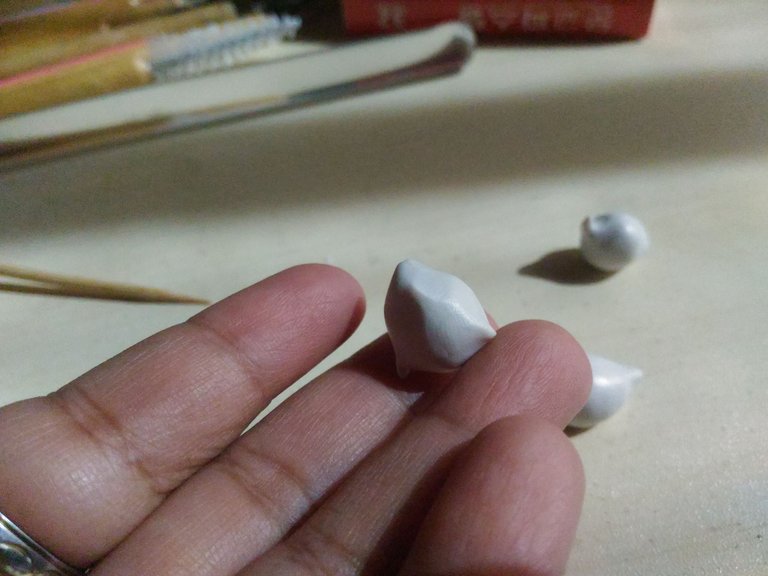
The next step is I shape the polymer clay into the shape of Kwek-Kwek it doesn't need to be perfect circle because it will not look realistic and I added like a tail because in my observation when I made Kwek-Kwek once is that It has that kind of shape when it is cooked. Do not forget to add texture to it too.
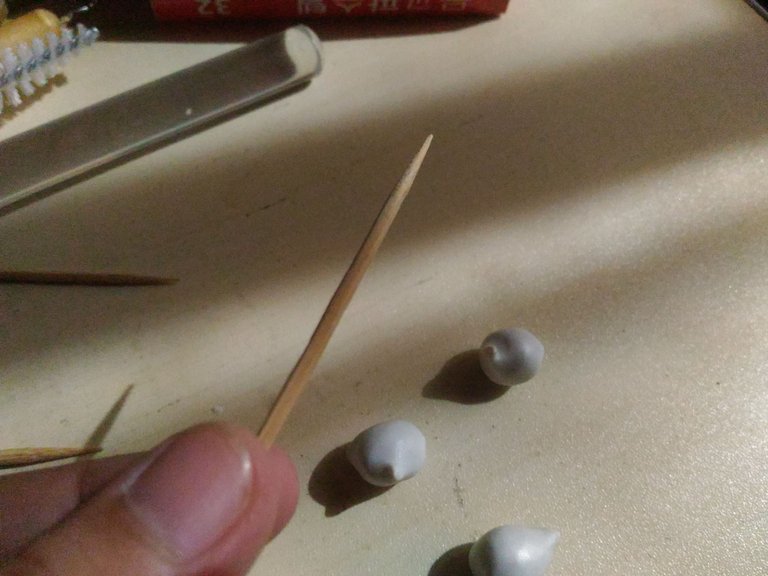
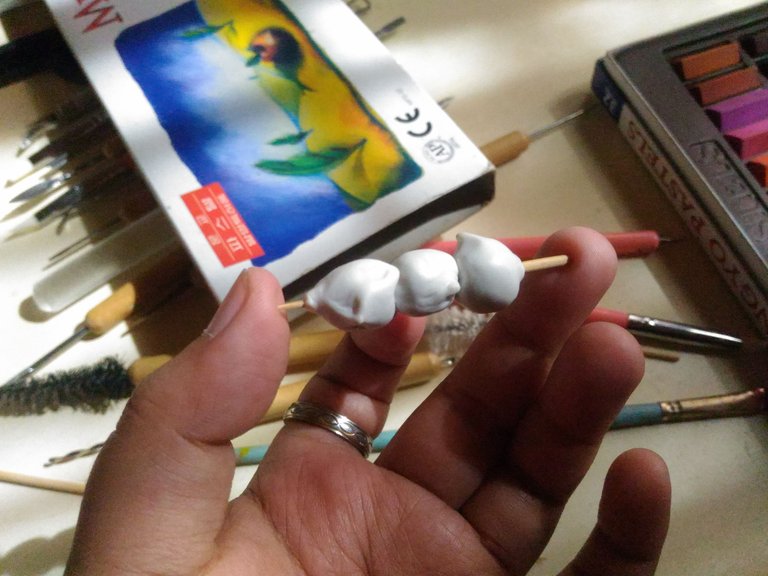
After shaping the clay, I used toothpick as a bbq stick for Kwek-Kwek clay I made. I carefully stick them one by one, three pieces is the perfect number for the size of toothpick. It is still look like something but trust me I will look like it later.
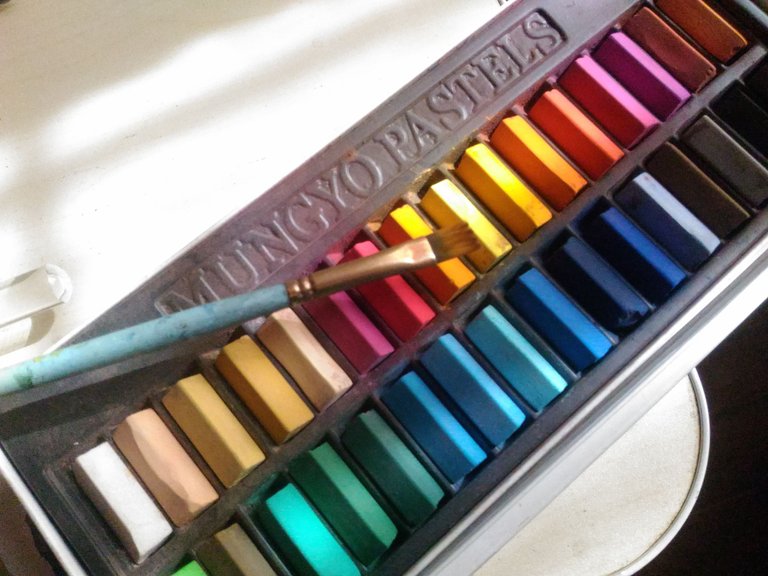
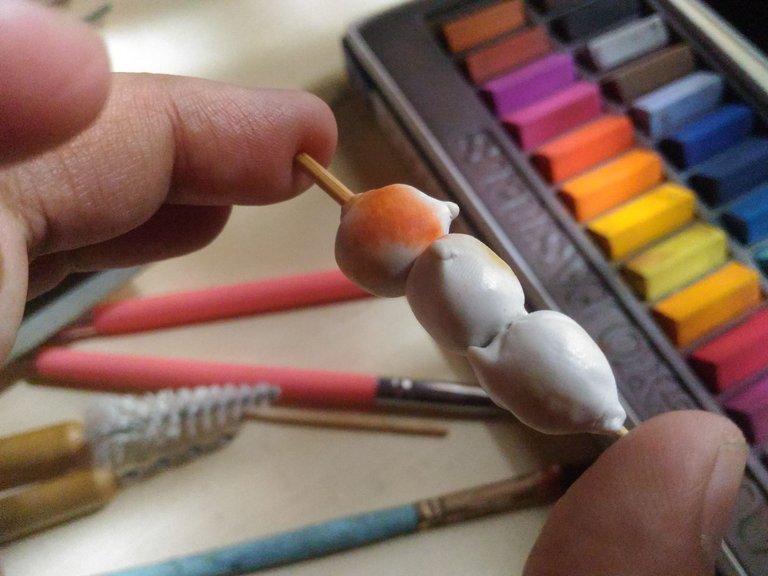
This is my favorite part of the process. You will need to use the brush and soft pastel to color the Kwek Kwek clay. What I do is I stroke the brush up and down into the soft pastel to collect the pigment and then dap it into the clay until the clay covered with pastel. I use all the shade of yellow and orange.
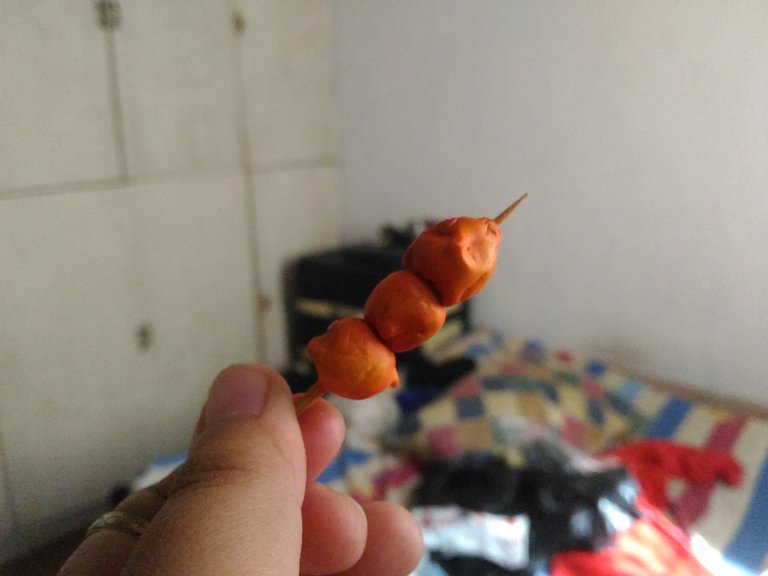
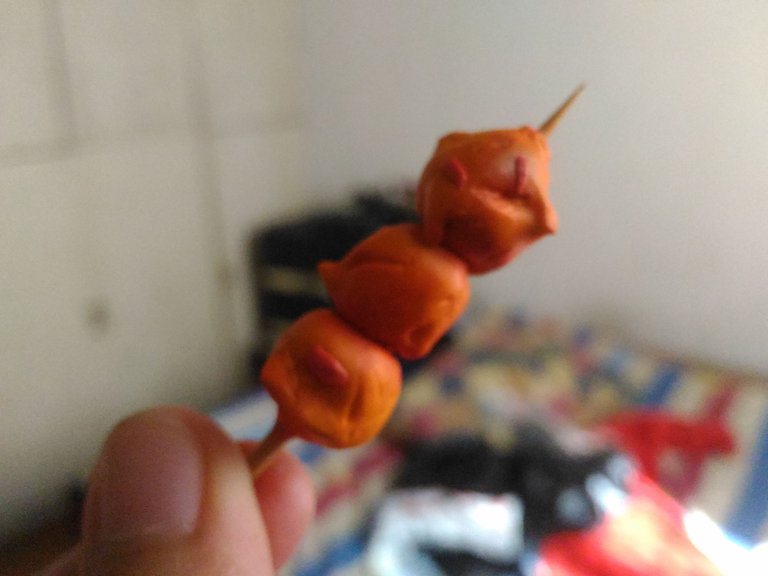
This is what it looks like I added some chili bits on it because that how I like it. LOL. I let it rest for couple of minutes while it is still in rest I already preheated the oven.
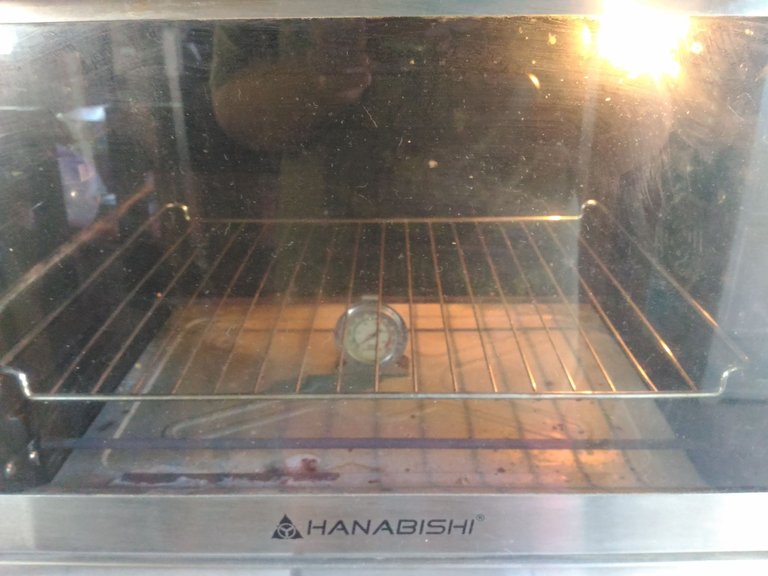

The next step is to bake the clay, I just follow the instruction on the packaging say what temperature and time do I need to bake the clay. So it is on packaging instruction so if you bought a different clay brand it is on the instruction of the clay you bought. While waiting for the clay to bake it is the perfect time to clean and prepare the next materials to use in the workspace.
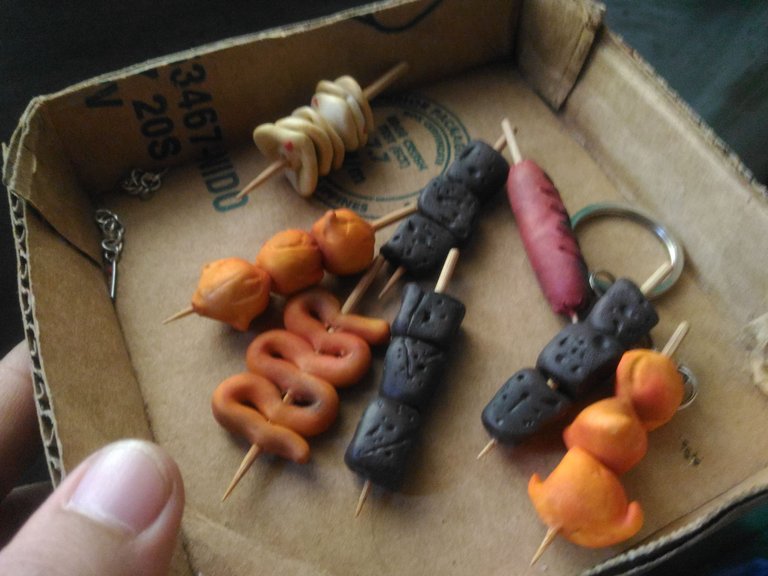
After baking, I let the clay cool down before touching, if it is still soft you need to bake it for a couple more minutes again and if its okay now I am going to do the next step.
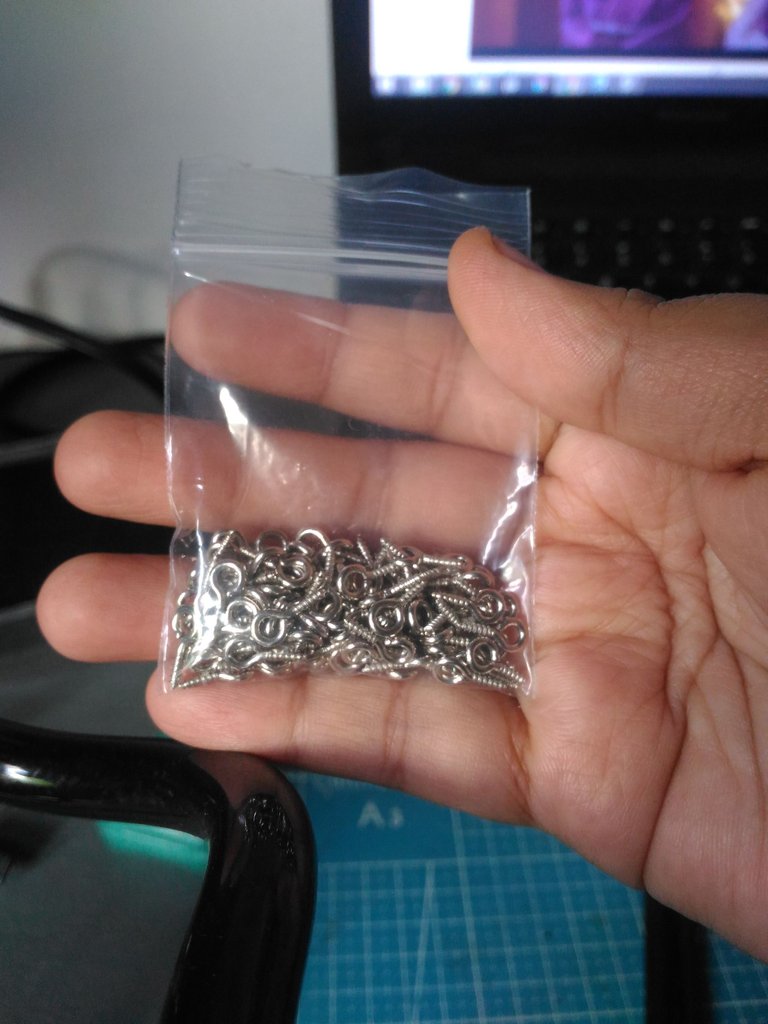
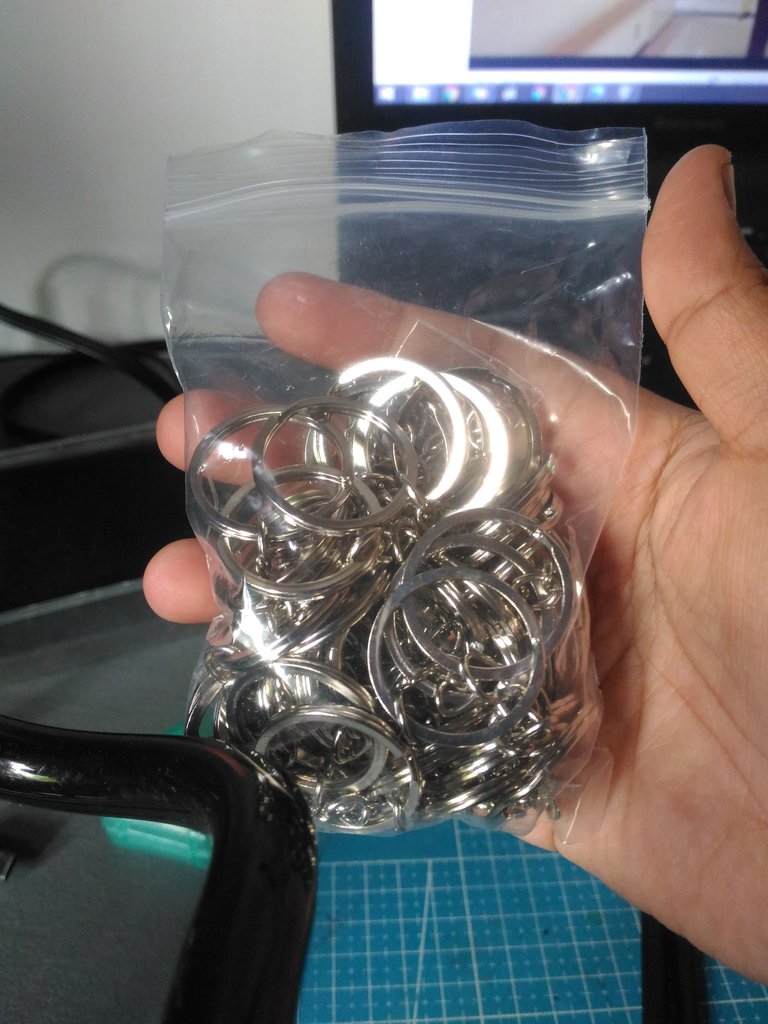
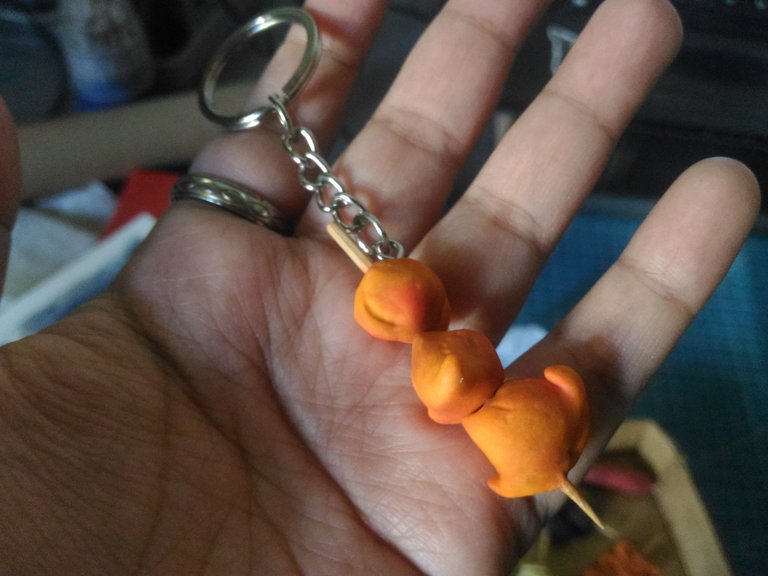
After the clay cool down, I prepare the eyepin and keychain. What I do is I twist the eyepin on the clay at the end of the toothpick that is the best part to put the keychain is.
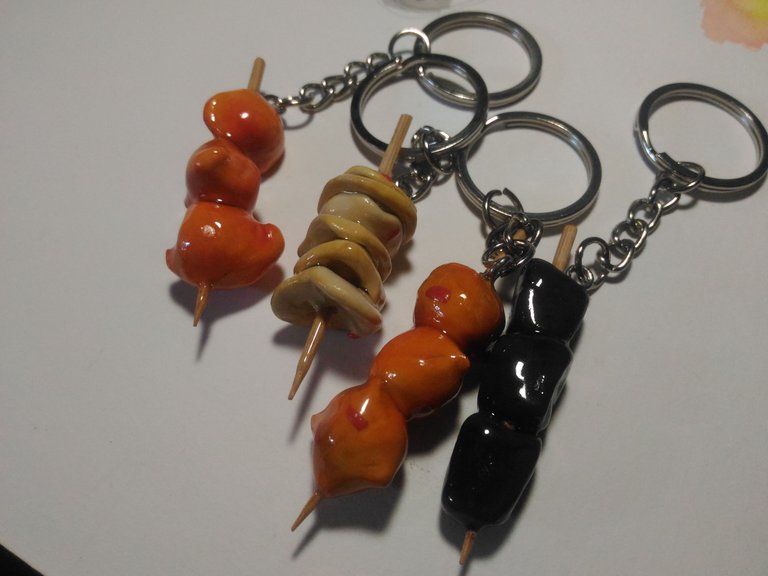
This is optional step is to apply gloss to it, I prefer using Uv Resin to make the keychain clay more water resistance and more durable when use. Uv Resin need uv light to cure, so if you live here at the Philippines it is perfect to use, but just be careful using it, you need well ventilated place when using it so. I will advice you to do your reserch first before using it.
Thank you for visiting. See you on my next blog.
