Saludos queridos artesanos de HiveDiy tu comunidad amiga, espero que todos se encuentren muy bien, y disfruten un gran fin de semana cargado muchas ideas creativas.
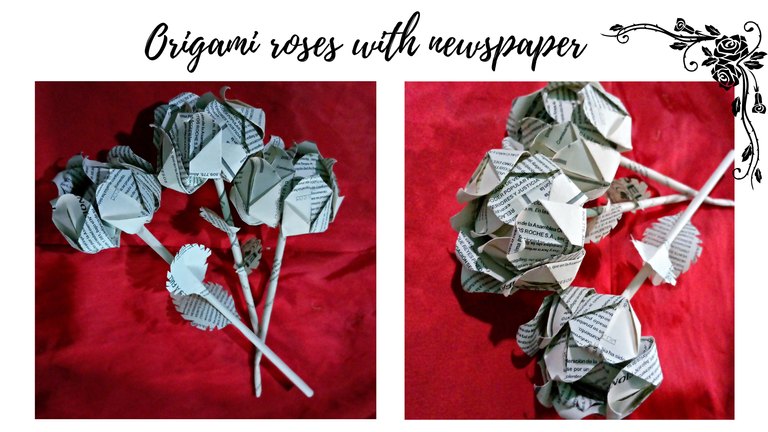
Me gusta hacer origami y desde hace unos días tenía en mente hacer unas rosas con periódico porque me parecen llamativas y exóticas, se ven increíbles.
Si todavía no has hecho unas rosas de estas, es tu mejor momento para que te dediques a elaborarlas, y hagas tus bellos ramos de rosas para el día de las madres que pronto estará por aquí.
También para muchos es un gran momento para hacer las decoraciones de Semana Santa, se imaginan unas rosas así en color morado.
Los invito a ver el proceso fácil y sencillo para hacerlas.
Las fotografías que verán a continuación, fueron tomadas con mi teléfono modelo TECNO SPARK GO 2023.
Greetings dear crafters of HiveDiy your friendly community, I hope you are all well, and enjoy a great weekend full of creative ideas.
I like to make origami and since a few days ago I had in mind to make some roses with newspaper because I find them striking and exotic, they look amazing.
If you haven't made some of these roses yet, now is your best time to get into making them, and make your beautiful bouquets of roses for Mother's Day that will soon be around.
Also for many it is a great time to make Easter decorations, can you imagine roses like this in purple.
I invite you to see the easy and simple process to make them.
The pictures you will see below were taken with my phone model TECNO SPARK GO 2023.

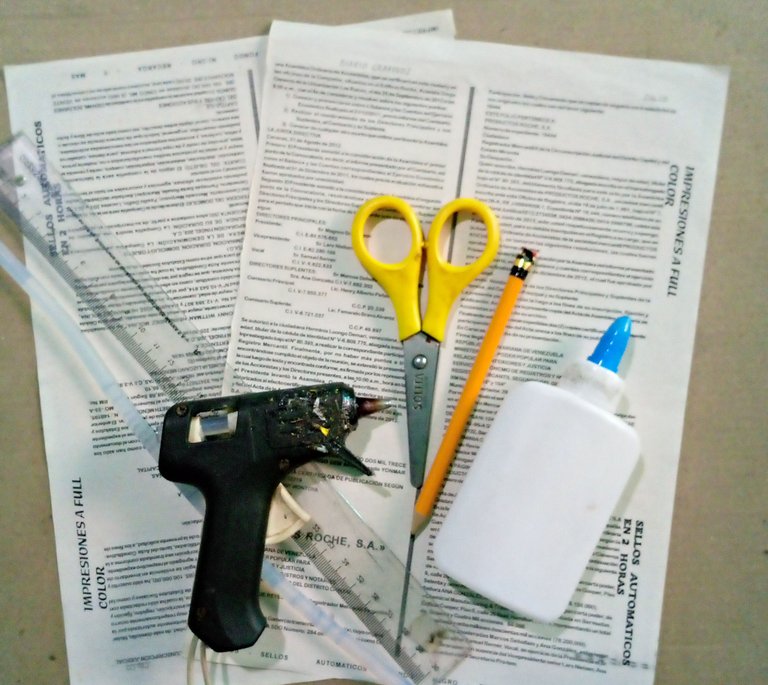
Los materiales son sencillos, los puedes tener en casa y con estos pocos materiales puedes hacer que tu casa luzca al estilo Vogue.
Materiales:
- 2 hojas de periódico
- Tijeras
- Silicona
- Cola blanca
- Regla
- Lápiz
The materials are simple, you can have them at home and with these few materials you can make your home look Vogue style.
Materials:
2 sheets of newspaper
Scissors
Silicone
White glue
Ruler
Pencil

 |  |
|---|
 |  |
|---|
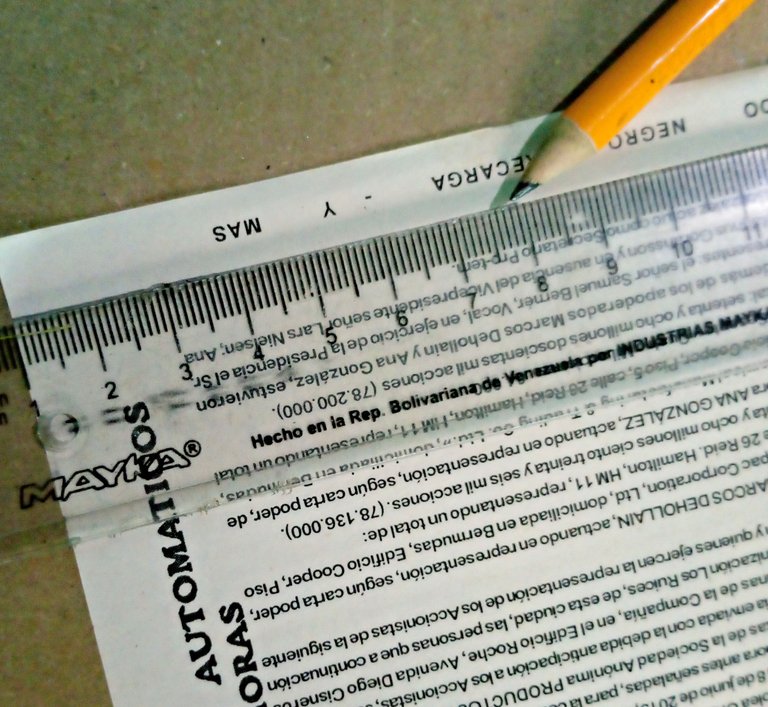
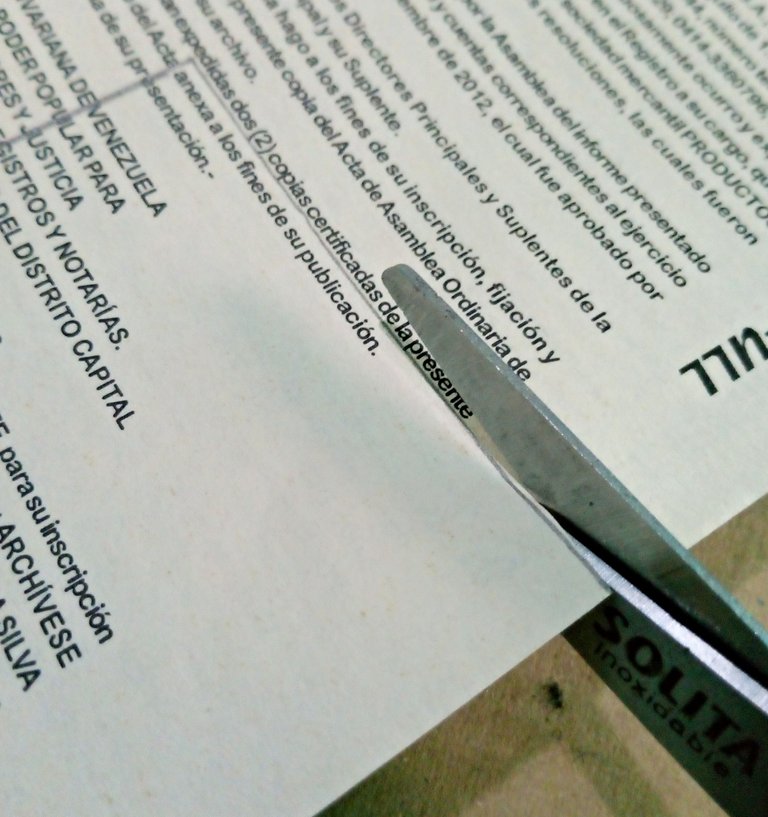
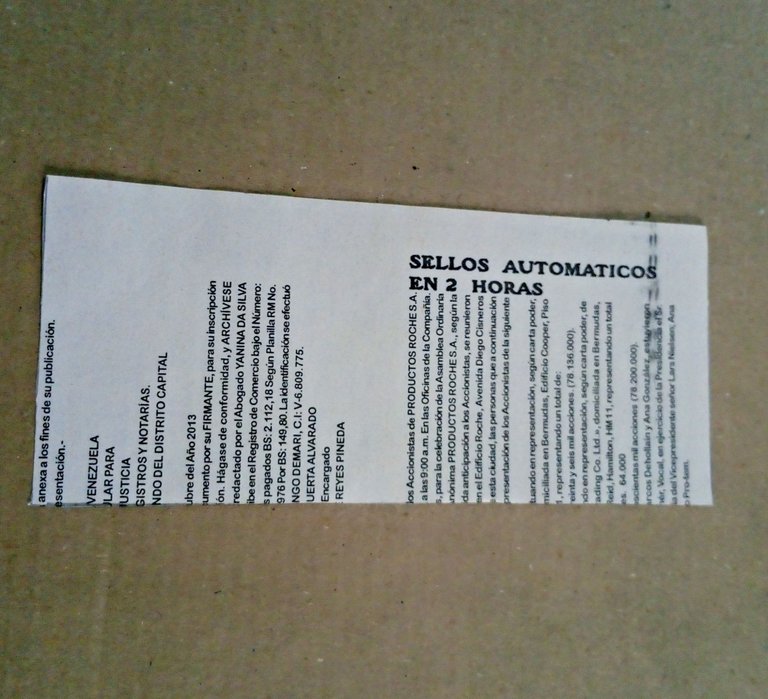
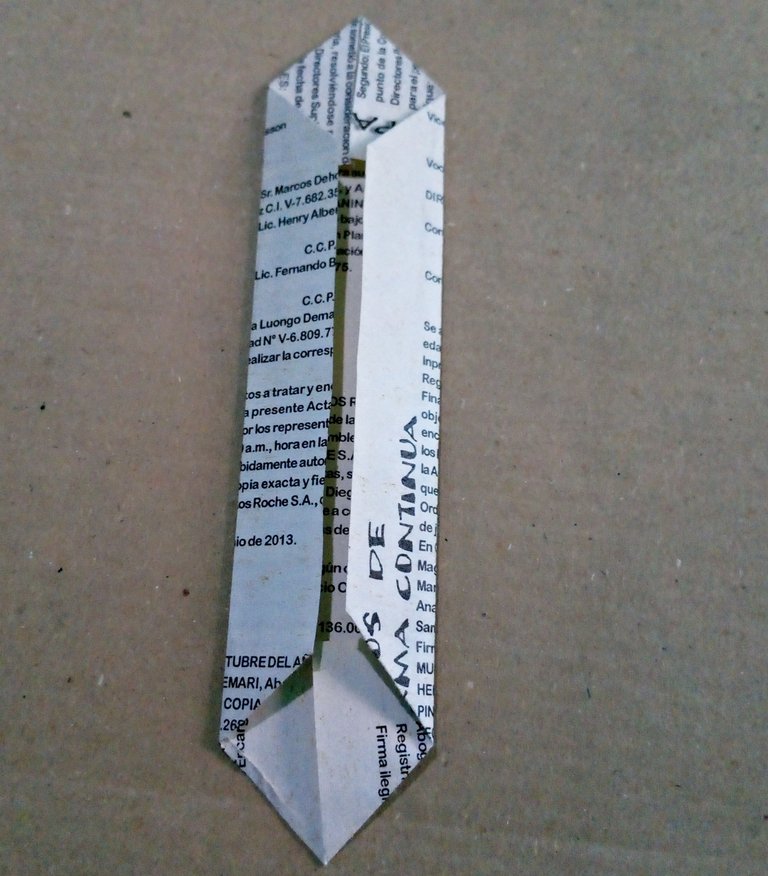
Empezaremos haciendo unos recortes de periódico, midiendo con una regla un rectángulo de 16/1/2 cm de largo por 8 cm de ancho.
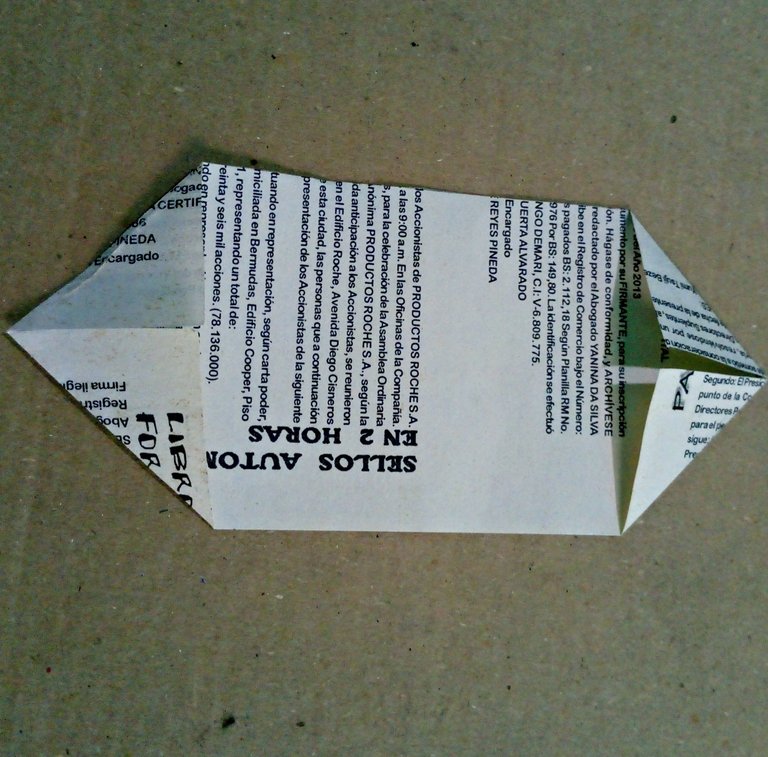
Después doblaremos los extremos.
We will start by making some newspaper cutouts, measuring with a ruler a rectangle of 16/1/2 cm long by 8 cm wide.
Then we will fold the ends.

 |  |
|---|
 |  |
|---|
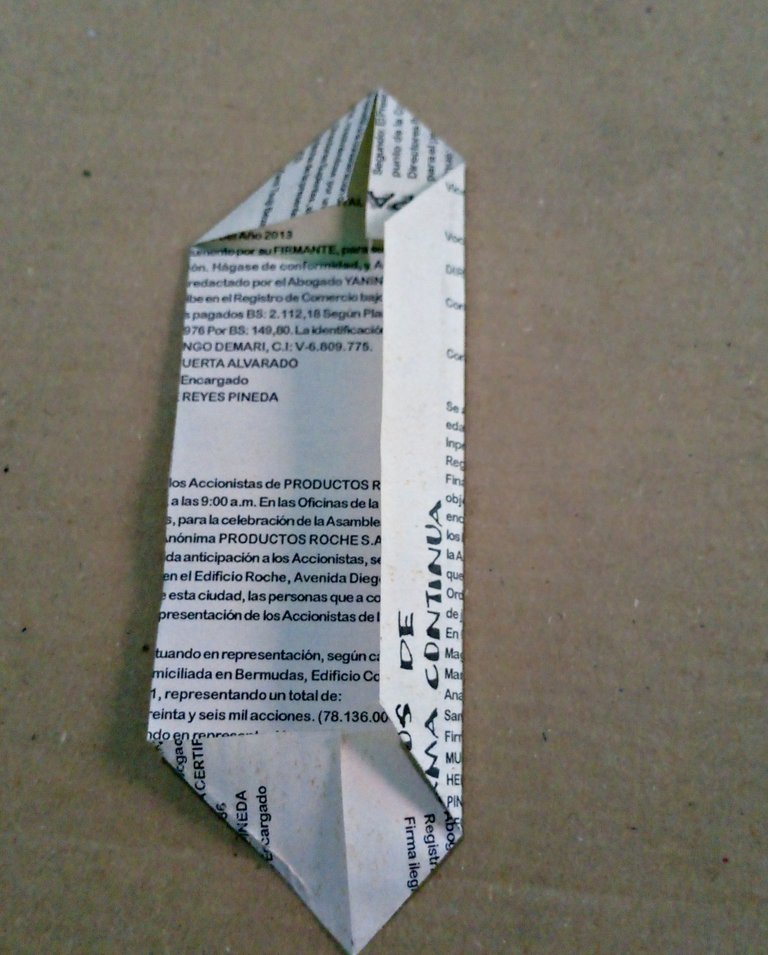
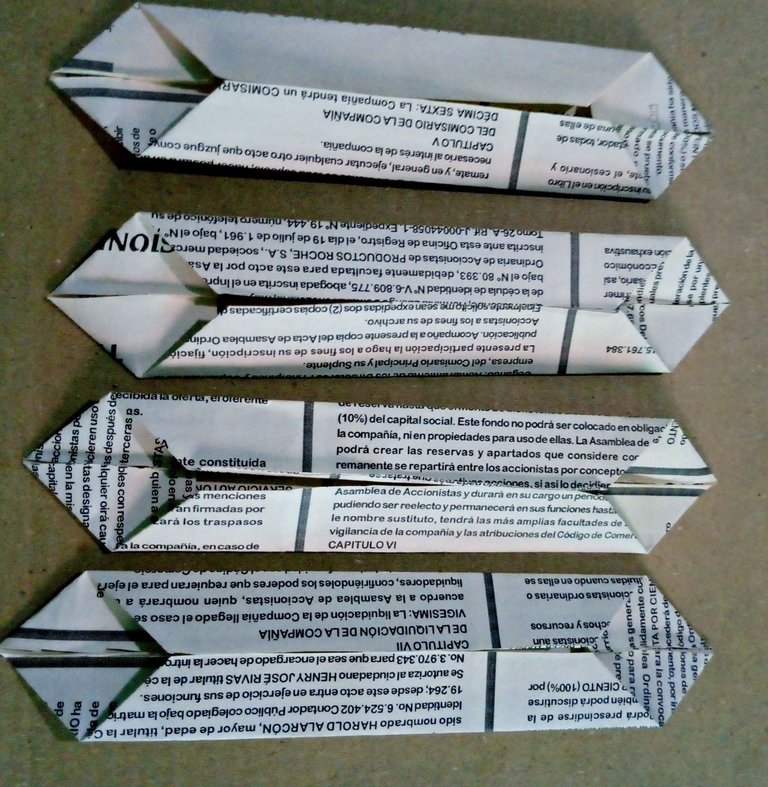
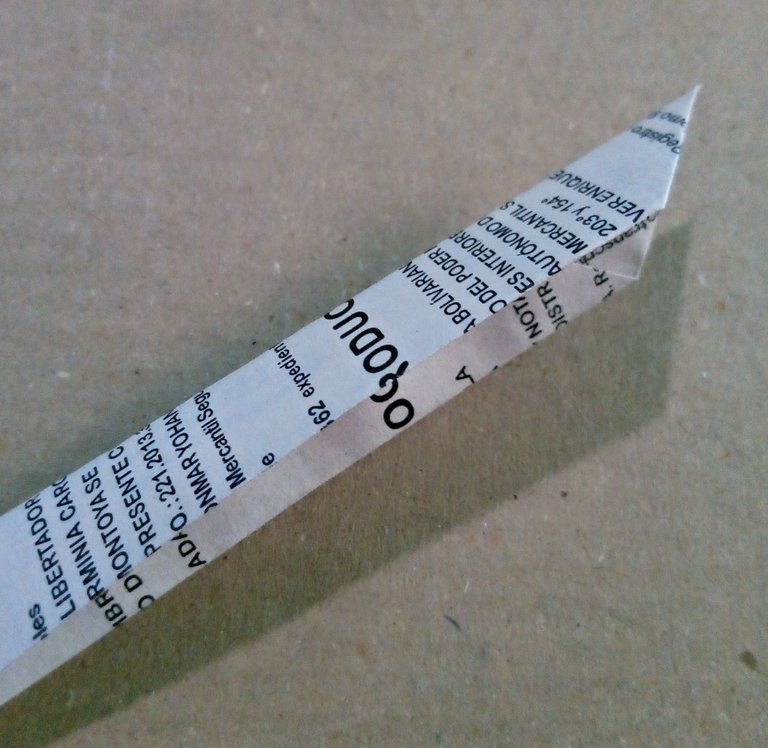
Con los extremos bien doblados, vamos a doblar los lados hacia dentro.
A continuación, estos lados se doblan por la mitad verticalmente hacia dentro.
Having the ends properly folded, we are going to fold the sides inwards.
Then, these sides are folded in half vertically inwards.

 |  |
|---|---|
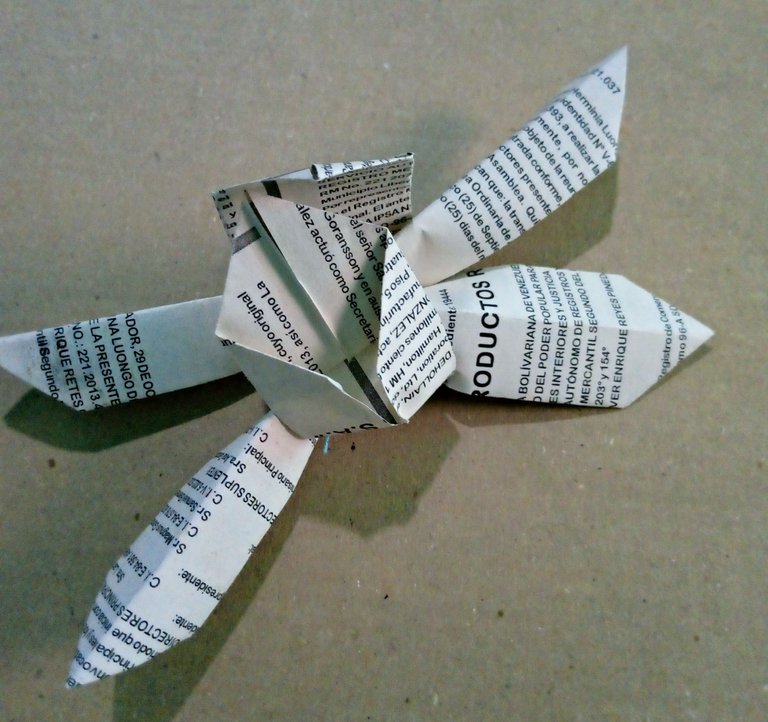 |  |
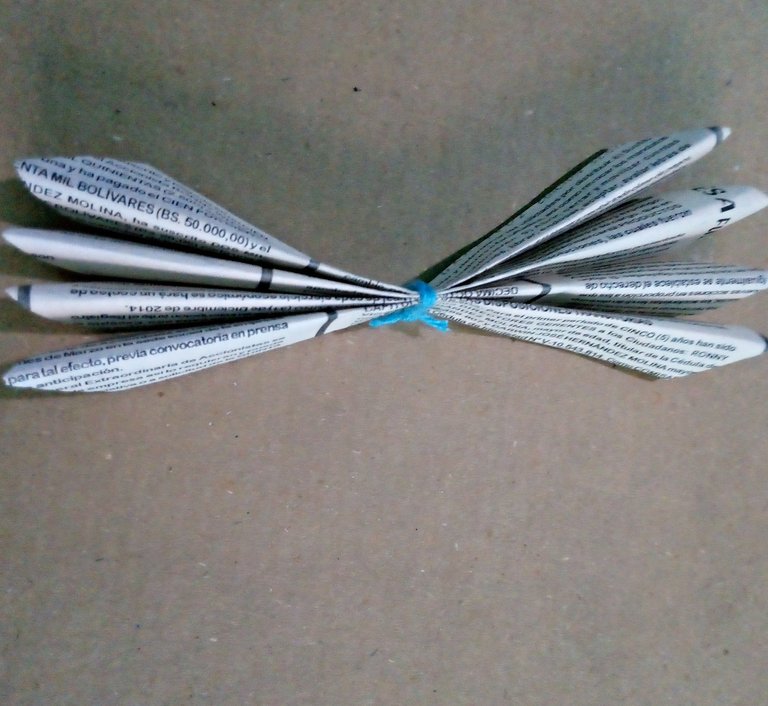
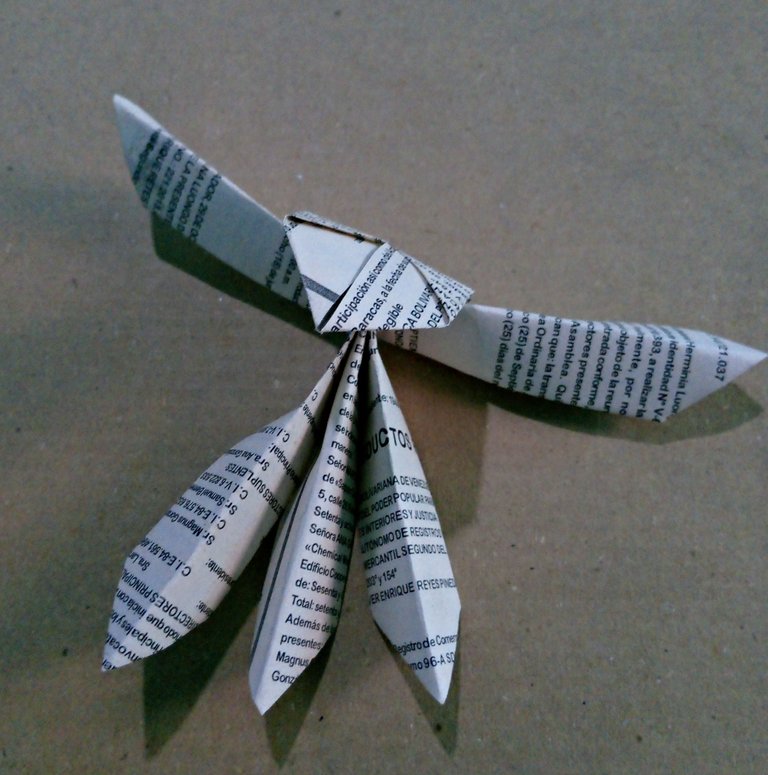
Son 4 piezas, las vamos a unir, luego las doblamos por la mitad y en esa mitad vamos a atar un hilo de algodón o cualquier hilo de tu preferencia que no se vaya a soltar, pues debe quedar muy fijo, lo que evitará que la flor se deforme.
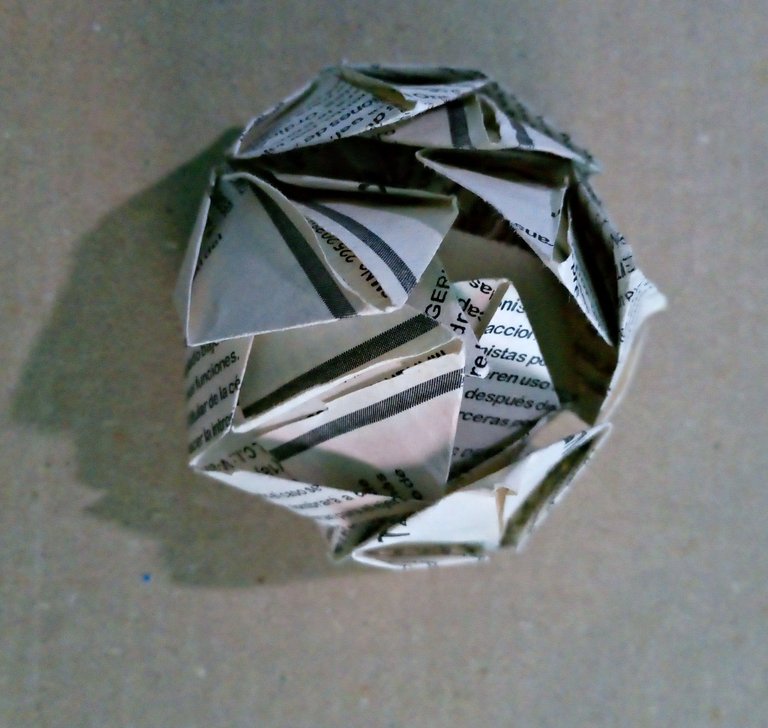
A continuación vamos a doblar con mucho cuidado cada uno de los 8 pétalos, vamos a utilizar nuestros pulgares en el centro del pétalo y los dedos índice y medio a ambos lados del pétalo, haciendo como una protuberancia que sobresalga hacia afuera, llevando cada uno de los pétalos hacia el centro.
There are 4 pieces, we are going to join them together, then we fold them in half and then in that half we are going to tie a cotton thread or any thread of your preference that is not going to come loose, because it must be very fixed, which will prevent the flower from deforming.
Next we are going to fold very carefully each one of the 8 petals, we are going to use our thumbs in the center of the petal and index and middle fingers on both sides of the petal, making like a bulge that protrudes outwards, taking each one of the petals towards the center.

 |  |
|---|---|
 |  |
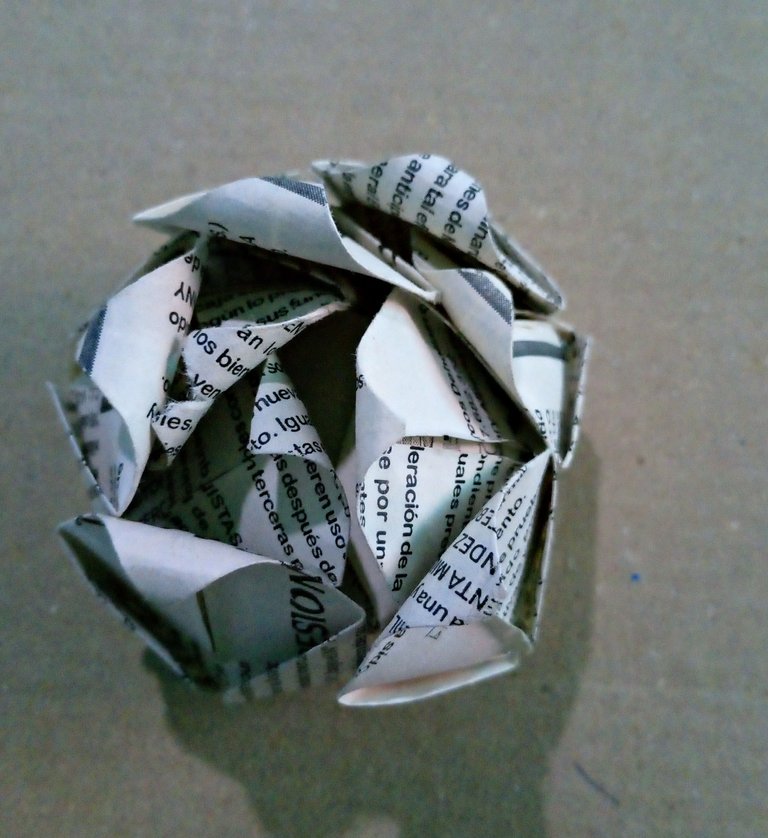
Para darle ese bonito estilo de rosa, vamos a doblar los extremos con un lápiz, estos extremos los enrollamos hasta la mitad del lápiz y mantenemos presionado unos segundos, soltamos, retiramos el lápiz y queda la forma.
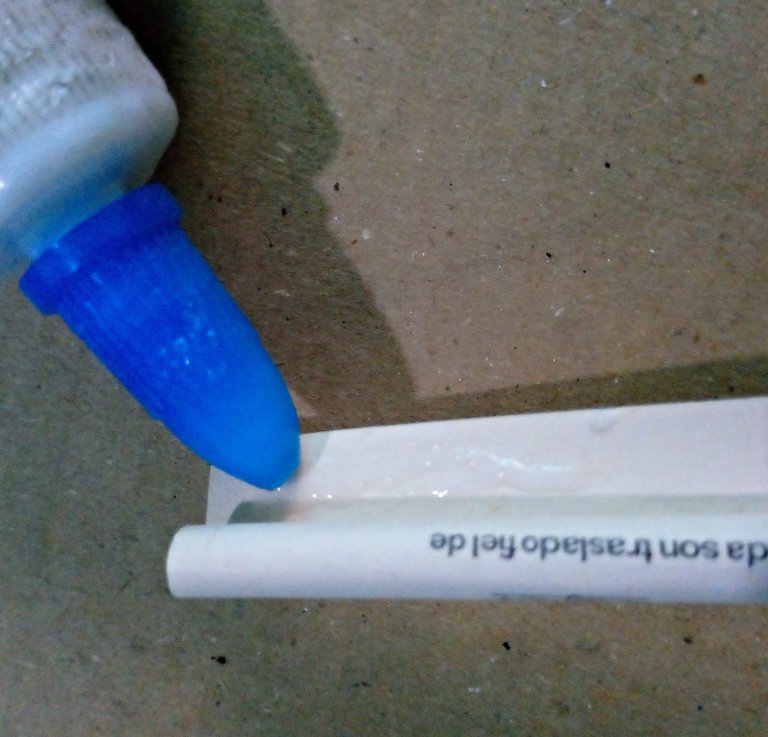
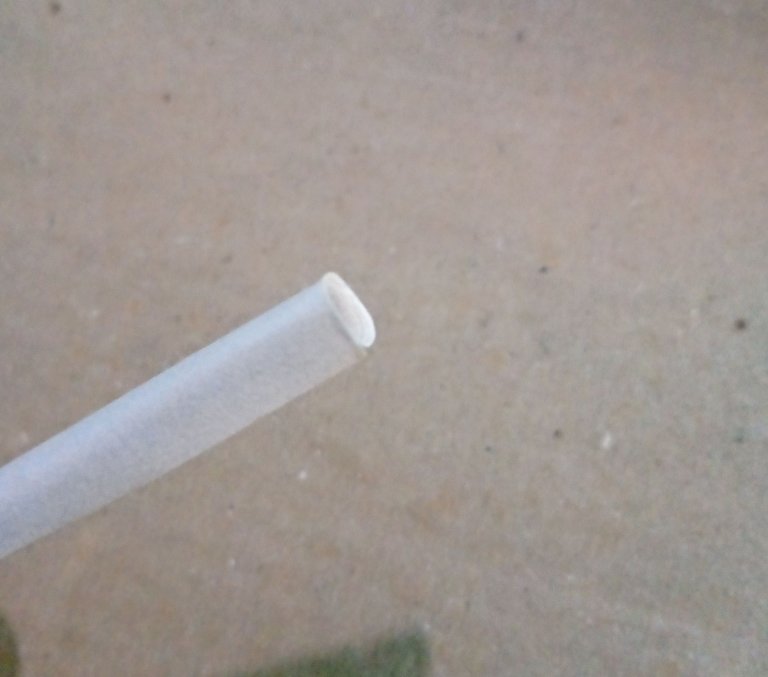
Para hacer el tallo vamos a doblar 2 trozos de papel de periódico de 18 cm de largo por 12 cm de ancho, vamos a unirlos y enrollarlos por el lado más largo haciendo como un pitillo, para cerrar vamos a poner pega blanca presionamos y esperamos a que se seque.
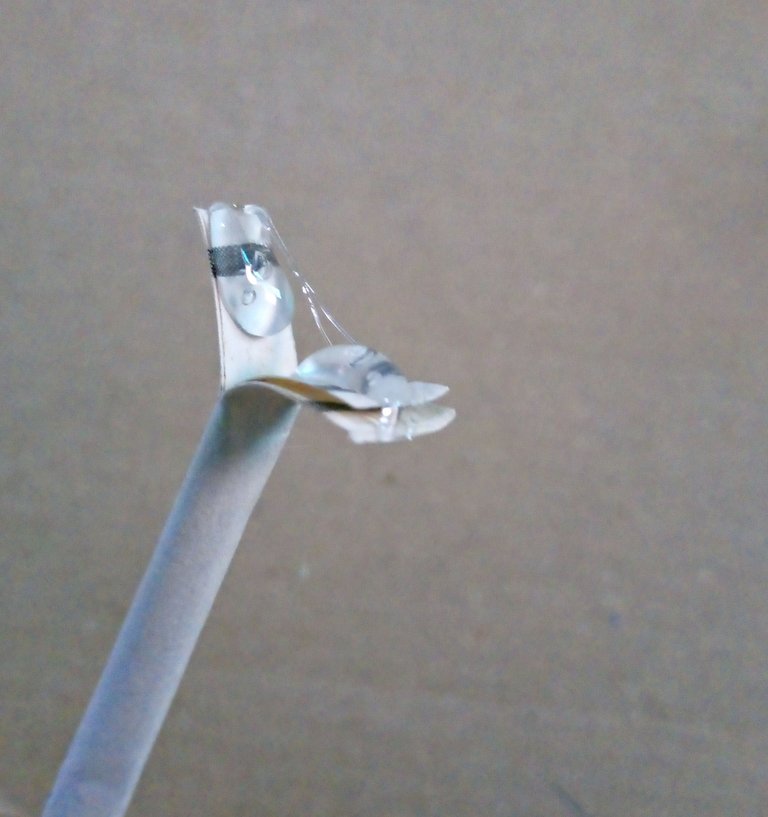
En uno de los extremos del tallo haremos un corte recto en el centro y colocaremos silicona caliente para pegar la rosa.
To give it that beautiful rose style, we are going to bend the ends with a pencil, these ends we roll them to the middle of the pencil and keep pressed for a few seconds, release, remove the pencil and the shape remains.
To make the stem we are going to fold 2 pieces of newspaper 18 cm long by 12 cm wide, we are going to join them and roll them on the longest side making a straw, to close we are going to put white glue, press and wait for it to dry.
At one of the ends of the stem we will make a straight cut in the center and place hot silicone to glue the rose.

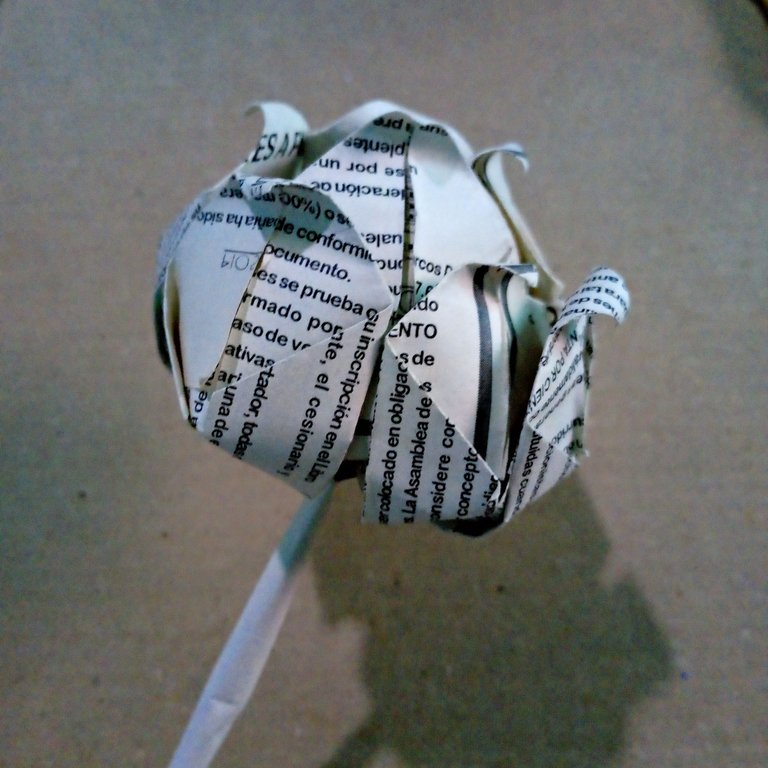
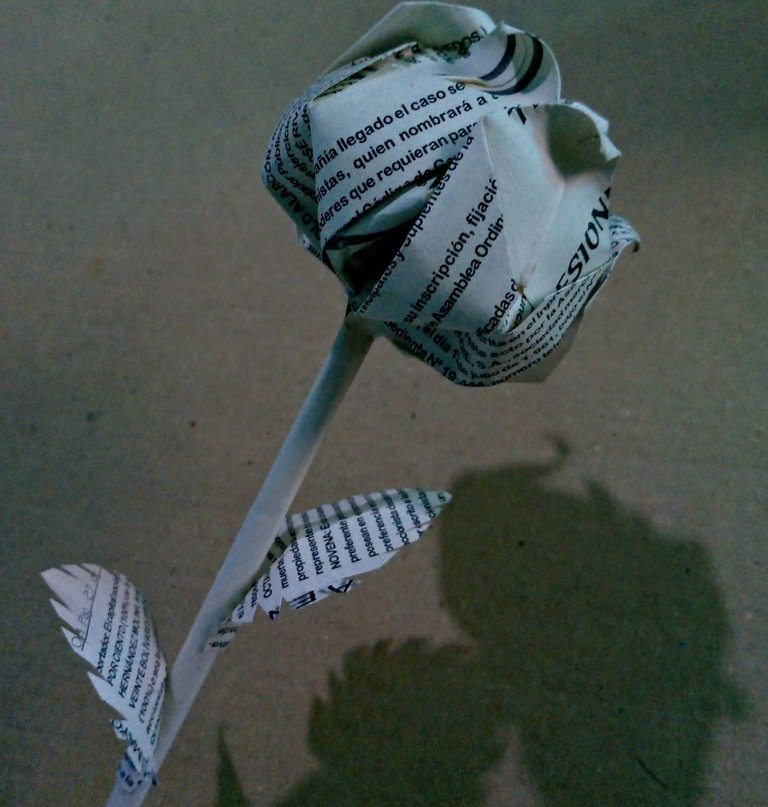
Después que la rosa esté fijada en el tallo, vamos a hacer unas hojas a nuestra preferencia, en este caso son unas hojas muy simples, donde solo se dobla un trozo de periódico, a la mitad lo recortamos en forma de hoja con unos piquetes en los bordes hechos con la tijera de corte sencillo, después con un poco de pega blanca o silicona lo vamos a pegar.
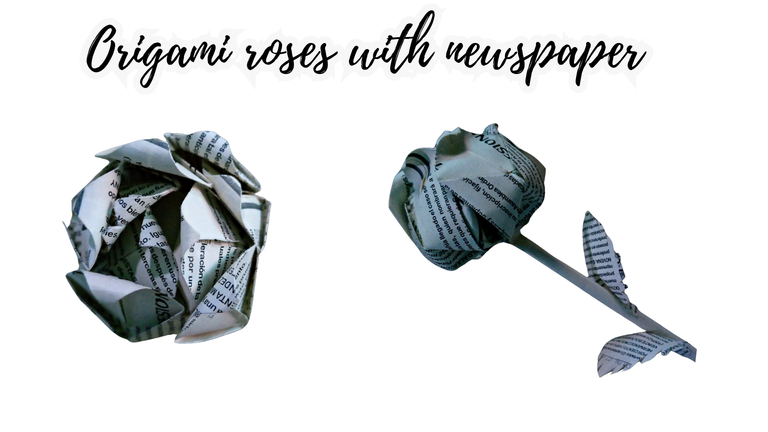
Quedando lista una hermosa rosa que te va a encantar.
After the rose is fixed on the stem we are going to make some leaves to our preference, in this case we will make some very simple leaves where only a piece of newspaper is folded, cut in half in the shape of a leaf with a few picks on the edges made with the simple cut scissors, then with a little white glue or silicone we are going to paste it.
We are ready to make a beautiful rose that you will love.

Gracias por leer mi publicación, espero les guste y me ayuden a seguir creciendo en el arte, con sus lindos comentarios que para mi son muy apreciados.
Me despido deseándoles muchos éxitos, salud y felicidad para su vida. Gracias por estar siempre aquí.
Thank you for reading my publication, I hope you like it and help me to continue growing in art, with your nice comments that for me are very appreciated.
I say goodbye wishing you many successes, health and happiness for your life. Thank you for always being here.

social networks / redes sociales
Traductor Deepl
Translated Deepl
Ediciones Canva
Editions Canva
