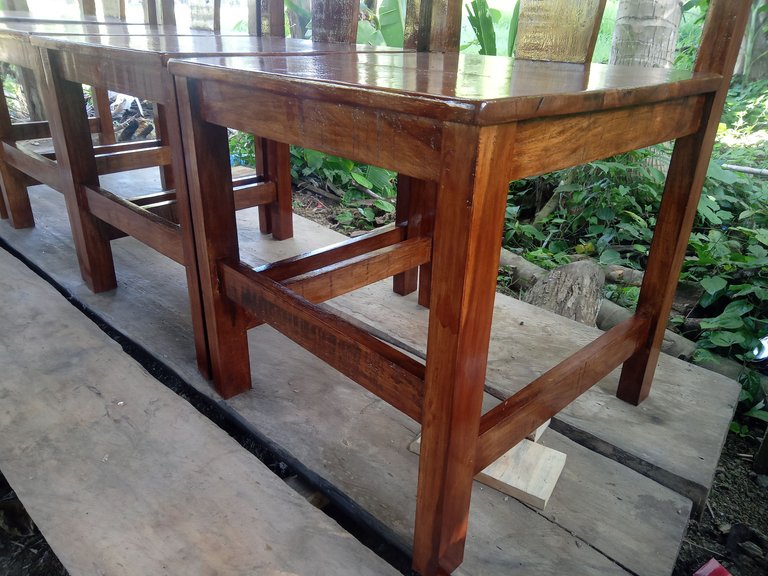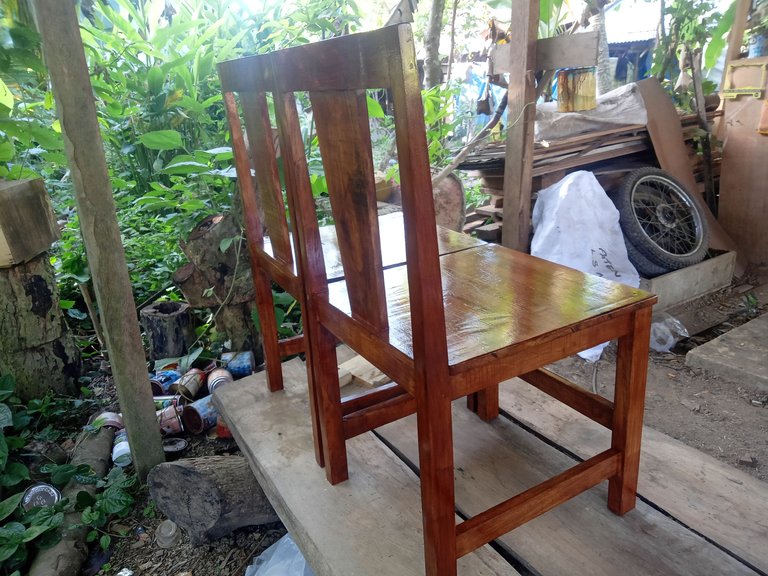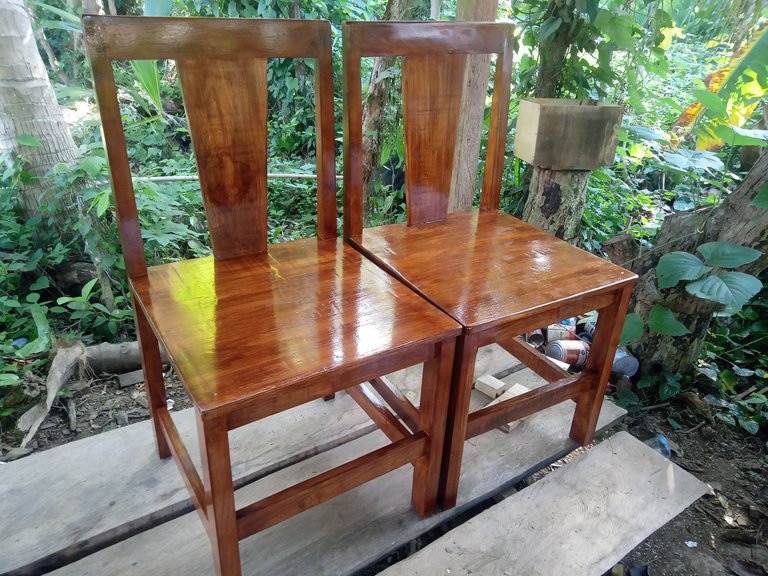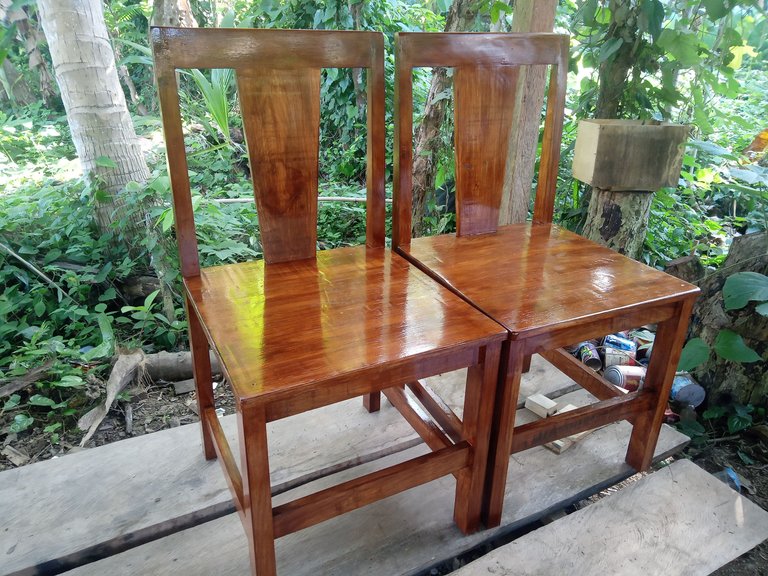
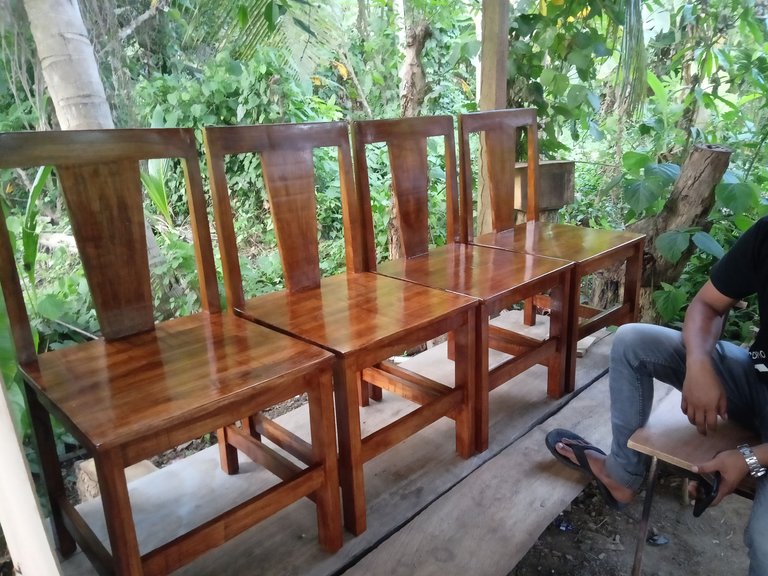
make a simple dining chair for furniture design

in #hive-1787082 years ago

IMG20220528075552.jpg

IMG20220528075634.jpg

IMG20220526180402.jpg

IMG20220528075611.jpg

IMG20220528075835.jpg

IMG20220526180354.jpg

IMG20220526180411.jpg

Hey architecture lovers! How are you guys today I hope you continue to be passionate about life and never give up keep fighting until time will stop you.

Woodworking is one of the jobs that many people like, but in this job, high skills and imagination are needed so that the results of the work will look interesting, so that is what makes us more passionate about being creative, that's just my opinion.
IMG20220430174819-01.jpeg

"Love your work then you will always feel happy with the results"

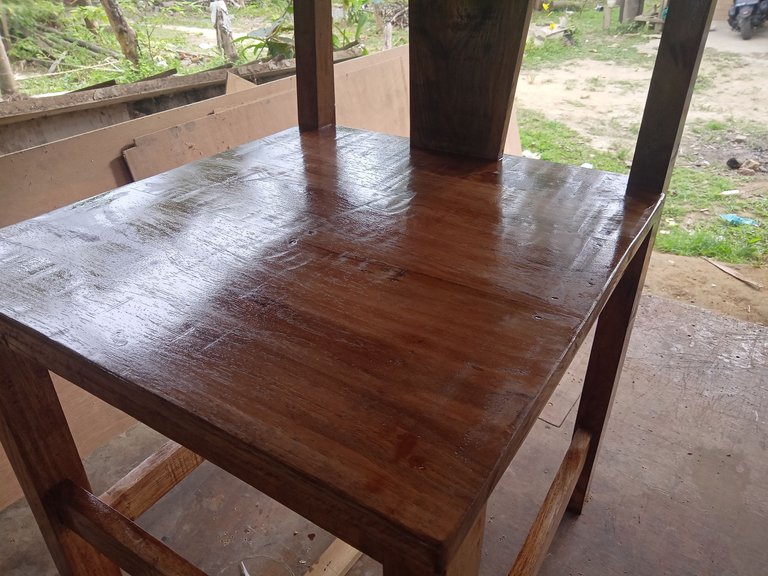
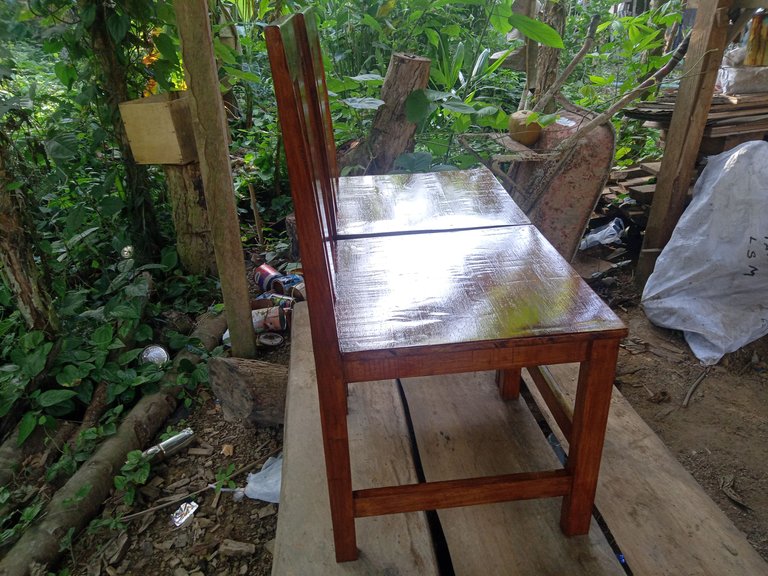
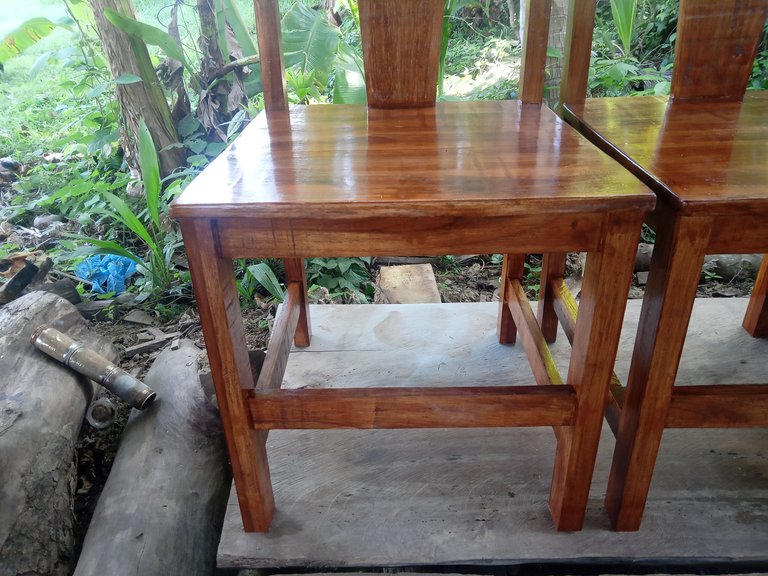
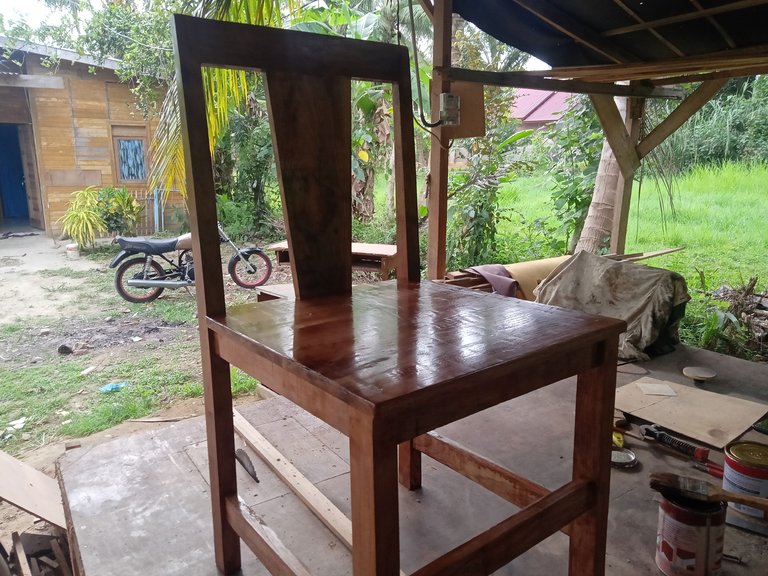
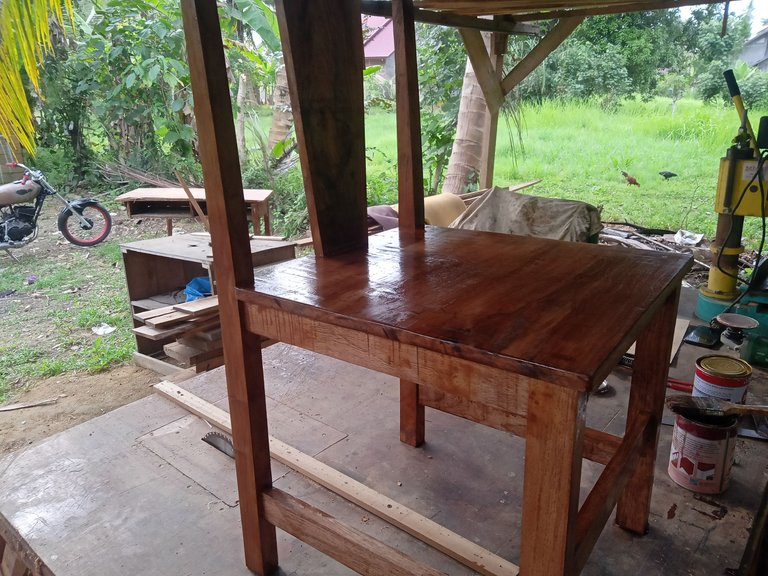
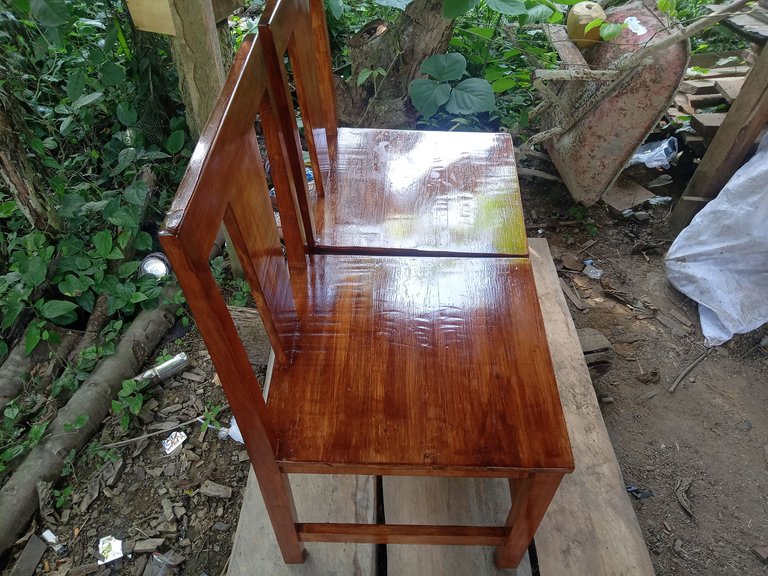
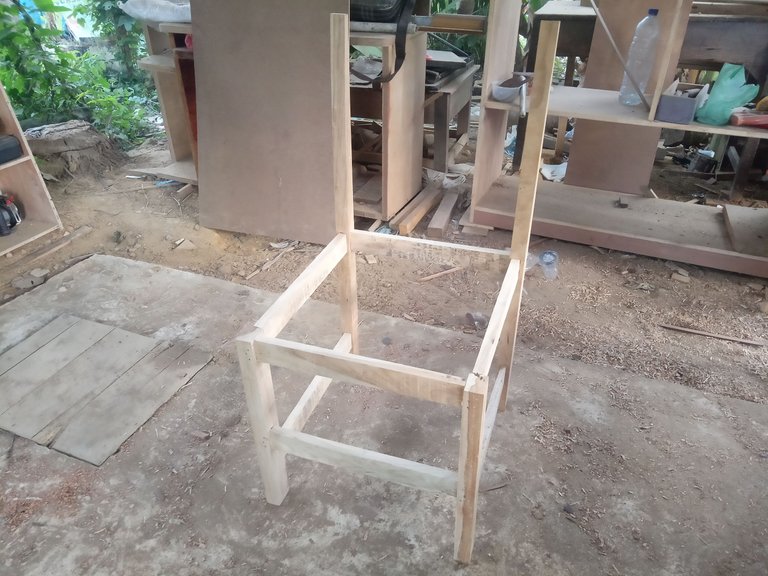
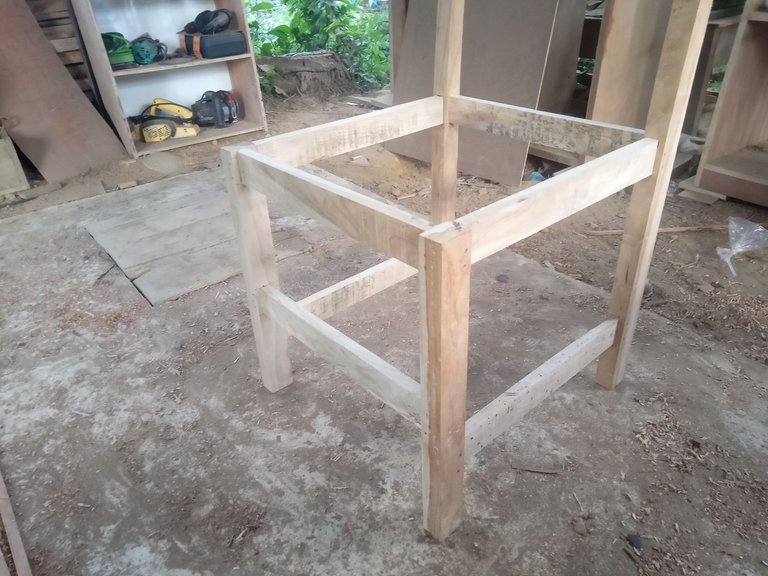
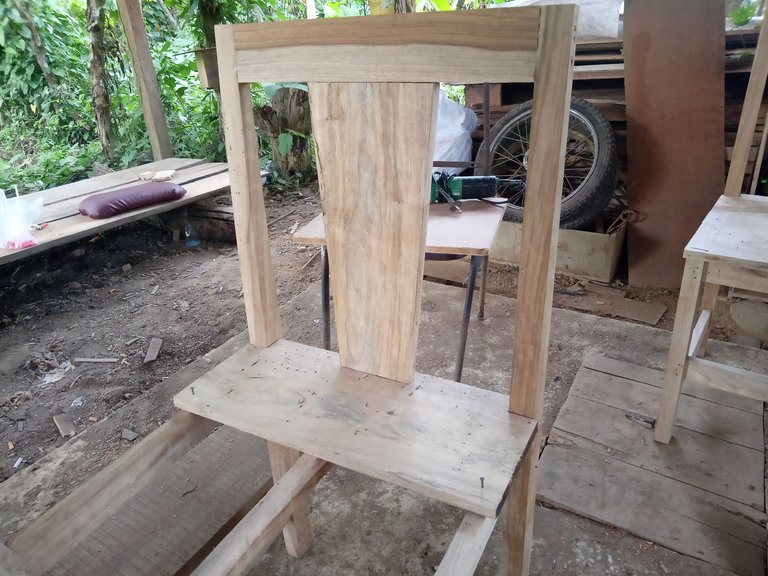
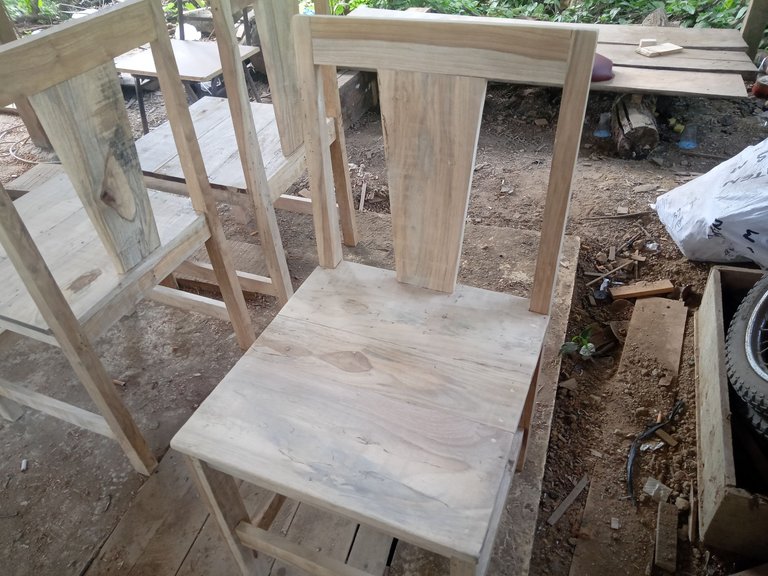
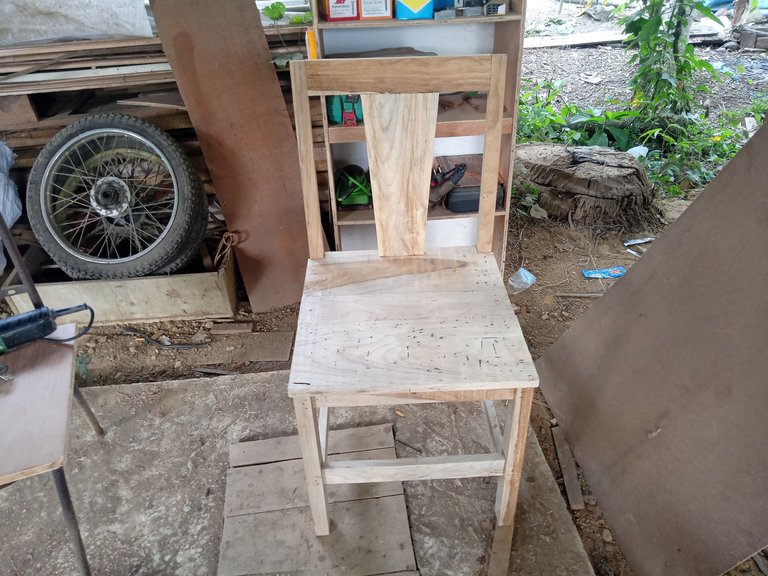
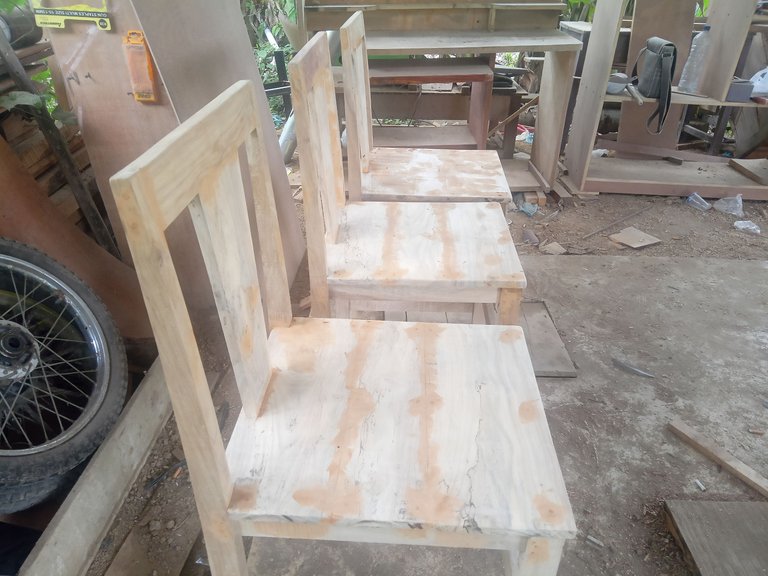
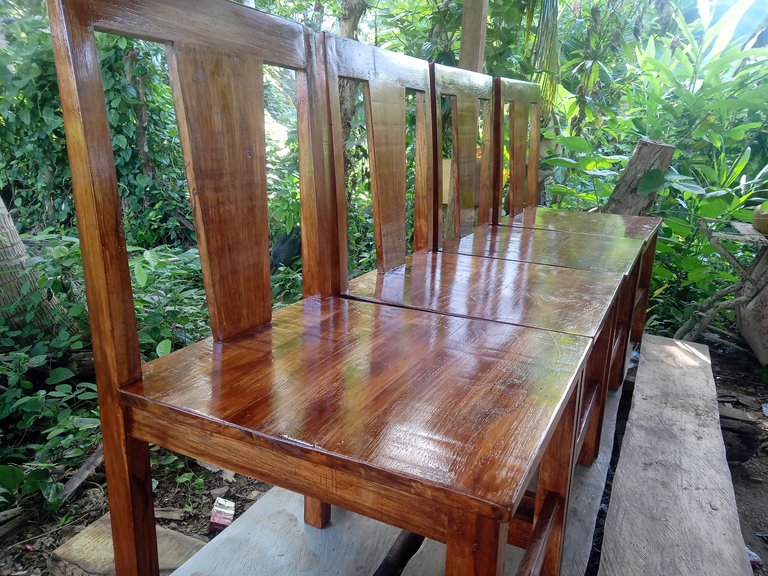
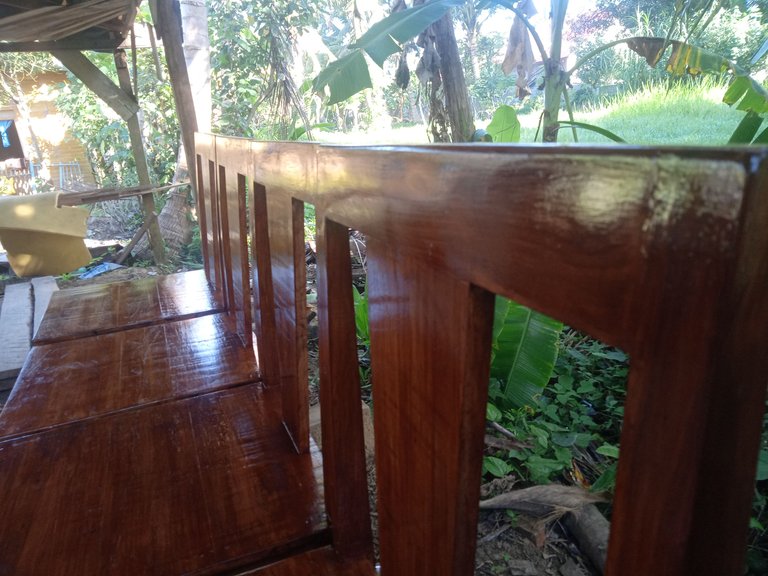
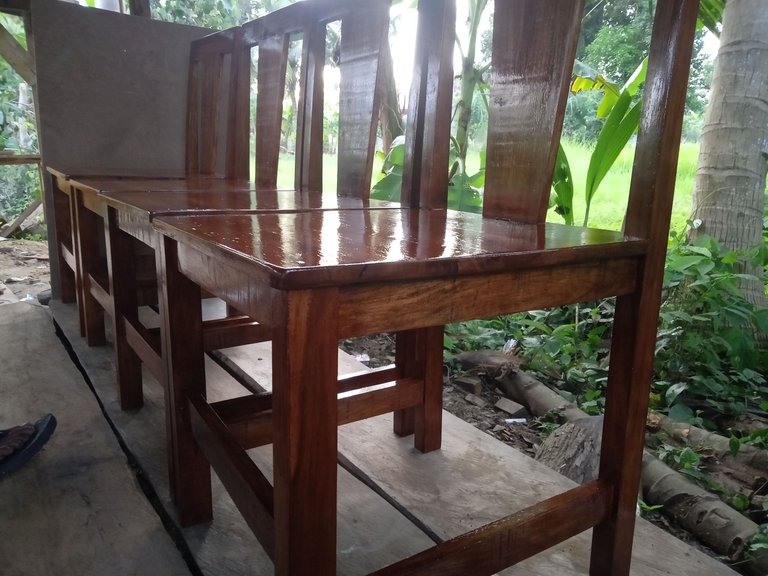
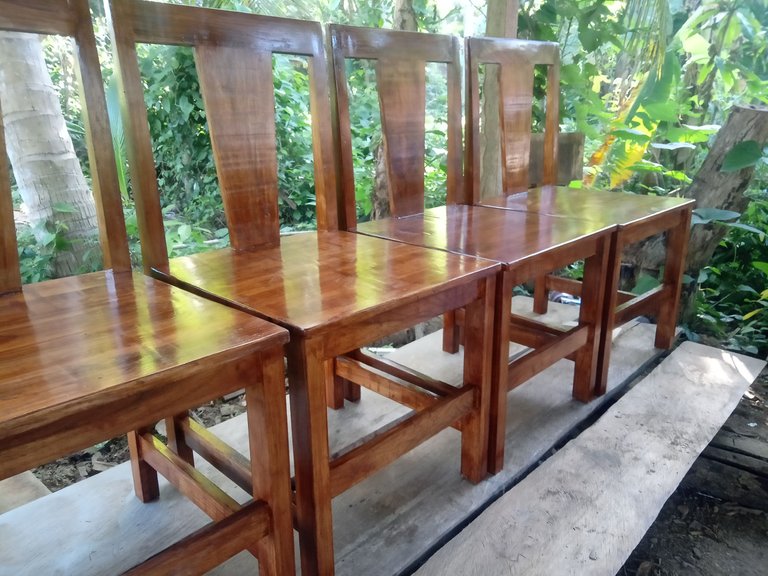
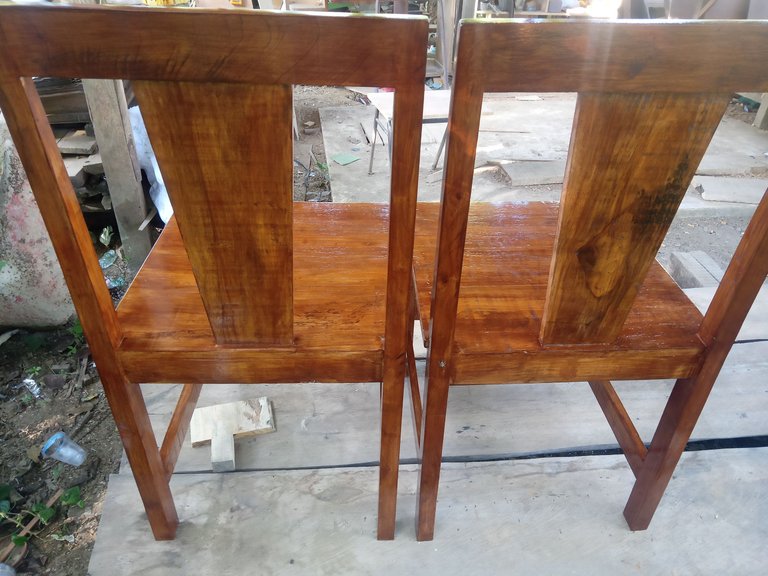
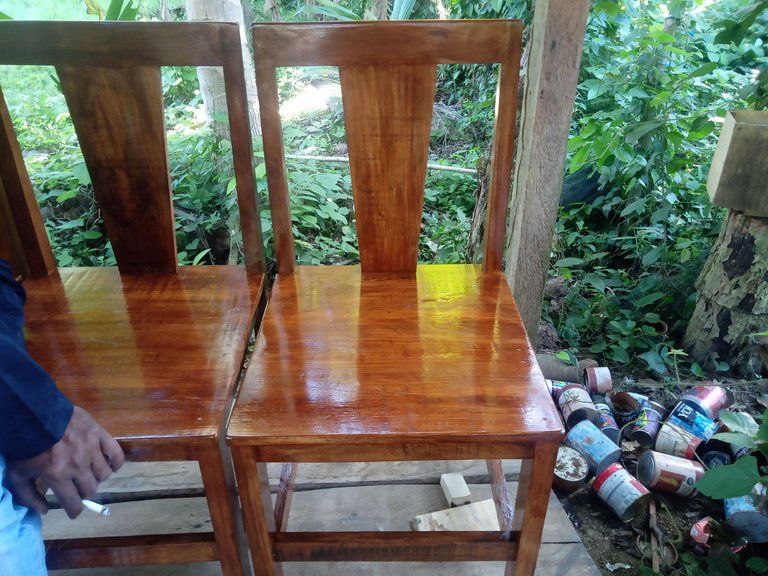
Today I will show to you the results of my work a few days ago that I made in my workshop, this chair is a request from my customer who ordered a dining table some time ago and this chair will be used for the table, for my shape and design make it yourself according to his request with the back legs slightly curved.

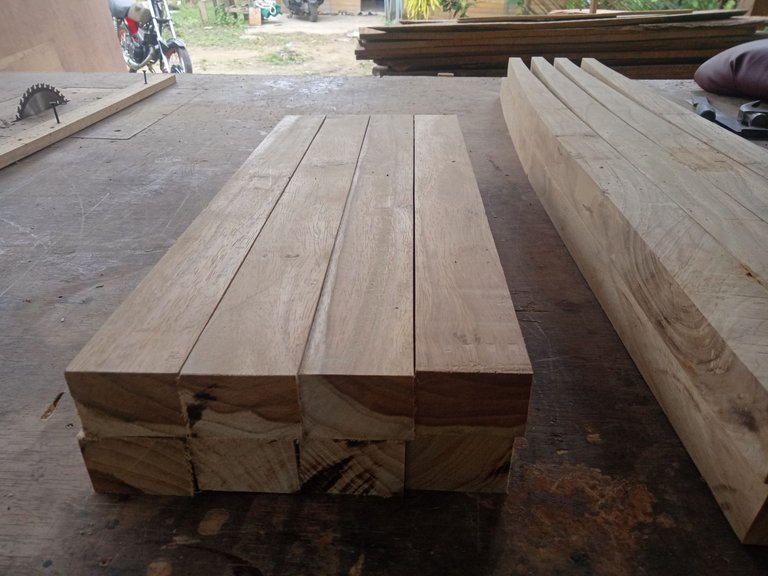
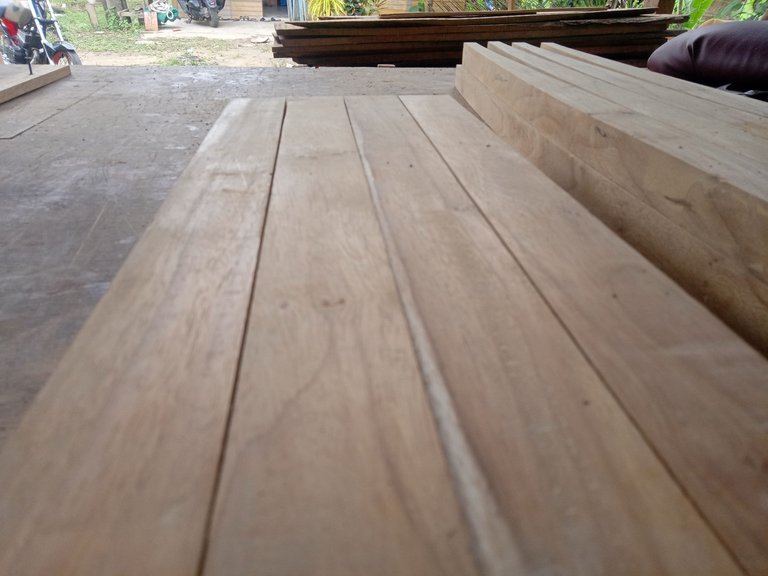
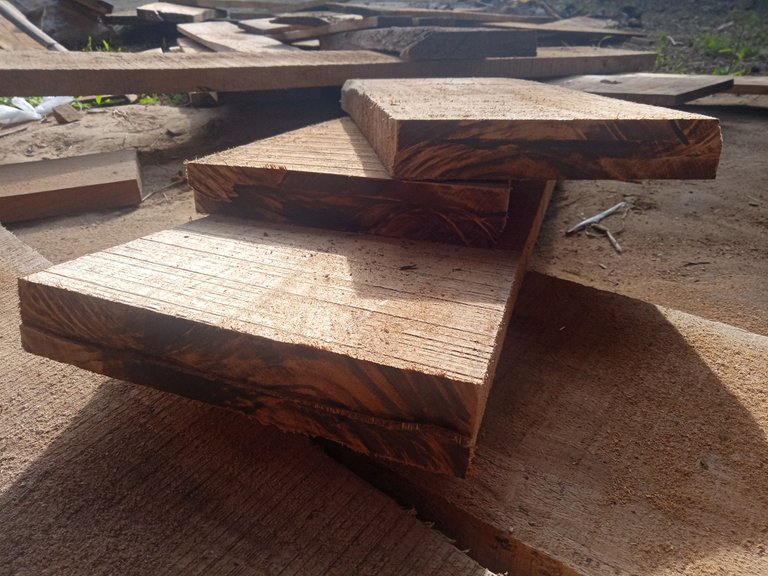
For the process of working on these four chairs, it took me 4 days and for the material I used asan wood, this wood is one type of hard wood and also durable and this wood also has beautiful fibers similar to teak wood.
IMG20220528075646.jpg

IMG20220528075858.jpg

IMG20220528075626.jpg

IMG20220528075841.jpg

IMG20220528075919.jpg

IMG20220528075924.jpg

IMG20220525164224.jpg

IMG20220528075852.jpg

IMG20220528075604.jpg

IMG20220525164233.jpg

IMG20220525164242.jpg

IMG20220528075903.jpg
In carrying out this project, of course, I did several stages and processes and techniques that were sequentially until the result was a result.

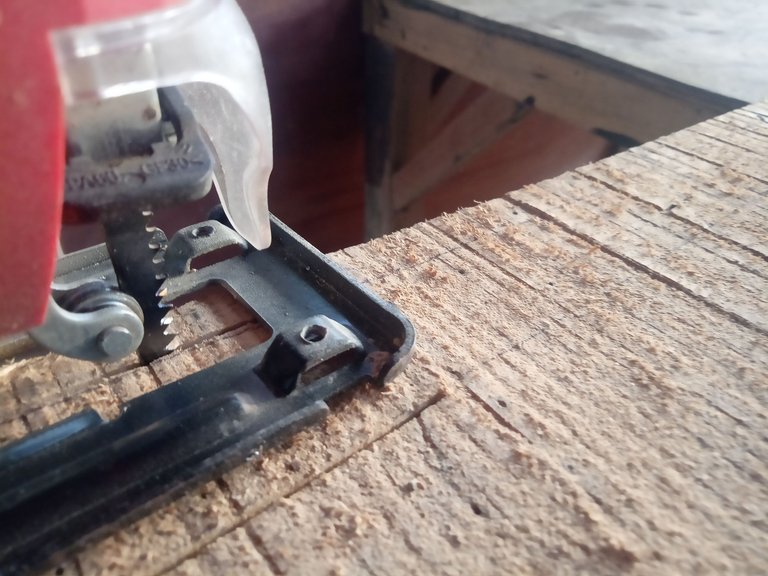
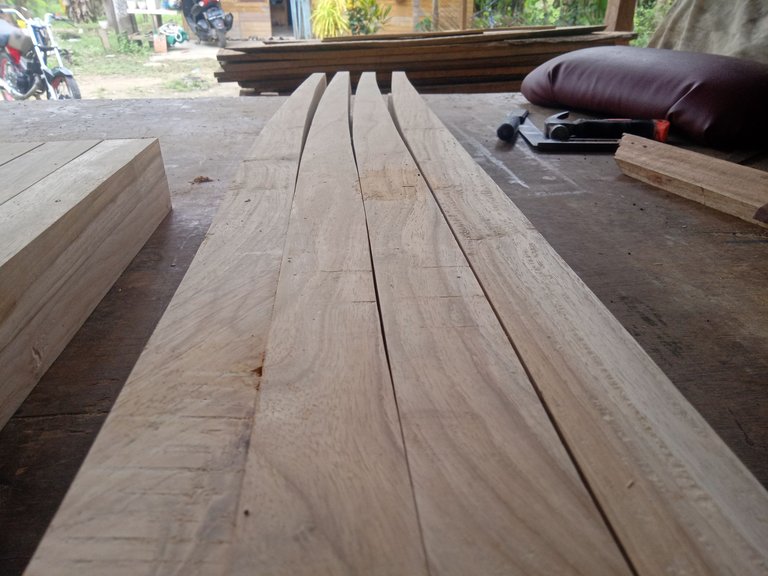
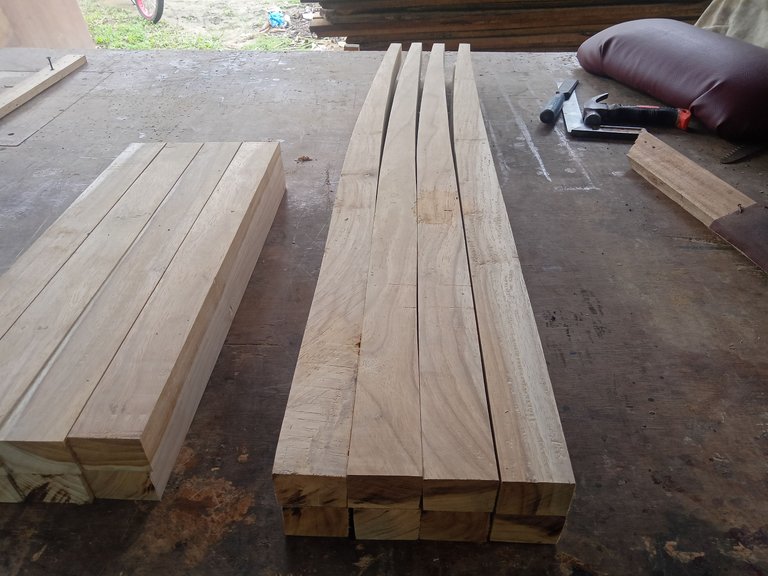
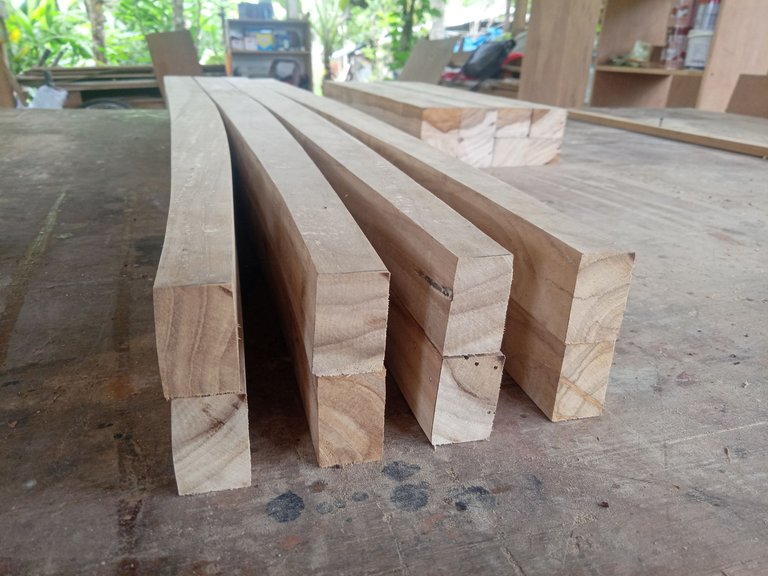
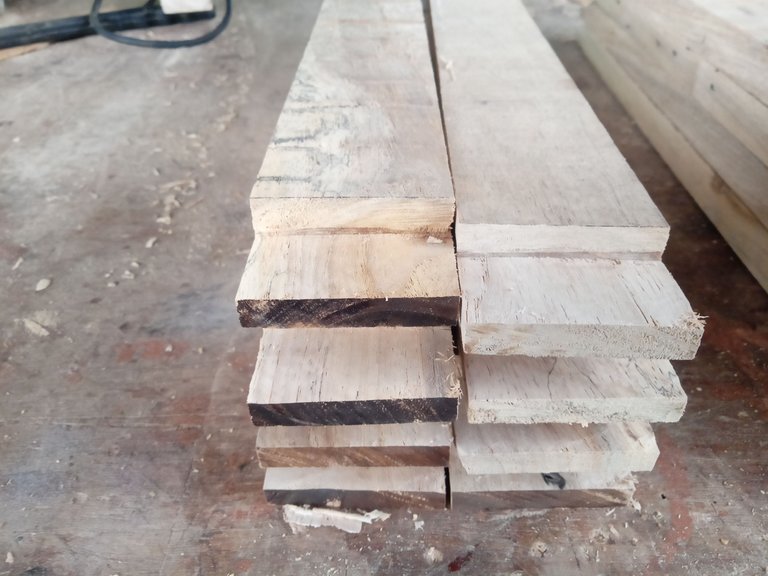
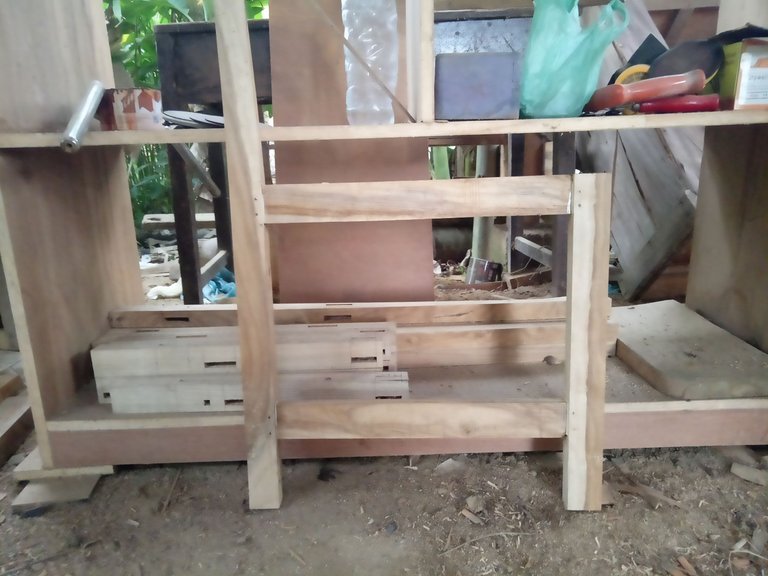
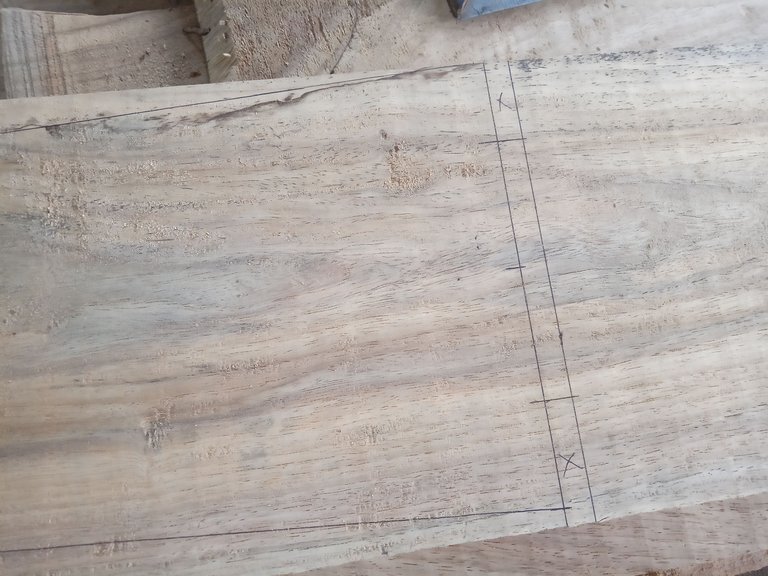
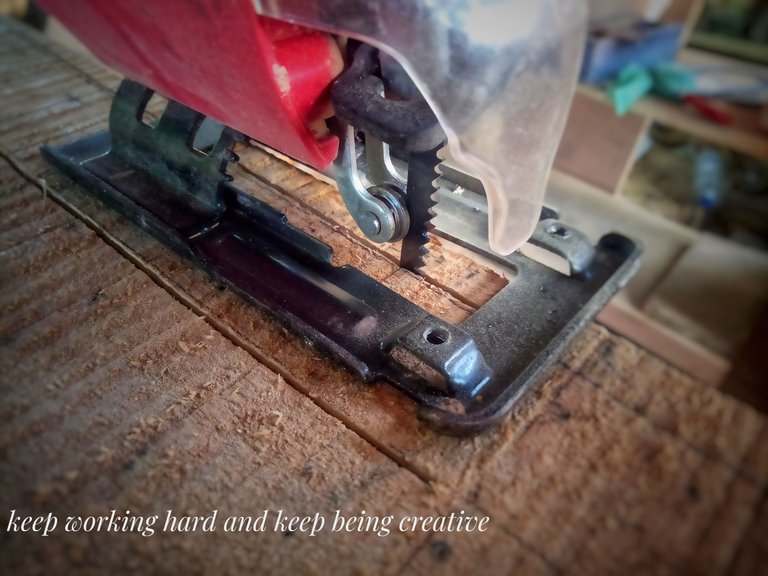
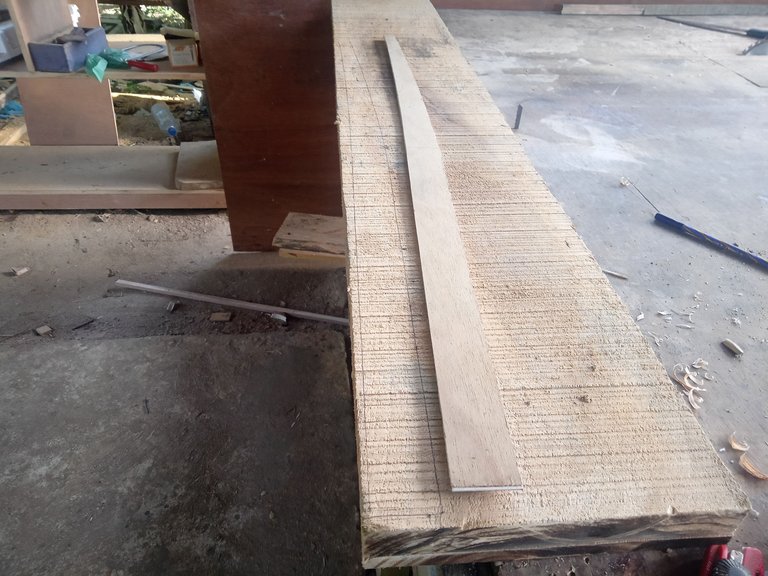
The first stage I did was to prepare the main material wood, here I used a board with a thickness of 4.5 cm which I will cut slightly curved for the back legs and for the front legs I just cut straight, to cut my back legs using a jigsaw machine after I have outlined the board with the mold that I prepared in advance.

For the height of the rear legs it is 95 cm and for the front legs it is 43 cm because it will be added to the thickness of the board for the top as thick as 2 cm so that the top height finally becomes 45 cm and for the backrest it has a height of 50 cm from the top of the chair, for the size of the seat width is 40 cm (to the side) and 45 cm (back) this is the ideal size for a dining table chair.
IMG20220430164308.jpg

IMG20220430172559.jpg

IMG20220430174757.jpg

IMG20220511143459.jpg

IMG20220511143444.jpg

IMG20220511143438.jpg

IMG20220511143453.jpg

IMG20220511143523.jpg

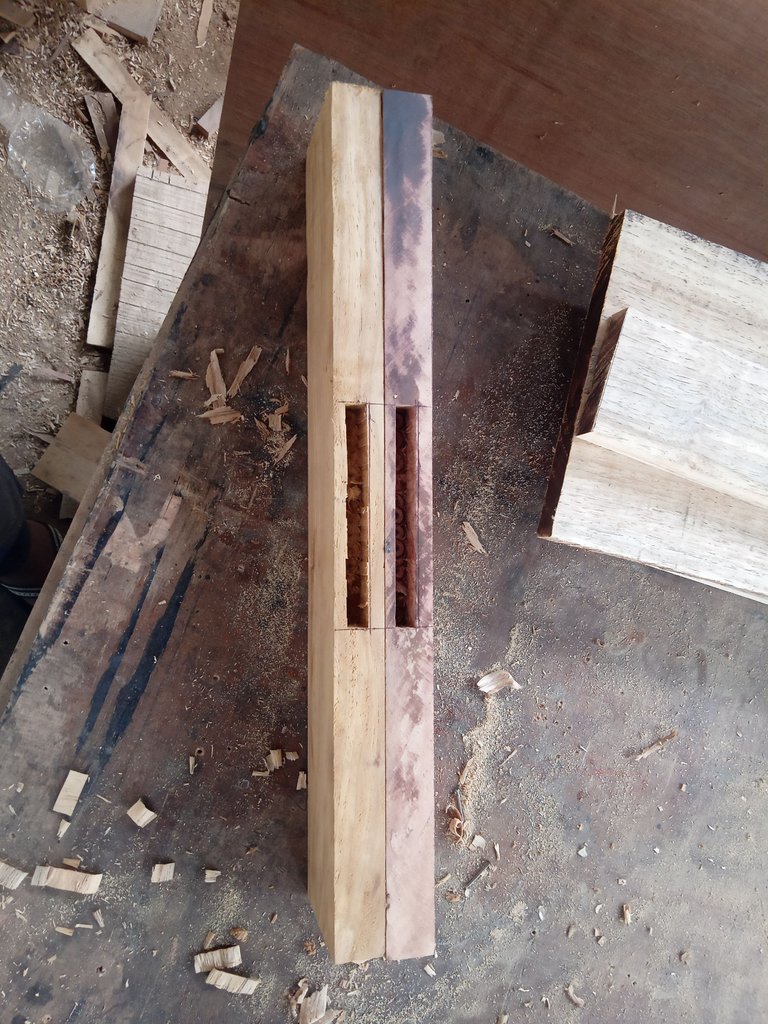
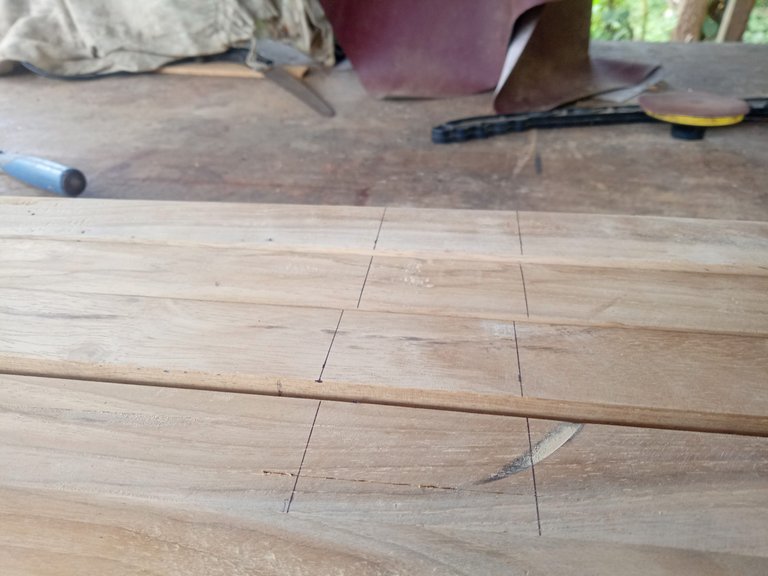
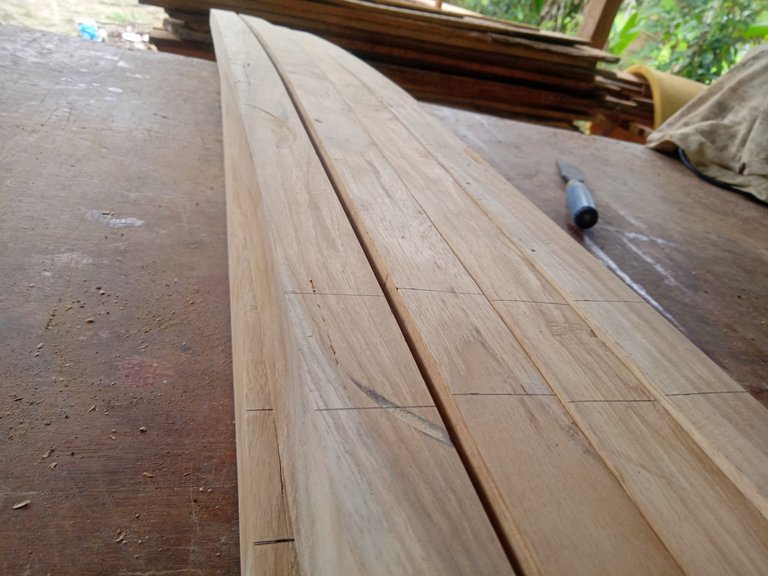
After everything was finished I cut it then I shaved it until it was all the same size and then I sanded it finely, after that I started to outline to make peg holes on each leg and then assemble it.

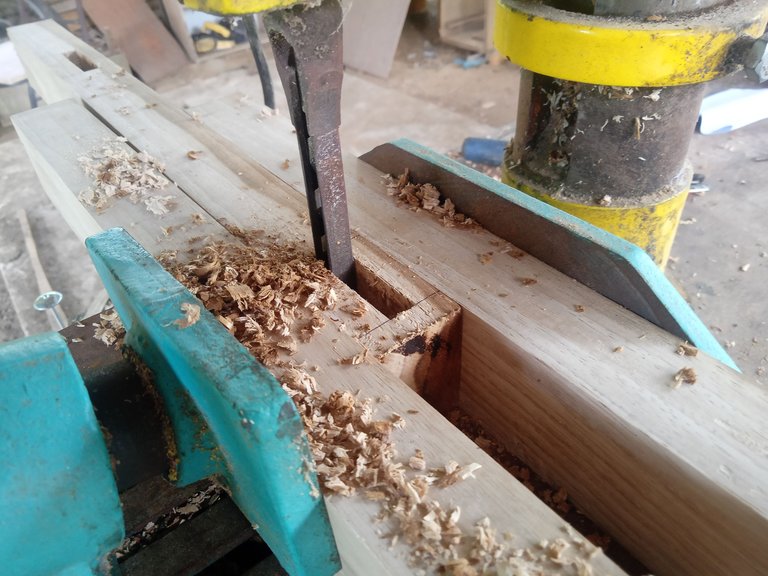
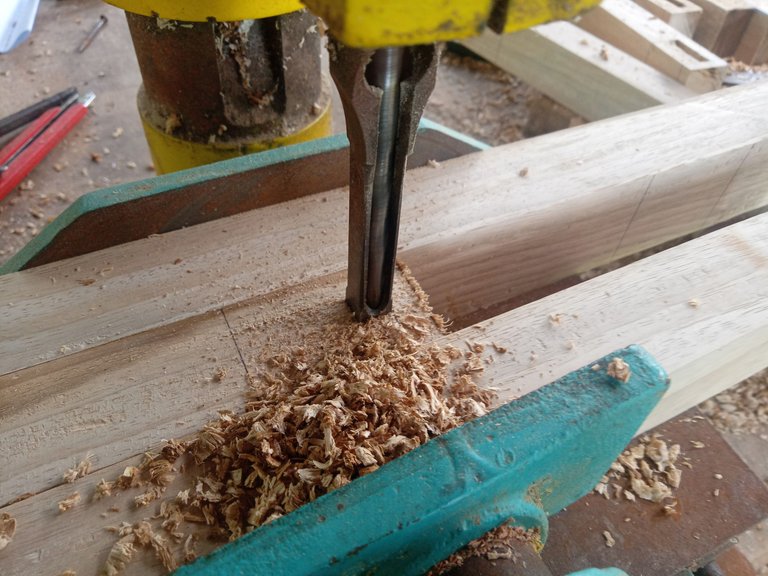
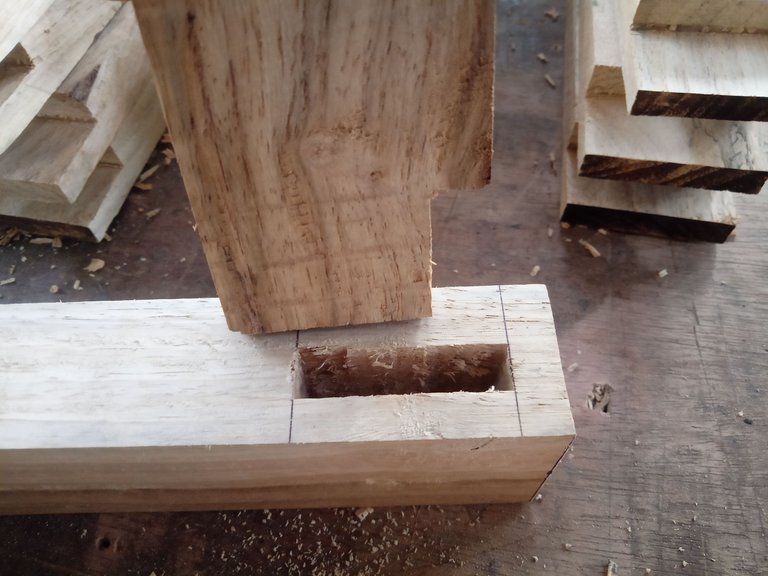
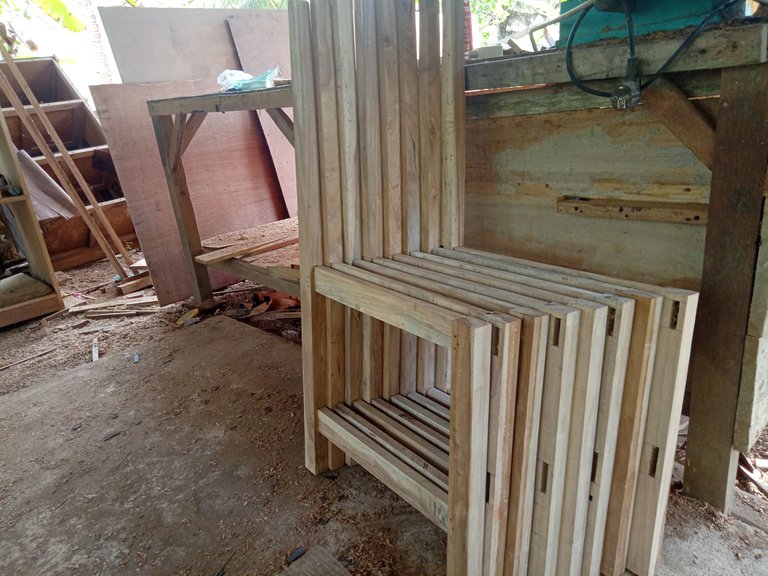
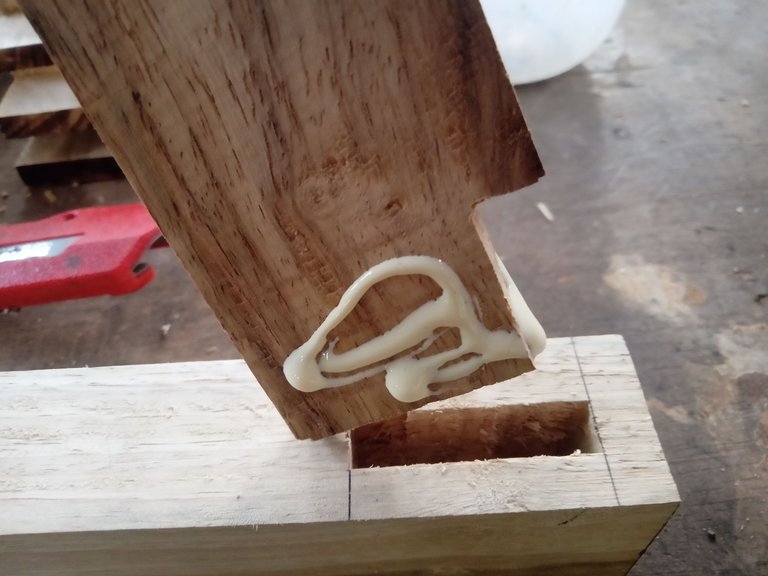
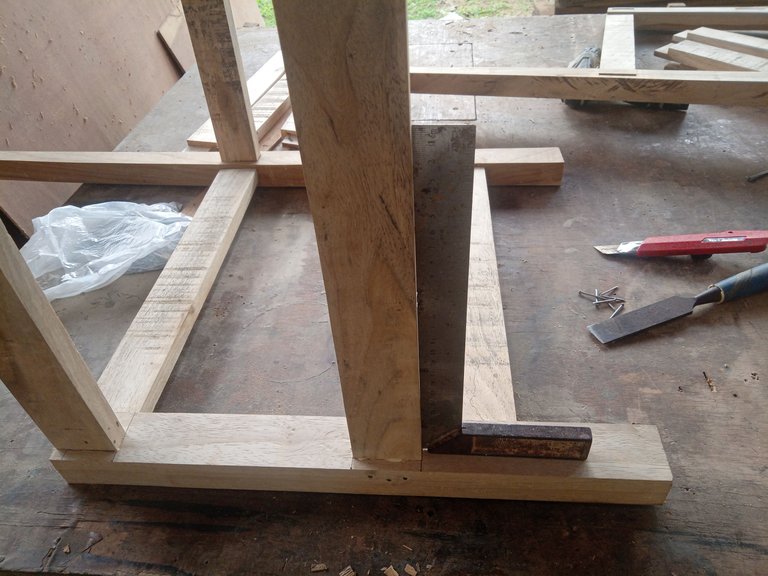
After that I prepared the wood to assemble the legs as much as 6 parts for each chair, then made a peg at each end which would later go into the hole in the leg, then I started assembling them one by one and I made sure that everything was precise by putting a ruler elbows on each of the wood that I assemble.
IMG20220511151831.jpg

IMG20220511151827.jpg

IMG20220511161530.jpg

IMG20220511161457.jpg

IMG20220518174435.jpg

IMG20220518174625.jpg

IMG20220518175318.jpg

IMG20220519153755.jpg

IMG20220518174815.jpg

IMG20220519174431.jpg

IMG20220519175808.jpg

IMG20220519175827.jpg

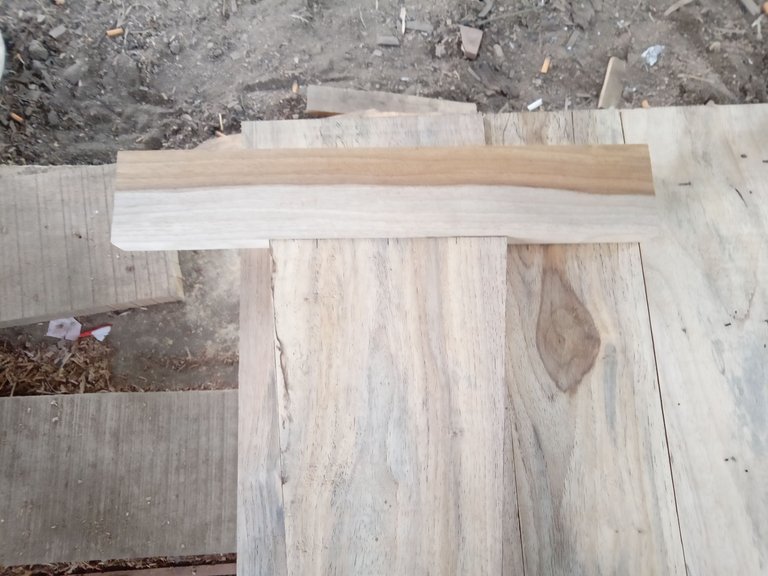
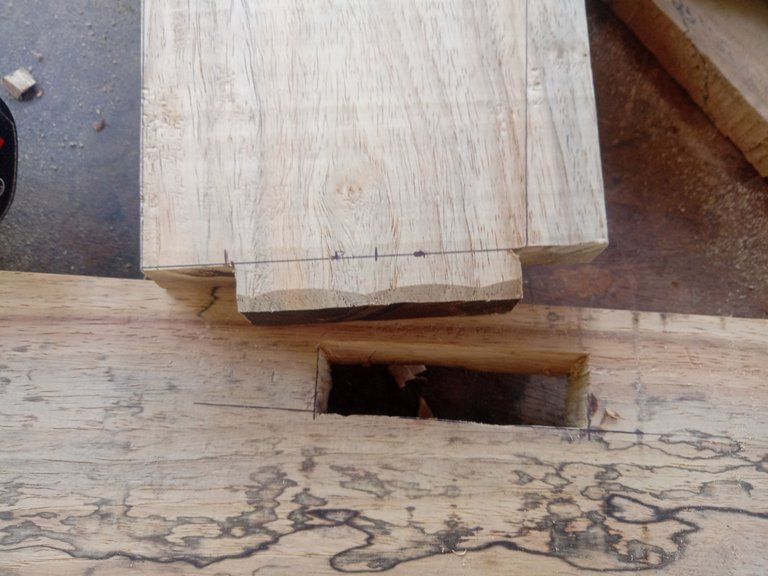
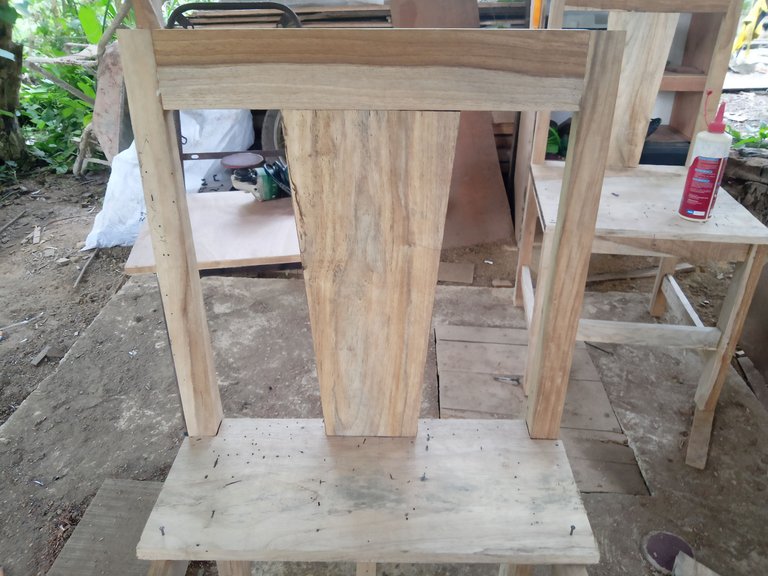
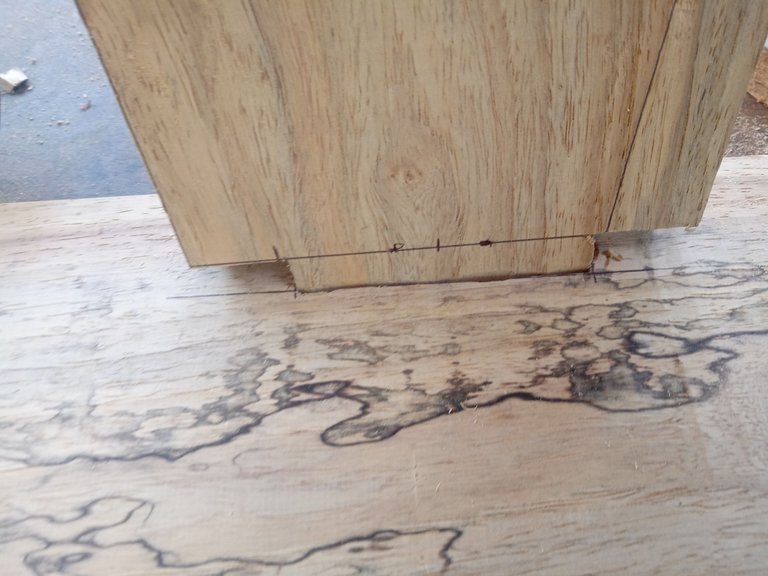
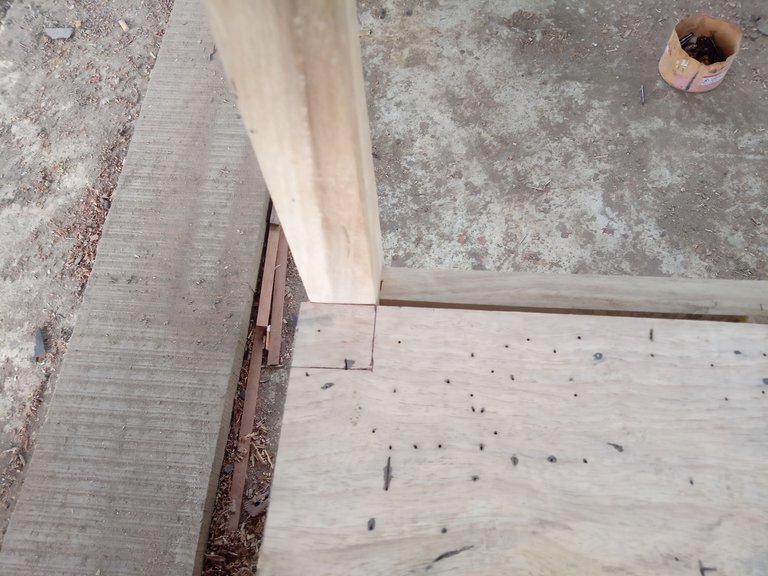
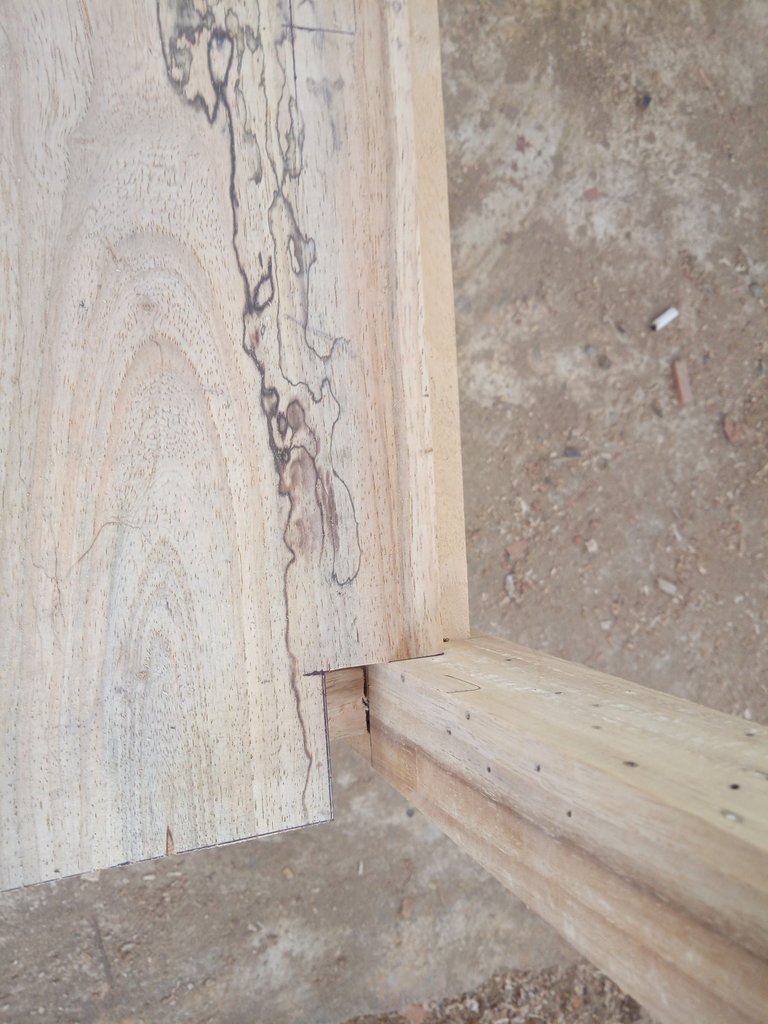
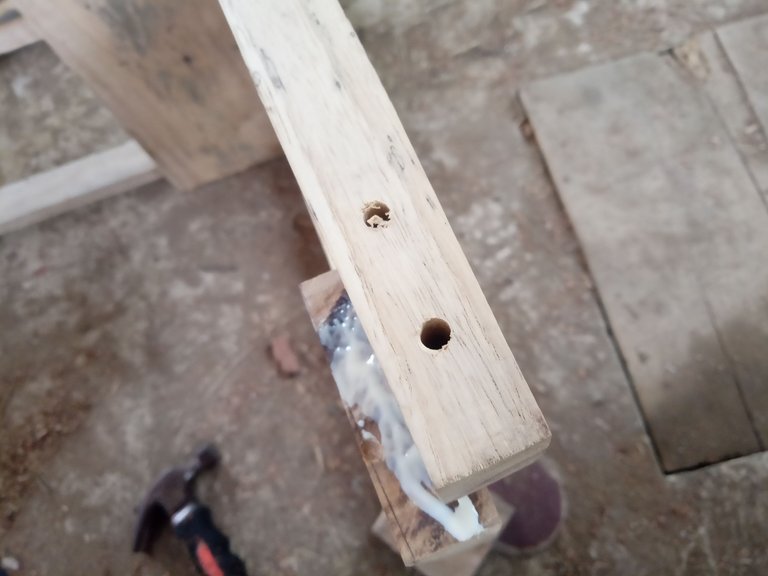
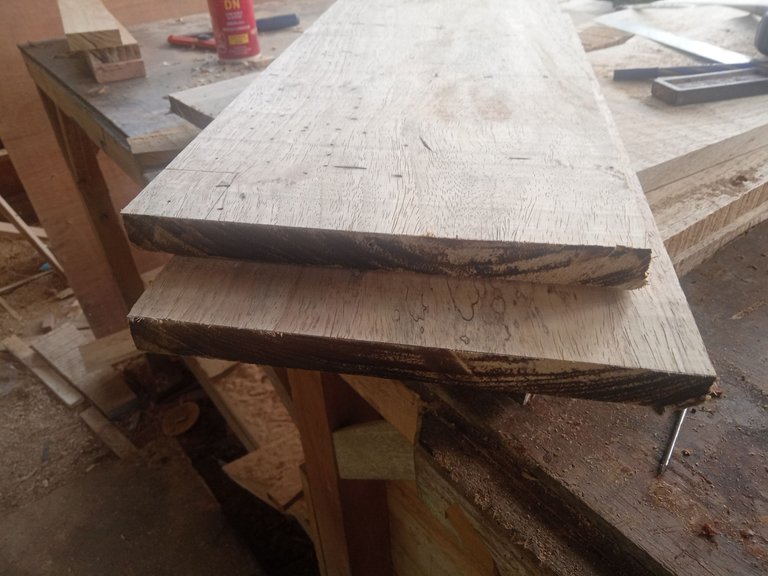
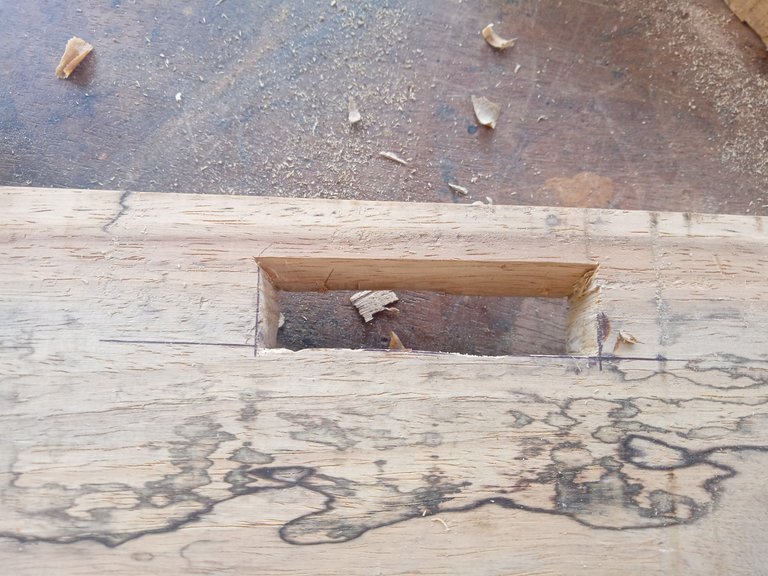
After I assembled everything, then I prepared a board for the top and also for the backrest, for the backboard I cut it with a slightly slender shape down to add a little style, to combine the top with the backrest I also made it by punching holes in the top board. Then I will make the backboard like a peg too, and likewise at the top between the two hind legs and the backrest I will also make with the peg technique.
IMG20220523155226.jpg

IMG20220524122428.jpg

IMG20220523163139.jpg

IMG20220523162120.jpg

IMG20220523163115.jpg

IMG20220524122436.jpg

IMG20220523165054.jpg

IMG20220524122443.jpg

IMG20220523155316.jpg

IMG20220524121741.jpg

IMG20220523164647.jpg

IMG20220523165100.jpg

IMG20220524155509.jpg

IMG20220523155355.jpg

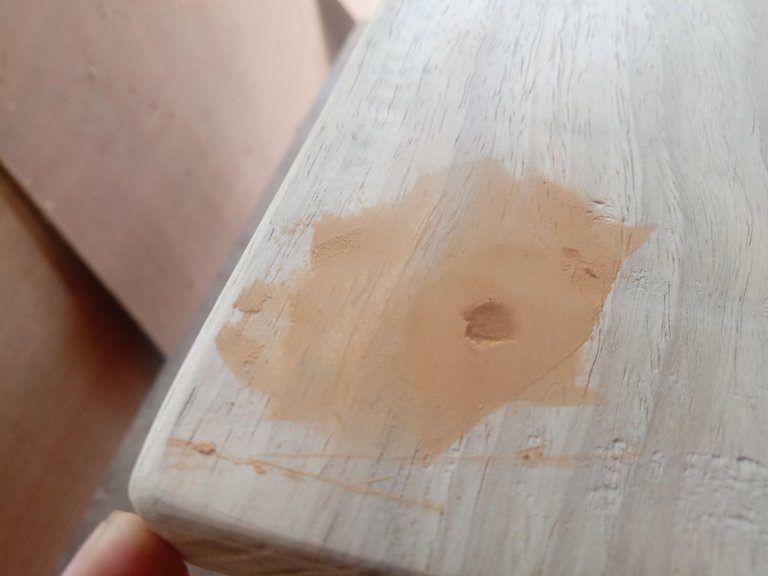
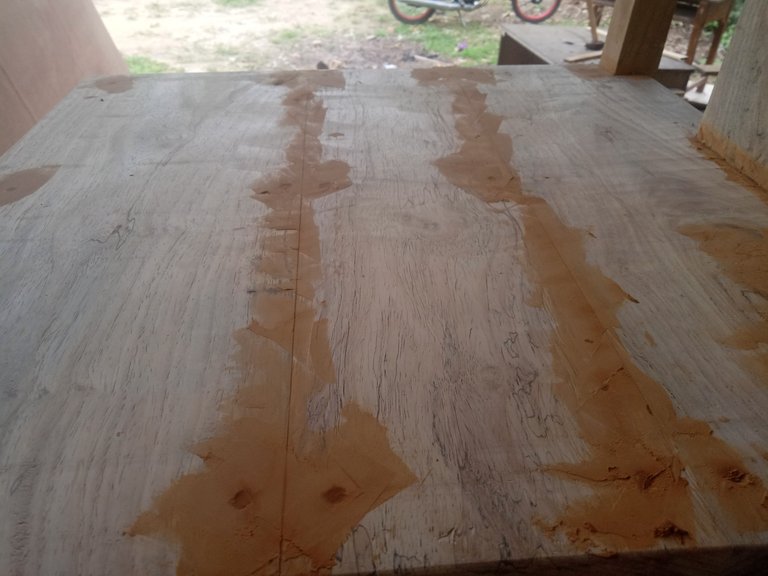
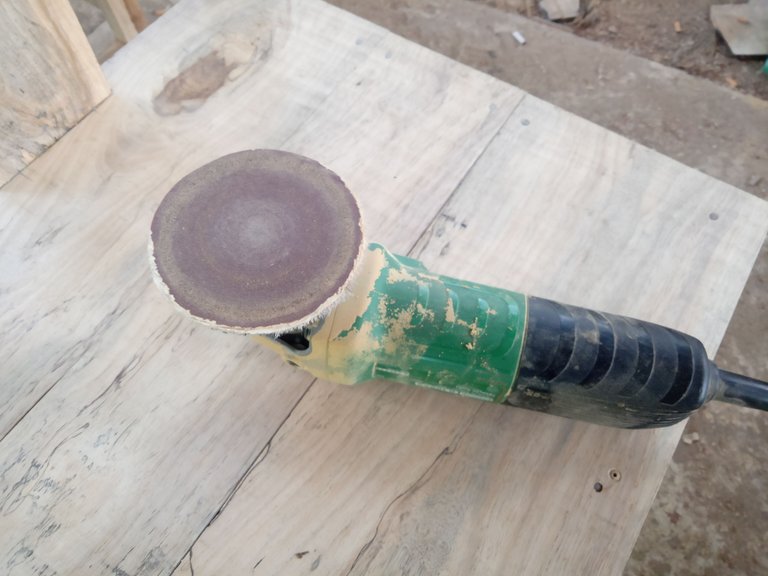
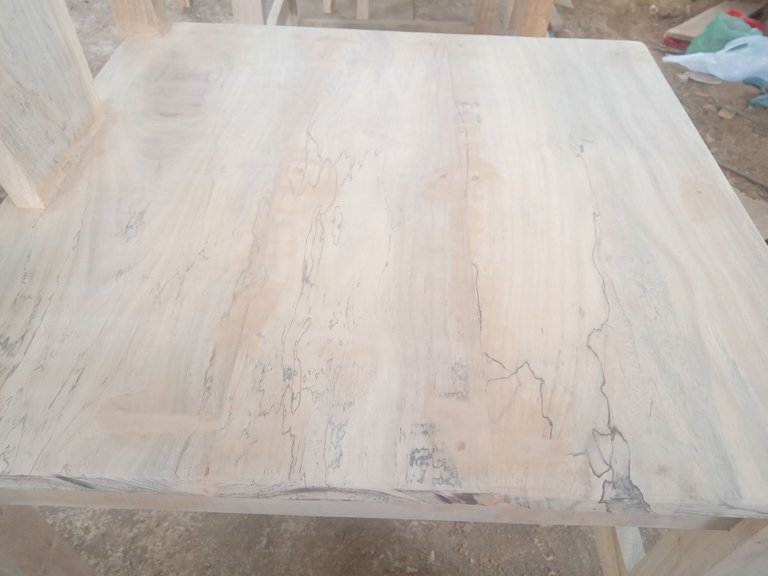
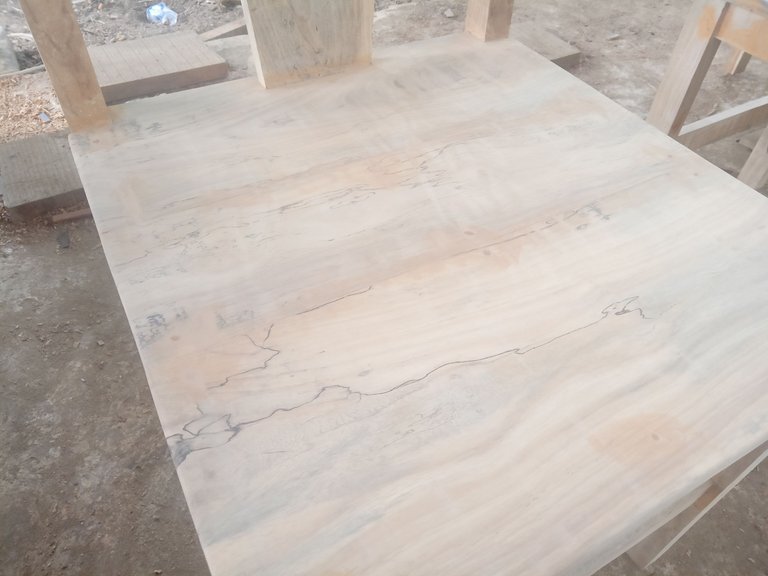
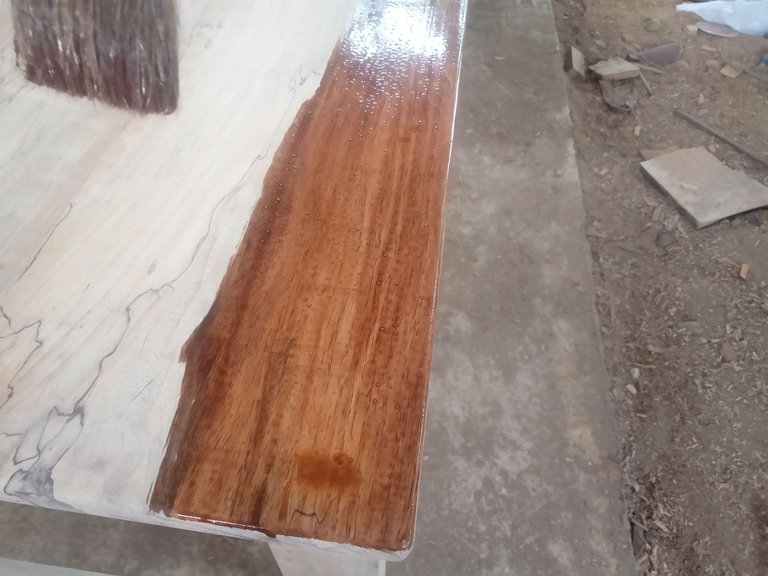
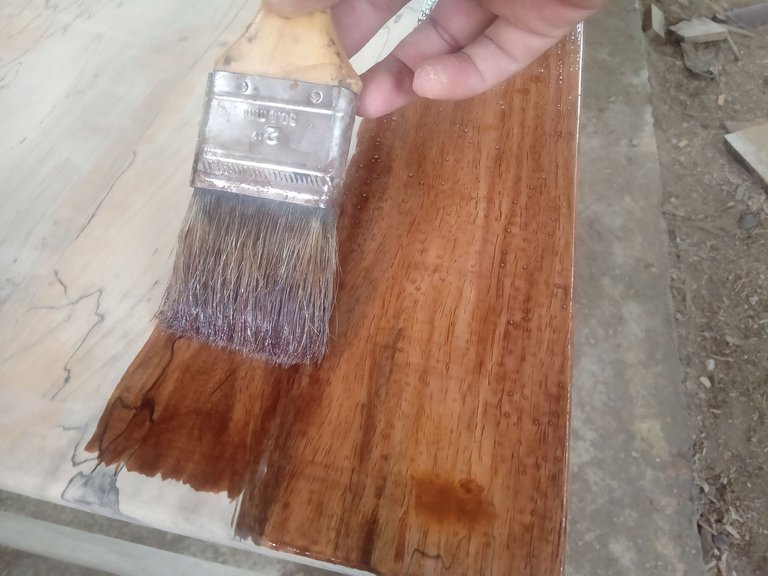
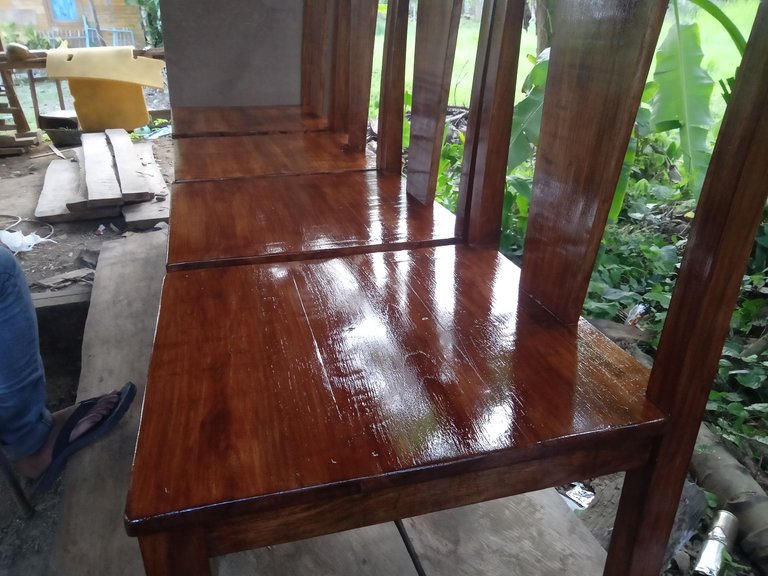
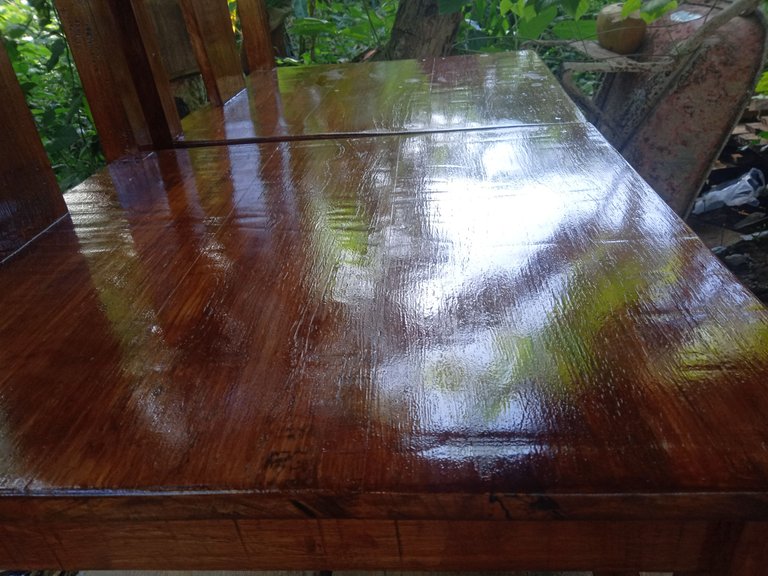
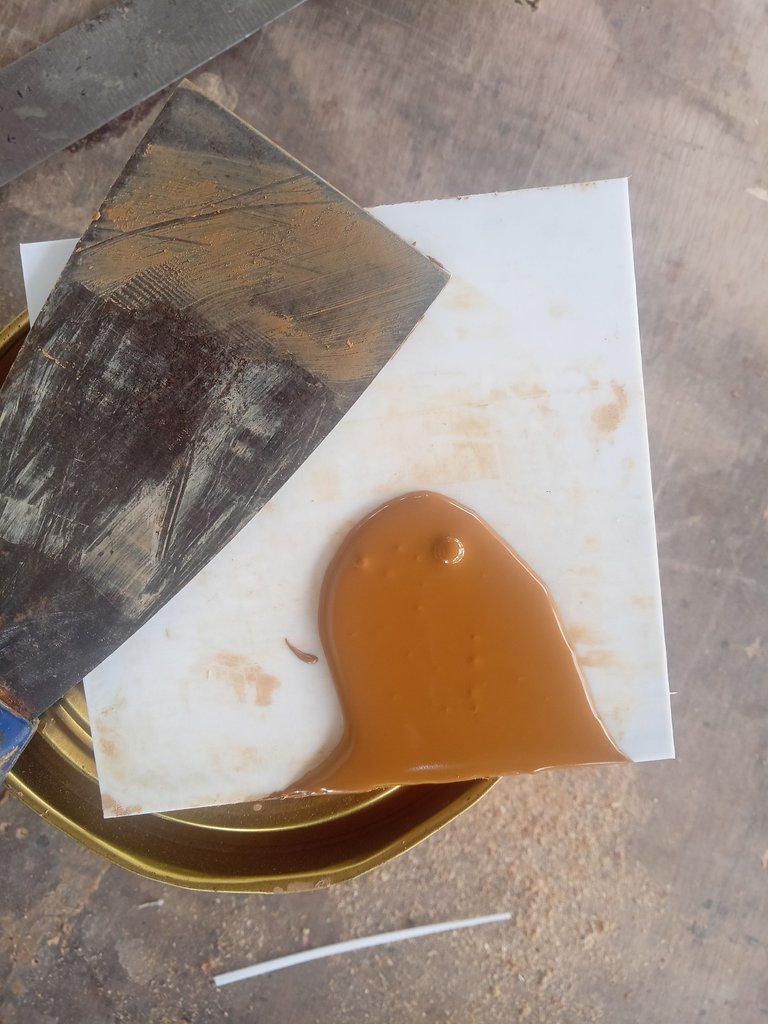
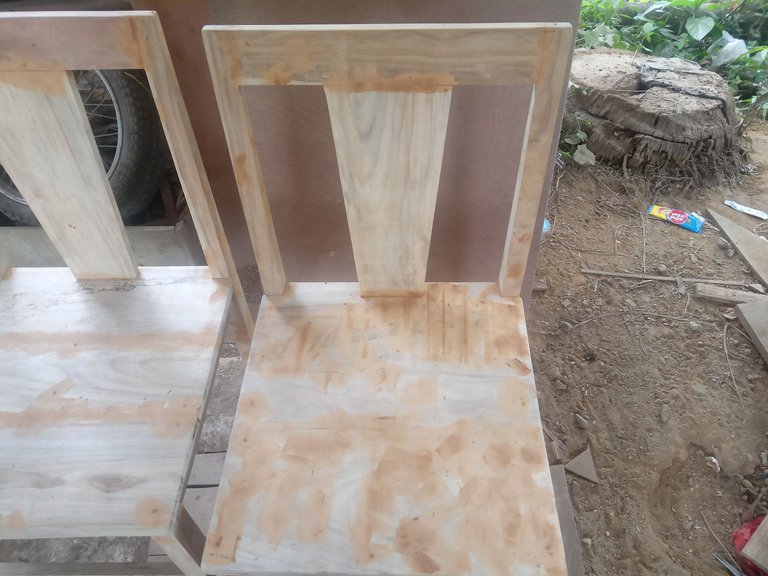
Then after everything was finished then I started to enter the finishing process starting with closing the joints and nail marks until they were completely flat and no longer visible using putty, then after waiting for it to dry I sanded using sandpaper number 400 so the results were heartburn and flat in this process no need to pressing the sandpaper too hard, it only takes a little pressure, after that everything is done I start painting it using varnish paint with several repetitions until the results are maximum and shiny in the painting process there are things that must be very careful, namely when painting the brush must be directed according to the direction of the fiber wood for better results.
IMG20220525141511.jpg

IMG20220525151642.jpg

IMG20220525141517.jpg

IMG20220525141521.jpg

IMG20220525151652.jpg

IMG20220524155424.jpg

IMG20220525162208.jpg

IMG20220525162219.jpg

IMG20220525162431.jpg

IMG20220525162434.jpg

IMG20220525164224.jpg

and that's a little explanation and how to make a chair this time I hope you like it and I'm sorry if my explanation is not understood I hope you can understand it through the pictures I have shown above and see you in the next post.....have a great day..♥️♥️♥️

Sort:  

Hi @lancang I'm one of those people who like woodworking and I'm testing my skills😊. I haven't dared to make a chair yet but thanks to this post I think I'm going to dare 😁.

thank for reading my post I hope this can be useful for you,and thank you very much for the support

that's a little explanation how to make a chair

I guess, now everyone can make a chair themselves at home, after your wonderful presentation 😄
Dear @lancang, I have a deep respect for the people who work wood, as well as for the people who work stone. You are a kind of magician working with special, living materials, the strongest representatives of nature. And this is not just a work, but a sacred ritual that can only be performed by the initiates 😊

I guess, now everyone can make a chair themselves at home, after you wonderful presentation 😄

I hope so, I'm also happy if my post is useful for others, thank you very much for the support I appreciate it..🙏🙏🙏

Hi @lancang, that was just a joke 😄 Of course, no one is able to do it at home. Only those initiated into the secrets of this material processing. 😊
Regards

Congratulations @lancang! We're delighted to specially curate your awesome publication and award it RUNNER-UP in Architecture Brew #74. More power!

AB CURATION BANNER - RUNNER-UP - V4.jpg

Thank you for subscribing to Architecture+Design, an OCD incubated community on the Hive Blockchain.

Dear @lancang, we need your help!

The Hivebuzz proposal already got important support from the community. However, it lost its funding a few days ago when the HBD stabilizer proposal rose above it.

May we ask you to support it so our team can continue its work?
You can do it on Peakd, Ecency, Hive.blog or using HiveSigner.
https://peakd.com/me/proposals/199

All votes are helpful and yours will be much appreciated.
Thank you!

Congratulations @lancang! You have completed the following achievement on the Hive blockchain and have been rewarded with new badge(s):

You received more than 4250 upvotes.
Your next target is to reach 4500 upvotes.

You can view your badges on your board and compare yourself to others in the Ranking
If you no longer want to receive notifications, reply to this comment with the word STOP

Check out the last post from @hivebuzz:

Hive Power Up Day - July 1st 2022
NFT for peace - Thank you for your continuous support
Support the HiveBuzz project. Vote for our proposal!
Thank you for sharing this amazing post on HIVE!
  • Your content got selected by our fellow curator @priyanarc & you just received a little thank you via an upvote from our non-profit curation initiative!

  • You will be featured in one of our recurring curation compilations and on our pinterest boards! Both are aiming to offer you a stage to widen your audience within and outside of the DIY scene of hive.

Join the official DIYHub community on HIVE and show us more of your amazing work and feel free to connect with us and other DIYers via our discord server: https://discord.gg/mY5uCfQ !

If you want to support our goal to motivate other DIY/art/music/homesteading/... creators just delegate to us and earn 100% of your curation rewards!

Stay creative & hive on!