My daughter Miss C is 3 years old and really enjoys colorful children's books. Sometimes, when we have finished the physical versions, we opt for eBooks (digital books). However, this time I have chosen to put together a simple children's book especially for her. I've recently been reading about children's illustration, design, layout and structure, so I wanted to put together my first book.
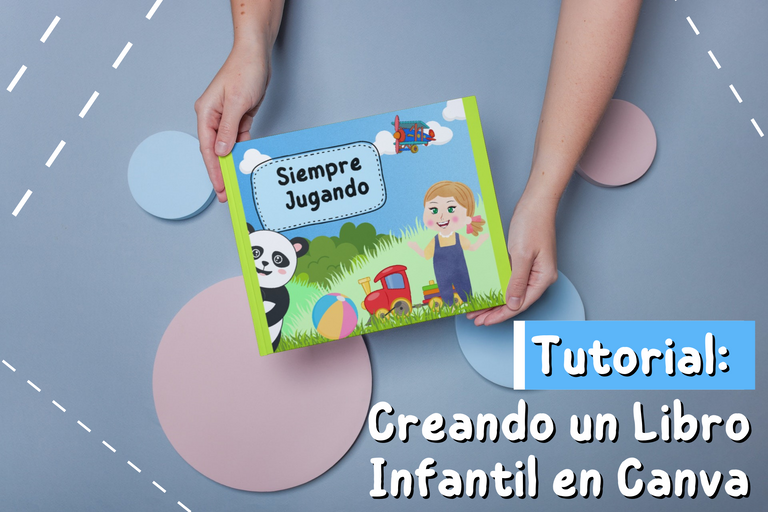
To make a children's book you generally have two options, one is using a drawing tool where you design each element and characters of the story from scratch. The second option is opting for the use of tools or programs that already have elements and possible characters designed, which we will assemble within a layout to form each scene. In my case, I have chosen the second option, for this I have used Canva Pro. You could also use Canva in its free version, however you would be more limited in terms of the use and editing of resources.
Tips and steps to take into account when creating a children's book in Canva Pro:
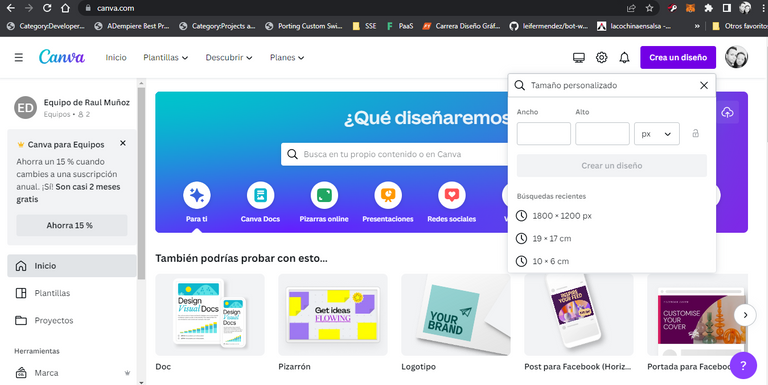
- Start by creating a custom document. The general dimensions of a small book is 19 cm wide by 17 cm high. Working in the correct dimensions will allow you a smooth future printing process. However, the measurements are at choice.
- Choose characters and elements in the childish tone, that is, soft lines and a cheerful color palette. Another detail to take into account is that the selected characters may have variant positions or reactions. In my case, I have opted for the use of a character that does not have a defined face or expression. Rather, I have personalized the expressions through the game of varied elements, but which in turn follow a style. These elements of expression are eyes, nose, mouth.
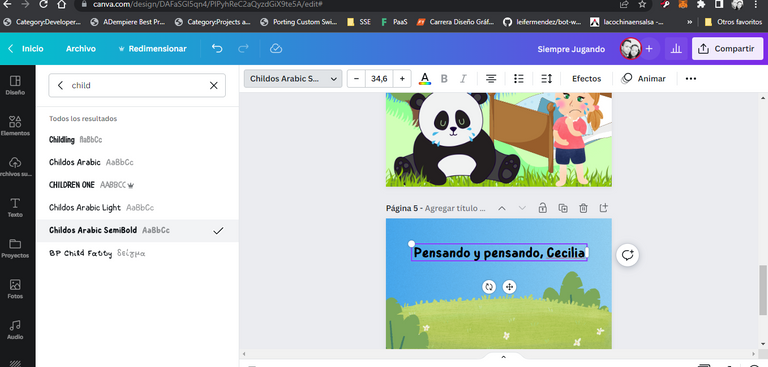
- Opt for cute and cute fonts. Just place in the text section > search engine > the word "Child" and it will throw you some merely beautiful child fonts.
- Build scenarios inspired by the story you develop. Keep in mind that the scenes must somehow reflect or convey the written information. This will help the boy or girl to better capture the information or teaching of the story.
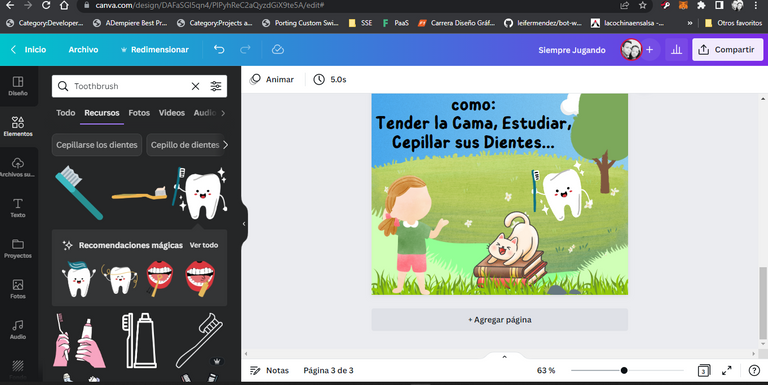
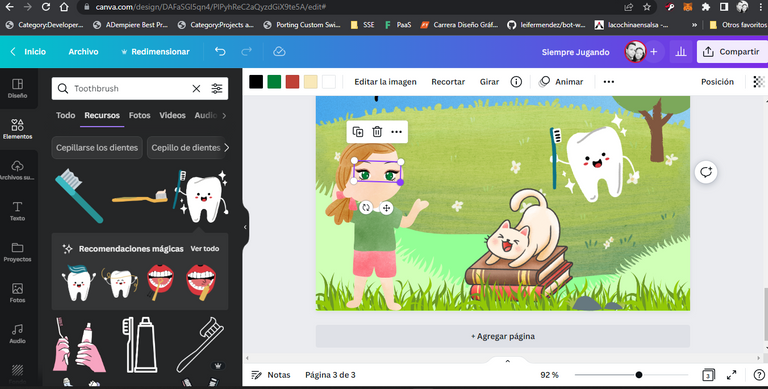
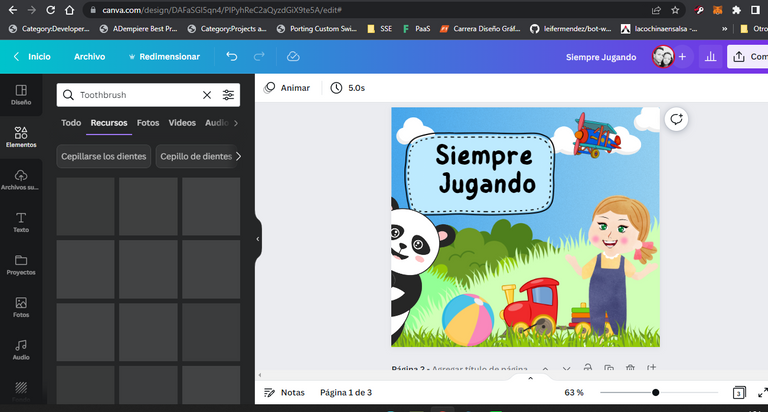
- Use the element search engine with keywords, that is, place descriptions of what you need in the element search engine and it will display related options. I have opted to use the results of "resources", because that is where the illustrations are reflected.
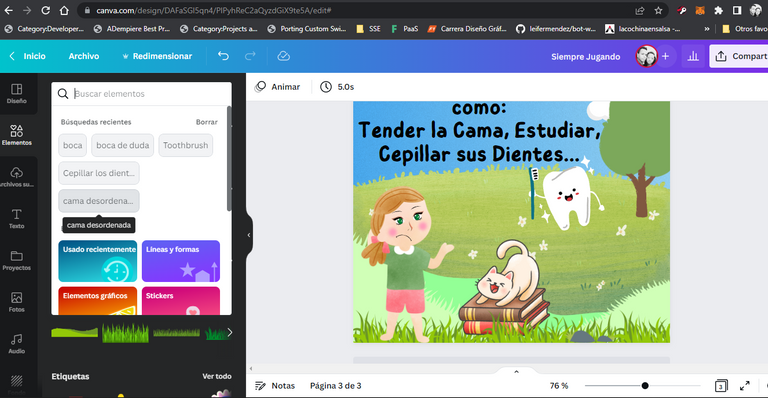
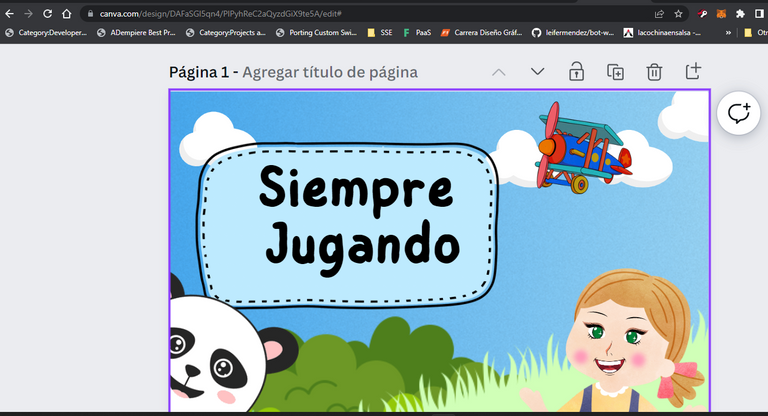
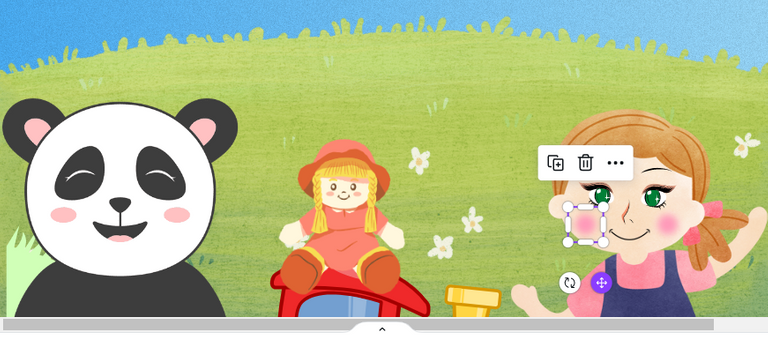
- Customize the characters, put blush on the cheeks, special color eyes and more details. In my case, the girl in the story has green eyes because that's the way my daughter's are, plus her cheeks tend to blush whenever she plays in the garden. I've also added a Panda Bear in some scenes, because it's my daughter's favorite animal. Imagine the scenes in layers and have fun creating.
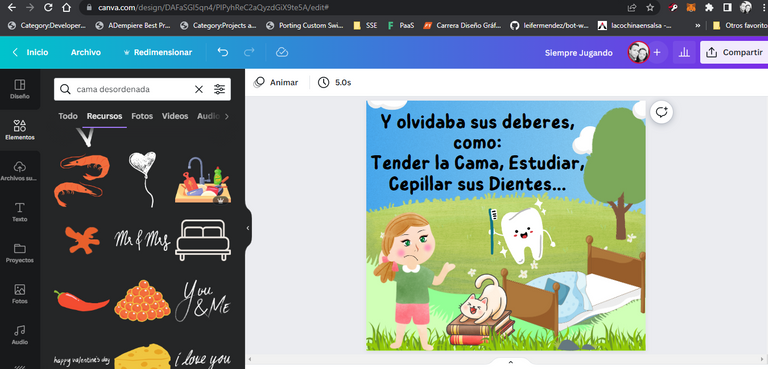
- Add text in equal measures throughout the story. That is, the lines of text should be similar on each page, not one with 70% writing and another at 20%. The harmony of the text layout is important.
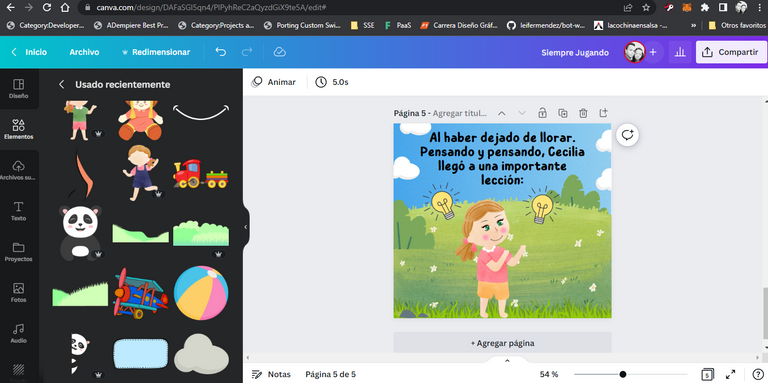
- The children's story must follow a general line of any story: Beginning - Middle - Outcome and End. The sentences must be simple and understandable.
- Respect important parts of the book, such as: Cover, story pages and ending.
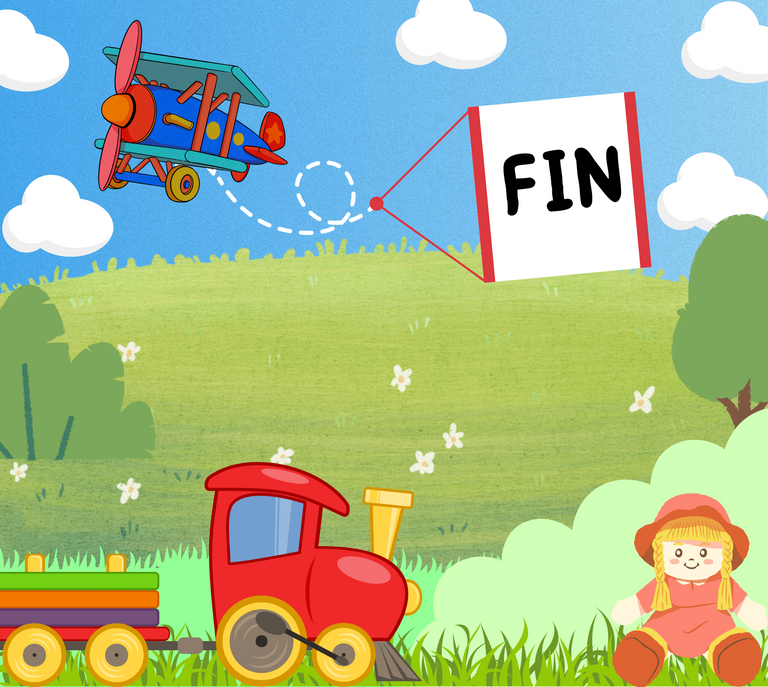
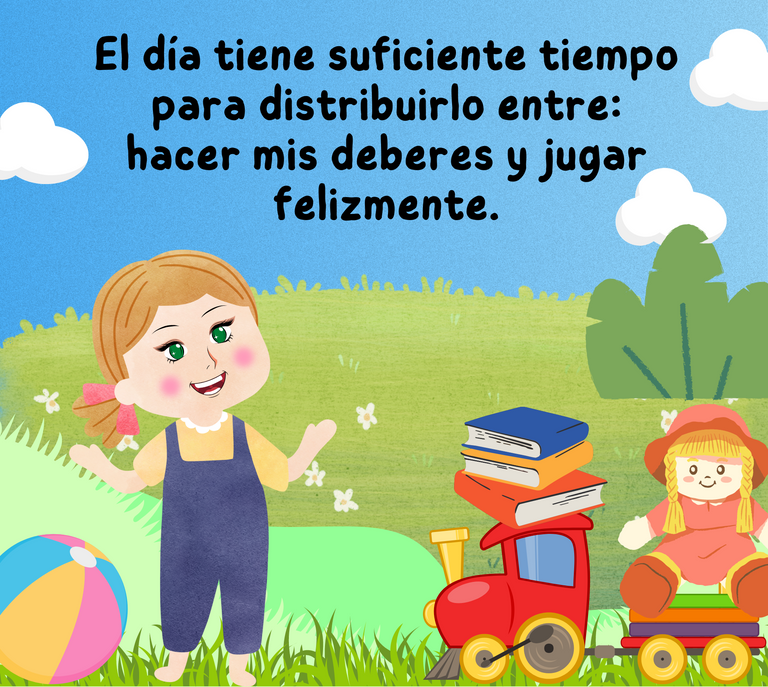
When you finish the book, you can download it in various formats and even add animations if you prefer. In my case, I have downloaded both in PDF and PNG, where I will share the latter with you below.
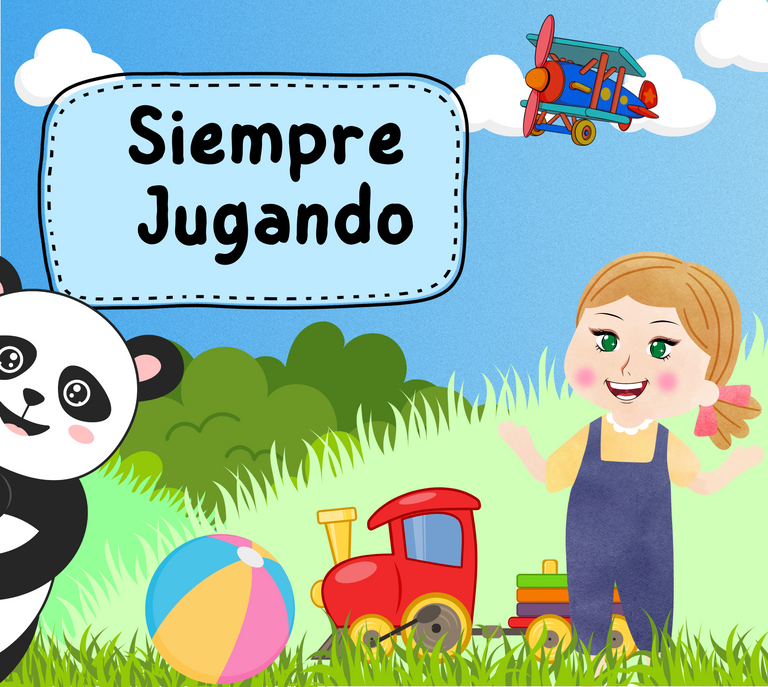
Book Result:

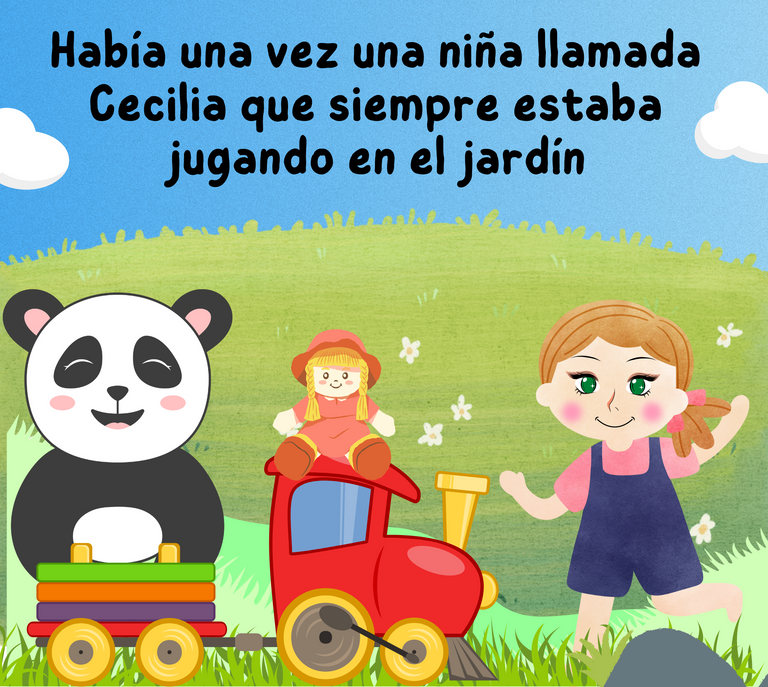
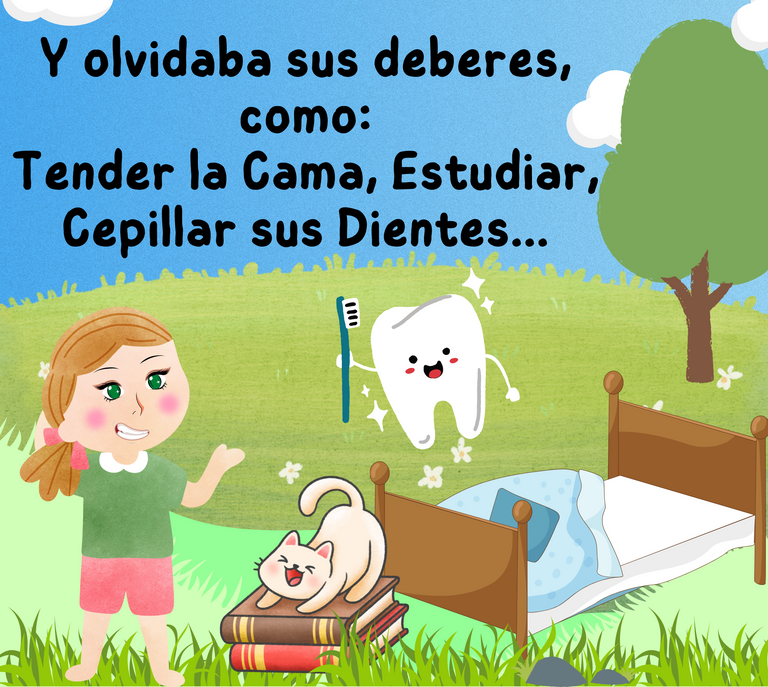

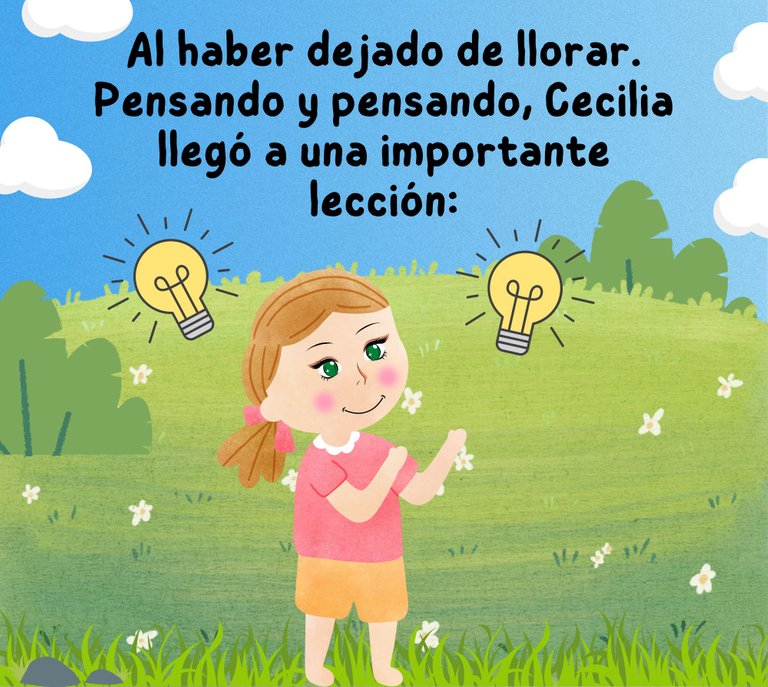

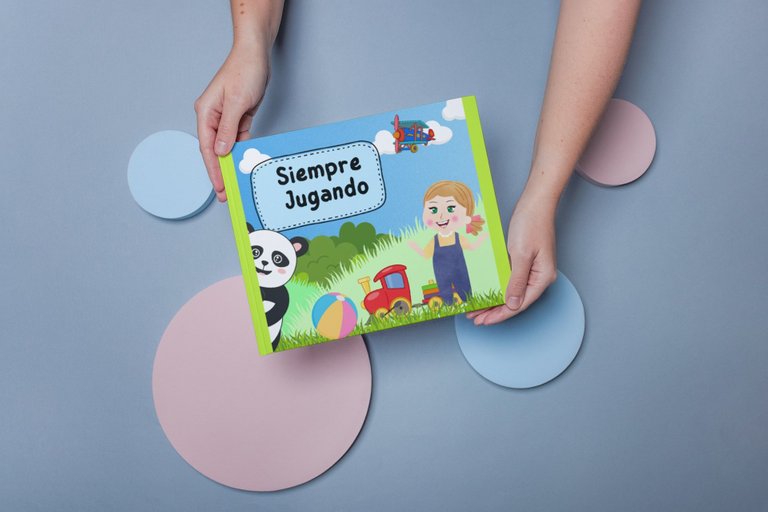
To give it a more interesting touch, you could make some Mockups with the created book. I consider that this gives it a very beautiful and striking graphic level. Regarding the Mockups development tools, I can suggest some like CorelDraw, Canva Pro in the "Smartmockups" section and some online and automatic ones like smartmockups.com. The use of the tools will be according to your experience.
Making a digital book ourselves can be quite a pleasant and entertaining experience. It can even be a nice gift that you can print and give to your special little one with a personalized lesson included. In addition to using the ideal tools to design or assemble (whatever the case), the most important thing is creativity of thought.
Images and page elements created in Canva Pro.

Español
Mi hija la Señorita C tiene 3 años de edad y disfruta mucho de los libros infantiles coloridos. En ocasiones, cuando ya nos hemos terminado las versiones físicas, optamos por los eBooks (libros digitales). Sin embargo, en esta ocasión he optado por armar un sencillo libro infantil especialmente para ella. Recientemente he estado leyendo sobre la ilustración infantil, diseño, maquetado y estructura, así que quise armar mi primer libro.

Para elaborar un libro infantil tienes de manera general dos opciones, una es usando una herramienta de dibujo donde diseñas desde cero cada elemento y personajes de la historia. La segunda opción es optando por el uso de herramientas o programas que tengan ya elementos y posibles personajes diseñados, los cuales armaremos dentro de un maquetado para formar cada escena. En mi caso, he optado por la segunda opción, para ello he usado Canva Pro. También podrías usar Canva en su versión gratuita, sin embargo te verías más limitado en cuanto al uso y edición de recursos se refiere.

Tips y pasos a tomar en cuenta al momento de elaborar un libro infantil en Canva Pro:
- Inicia creando un documento personalizado. Las dimensiones generales de un libro pequeño es de 19 cm de ancho por 17 cm de alto. Trabajar en las dimensiones correctas te permitirá un proceso futuro de impresión sin inconvenientes. Sin embargo, las medidas son a elección.

- Elige personajes y elementos en la tónica infantil, es decir, de trazos suaves y una paleta de colores alegre. Otro detalle a tomar en cuenta, es que los personajes seleccionados puedan tener variantes de posiciones o reacciones. En mi caso, he optado por el uso de un personaje que no tiene un rostro o expresión definida. Sino más bien, las expresiones las he personalizado a través del juego de los elementos variados, pero que a su vez siguen un estilo. Estos elementos de expresión son ojos, nariz, boca.


- Opta por fuentes lindas y tiernas. Basta con colocar en la sección de texto > buscador > la palabra "Child" y te arrojará algunas fuentes infantiles meramente hermosas.

- Arma escenarios inspirados en la historia que desarrollas. Ten en cuenta que las escenas deben reflejar o transmitir de alguna manera la información escrita. Esto, ayudará a que el niño o niña pueda captar de mejor manera la información o enseñanza del cuento.

- Usa el buscador de elementos con palabras claves, es decir coloca en el buscador de elementos descripciones de lo que necesitas y el mismo irá arrojando opciones relacionadas. He optado por usar los resultados de "recursos", porque allí es donde se reflejan las ilustraciones.


- Personaliza los personajes, coloca rubor en las mejillas, ojos de color especial y más detalles. En mi caso, la niña de la historia tiene los ojos verdes porque así son los de mi hija, además de que sus mejillas tienden a ruborizarse siempre que juguetea en el jardín. También he agregado un Oso Panda en algunas escenas, porque es el animal favorito de mi hija. Imagina los escenarios en capas y diviértete creando.

- Añade texto en iguales medidas a lo largo del cuento. Es decir, las líneas de texto deben ser similares en cada página, no una con 70% de escrito y otra en 20%. La armonía de la distribución de texto es importante.

- La historia infantil debe seguir una línea general de toda historia: Inicio - Nudo - Desenlace y Fin. Las oraciones deben ser sencillas y entendibles.

- Respeta partes importantes del libro, como: Portada, páginas de la historia y final.

Al terminar el libro, puedes descargarle en diversos formatos y hasta agregar animaciones si así le prefieres. En mi caso, he descargado tanto en PDF como en PNG, donde seguidamente les comparto este último.
Resultado del Libro:


Para darle un toque más interesante, podrías elaborar algunos Mockups con el libro creado. Considero que esto, le da un visto a nivel gráfico muy hermoso y llamativo. En respecto a las herramientas de elaboración de Mockups puedo sugerir algunas como CorelDraw, Canva Pro en la sección de "Smartmockups" y algunas online y automaticas como smartmockups.com. El uso de las herramientas sera de acuerdo a tu experiencia.

Realizar un libro digital nosotros mismos puede ser una experiencia bastante agradable y entretenida. Incluso, puede ser hasta un lindo regalo que puedes imprimir y obsequiar a tu chiquitín especial con una enseñanza personalizada incluída. Además de usar las herramientas ideales para diseñar o armar (sea cual sea el caso), lo más importante es creatividad de pensamiento.
Imágenes y elementos de páginas creadas en Canva Pro.


