Hey, Hey, here's the @lacochinaensalsa!
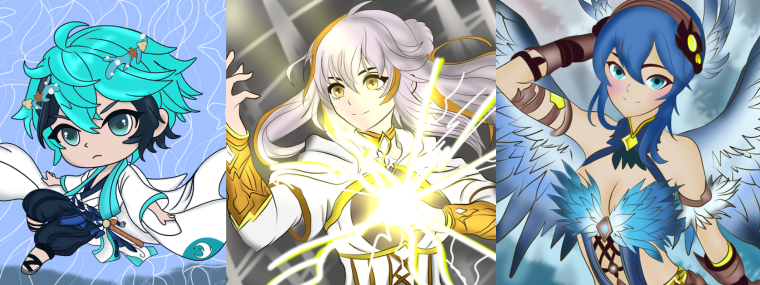
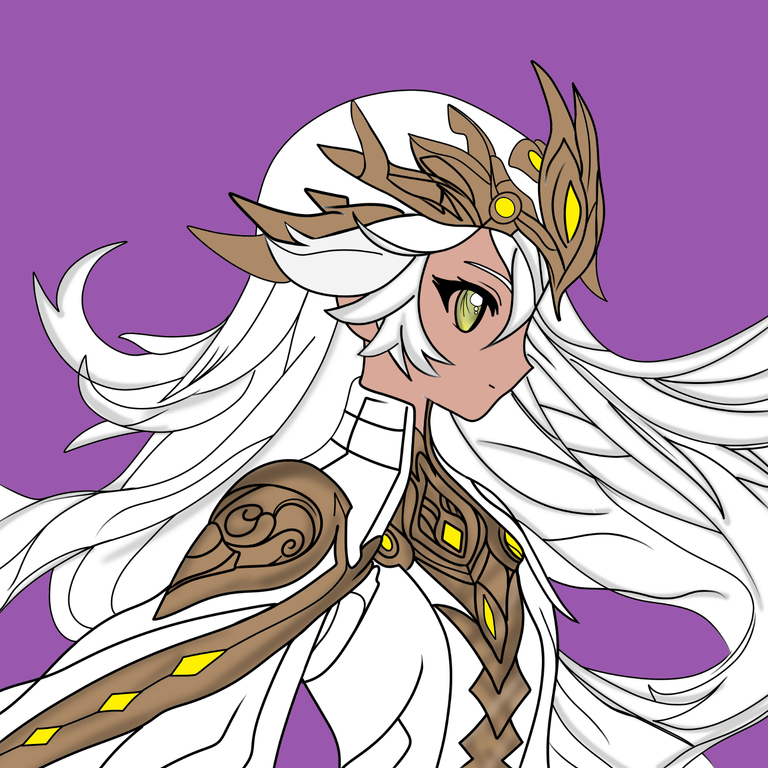
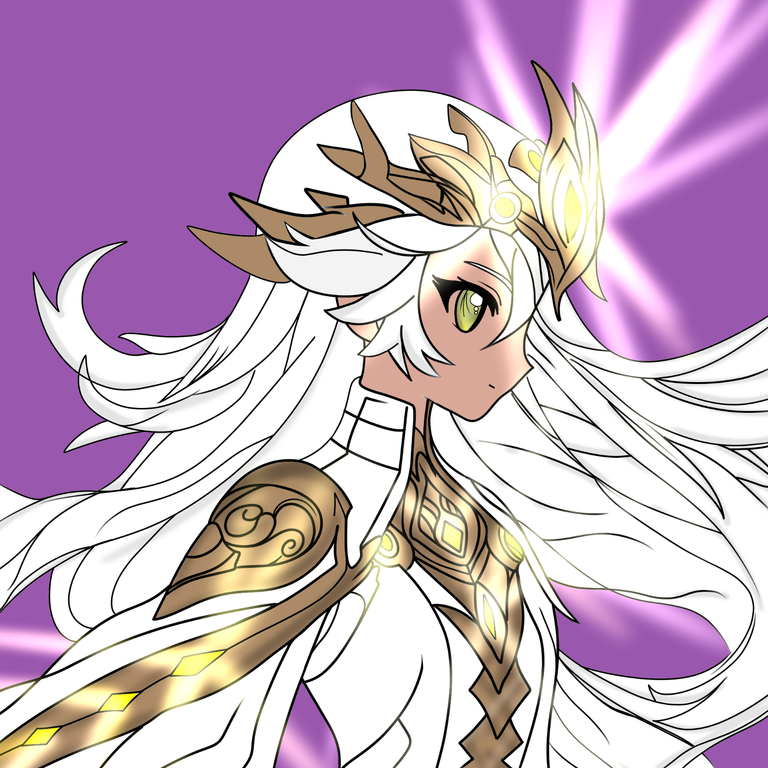
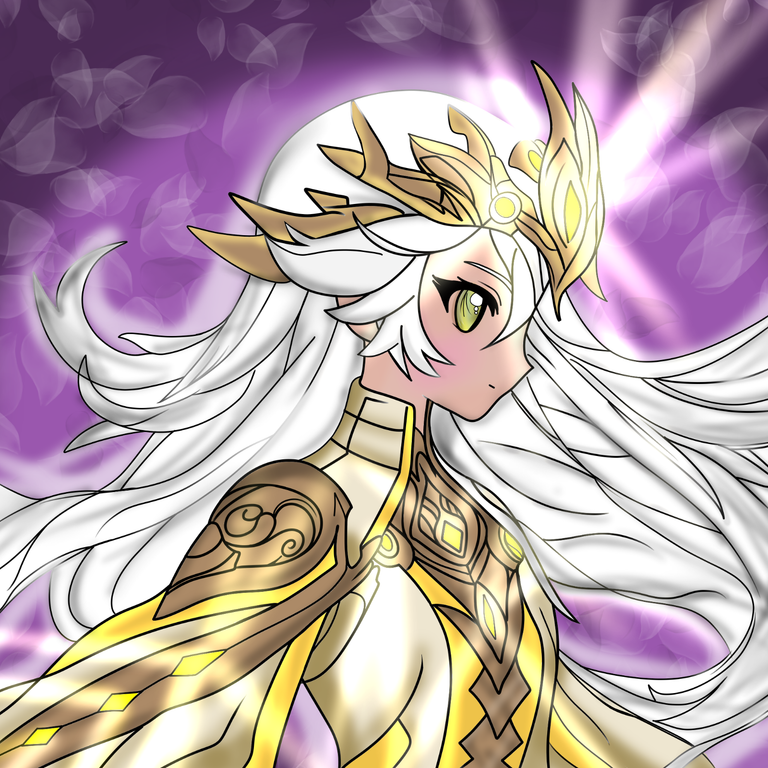
I am glad to have the opportunity to be here today to share with you a Fan Art of the Healer of Light. She is my favorite healer, I don't know if it's her color palette, but I like it a lot. Based on that thought, I decided to recreate a very "light" version, so that this feature is the most prominent in all the art. In addition to that, I used a similar color palette, but with gold details in the suit with details of shiny precious stones.
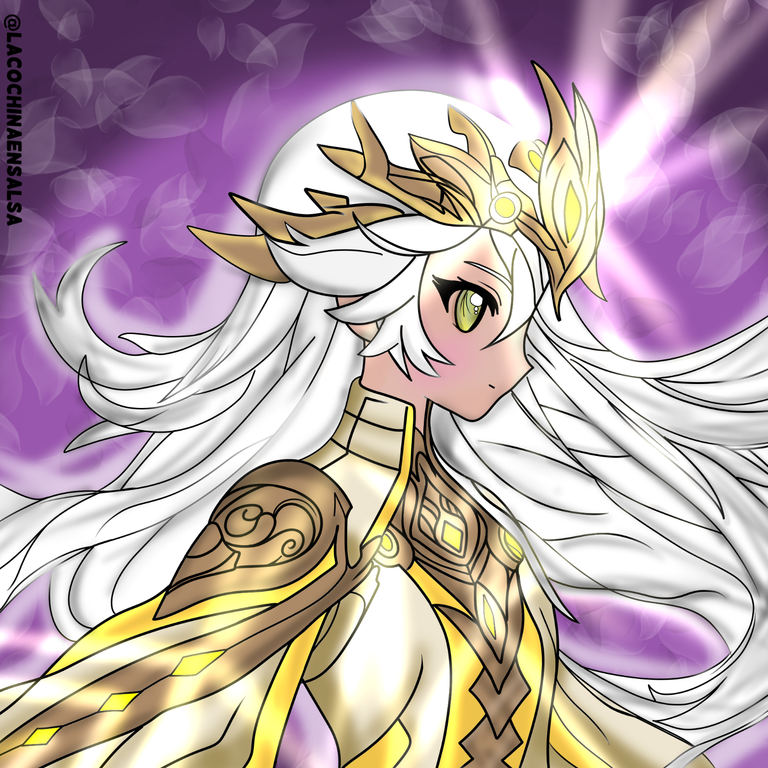
Even though it took me several hours to illustrate and colour it, I had the feeling that something was missing. I don't know if it's a feeling you've had, but this time I was left with that in my heart. However, thinking about the time I had not drawn, things aren't going so badly. Little by little I'll remember some tricks to apply to improve. One of the things I like most about the composition in general is the luminescence of the character, the background brightens up its surroundings, it's a being of light after all!
| Skecth | Colored |
|---|
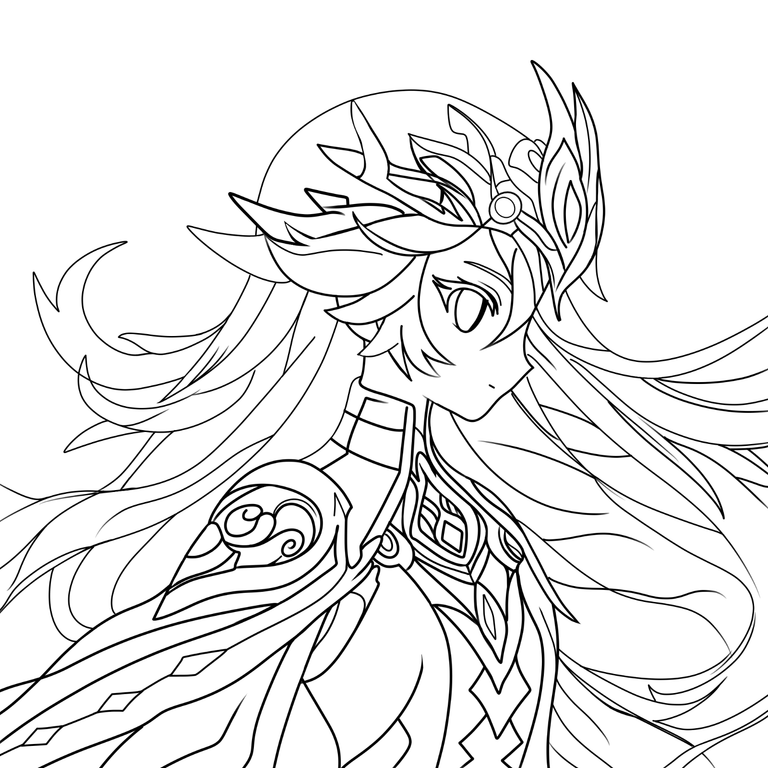 | 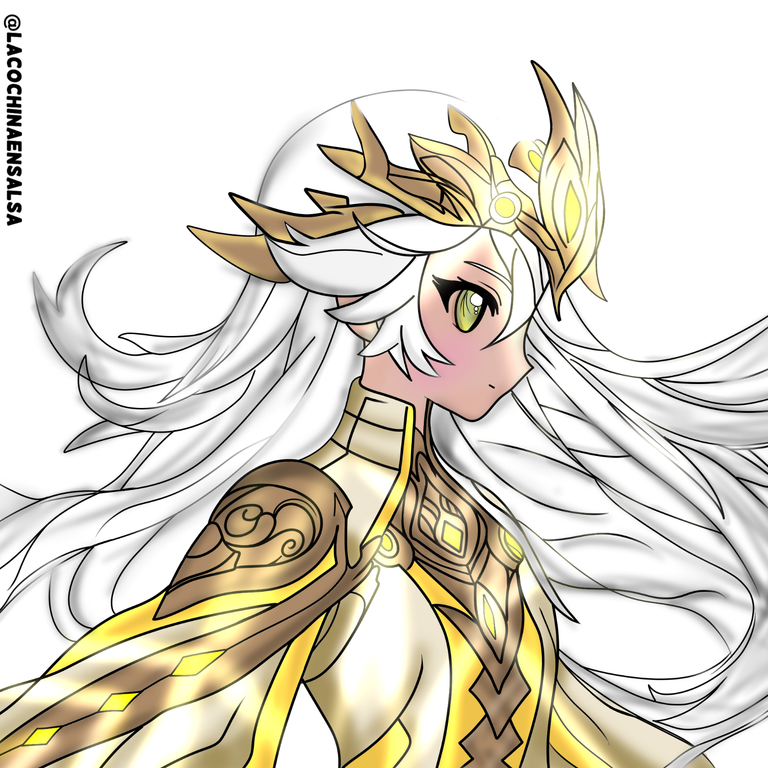 |
Let's quickly see Drawing process:
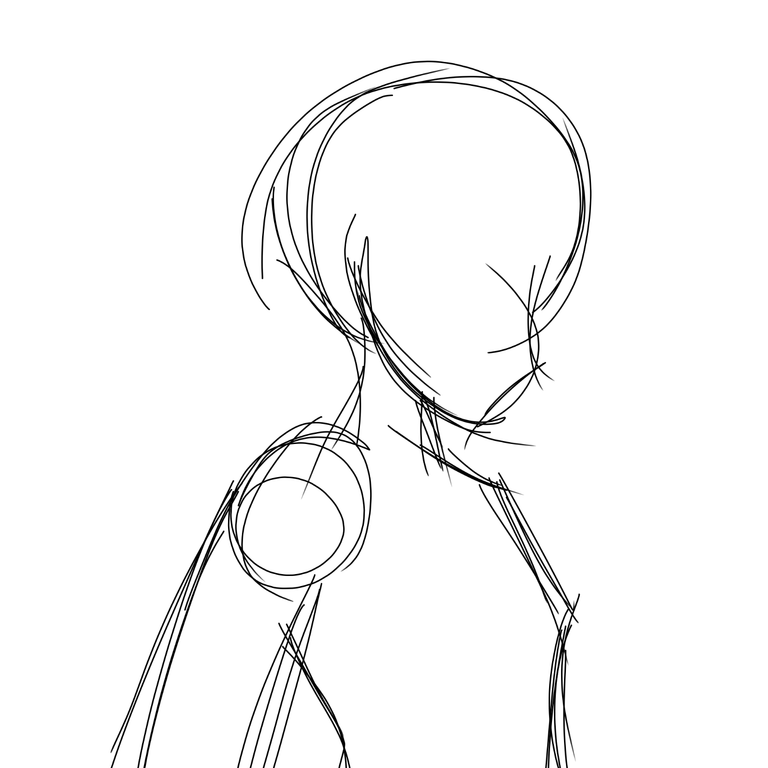
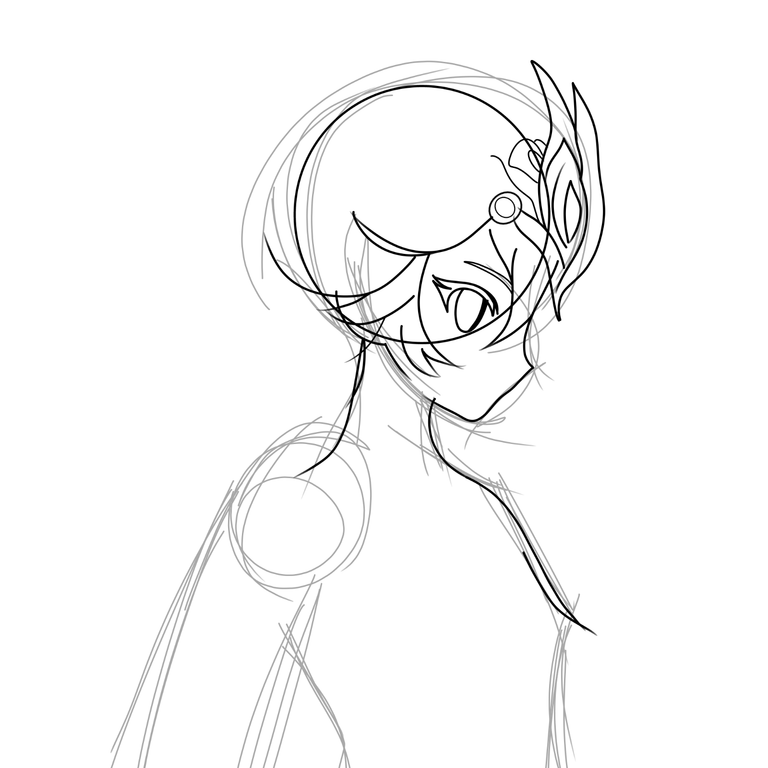
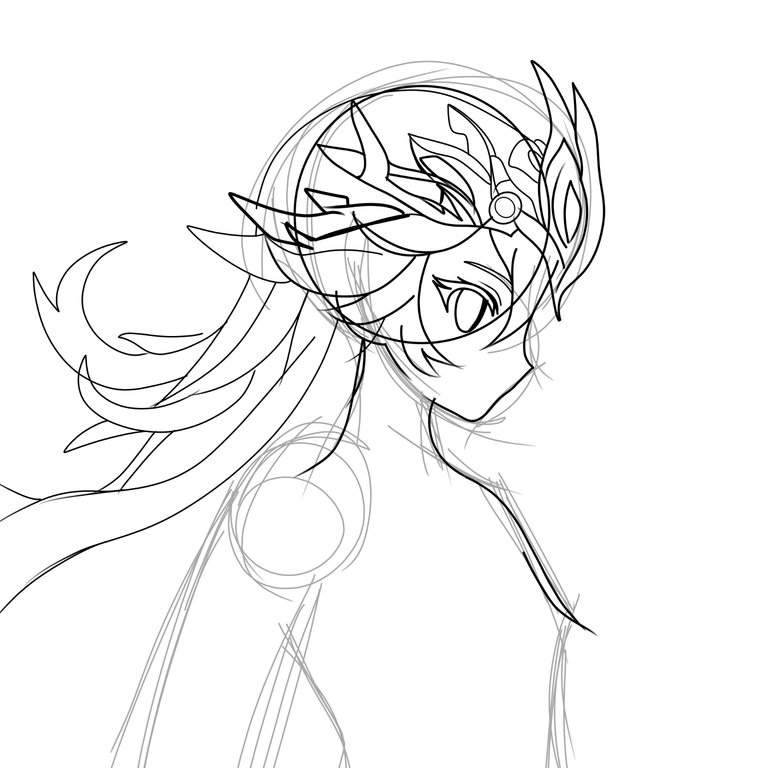
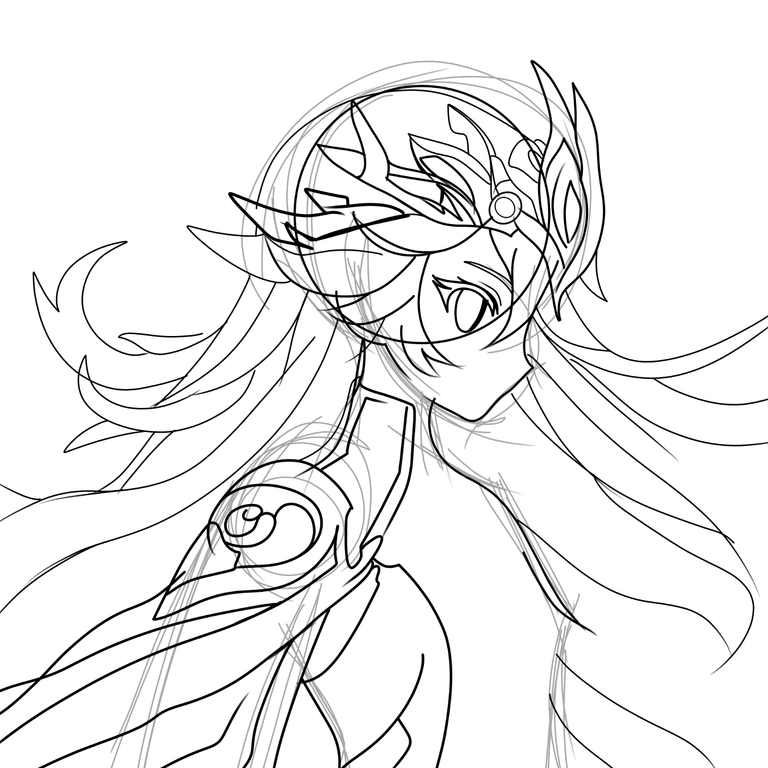
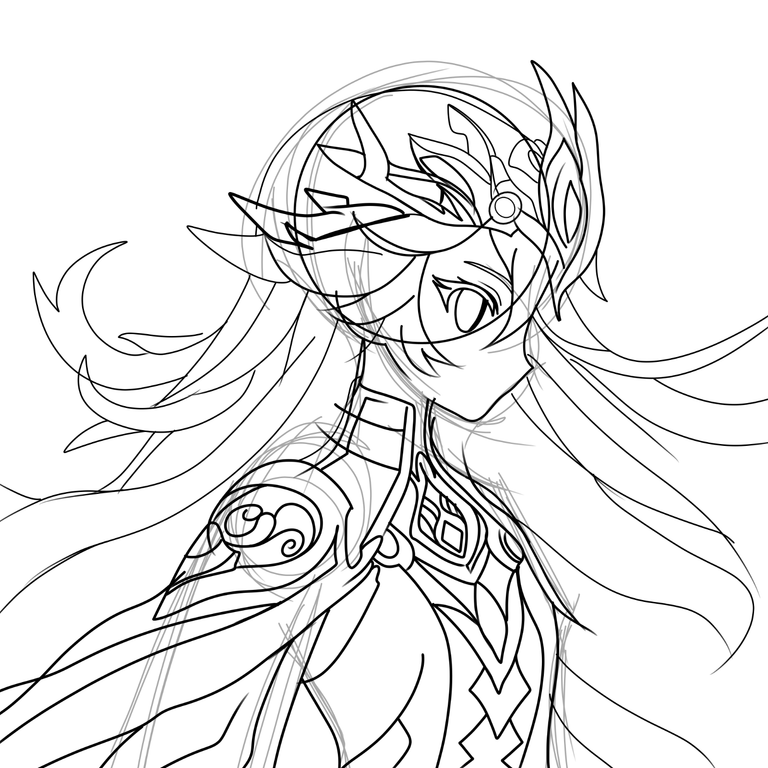
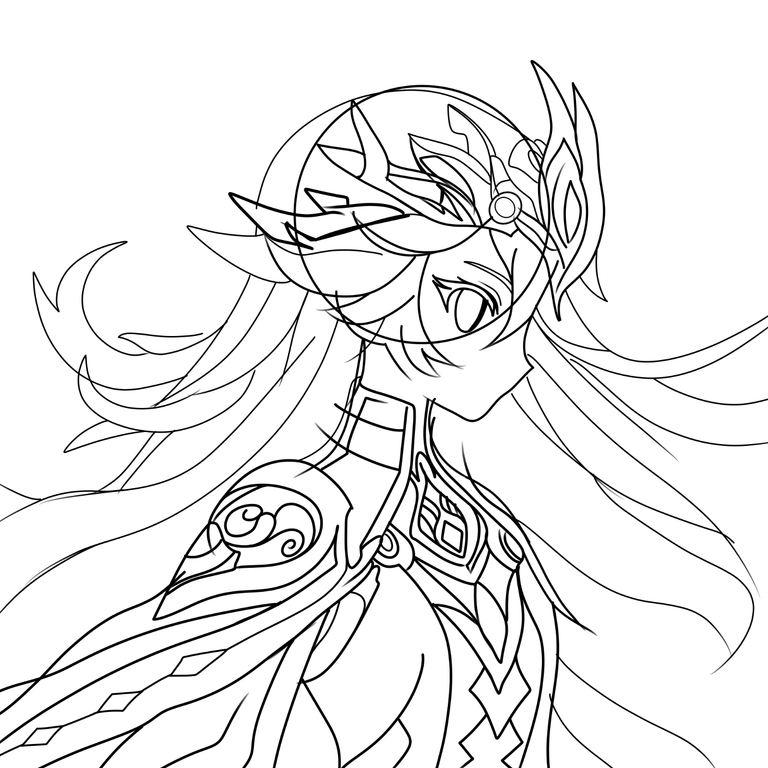
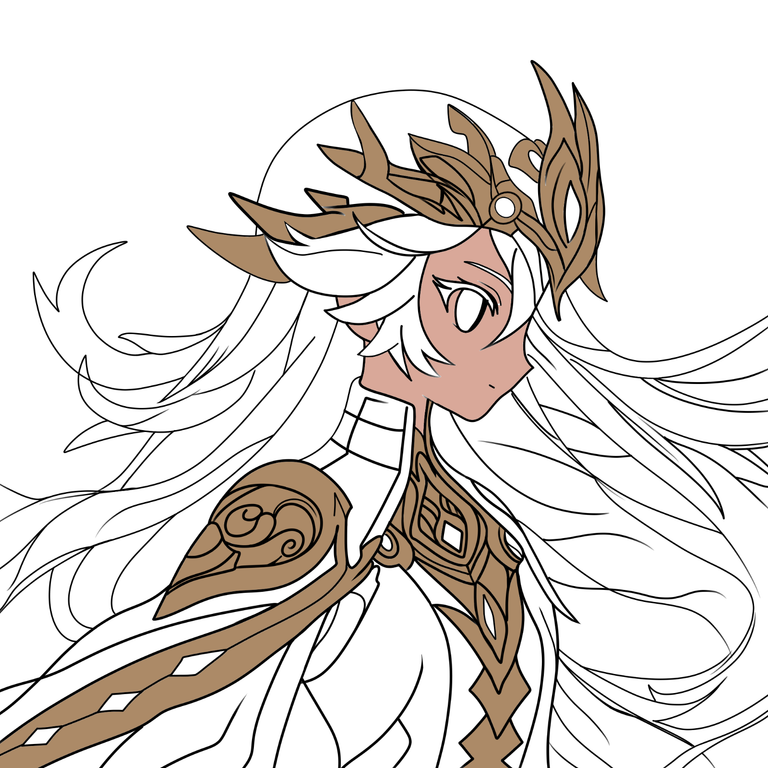
To make the illustration I used my tablet, pencil and Medibang Paint as a drawing program. I started with a not-so-quick sketch, to do it I sectioned it into several layers so that at the end when it was my turn to clean it up, it would be easier for me. I sectioned the character into parts, the most detailed ones were the hair and the suit area. Once I had drawn the general lines, I went on to the detail lines and then moved on to the cleaning stage of the sketch.
Sketch

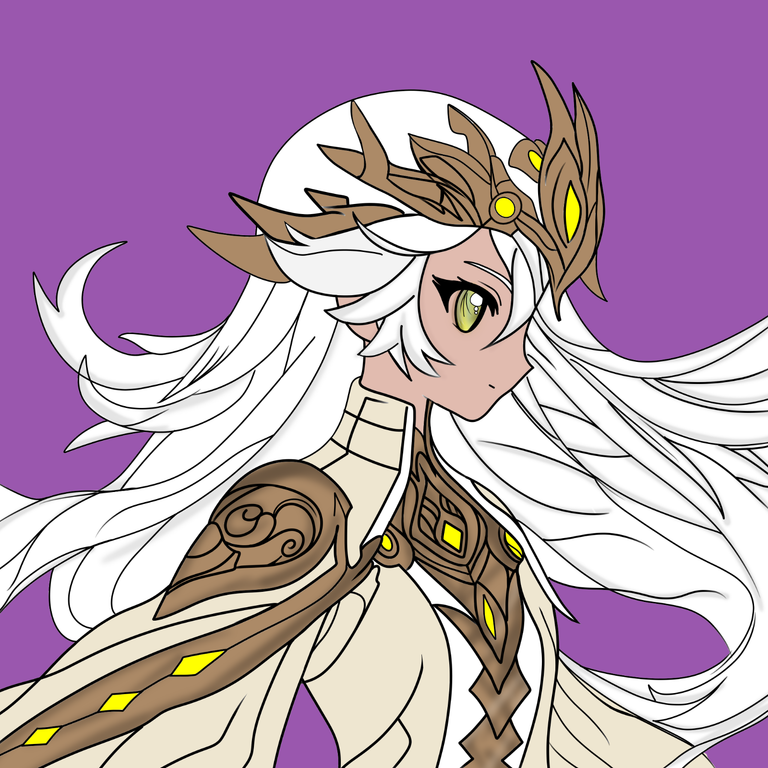
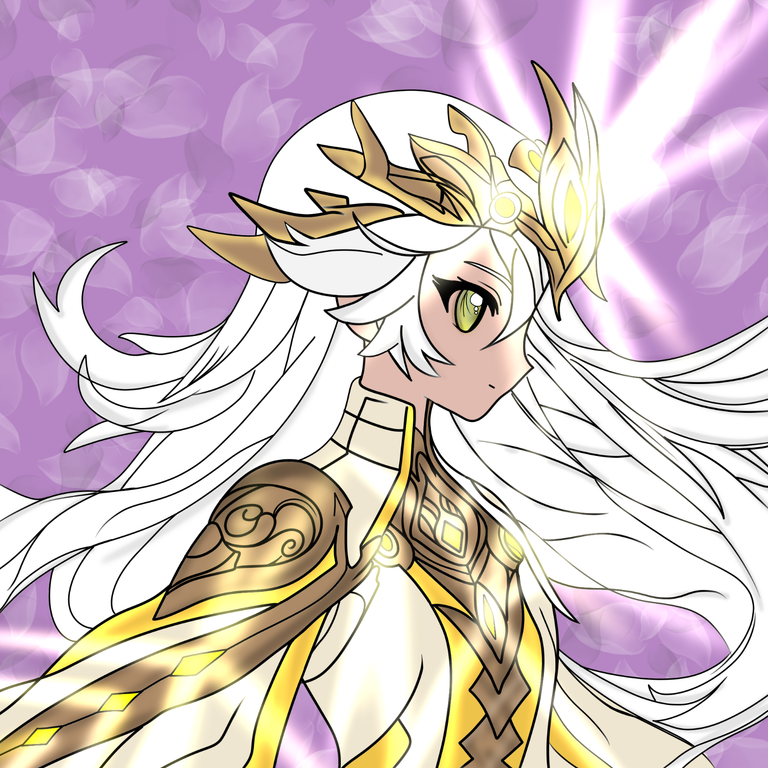
Coloring and light details
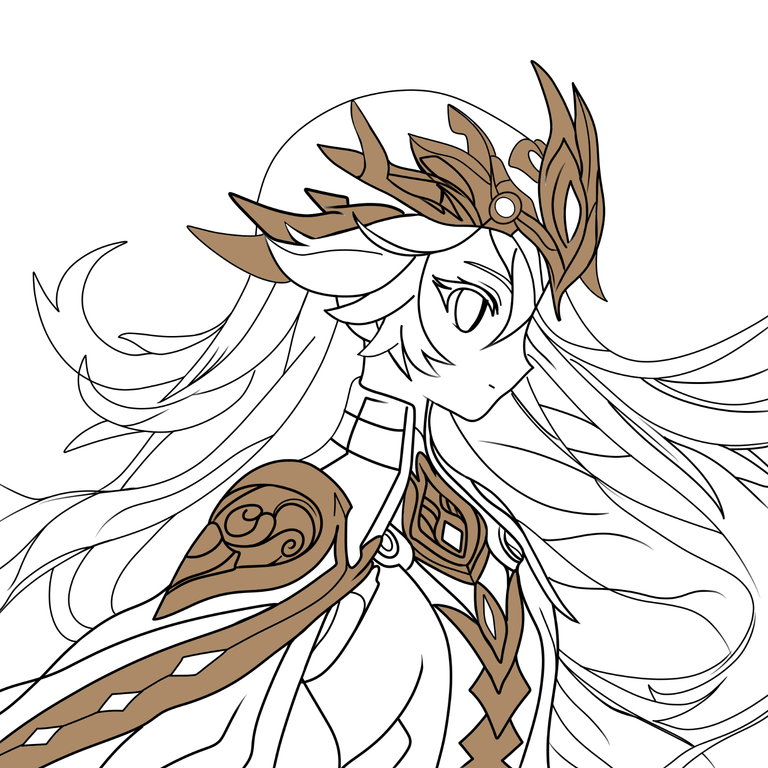
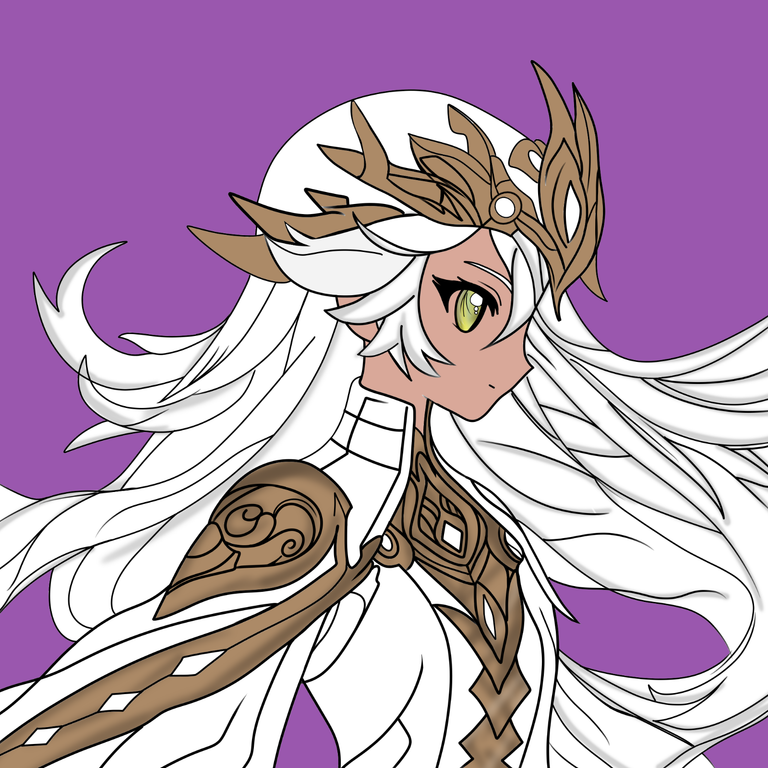
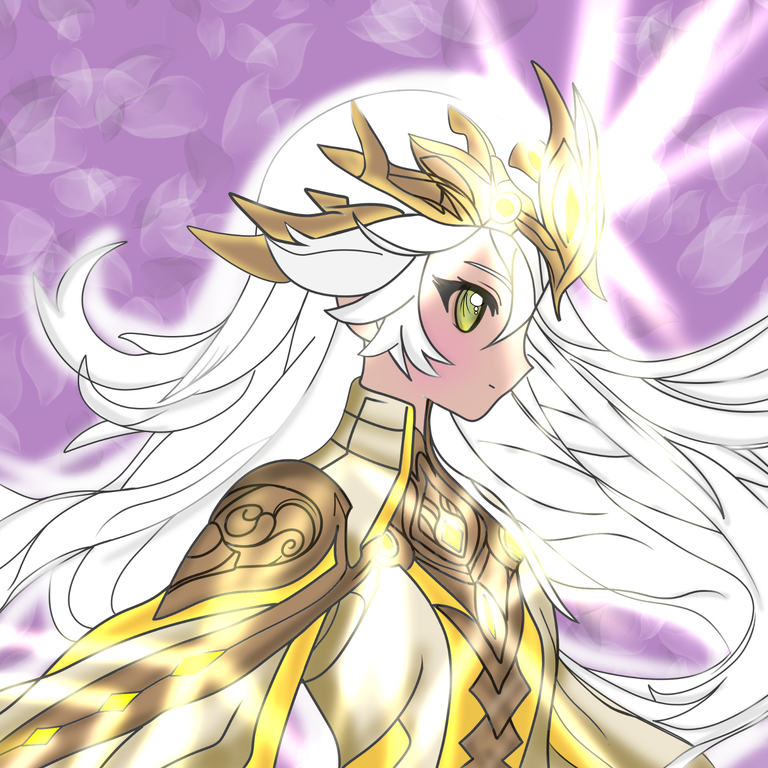
I did the color and detail stages almost at the same time, because I felt that the location of the highlights had to be present at the time. Initially I gave it some base colors, which I later illuminated or mixed with other colors from the same palette, but darker. At the same time, I was trying out several brushes, which allowed me to achieve what I imagined. Among the brushes used in this stage are: Airbrush, water-based acrylic, blur, as well as layers such as clipping, lighting, darkening.
| |
|---|
 |  |
| |
|---|
 |  |
| |
|---|
 |  |
| |
|---|
 |  |
| |
|---|
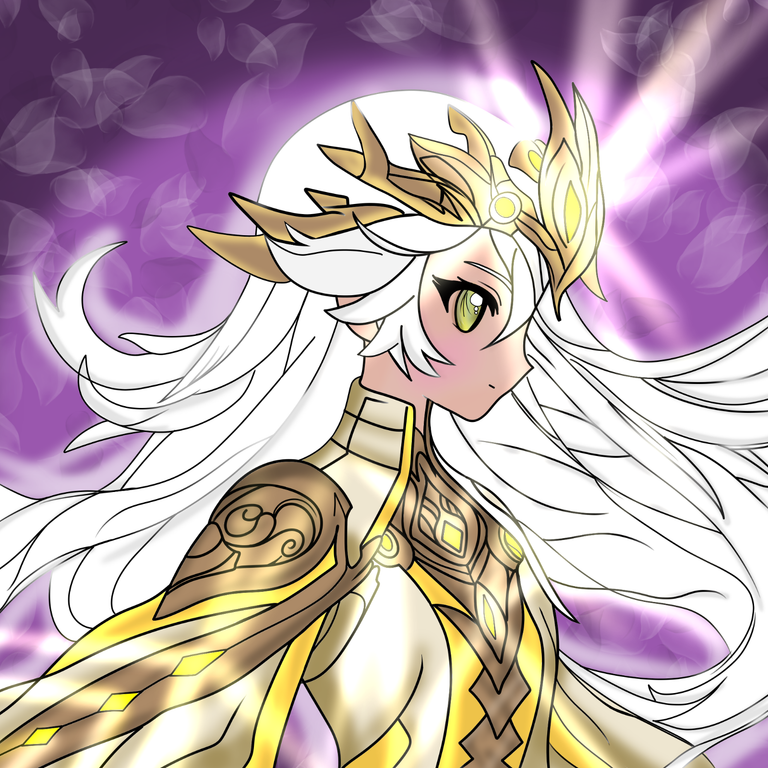 | 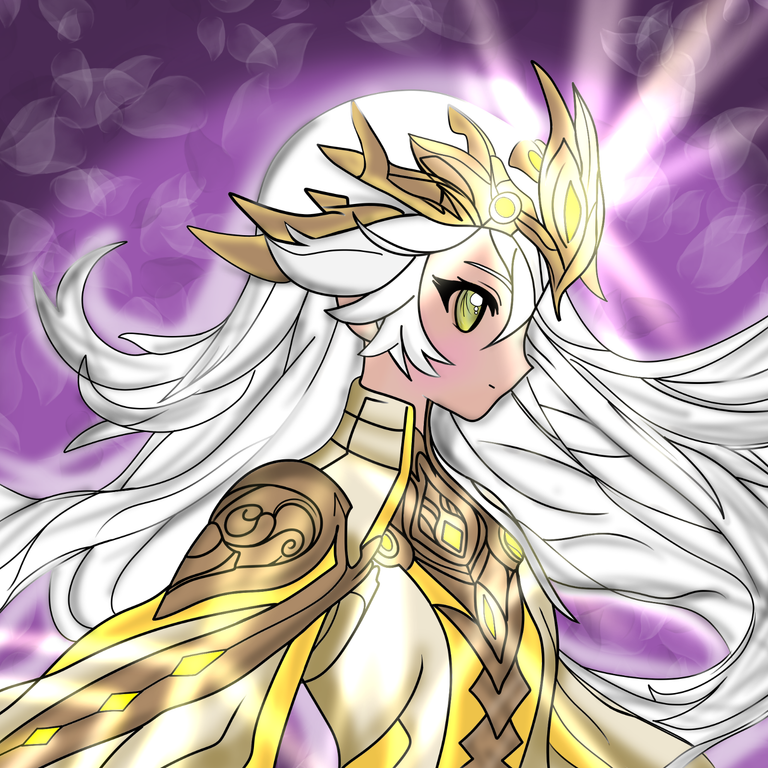 |
In this color stage I was playing with colors, as I was adding details I felt that my character did not stand out in the background. That is why I darkened the upper areas, to add some difference, I used the petal brush in the background with light colors and maximum thickness. To add the dark details, I airbrushed in violet with low opacity. Despite seeing the luminosity I wanted, I felt that I needed grays in the hair. With the airbrush I placed the details and later converted them to the multiply layer.
For this occasion, it seems to be everything. If you made it this far, thank you very much for your time. Greetings, La Cochina en Salsa says goodbye.
Drawing Program: Medibang Paint.
Translation: Google Translator.
Texts, photographs, screenshots and editions of my authorship/original content.
