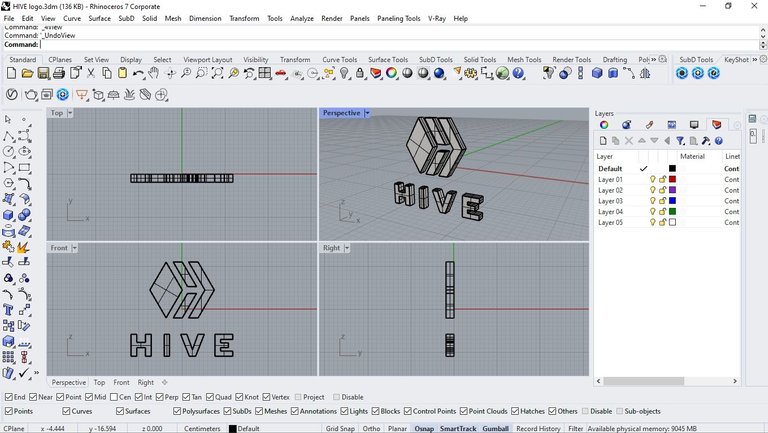
Hola hivers; Espero que se encuentren muy bien!
El día de hoy, decidí hacer un mini tutorial, para realizar un logo en 3d con el software rhinoceros. Que para mi resulta mi primera opción
Hello Hivers, I hope you are good!
Today, I decided to make a mini tutorial to make a 3d logo with the rhinoceros software. That for me is my first option


Utilice el logo de hive para hacer este mini tutorial básico.
Use the hive logo to make this basic mini tutorial.
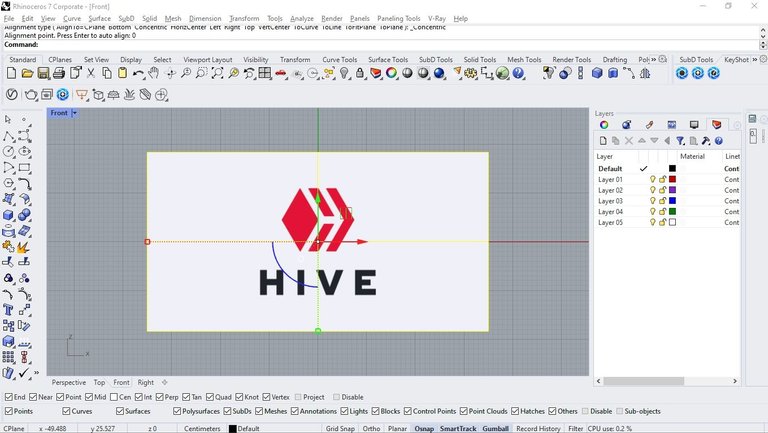
Importe la imagen a la vista frontal, para poder modelar el logo.
Importe la imagen a la vista frontal, para poder modelar el logo.
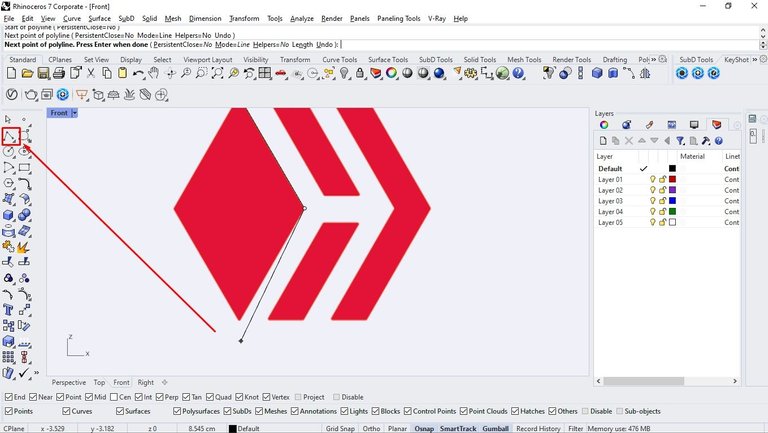
A continuation delinee todos los contornos con la herramienta polyline.
Next outline all the contours with the polyline tool.
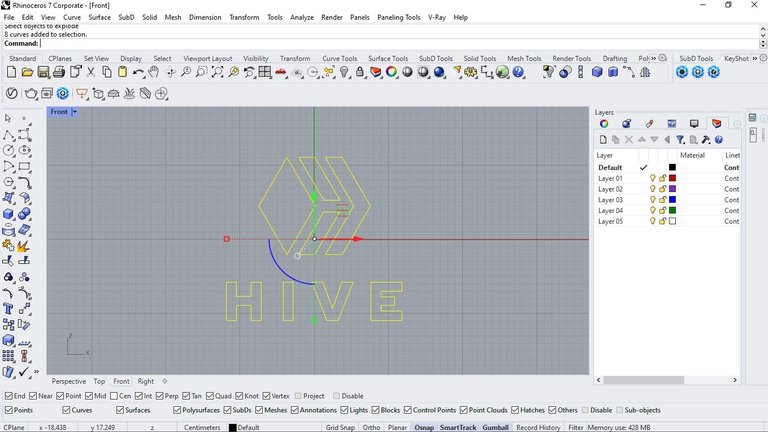
Ya hecho el contorno procedí al siguiente paso...
Once the contour was done, I proceeded to the next step...
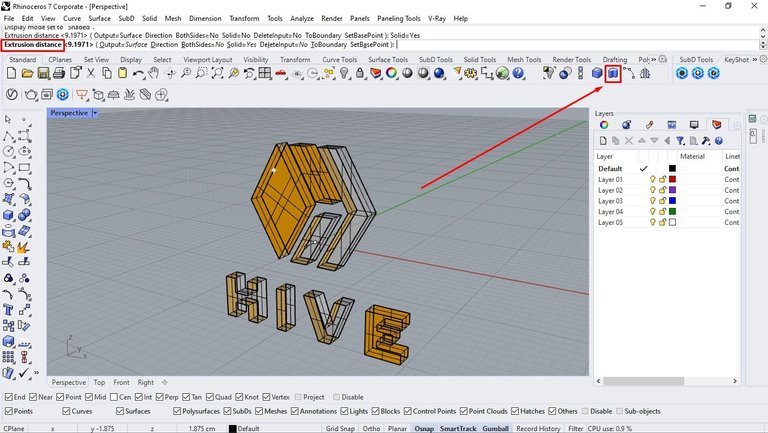
Con la herramienta de extrusion distance y todas las líneas seleccionadas le di volumen solido al logo.
With the distance extrusion tool and all the lines selected I gave the logo a solid volume.
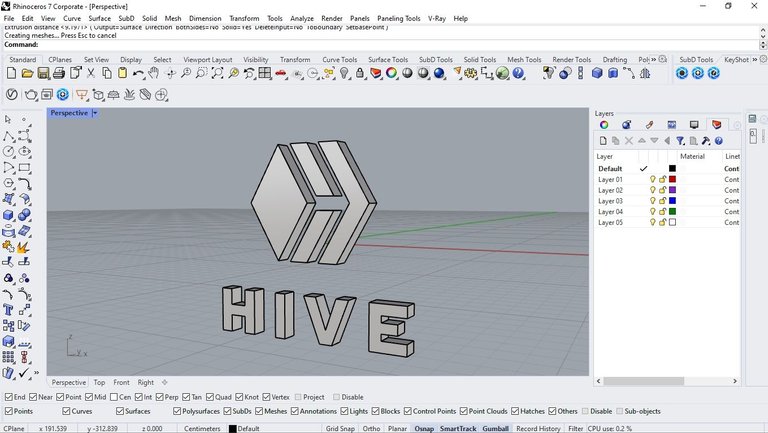
resultado de la extrusion.
extrusion result.
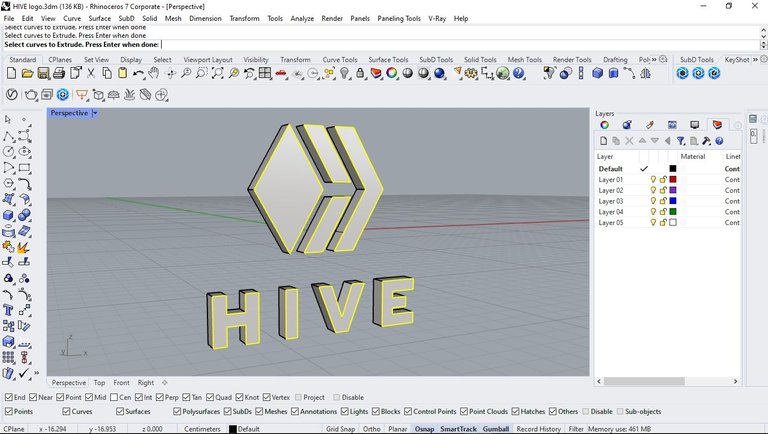
Decidí agregar un bisel a los contornos frontales para darle algo de detalle!
I decided to add a bevel to the front contours to give it some detail!
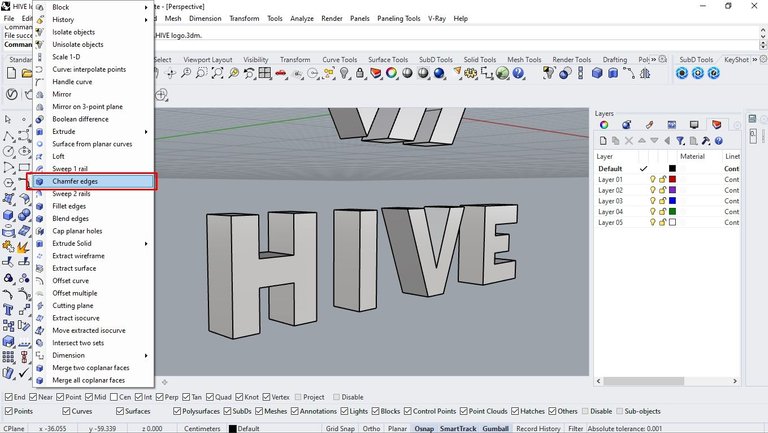
Para ello utilicé la herramienta chamfer edges.
For this I used the chamfer edges tool.
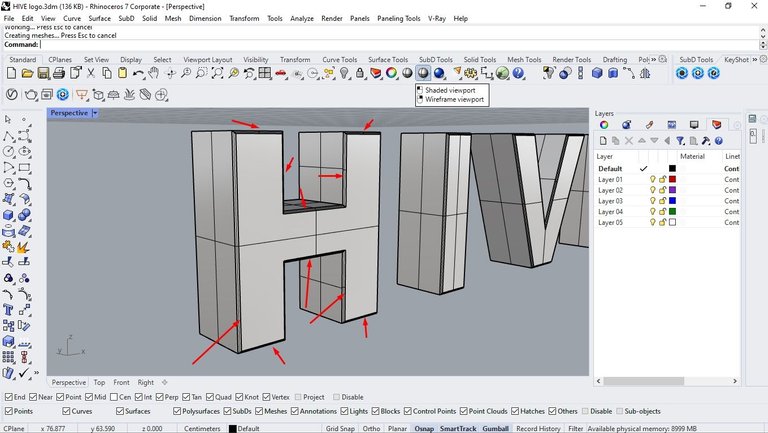
separé todos los biseles para poder agregarle un material y color distinto.
I separated all the bevels so I could add a different material and color.
Ya terminado el modelado lo exporte en formato .3ds
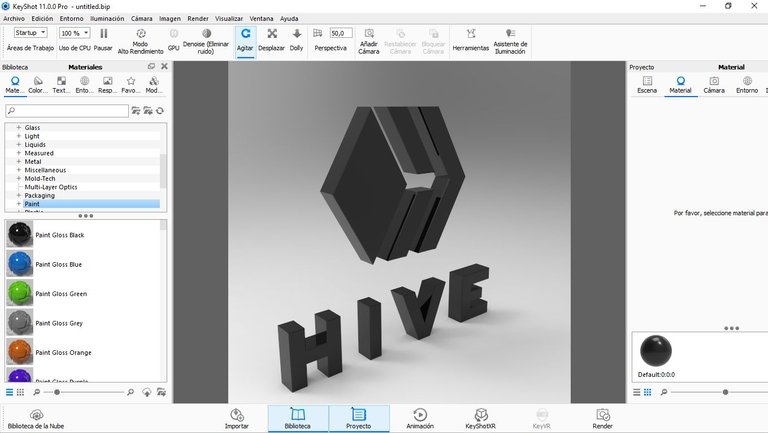
Para finalizar; importe el modelo, Renderice y agregue materiales en keyshot.
To end; import model, render and add materials in keyshot.
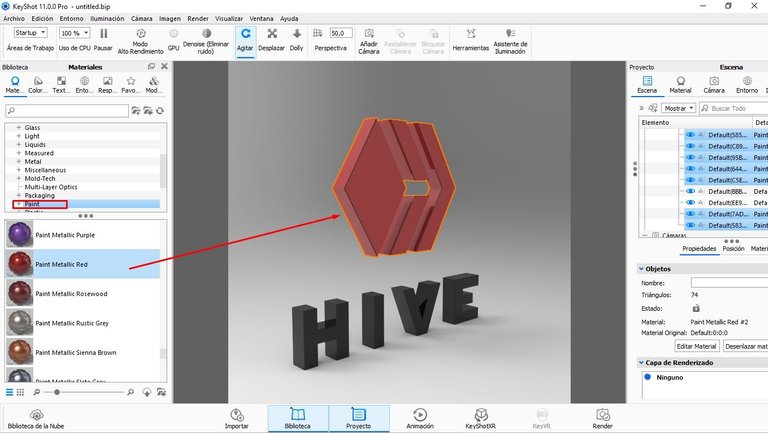
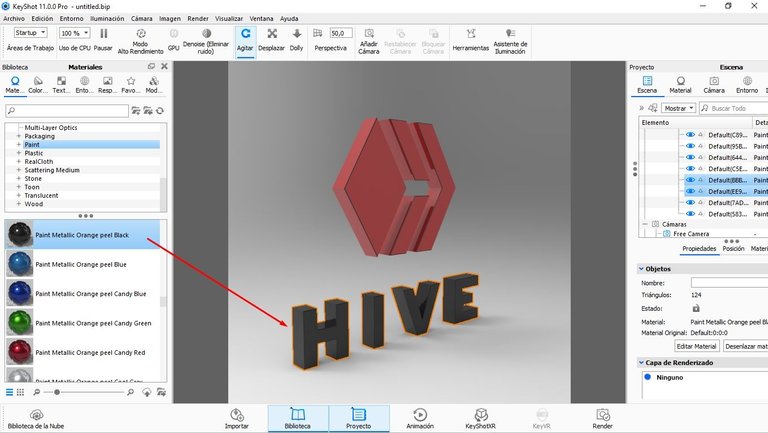
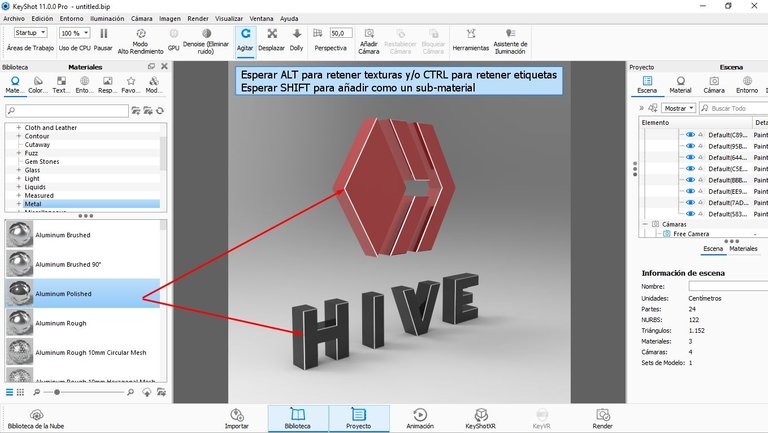
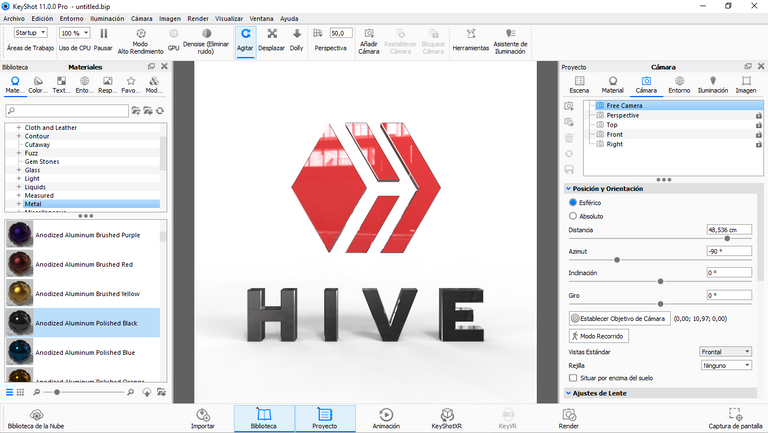
Y este fue el resultado final; Espero que les sirva de mucha utilidad y cualquier pregunta con mucho gusto les responderé.
Feliz fin de semana hivers; Cuídense mucho...
And this was the end result; I hope it will be very useful to you and I will gladly answer any questions.
Happy weekend hivers; Take care...
