¡Hola queridos usuarios de Hive ✨💕!
Hi dear Hive users ✨💕!
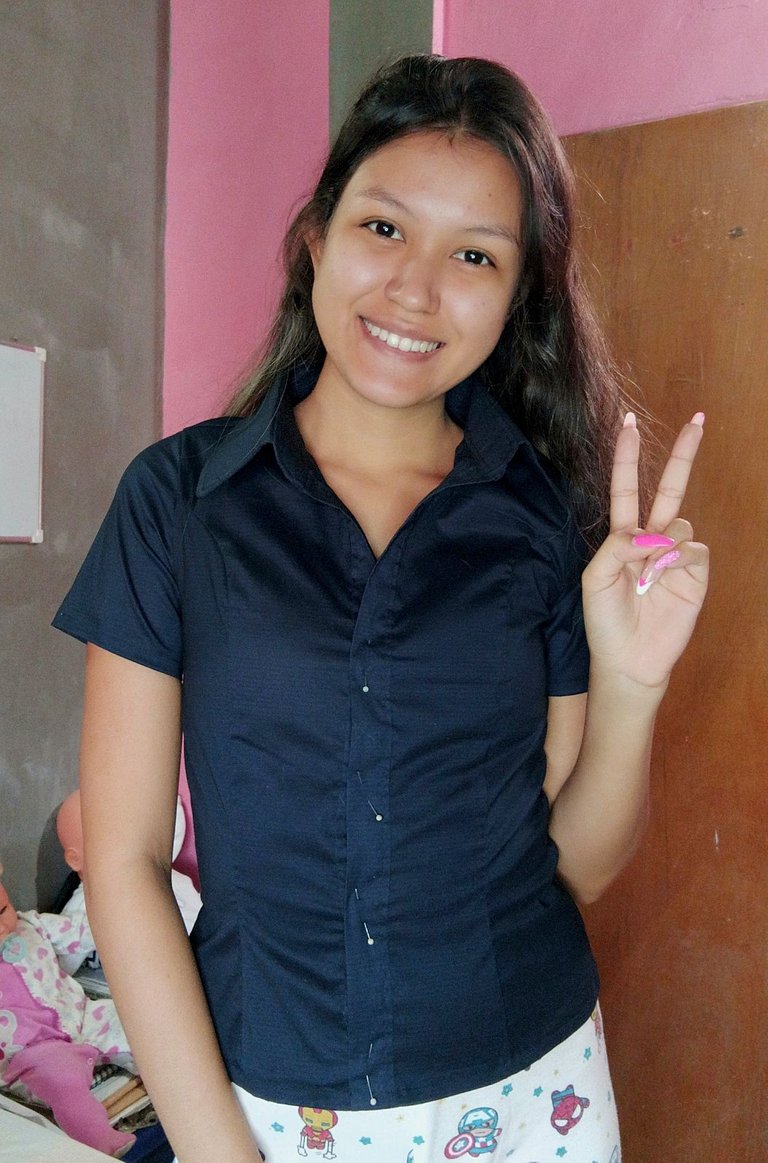
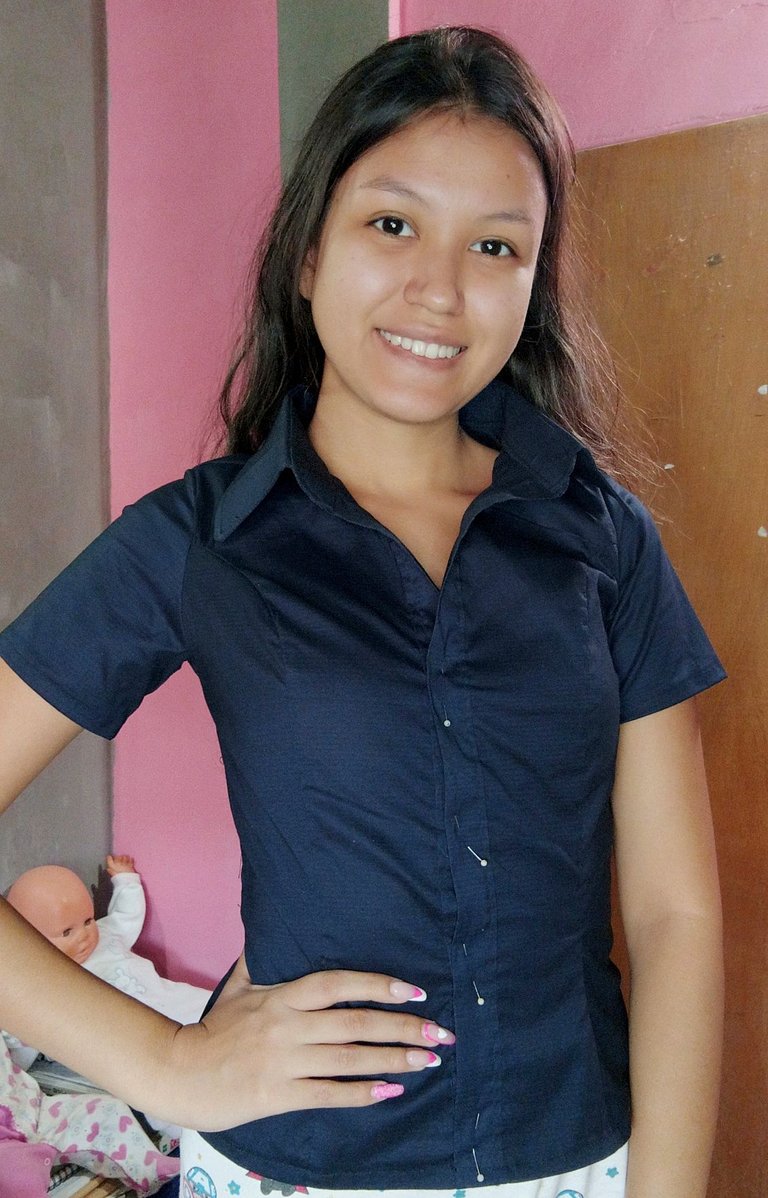
Resulta y acontece que con el inicio de las pasantías me veré en la necesidad de utilizar uniforme, y aunque yo ya contaba con una chemise que cumplía ésta función, ésta no me dará abasto para tantos días y aparte resulta un poco informal para futuras pasantías (me refiero mas que todo al área organizacional), así que con todo el dolor de mi alma he tenido que sucumbir ante la inminente llegada de la camisa de uniforme, y lo digo con tanto drama porque a mí honestamente no me gustan las camisas 😂, así que pensando en el hecho de que no me gustan decidí hacerla yo misma siguiendo todas mis exigencias 🤣🤣, y aparte traerles ésta confección por aquí 😉.
It happens that with the beginning of the internships I will need to wear a uniform, and although I already had a chemise that fulfilled this function, this one will not be enough for so many days and it is a bit informal for future internships (I'm referring mostly to the organisational area), so with all the pain of my soul I have had to give in to the imminent arrival of the uniform shirt, and I say it with so much drama because I honestly don't like shirts 😂, so thinking about the fact that I don't like them I decided to make it myself following all my requirements 🤣🤣, and also to bring you this confection here 😉.
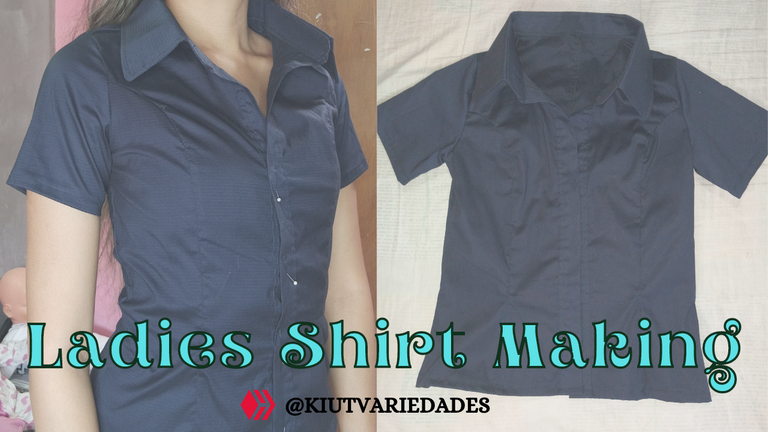

👚 MATERIALES || MATERIALS 👚
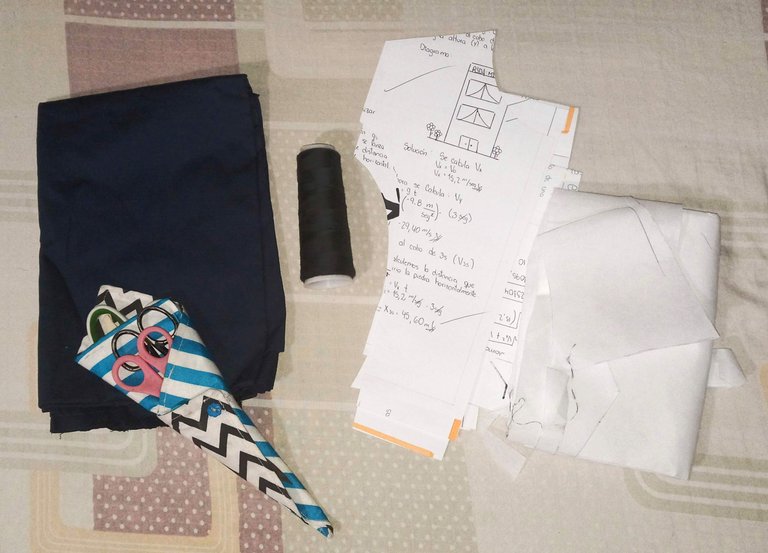
- Tela de camisería (en mi caso ocupé 1 metro).
- Hilo del color de la tela.
- Botones (no sean como yo que se me olvidó comprarlos).
- Entretela.
- Patrones.
- Tijeras de tela.
- Máquina de coser.
- Shirt fabric (in my case I used 1 metre).
- Thread in the same colour as the fabric.
- Buttons (don't be like me, I forgot to buy them).
- Interlining.
- Patterns.
- Fabric scissors.
- Sewing machine.

👚 COMENCEMOS || LET'S START 👚
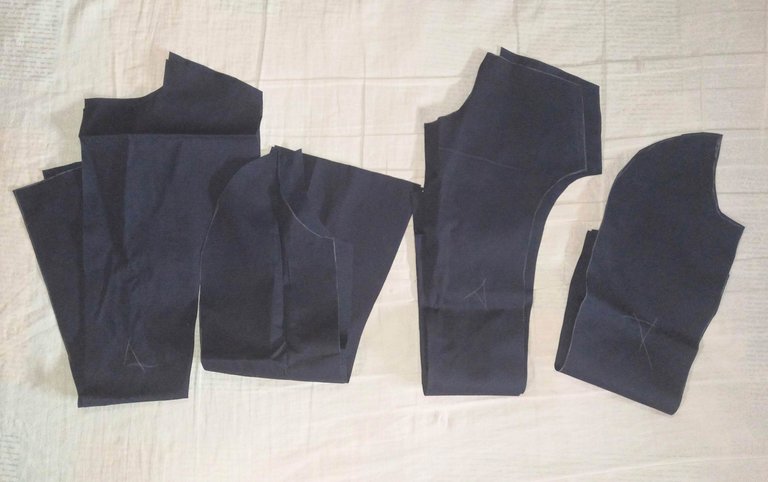
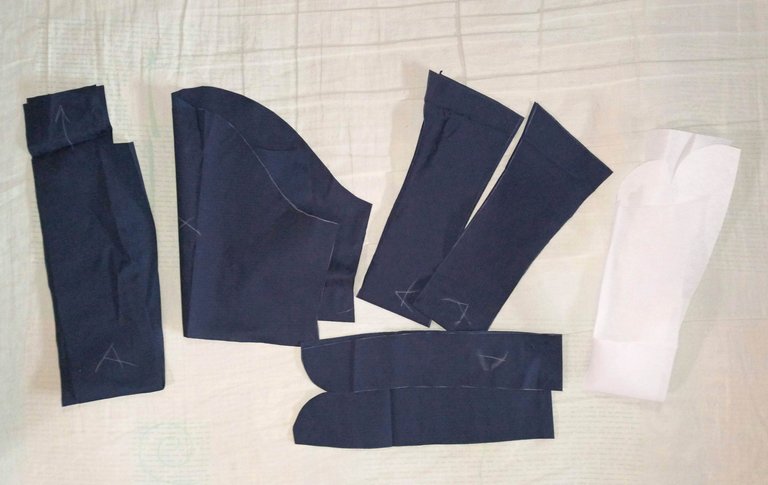
Los patrones para ésta confección los he explicado en varías oportunidades anteriores, así que me saltaré éste paso y al final de la publicación encontrarán los links a los post donde he detallado las diferentes modificaciones que realicé para ésta camisa. Partiendo directamente desde el corte, cada una de las piezas del cuerpo de la camisa se cortan con la tela doblada para asegurar que salgan las piezas correspondientes del lado derecho e izquierdo (lo digo porque me ha pasado que corto mal 🤣🤣). Además en la entretela se deben cortar 1 pieza de cada parte del cuello y 1 pieza de la extensión de botones que luego se cortará por la mitad (pero a mi no me alcanzó la entretela así que sacrifique ésta parte 🤣.
I've explained the patterns for this shirt several times before, so I'll skip this step and at the end of this post you'll find the links to the posts where I've detailed the different modifications I've made for this shirt. Starting directly from the cut, each of the pieces of the body of the shirt are cut with the fabric folded to ensure that the corresponding pieces of the right and left side come out (I say this because it has happened to me that I cut wrongly 🤣🤣). Also on the interlining, 1 piece must be cut from each part of the collar and 1 piece from the button extension which will then be cut in half (but I didn't have enough interlining so I sacrificed this part 🤣.
 |  |
|---|
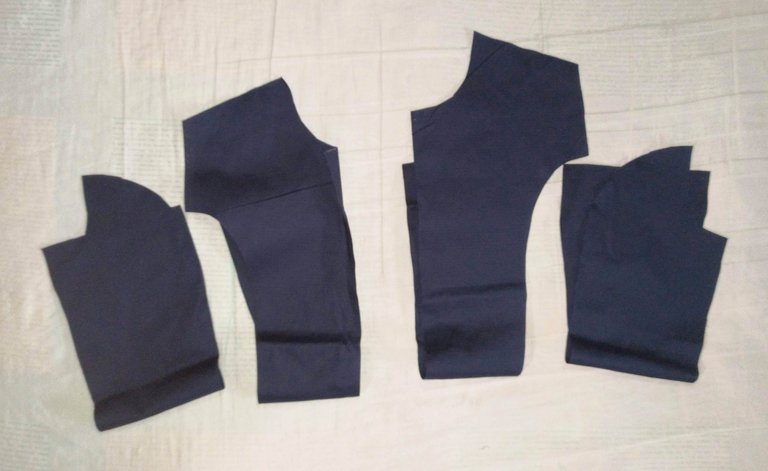
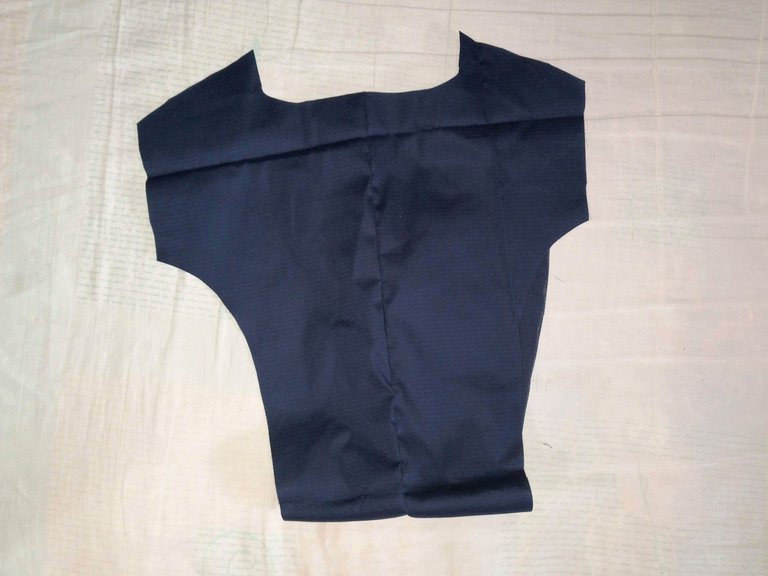
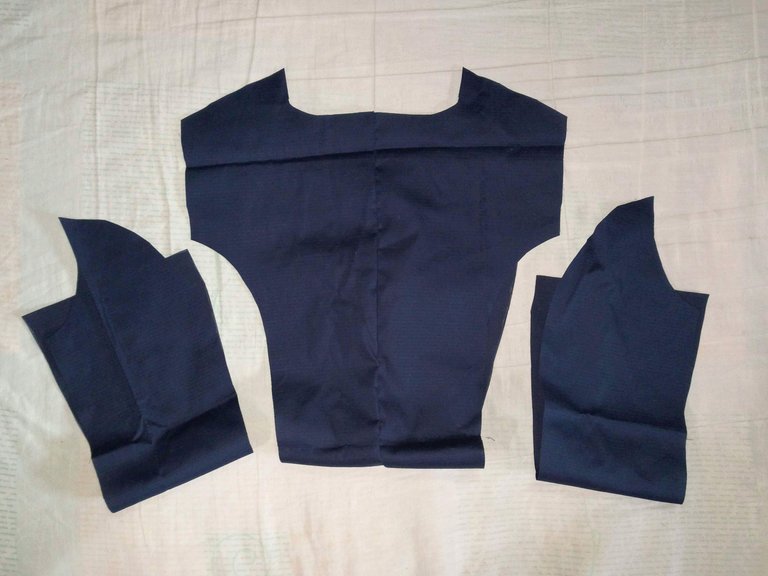
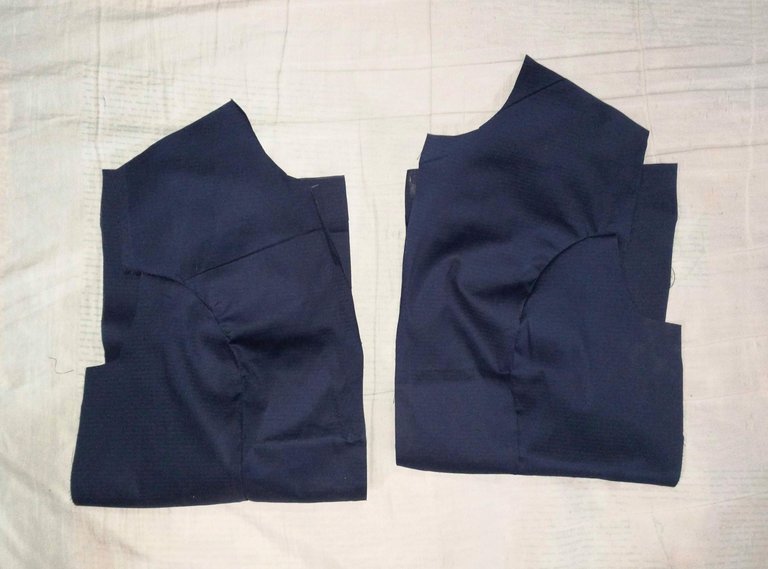
Comencé uniendo las piezas delanteras, los laterales con sus respectivos centros, además en la pieza de la espalda uni los centrales por la costura de entalle y luego uní los laterales, a todas éstas uniones les realicé costura en zig zag.
I started by joining the front pieces, the sides with their respective centres, and also in the back piece I joined the centre pieces by the notch seam and then I joined the sides, I zig zag stitched all these seams.
 |  |
|---|
 |  |
|---|
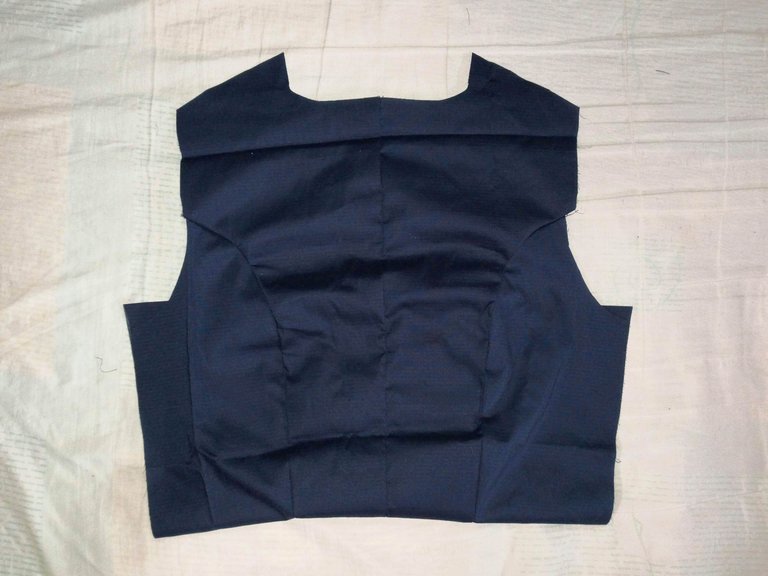
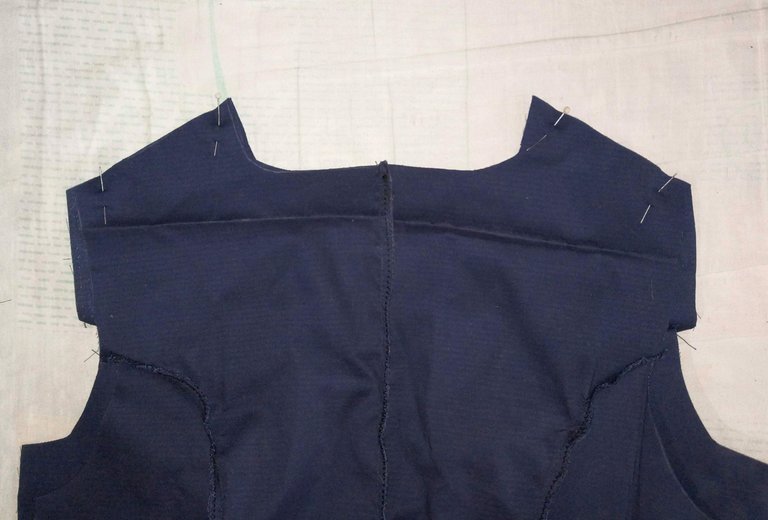
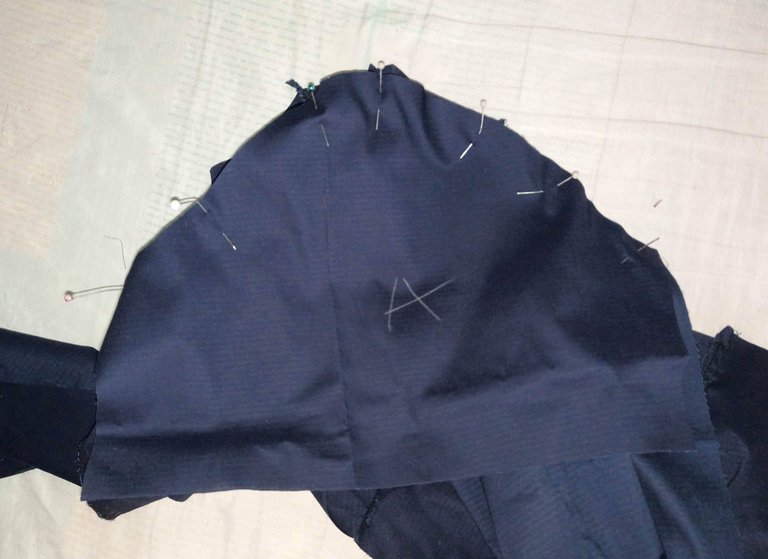
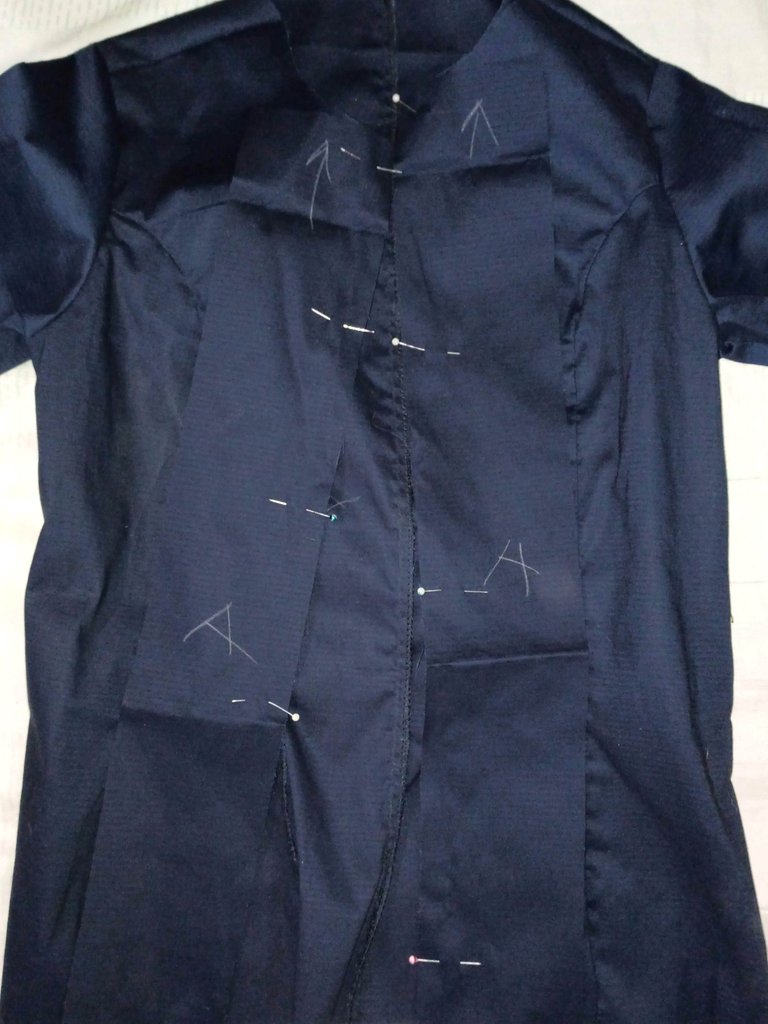
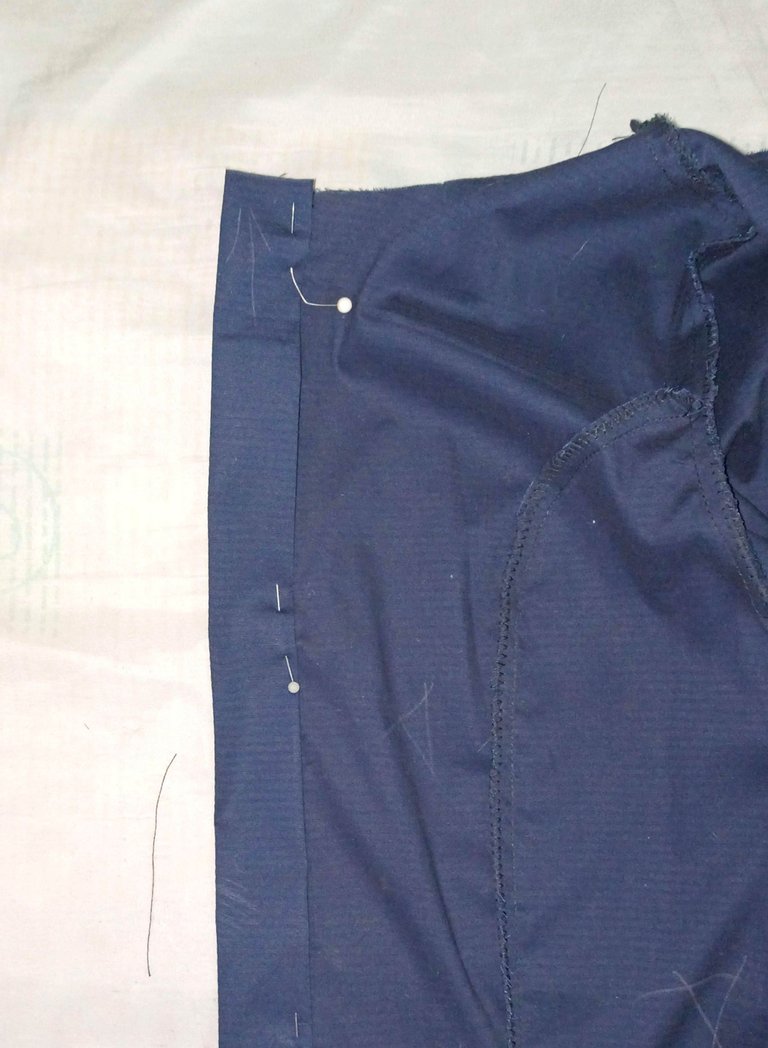
Cosi la espalda con las piezas del delantero por el hombro, luego uní cada una de las mangas y finalmente cerré la pieza principal de la camisa por los laterales. En éste punto se deben coser las extensiones de botón, primero enfrentando el derecho de telas y cosiendo a 1cm, luego se voltea, se dobla 1cm con ayuda de la plancha, se dobla por la mitad la extensión y se cose pegado el borde del dobladillo que hicimos, de ésta forma se hace con ambas parte de la extensión.
I sewed the back with the front pieces through the shoulder, then joined each of the sleeves together and finally closed the main piece of the shirt at the sides. At this point the button extensions should be sewn on, first facing the right side of the fabric and sewing at 1cm, then turn it over, fold it 1cm with the help of the iron, fold the extension in half and sew the edge of the hem we made, in this way it is done with both parts of the extension.
 |  |
|---|
 |  |
|---|
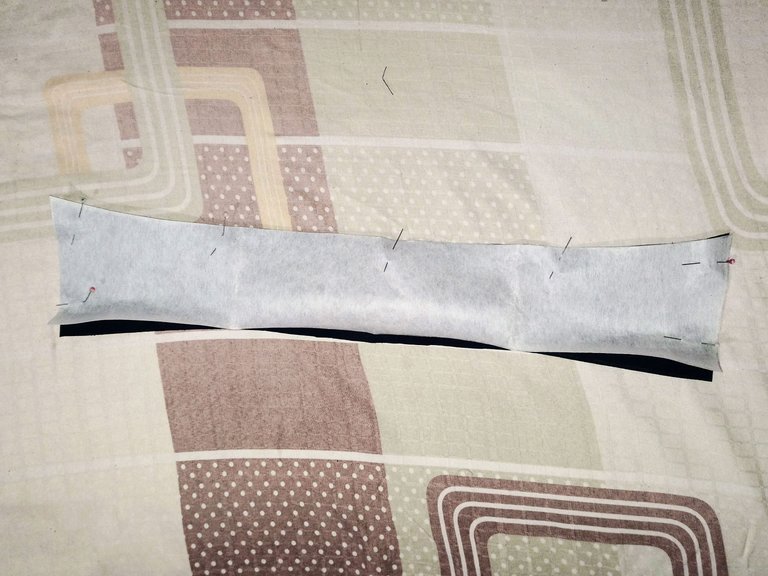
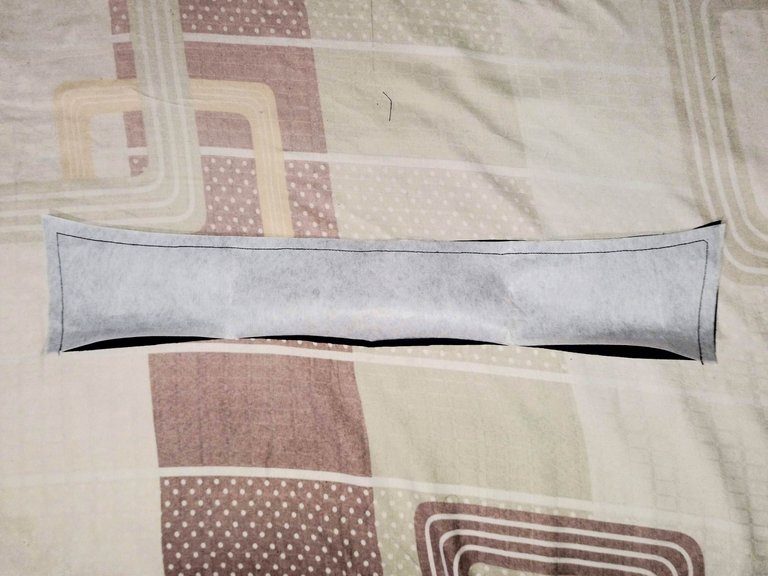
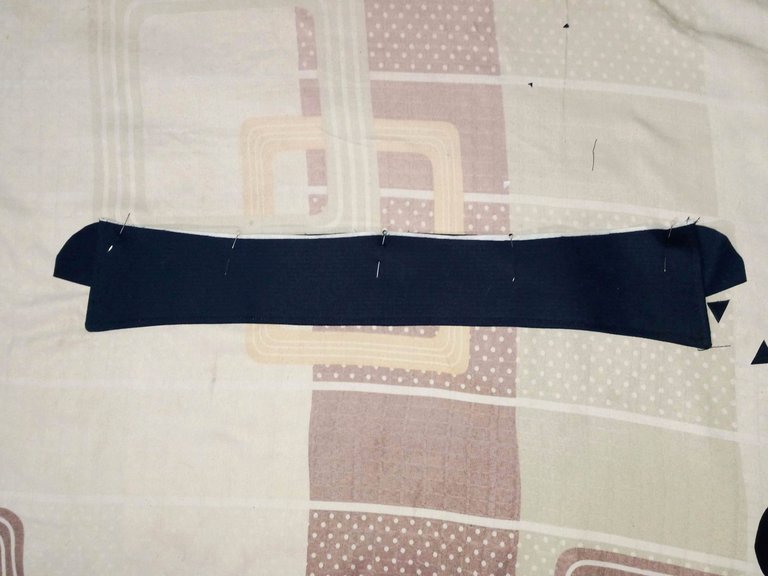
Ahora nos vamos con el cuello, primero se debe armar la parte superior que es la que acaba en punta, enfrentando los derechos de tela y encima de esto se coloca la entretela, y se cose por todo el borde menos por la parte inferior que es la más curva, para dar la vuelta se cortan los excesos de entretela y se cortan las esquinas, se da vuelta y se hace una costura de asentamiento por toda la orilla.
Now we go to the collar, first we must assemble the upper part which is the one that ends in a point, facing the fabric rights and on top of this we place the interlining, and sew all around the edge except for the lower part which is the most curved part, to turn it over we cut the excess interlining and cut the corners, turn it over and make a seam allowance all around the edge.
 |  |
|---|
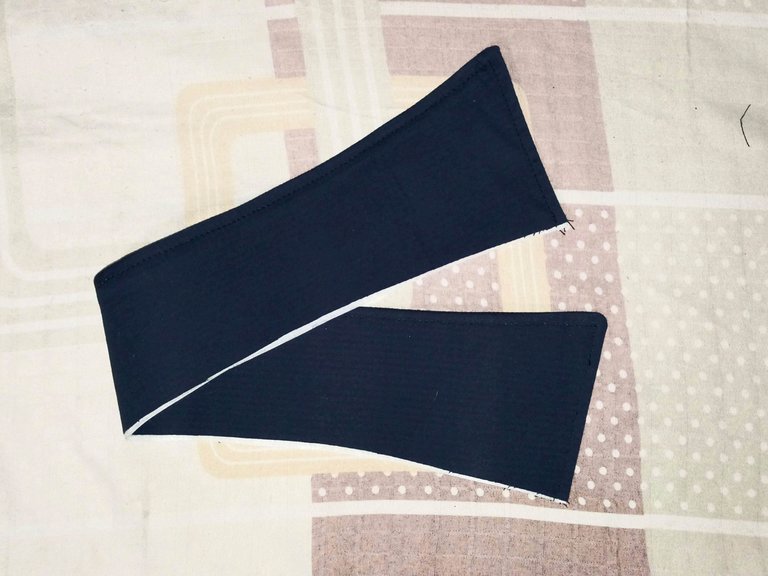
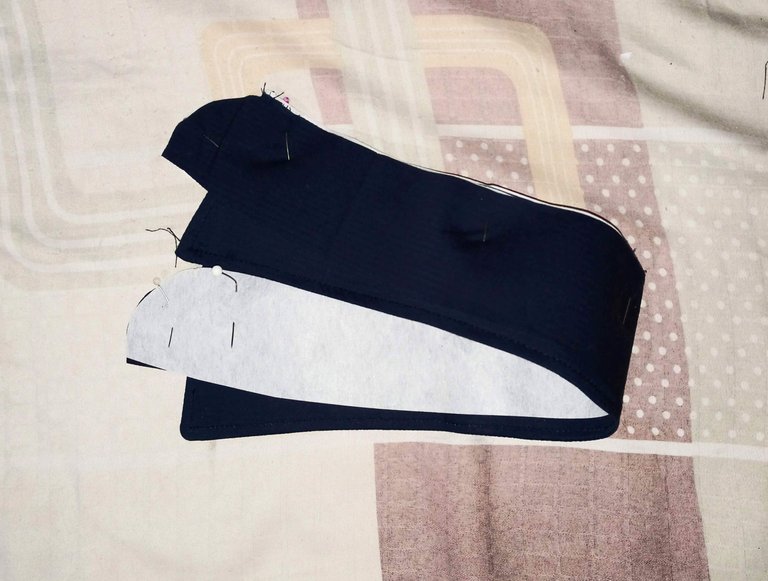
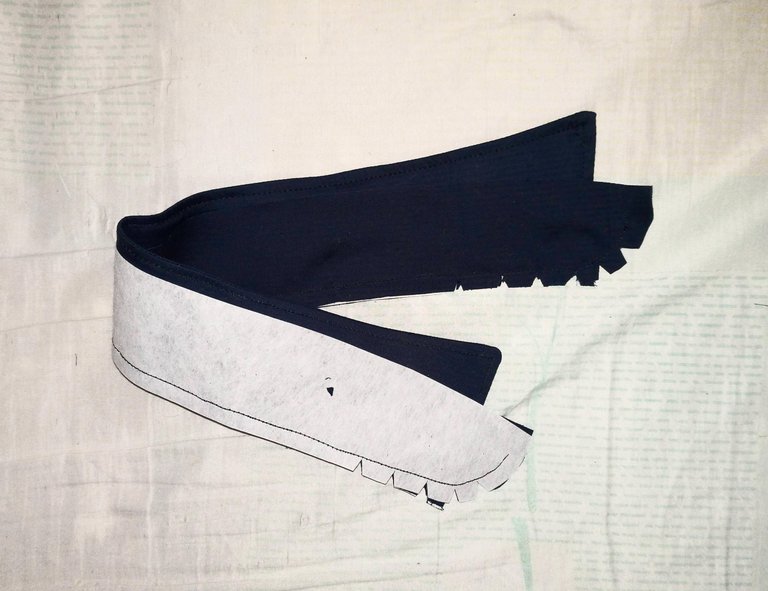
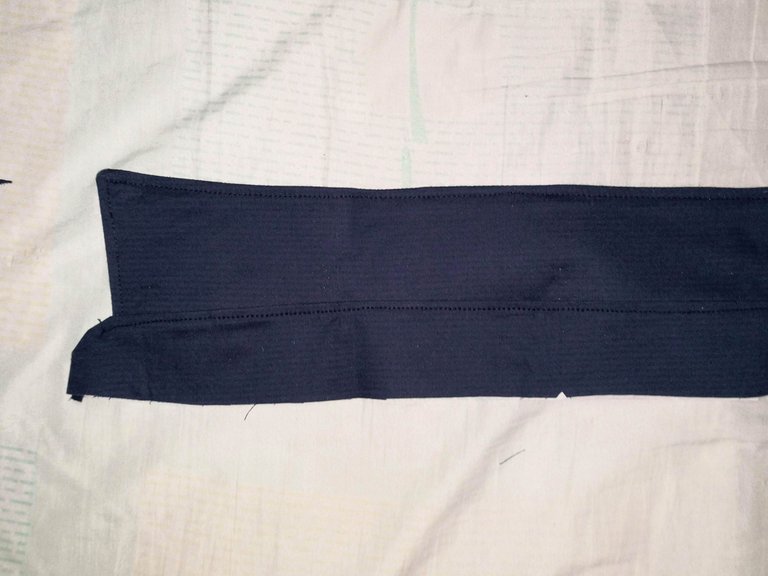
Tomamos ésta pieza y la vamos a centrar con la otra parte del cuello así como se ve en la imagen, encima de esto colocamos la otra pieza de tela y la entretela, formando una especie de sandwich. Cosemos por todo el alrededor dejando 2cm sin coser al inicio y al final, hacemos piquetes en las curvas, damos la vuelta y hacemos una costura de asentamiento sólo por la parte superior para fijar la unión que acabamos de hacer, la parte inferior será la que uniremos en la camisa.
We take this piece and centre it with the other part of the collar as shown in the picture, on top of this we place the other piece of fabric and the interlining, forming a kind of sandwich. We sew all around leaving 2cm unsewn at the beginning and at the end, we make picks in the curves, we turn around and make a seam of settlement only on the upper part to fix the union that we have just made, the lower part will be the one that we will join on the shirt.
 |  |
|---|
 |  |
|---|
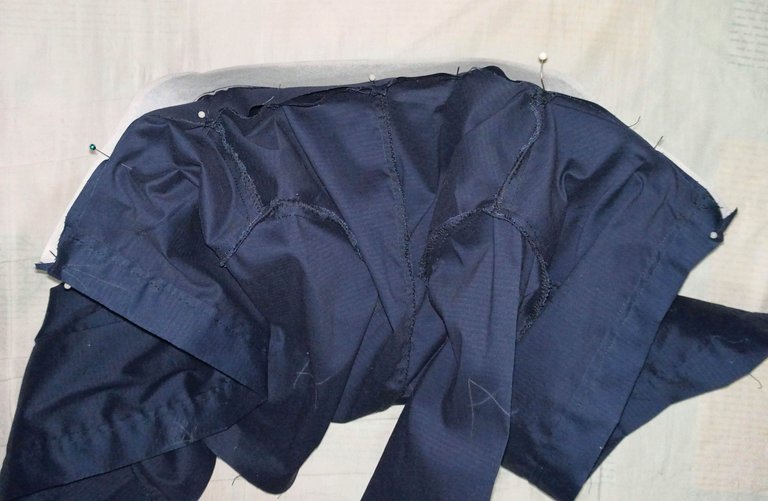
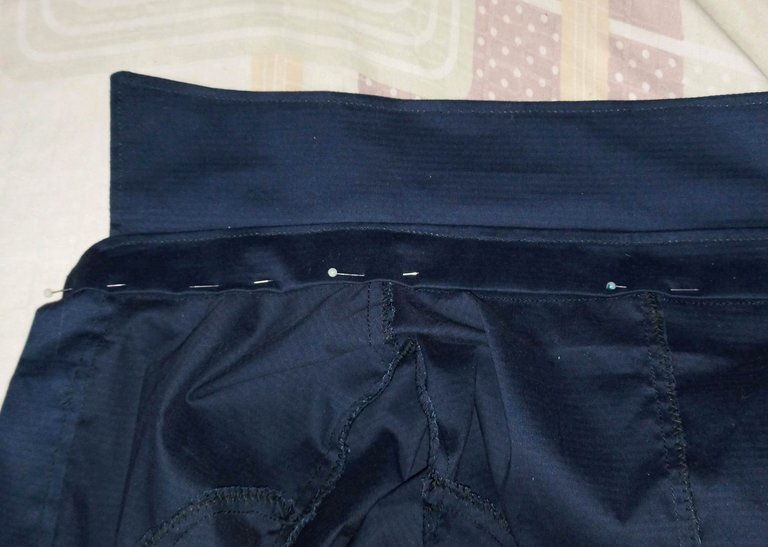
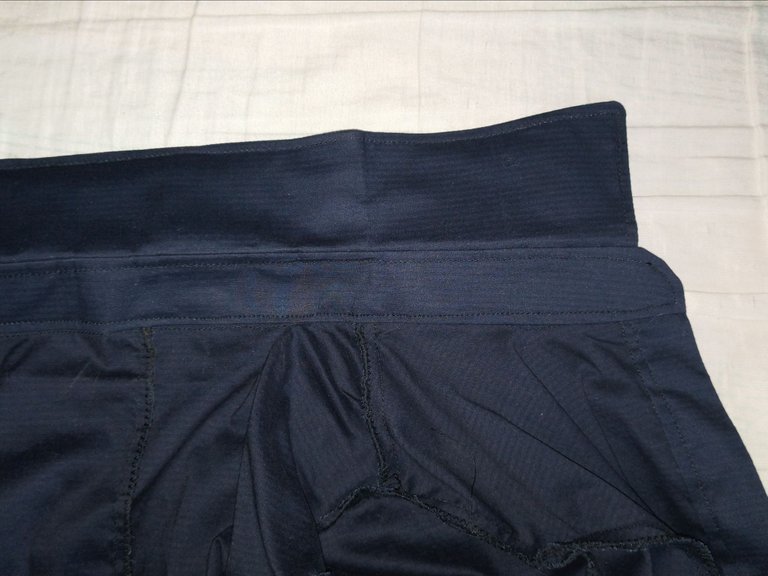
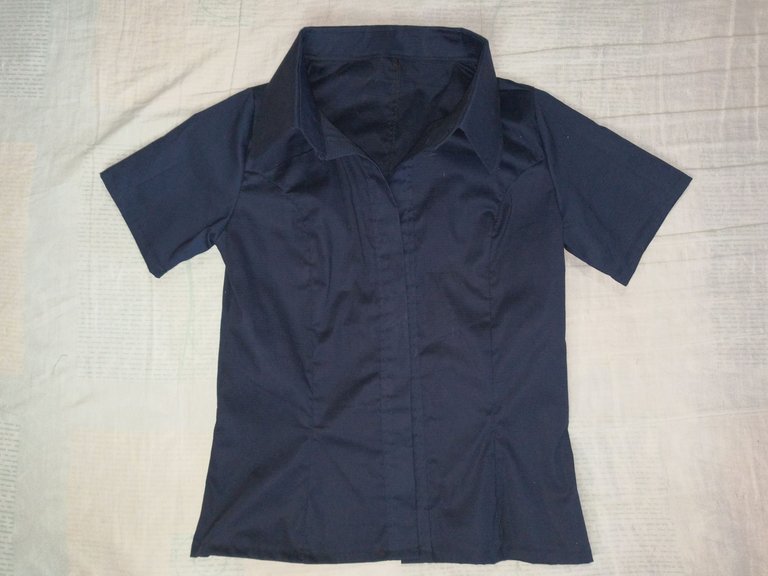
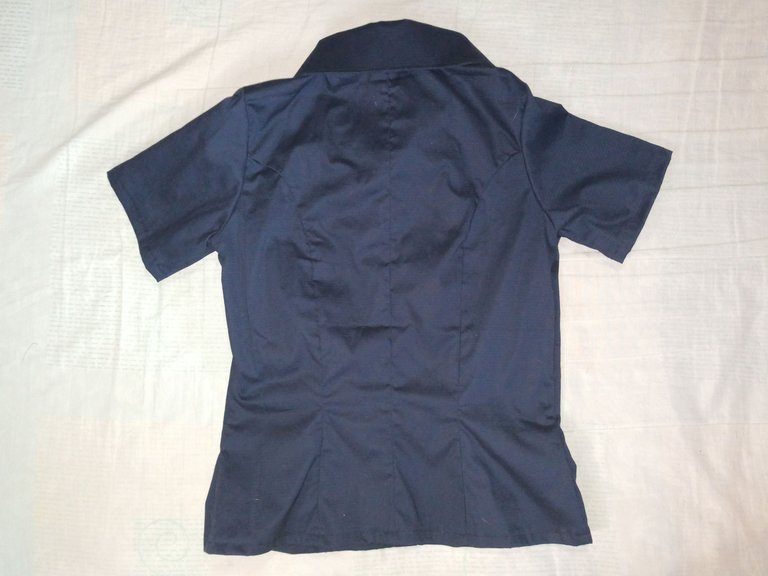
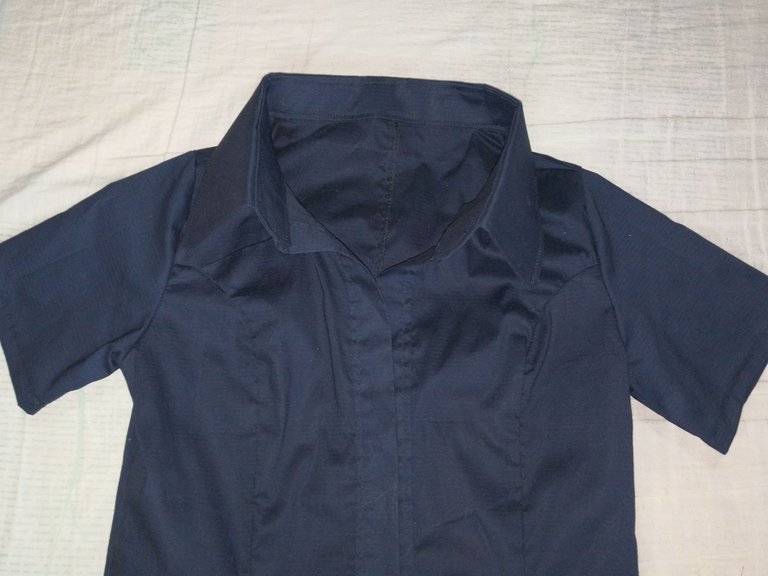
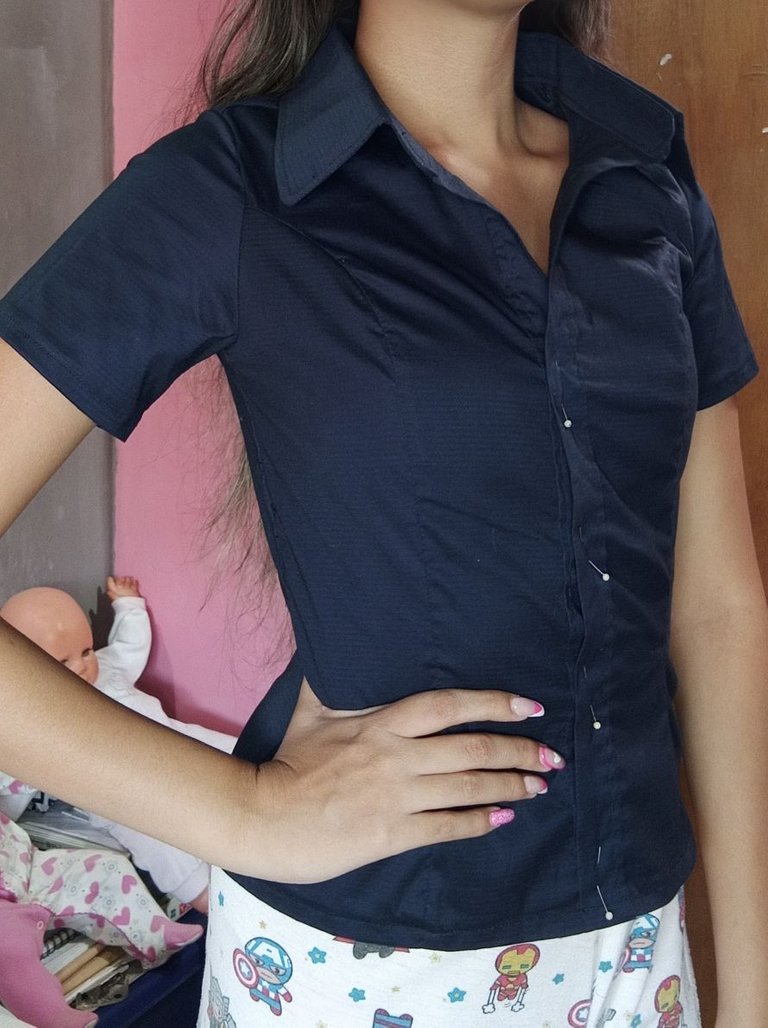
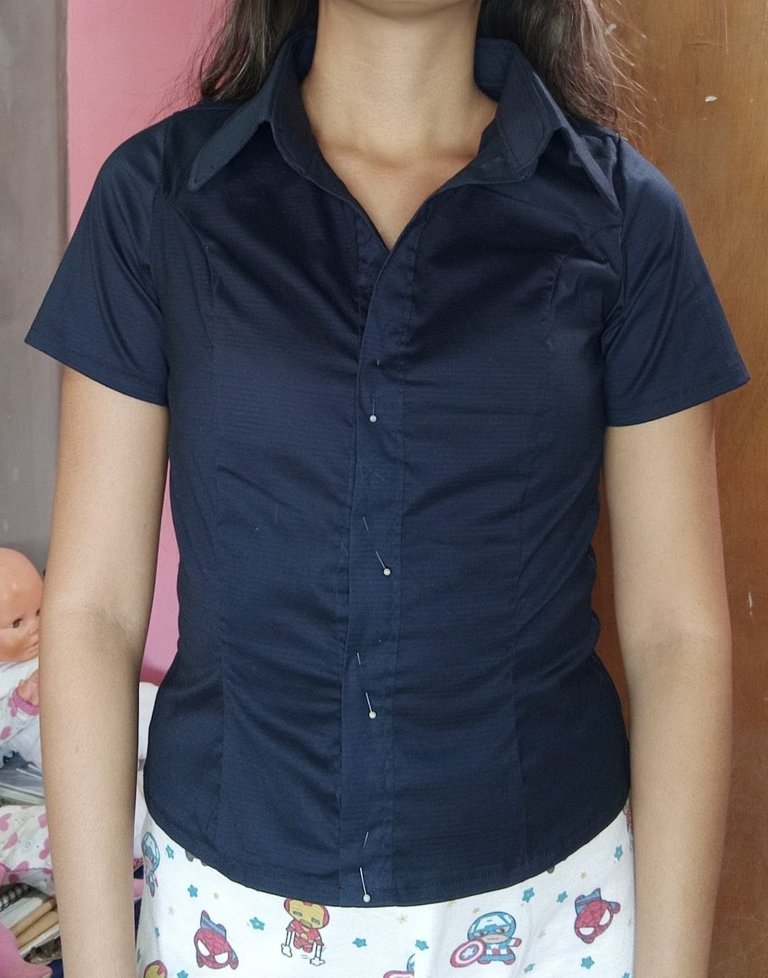
Centramos la pieza del cuello con el centro de la espalda y sujetamos con alfileres hasta llegar a la extensión de botones, es importante mencionar que solo se debe tomar una de las capas de tela del cuello, cosemos y luego con la otra capa de tela y doblando 1cm de la misma, vamos a cubrir ésta costura por el lado del revés, ésta costura que se hará se debe unir a la de asentamiento que habíamos hecho anteriormente. Finalmente acabamos la camisa realizando los ruedos y los ojales de los botones (pero a mi se me olvidó comprarlos 🤦🏻♀️🤦🏻♀️).
Centre the collar piece with the centre of the back and pin until you reach the button extension, it is important to mention that you should only take one of the layers of fabric from the collar, sew and then with the other layer of fabric and folding 1cm of it, we are going to cover this seam on the wrong side, this seam that will be made should be joined to the seam allowance that we had made previously. Finally we finish the shirt by making the buttonholes and the button holes (but I forgot to buy them 🤦🏻♀️🤦🏻♀️).
 |  |
|---|

 |  |
|---|
 |  |
|---|
 |  |
|---|


Sígueme en mis redes sociales… || Follow me on my social networks…
Instagram:@Susijackeline
Twitter:@Kiut_variedades
Publicaciones de interés para la realización de los patrones || Publications of interest for the realisation of patterns
| Patrón Básico de Blusa para Dama/Basic Blouse Pattern for Lady | Patrones de Vestido Camisero/Shirt Dress Patterns | Blusa con Peplum: Patrones/Peplum Blouse: Patterns |
|---|
