

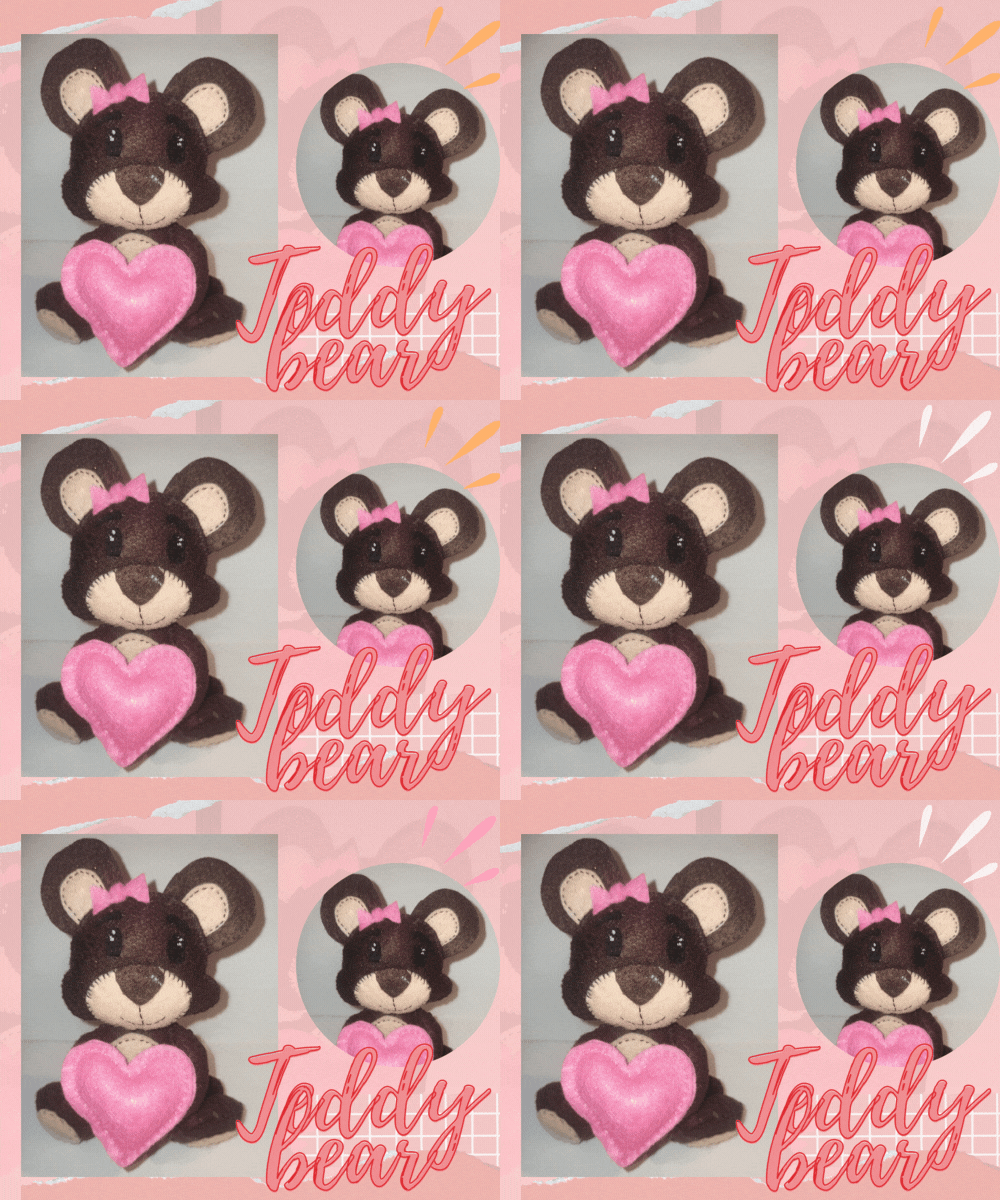
Hola gente guapa y creativa. Hace unas semanas estuve recorriendo algunas tiendas en busca de fieltro, visité varias y fue difícil conseguirlo, conseguí algunos en color marrón, amarillo que no tenía, rosa, verde y azul, colores como el negro, rojo, blanco, carne, que tanto quería conseguir no pude. Pero bueno, aprovechando los que sí tenía hice un osito y hoy vengo a enseñarles el resultado y por supuesto el procedimiento.
Hello beautiful, creative people. A few weeks ago I was going through some stores looking for felting, I visited several and it was difficult to get it, I got some in brown, yellow that I didn't have, pink, green and blue, colors like black, red, white, flesh, that I wanted to get so much I couldn't get. But well, taking advantage of the ones I did have I made a little bear and today I come to show you the result and the procedure.



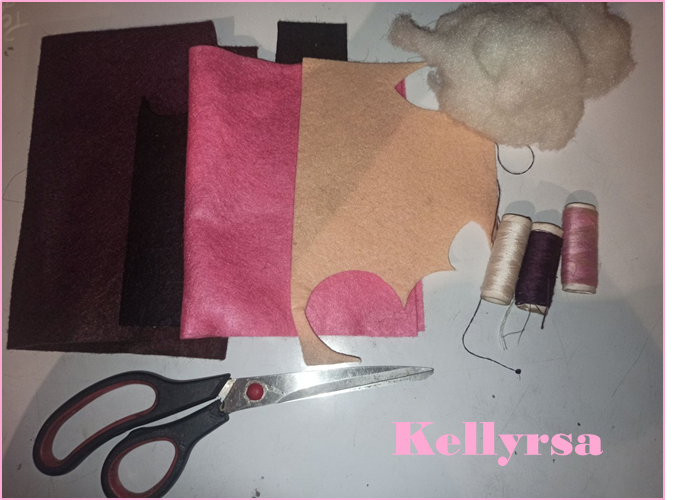
🐻 Fieltro marrón
🐻 Fieltro piel
🐻 Fieltro negro
🐻 Fieltro rosado
🐻 Hilo y aguja
🐻 Tijera
🐻 Relleno para peluches
🐻 Brown felt
🐻 Felt leather
🐻 Black felt
🐻 Pink felt
🐻 Thread and needle
🐻 Scissors
🐻 Stuffing for stuffed animals

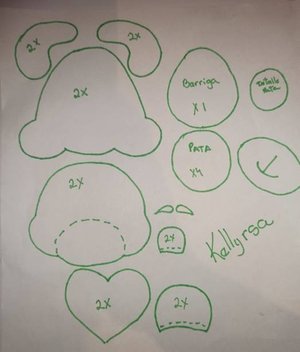
- Comparto con ustedes los patrones.
- I share with you the patterns.
🐻 Paso 1 :
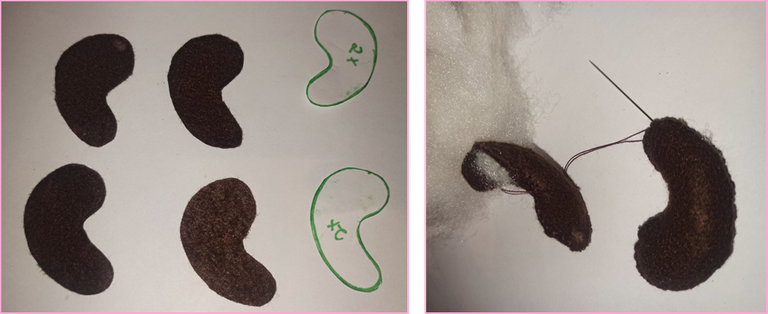
Hice todas las piezas por separado, así que empiezo trazando cada patrón en el fieltro que corresponde.
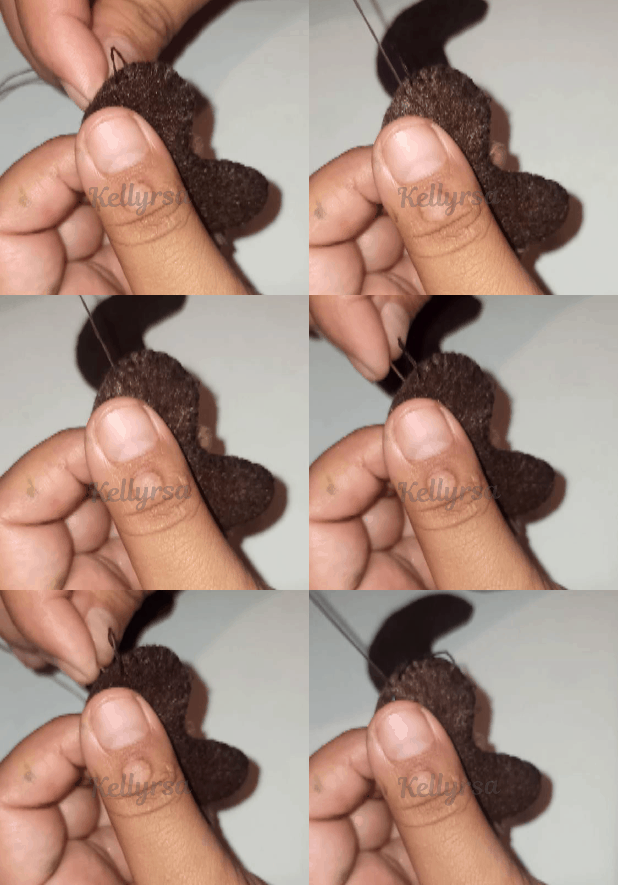
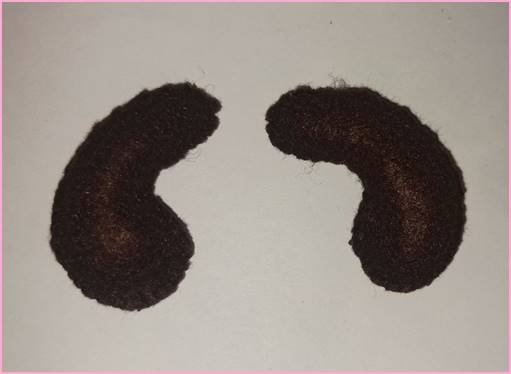
Marco el patrón de los brazos y obtengo 4 piezas, uso la puntada de sobrehilado para unir las primeras piezas, introduzco el relleno y cierro completamente.
🐻 Step 1 :
I made all the pieces separately, so I start by tracing each pattern on the matching felt.
I mark the pattern for the arms and get 4 pieces, use the overcasting stitch to join the first pieces, insert the stuffing and close completely.
🐻 Paso 2 :
Marco los patrones de la panza dos piezas de color marrón y la barriga 1 pieza de color piel.
A una de las piezas de color marrón pego la barriga utilizando el hilván para unirla.
Luego uno la otra pieza con sobrehilado y añado el relleno.
🐻 Step 2 :
I mark the patterns of the belly with two pieces of brown color and the belly with 1 piece of skin color.
To one of the brown pieces I glue the belly using the basting stitch to join.
Then I join the other piece with overcasting and add the stuffing.

🐻 Paso 3 :
Vamos con las patas. Trazamos 4 veces el patrón, se une dos y dos usando la misma puntada sobrehilada y también lleva relleno.
Las patas llevan unos detalles color piel, que uno con la puntada hilván.
🐻 Step 3 :
Let's go with the legs. We trace 4 times the pattern, join two and two using the same overcasting stitch and also carry padding.
The legs have skin-colored details, which are joined with the basting stitch.

🐻 Paso 4 :
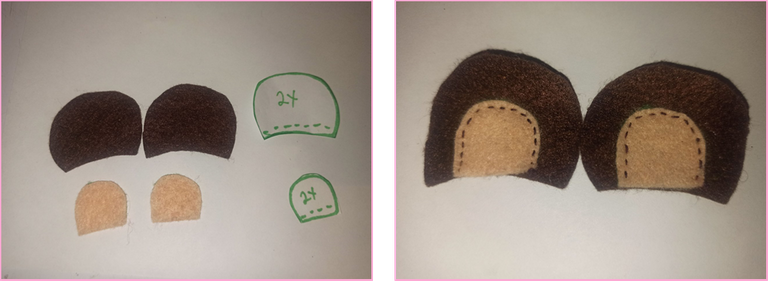
Para las orejas, trazo el patrón dos veces, no tienen relleno.
Para el detalle de las orejas, las uno con el hilván.
🐻 Step 4 :
For the ears, I trace the pattern twice, they do not have stuffing.
For the detail of the ears, I join them with the basting stitch.
🐻 Paso 5 :
Para la cabeza, trazo 2 piezas de color marrón y el hocico de color piel.
Al hocico le hago la forma de la boca con hilo usando punto de bastilla.
Uno las piezas con el punto de hilván y coloco el relleno.
🐻 Step 5 :
For the head, I trace 2 pieces of brown color and the muzzle skin color.
To the snout I make the shape of the mouth with thread using bastille stitch.
I join the pieces with the basting stitch and place stuffing.

🐻 Paso 6:
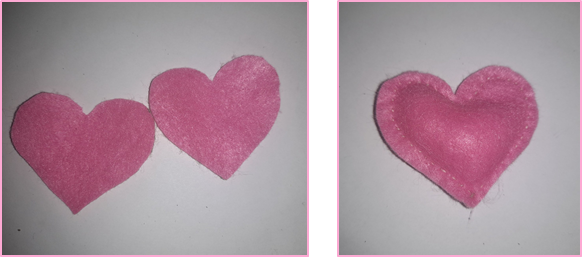
- Falta el corazón, dos piezas que uní con la puntada hilván y lleva relleno.
🐻 Step 6:
- The heart is missing, two pieces that I joined with the basting stitch and it has stuffing.
- Todas las piezas están listas, sólo hay que unir y montar a la osita.
- All the pieces are ready, just need to join and assemble the bear.
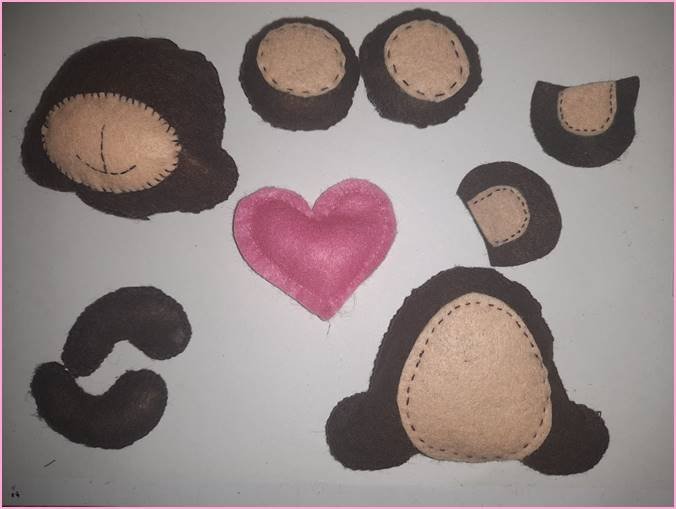
🐻 Paso 7:
- Le coloco las orejitas a la cabeza
- Uno la cabeza al cuerpo
- Pego las patas
- Por último el corazón
🐻 Step 7:
- I attach the ears to the head.
- Attach the head to the body
- Glue the legs
- Finally the heart

🐻 Paso 8:
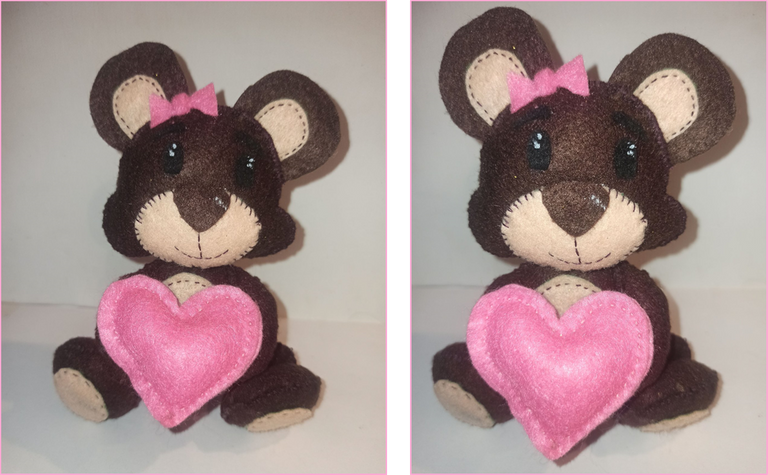
- Para terminar la simpática osita, sólo queda añadir los detalles como los ojos, la nariz, las cejas y un bonito lazo rosa.
- Listo, aa osita está listo. Qué bonita.
🐻 Step 8:
- To finish the cute little bear, it only remains to add the details such as eyes, nose, eyebrows, and a cute pink bow.
- Ready, the teddy bear is ready. How beautiful.
Recuerden decirme que les pareció mi trabajo, cualquier recomendación o duda, estaré atenta a responder. Hasta pronto, gente bella .
Remember to tell me what you thought of my work, any recommendations, or any doubt, I will be attentive to answer. See you soon beautiful people.
Otros trabajos con fieltro :
| DIY- Stitch keychain ENG/ESP | DIY- Mickey Mouse keychain ENG/ESP | [ENG/ESP] DIY - Tutorial Llavero y monedero Frida Khalo | DIY- Monster keychains ENG/ESP |
|---|---|---|---|
 |  |  |  |

Fotografías de mi propiedad tomadas con el celular Redmi note 8 pro, editadas en canva
Traducción realizada con la versión gratuita del
traductor DeepL
Todos los diseños fueron creados en canva
Photographs of my property taken with the Redmi note 8 pro cell phone, edited in canva
Translation made with the free version of
translator DeepL
All designs were created in canva